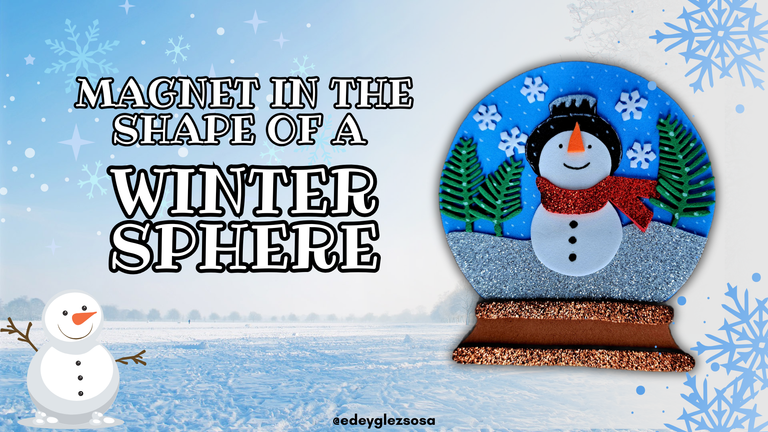
Greetings, beautiful community of HiveDiy. Christmas is over, or at least the date, because in my house the Christmas spirit lingers long enough and we usually don't take down the decorations until the end of January. And it's not a matter of laziness, it's just that we usually take so long to perfect the design that we're embarrassed to take down something so beautiful. Even so, it's still winter, at least in some countries, so you can still make some decorations that, although they are not Christmas, have as main objective to represent scenes of this winter season.
With this in mind, I have decided to share with you a tutorial that will help you to make an ornament in the shape of a glass sphere in which a winter scene is represented, as I had told you. The ornament is intended as a decorated magnet, but as you well know, if we replace the magnet with some double-sided tape, this winter sphere becomes a beautiful applique that we can place on any surface. So if my words have motivated you, I invite you to join me in the following tutorial, let's get started!
Saludos, hermosa comunidad de HiveDiy. Ya la Navidad pasó, o al menos la fecha, porque en mi casa el espíritu navideño perdura bastante y no solemos quitar los adornos hasta finales de enero. Y no es por cuestión de pereza, es que normalmente demoramos tanto en perfeccionar el diseño que nos da penita quitar algo tan lindo. Aun así, sigue siendo invierno, al menos en algunos países, por lo cual todavía se pueden hacer algunas decoraciones que, si bien no son navideñas, tienen como objetivo principal representar escenas de esta temporada invernal.
Teniendo esto en mente, he decidido compartir con ustedes un tutorial que les servirá para elaborar un adorno con forma de esfera de cristal en el cual se representa una escena invernal, como les había dicho. El adorno está pensado como un imán decorado, pero como bien saben, si reemplazamos el imán por alguna cinta de doble cara, esta esfera invernal se convierte en un hermoso aplique que podremos colocar en cualquier superficie. Así que si mis palabras te han motivado, te invito a acompañarme en el siguiente tutorial. ¡Comencemos!
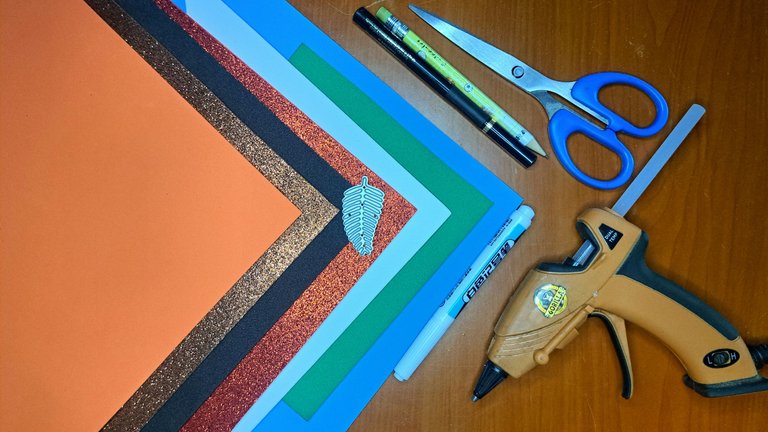
Materials // Materiales
| English | Español |
| ✔️ Carmelite and red frosted fomi | ✔️ Fomi escarchado carmelita y rojo |
| ✔️ Plain blue, green, white, white, black and orange Fomi | ✔️ Fomi liso azul, verde, blanco, negro y naranja |
| ✔️ Black and white marker | ✔️ Marcador negro y blanco |
| ✔️ Leaf-shaped die | ✔️ Troquel con forma de hoja |
| ✔️ Pencil | ✔️ Lápiz |
| ✔️ Scissors | ✔️ Tijera |
| ✔️ Hot silicone | ✔️ Silicona caliente |
Step by step // Paso a paso
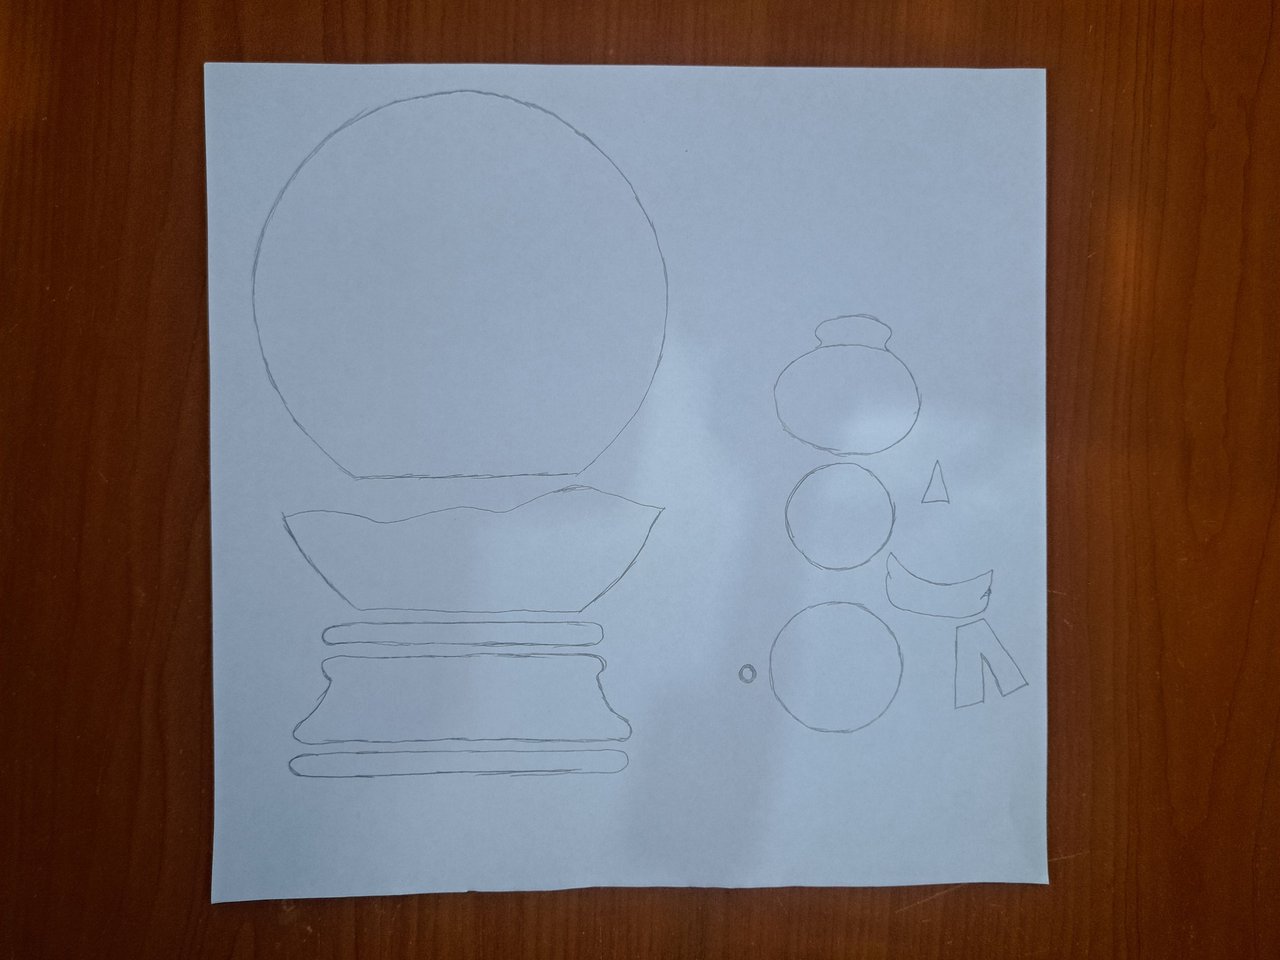
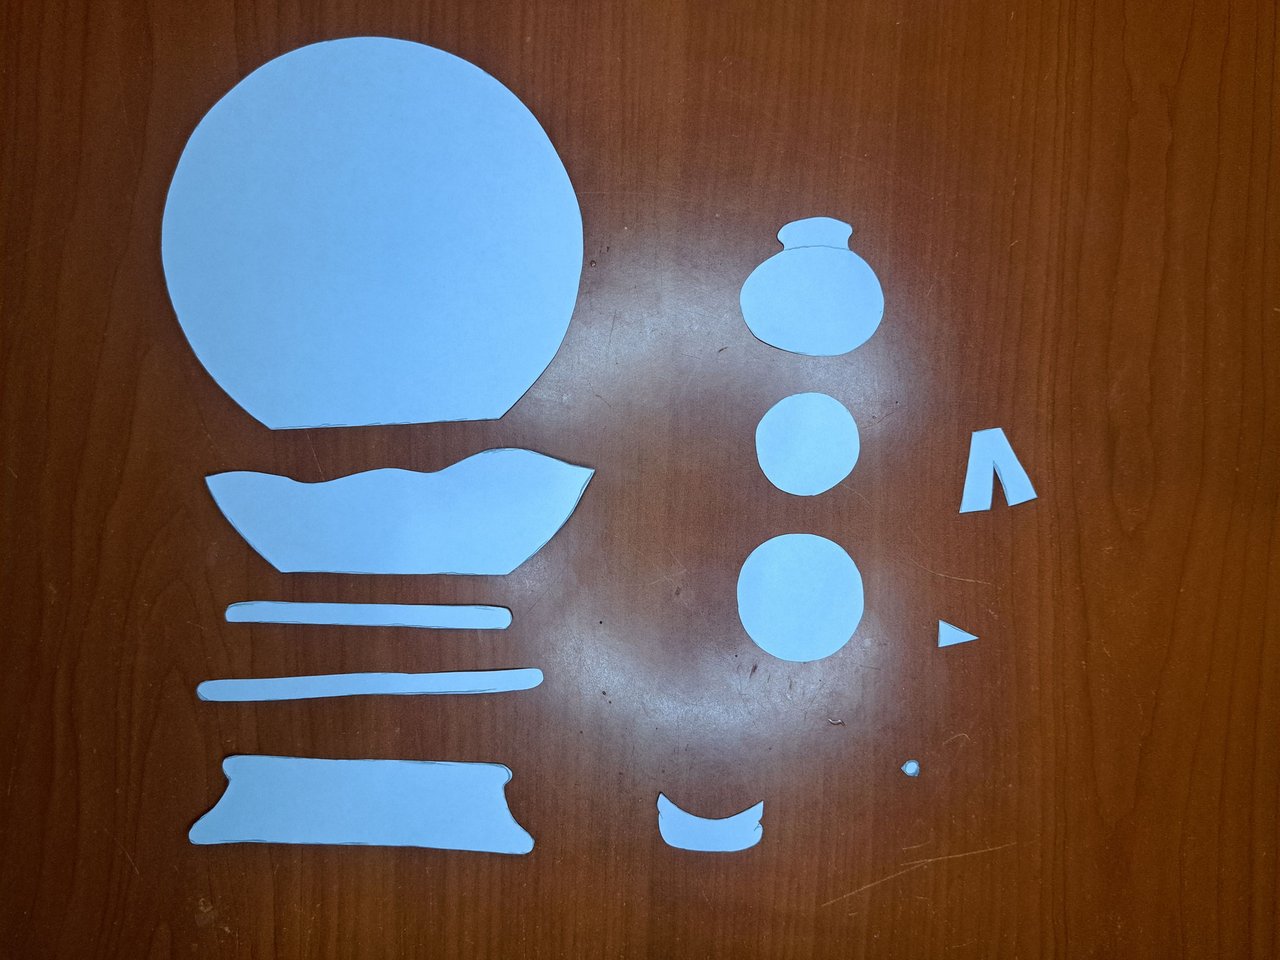
1️⃣ As usual, the first thing I did was to mark and cut out each of the molds needed to make the sphere. You can use the images below as a guide for your molds.
Como ya es costumbre, lo primero que hice fue marcar y recortar cada uno de los moldes necesarios para confeccionar la esfera. Se pueden utilizar las imágenes a continuación como guía para sus moldes.
 |  |
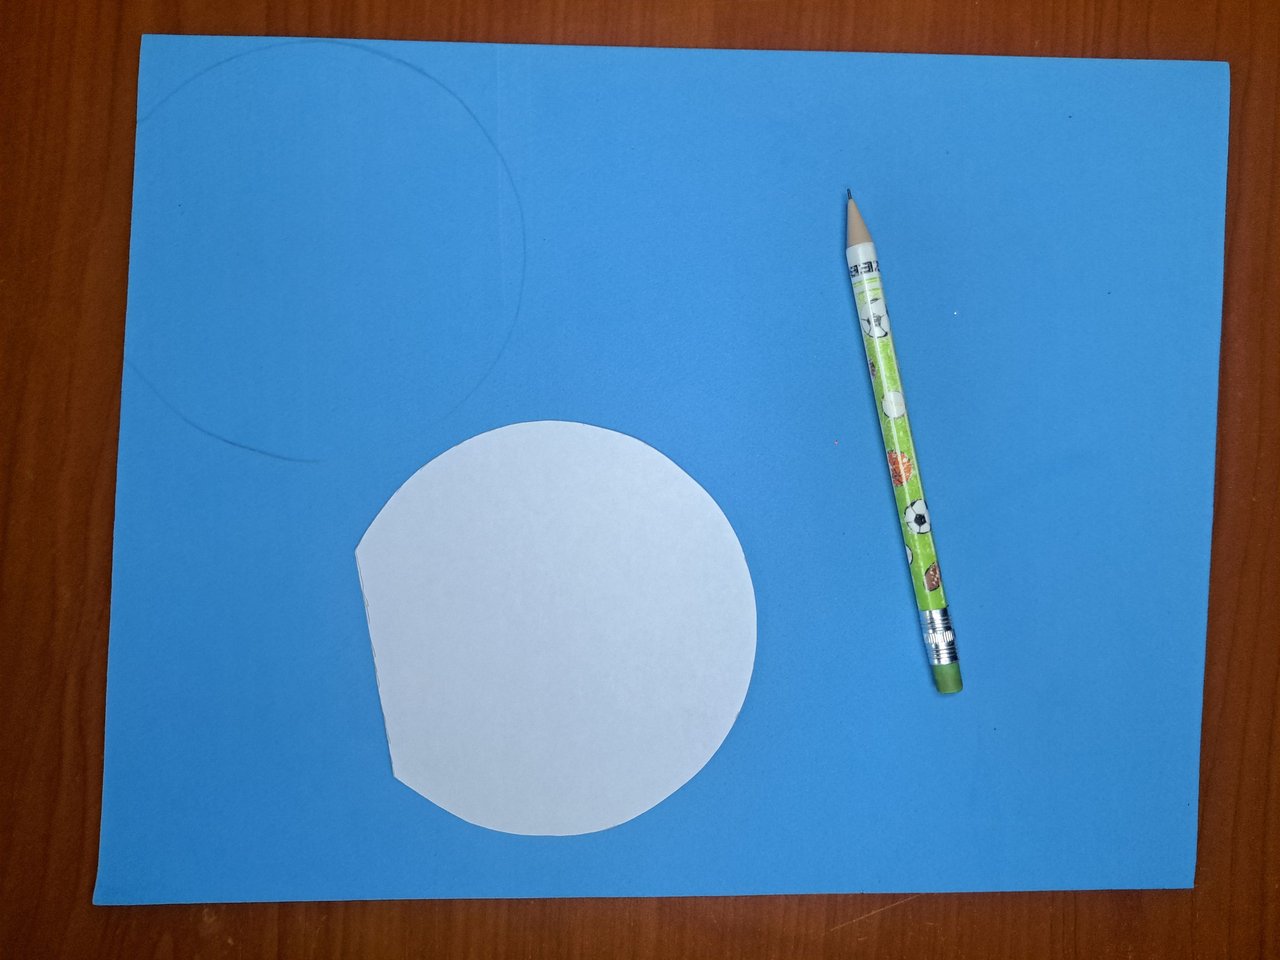
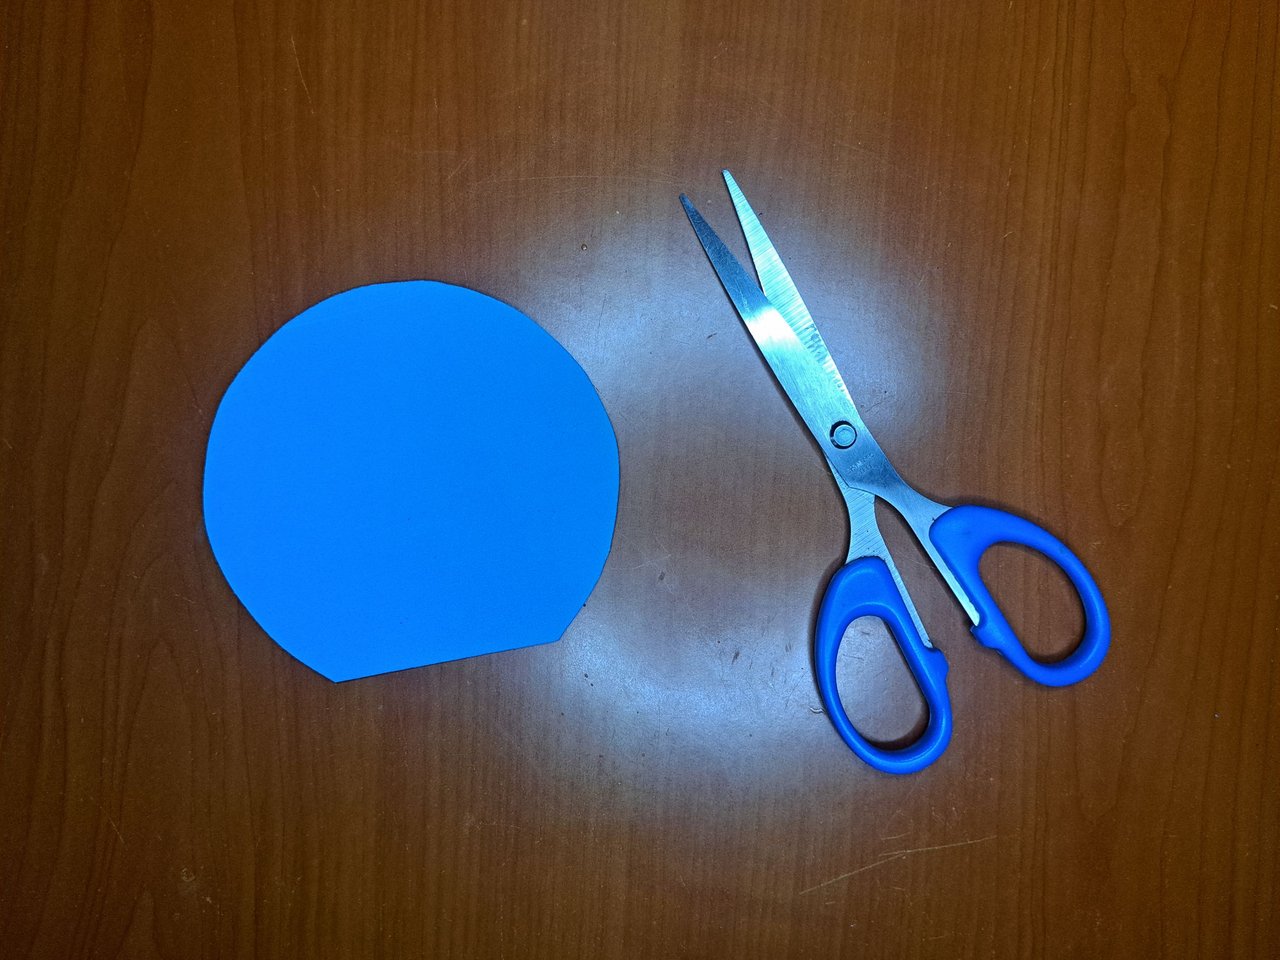
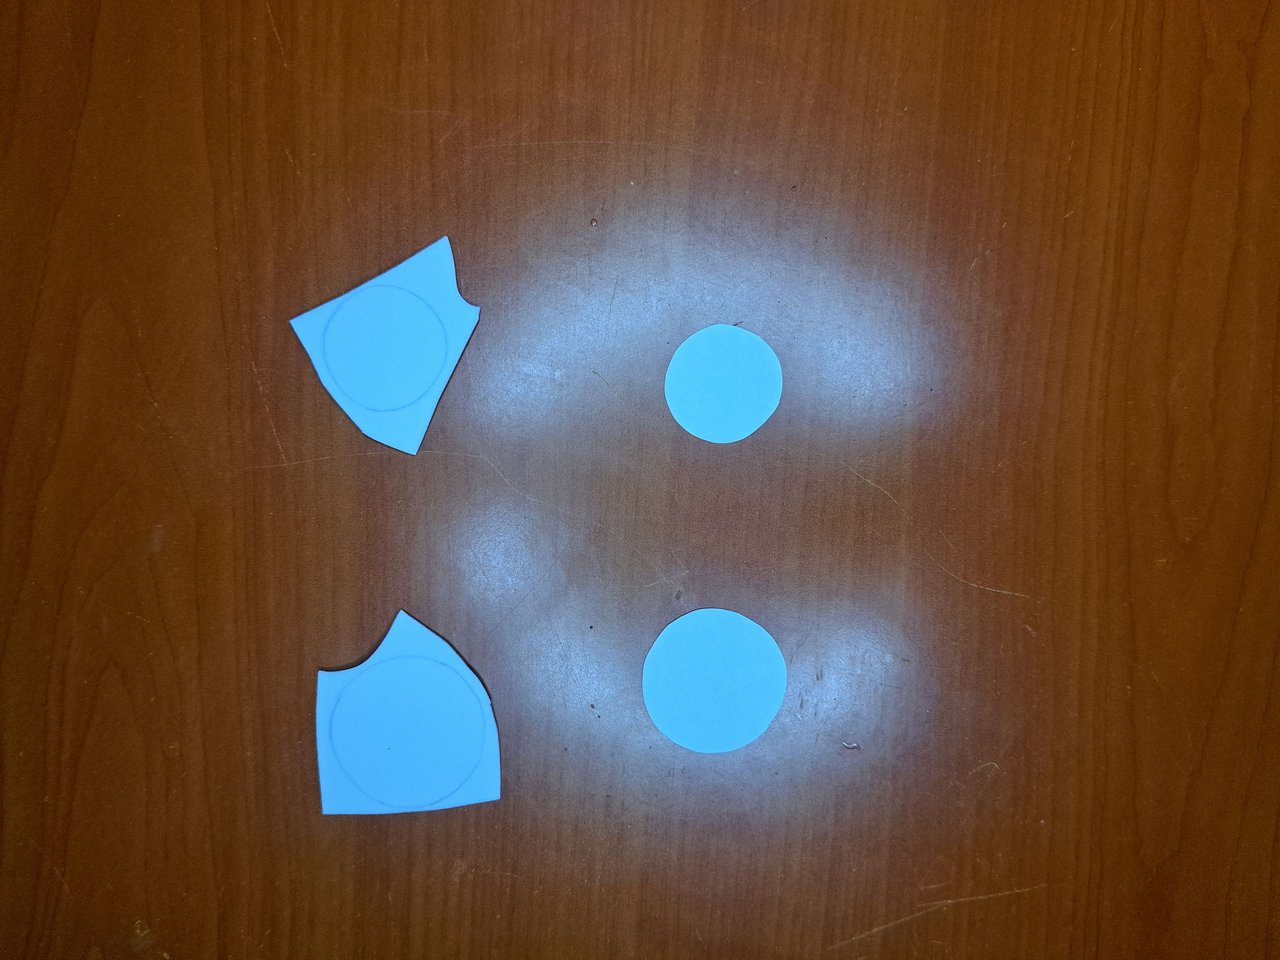
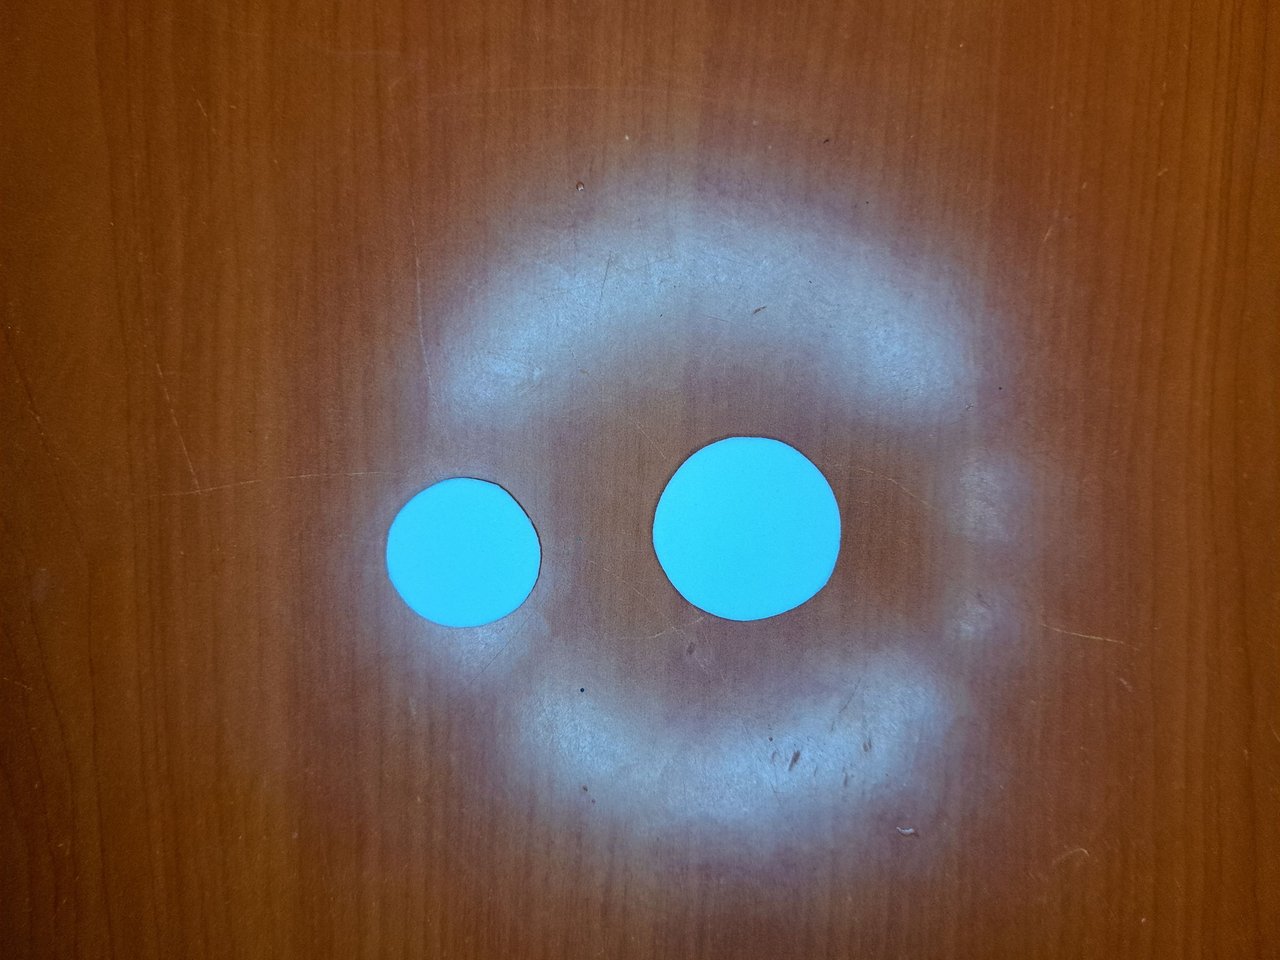
2️⃣ Then I marked and cut out the large piece in light blue fomi and the two small circular pieces in white fomi. These pieces correspond to the bottom of the sphere and the body of the doll.
Luego marqué y recorté la pieza grande en fomi azul claro y las dos circulares pequeñas en fomi blanco. Estas piezas corresponden al fondo de la esfera y el cuerpo del muñeco.
 |  |
 |  |
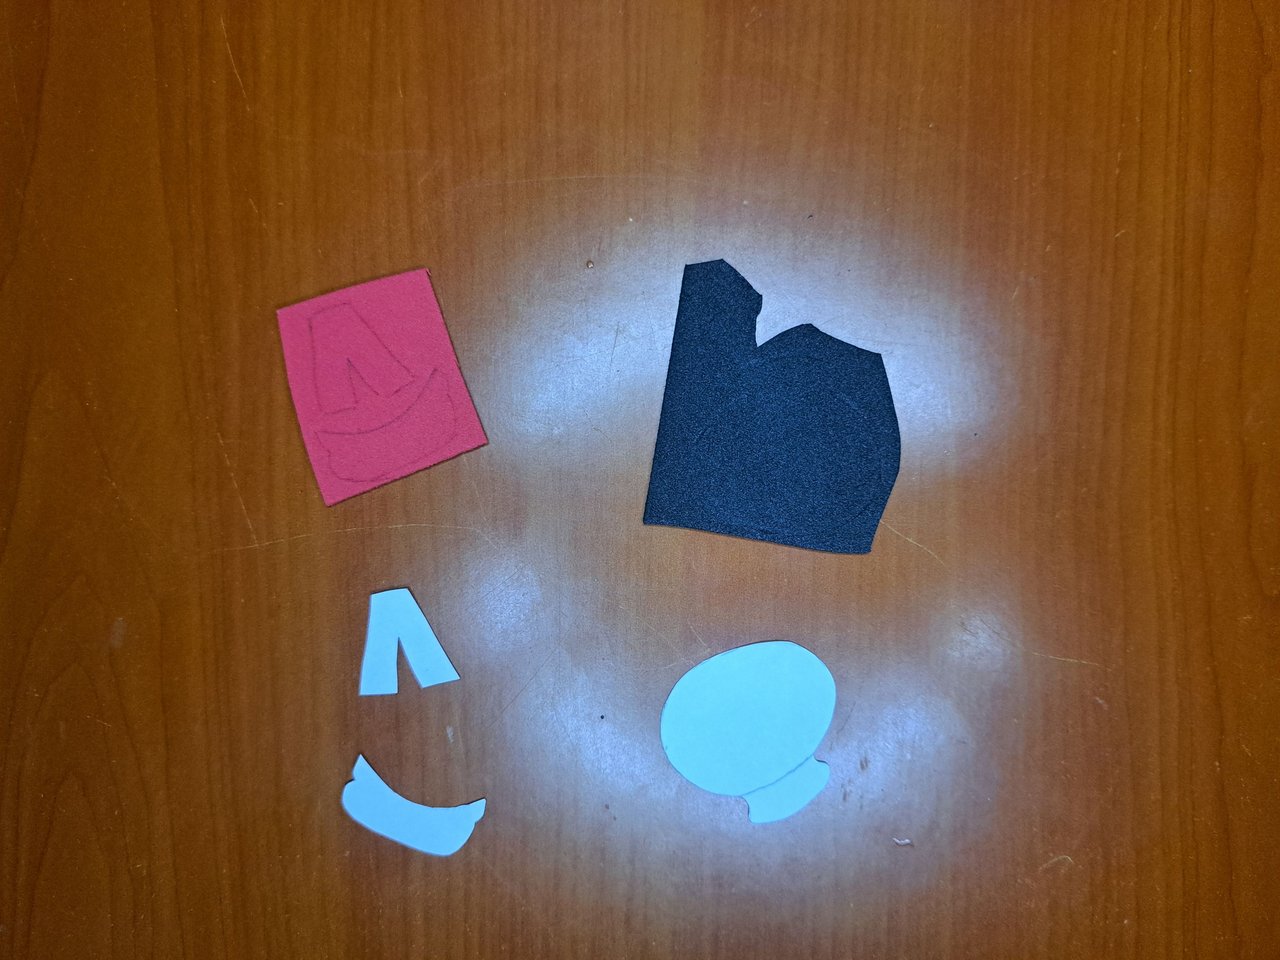
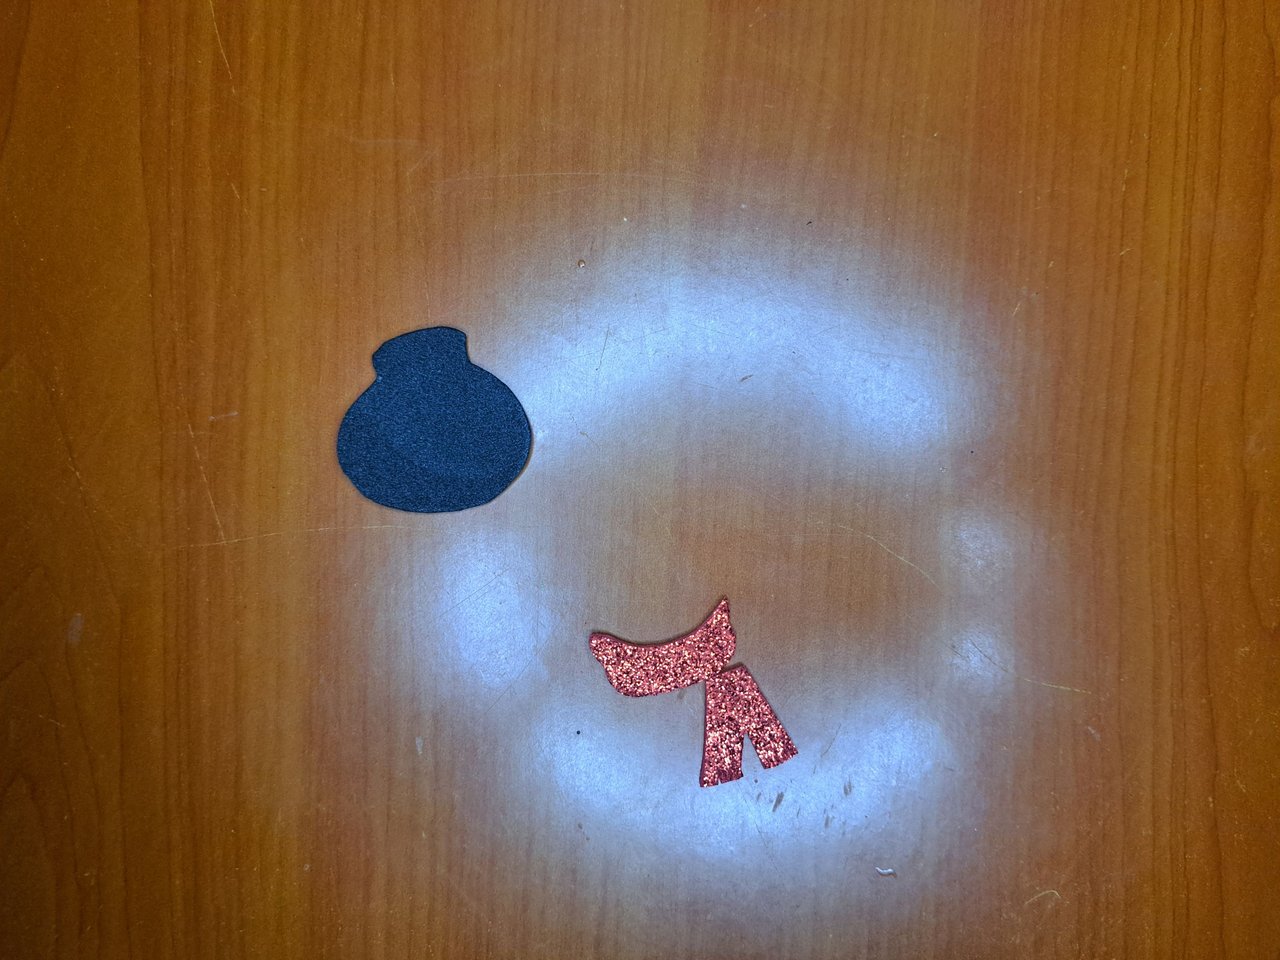
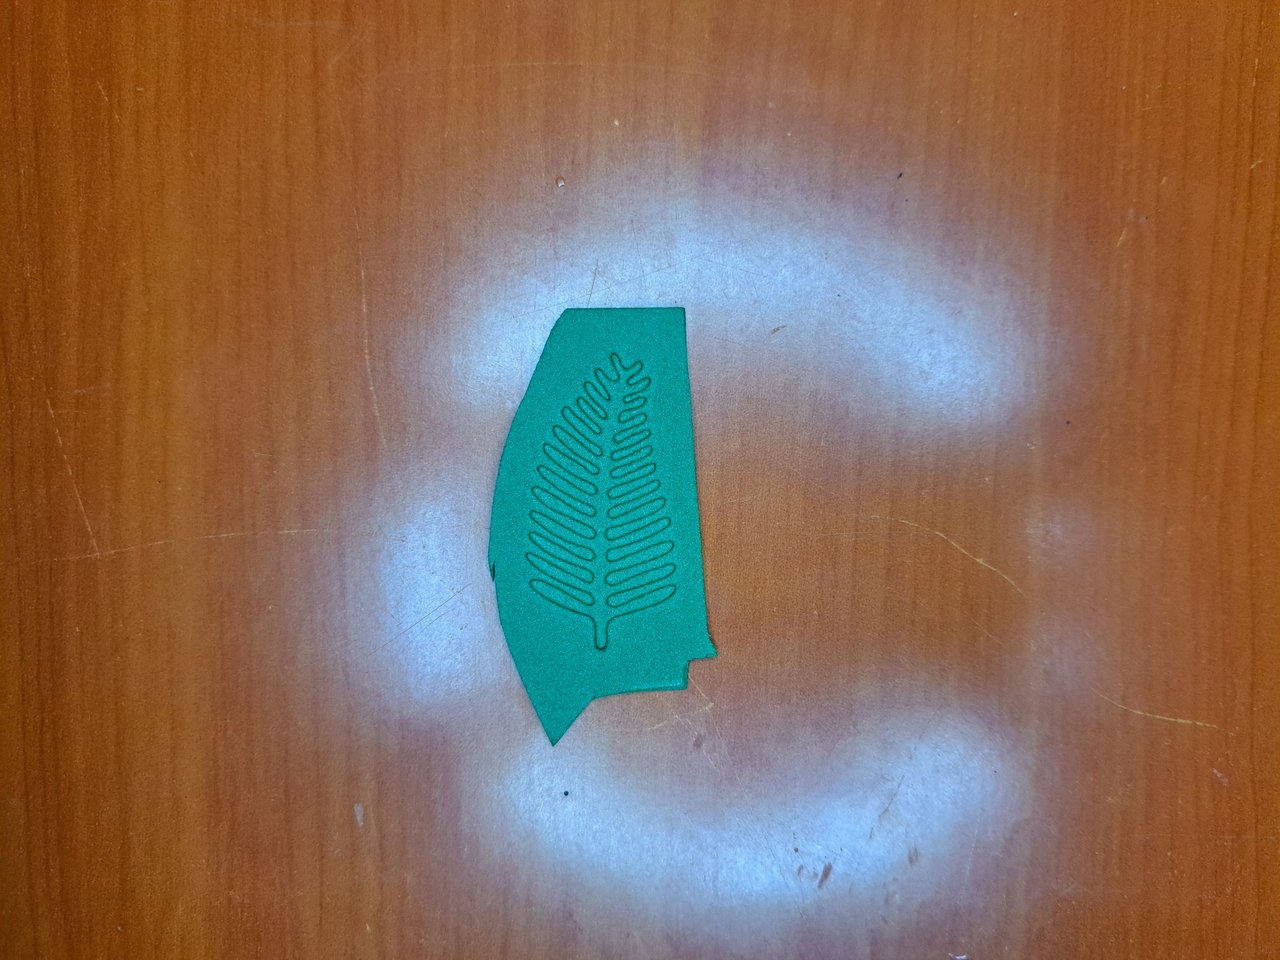
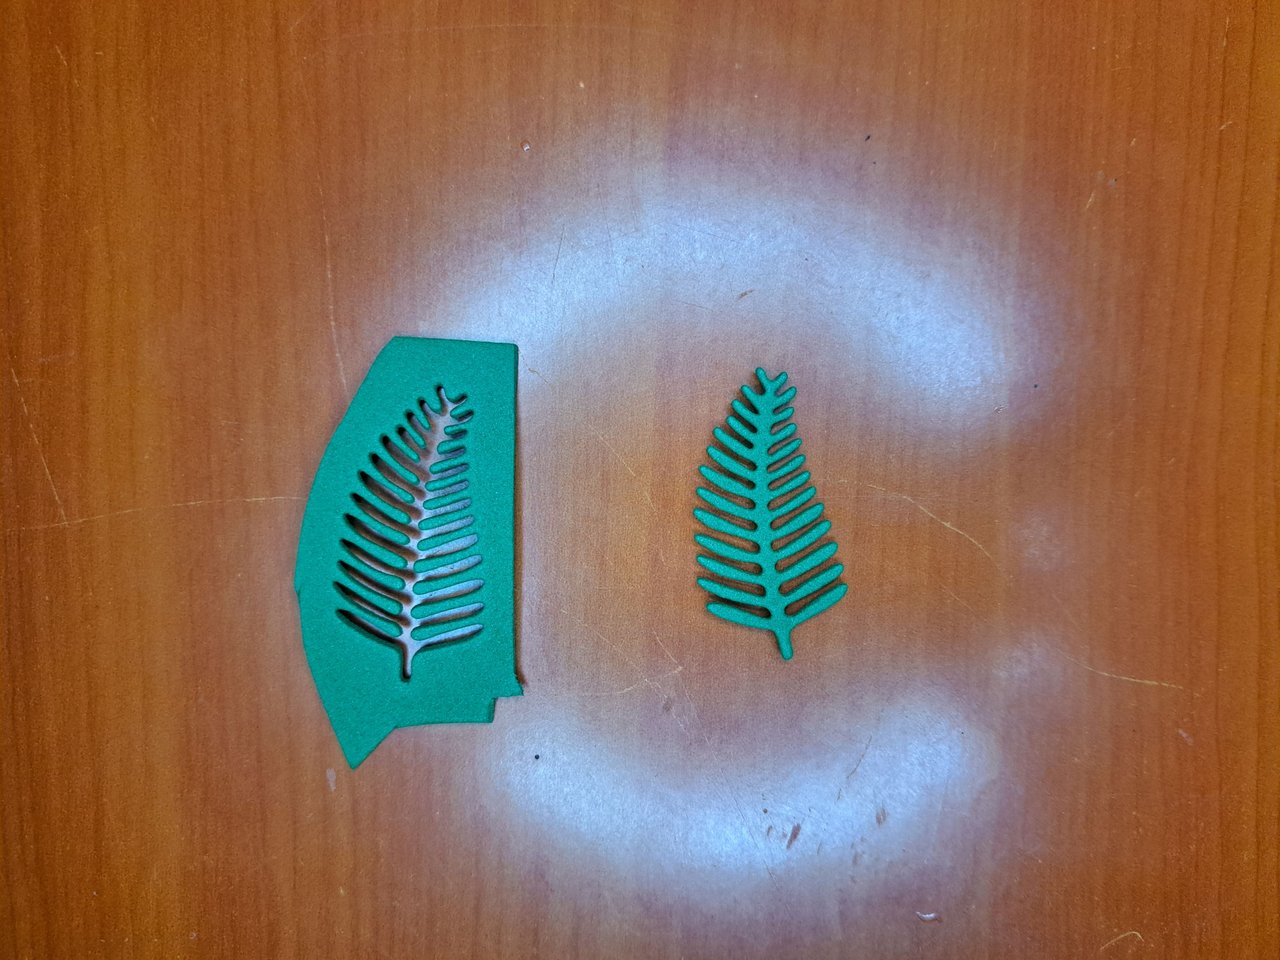
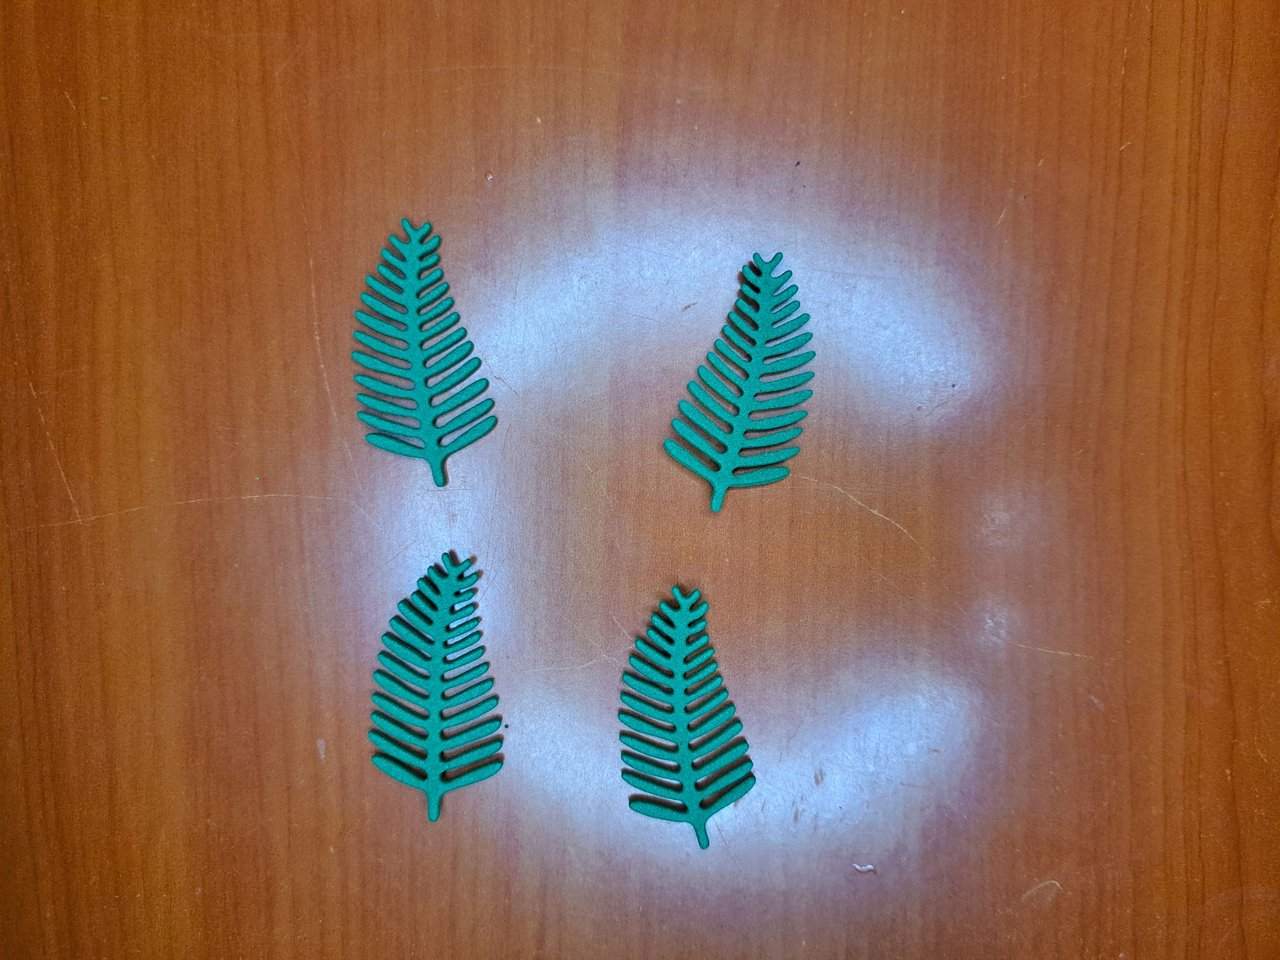
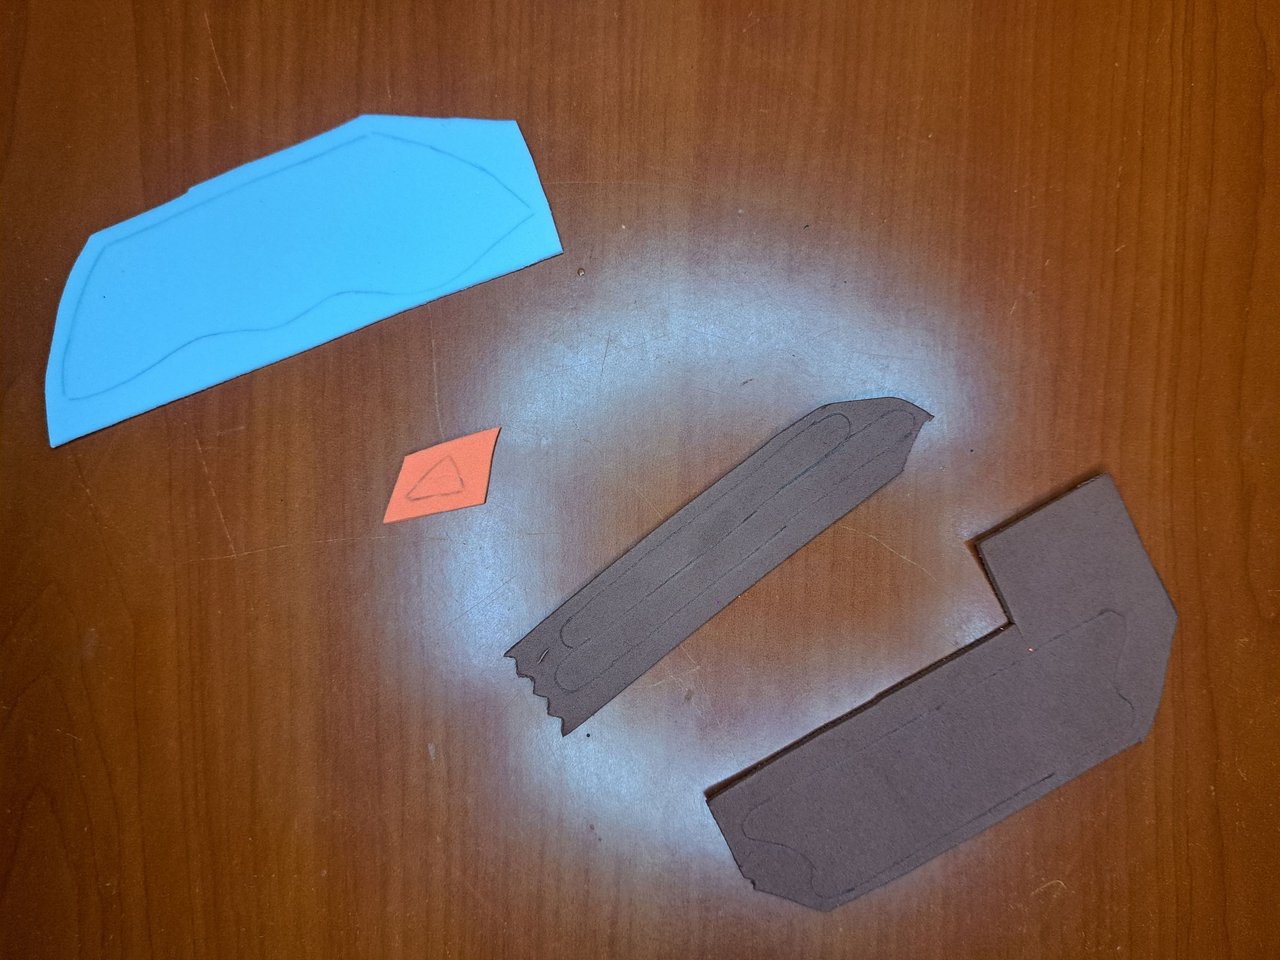
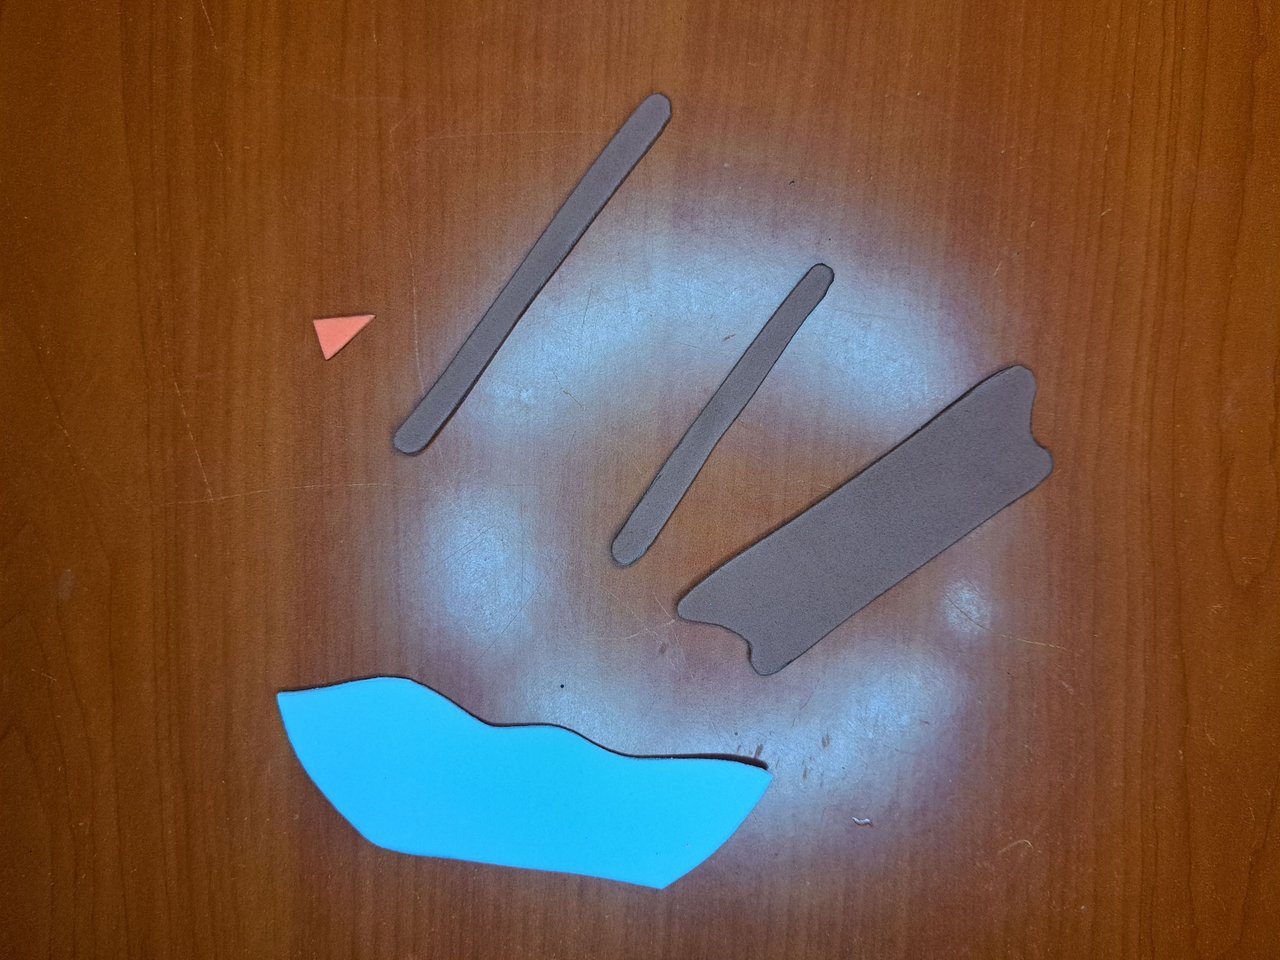
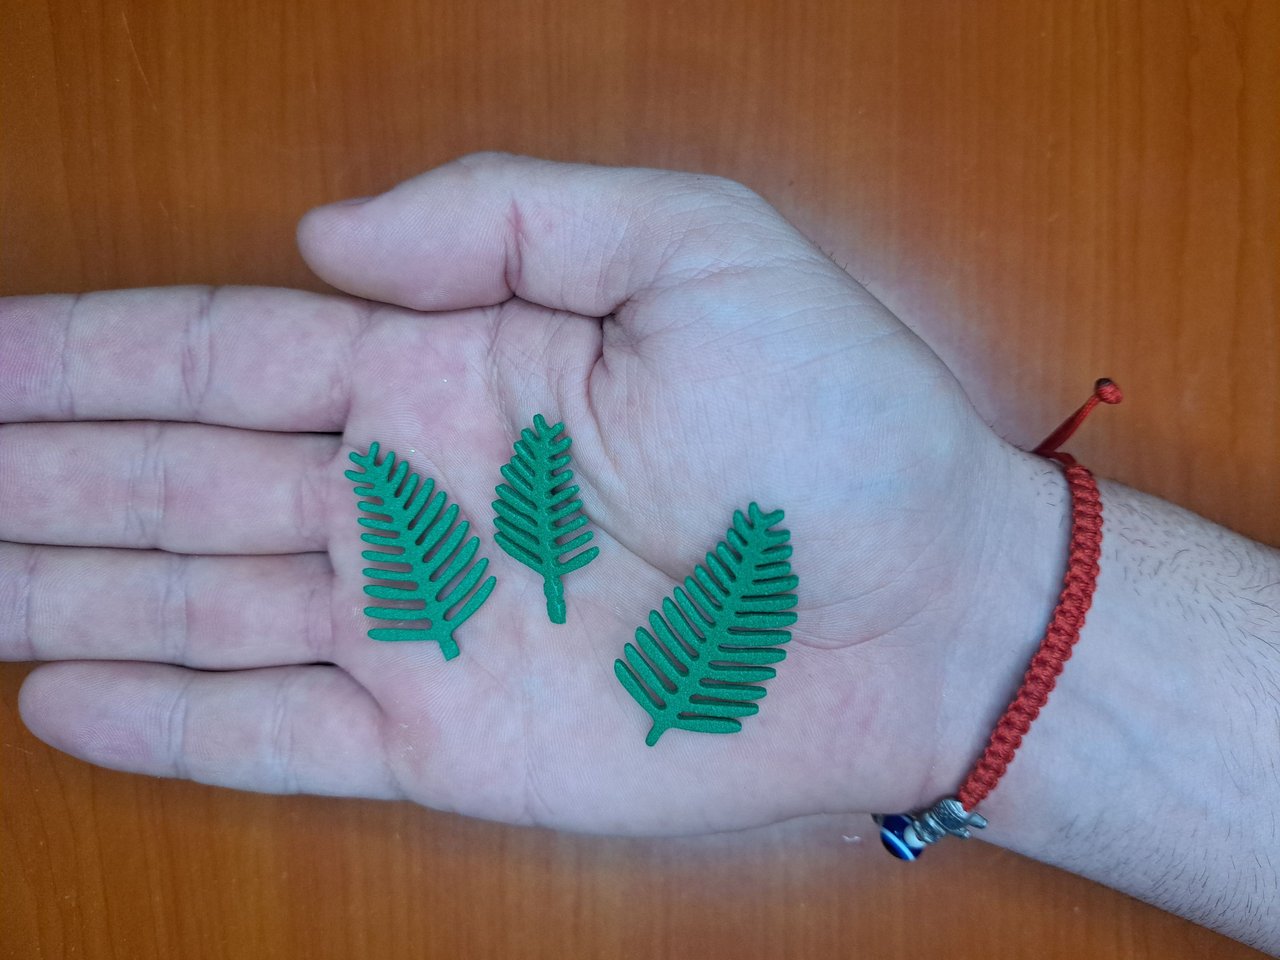
3️⃣ I then did the same with the other pieces of the ornament, which include the doll's hat and scarf, the snow on the floor and the wooden base that holds the sphere. I also used the leaf-shaped die to cut out its shape in green plain fomi and, after some modifications, turn it into pine trees.
A continuación hice lo mismo con las demás piezas del adorno, las cuales incluyen el sombrero y bufanda del muñeco, la nieve del piso y la base de madera que sostiene la esfera. También empleé el troquel con forma de hoja para recortar su forma en fomi liso verde y, tras algunas modificaciones, convertirlo en pinos.
 |  |
 |  |  |
 |  |
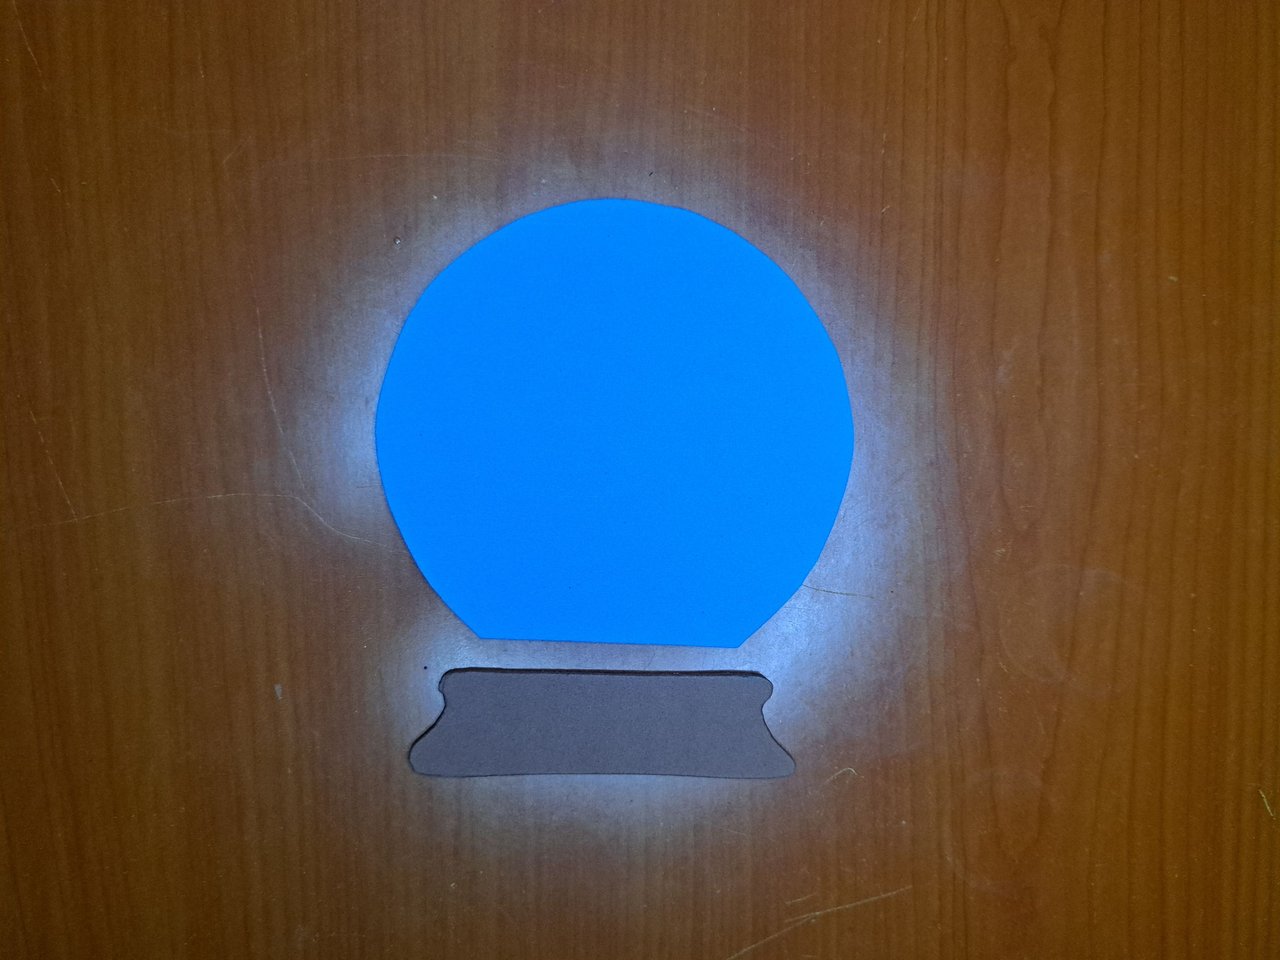
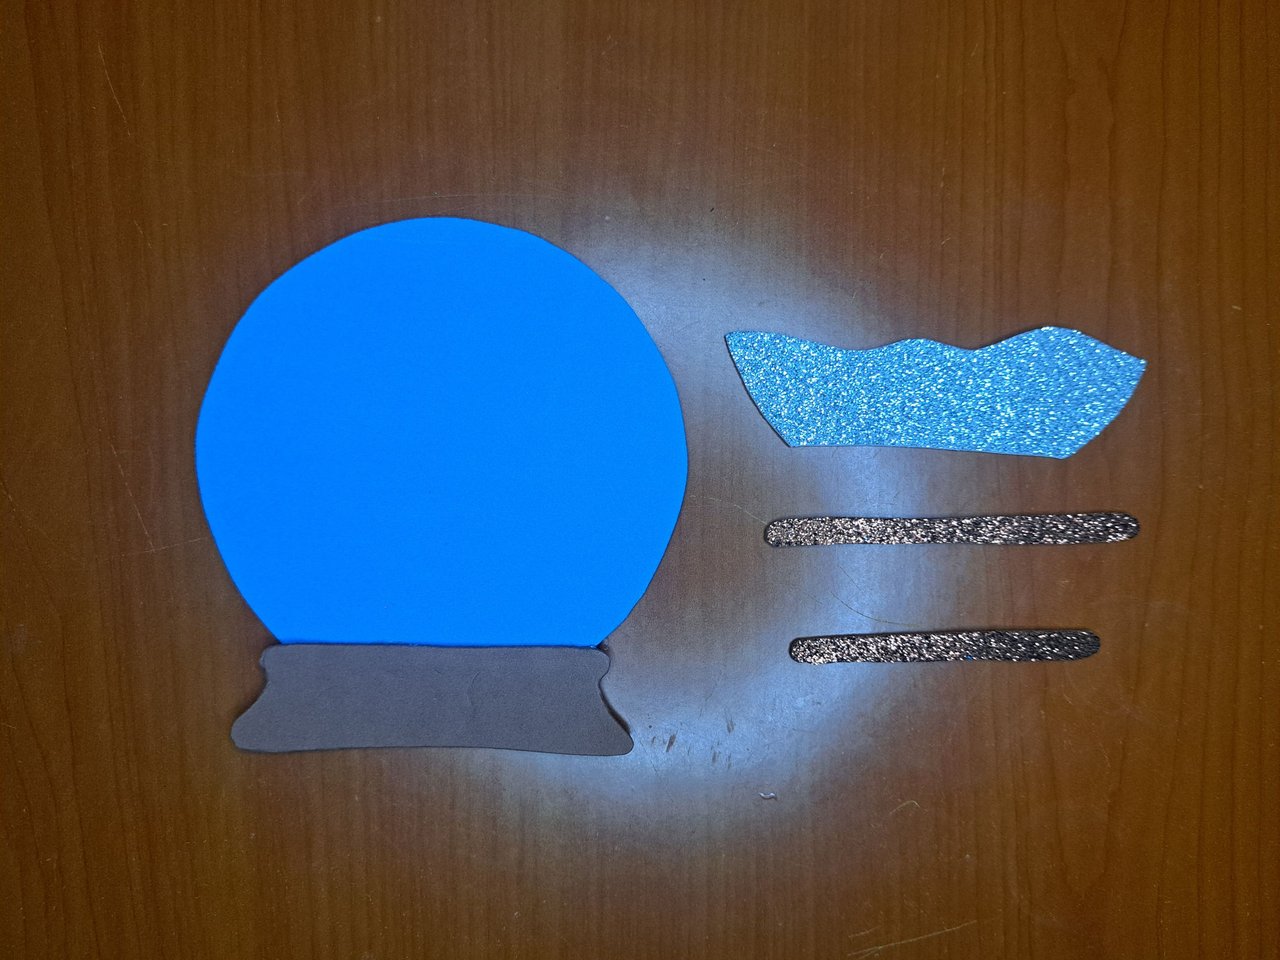
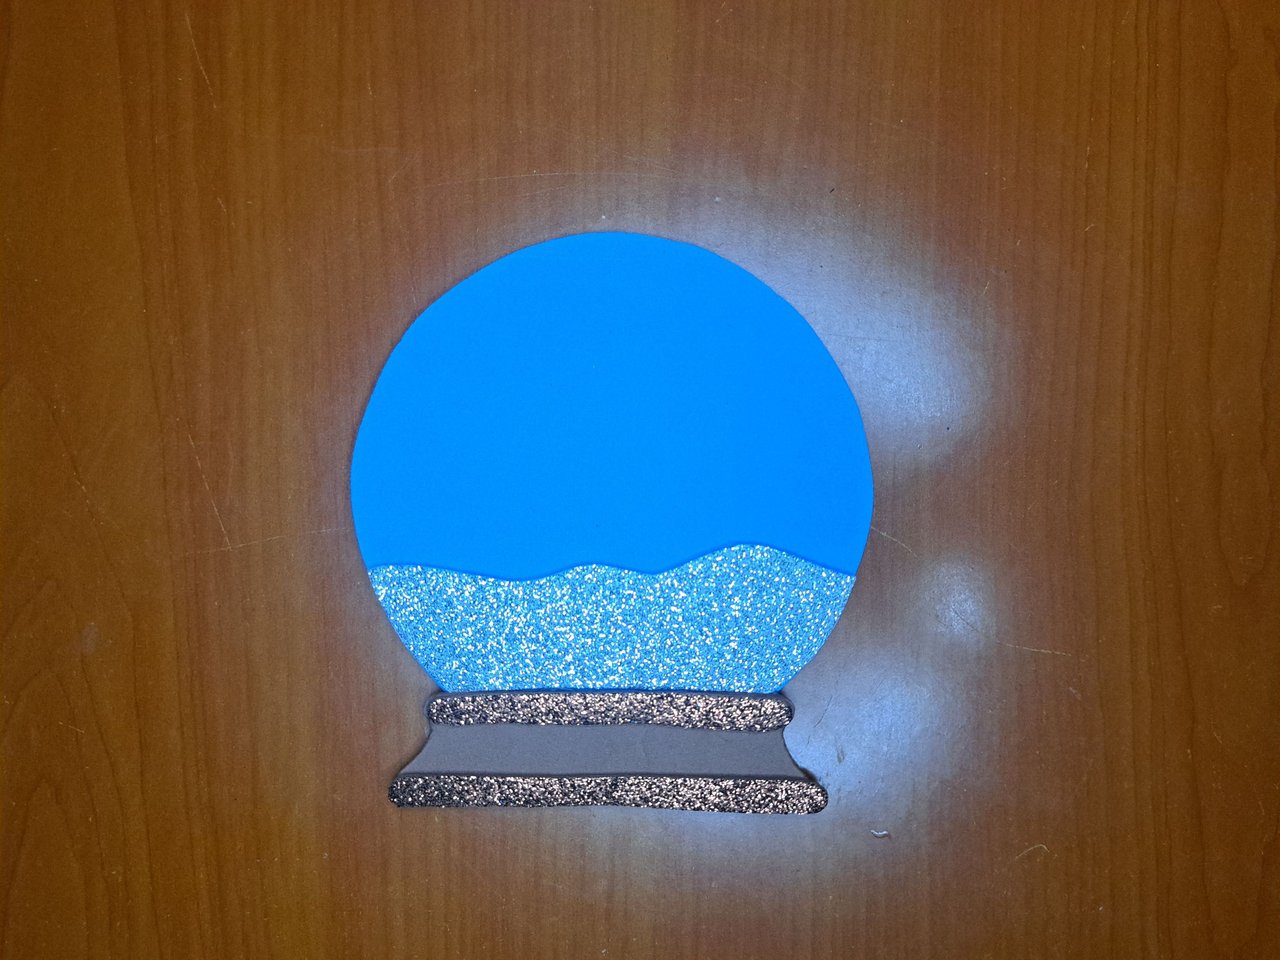
4️⃣ Once I had all the necessary pieces cut out, I began to put them together, starting with the bottom and the base. I glued the carmelite base to the blue sphere. On top of the base, I glued two strips of frosted carmelite and on top of that I placed the snow from the floor.
Una vez tuve todas las piezas necesarias recortadas, empecé a unirlas, comenzando por las del fondo y la base. Pegué la base carmelita a la esfera azul. Encima de la base, pegué dos tiras de fomi carmelita escarchado y más arriba coloqué la nieve del piso.
 |  |  |
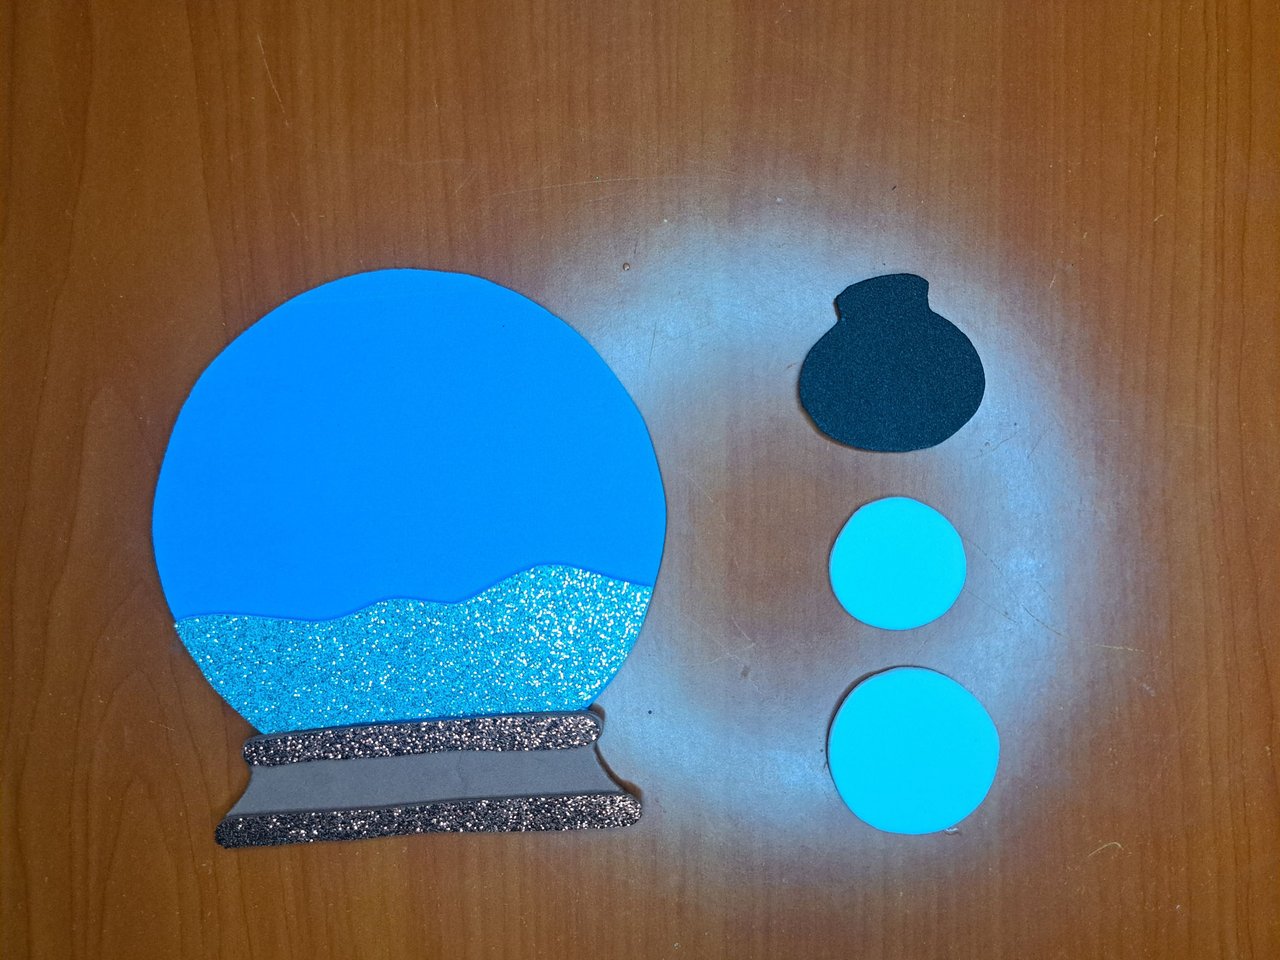
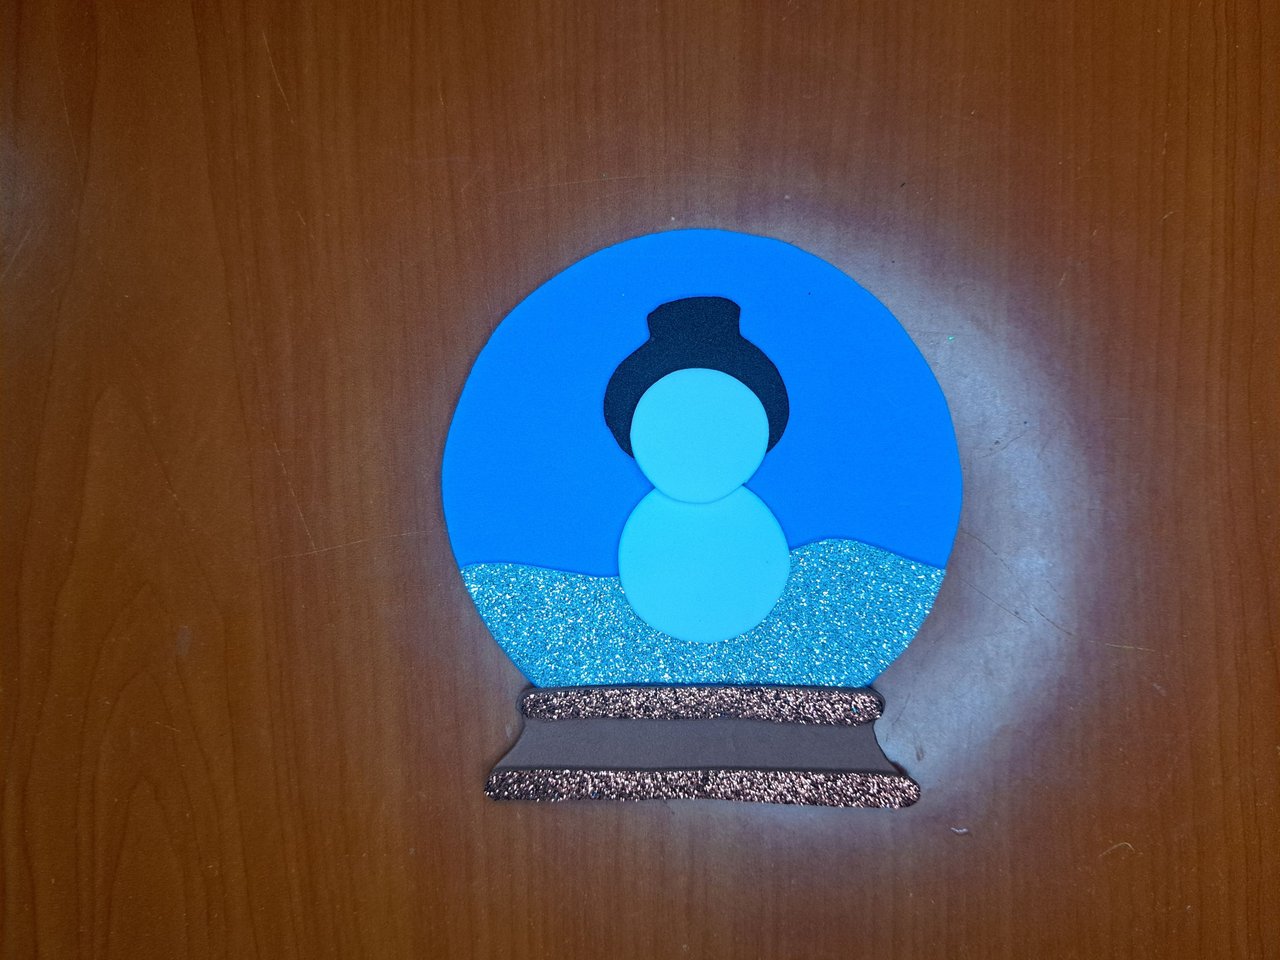
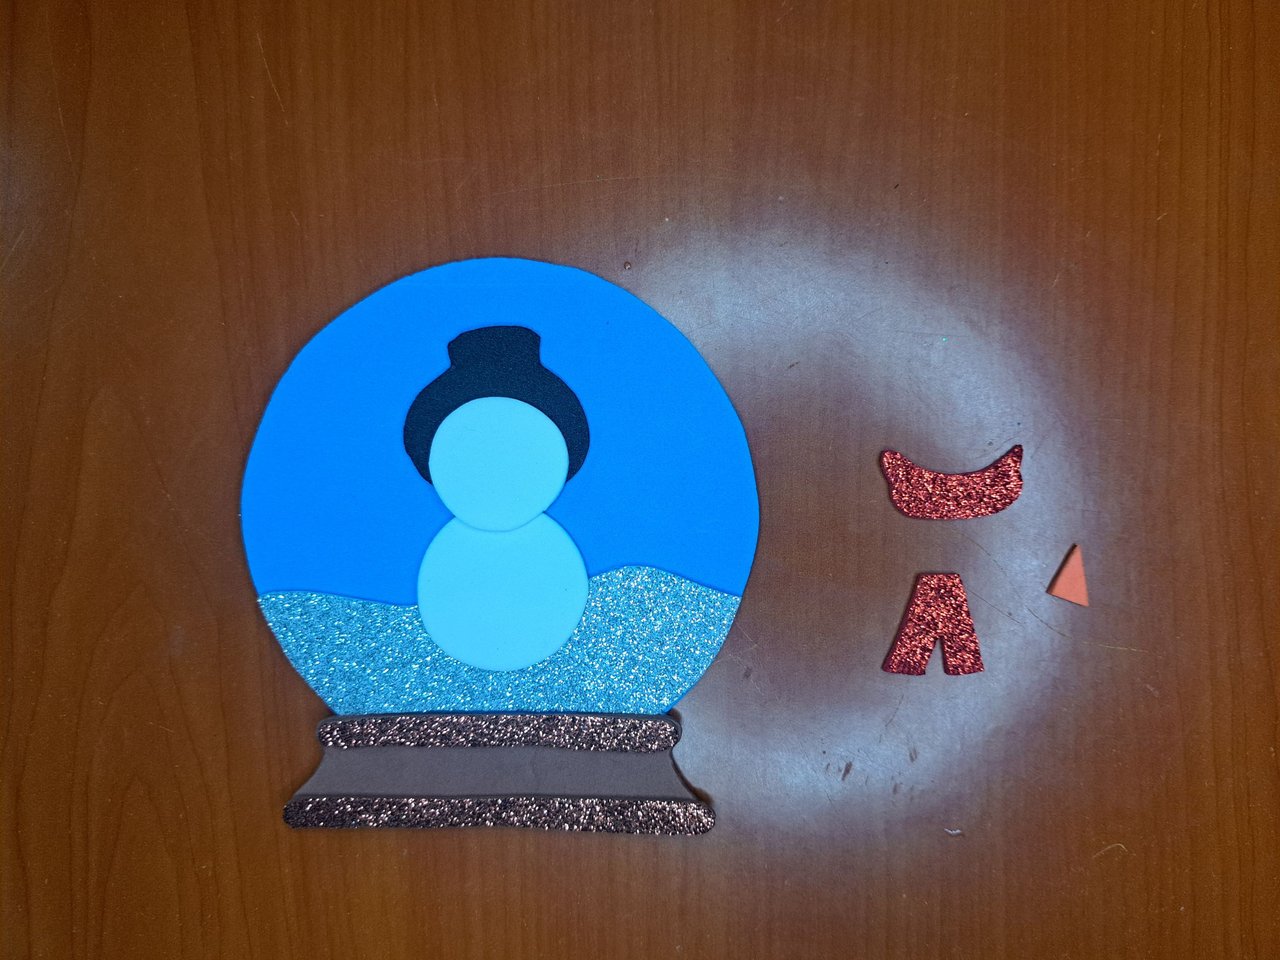
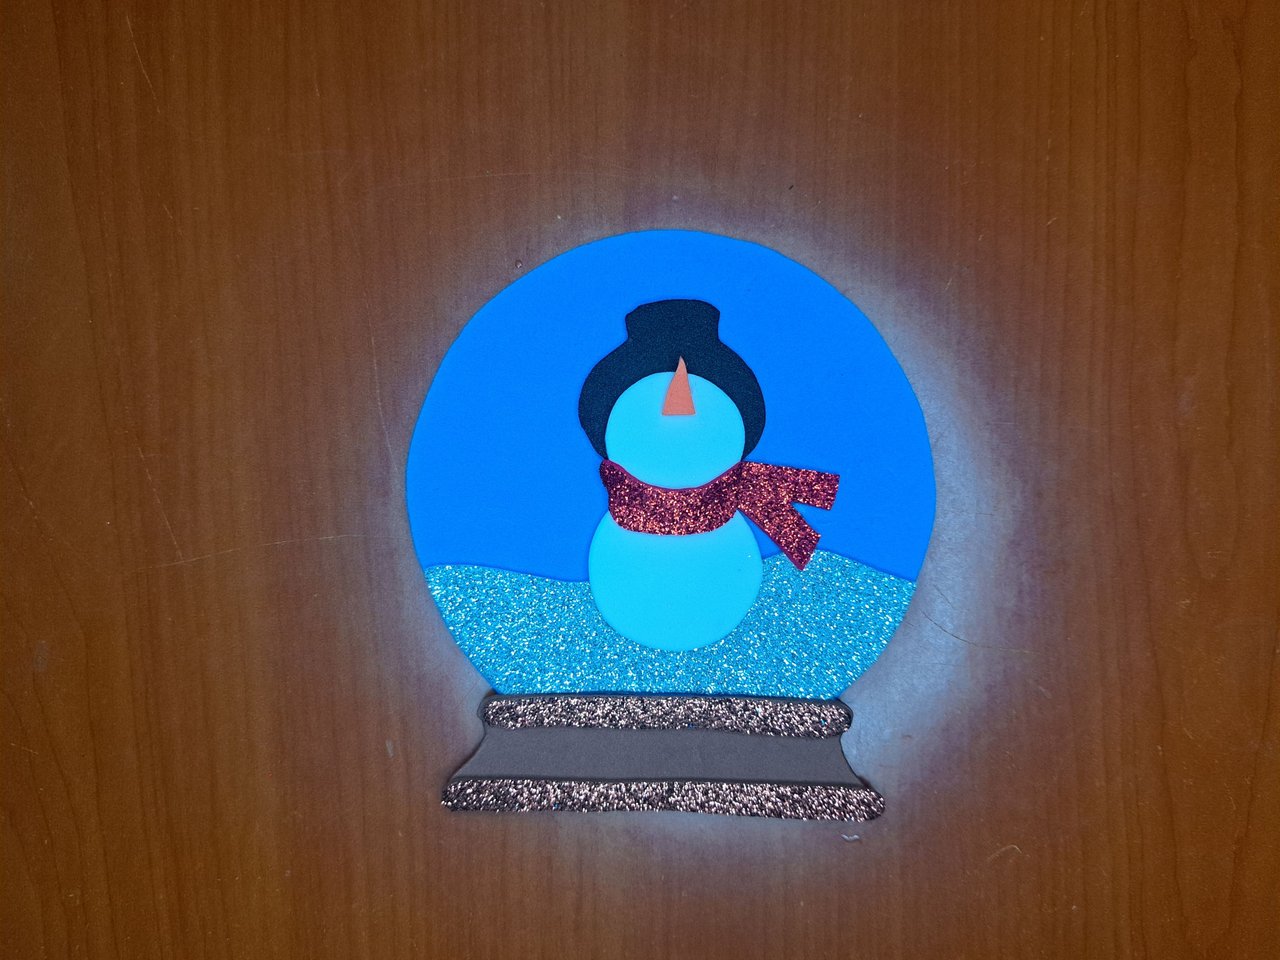
5️⃣ After assembling the base structure, I glued the two snowballs in place next to the hat to form the snowman. I placed the nose on the face pointing upwards and the red scarf around the neck.
Luego de armar la estructura base, pegué las dos bolas de nieve en su lugar junto al sombrero para formar el muñeco de nieve. Al muñeco le coloqué la nariz en el rostro apuntando hacia arriba y la bufanda roja alrededor del cuello.
 |  |
 |  |
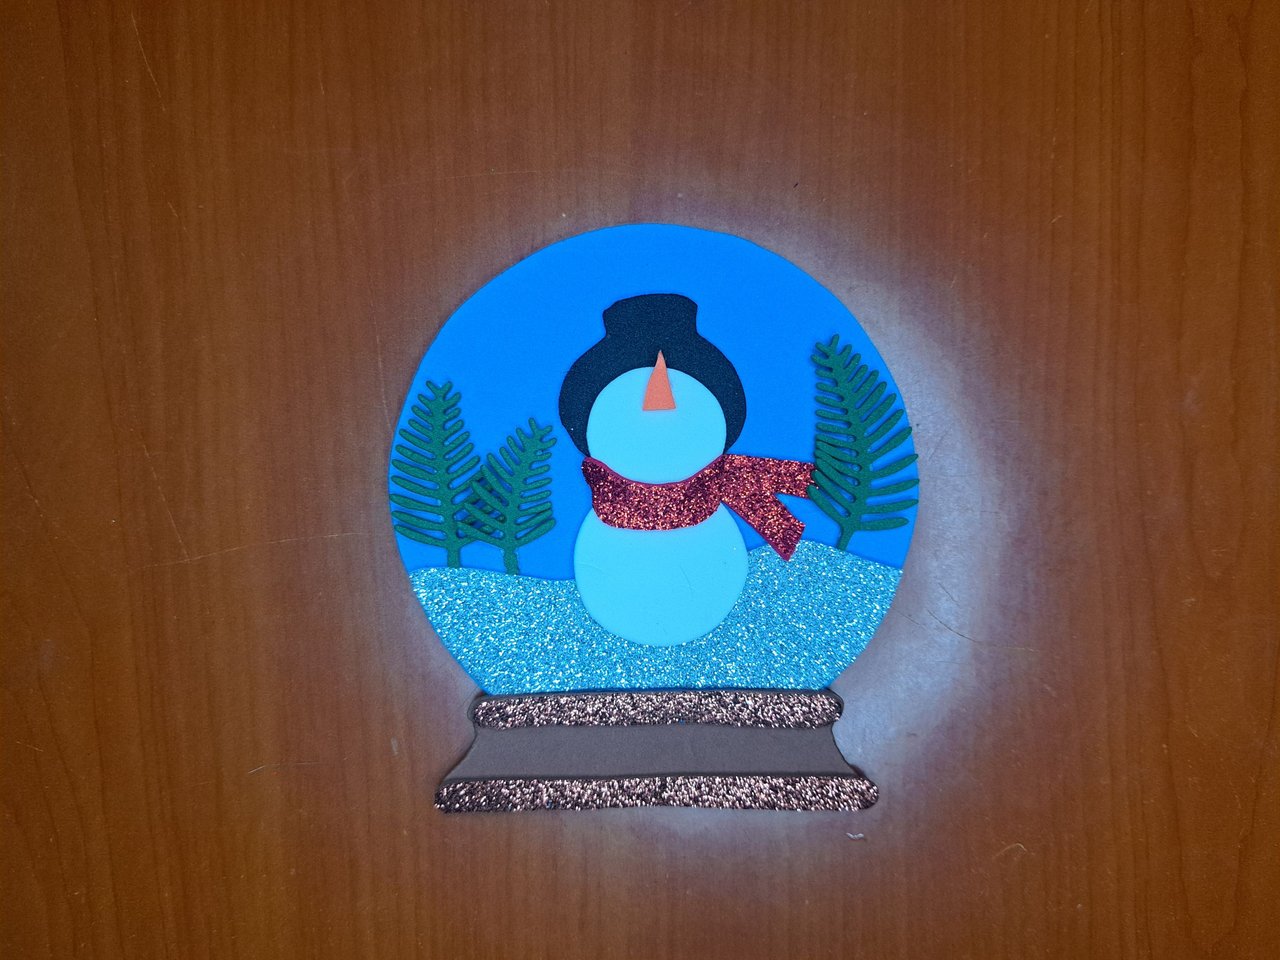
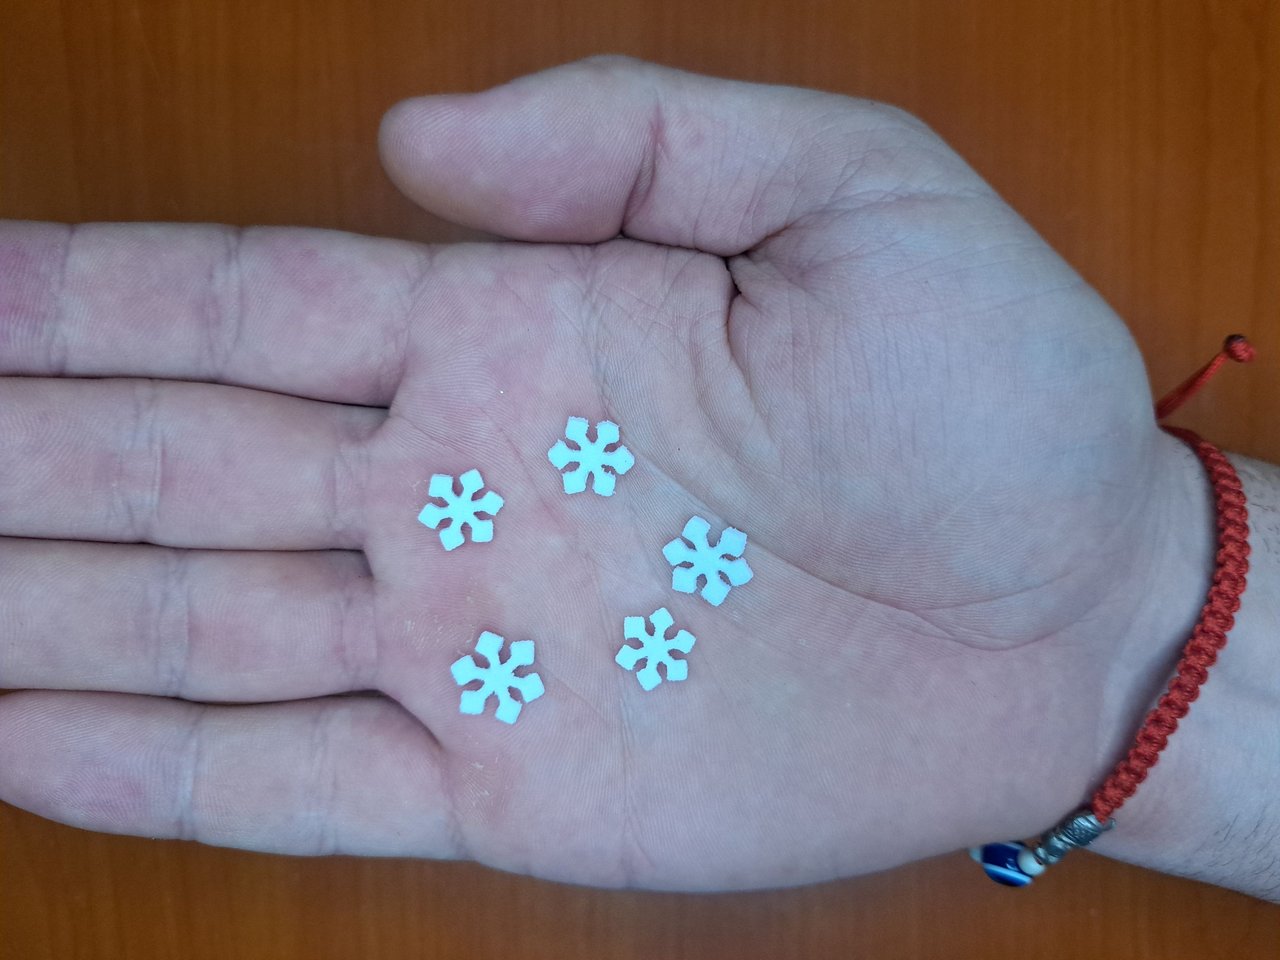
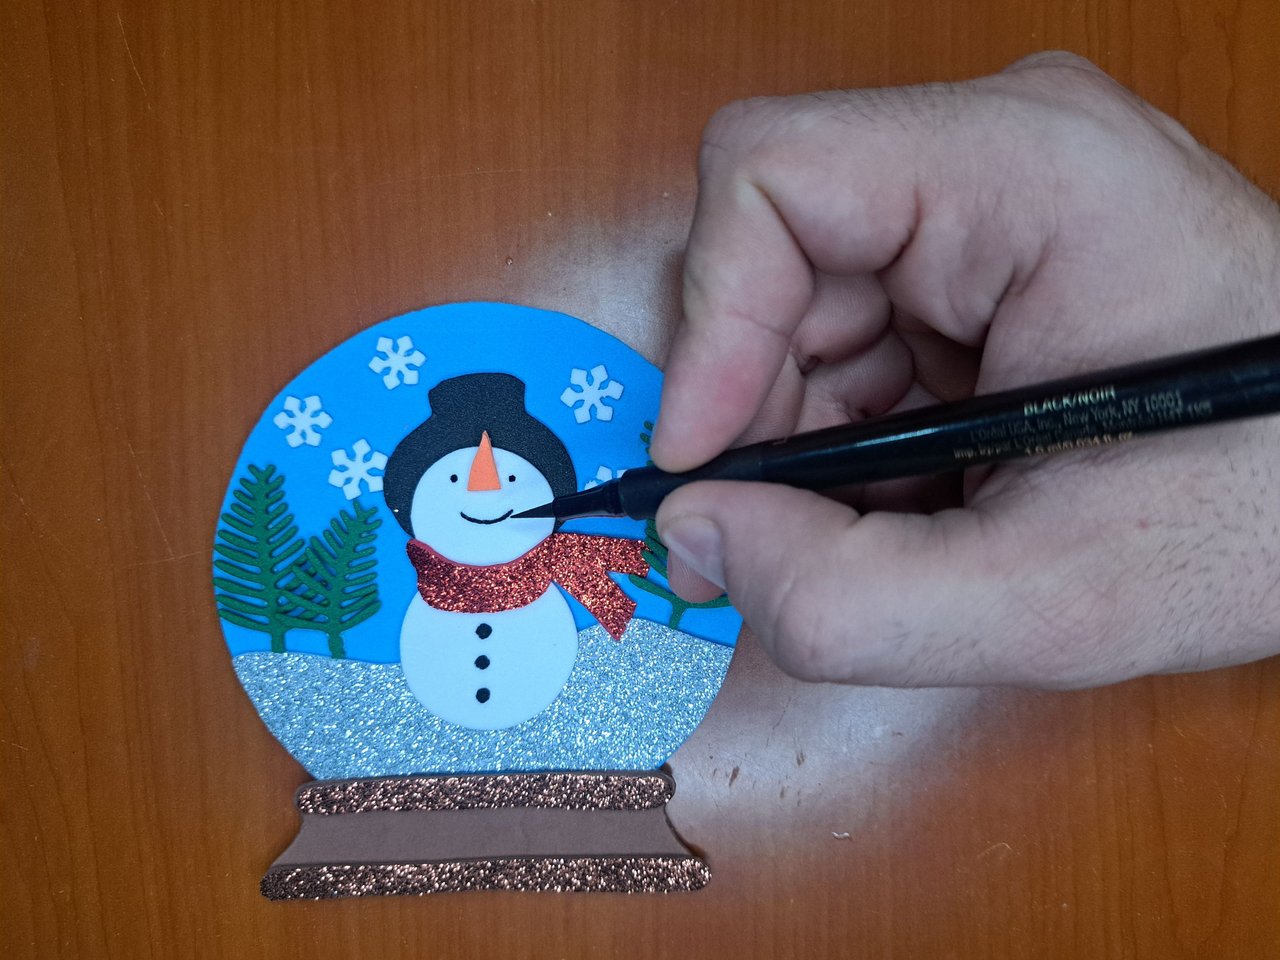
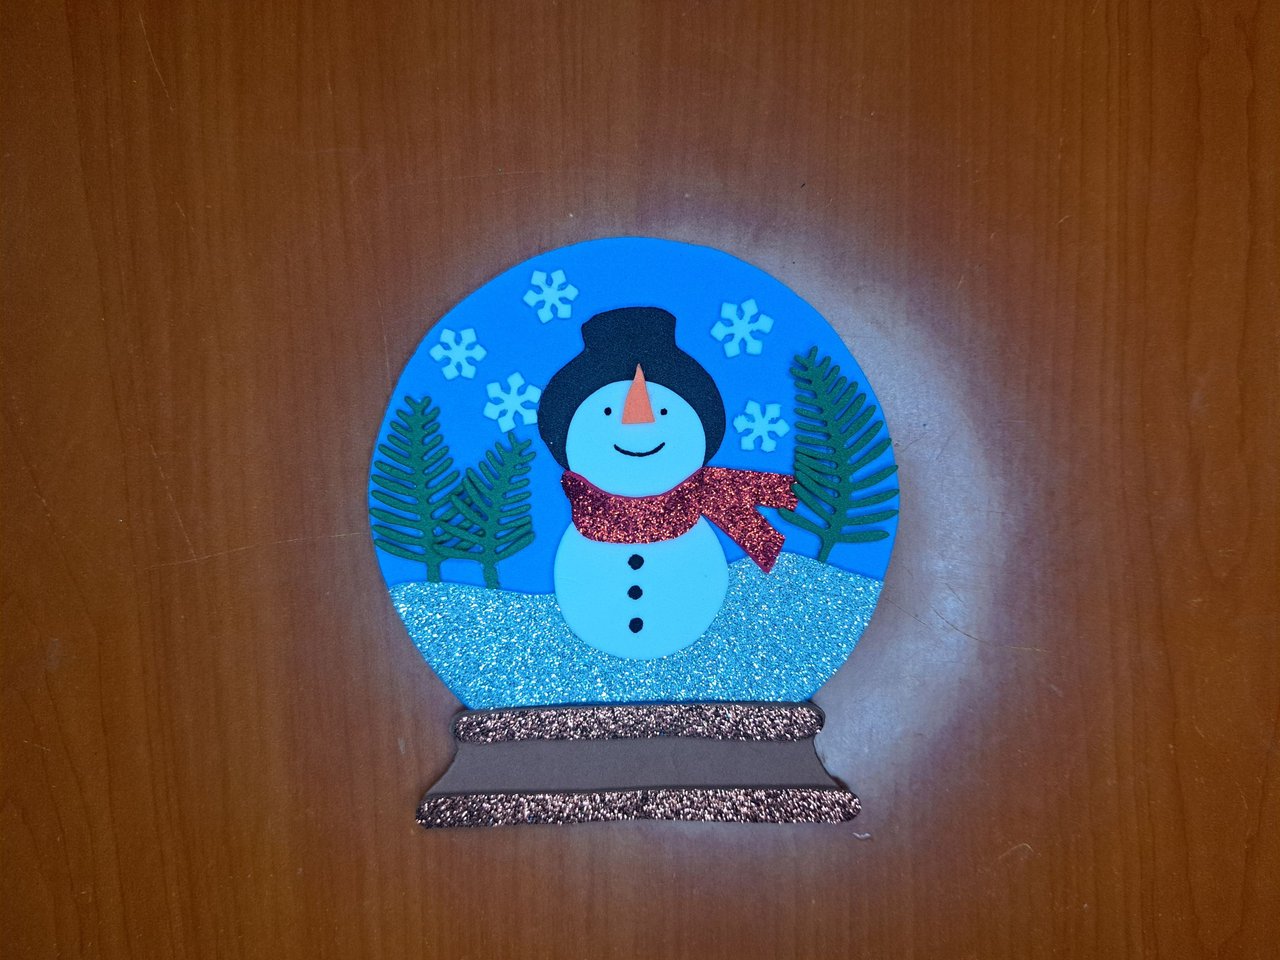
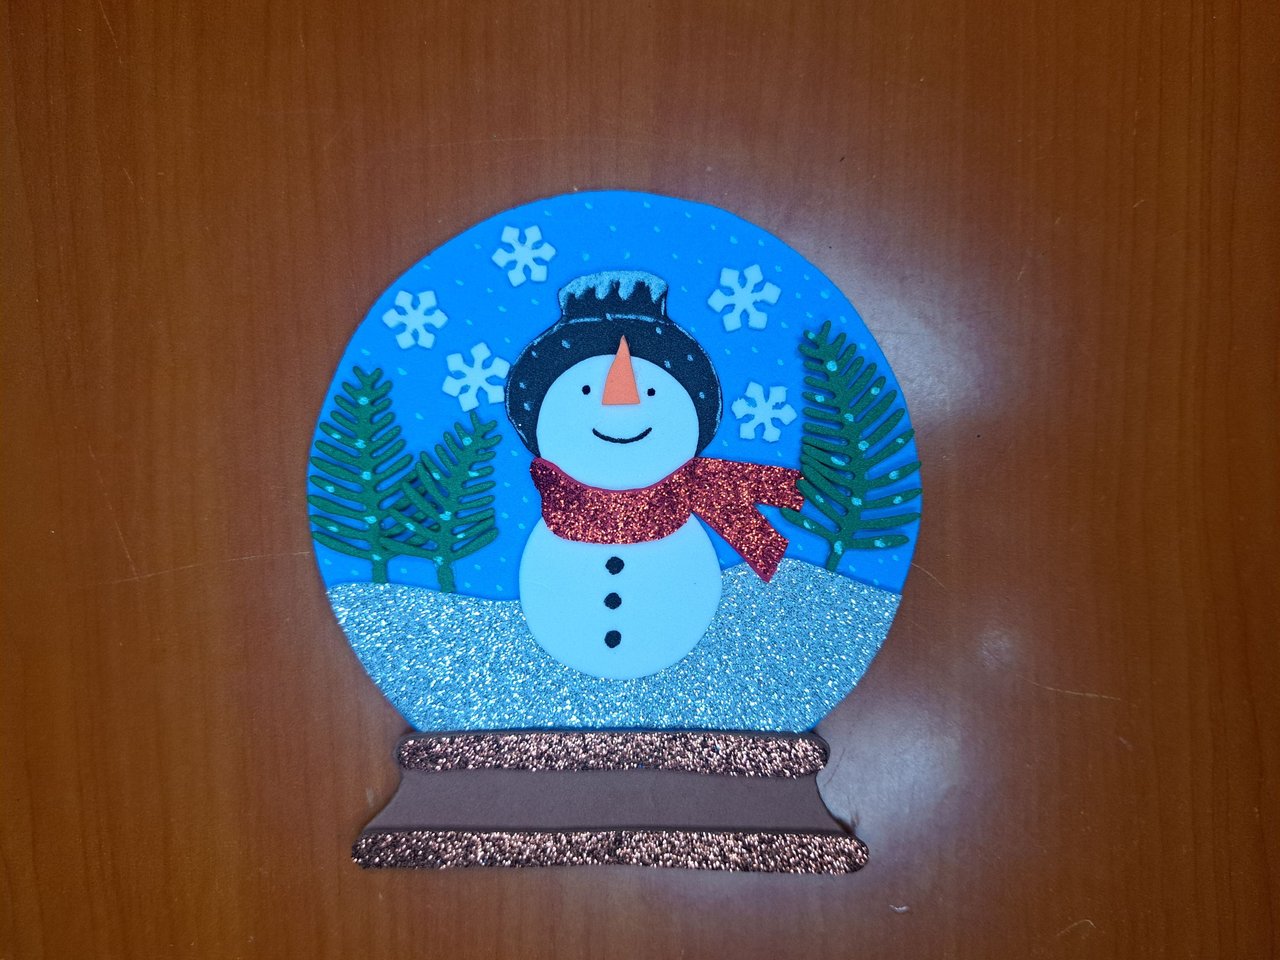
6️⃣ At the bottom of the standby I glued the green pine trees above the snowy floor and in the sky I added some snowflakes that I made with white fomi. I used a black fine tip marker to draw the snowman's eyes, mouth and buttons.
En el fondo de la espera pegué los pinos verdes por encima del piso nevado y en el cielo agregué unos copos de nieve que hice con fomi blanco. Utilicé un marcador negro de punta fina para dibujar los ojos, la boca y los botones del muñeco de nieve.
 |  |
 |  |  |
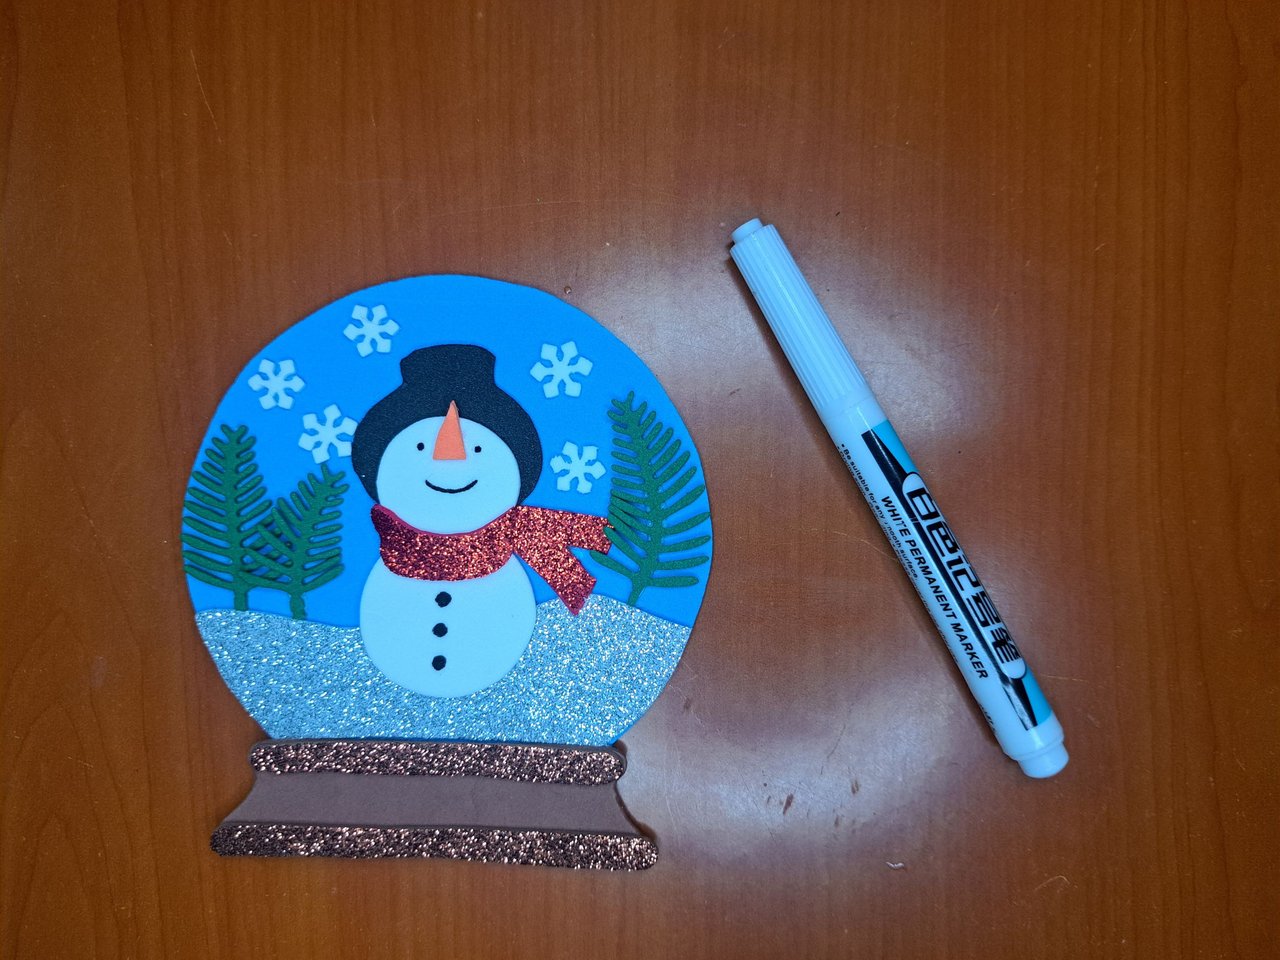
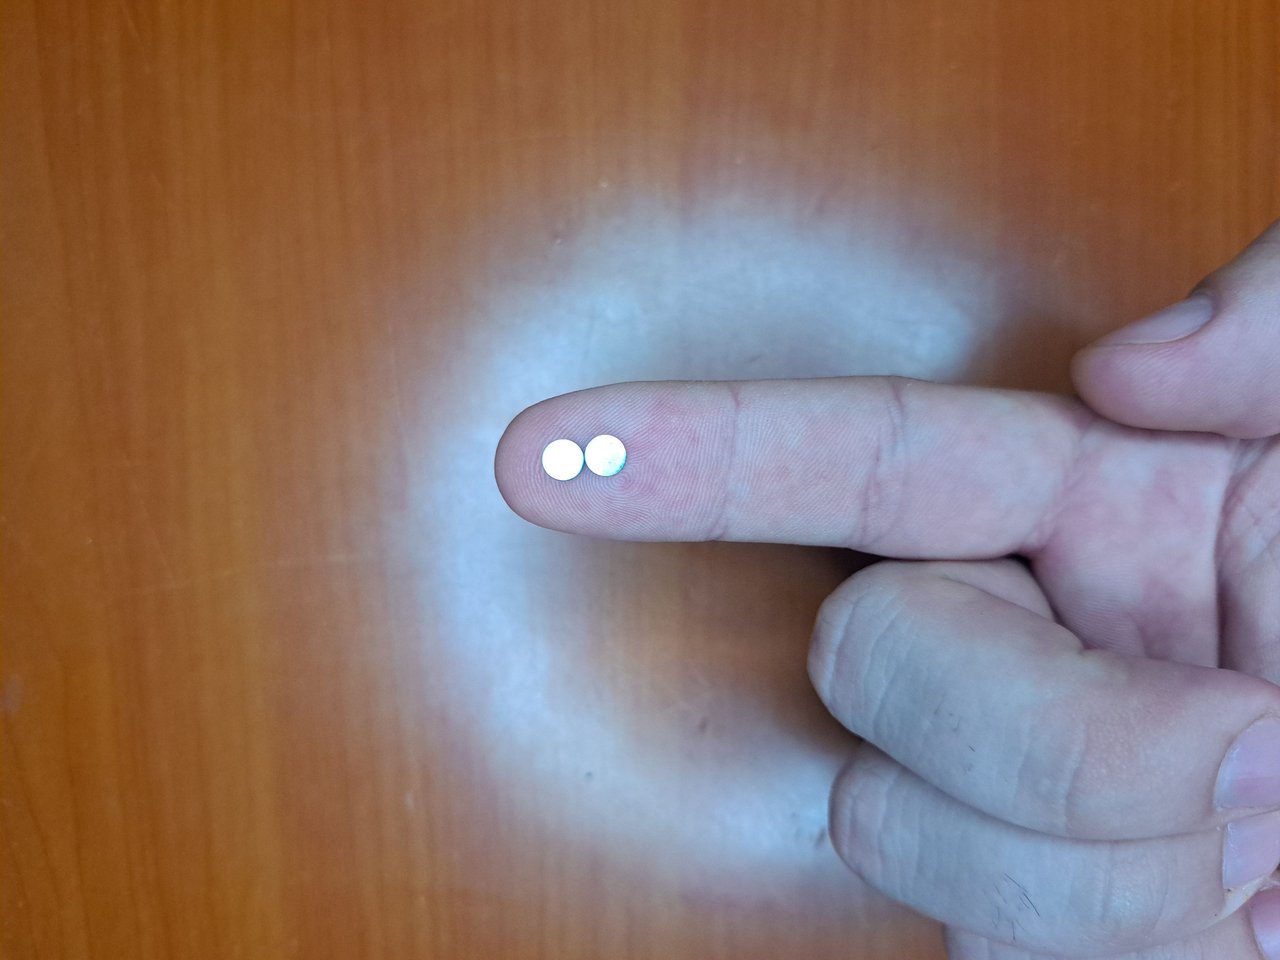
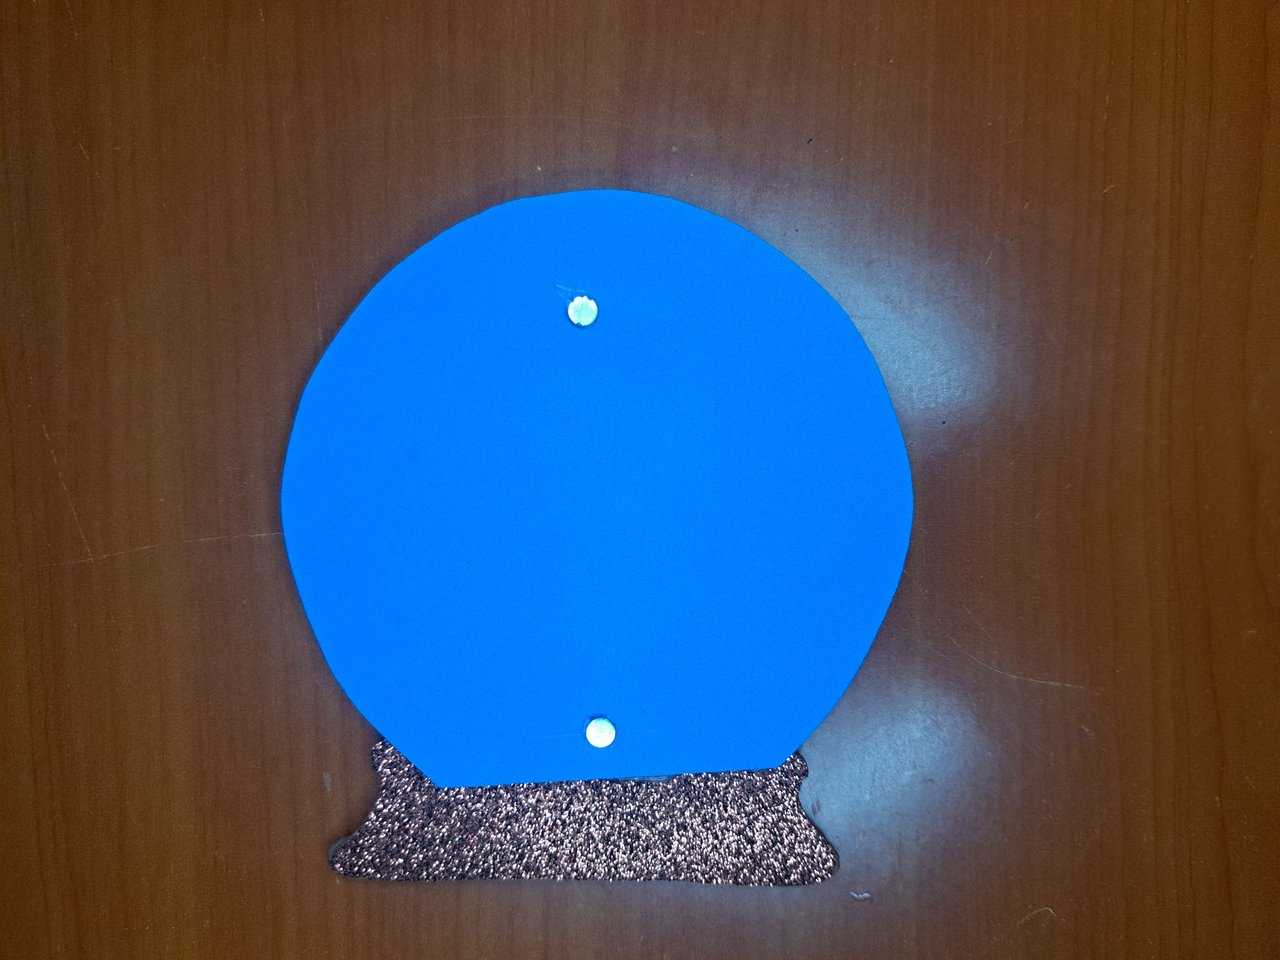
7️⃣ Finally, I used a white marker to add snow falling on top of the pine trees and the doll's hat. And finally, I used two magnets, which I glued to the back of the ornament so I could place them on my fridge.
Para finalizar, utilicé un marcador blanco para agregar nieve cayendo encima de los pinos y del sombrero del muñeco. Y por último, utilicé dos imanes, los cuales pegué en el reverso del adorno para poder colocarlos en mi nevera.
 |  |
 |  |
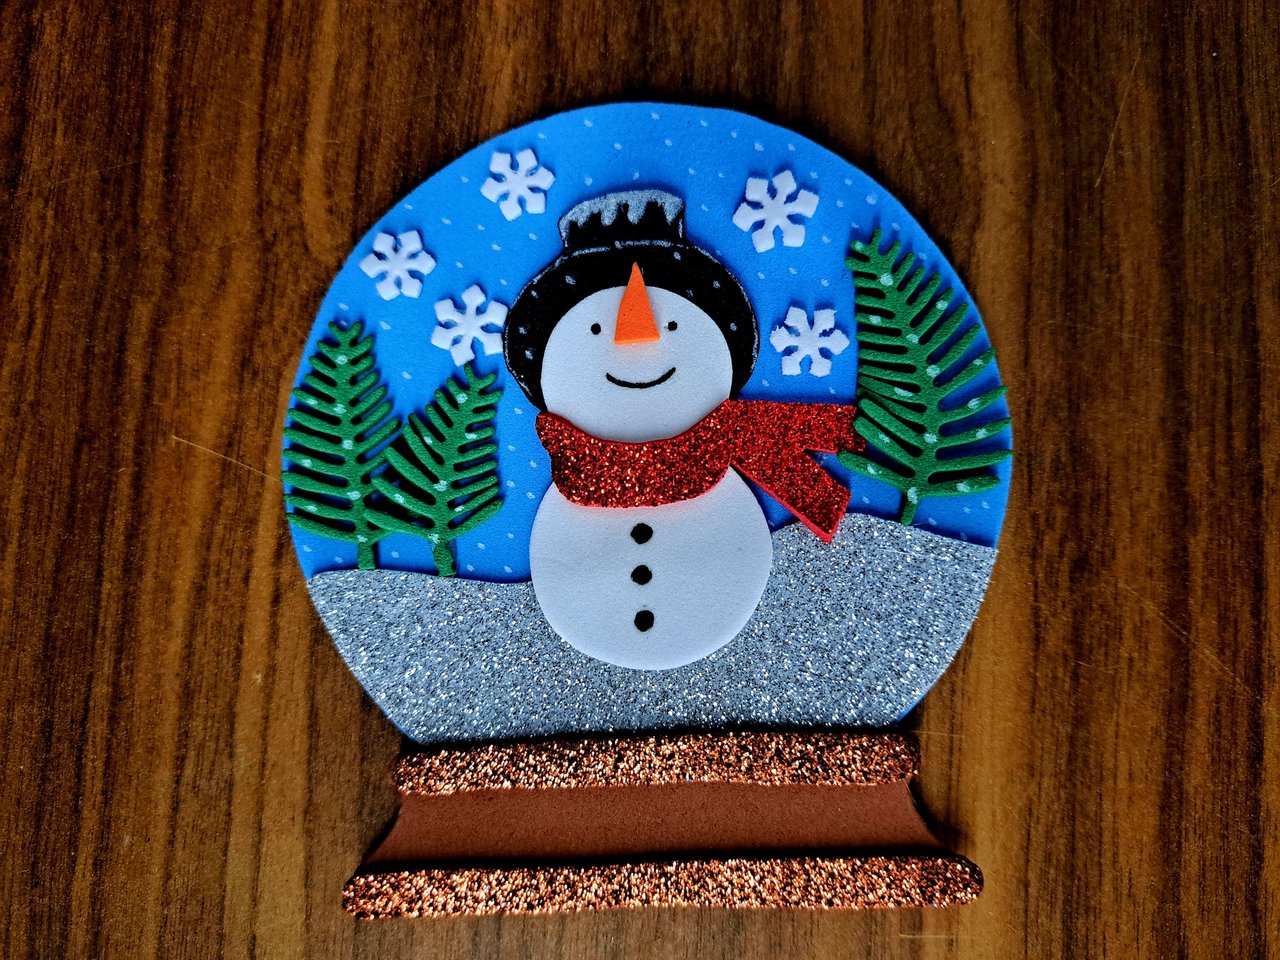
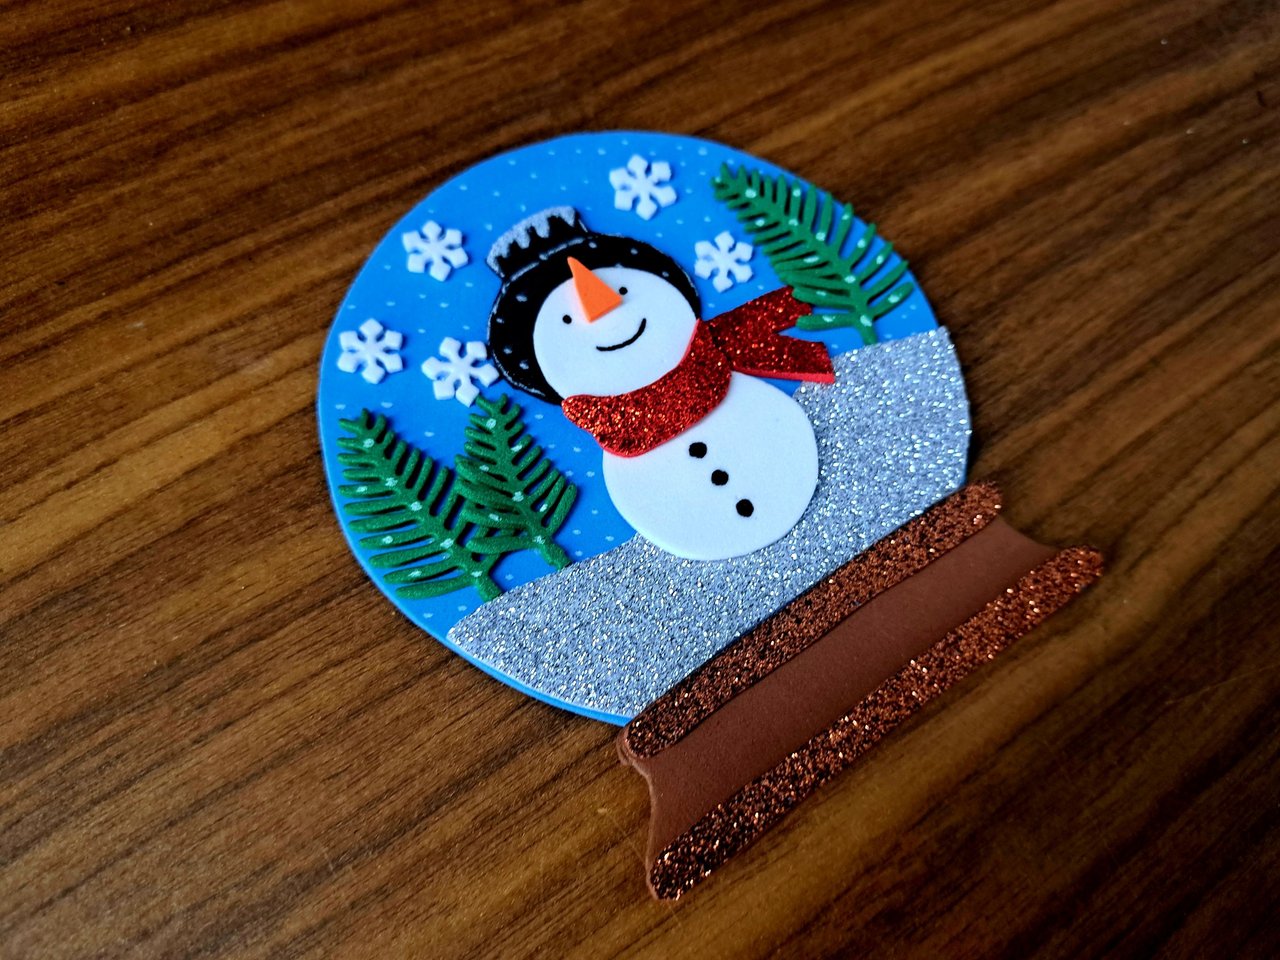
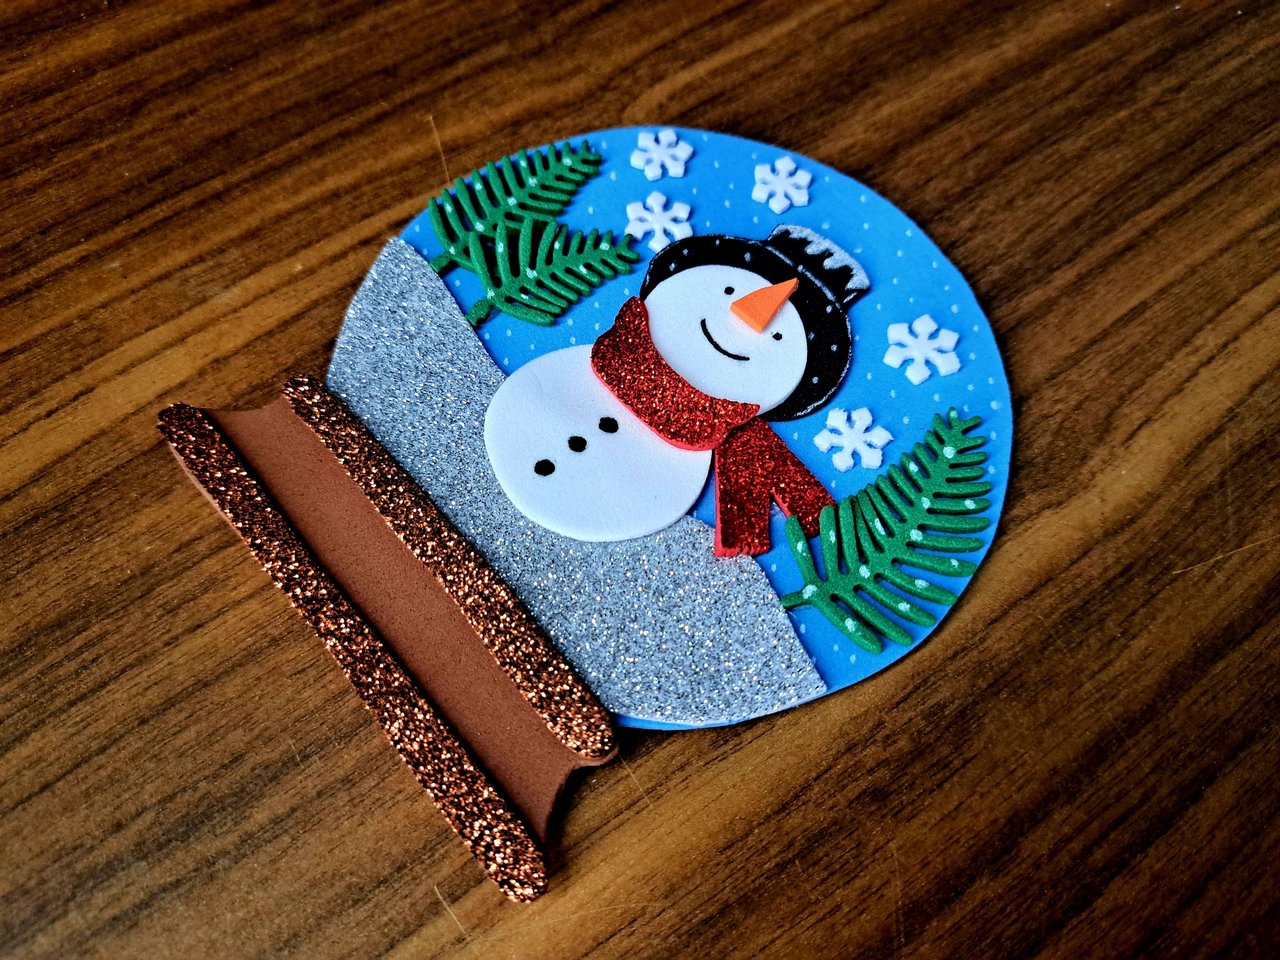
Finished Work // Trabajo Terminado
And that would be all for today, or for this year, since, taking into account, this is going to be my last post in the community this year. So, without further ado, I hope you liked this winter ornament and I wish you all a happy and prosperous new year.
Y esto sería todo por hoy, o por este año, ya que, sacando cuentas, esta va a ser mi última publicación en la comunidad este año. Así que, sin más que agregar, espero que les haya gustado este adorno invernal y les deseo a todos un feliz y próspero año nuevo.
 |  |

Credits and Resources // Créditos y Recursos
Cover page created in Canva
Translated by DeepL
Images captured with my Samsung Galaxy A53
Inspiration Source


Posted Using InLeo Alpha
In my house we also remove the ornaments late, end of January hahaha. You have made a great snowman, it takes a lot of patience and detail to make these things. Merry Christmas!
Looks like taking down the decorations late is a common thing 😅. Merry Christmas and happy new year too.
Beautifully detailed tutorial. The winter-themed ornament is a creative and versatile decoration idea. Great work.
Thank you very much. The winter theme is one of my favorites because few colors are needed.
Precioso @edeyglezsosa precisamente estaba pensando que mi nevera necesita un detalle de decoración navideña, porque pasamos mucho tiempo en ella en la navidad, preparando todo lo que comeremos en familia y uno termina recibiendo a todo ahí.
Excelente tu post
Es tal y como dices, la nevera siempre tiene que estar bien bonita. Gracias por comentar.
Wow te quedo espectacular, le diste un giro profundo, muy llamativo, que expresa una sensación relajante y fresca. Además del aspecto destacado que se ve impecable.✨☃️💙
Gracias por tan bello comentario. La verdad es que me gustó mucho el resultado. Felices fiestas.
Excelente trabajo
Gracias, feliz año nuevo @edeyglezsosa
Congratulations @edeyglezsosa! You have completed the following achievement on the Hive blockchain And have been rewarded with New badge(s)
Your next target is to reach 65000 upvotes.
You can view your badges on your board and compare yourself to others in the Ranking
If you no longer want to receive notifications, reply to this comment with the word
STOPCheck out our last posts:
Que bonito muñeco de nieve. Bendiciones
Gracias 🤗