

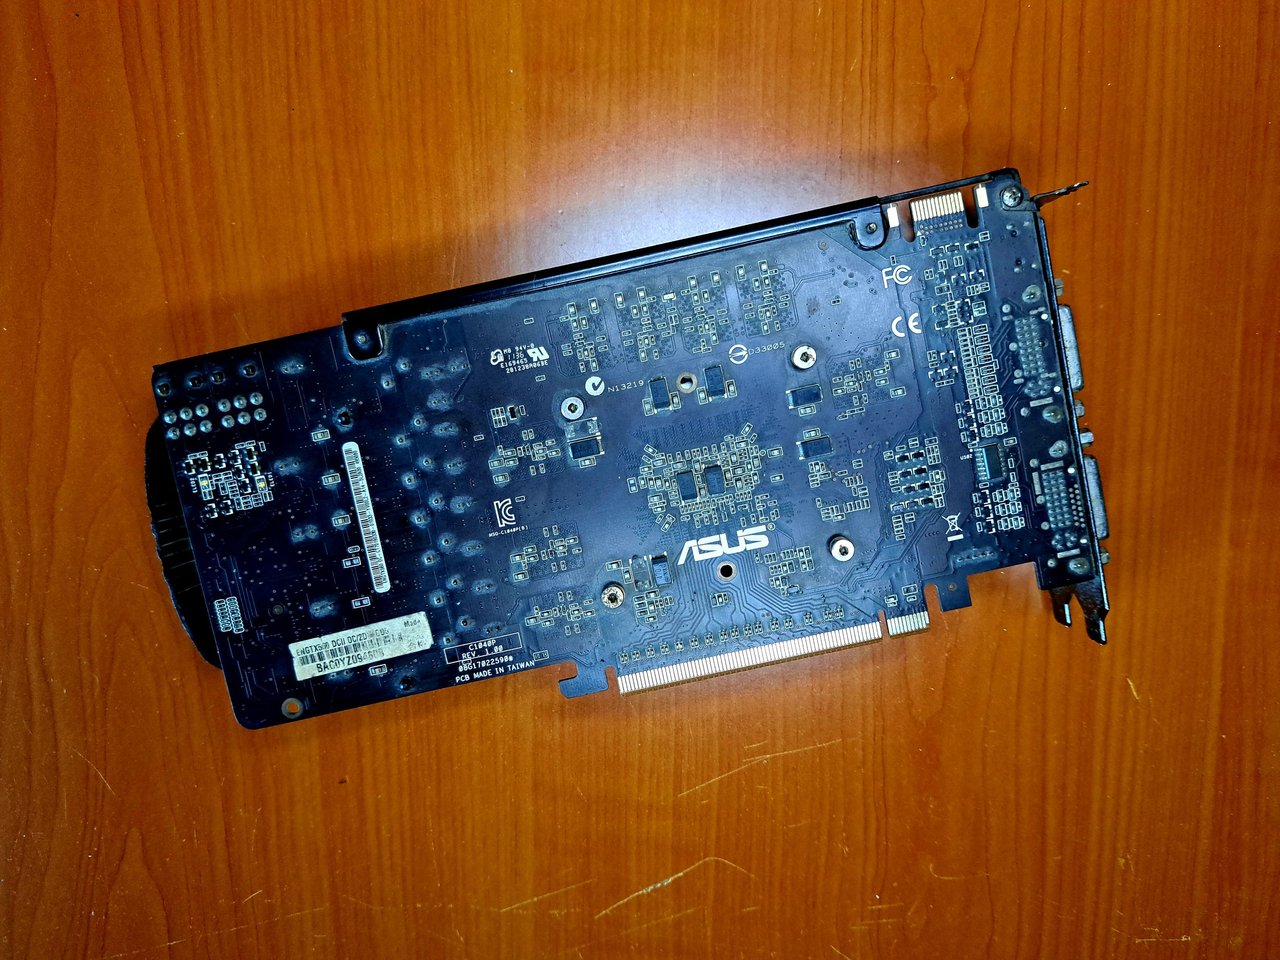
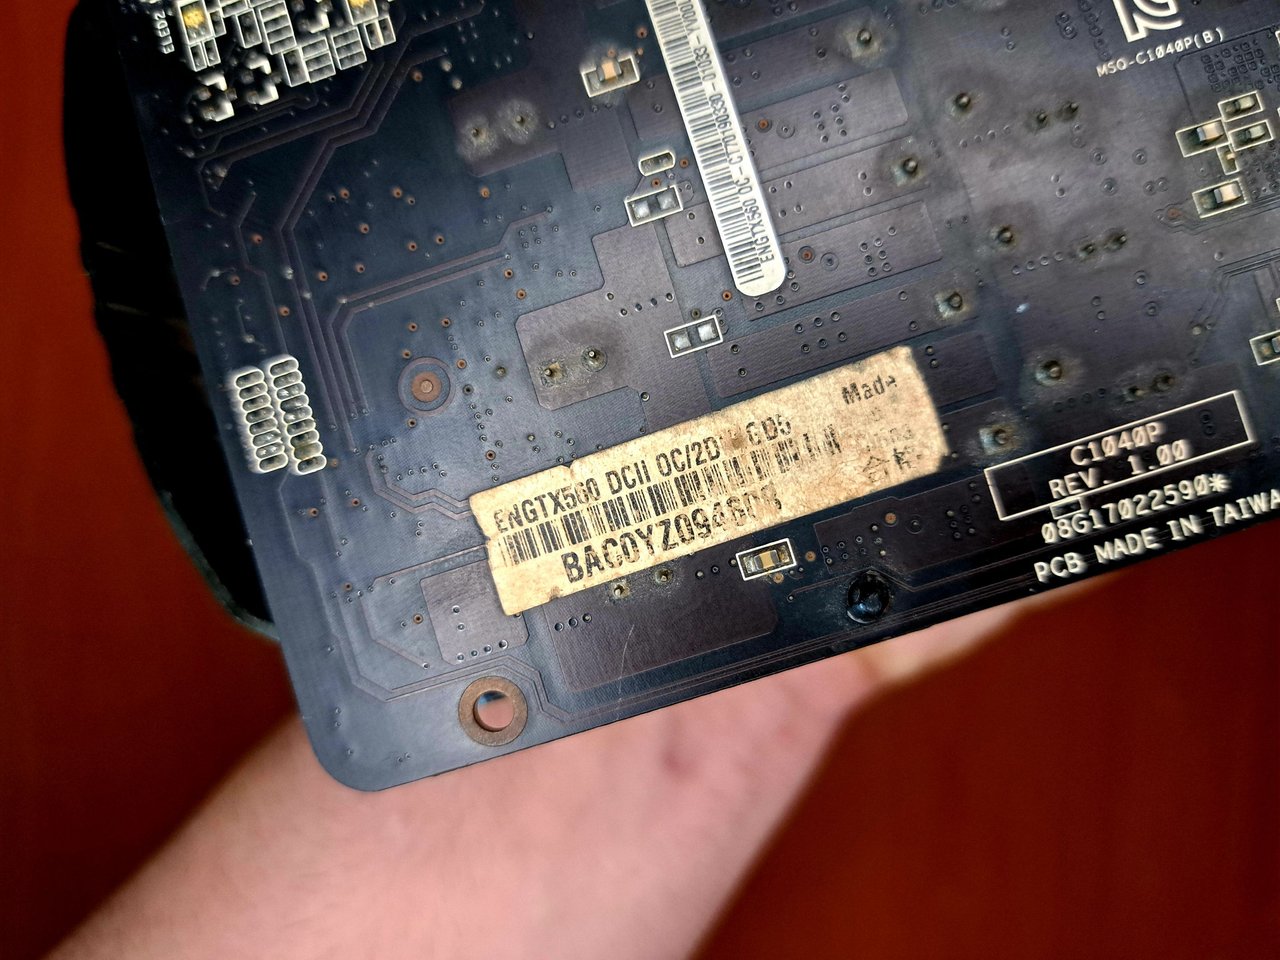
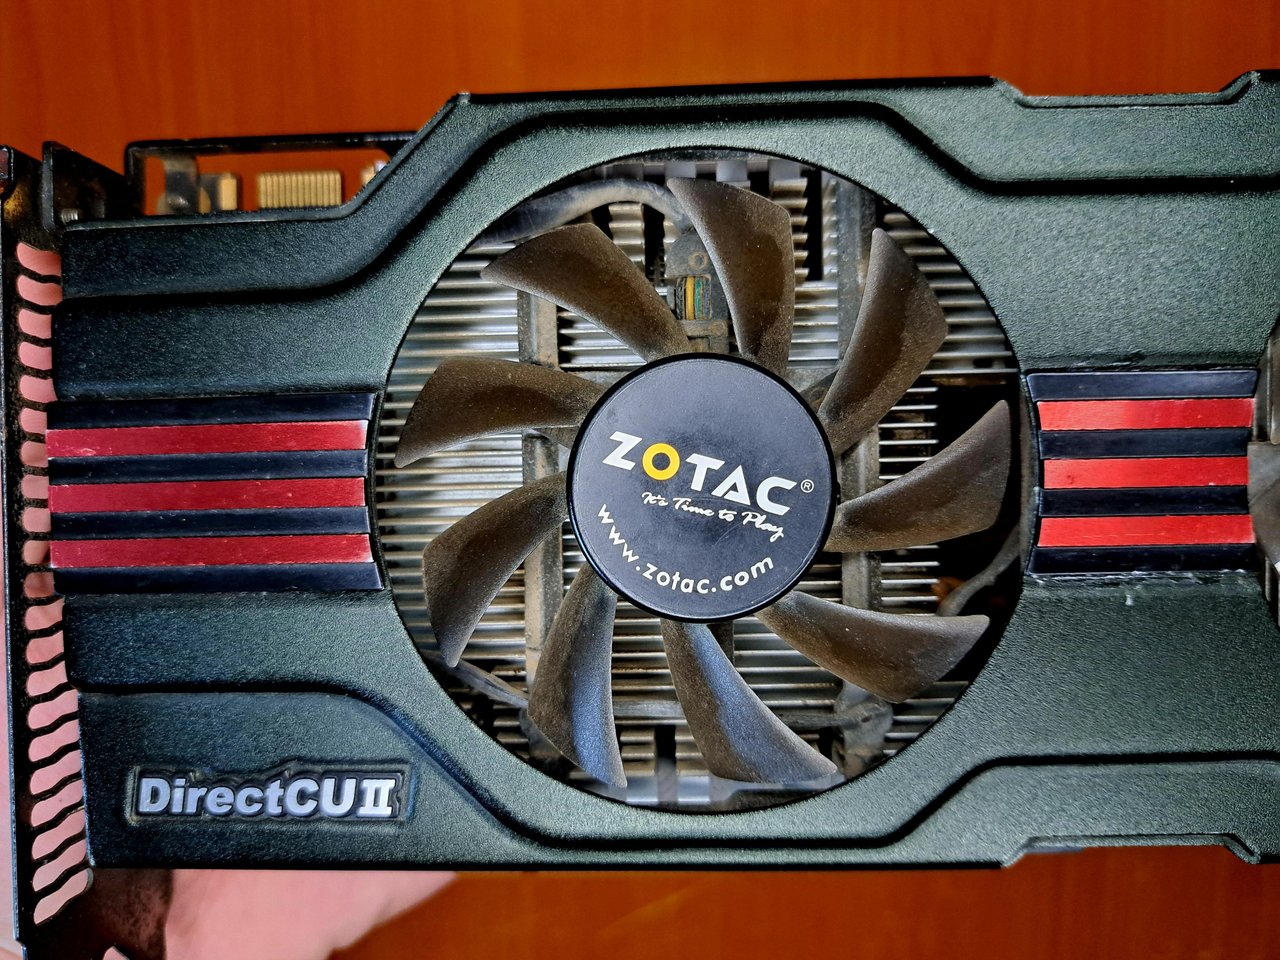
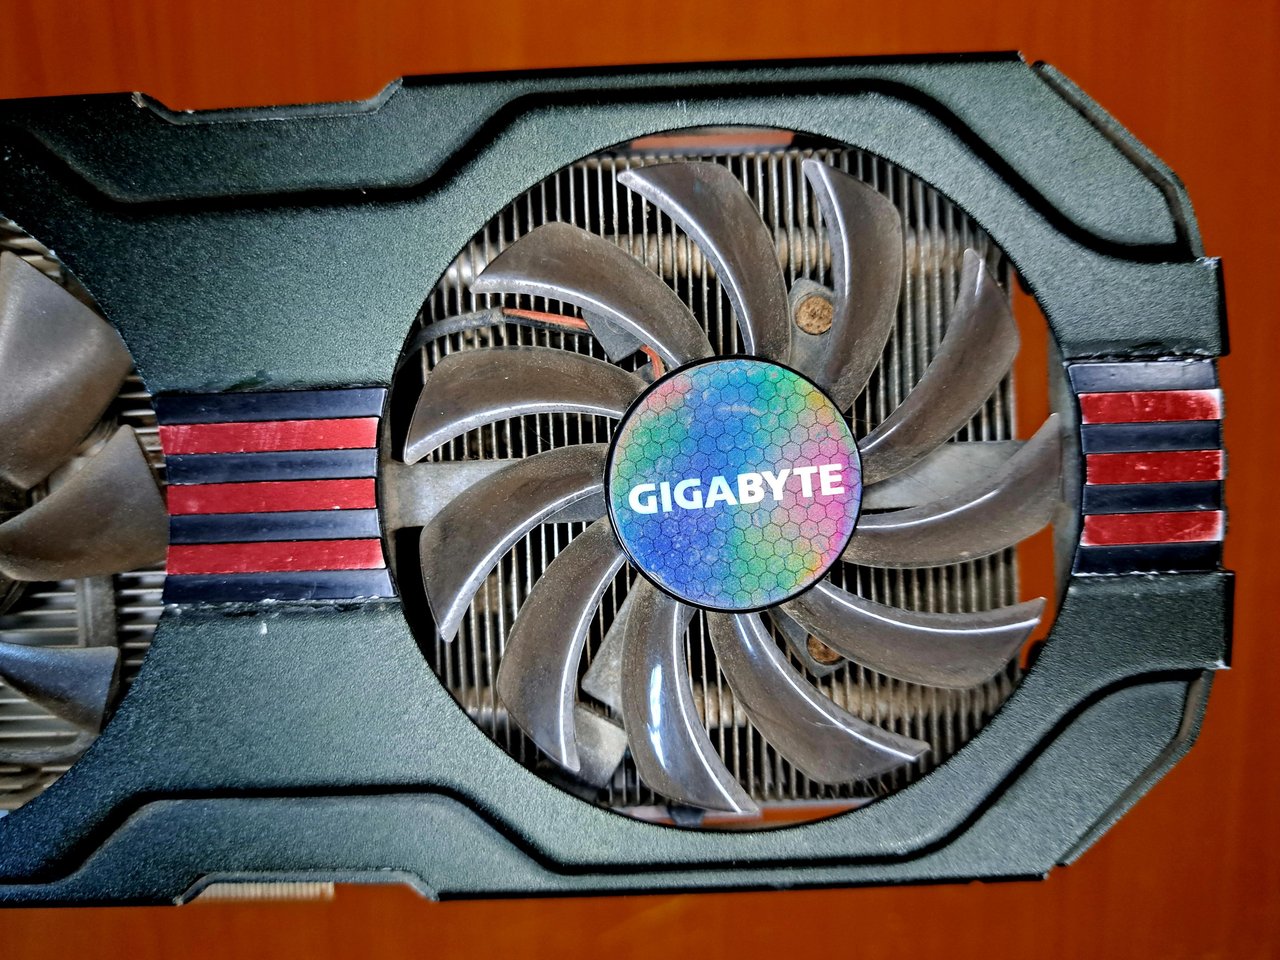
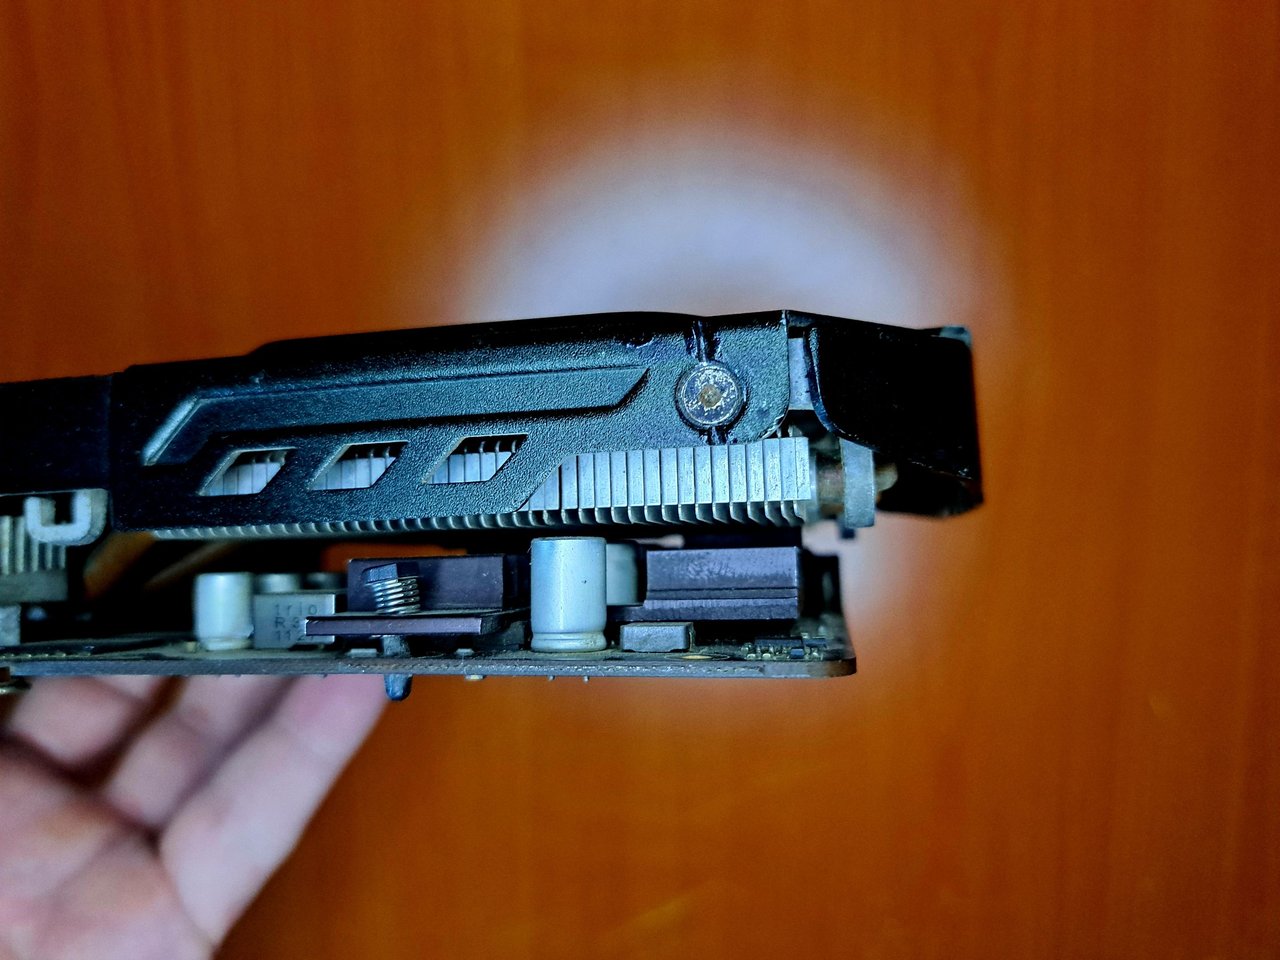
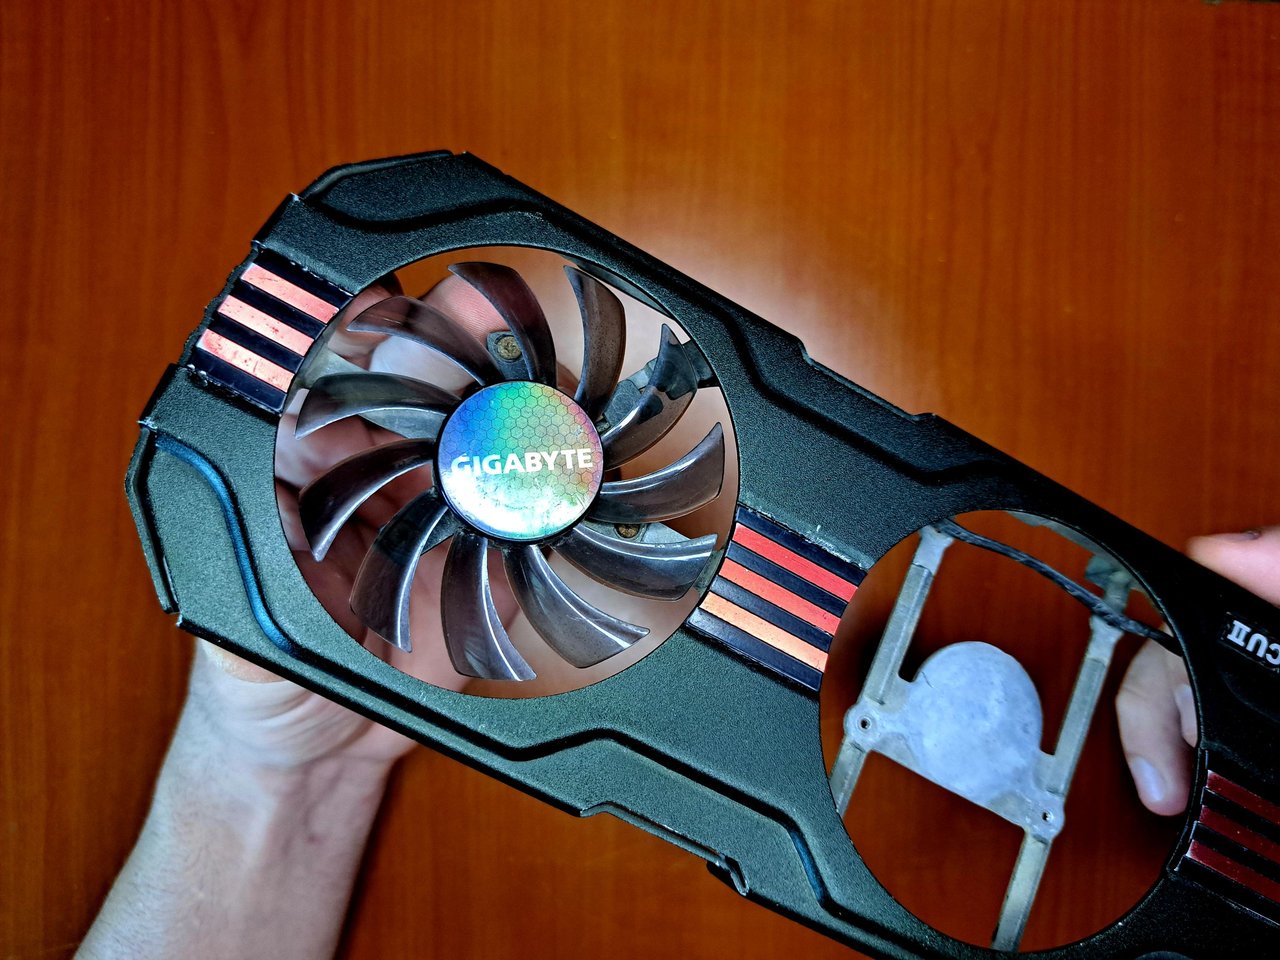
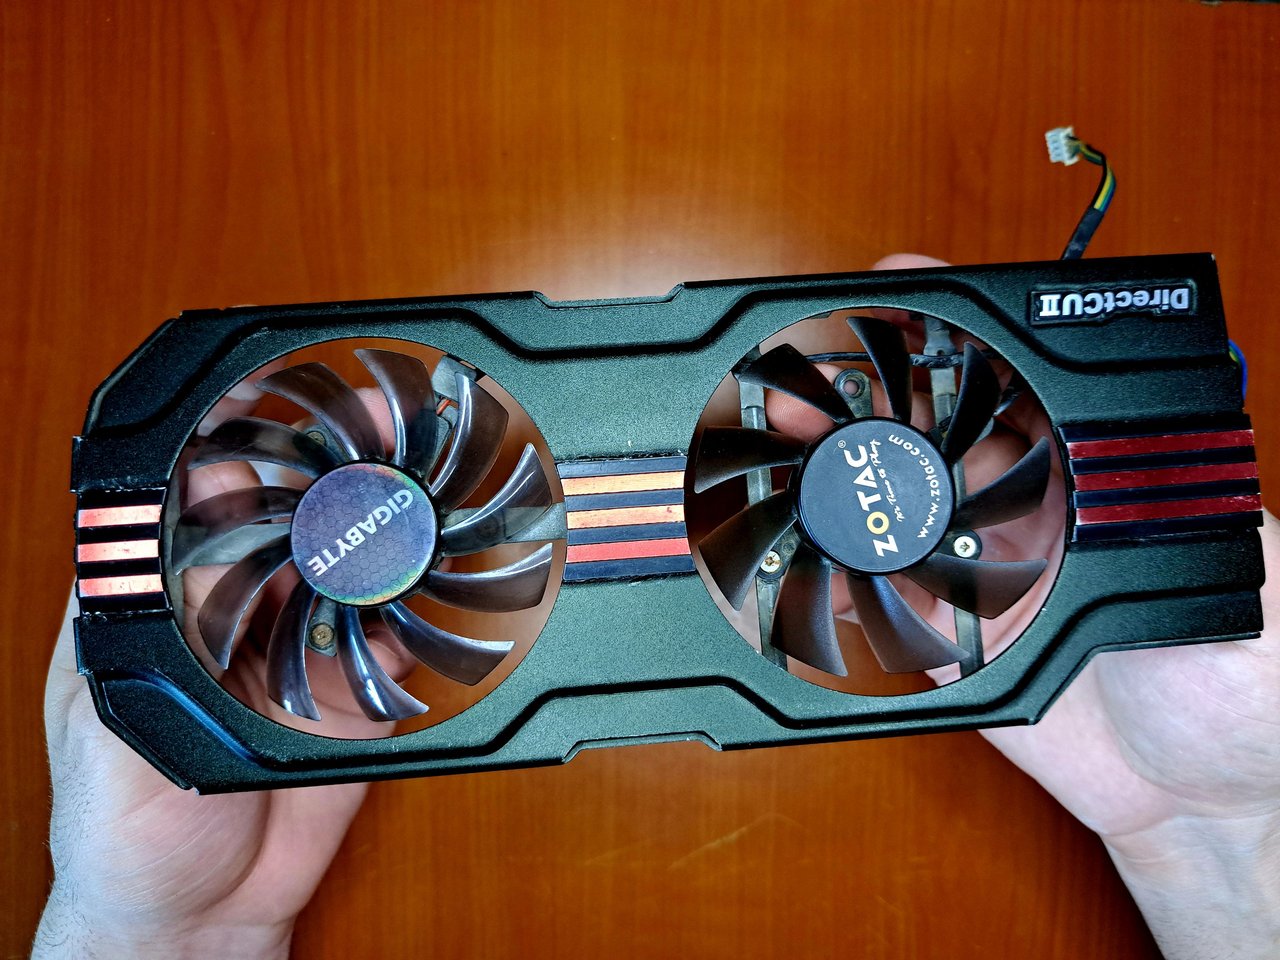
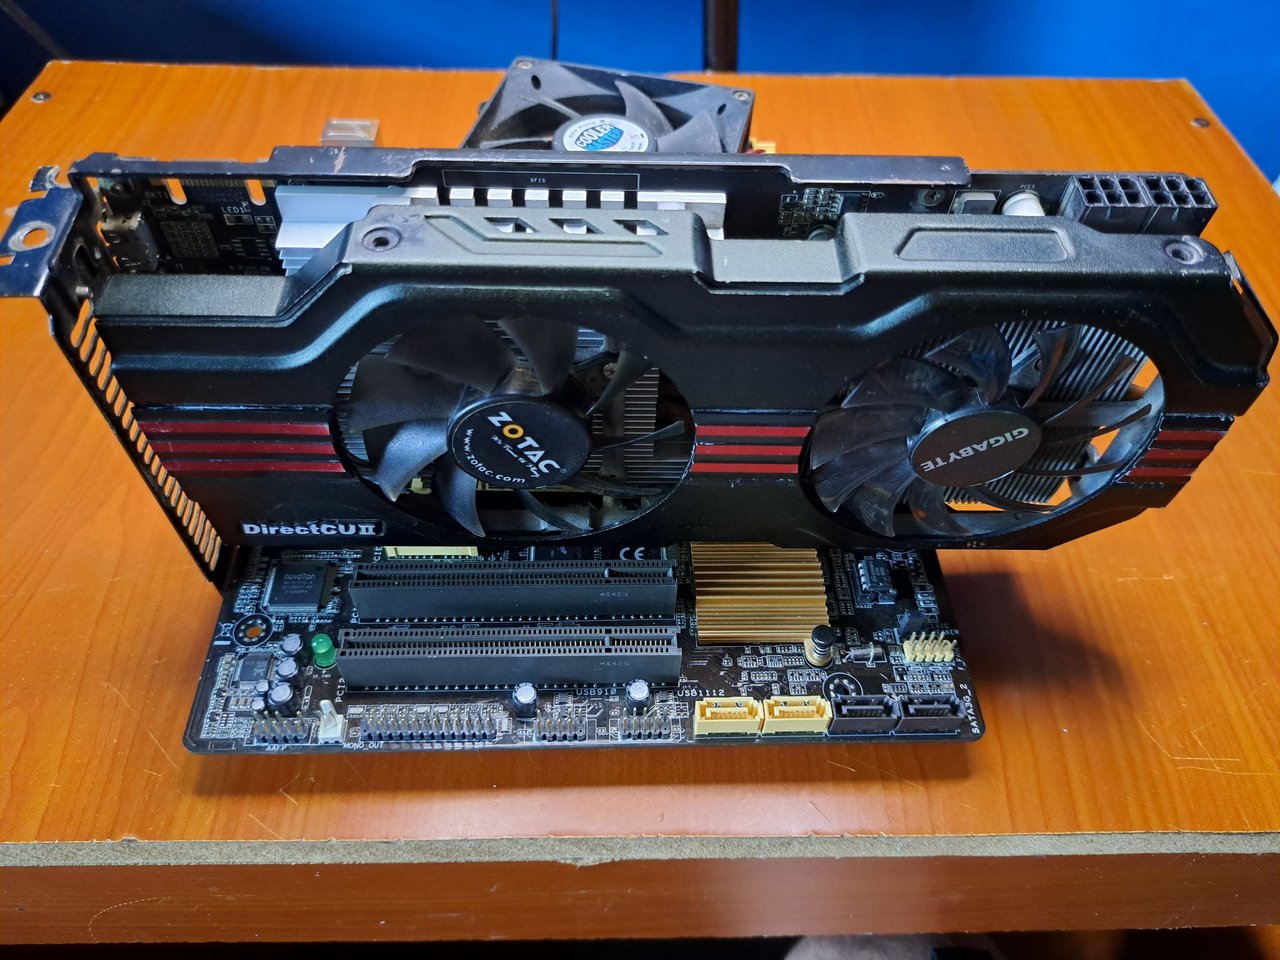
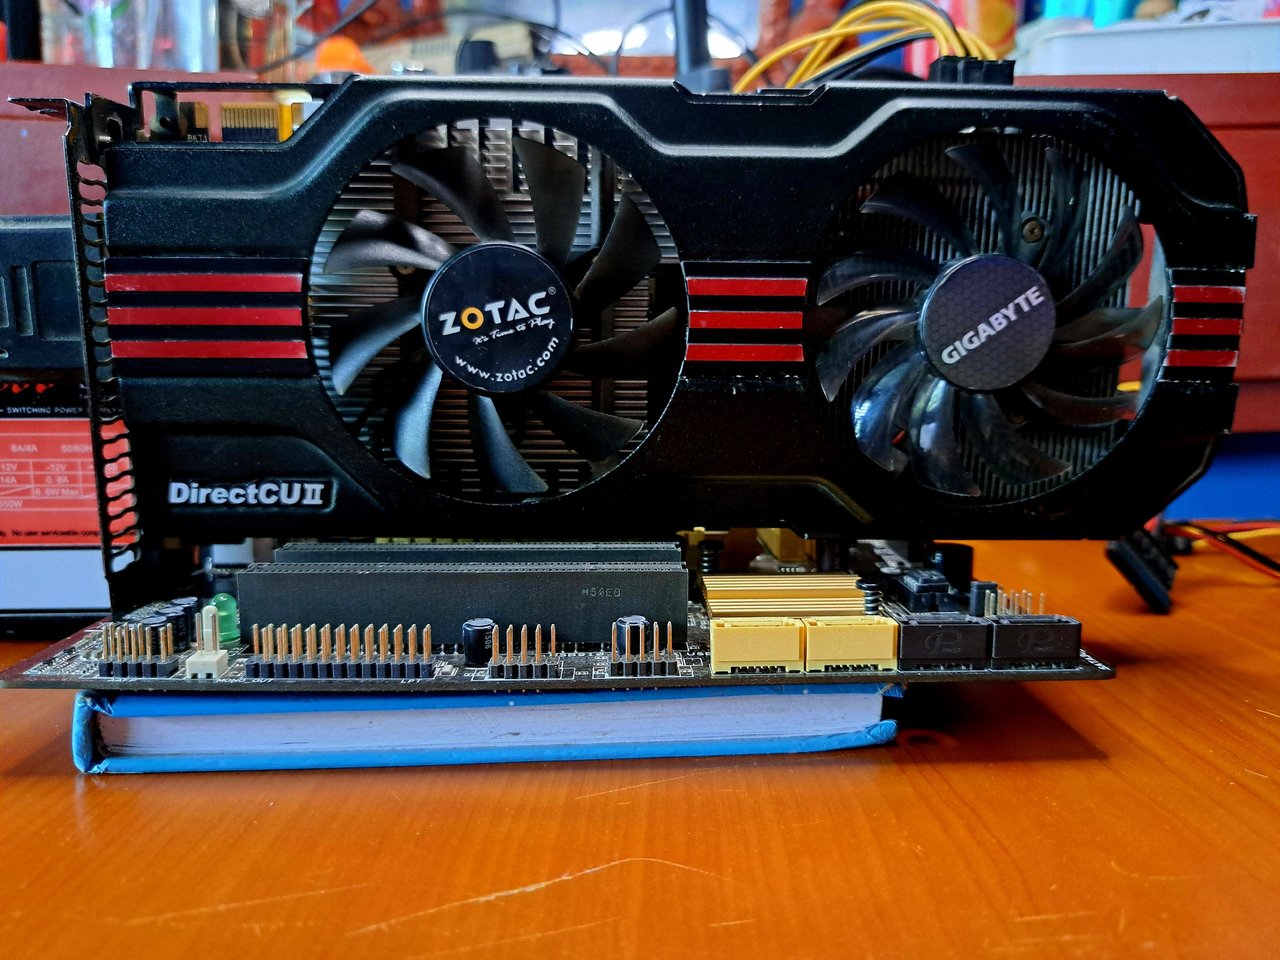
Another graphics card comes into my hands, this time it's an NVIDIA GTX 560 with 1GB of VRAM. This graphics card, released in 2011, is more than 13 years old in the market and, in particular, this one has a few years of performance. This is easy to tell, because at a glance you can notice that, although the assembler is ASUS, the graphics card has two fans from other assemblers (ZOTAC and GIGABYTE). Undoubtedly, this means that it has been in repair shops more than once. "With so many battle scars on it, I'm sure it would tell a lot of stories if it could talk." 😄
The graphics card was brought to me because one of its fans had stopped working and the other could not supply enough air to the heatsink, causing it to overheat. When I heard this, I was surprised that they hadn't burned it before, since who would think of using a graphics card with two fans when one is turned off?
Otra tarjeta gráfica llega a mis manos, esta vez se trata de una NVIDIA GTX 560 con 1 GB de VRAM. Esta tarjeta gráfica, lanzada en 2011, tiene más de 13 años en el mercado y, en particular, esta posee unos cuantos años de funcionamiento. Esto es fácil de saber, ya que a simple vista se puede notar que, a pesar de que el ensamblador es ASUS, la gráfica posee dos ventiladores de otros ensambladores (ZOTAC y GIGABYTE). Sin lugar a dudas, esto quiere decir que ha estado más de una vez en talleres de reparación. “Con tantas cicatrices de guerra que tiene, estoy seguro de que contaría muchas historias si pudiera hablar” 😄
La gráfica me la trajeron porque uno de sus ventiladores había dejado de funcionar y el otro no podía suministrar suficiente aire al disipador, lo cual provocaba que sufriera de sobrecalentamiento. Al escuchar esto, me sorprendió el hecho de que no la hubiesen quemado antes, ya que ¿a quién se le ocurre utilizar una gráfica de dos ventiladores con uno apagado?
 |  |
 |  |  |
📋 Objectives // Objetivos 📋
The grafic card was working and that was a very good thing. So, knowing the above, my work objectives would be:
- Check the fan power cables.
- Repair the damaged fan.
- Perform a thorough cleaning.
- Replace the thermal paste on the GPU chip.
La tarjeta gráfica funcionaba y eso era algo muy bueno. Así que, sabiendo lo anterior, mis objetivos de trabajo serían:
- Revisar los cables de alimentación de los ventiladores.
- Reparar el ventilador dañado.
- Realizar una limpieza a fondo.
- Reemplazar la pasta térmica del chip de la GPU.

🛠 Tools // Herramientas 🛠
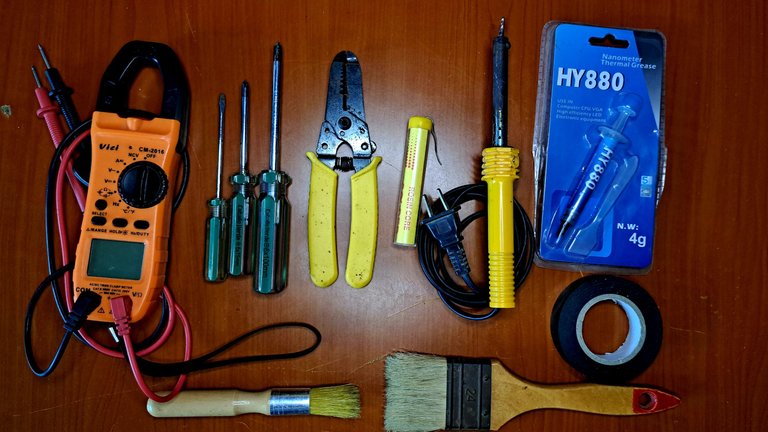
| ✔️ Screwdrivers | ✔️ Desarmadores |
| ✔️ Soldering iron and tin with flux | ✔️ Soldador y estaño con fundente |
| ✔️ Wide brush and circular brush of non-conductive fibers | ✔️ Brocha ancha y brocha circular de fibra no conductiva |
| ✔️ Heat-resistant insulating tape | ✔️ Cinta aislante resistente al calor |
| ✔️ Voltmeter | ✔️ Voltímetro |
| ✔️ Thermal paste HY880 | ✔️ Pasta térmica HY880 |

Hands on // Manos a la obra
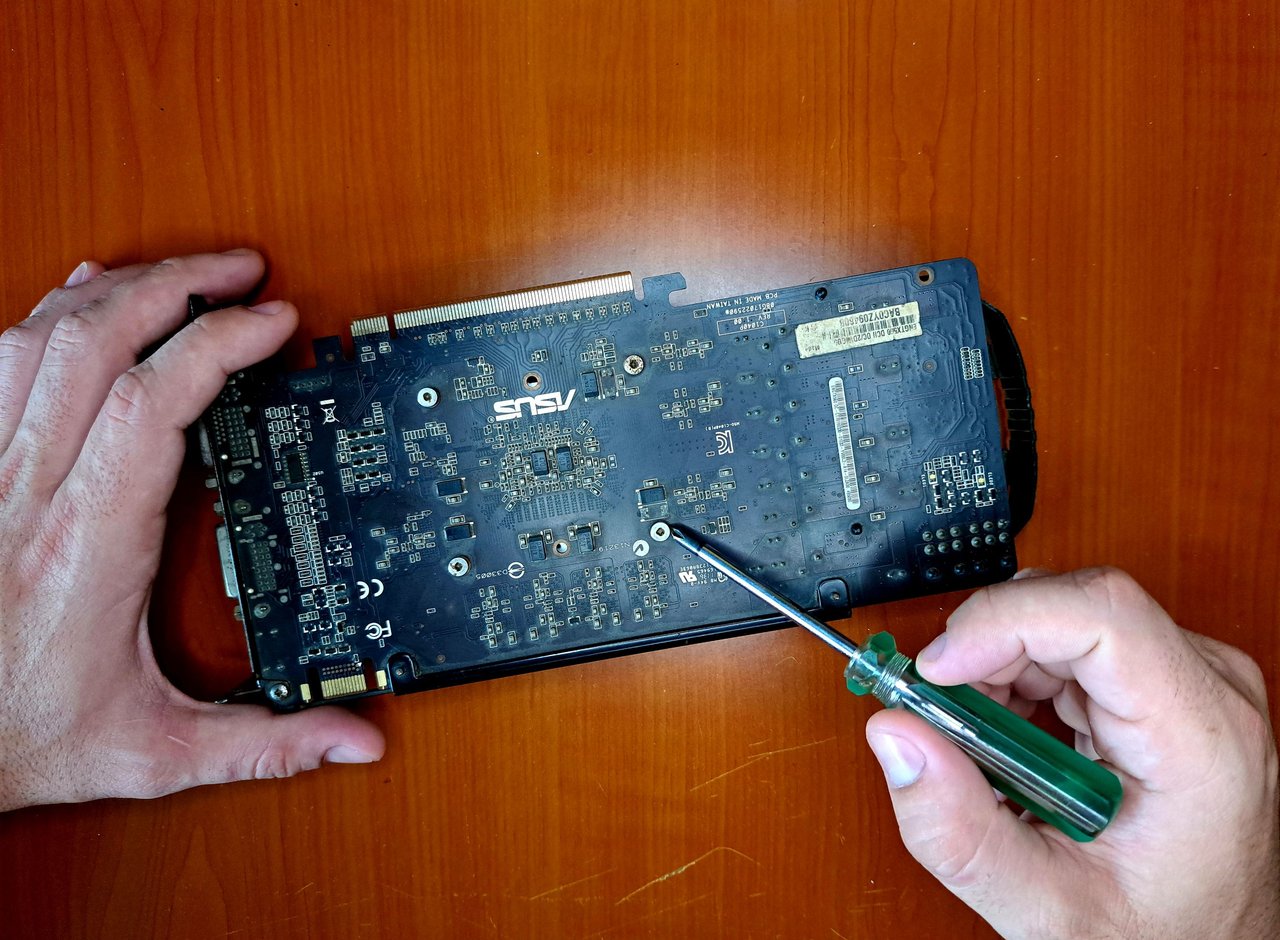
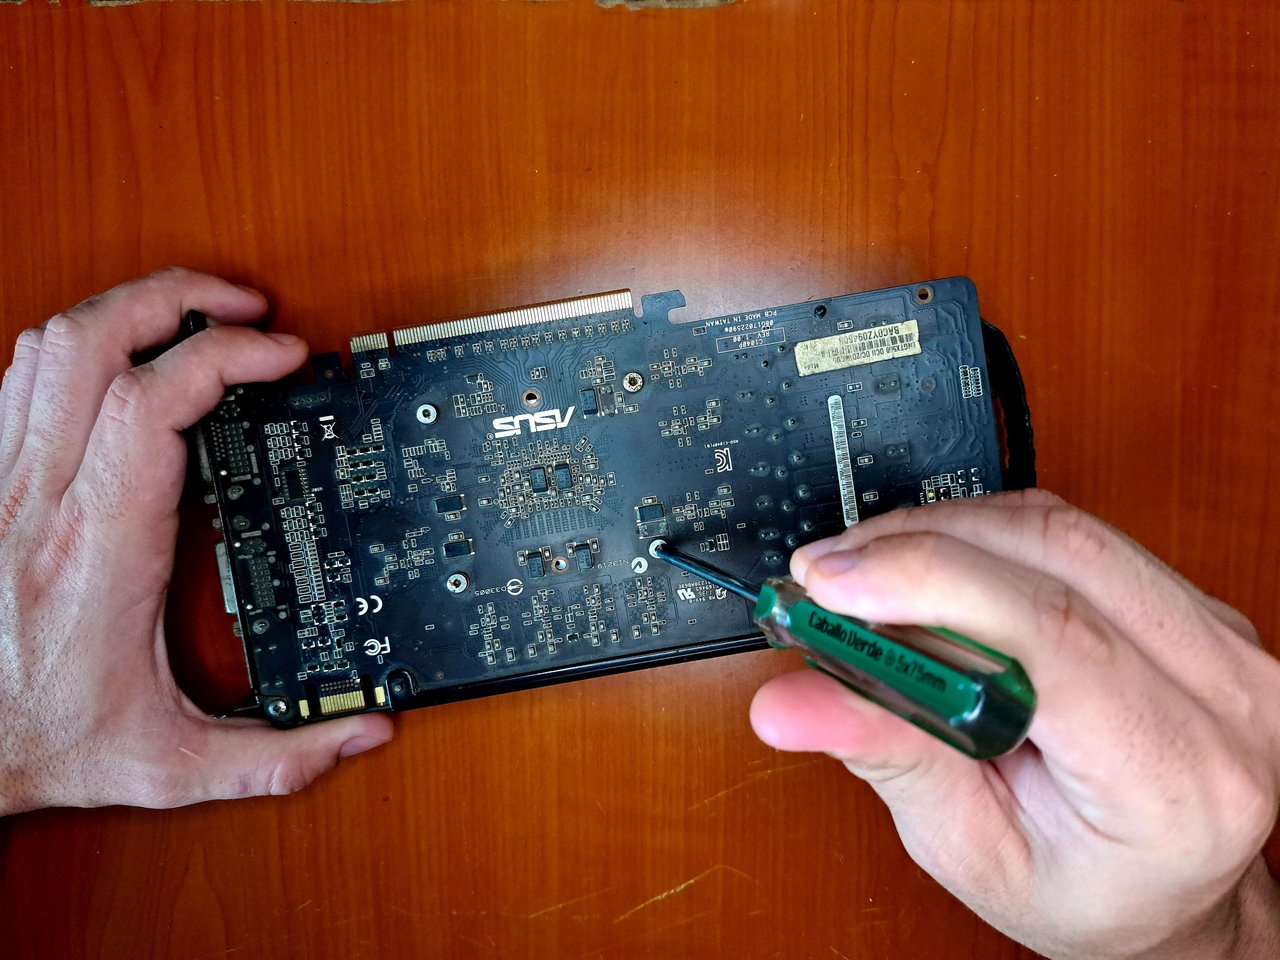
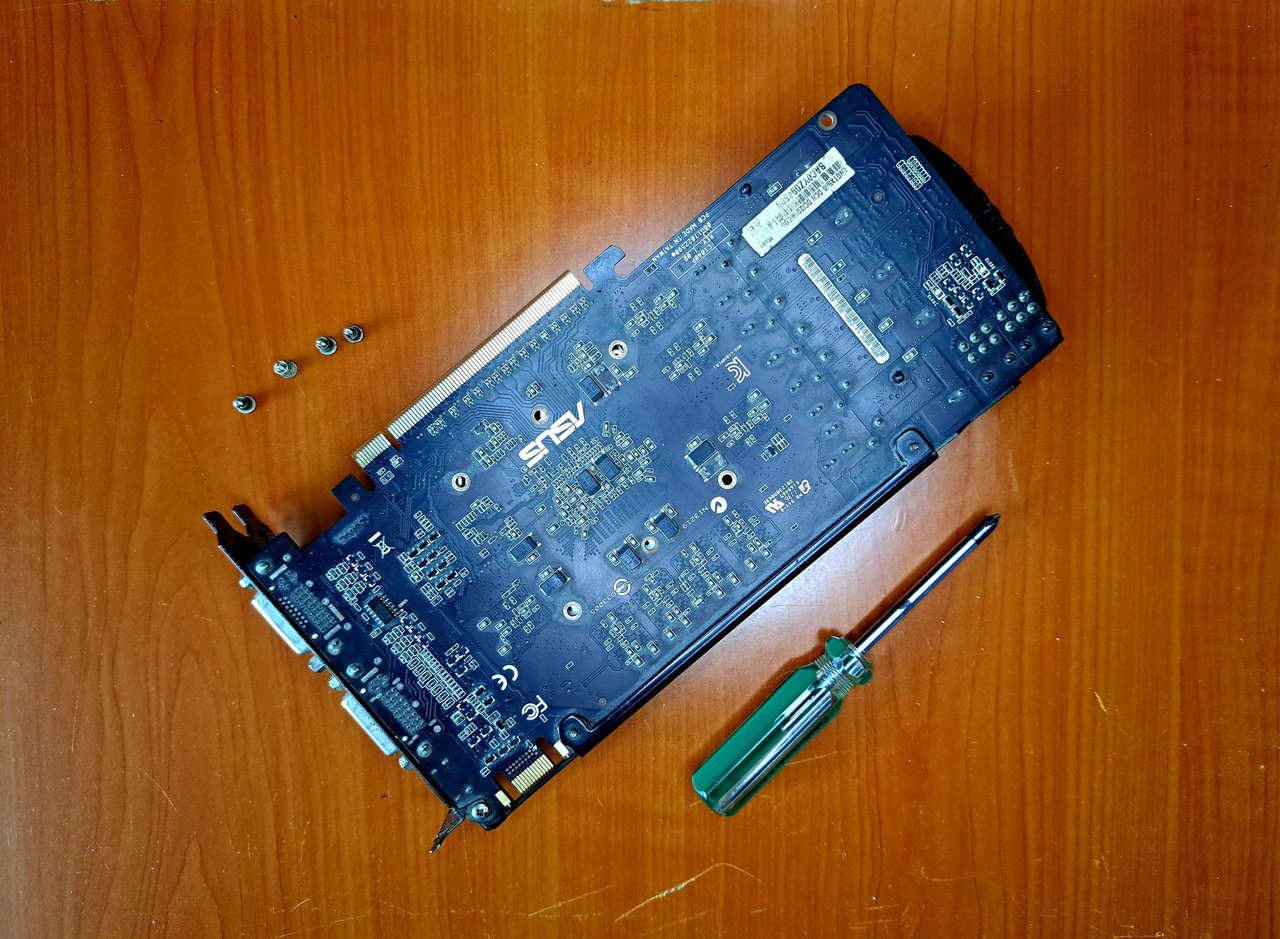
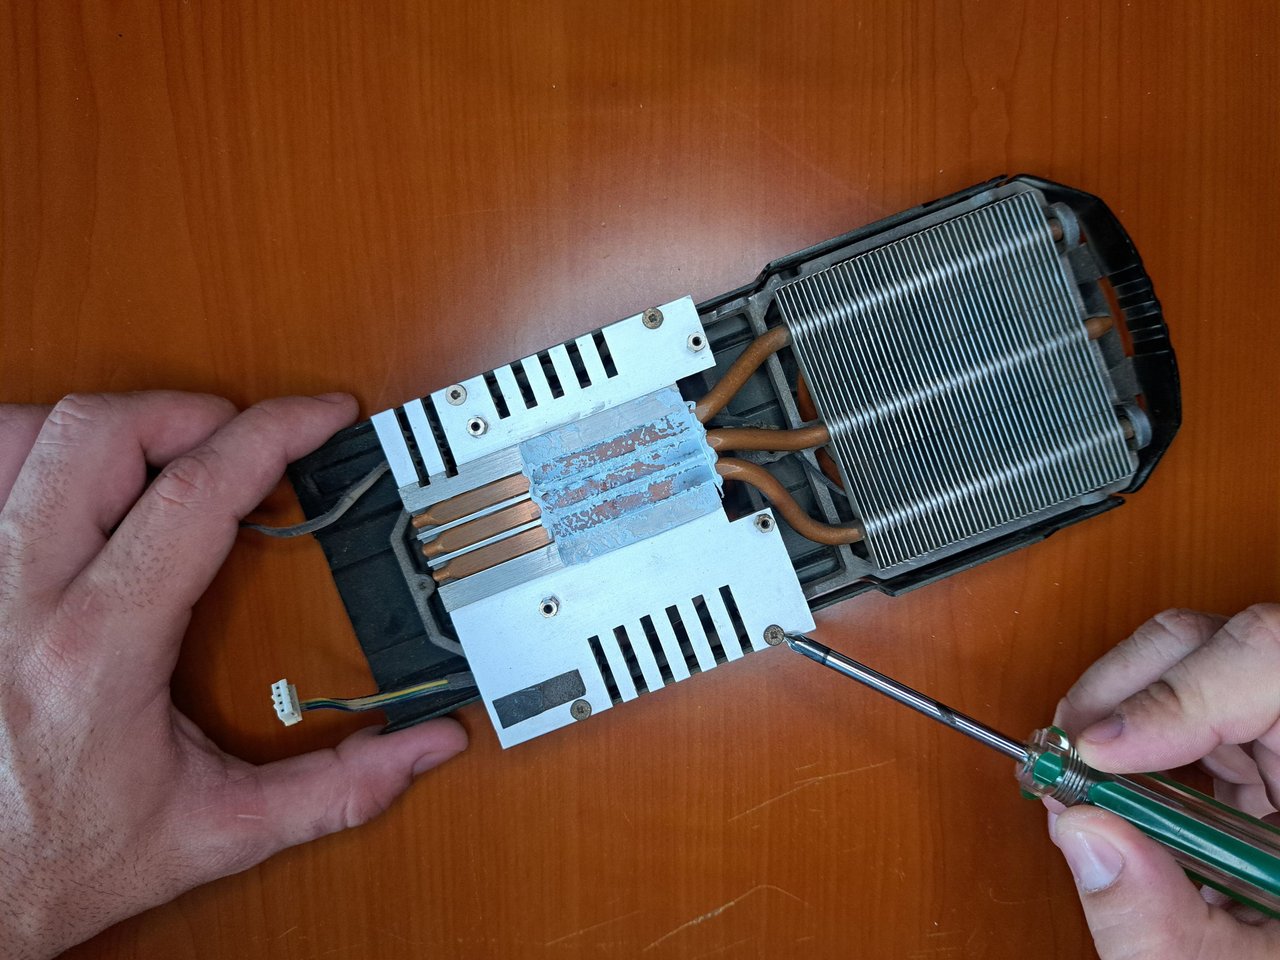
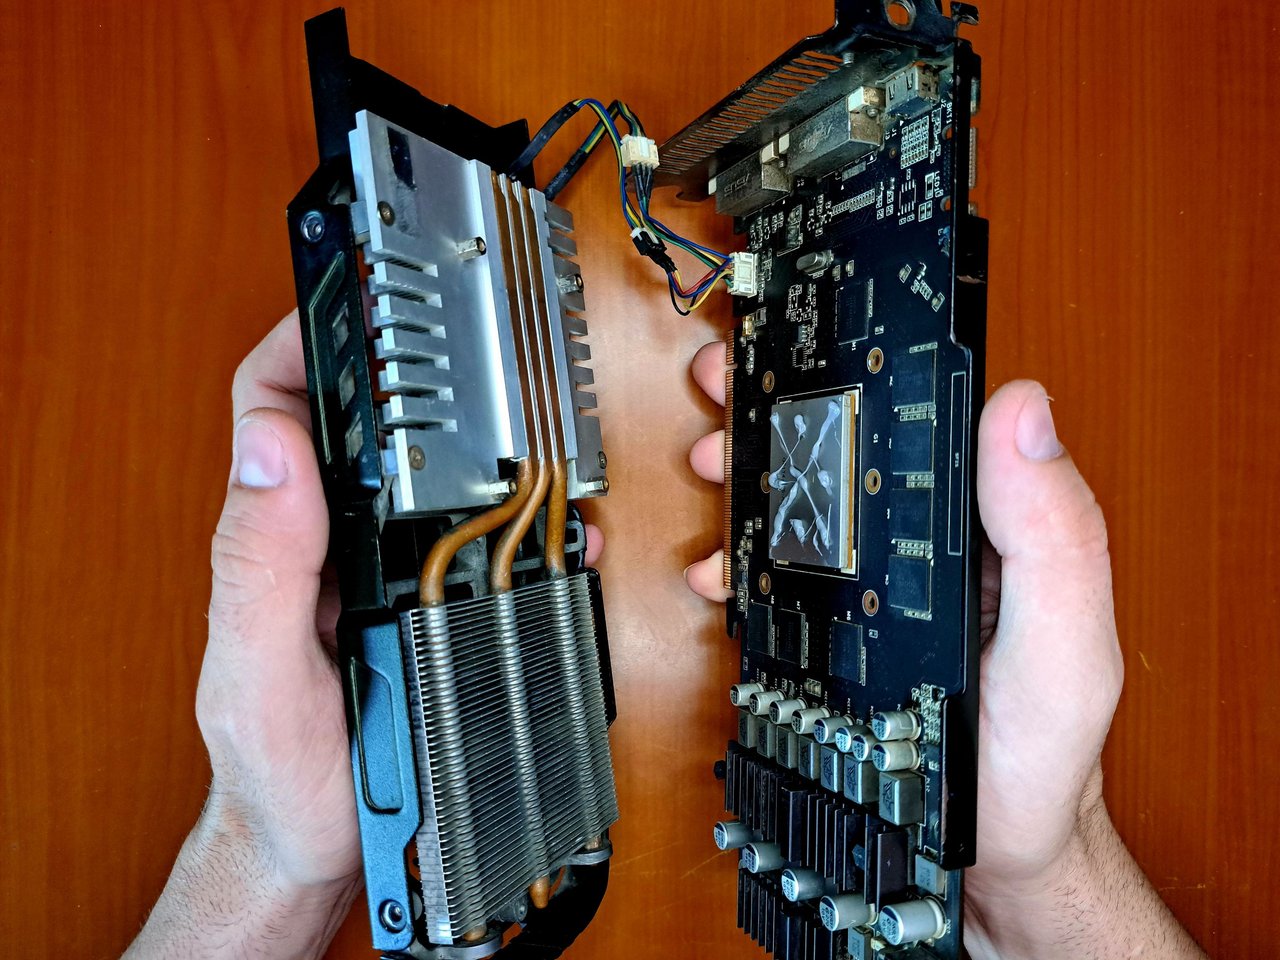
To begin, the first thing I did was to disassemble the graphics card into parts. To do this, loosen the four spring-loaded screws at the bottom. This will separate the heatsink from the board.
Para empezar, lo primero que hice fue desarmar la tarjeta gráfica en partes. Para ello, se deben aflojar los cuatro tornillos con muelles que se encuentran en la parte inferior. De esta forma, quedaría separado el disipador de la placa.
 |  |
 | 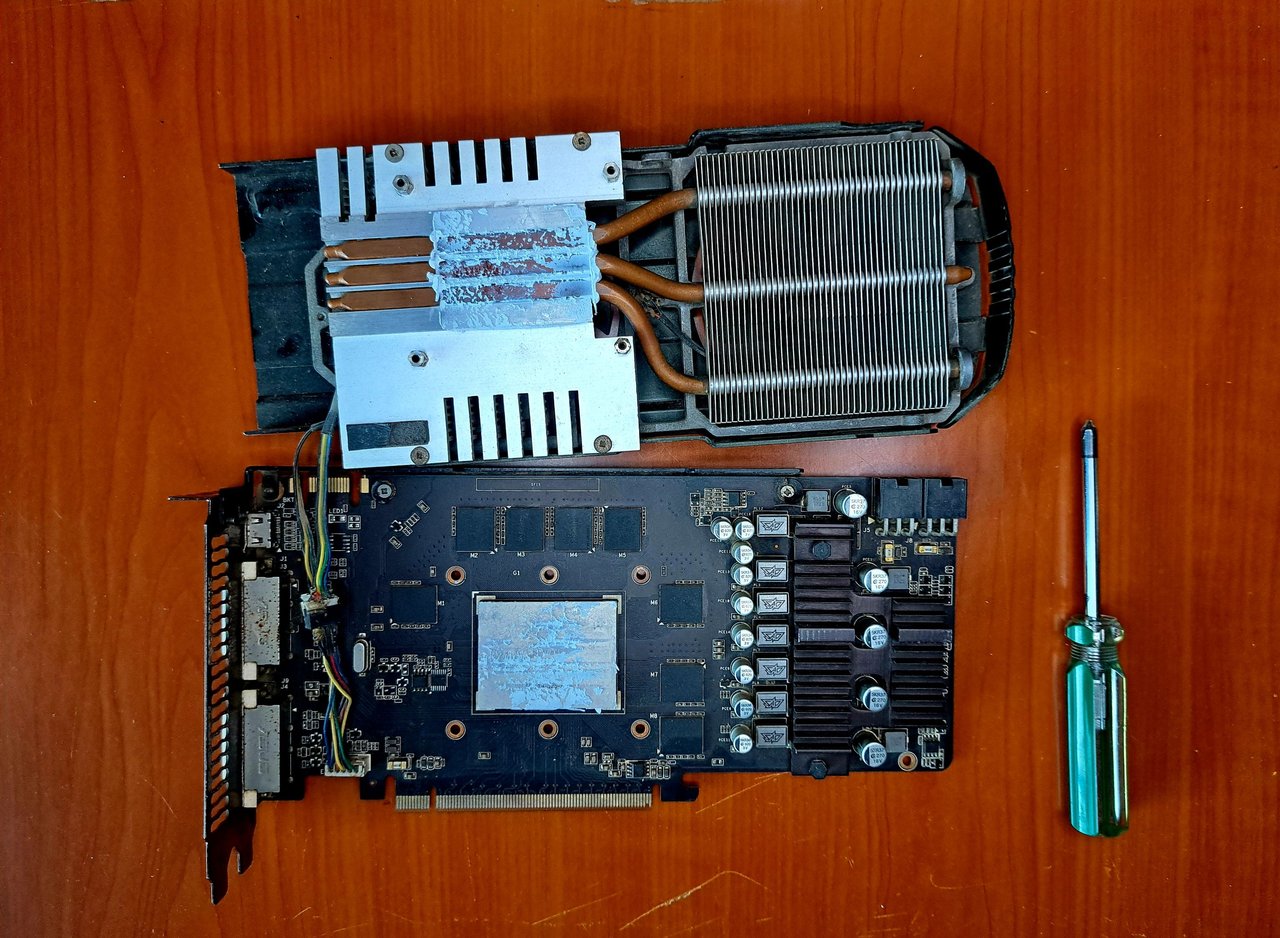 |
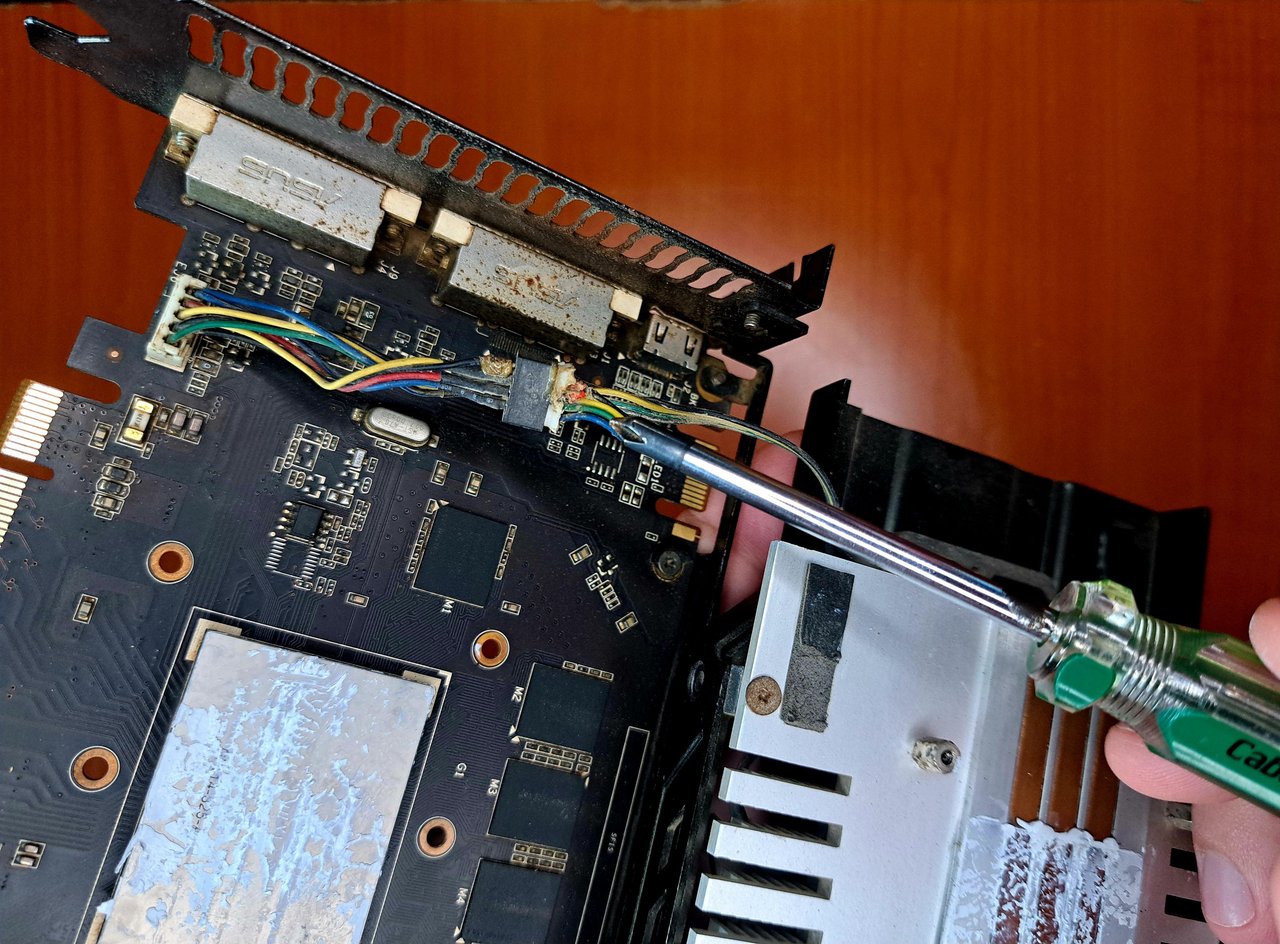
After separating the heatsink, I immediately noticed that the power lines to the fans had damaged joints. These joints were the product of previous repairs in which they used an insulator with low thermal resistance.
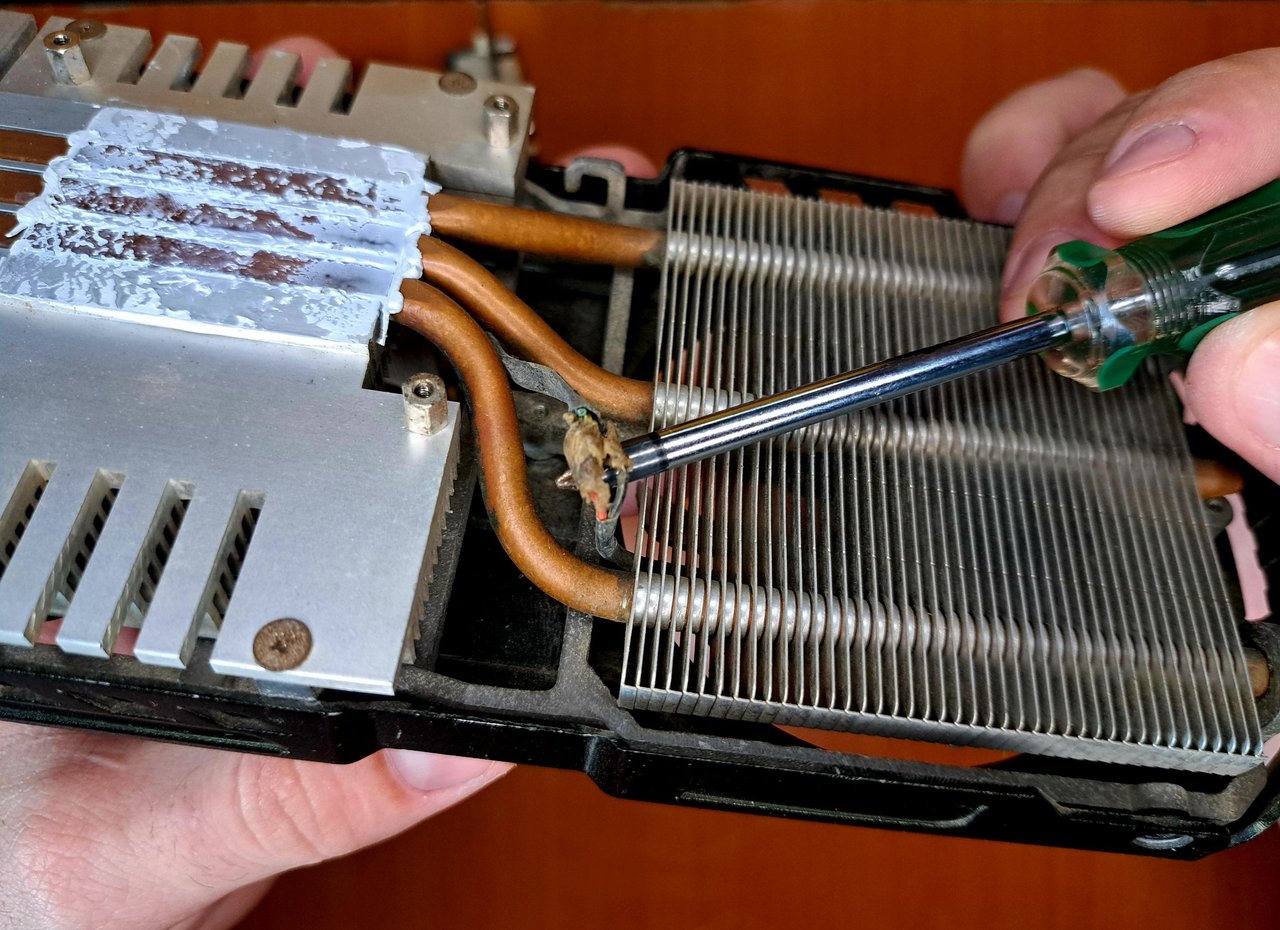
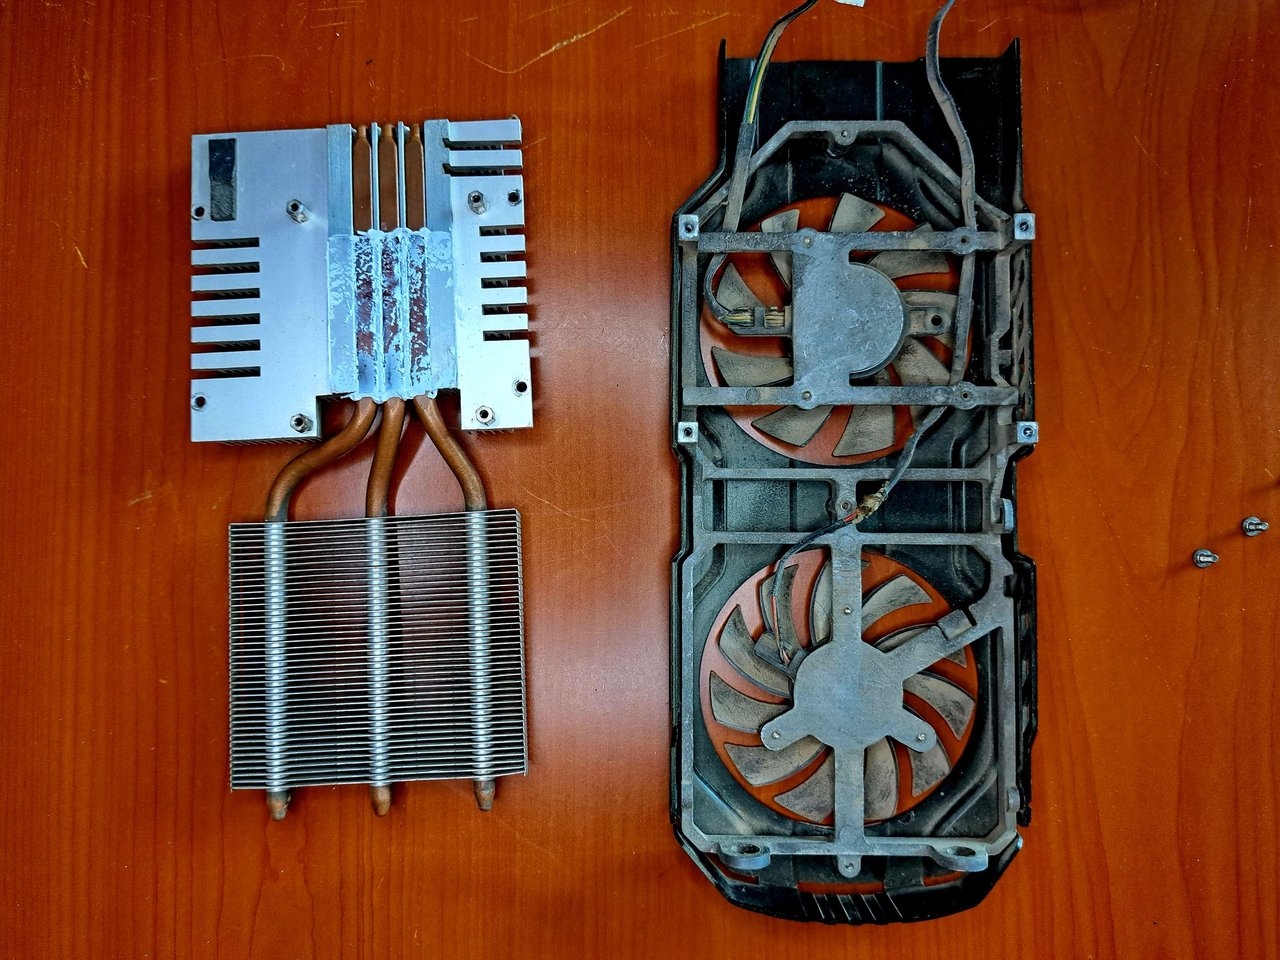
Next, I proceed to separate the heatsink plates from the case to start with the repair, but with so much dirt I first have to clean.
Luego de separar el disipador, inmediatamente me percato de que las líneas de alimentación de los ventiladores tenían uniones dañadas. Estas uniones eran producto de otras reparaciones anteriores en las cuales utilizaron un aislante con poca resistencia térmica.
Seguidamente, procedo a separar las placas del disipador de la carcasa para empezar con la reparación, pero ante tanta suciedad, primero tengo que limpiar.
 |  |
 |  |
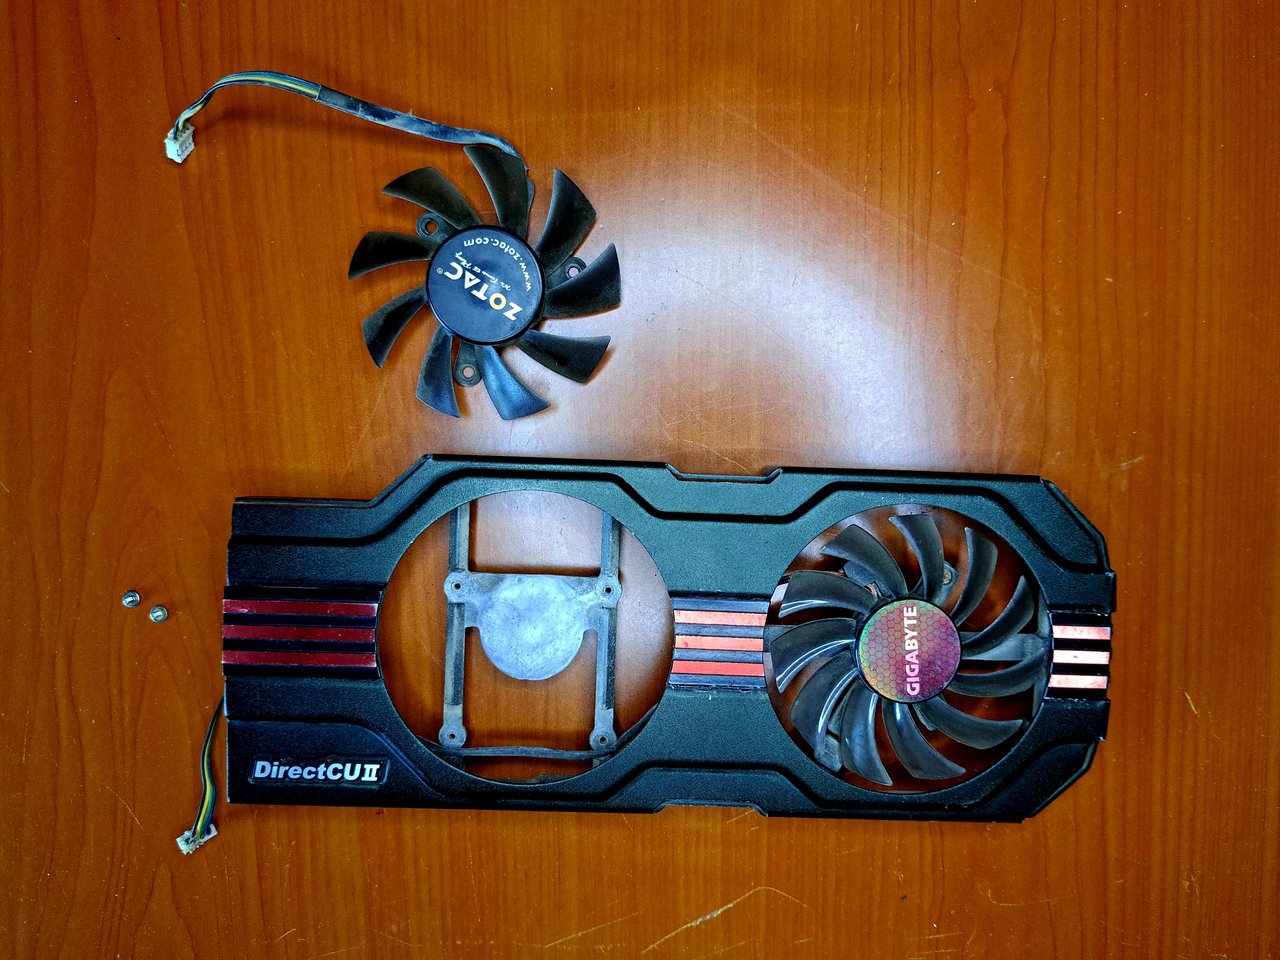
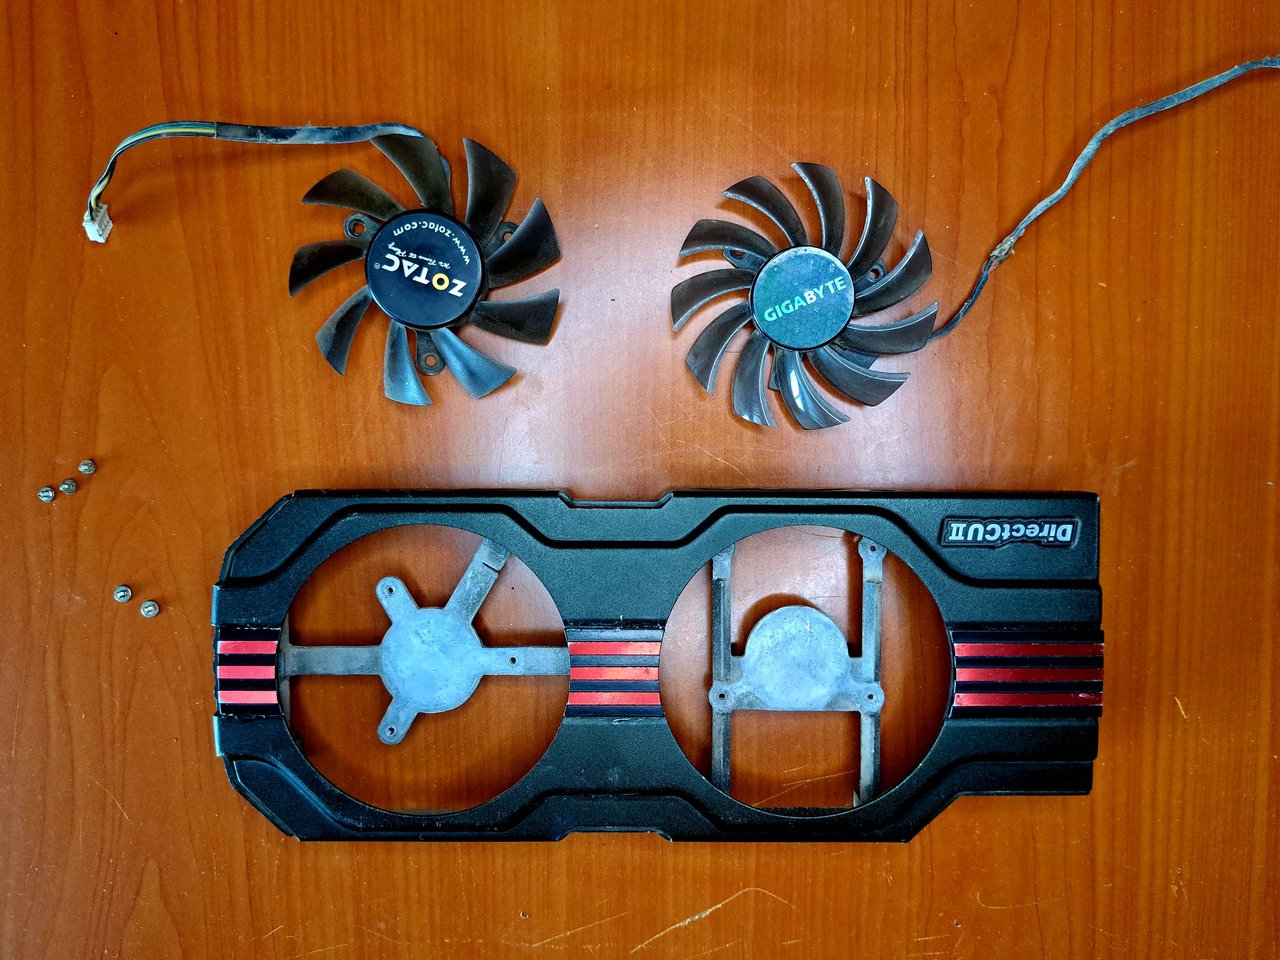
At first I had planned to do a superficial cleaning and work like that, but after removing the fans from the case, I realized that there had accumulated dirt from several years, so I would need a deep cleaning.
En un principio tenía pensado hacer una limpieza superficial y trabajar así, pero luego de quitar los ventiladores de la carcasa, me di cuenta de que ahí había acumulado suciedad de varios años, por lo que necesitaría una limpieza en profundidad.
 |  |
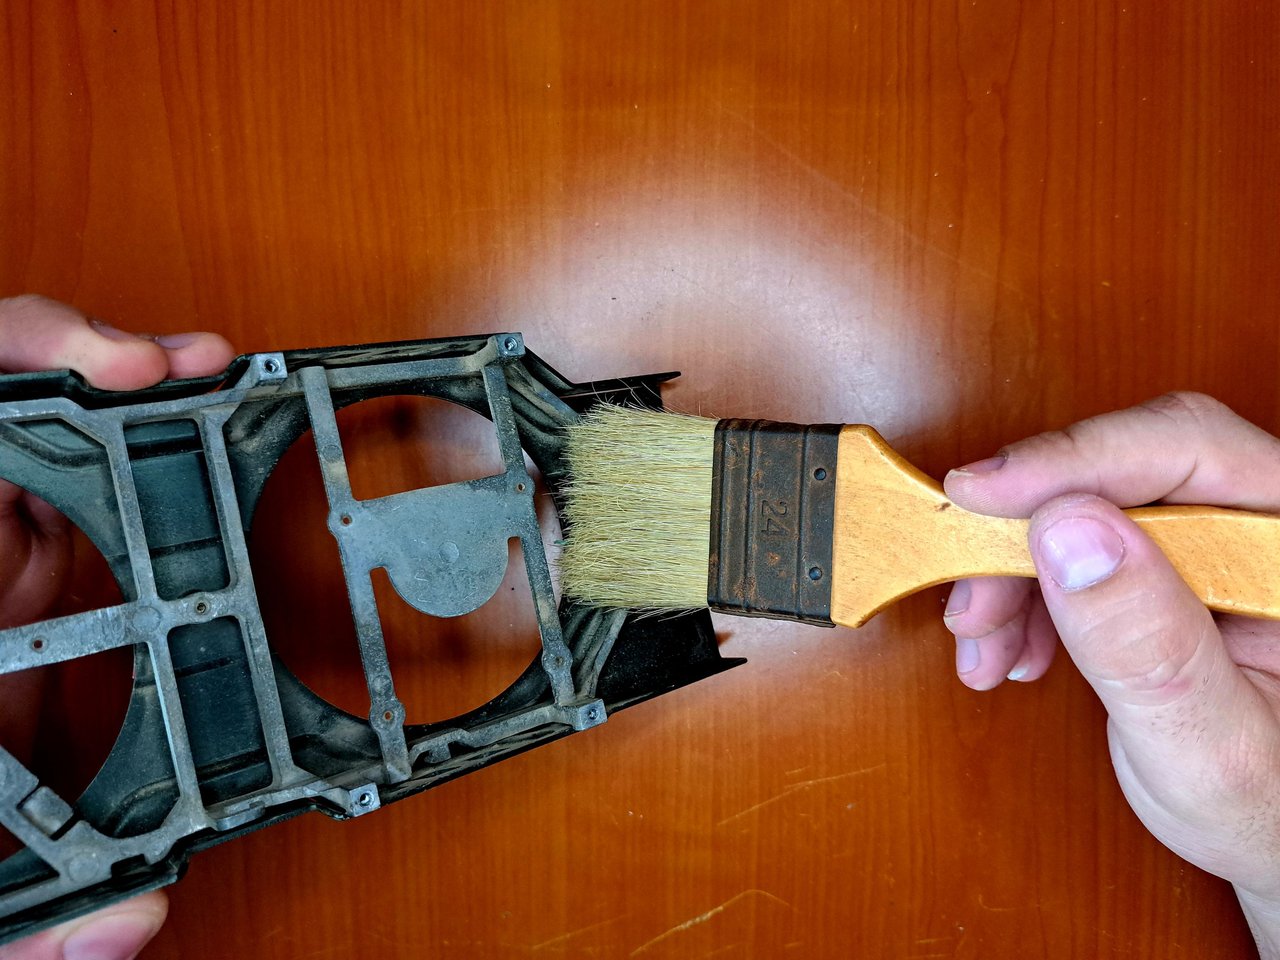 | 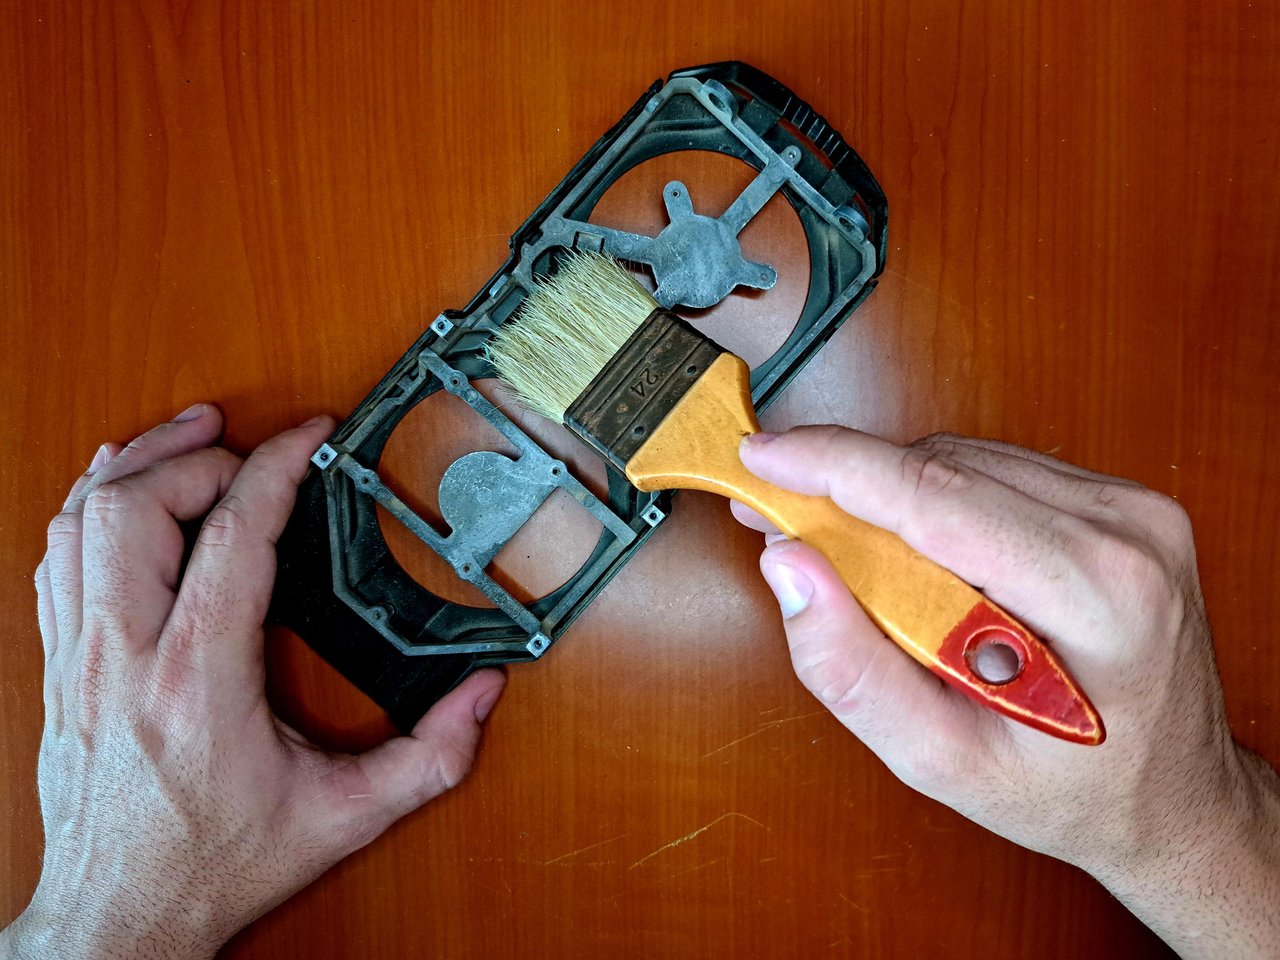 | 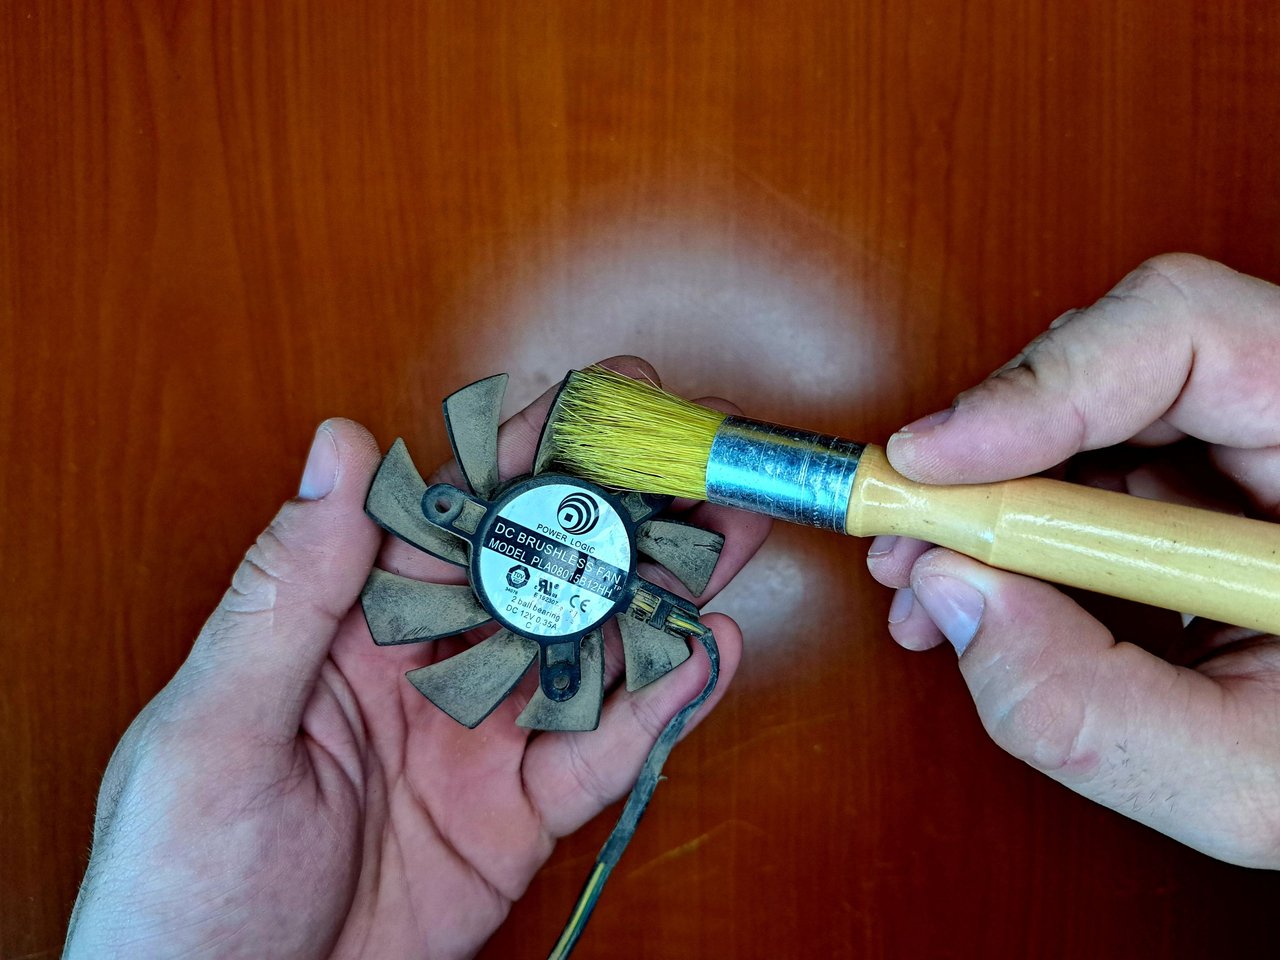 |
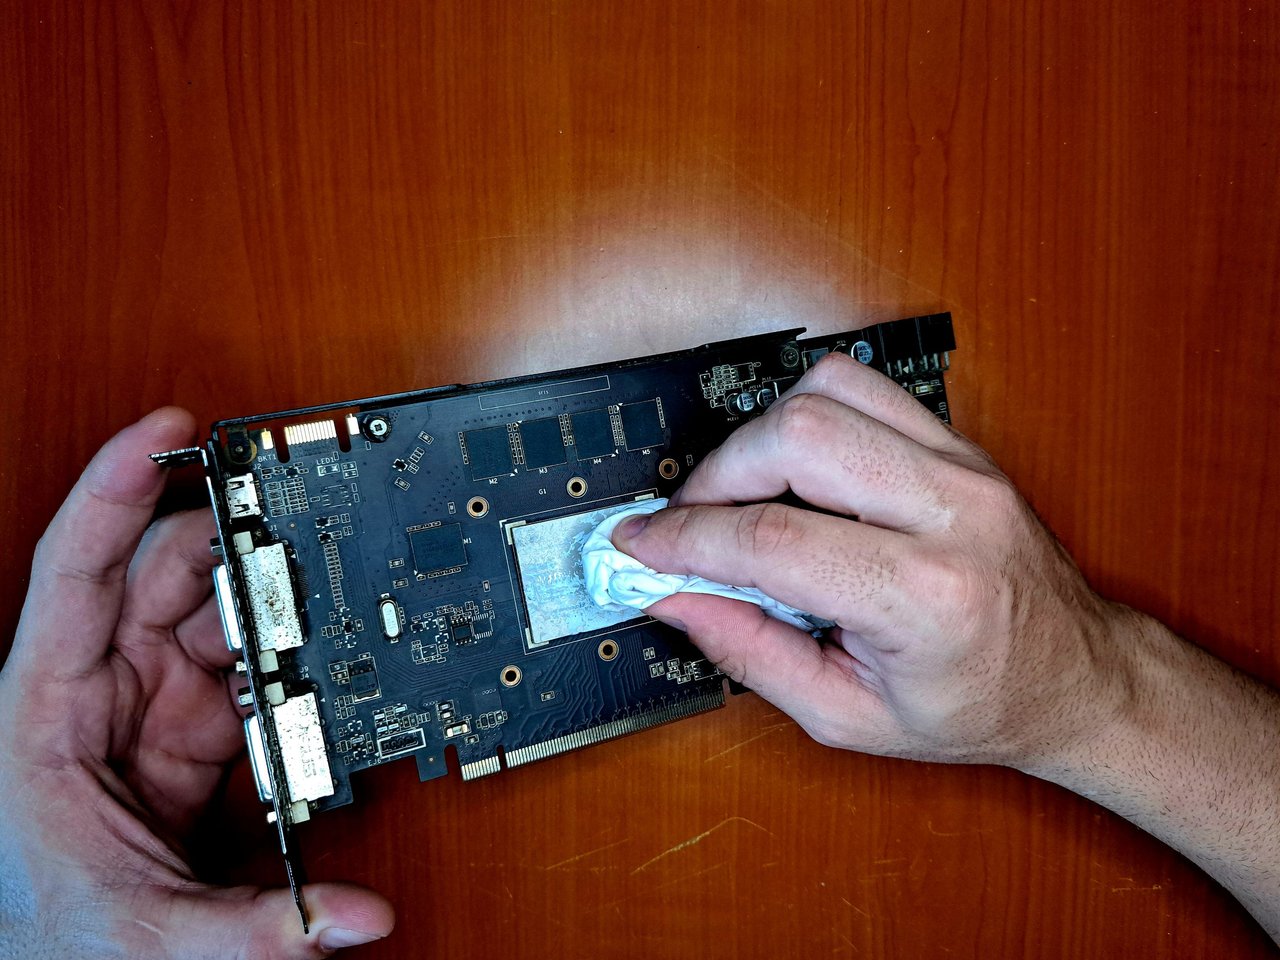
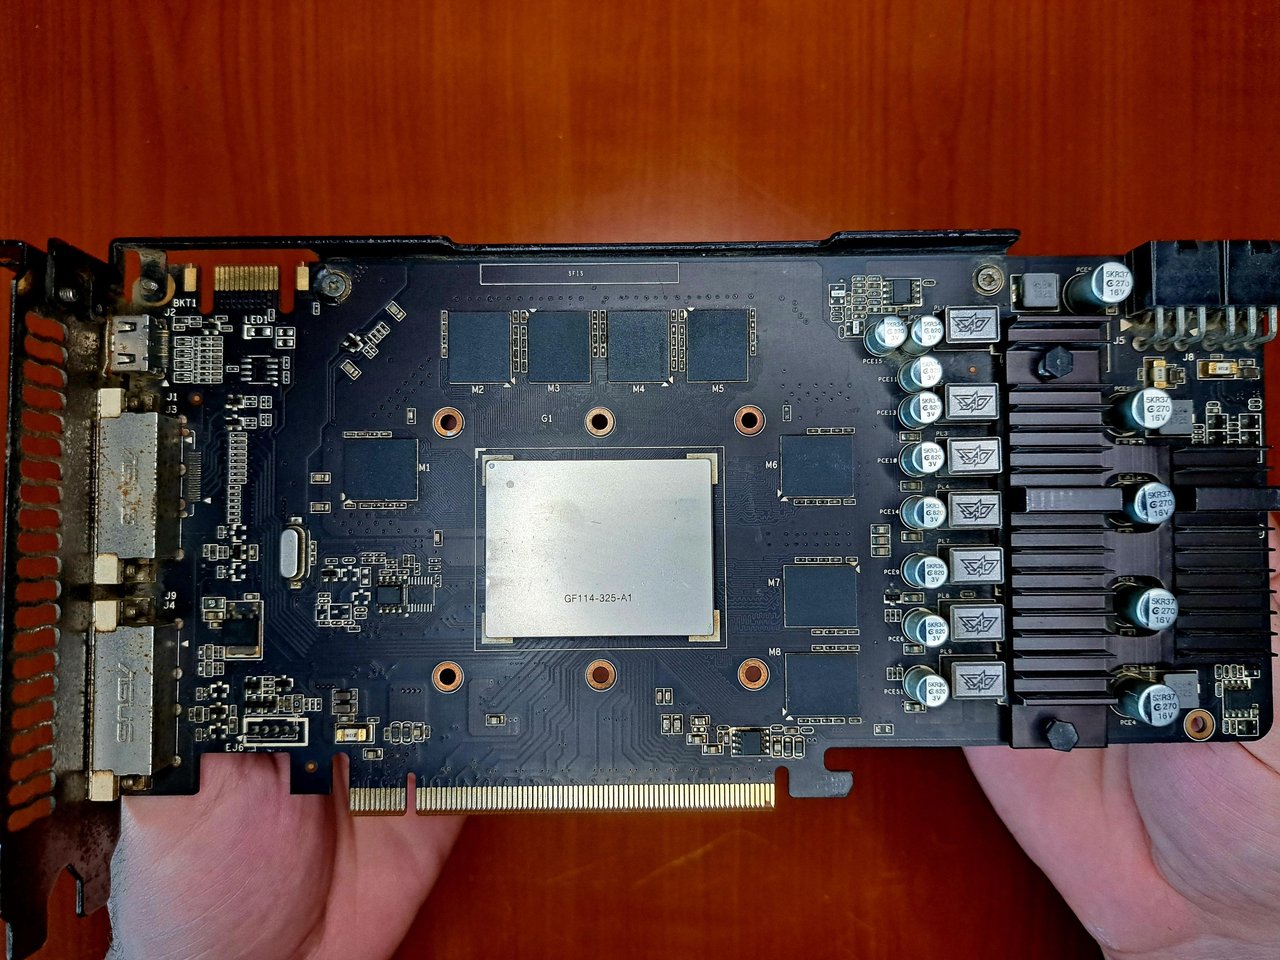
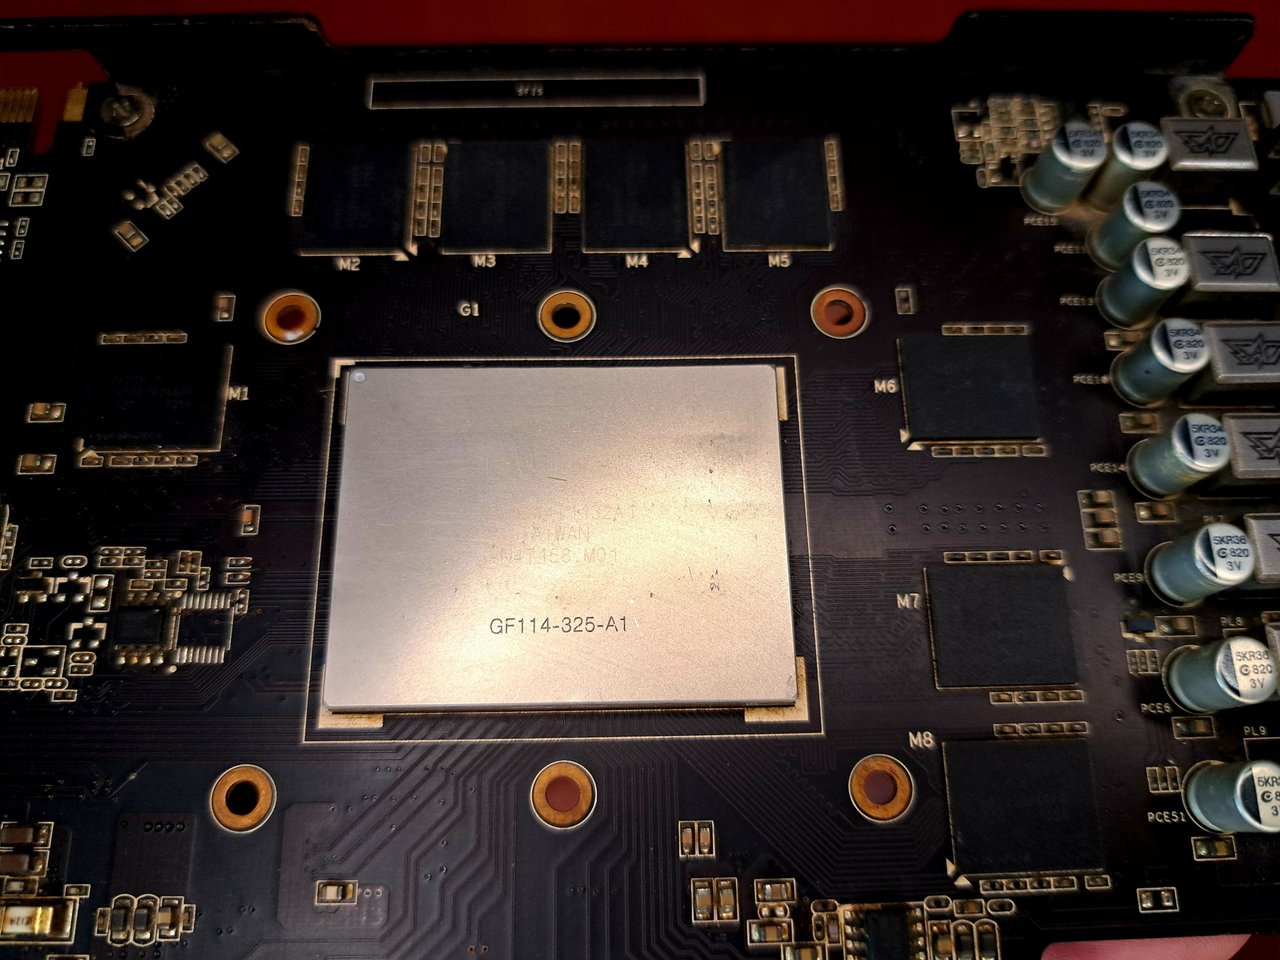
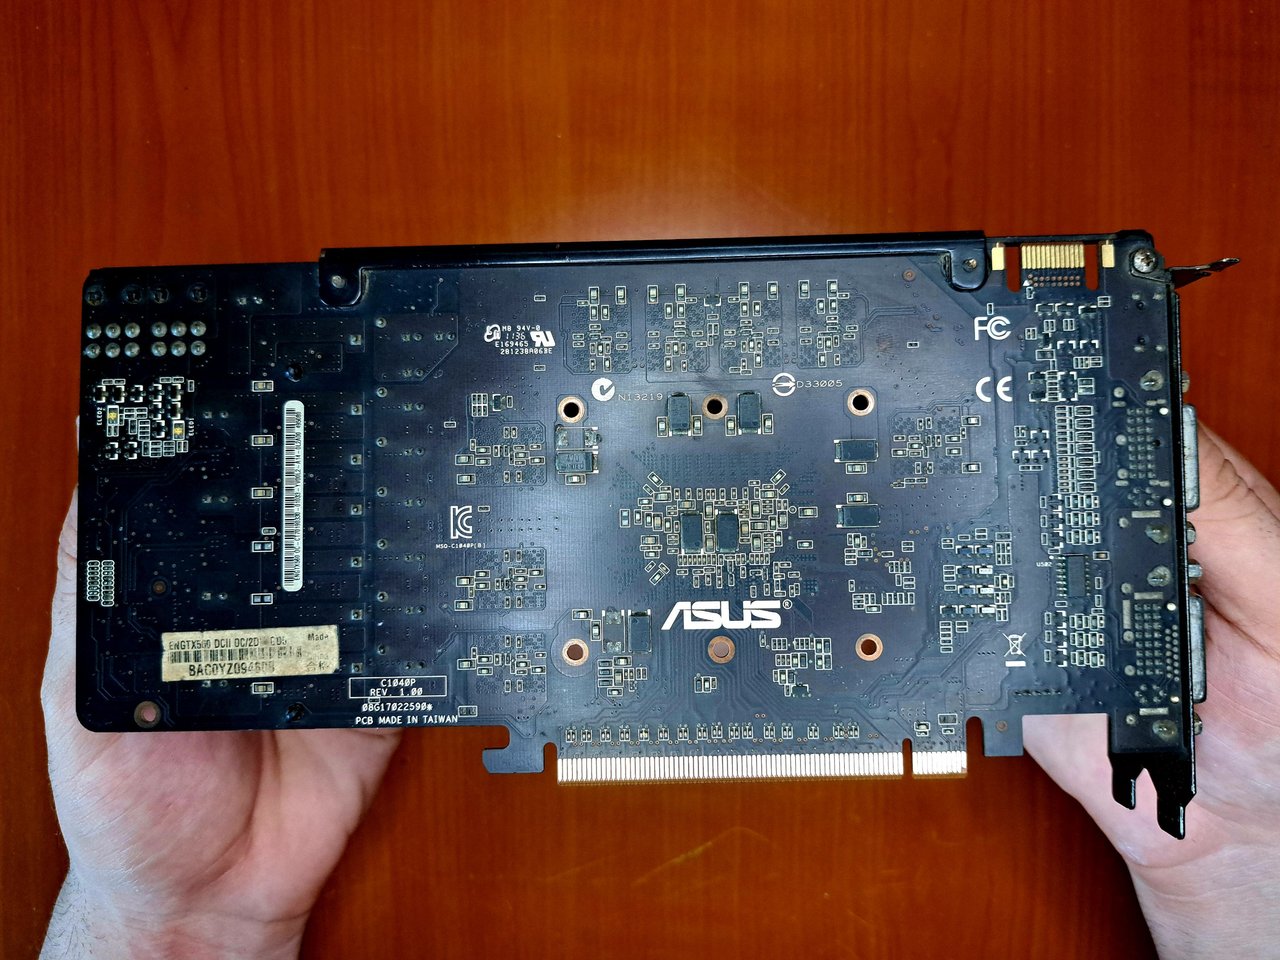
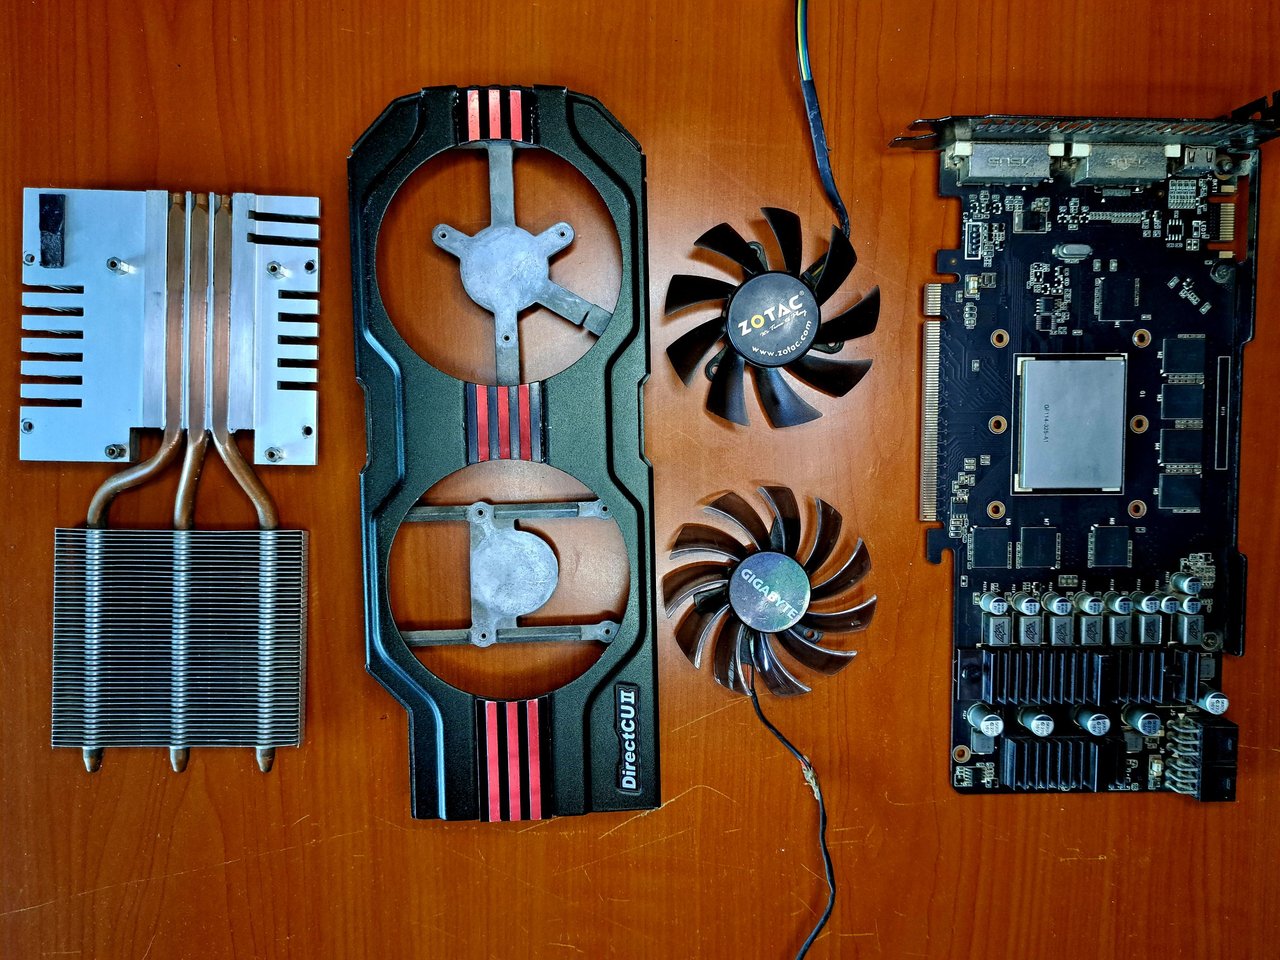
This deep cleaning also included the board, so I had to use a paper towel to carefully remove the old thermal paste. The case and boards were cleaned using a soap solution, but for the board and fans I used some isopropyl alcohol.
Dicha limpieza a profundidad incluía también a la placa, así que tuve que utilizar un papel de cocina y con mucho cuidado retirar la pasta térmica antigua. La carcasa y las placas fueron limpiadas utilizando una solución jabonosa, pero para la placa y los ventiladores utilicé un poco de alcohol isopropílico.
 |  |  |
 |  |
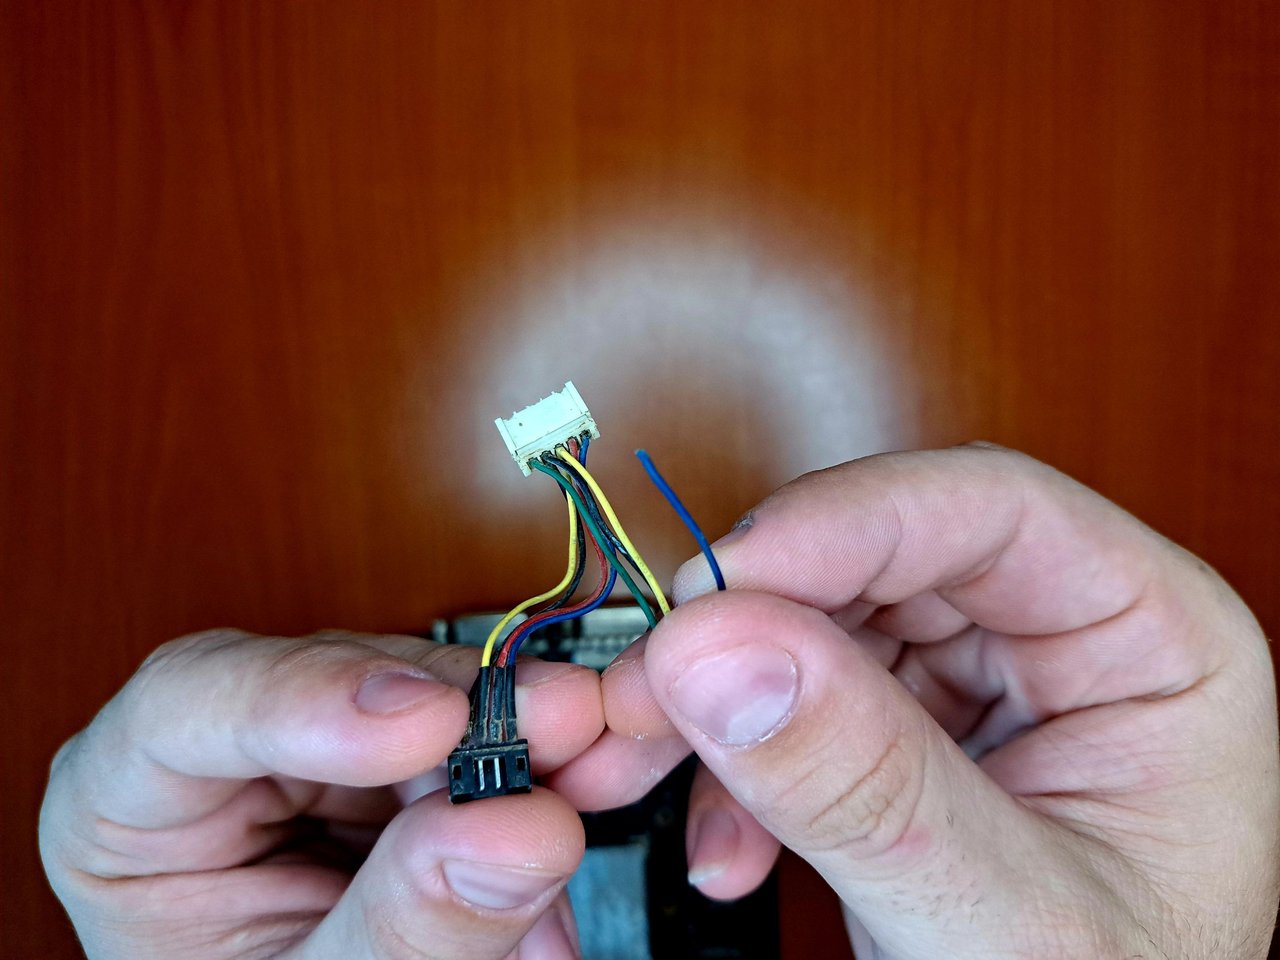
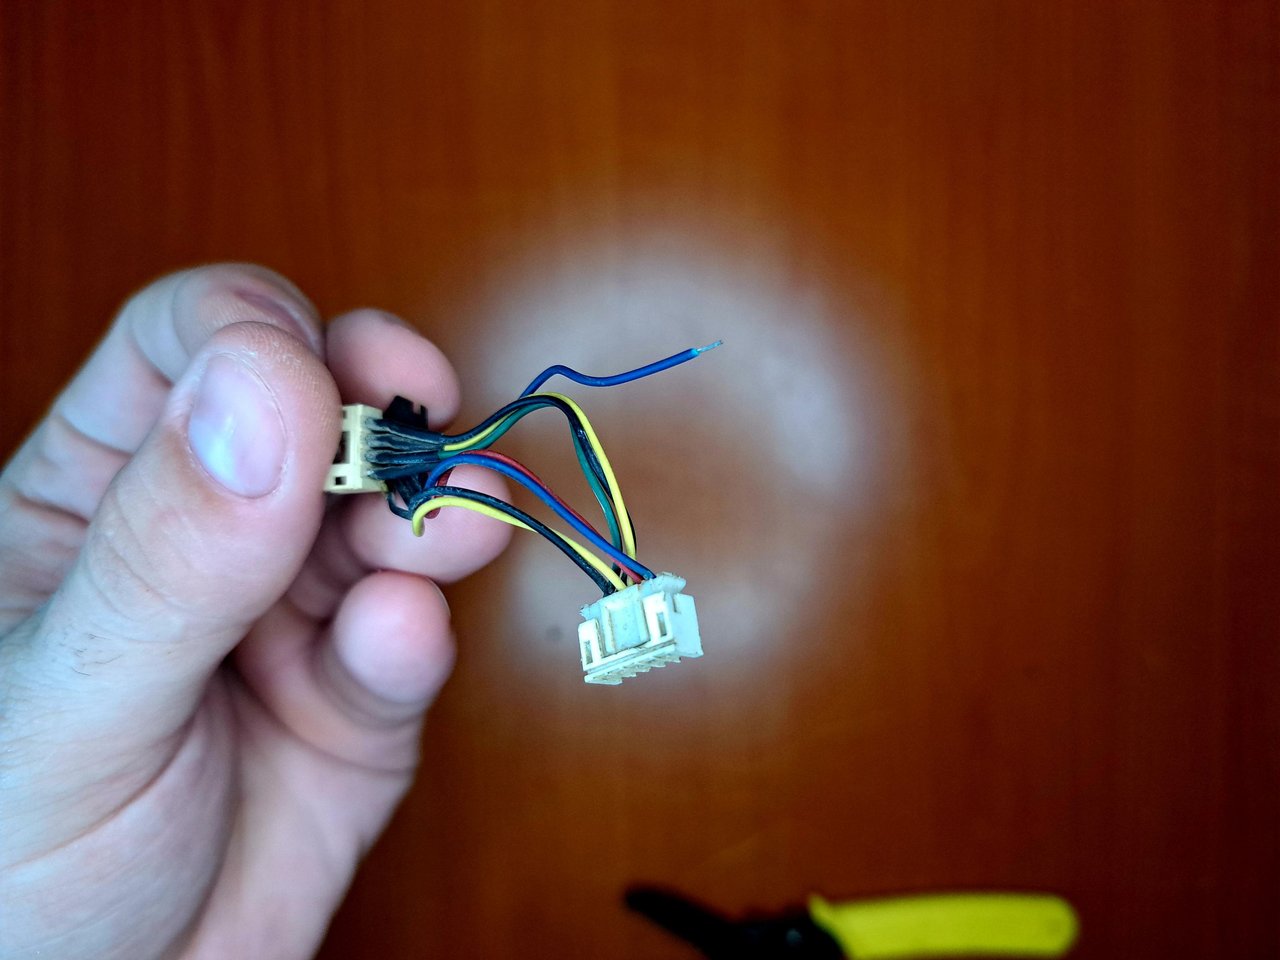
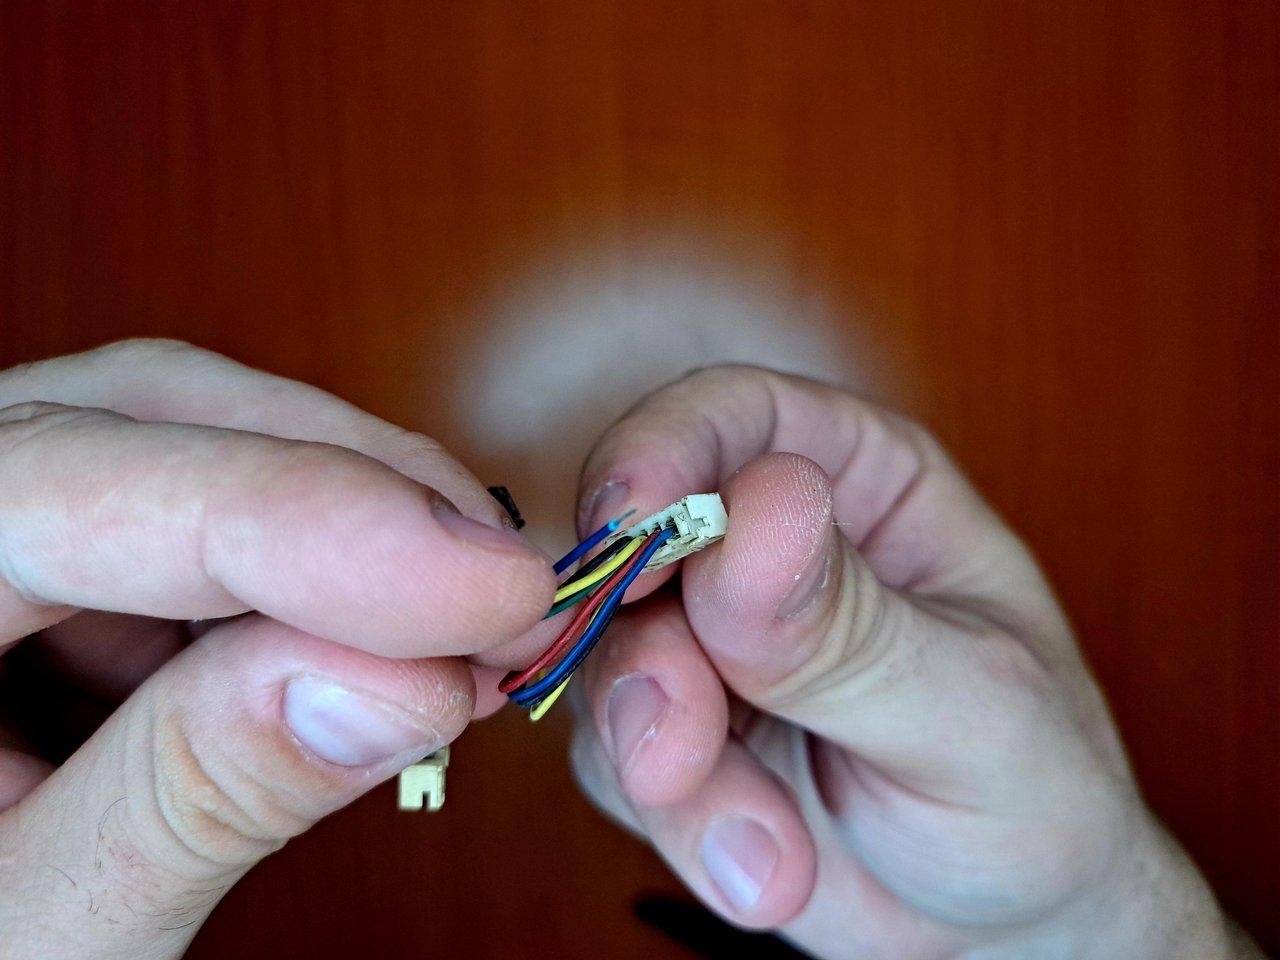
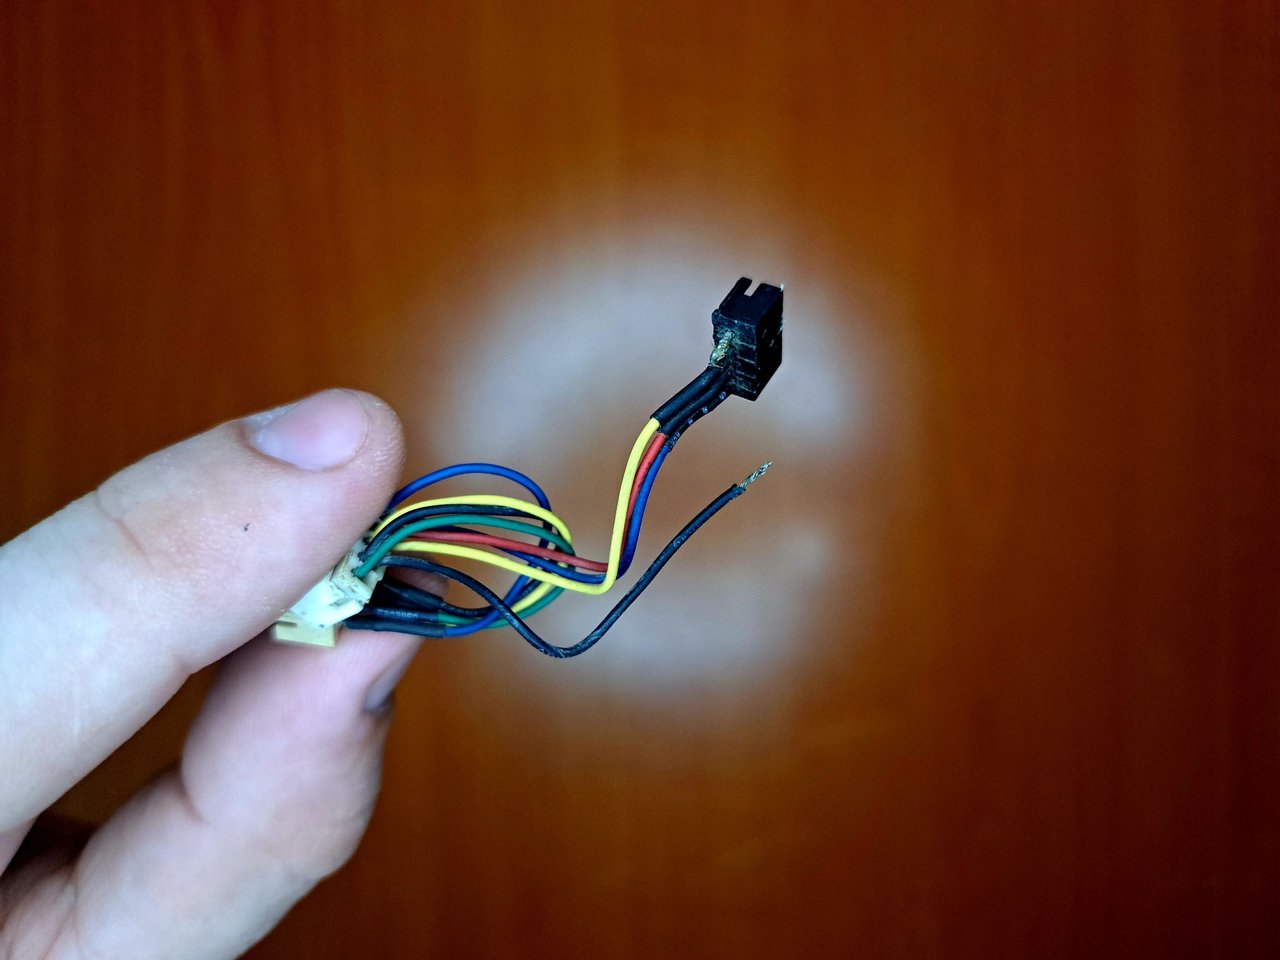
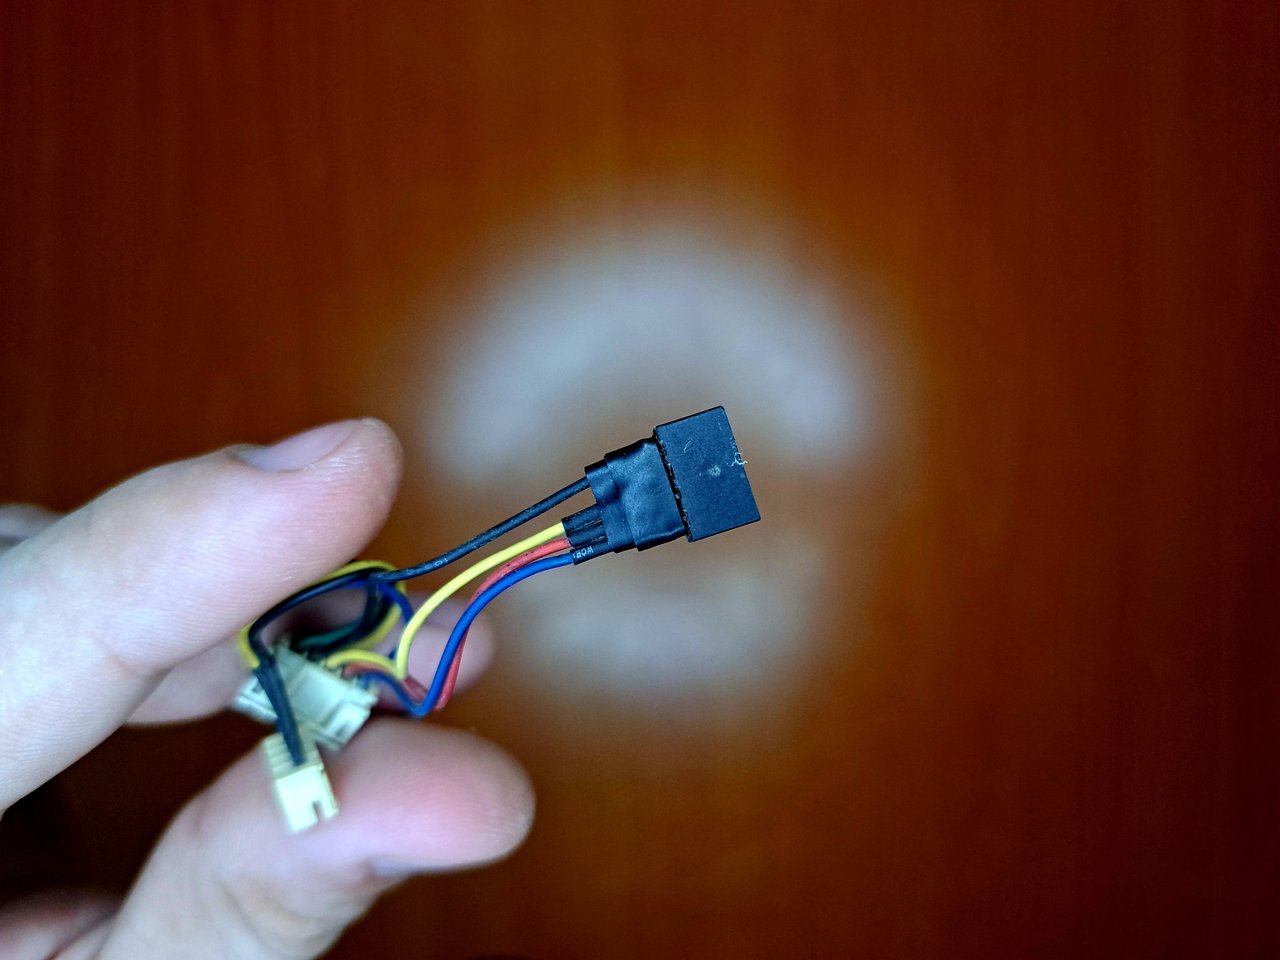
Once all the components were clean, I could start with the repair. The first thing was the fan power phase distributor. This part consists of a four-line socket, which is responsible for providing the power needed for the fans to work properly.
This piece had a detached wire, which I repositioned in its place, tuning it and tinning one of its ends to turn it into a sort of tuned tip that would fit into place. On the other end, the piece also had a solder from a previous repair that was starting to come loose and had already lost its insulator. After re-soldering, I applied thick, high temperature resistant insulation.
Una vez que todos los componentes estaban limpios, pude empezar con la reparación. Lo primero fue el distribuidor de las fases de alimentación de los ventiladores. Esta pieza consiste en una toma de cuatro líneas, la cual se encarga de proveer la energía necesaria para que los ventiladores funcionen correctamente.
Dicha pieza tenía un cable desprendido, el cual recoloqué en su lugar, afinándolo y estañando uno de sus extremos para convertirlo en una especie de punta afinada que encajara en su lugar. Por el otro extremo, la pieza también tenía una soldadura de una reparación anterior que se empezaba a soltar y ya había perdido su aislante. Luego de re-soldar, apliqué aislante grueso resistente a temperaturas altas.
 |  |
 |  |  |
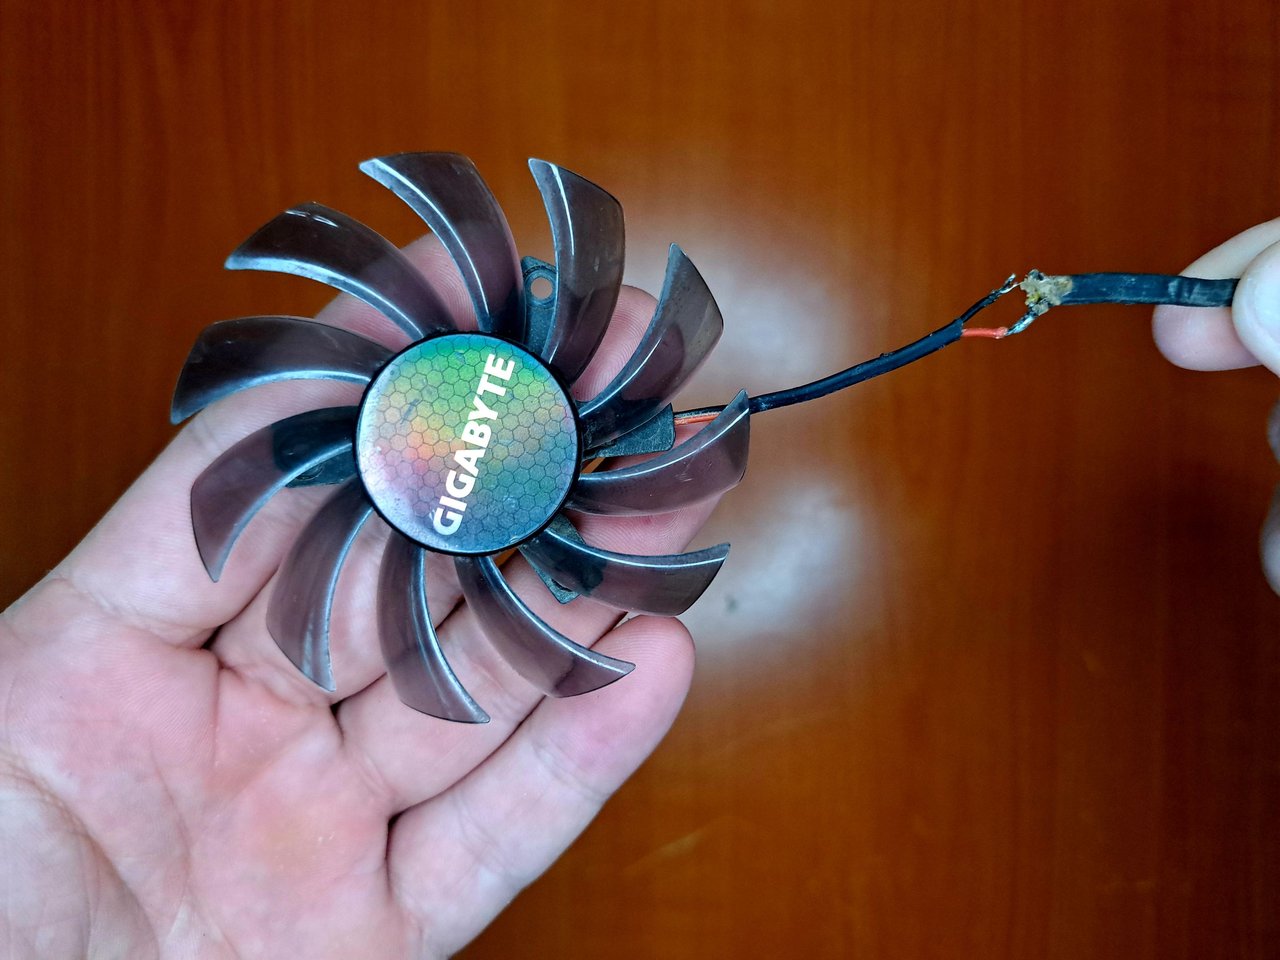
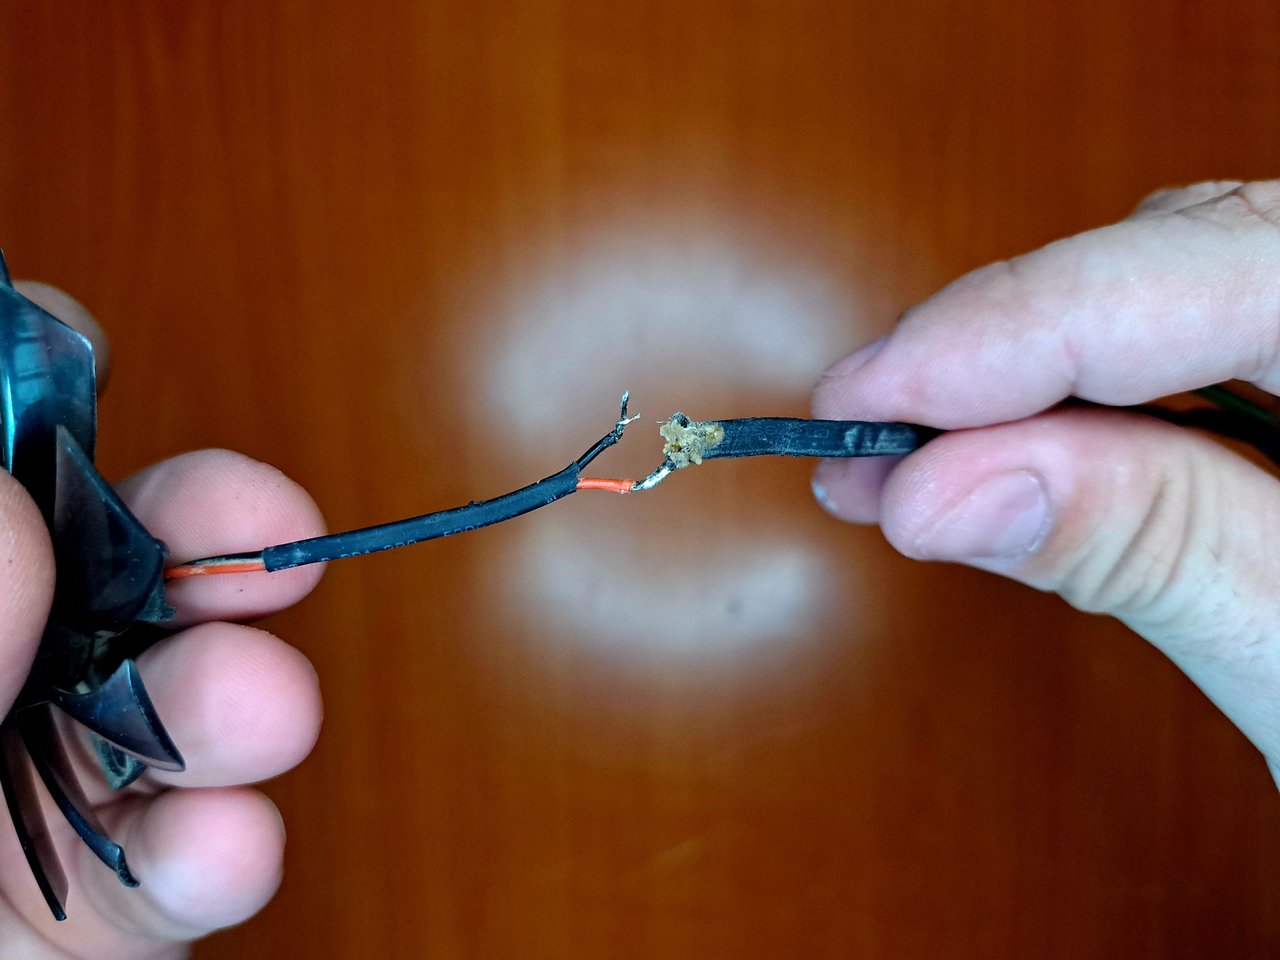
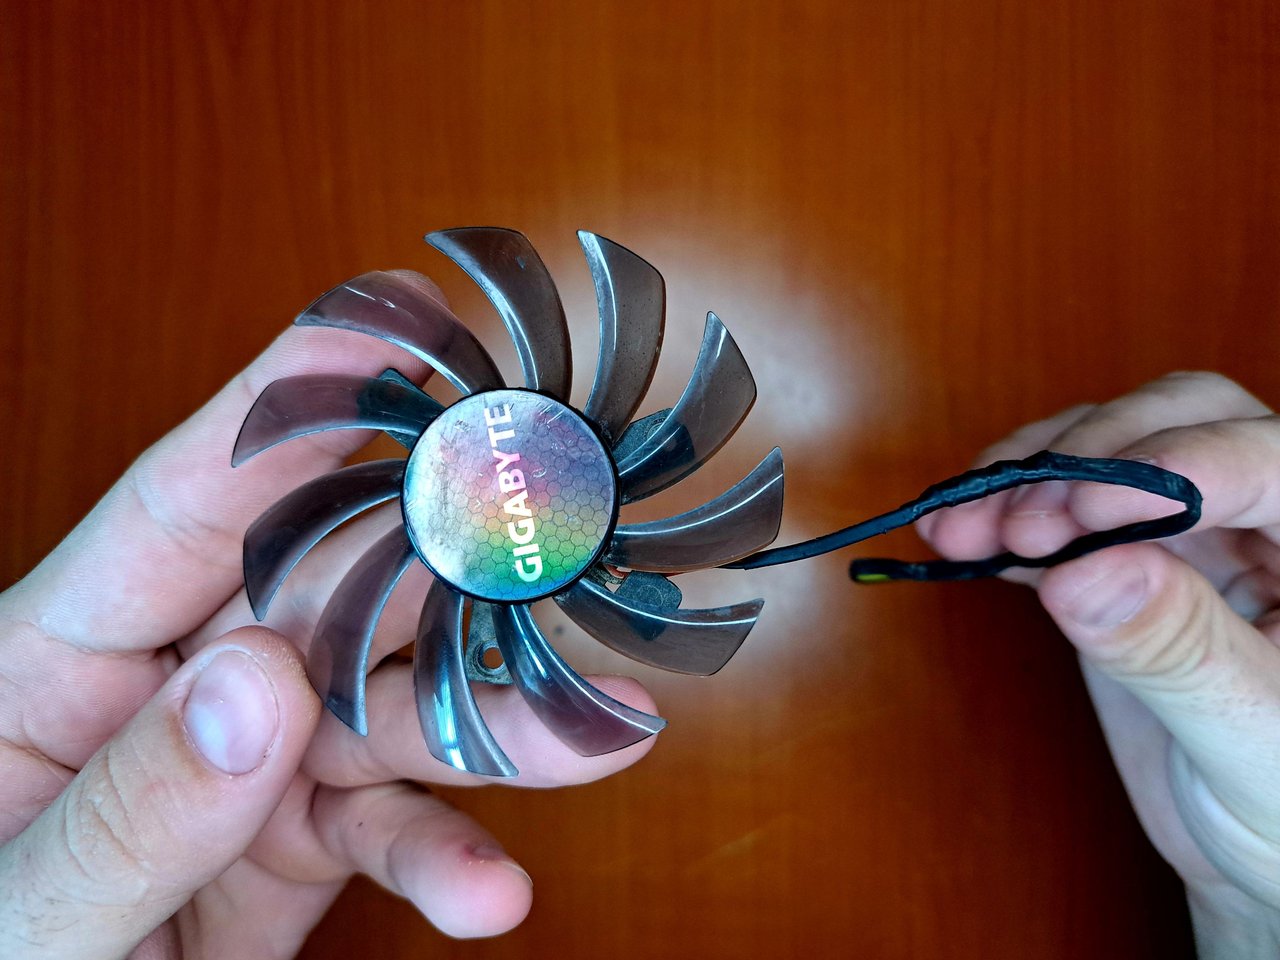
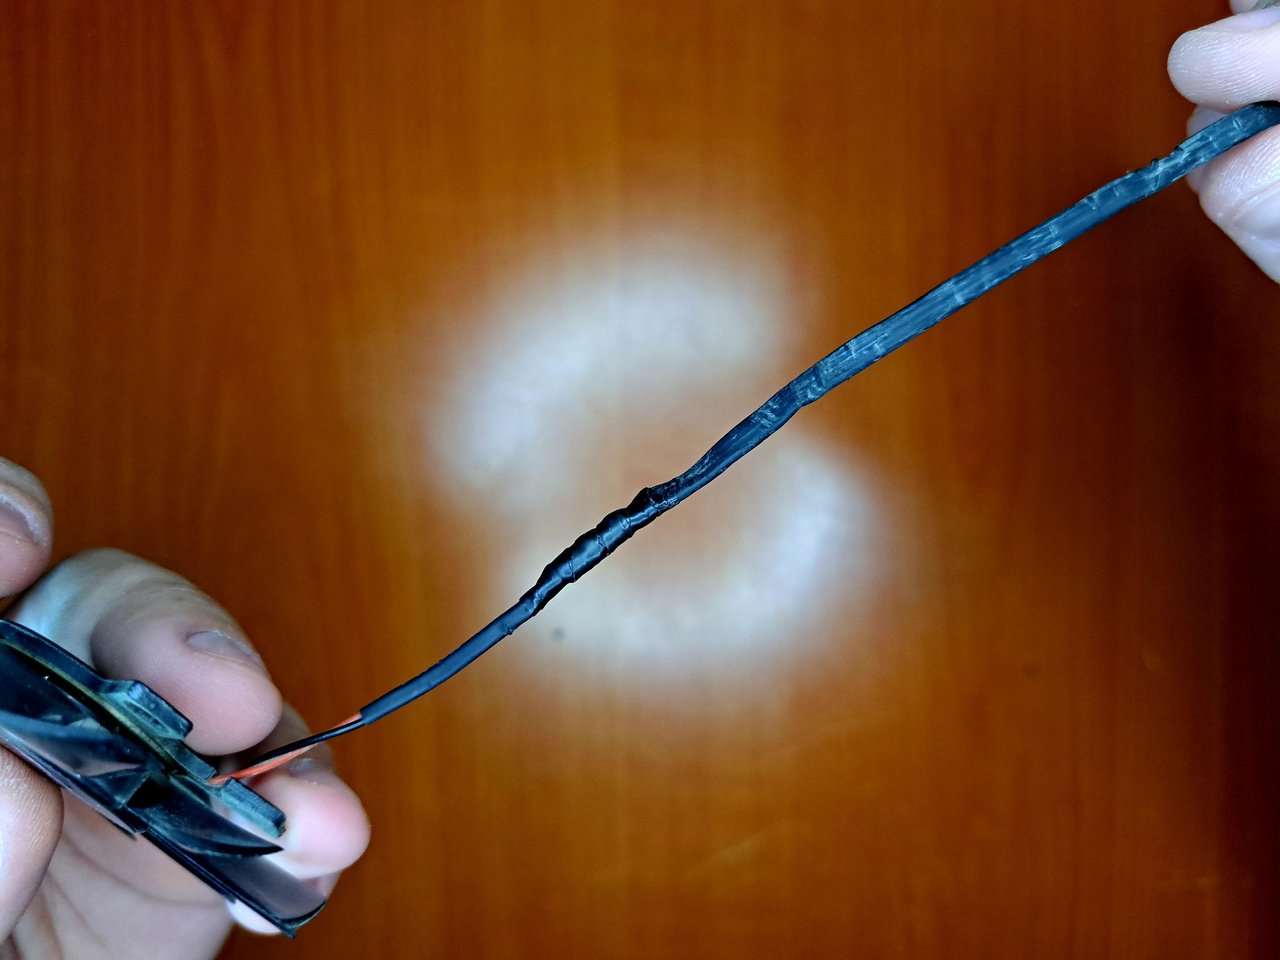
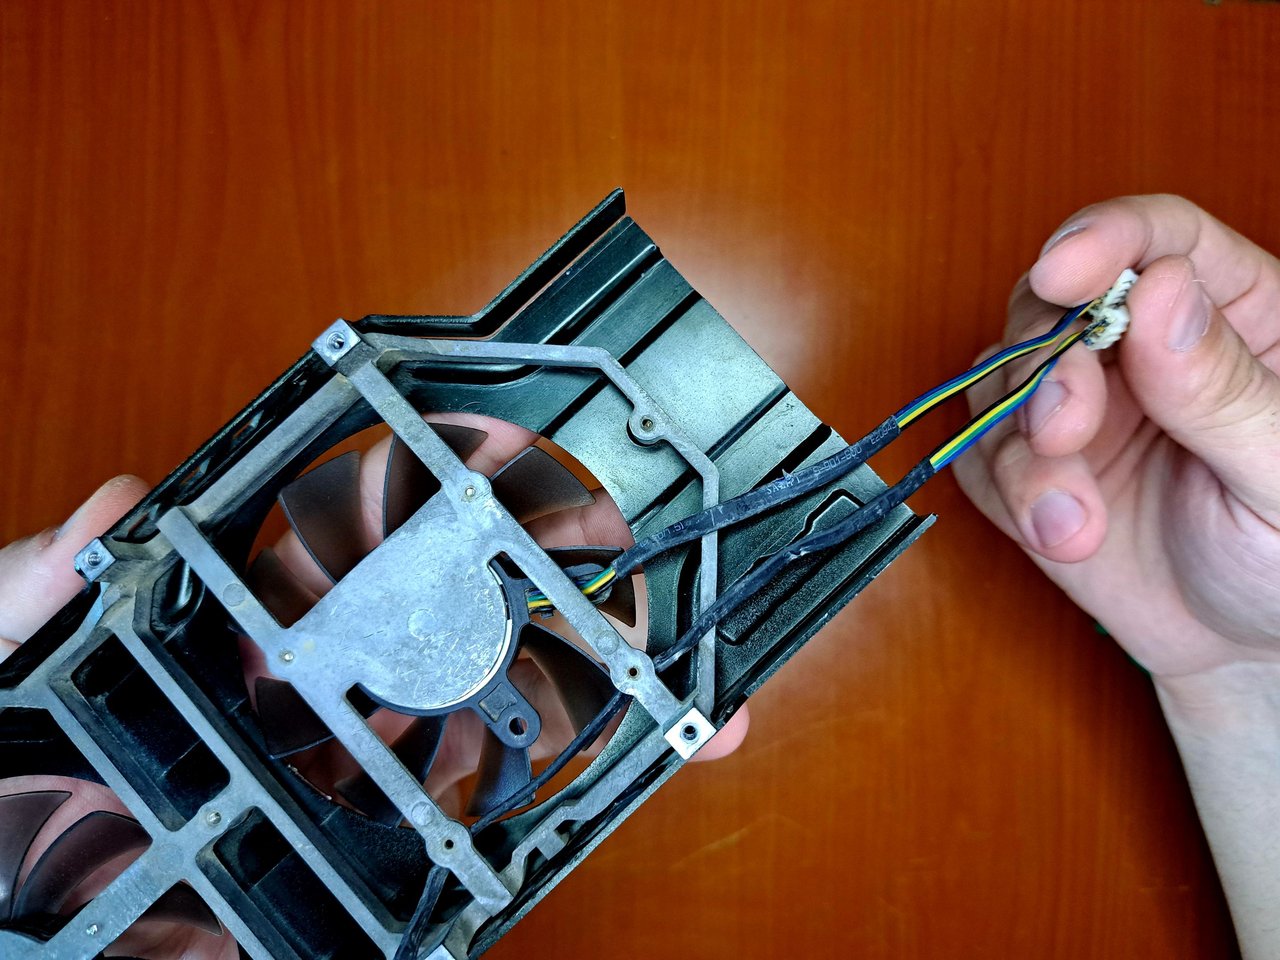
Next on the list was the power cable from one of the fans. This line was damaged at one of its joints, as the insulation had fallen off and was making contact with one of the copper tubes on the heatsink plate, which tend to get very hot. After soldering the joint, I covered it with the same insulating tape used before.
Lo siguiente en la lista era el cable de alimentación de uno de los ventiladores. Esta línea estaba dañada en uno de sus empates, ya que el aislante se había caído y estaba haciendo contacto con uno de los tubos de cobre de la placa de disipación, los cuales tienden a calentarse muchísimo. Luego de soldar la unión, la cubrí con la misma cinta aislante utilizada anteriormente.
 |  |
 |  |
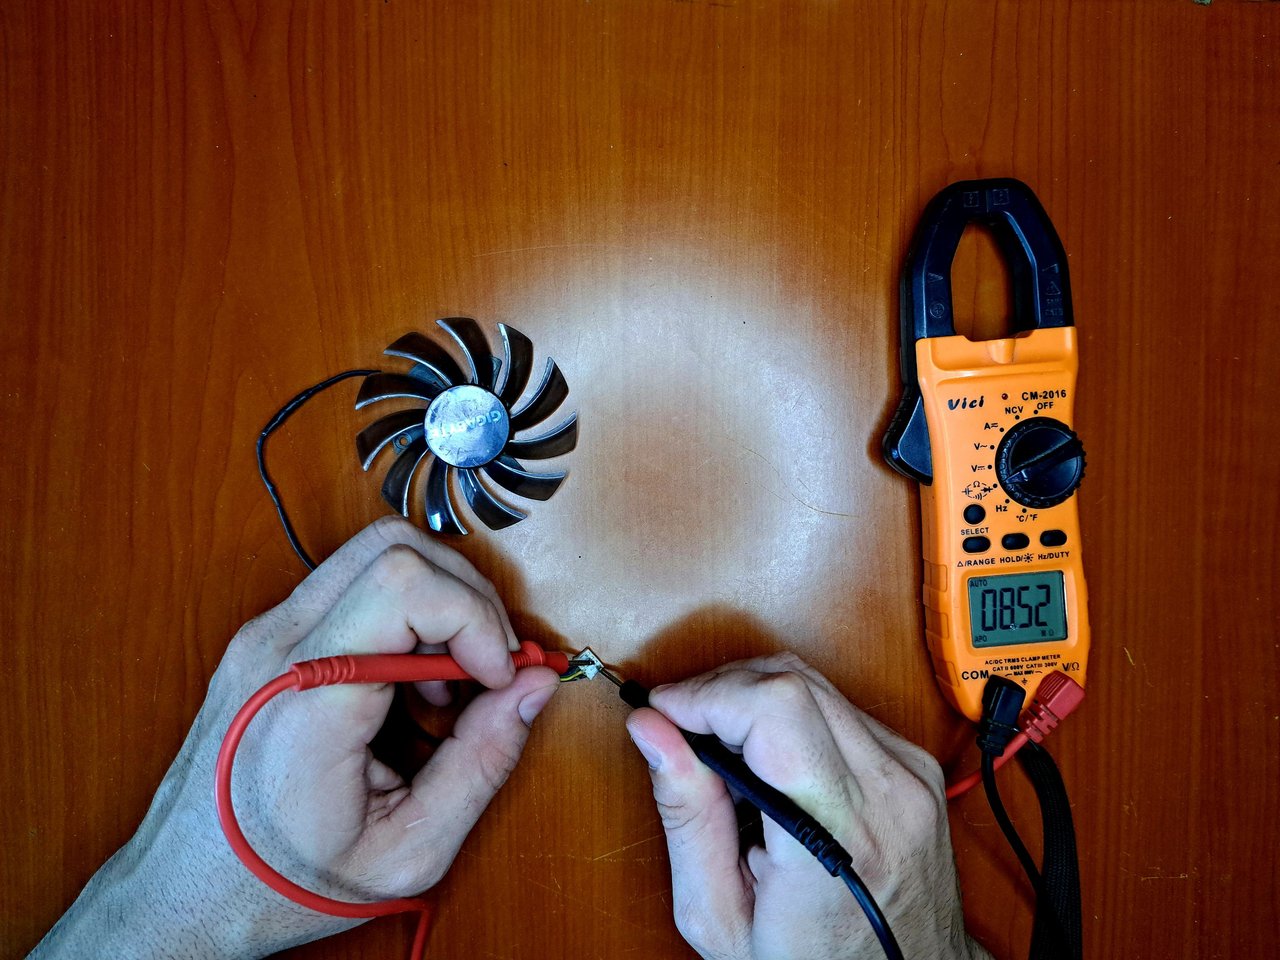
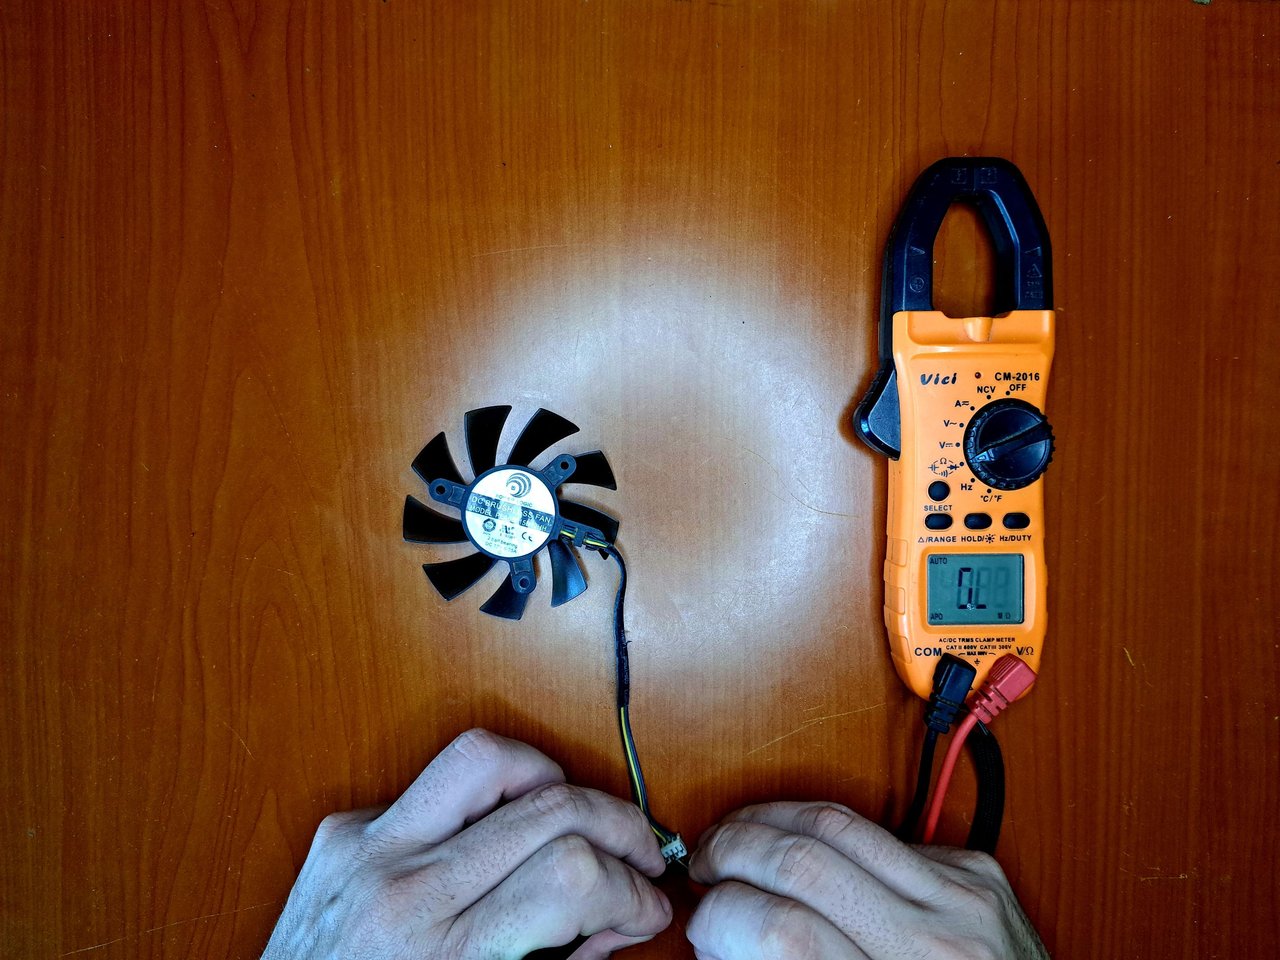
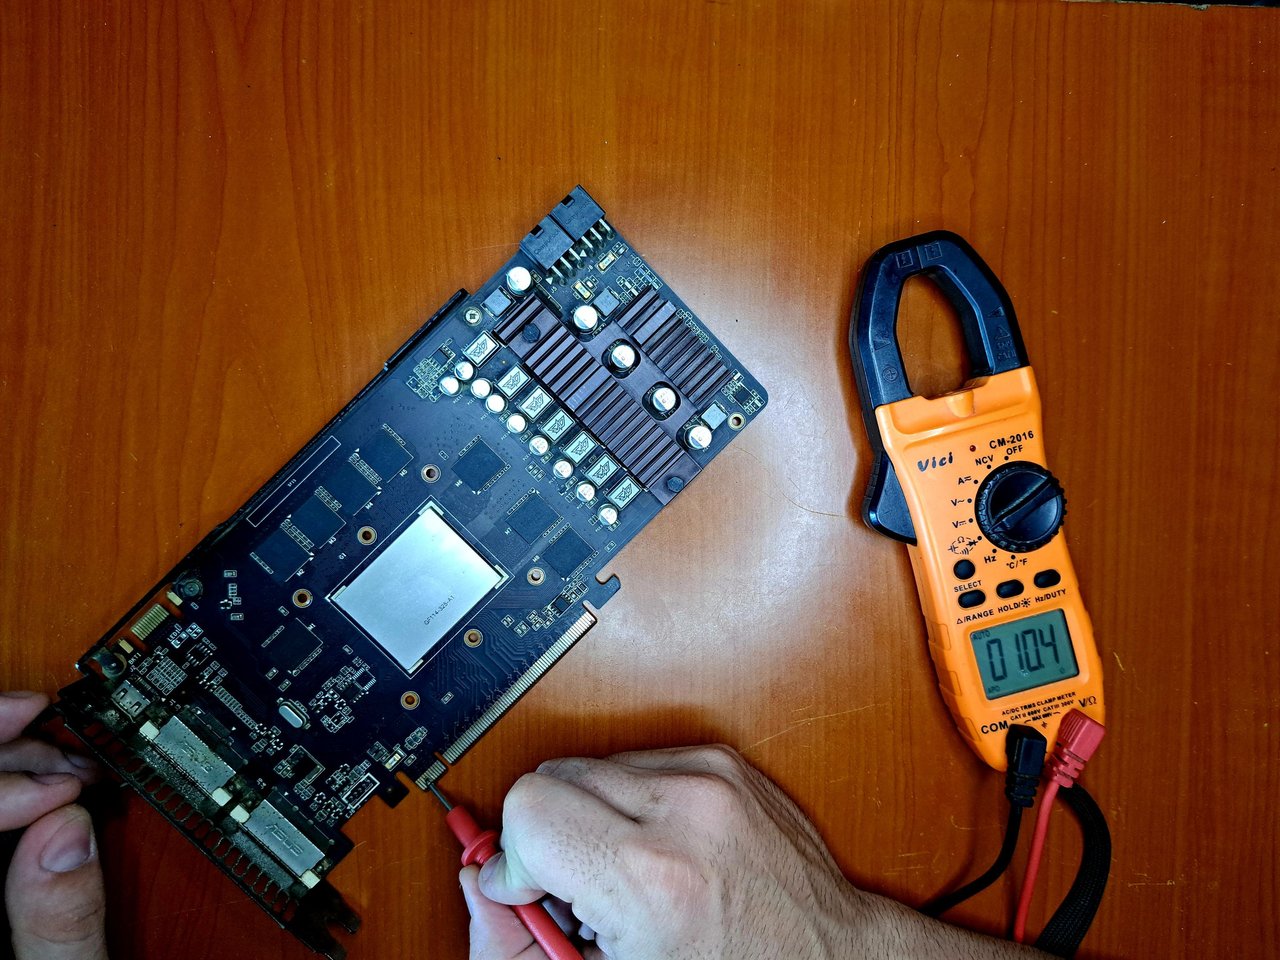
Once the visible faults were fixed, I proceeded to make some continuity and resistance measurements on the fans and the power supply phase of the board, looking for any indication of a power failure. This can sometimes save us from damaging a component when we get to the test phase.
When I found no signs of power failure, I proceeded to put the fans and heatsinks back in place.
Una vez que las fallas visibles estuvieron arregladas, procedí a hacer algunas mediciones de continuidad y resistencia en los ventiladores y la fase de alimentación de la placa, buscando algún indicio que me señalara la existencia de algún corte eléctrico. Esto a veces puede salvarnos de dañar algún componente al llegar a la fase de prueba.
Al no encontrar indicios de cortes eléctricos, procedí a recolocar los ventiladores y las placas de disipación en su lugar.
 |  |  |
 |  |  |
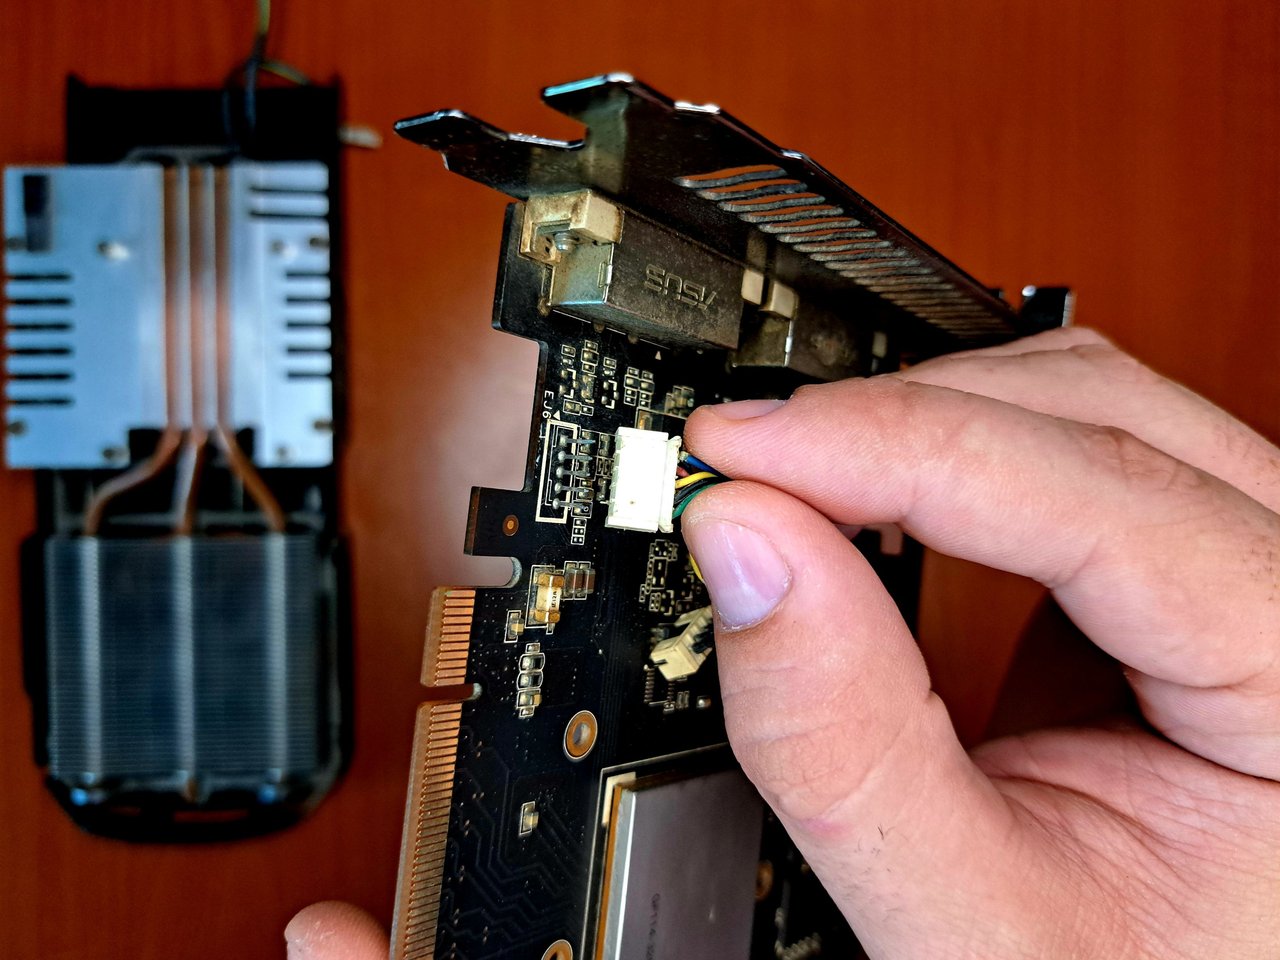
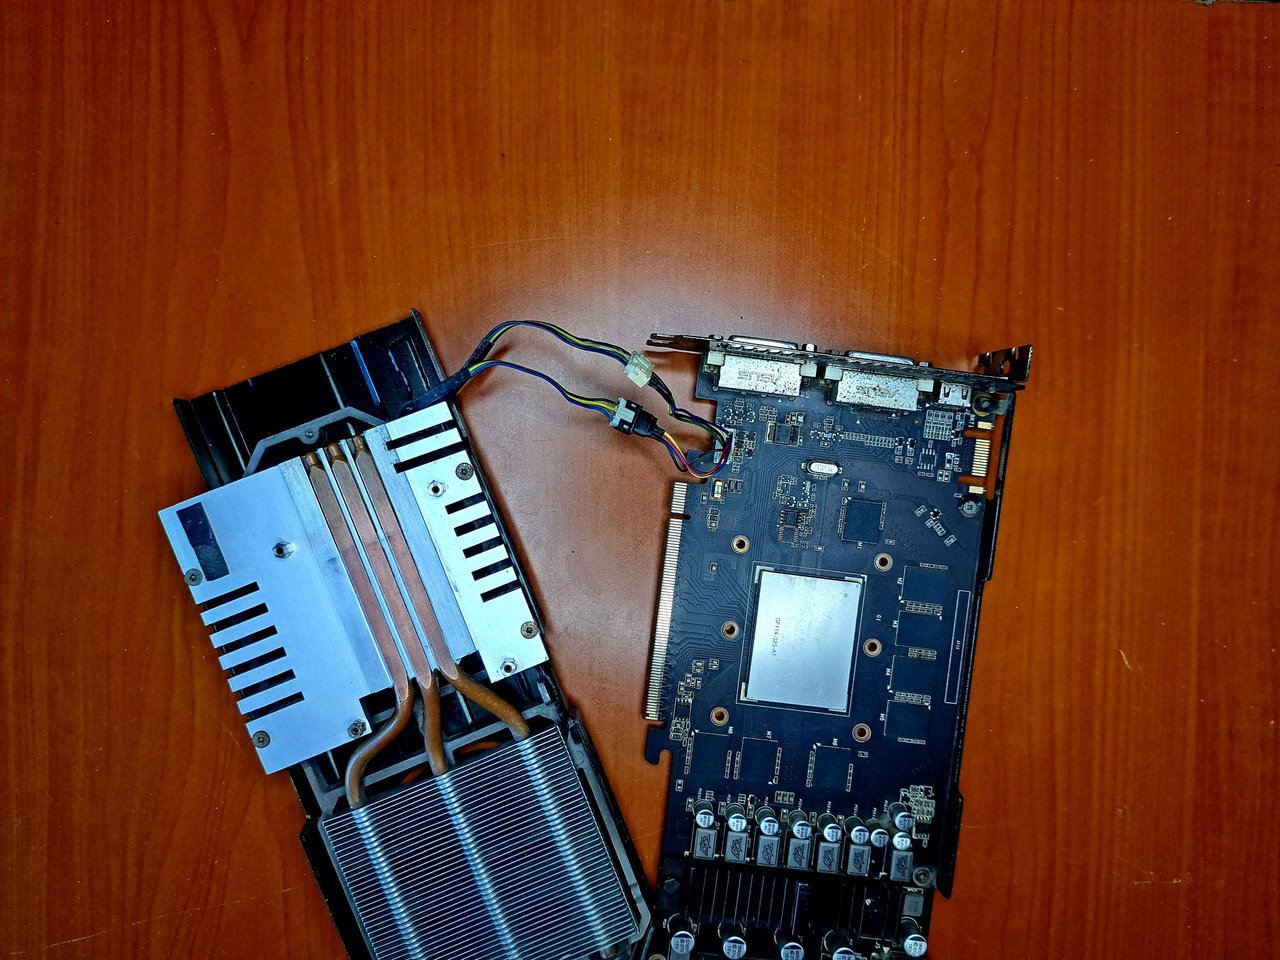
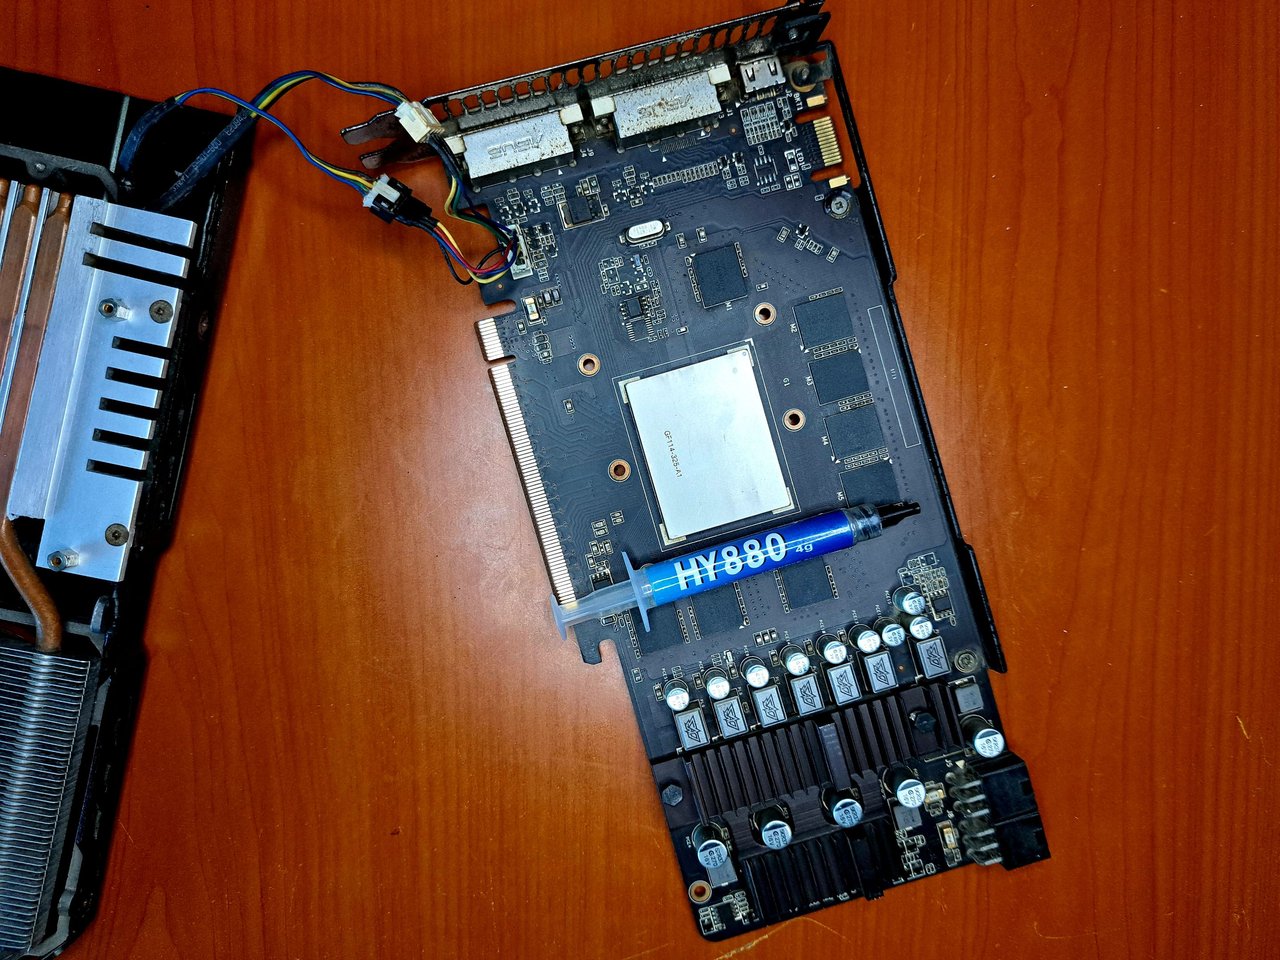
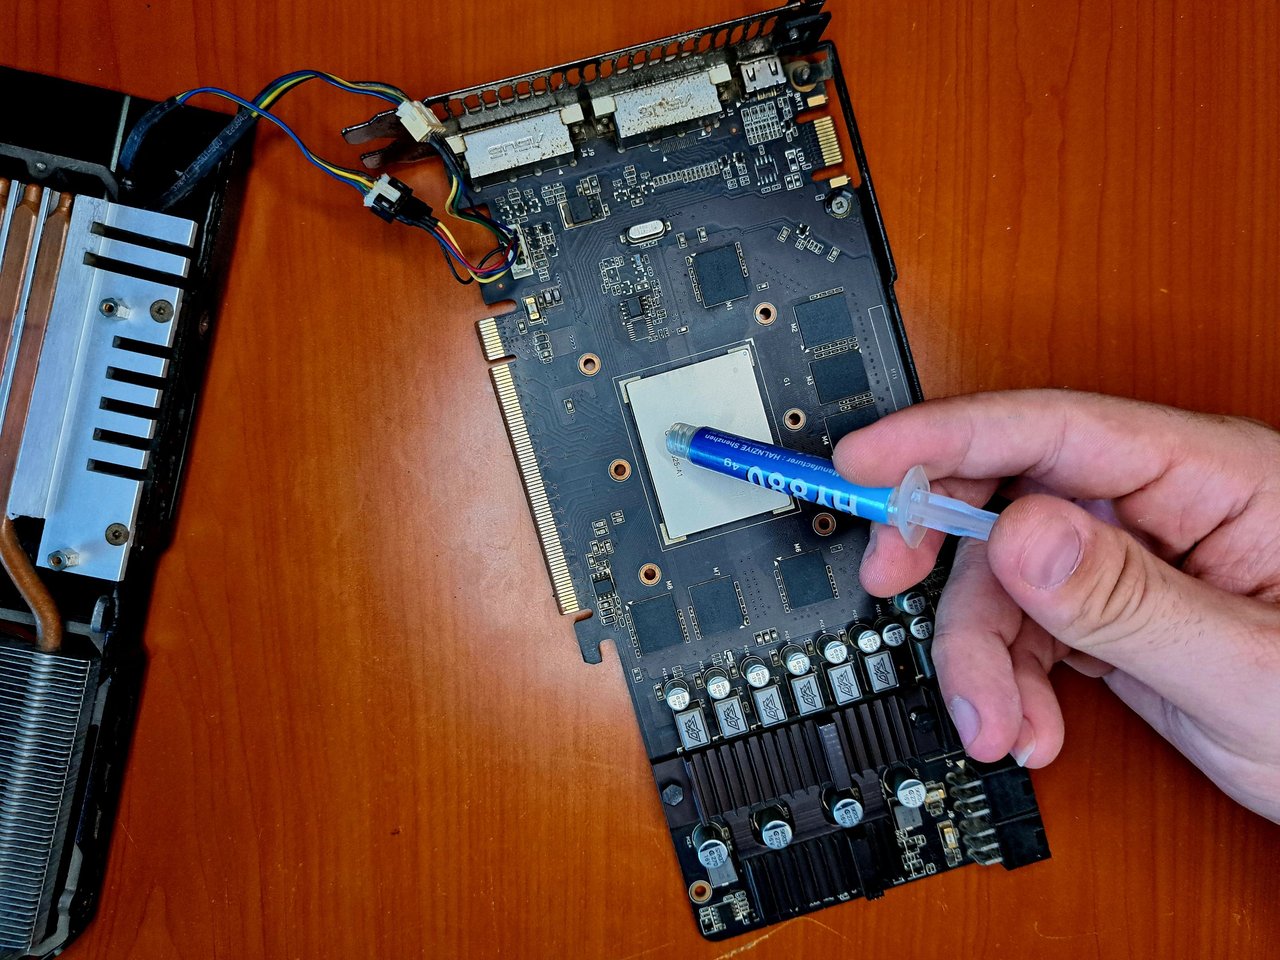
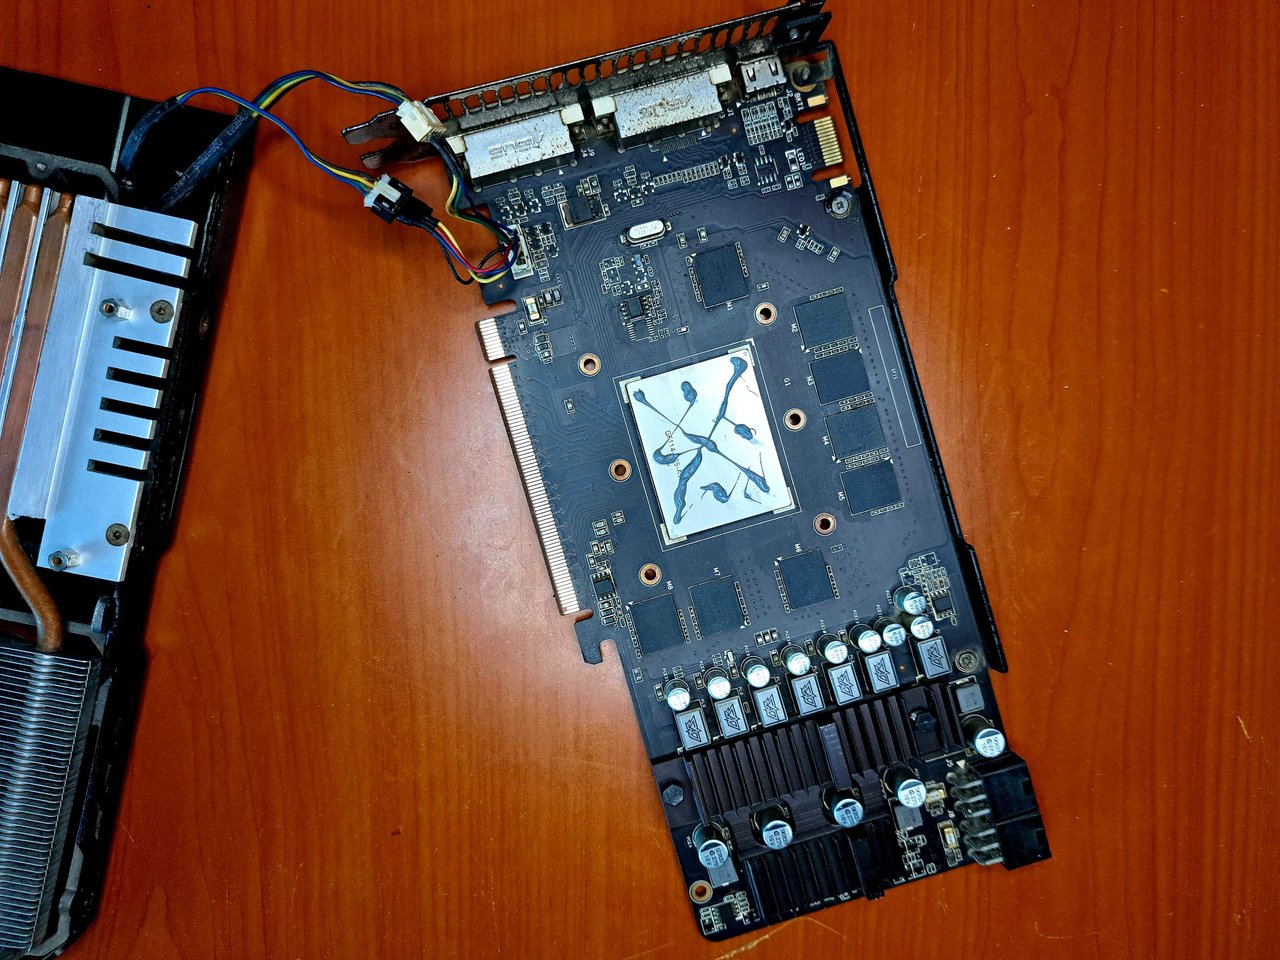
After repositioning the fans, I screwed the heatsink back to the upper case, leaving it ready to attach to the board. To do this, the first thing I did was to reconnect the distributor of the fan power phases to the board. Then I applied thermal paste on the GPU chip to finally close it as if it were a sandwich, and screw it again at the bottom.
Luego de recolocar los ventiladores, atornillé nuevamente el disipador a la carcasa superior, dejándola lista para unirla a la placa de la tarjeta. Para ello, lo primero que hice fue reconectar el distribuidor de las fases de alimentación de los ventiladores a la placa. Luego apliqué pasta térmica sobre el chip de la GPU para finalmente cerrarla como si fuera un sándwich, y volver a atornillarla por la parte inferior.
 |  |
 |  |  |
 | 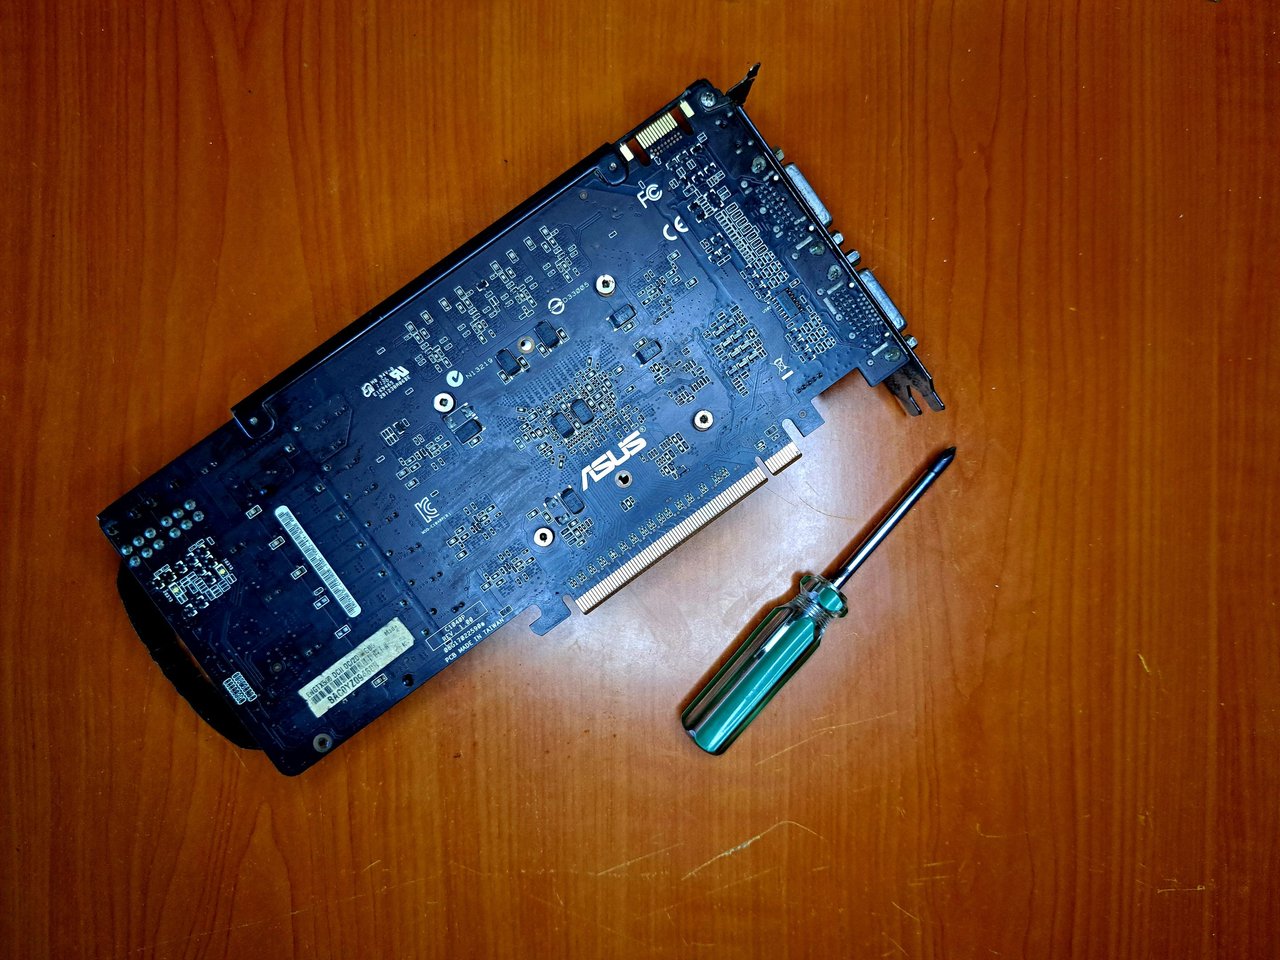 |
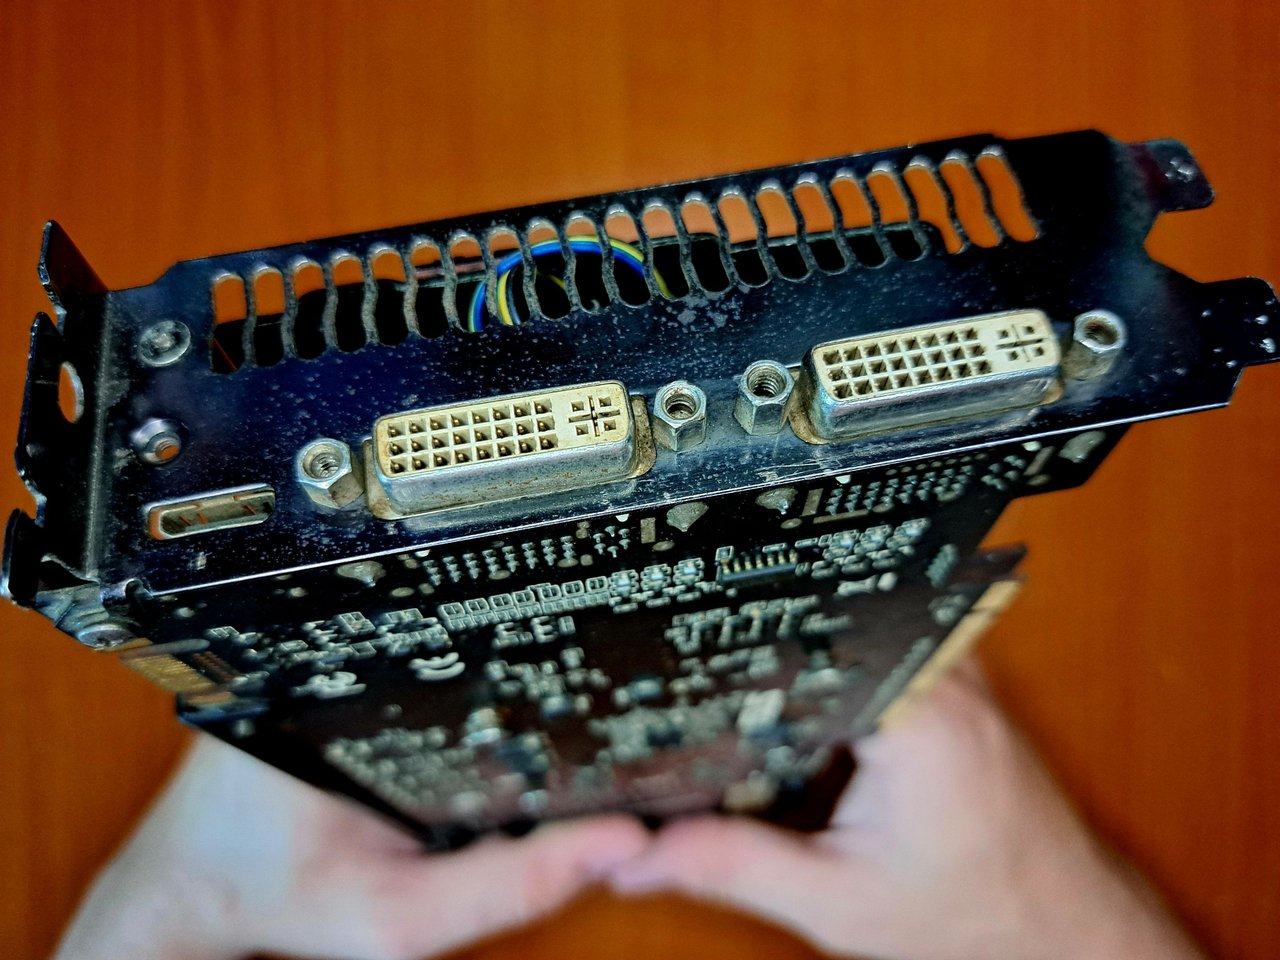
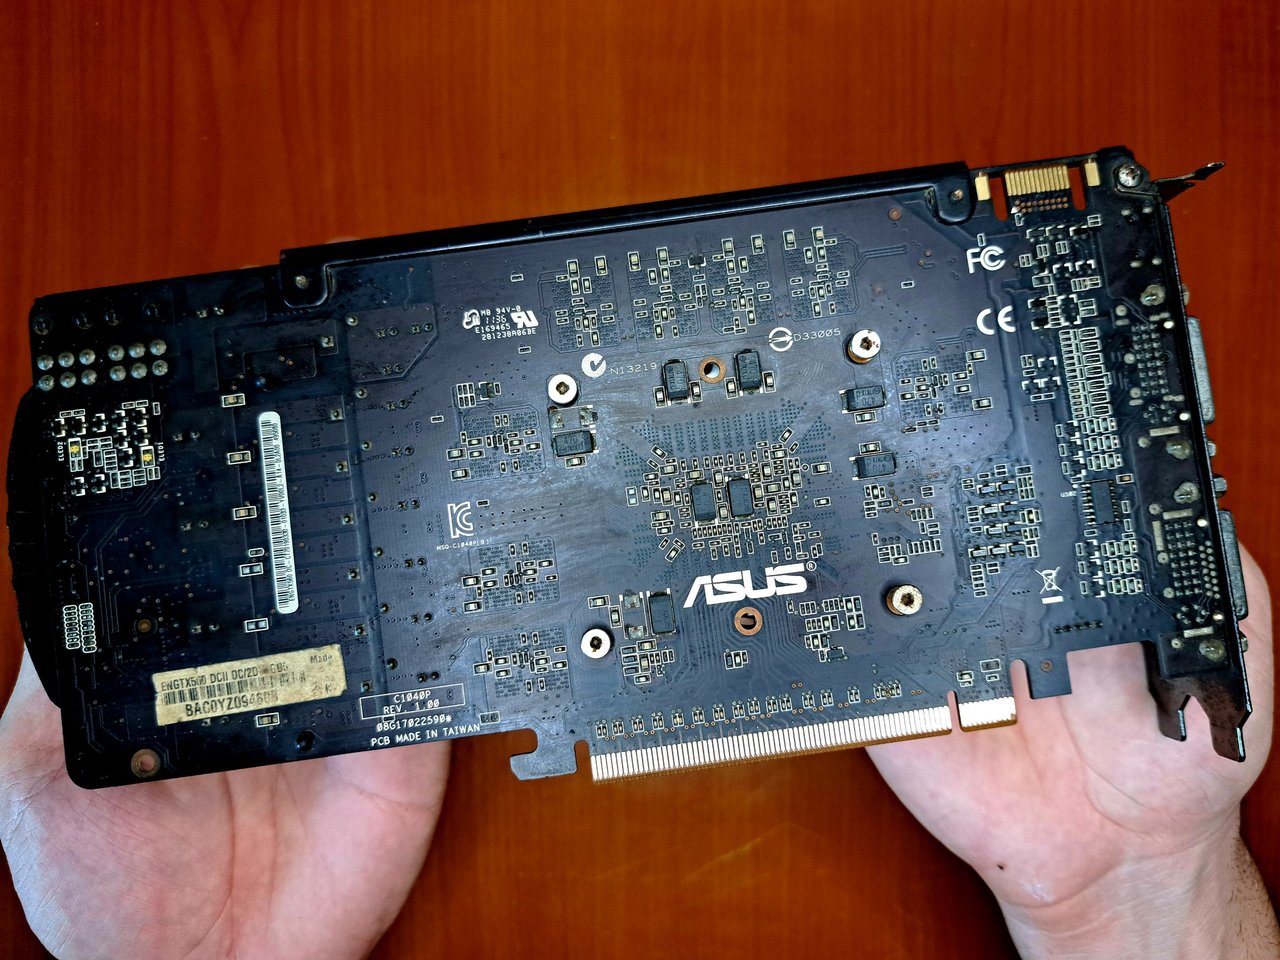
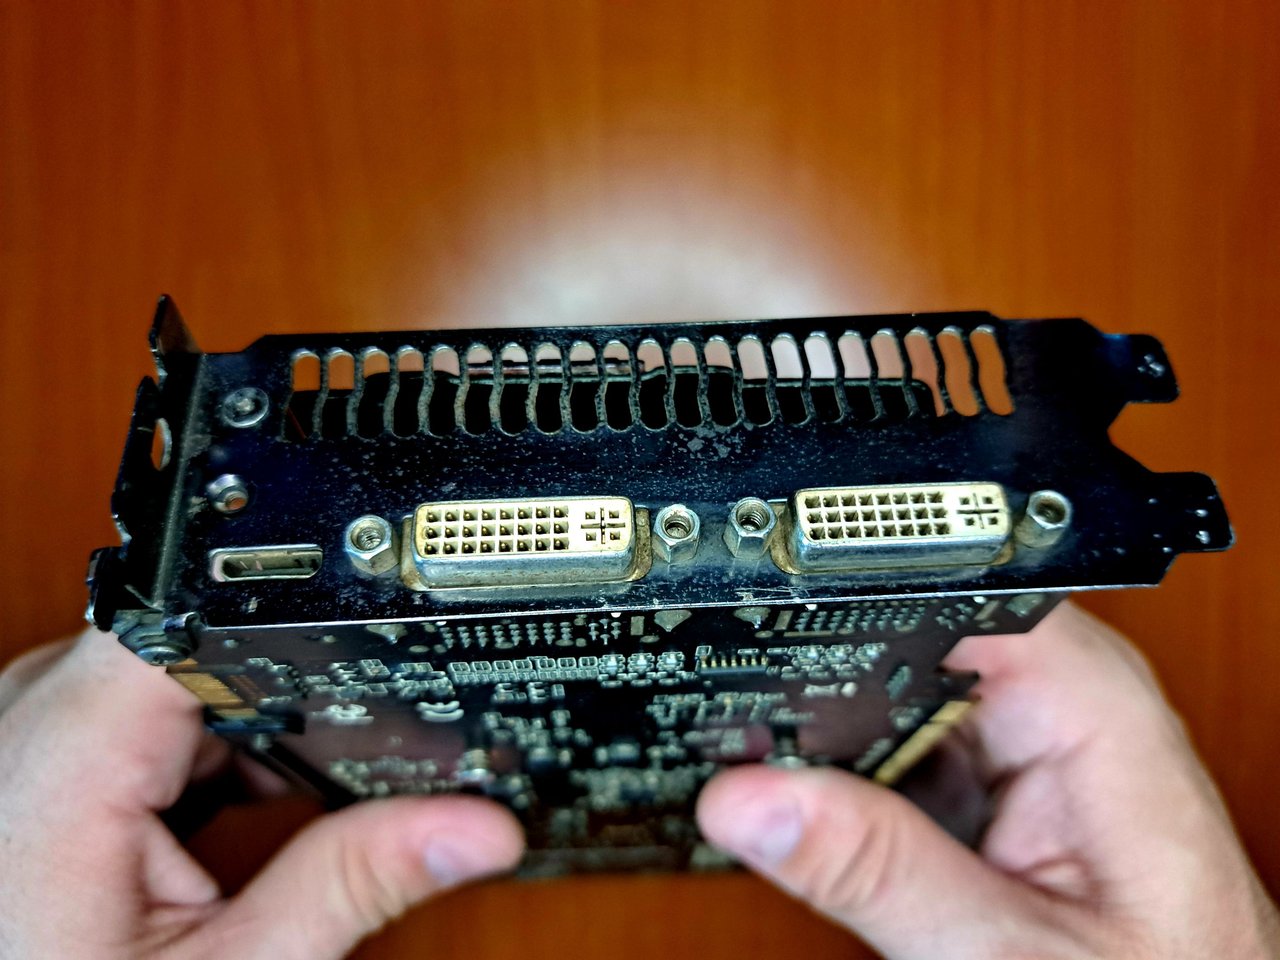
The graphics card was already clean and the fan cables were repaired, as well as the distributor of the power supply phases. Everything was ready to test it, but here the problems begin. As you can see in the pictures, the connectors of that graphic card are 2 x DVI and 1 x Mini HDMI and I didn't have any compatible cable or adapter.
I called a friend to borrow one and he replied that he had one, but he didn't use it because it was damaged. With no other options, I still brought the HDMI-DVI cable, but as I was told, it was damaged and I can't use it. The good thing is that the fans worked without problems, the bad thing is that I will have to wait for the owner to test it to know if it works properly and the temperatures decreased after the maintenance and with the new thermal paste.
Ya la tarjeta gráfica estaba limpia y los cables de los ventiladores estaban reparados, así como el distribuidor de dichas fases de alimentación. Todo estaba listo para probarla, pero aquí comienzan los problemas. Como pueden apreciar en las imágenes, los conectores de esa tarjeta gráfica son 2 x DVI y 1 x Mini HDMI y yo no contaba con ningún cable o adaptador compatible.
Llamé a un amigo para que me prestara uno y me respondió que tenía uno, pero que no lo utilizaba porque estaba dañado. Sin más opciones, igualmente traje el cable HDMI-DVI, pero tal y como me habían dicho, estaba dañado y no puedo utilizarlo. Lo bueno es que los ventiladores funcionaban sin problemas, lo malo es que tendré que esperar a que el dueño la pruebe para saber si funciona correctamente y las temperaturas disminuyeron luego del mantenimiento y con la nueva pasta térmica.
 |  |  |
 |  |
Thus we come to the end of this tutorial, where I showed you my experience repairing a NVIDIA GTX 560, which came into my hands with some problems in the power phases of the fans and with an urgency of maintenance. I hope you found this tutorial useful and remember that you can leave any suggestions or questions in the comments, see you soon!
De esta forma llegamos al final de este tutorial, donde les mostré mi experiencia reparando una NVIDIA GTX 560, la cual llegó a mis manos con algunos problemas en las fases de alimentación de los ventiladores y con una urgencia de mantenimiento. Espero que les haya sido útil este tutorial y recuerden que cualquier sugerencia o duda la pueden dejar en los comentarios. ¡Nos leemos!
Final Result // Resultado Final


Thank you very much for reading my post. If you liked it, please leave a comment and consider following me so you don't miss my next posts. I'd love to know your opinion and your thoughts about the topic I discussed in this post, see you in the next one!

Credits and Resources // Créditos y Recursos
Cover page created in Canva
Translated by DeepL
Video and images captured with my Samsung Galaxy A53


Posted Using InLeo Alpha
Saludos!! Que bueno tu post!!
Muy genial, tengo por aquí en casa una mini lapto de hace 12 años jajajaja y calienta demasiado a pesar de que se escucha el ventilador, no se que pueda ser.
Aunque el ventilador prenda si hay suciedad en la rejilla del disipador no circula el aire y se calienta. Saludos.
Congratulations @edeyglezsosa! You have completed the following achievement on the Hive blockchain And have been rewarded with New badge(s)
Your next target is to reach 2500 comments.
You can view your badges on your board and compare yourself to others in the Ranking
If you no longer want to receive notifications, reply to this comment with the word
STOPCheck out our last posts:
Excelente hermano, buen tutorial y buena reparación, particularmente nunca he reparado ninguna gráfica, no he tenido el honor todavia jjj, ya voy adelantando con este tutorial. Saludos hermano.
Oye que buen post, esto me alegra mucho, hace poco tenia un problema con una grafica y no sabia que hacer, ya se con quien consultare la próxima vez.
Me alegra mucho saber que te resultó útil.