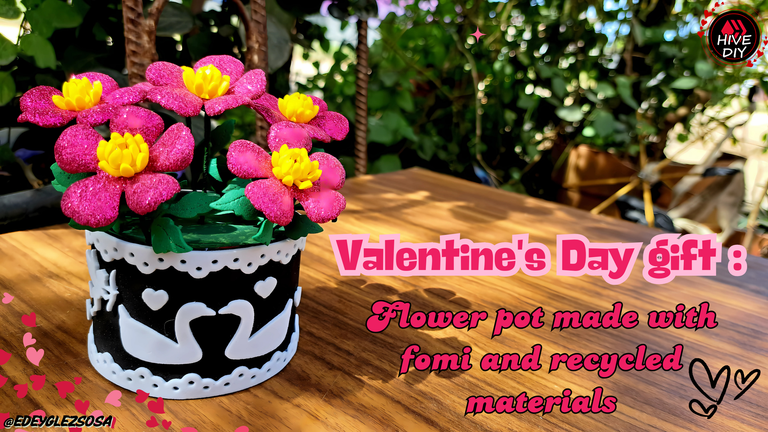
They say that each flower has its meaning and this varies according to its colors and shapes, but I, as such, have no idea of the meaning of the ones I come to show today. In fact, I don't know if they exist with this shape and color. What I do know is that today I come to share with you a tutorial, which will help you to make a floral ornament that could very well become a beautiful gift for the upcoming February 14 celebrations. And yes, I may be getting ahead of myself, as usual, but if I wait until February arrives, I won't have enough time to share with you all the ideas I have in mind.
That's why to kick off this love-themed creative marathon, I'm starting with a decorative piece that consists of two parts: a decorated planter and a mini flower arrangement on top. Fun fact: if you are going to give flowers as a gift, give artificial ones, as they last much longer. And if they are self-made, this adds a special touch to the gift, since, as we all know, it is not the gift that matters, but the intention.
Dicen que cada flor tiene su significado y este varía según sus colores y formas, pero yo, como tal, no tengo idea del significado de las que vengo a mostrar hoy. De hecho, no sé si existen con esta forma y color. Lo que sí sé es que hoy les vengo a compartir un tutorial, el que les servirá para confeccionar un adorno floral que bien podría llegar a ser un hermoso regalo para las venideras celebraciones del 14 de febrero. Y sí, puede que me esté adelantando, como de costumbre, pero si espero a que llegue febrero, no me va a alcanzar el tiempo para compartirles todas las ideas que tengo en mente.
Es por eso que para dar inicio a esta maratón creativo con temática amorosa, comienzo con una pieza decorativa que consta de dos partes: una maceta decorada y un mini arreglo floral encima. Dato curioso: si van a regalar flores, regálenlas artificiales, ya que estas duran mucho más. Y si son hechas por uno mismo, esto le agrega un toque especial al regalo, puesto que, como todos sabemos, no es el regalo lo que importa, sino la intención.
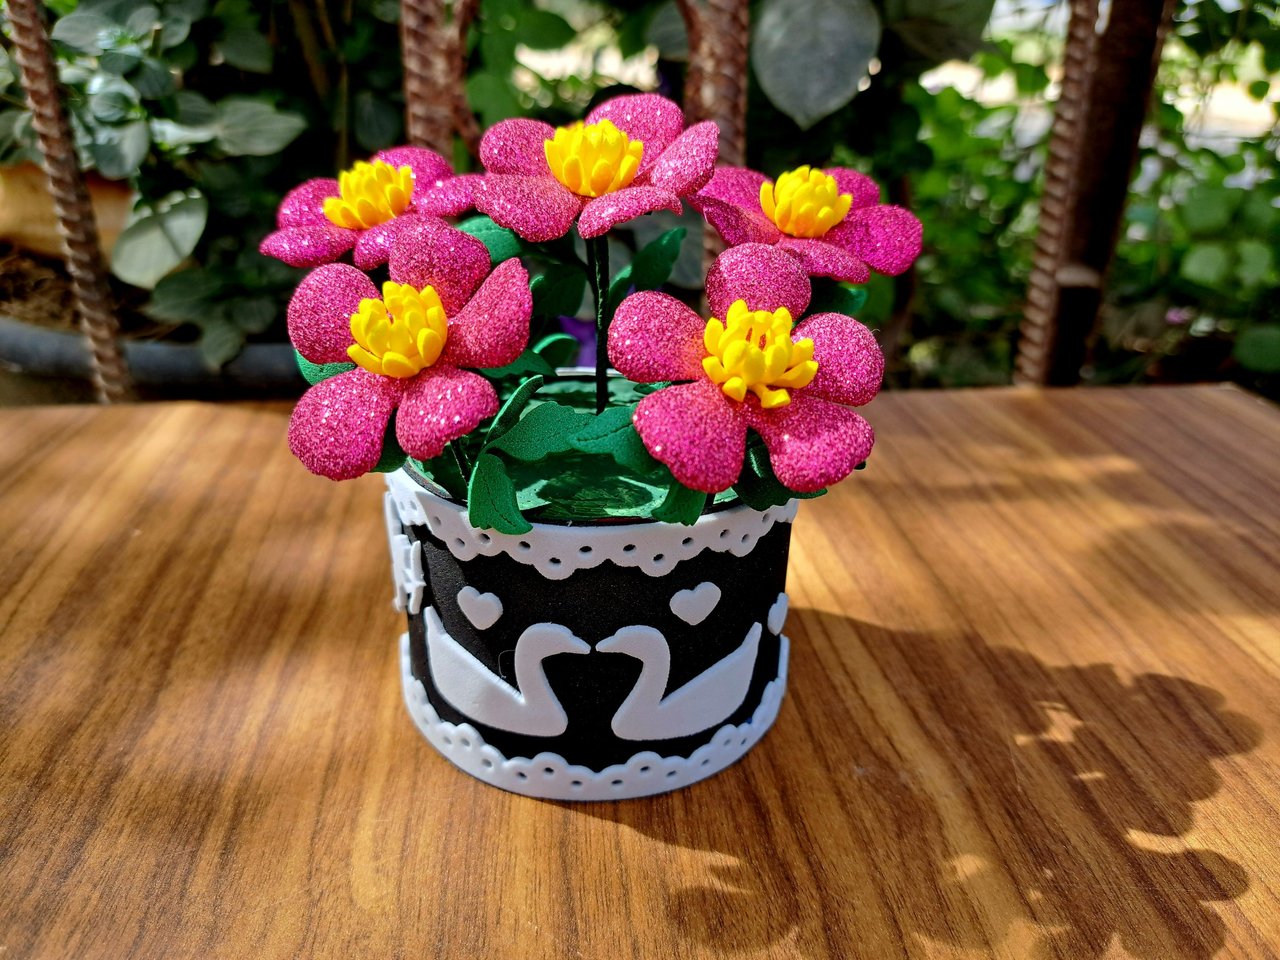
If I haven't convinced you yet, I want to inform you that some of the materials I use in this work are recycled materials, so it's a win-win situation. On the one hand, you develop your creative skills; on the other hand, you make a special person happy by giving it as a gift and, finally, you take care of the environment. So there's no excuse not to give it a try, so let's get to know the materials and then the tutorial.
Si aún no te he convencido, quiero informarte que algunos de los materiales que utilizo en este trabajo son materiales reciclados, así que es un ganar-ganar. Por una parte, desarrollas tus habilidades creativas; por otro lado, haces feliz a una persona especial al regalárselo y, para terminar, cuidas un poco el medio ambiente. O sea que no hay excusas para no intentarlo, así que pasemos a conocer los materiales y seguidamente el tutorial.
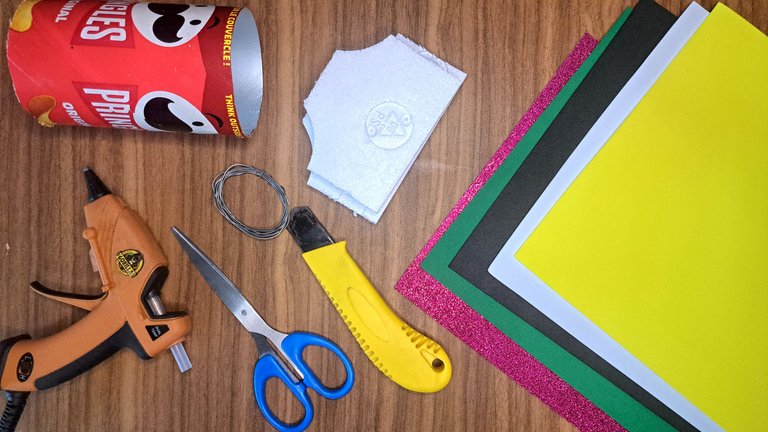
Materials // Materiales
| English | Español |
| ✔️ Fuchsia pink frosted fomi | ✔️ Fomi escarchado rosado fucsia |
| ✔️ Green, white, black and yellow plain fomi | ✔️ Fomi liso verde blanco, negro y amarillo |
| ✔️ Cardboard packaging (potato chips) | ✔️ Envase de cartón (papas fritas) |
| ✔️ Polystyrene fragment | ✔️ Fragmento de poliestireno |
| ✔️ Steel wire | ✔️ Alambre acerado |
| ✔️ Scissors and box cutter | ✔️ Tijeras y cúter |
| ✔️ Green floral ribbon | ✔️ Cinta floral verde |
| ✔️ Hot silicone | ✔️ Silicona caliente |
Step by step // Paso a paso
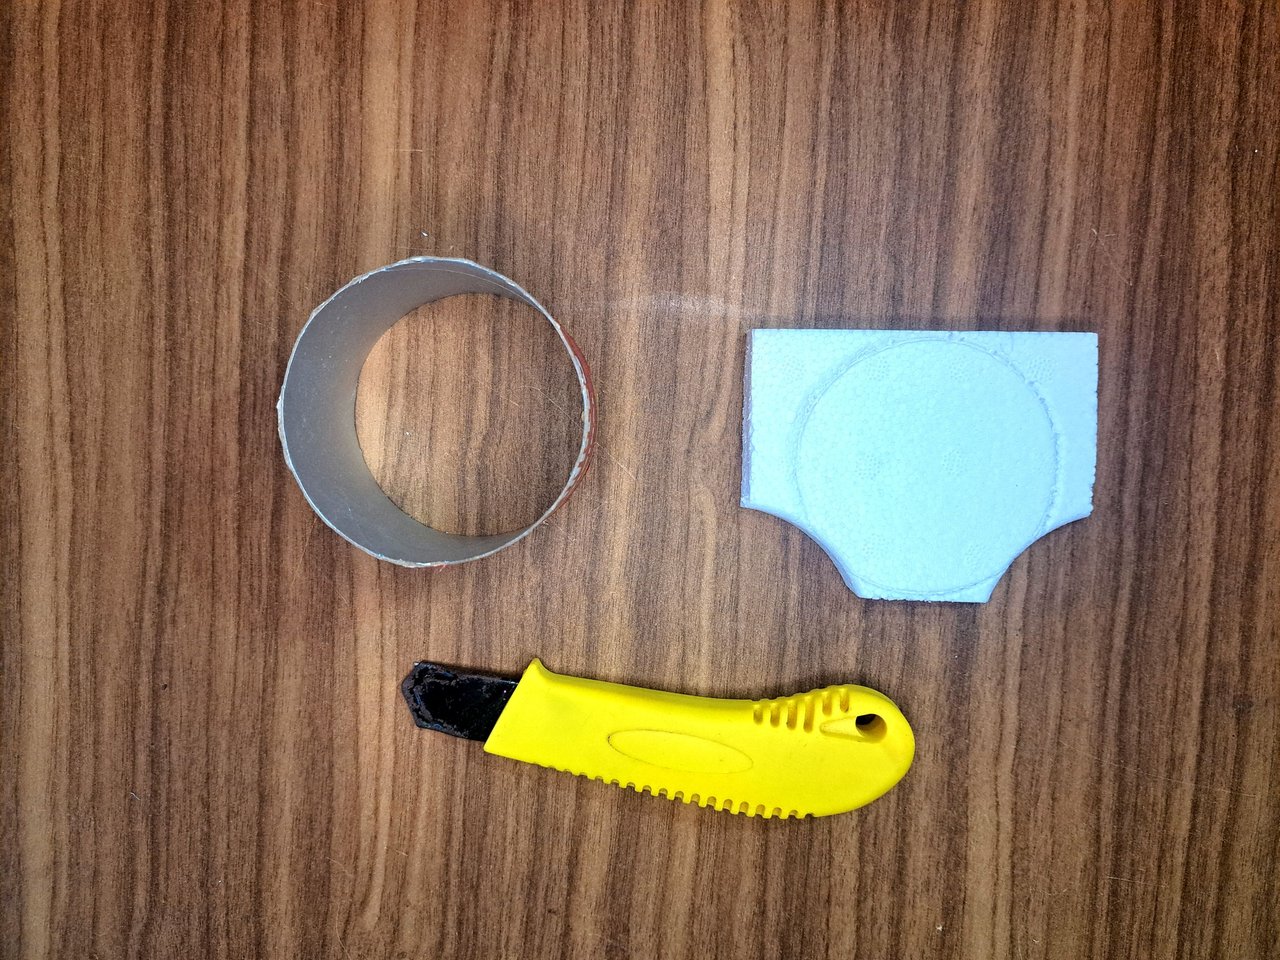
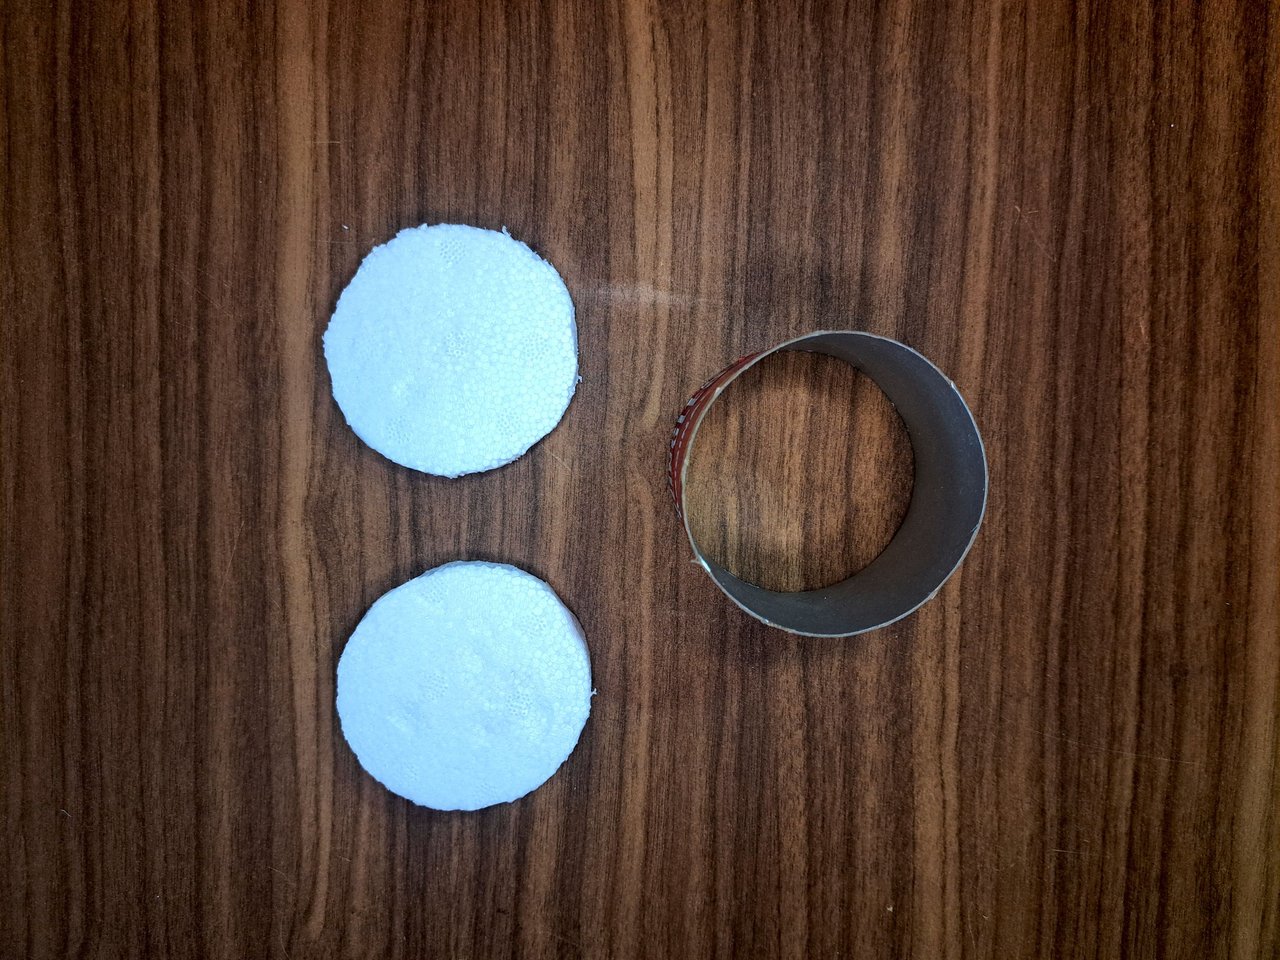
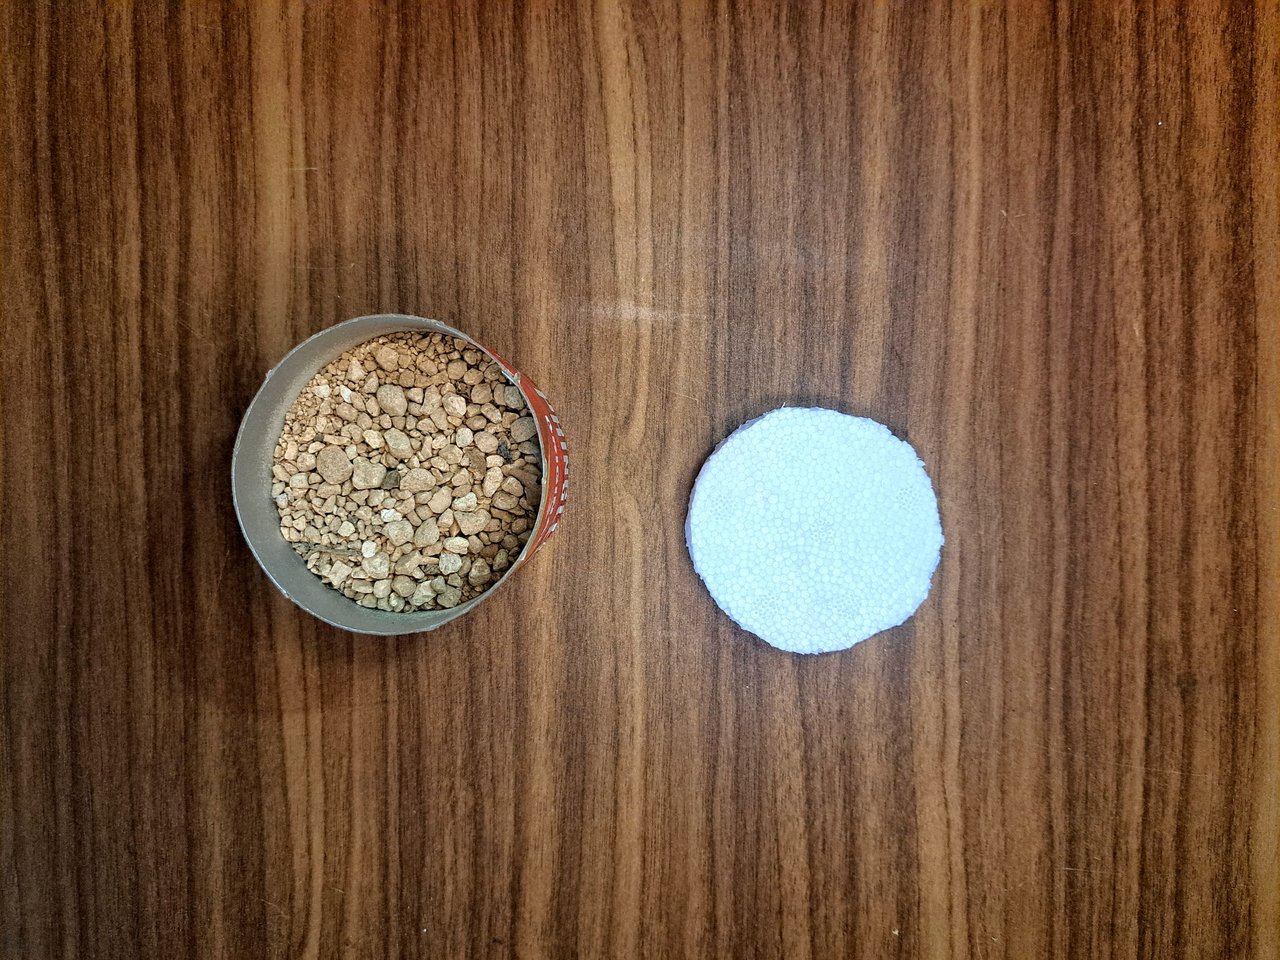
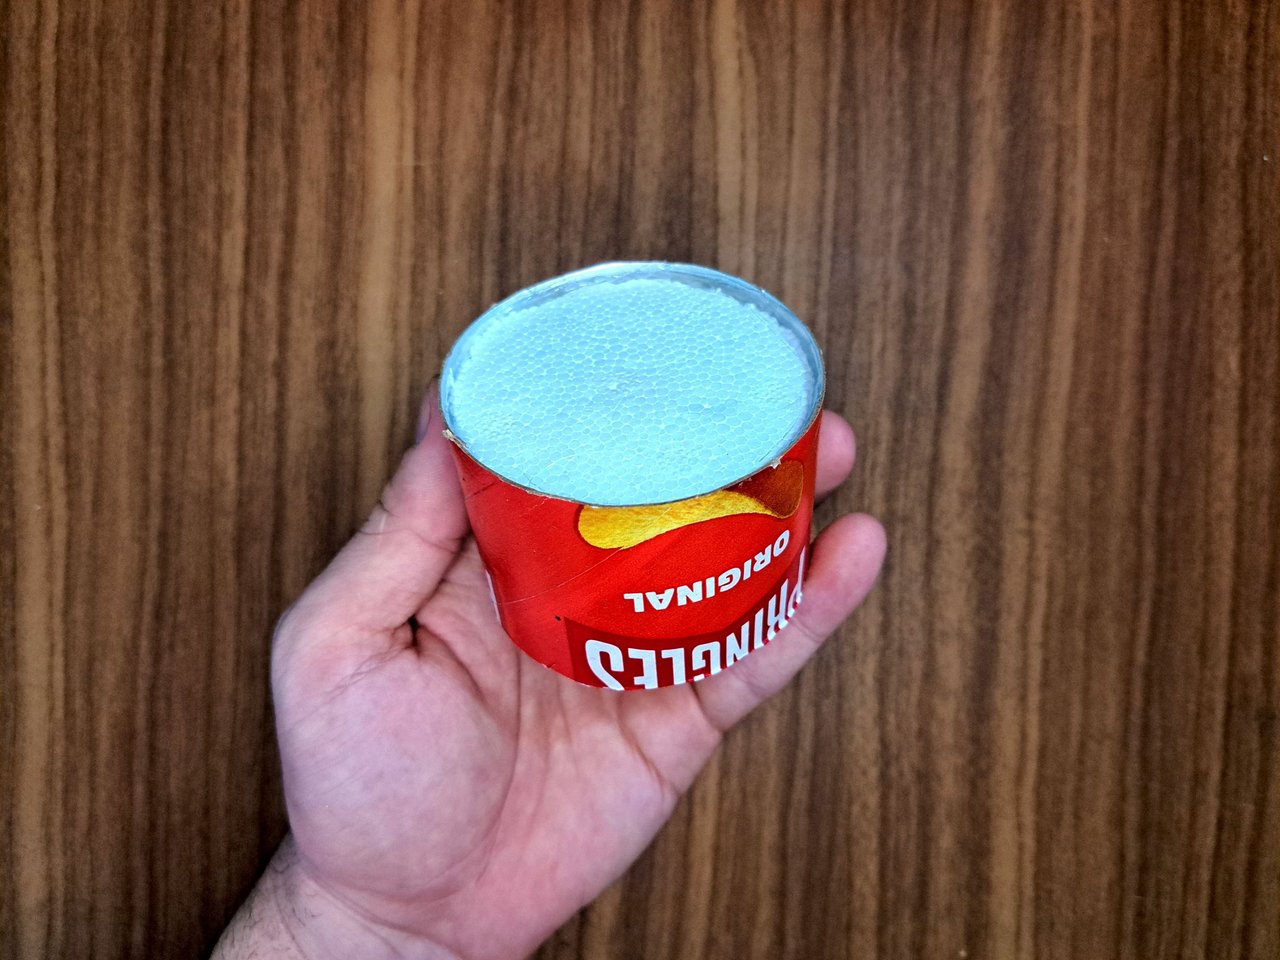
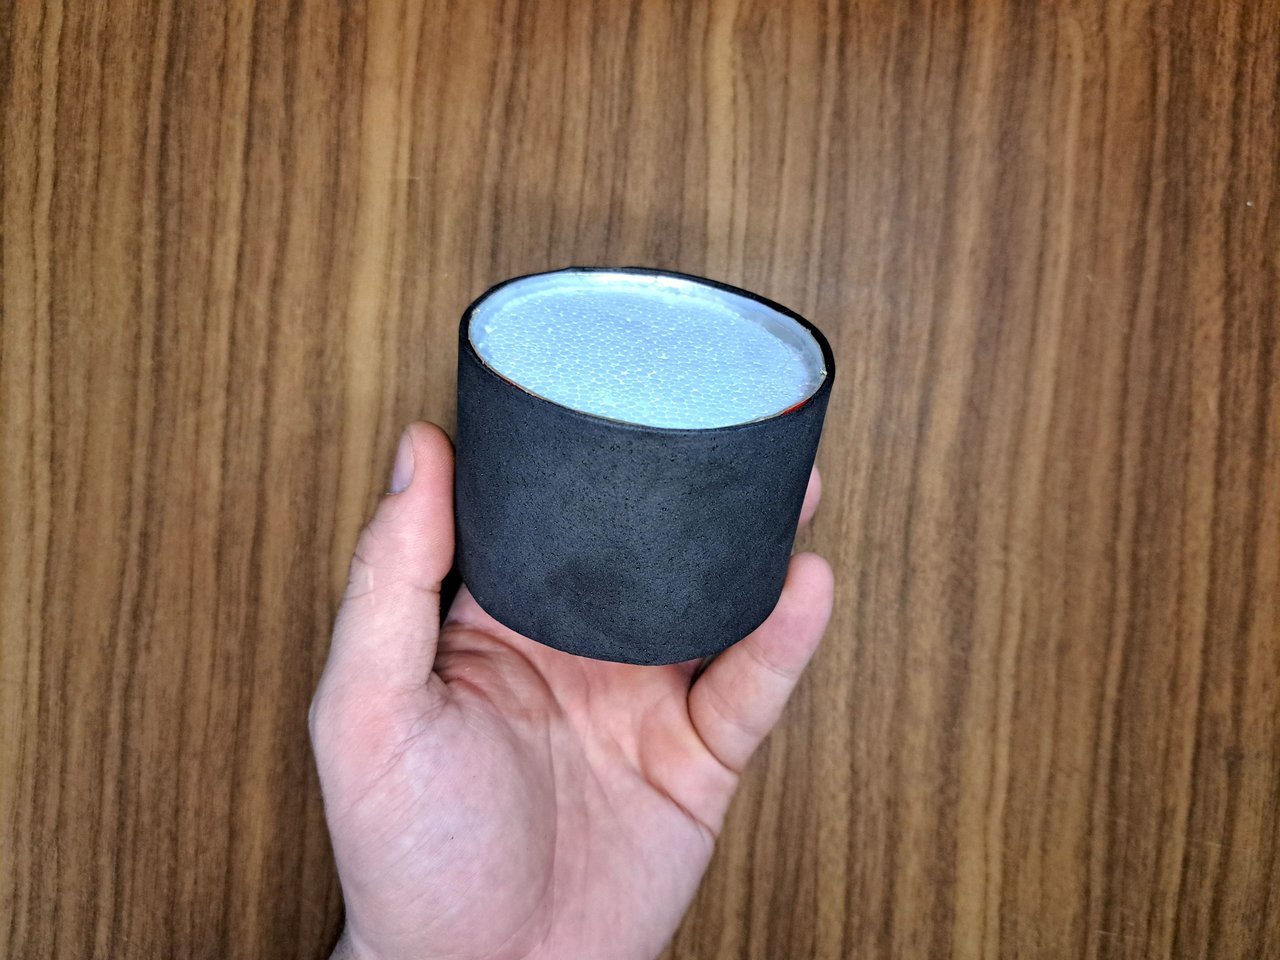
1️⃣ I started by cutting the potato chip container in half, leaving me with a part 6 cm high. I marked the outline of the container in polystyrene and then cut out two circular pieces. I glued one of the polystyrene pieces to the base, filled it with gravel and glued the other polystyrene piece on top, leaving me with a solid and heavy base.
Comencé cortando el envase de papas fritas a la mitad, quedándome con una parte de 6 cm de altura. Marqué el contorno del envase en poliestireno para luego recortar dos piezas circulares. Pegué una de las piezas de poliestireno en la base, rellené con grava y pegué la otra pieza de poliestireno encima, quedándome así con una base sólida y pesada.
 |  |
 |  |
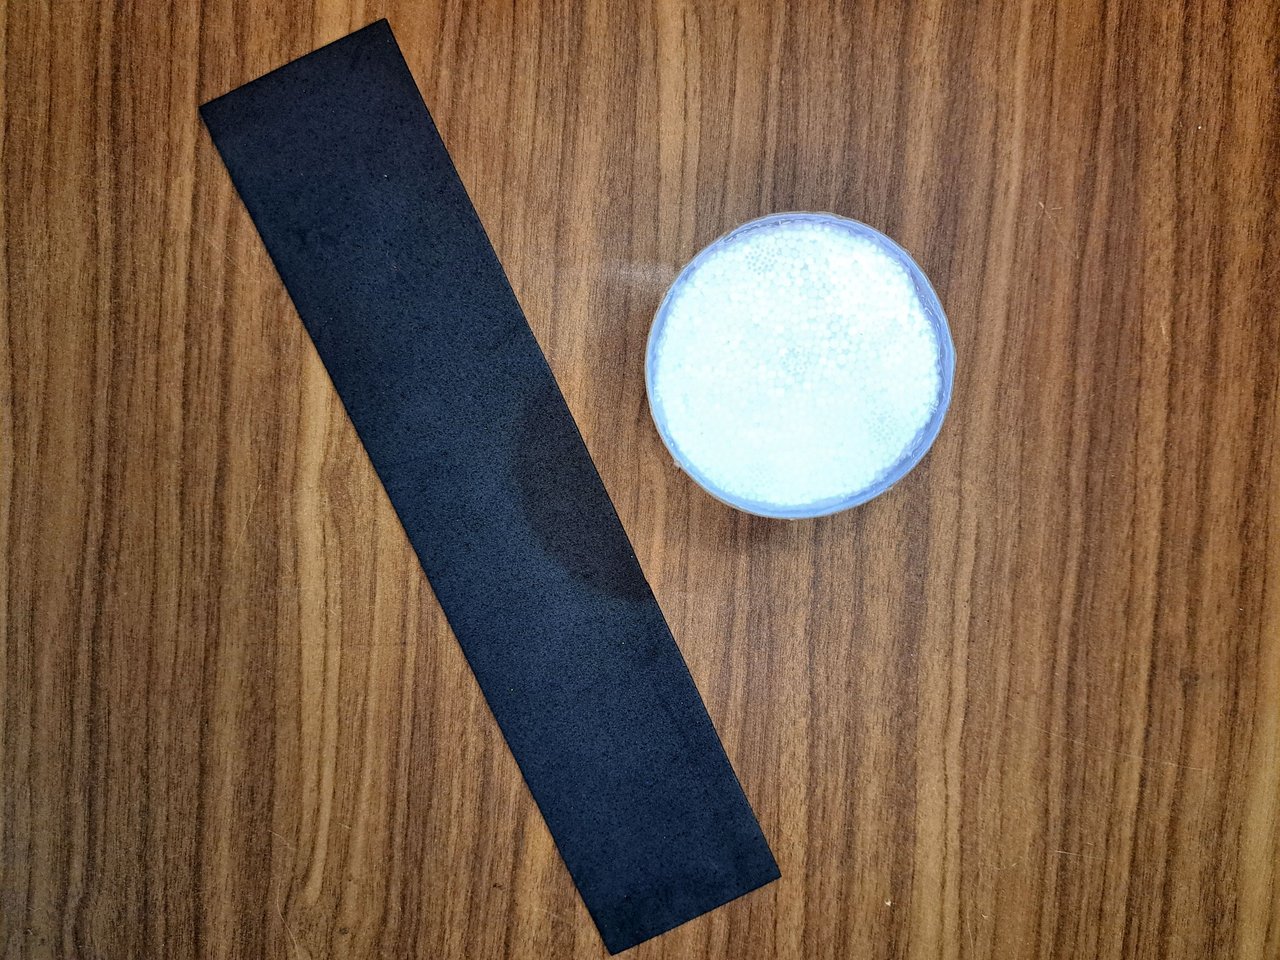
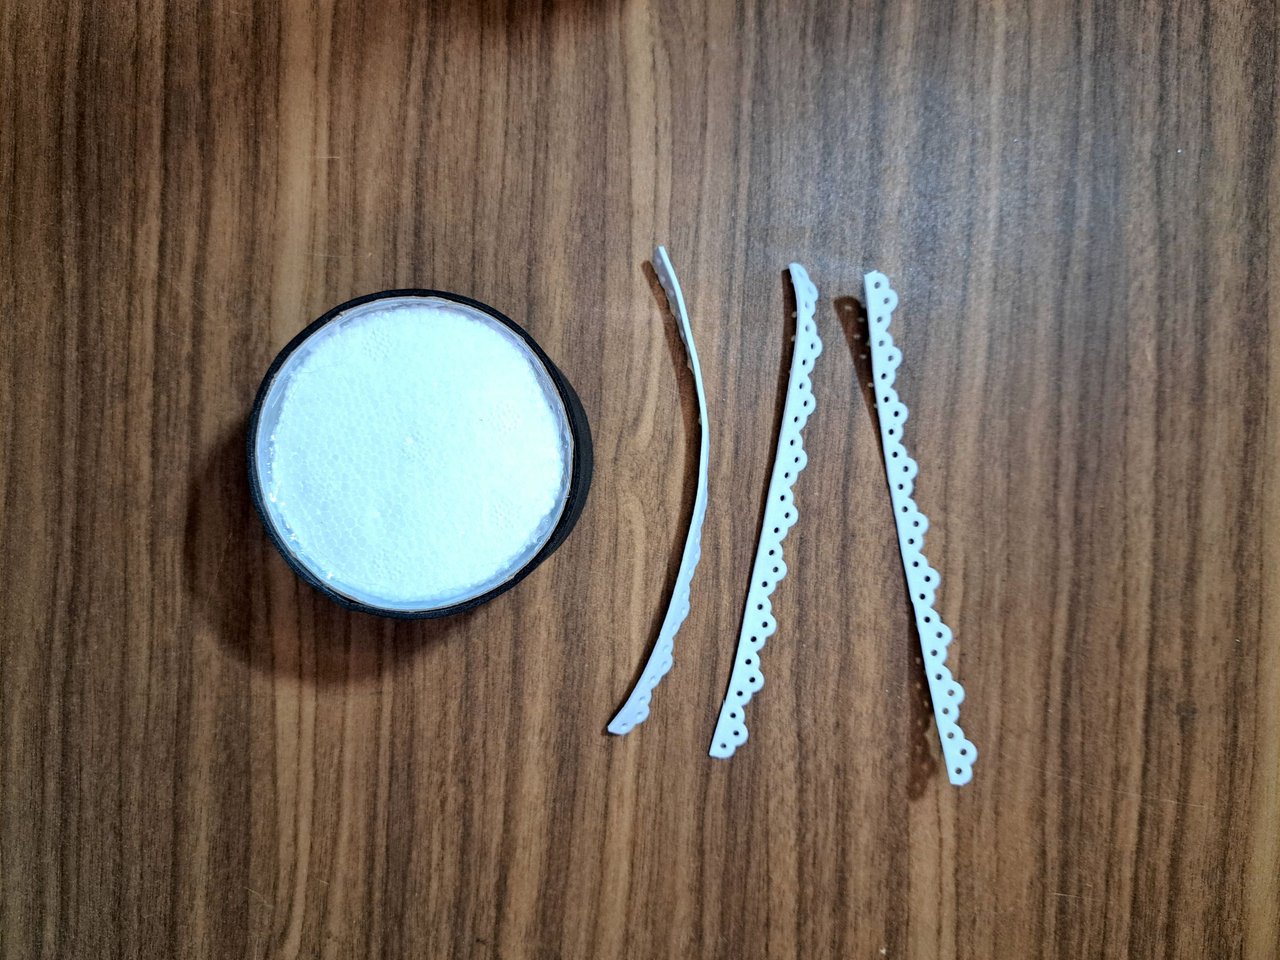
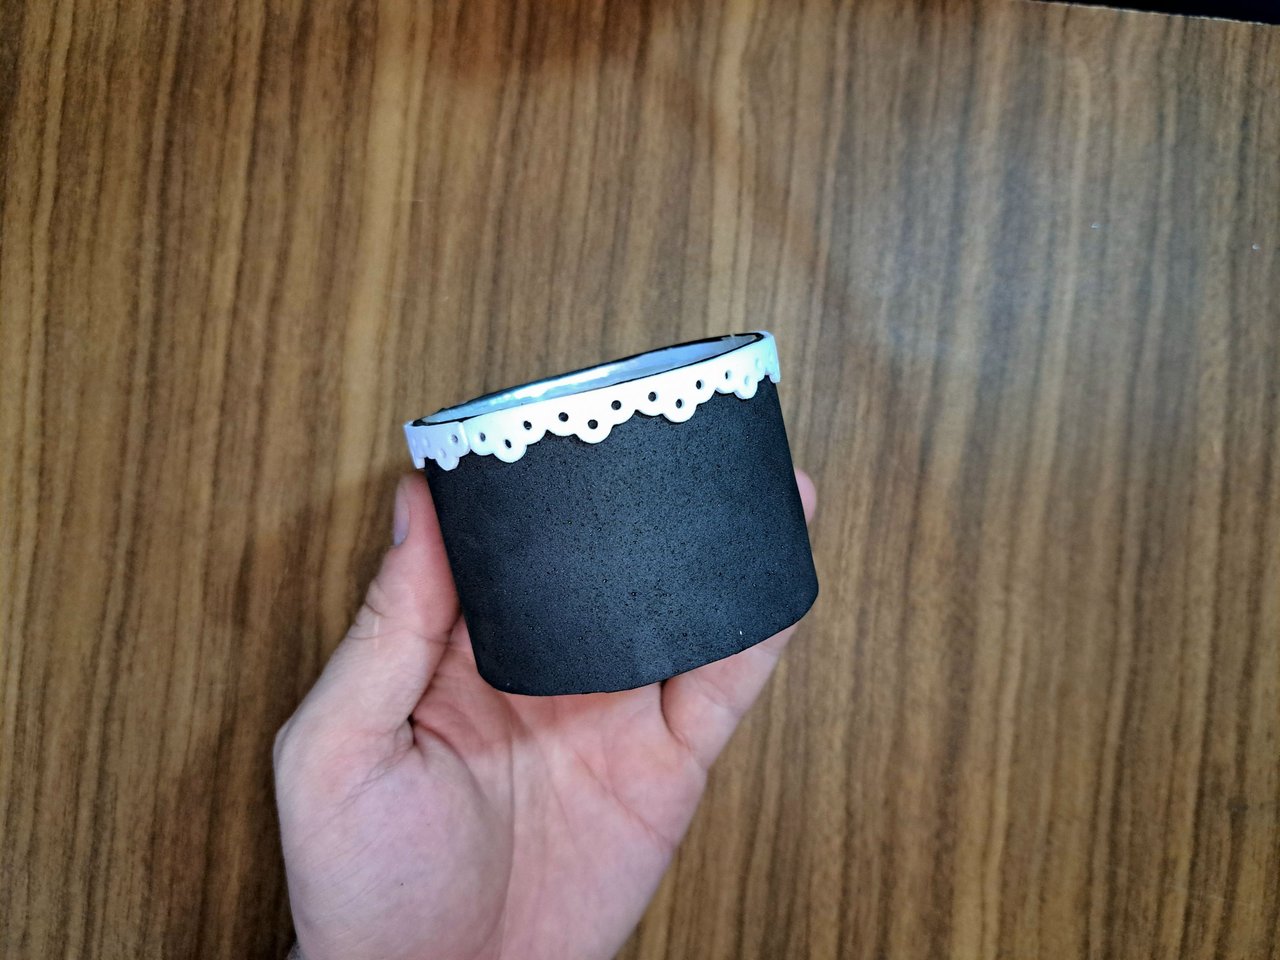
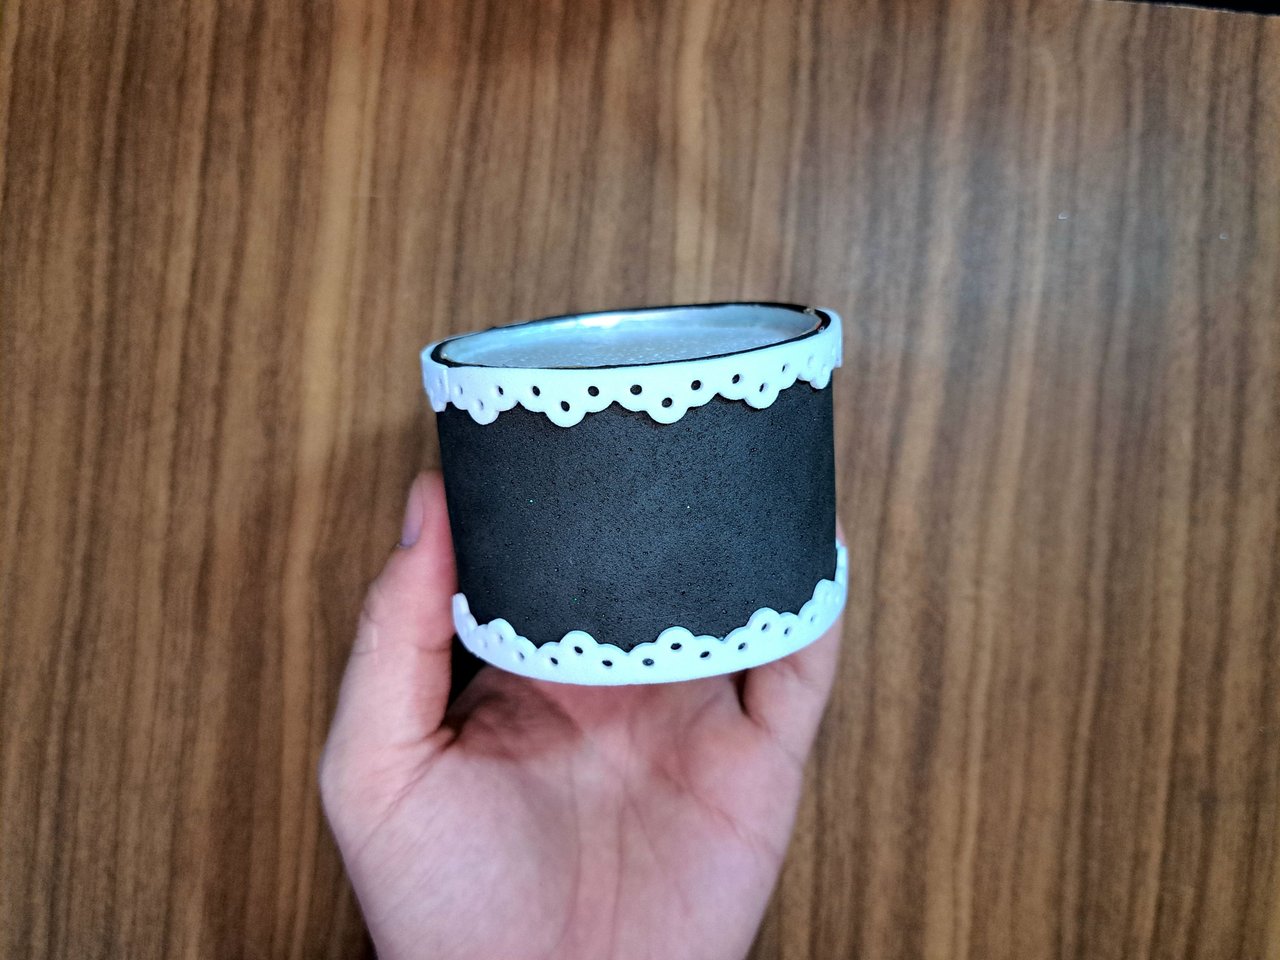
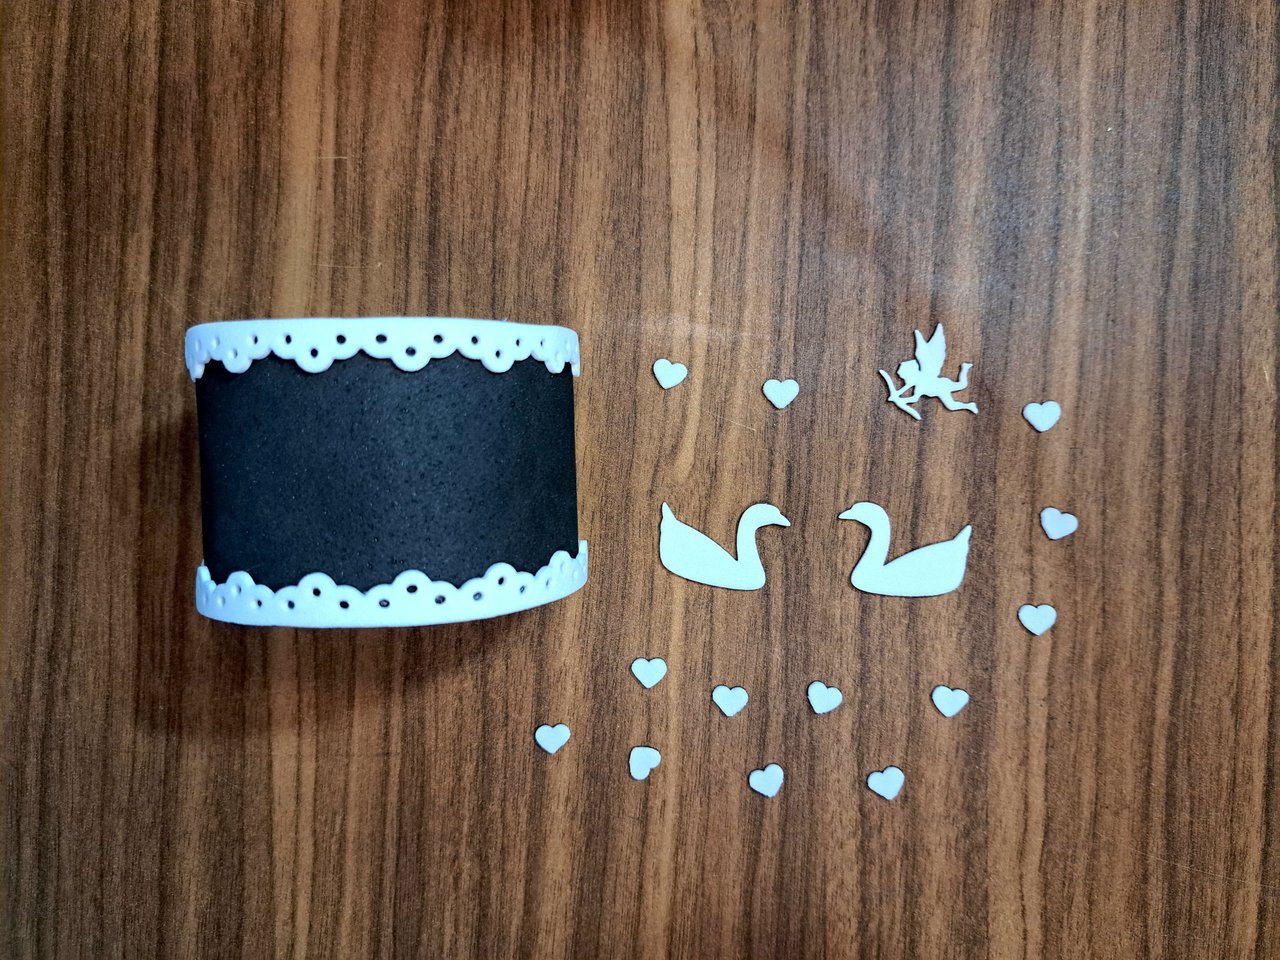
2️⃣ Using a sheet of black fomi, I cut out a piece 24 cm long by 6 cm wide, which I glued around the base. I then cut two wavy edges out of white fomi and glued them to the top and bottom edges.
Utilizando una lámina de fomi negro, recorté una pieza de 24 cm de largo por 6 cm de ancho, la cual pegué alrededor de la base. A continuación recorté dos bordes ondulados en fomi blanco y los pegué en el borde superior e inferior.
 |  |  |
 |  |
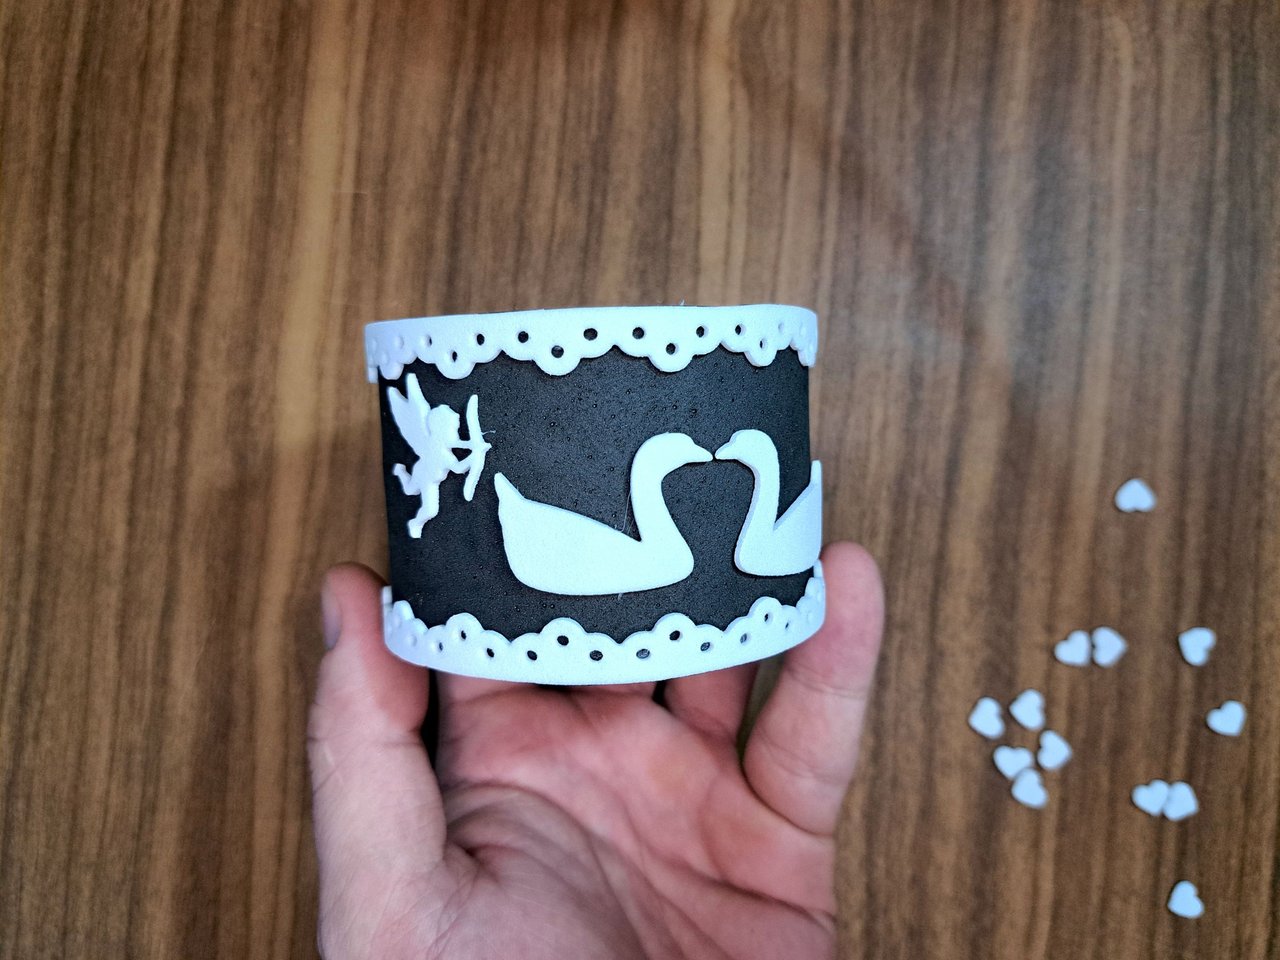
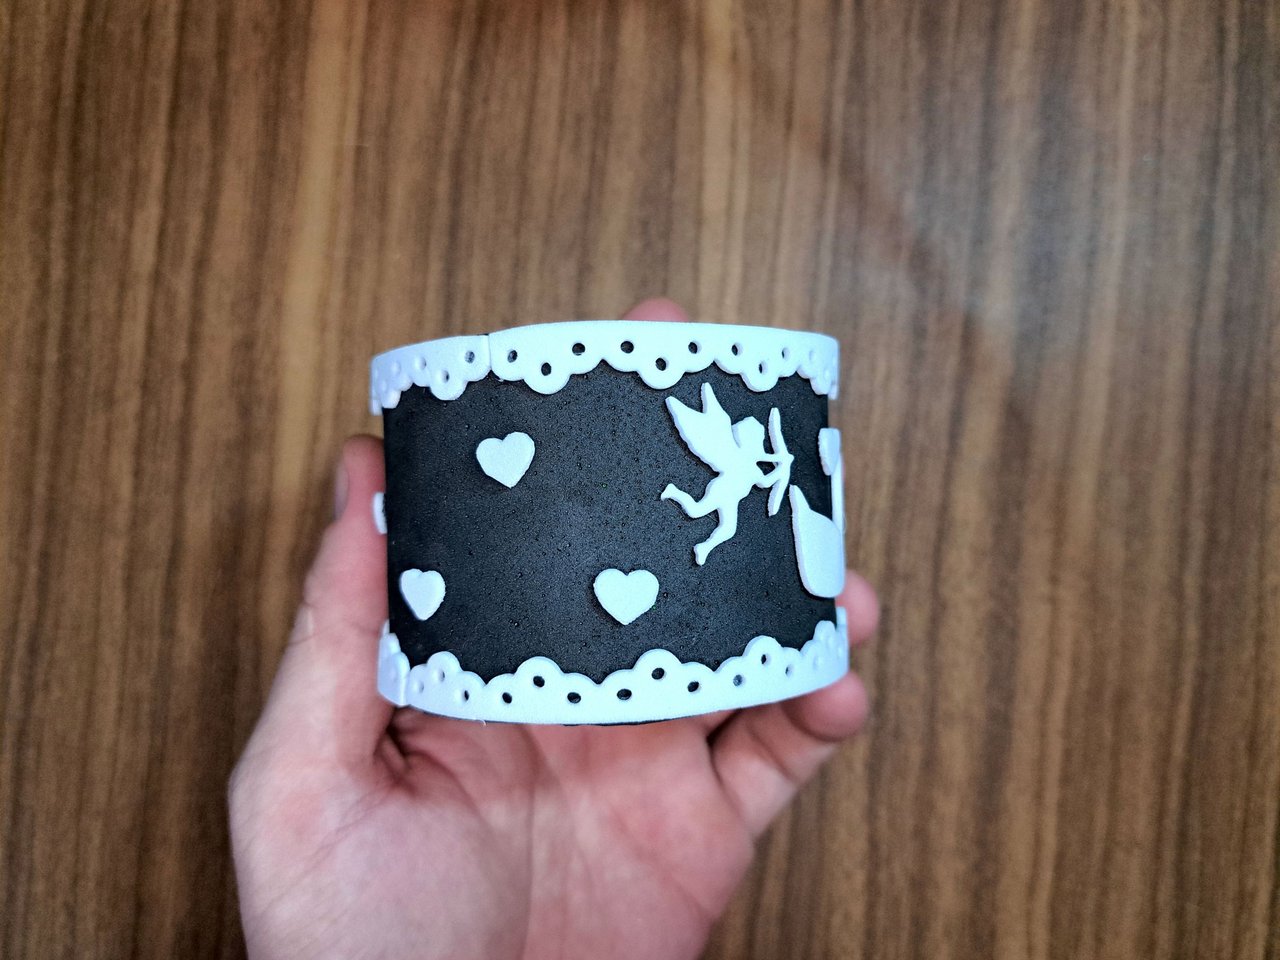
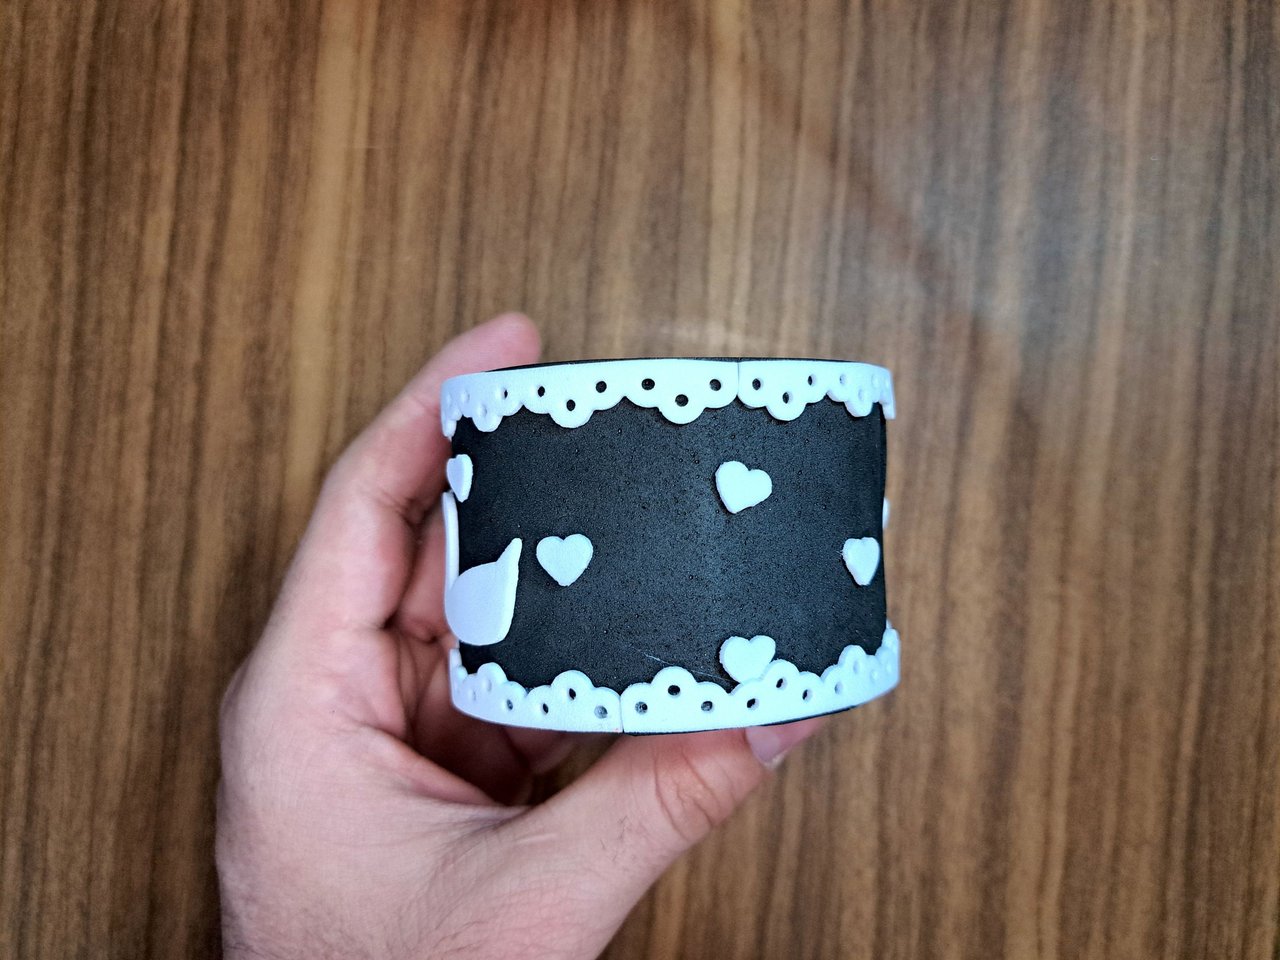
3️⃣ With the remaining white fomi, I cut out the silhouette of two swans and a cupid, as well as 13 hearts. I glued the swans to the front and the cupid to the left side, pointing at them. The rest of the hearts I glued on the side and back. To cut out these ornaments, I used a metal cutting die, but you can do it by hand using scissors. You can even vary the design I used.
Con el fomi blanco restante, recorté la silueta de dos cisnes y un cupido, al igual que 13 corazones. Pegué los cisnes de frente y el cupido al lado izquierdo, apuntándoles. El resto de los corazones los pegué por la parte lateral y trasera. Para recortar estos adornos, utilicé un troquel de corte metálico, pero se puede hacer a mano utilizando unas tijeras. Incluso se puede variar el diseño que yo empleé.
 |  |
 |  |
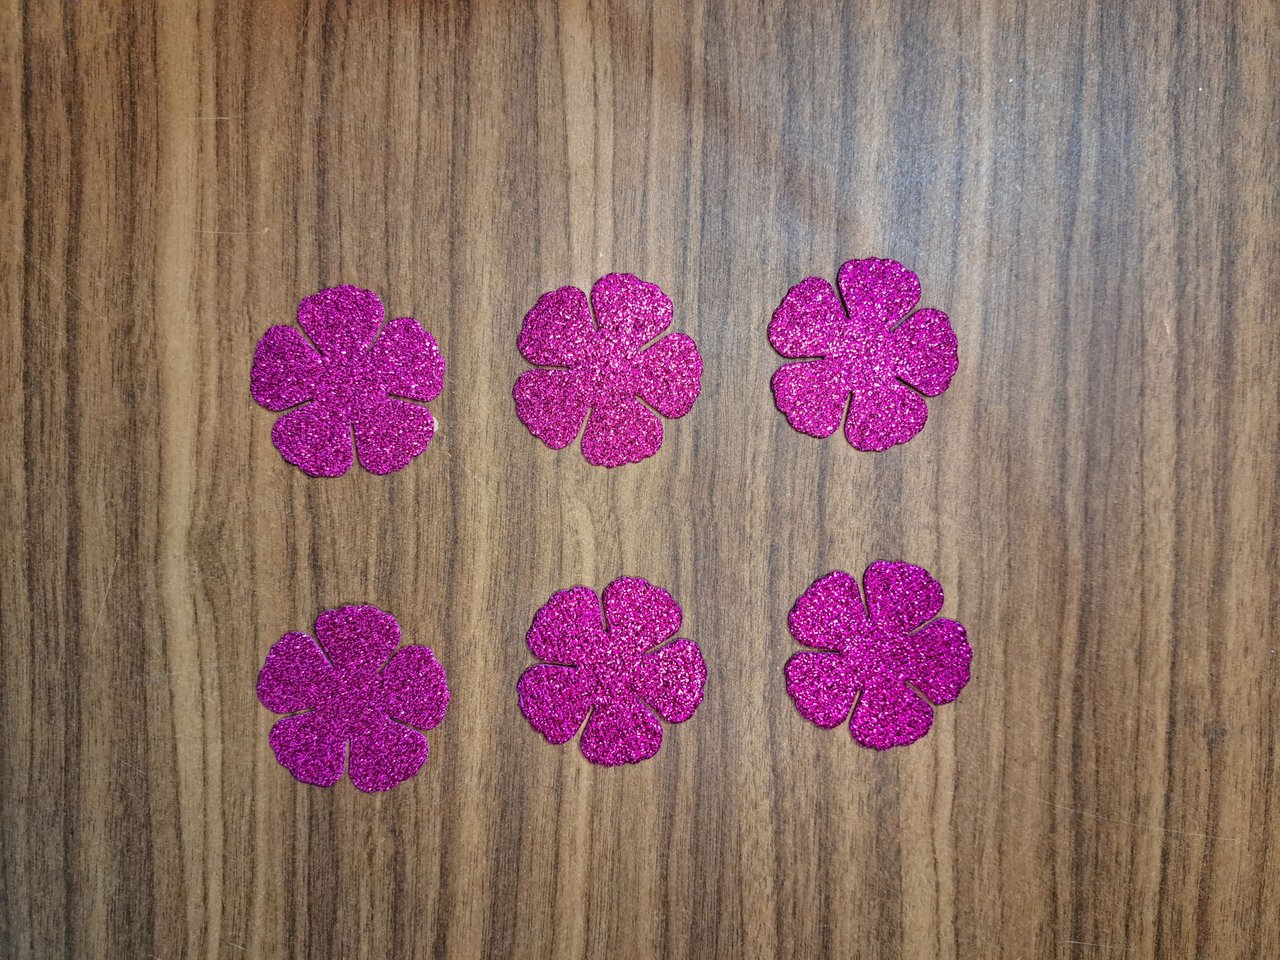
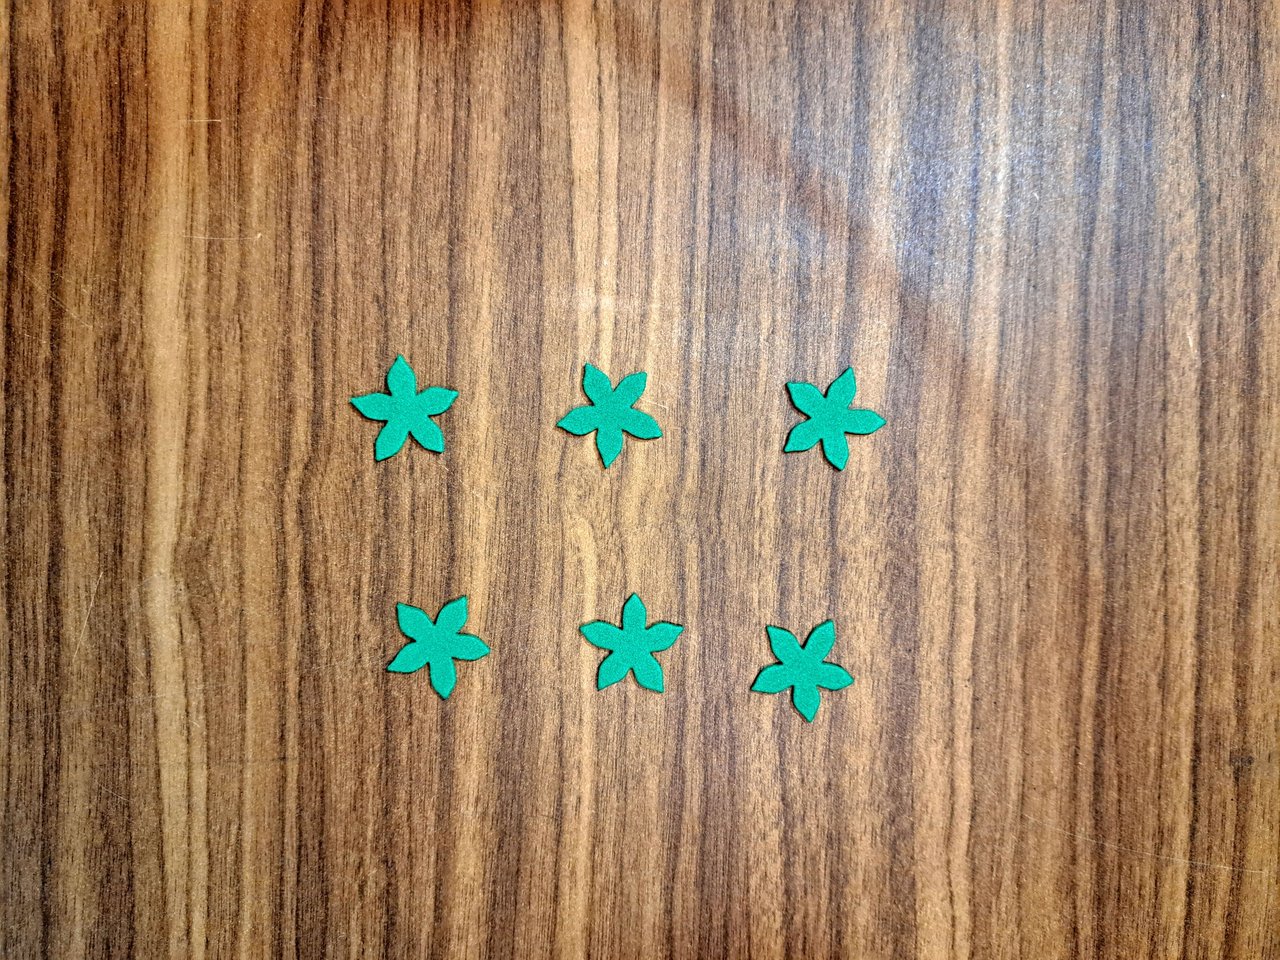
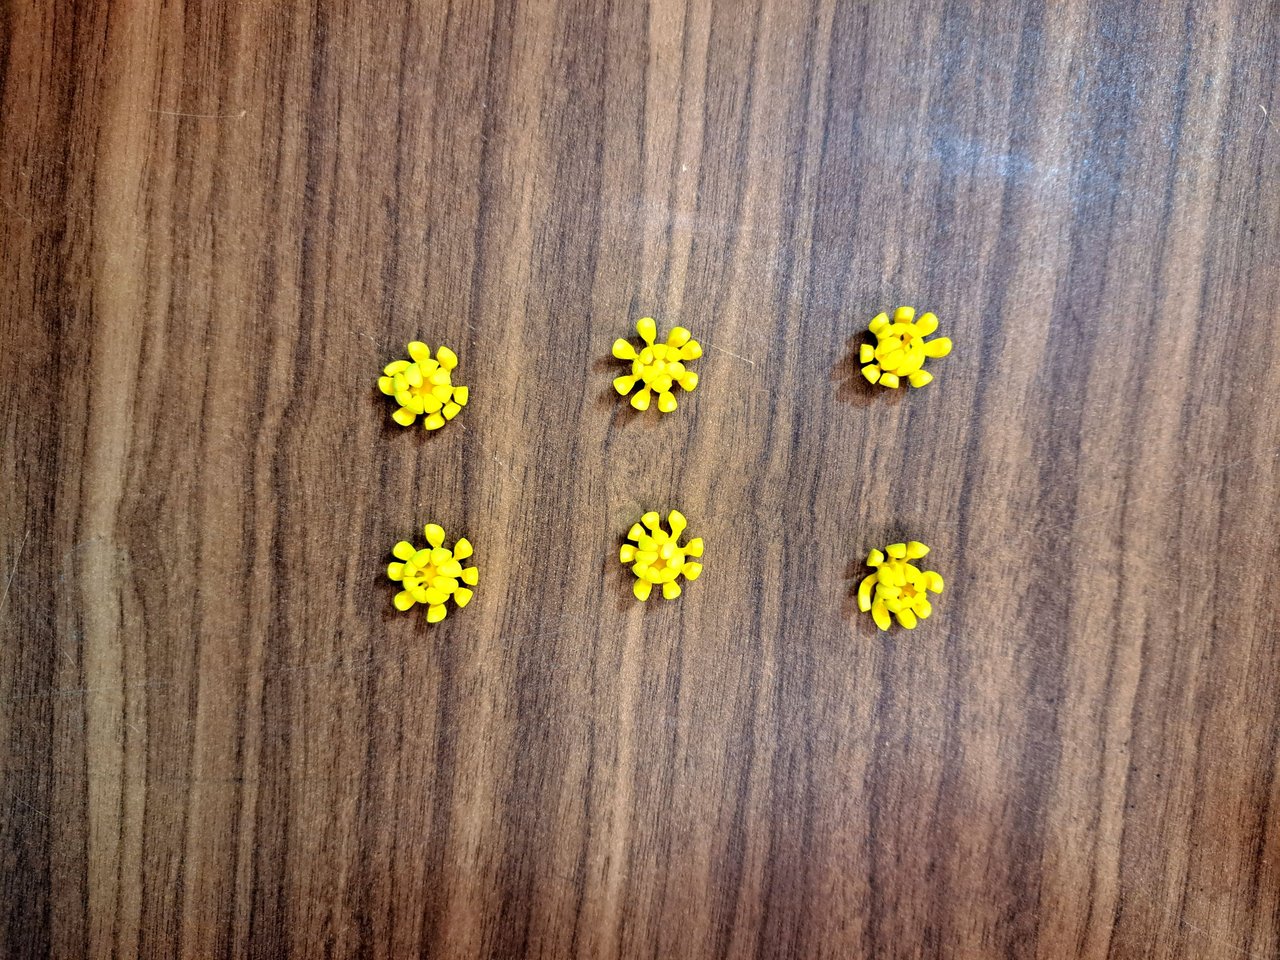
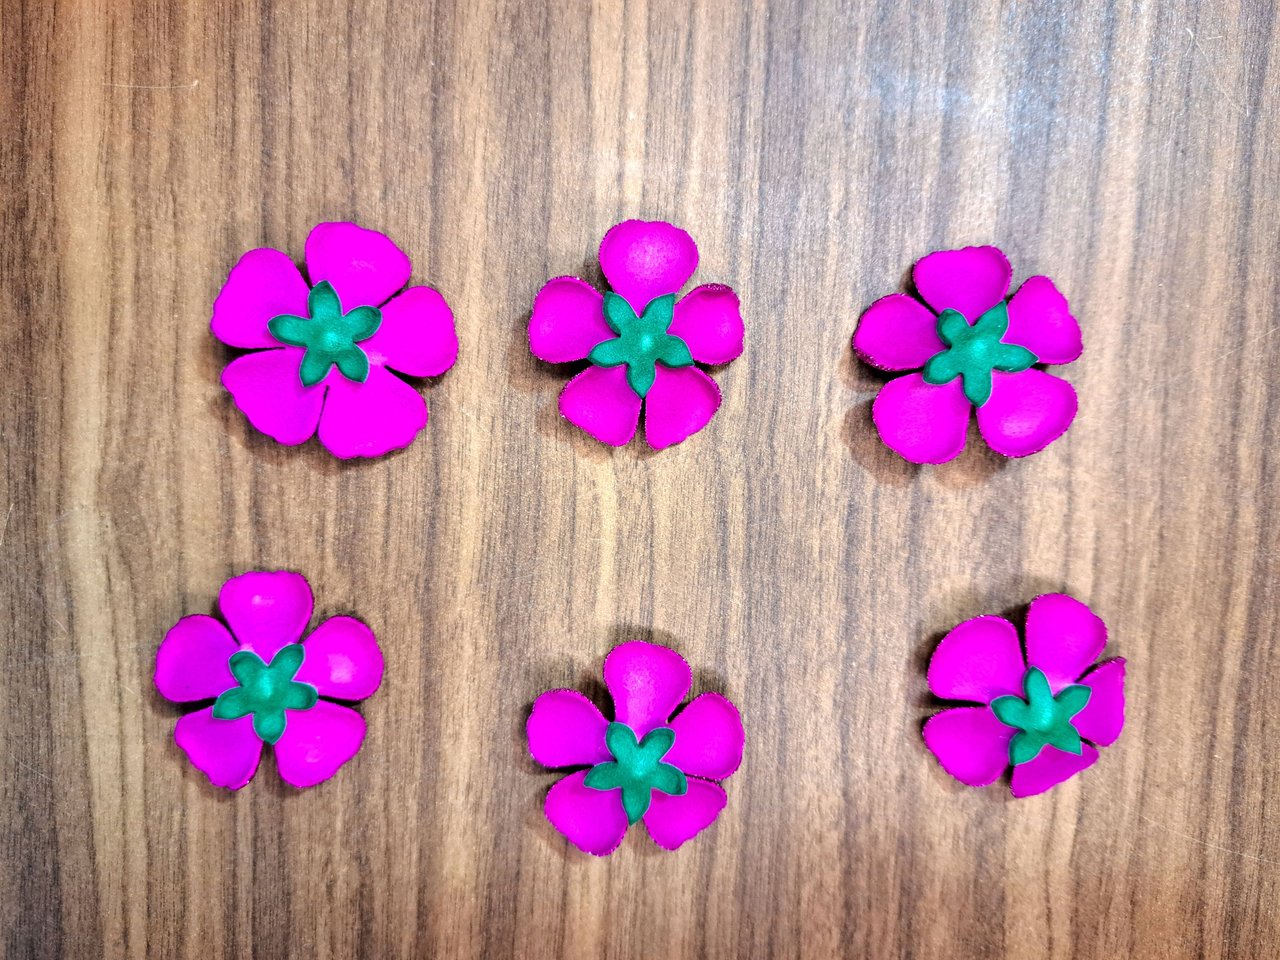
4️⃣ For the flowers I used a pink fuchsia fomi in which I cut out 6 patterns of simple flowers of 5 petals each. For the center of the flowers I used a double pistil, which is made from 12 pieces of yellow filaments. For the bottom I incorporated 6 sepals of plain green fomi.
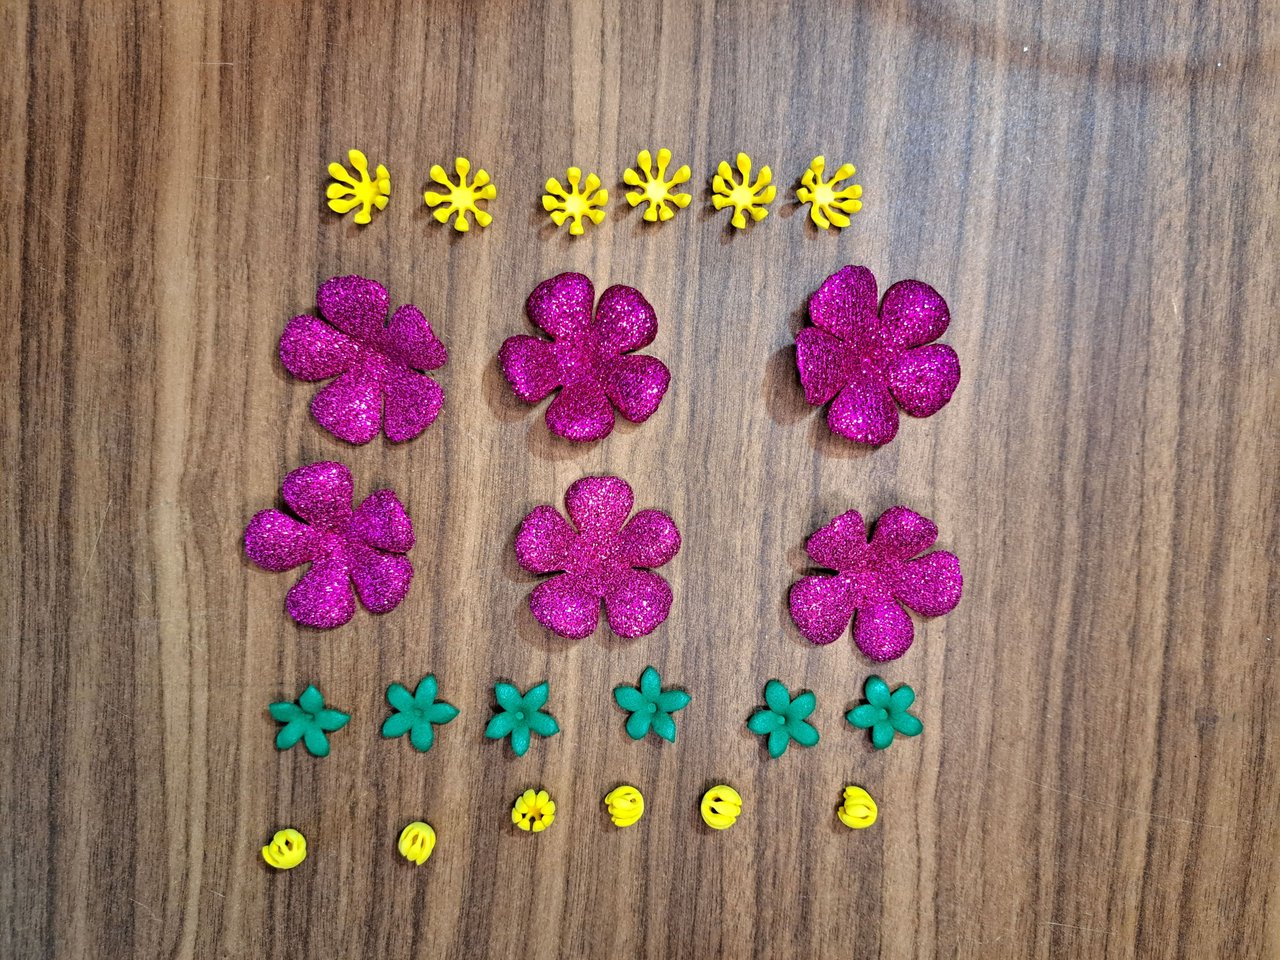
After thermoforming each of the parts of the flower, I assembled them starting with the double pistil, which is glued in the center of the flower and is, in turn, on top of the sepals.
Para las flores utilicé un fomi rosado fucsia en el cual recorté 6 patrones de flores simples de 5 pétalos cada uno. Para el centro de las flores utilicé un pistilo doble, el cual está elaborado a partir de 12 piezas de filamentos amarillos. Para la parte inferior incorporé 6 sépalos de fomi verde liso.
Luego de termoformar cada una de las partes de la flor, las ensamble empezando por el pistilo doble, el cual va pegado en el centro de la flor y está, a su vez, encima de los sépalos.
 |  |
 |  |  |
 |  |
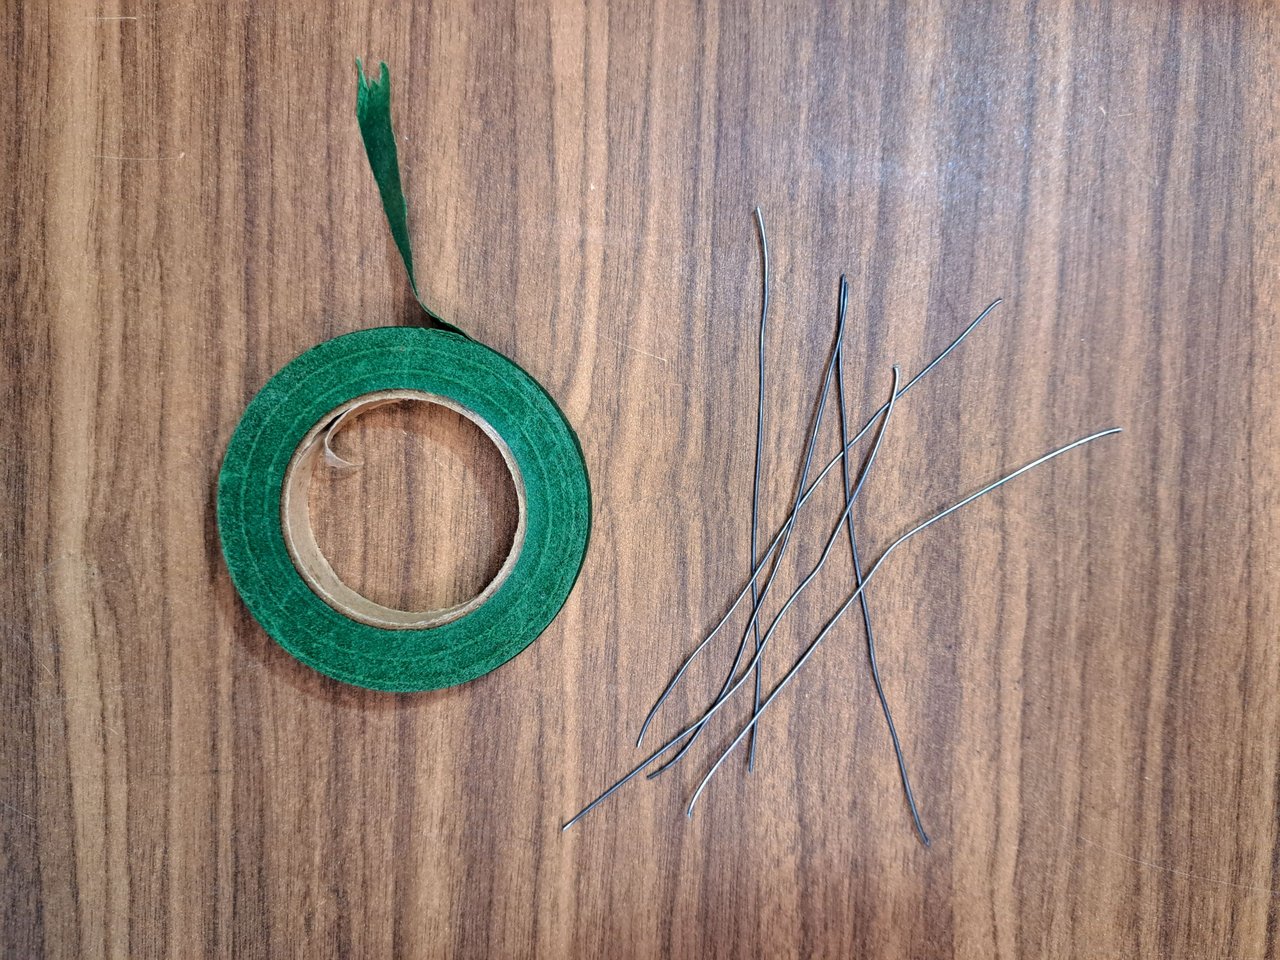
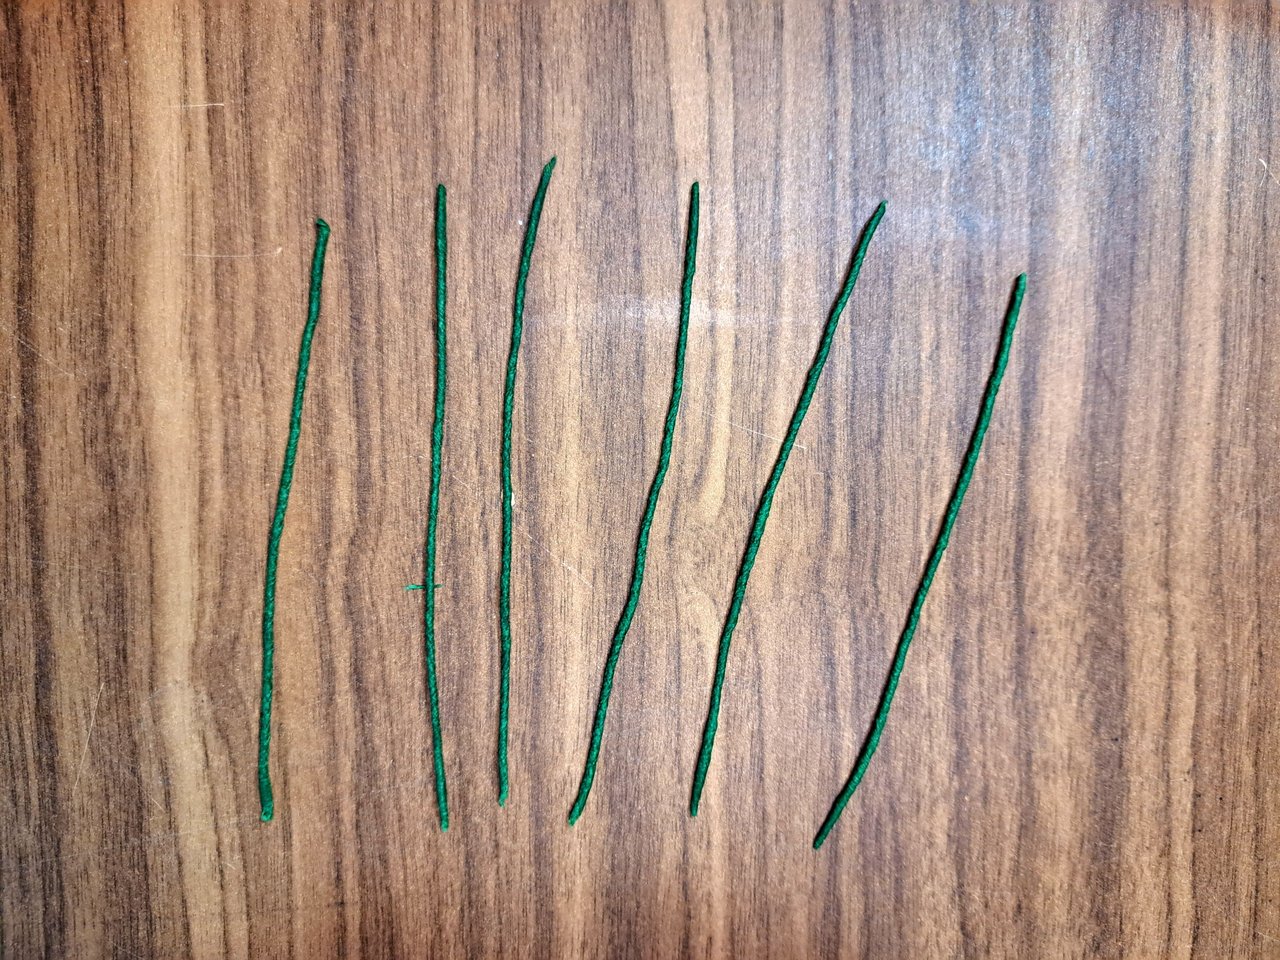
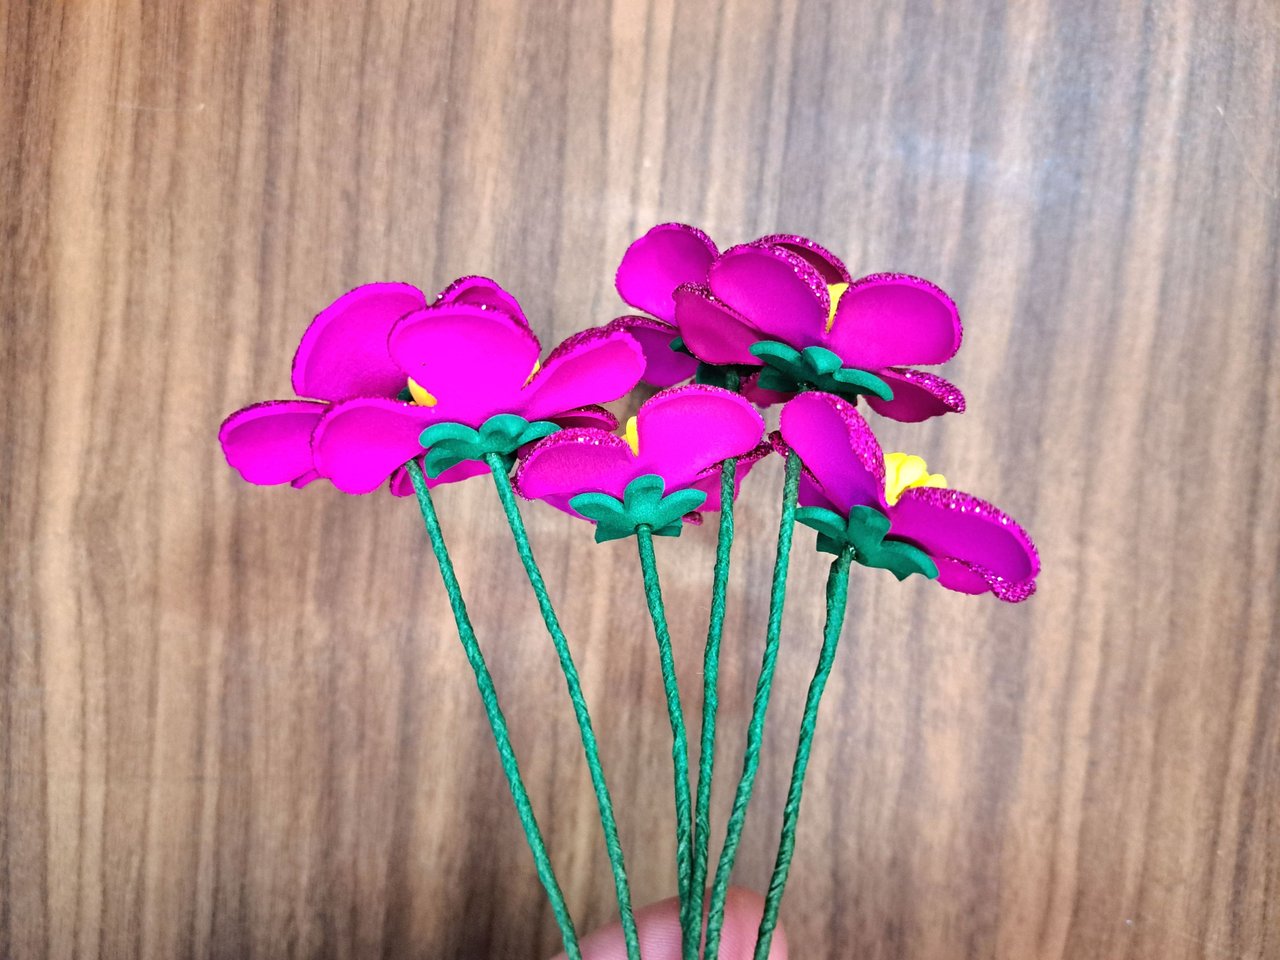
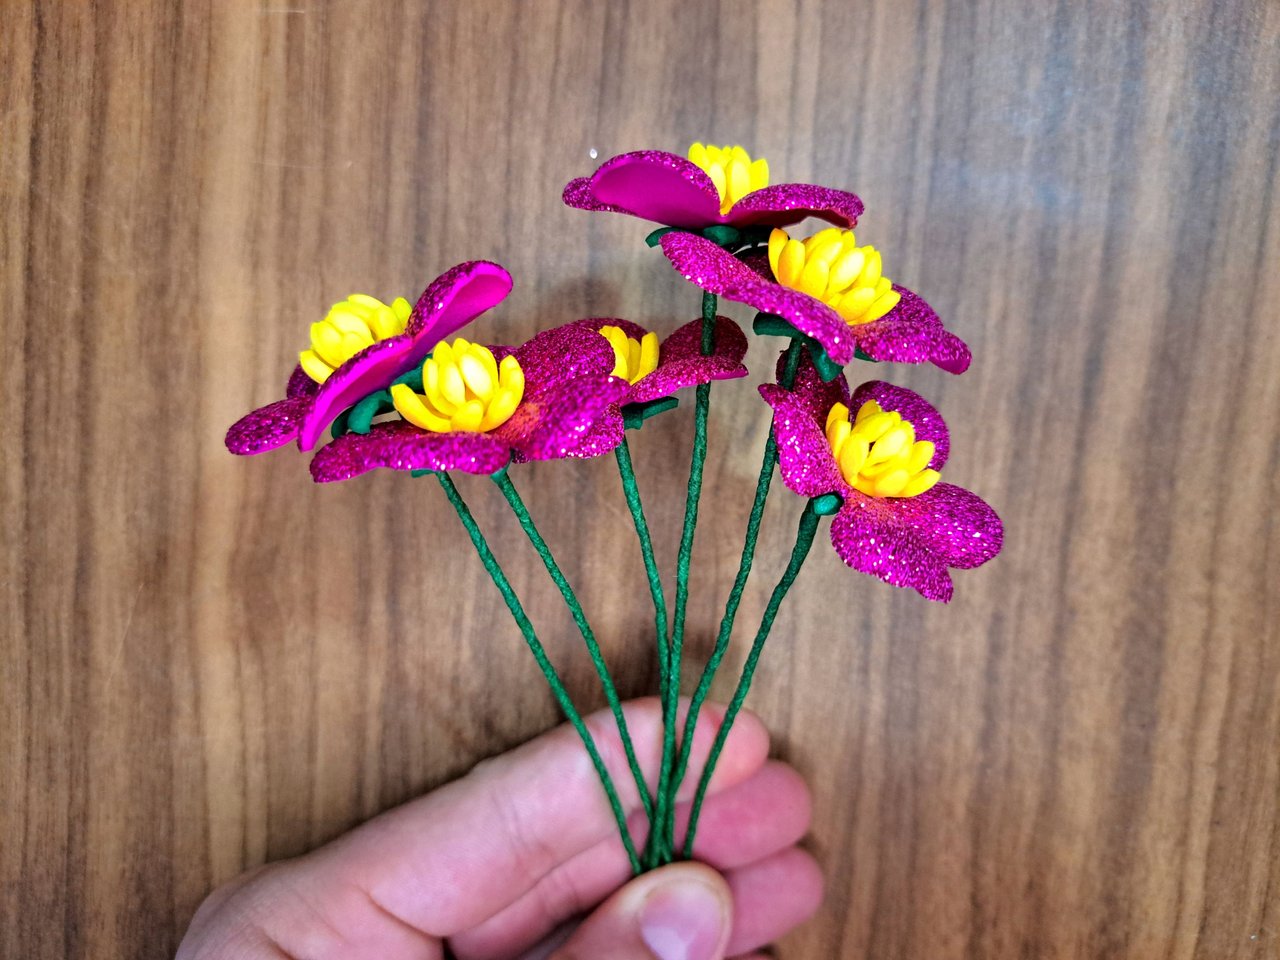
5️⃣ To finish the flowers it was necessary to create 6 stems, which I made with steel wire wrapped in green floral tape. I glued each of the stems to its corresponding flower and cut them in different sizes, the middle one being the largest.
Para terminar las flores era necesario crear 6 tallos, los cuales elaboré con alambre acerado envuelto en cinta floral verde. Pegué cada uno de los tallos en su flor correspondiente y; los corte en distintos tamaños, siendo el del medio el más grande.
 |  |
 |  |
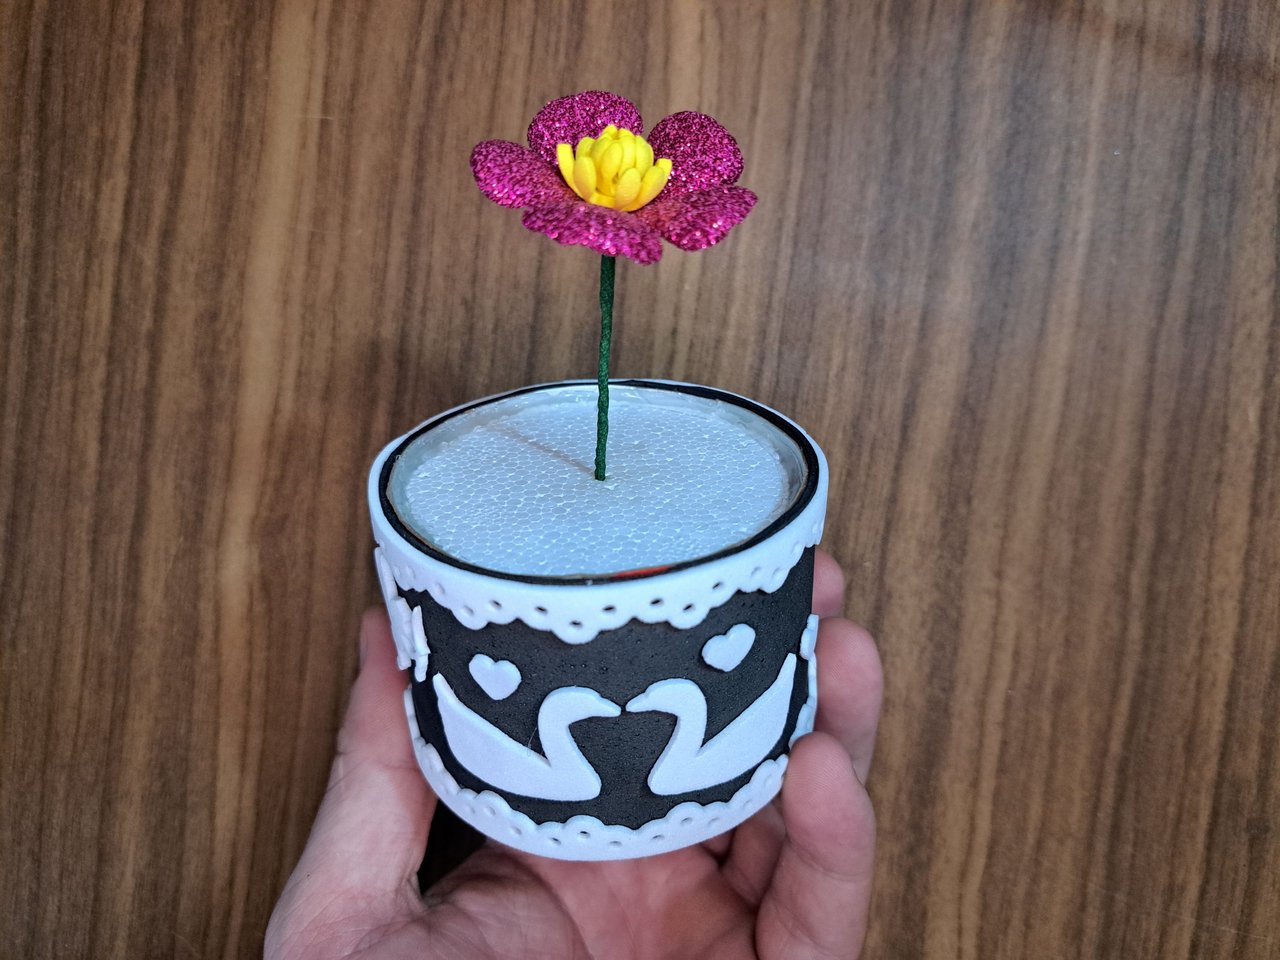
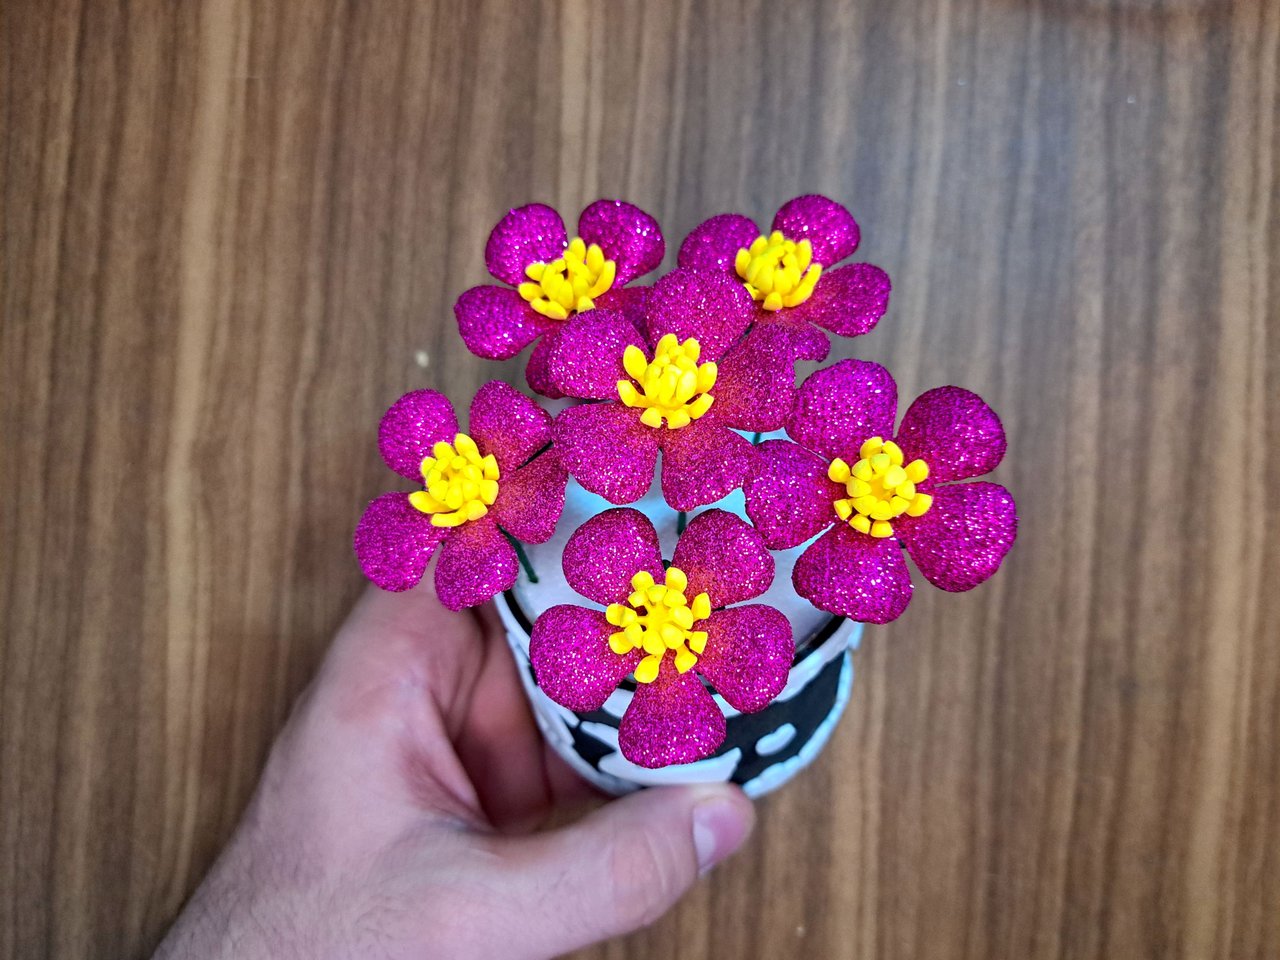
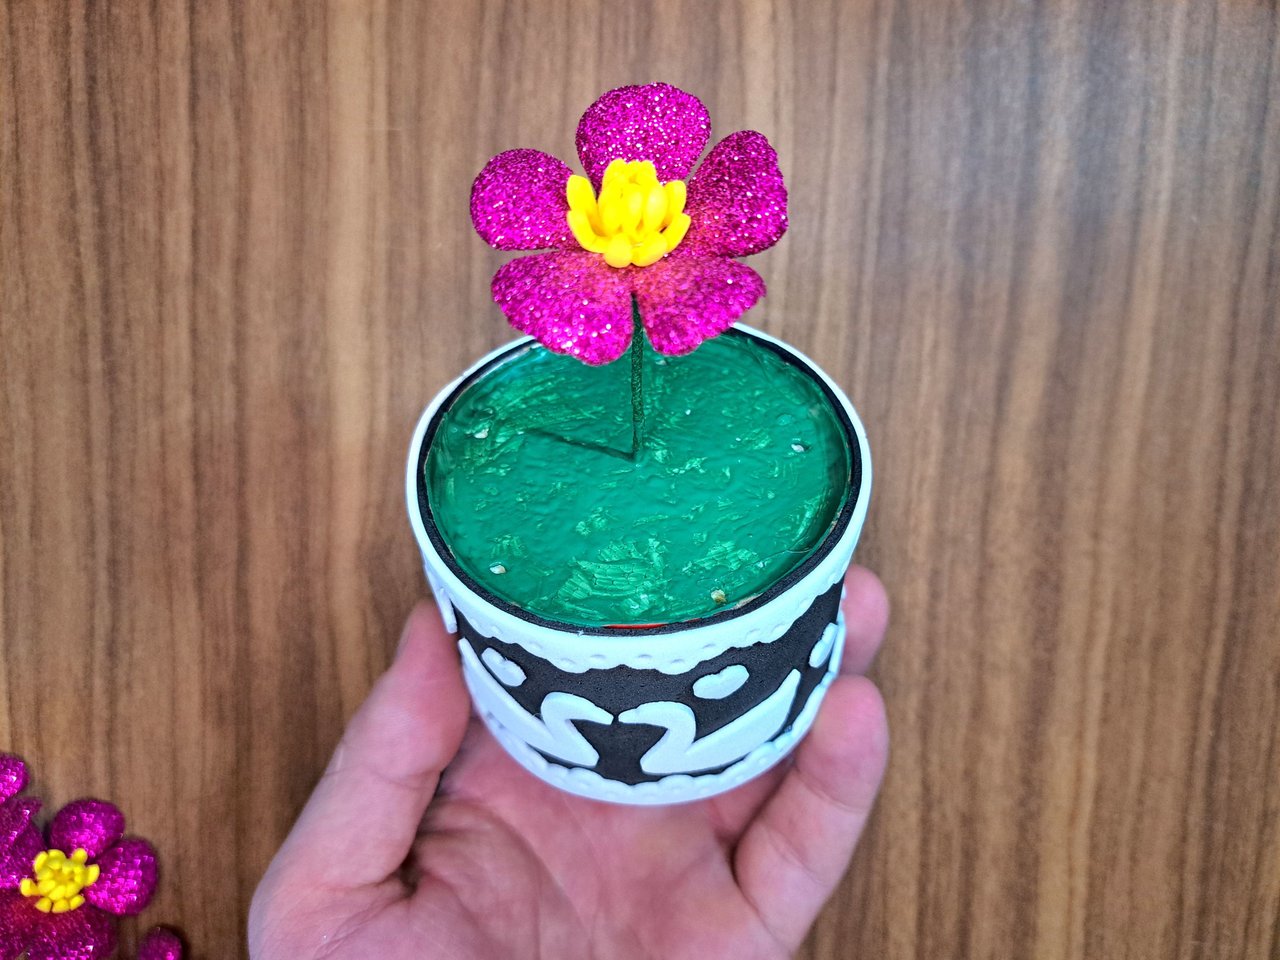
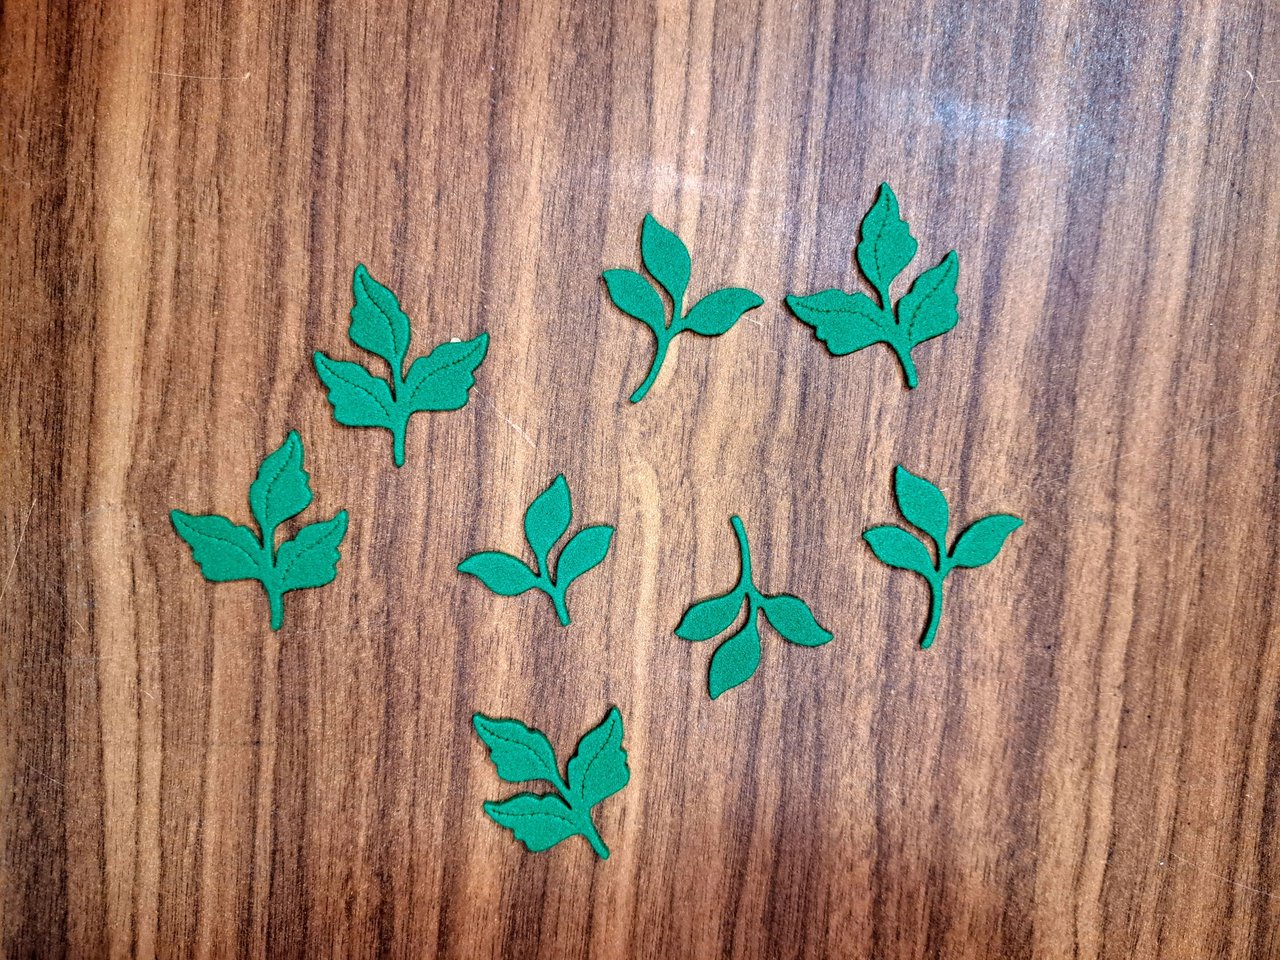
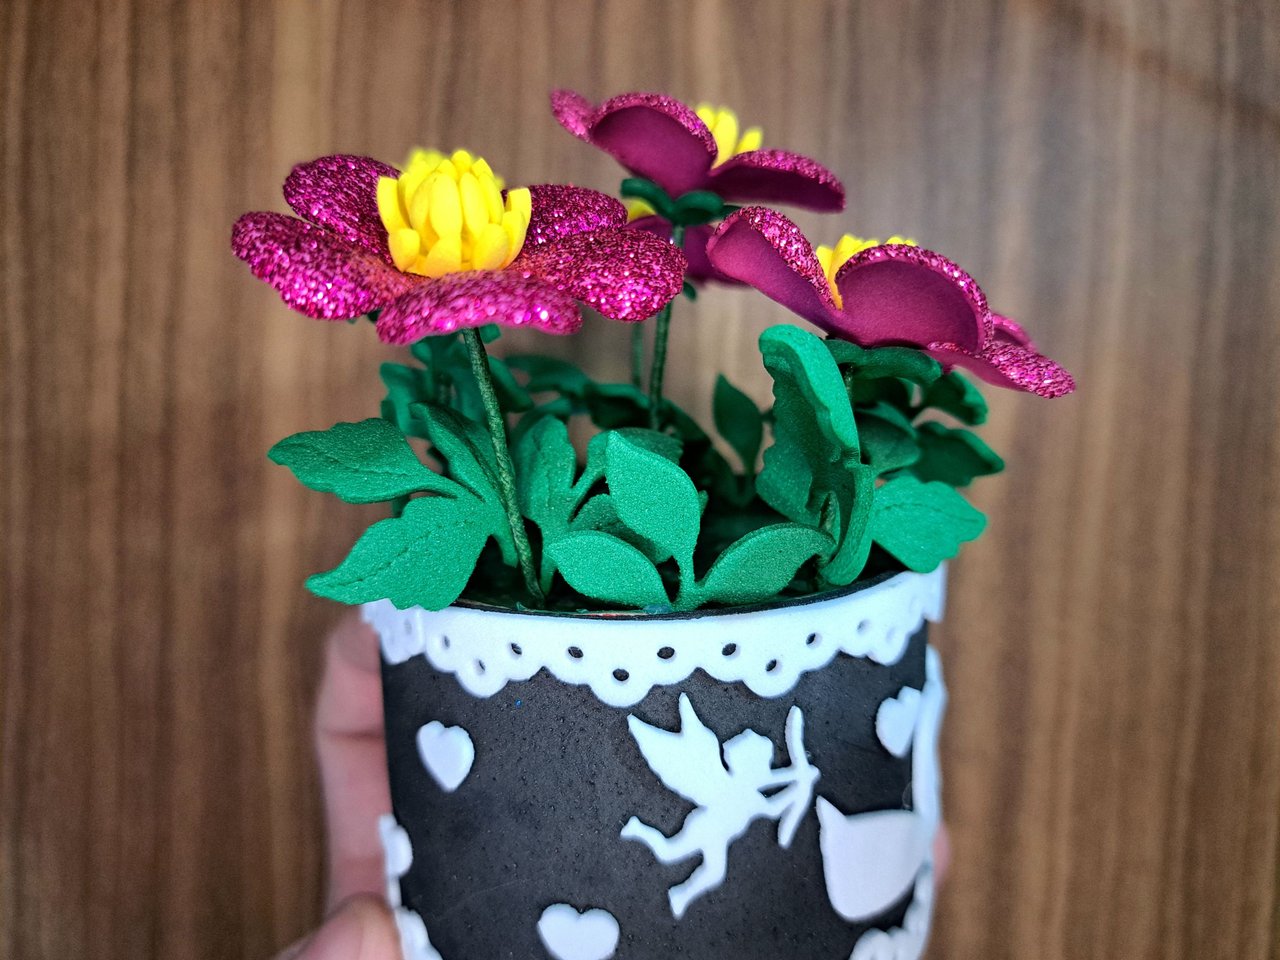
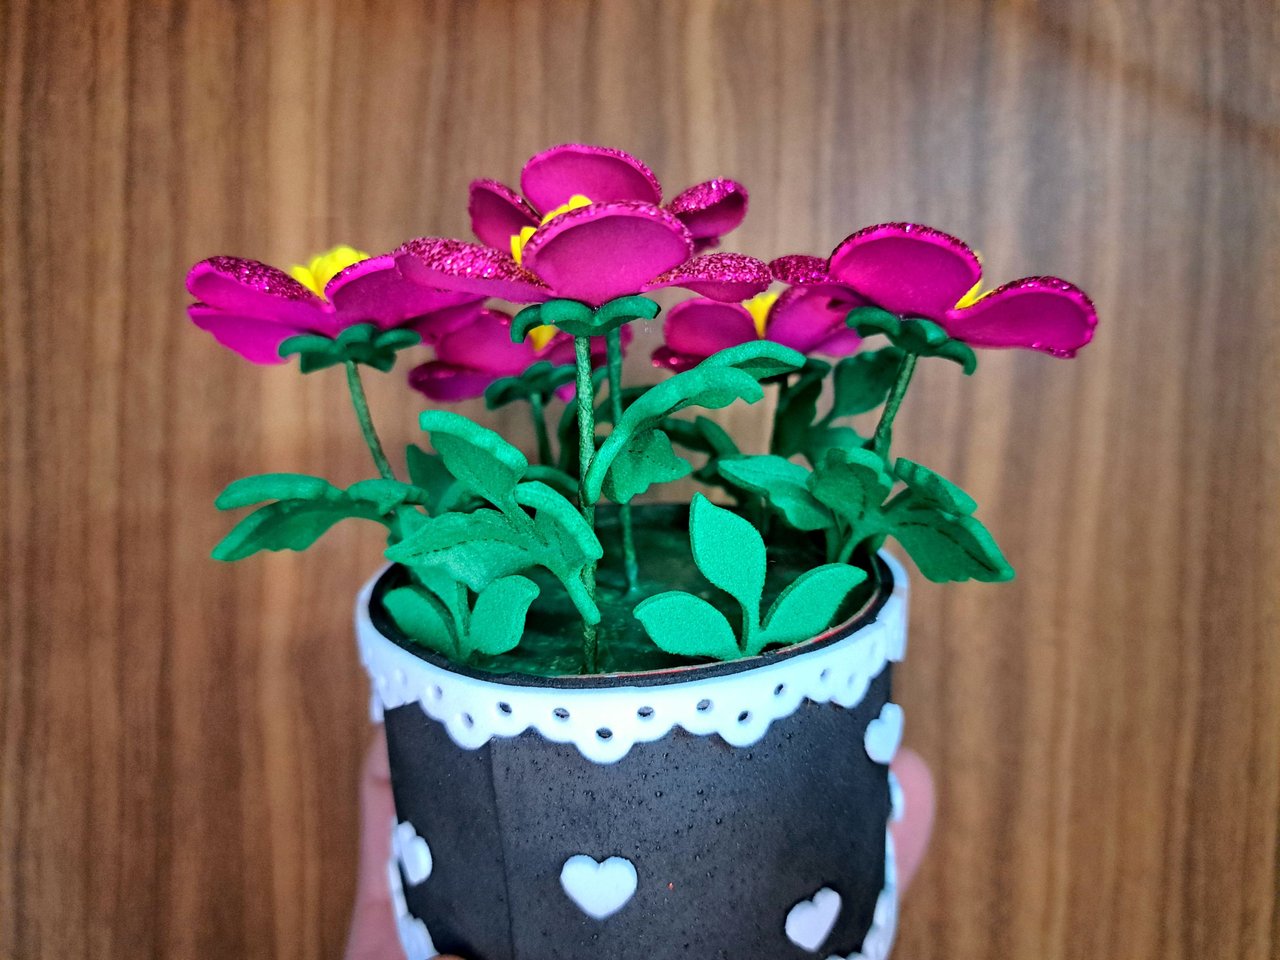
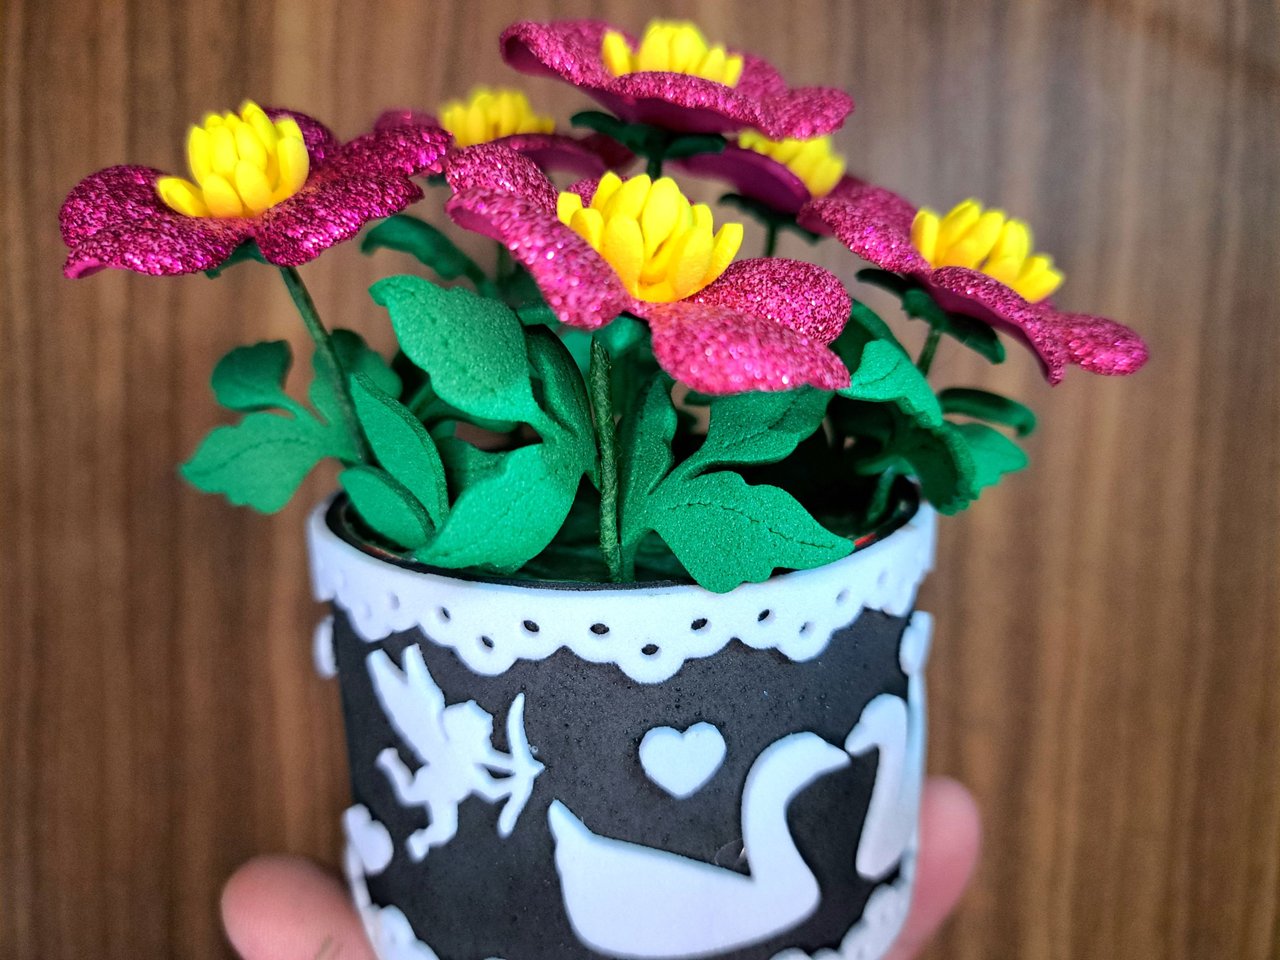
6️⃣ I inserted each of the flower stems into the base until the whole area was covered, but only to identify their place. I removed the flowers to paint the polystyrene green and, once dry, I put them back by gluing them this time. In plain green fomi, I cut out two different patterns of leaves, which I glued in pairs on the stems of the flowers and the leftovers around the base to cover the empty spaces.
Fui insertando cada uno de los tallos de las flores en la base hasta cubrir toda el área, pero solo para identificar su lugar. Retiré las flores para pintar de verde el poliestireno y, una vez seco, las volví a colocar pegándolas esta vez. En fomi verde liso, recorté dos patrones distintos de hojas, los cuales pegué en pares en los tallos de las flores y los sobrantes alrededor de la base para cubrir los espacios vacíos.
 |  |
 |  |  |
 |  |
Finished Work // Trabajo Terminado
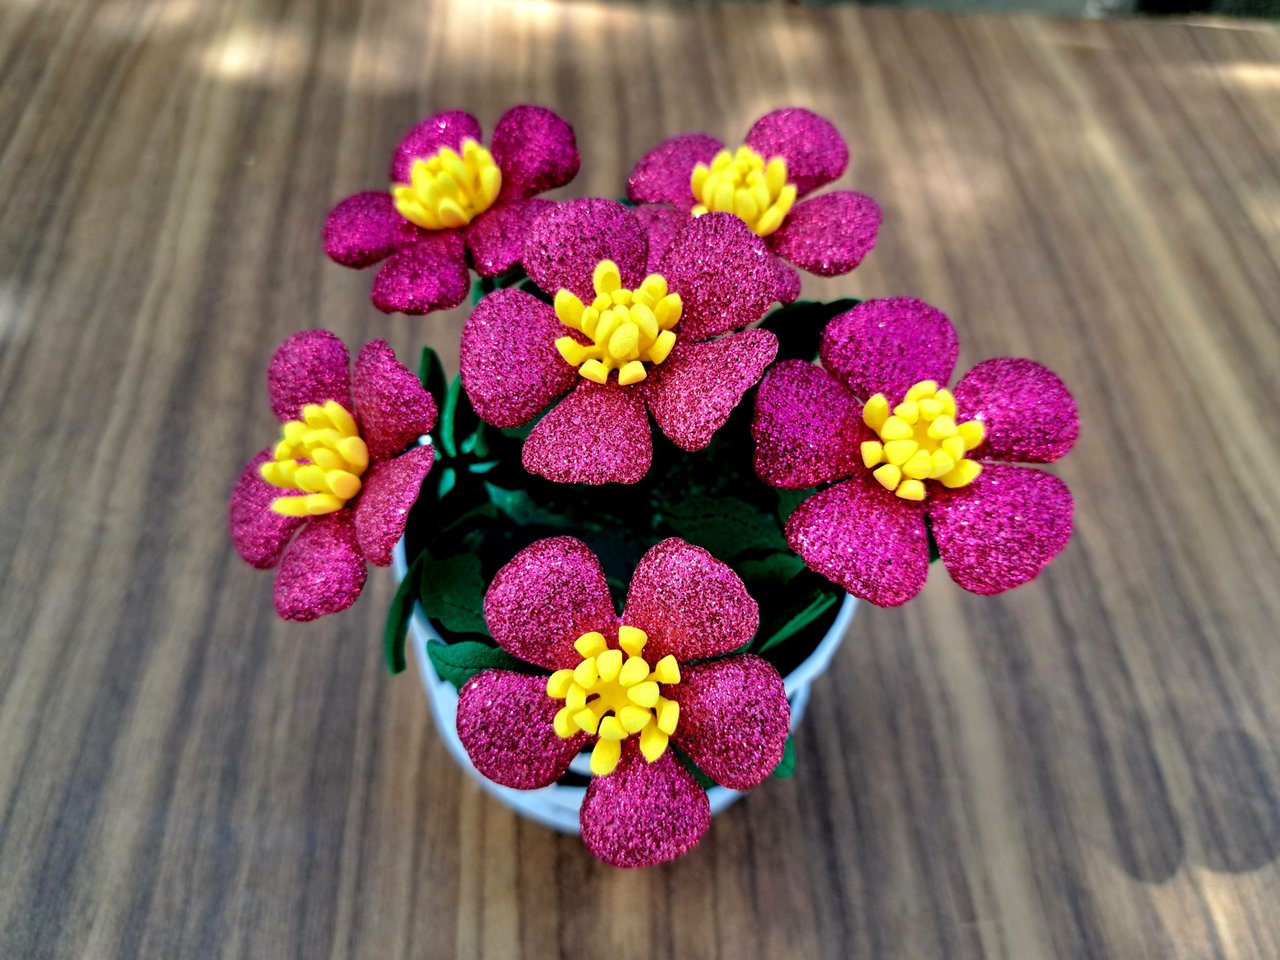
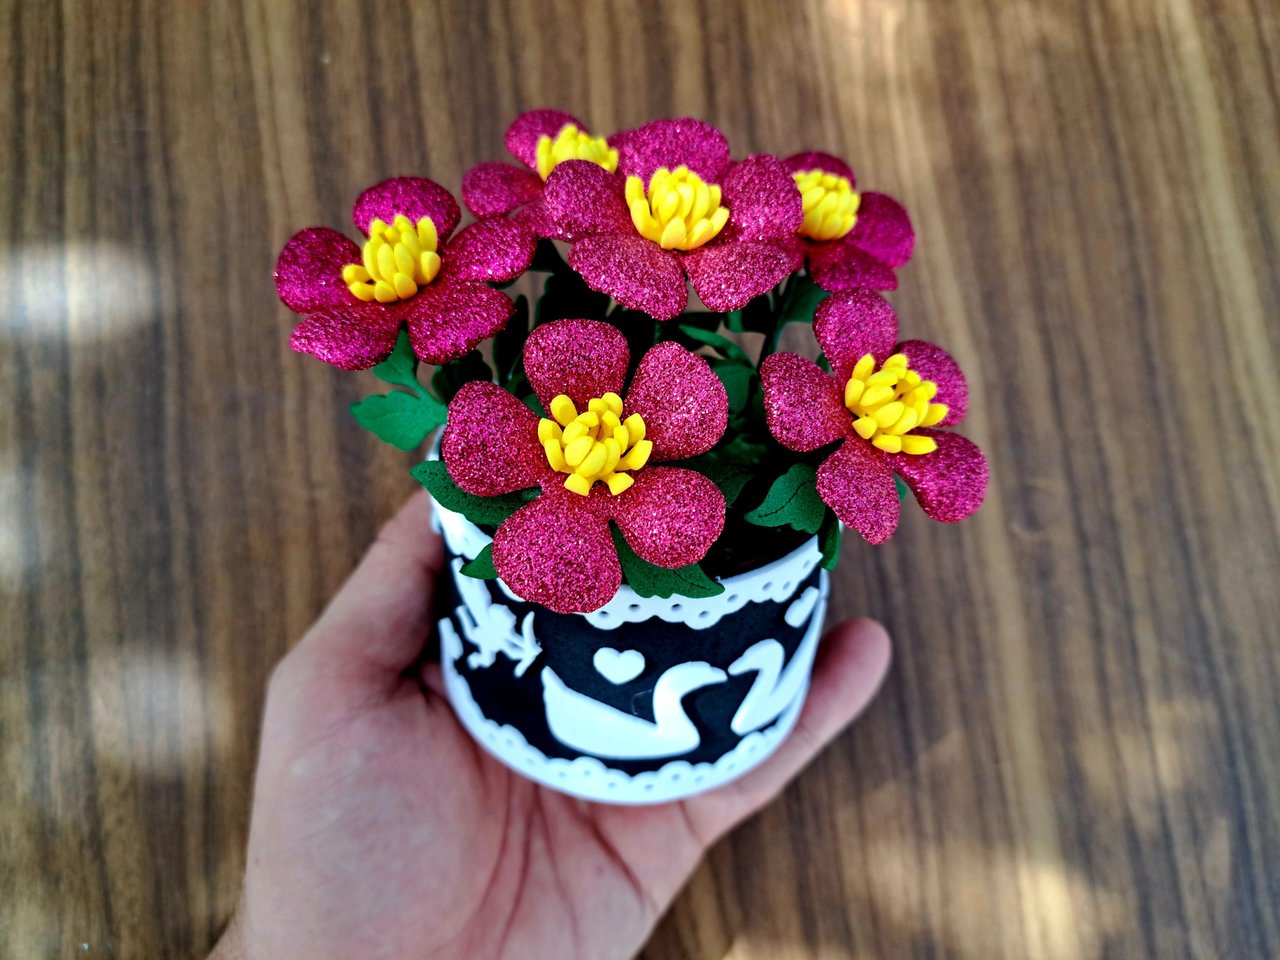
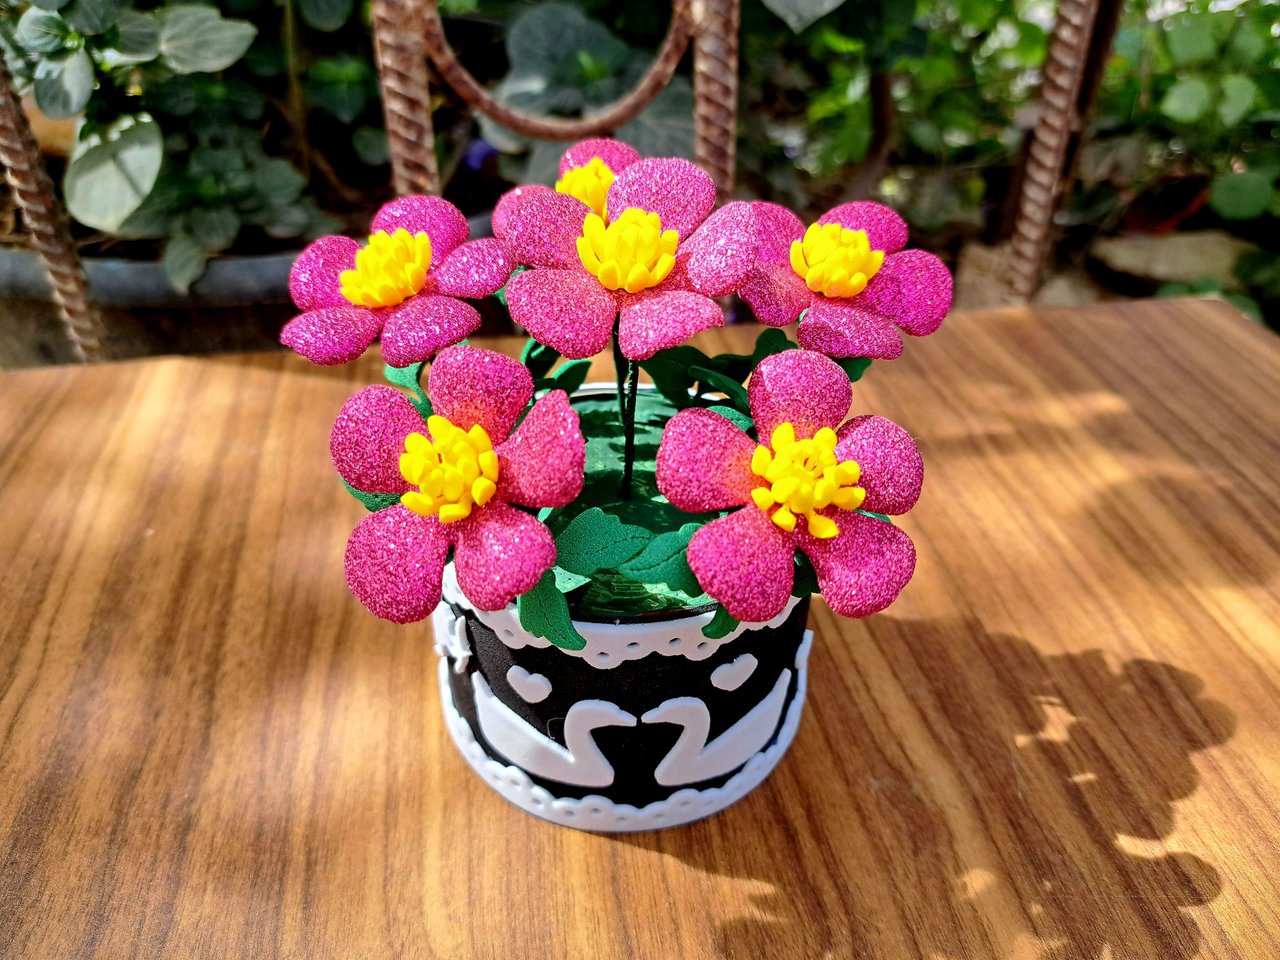
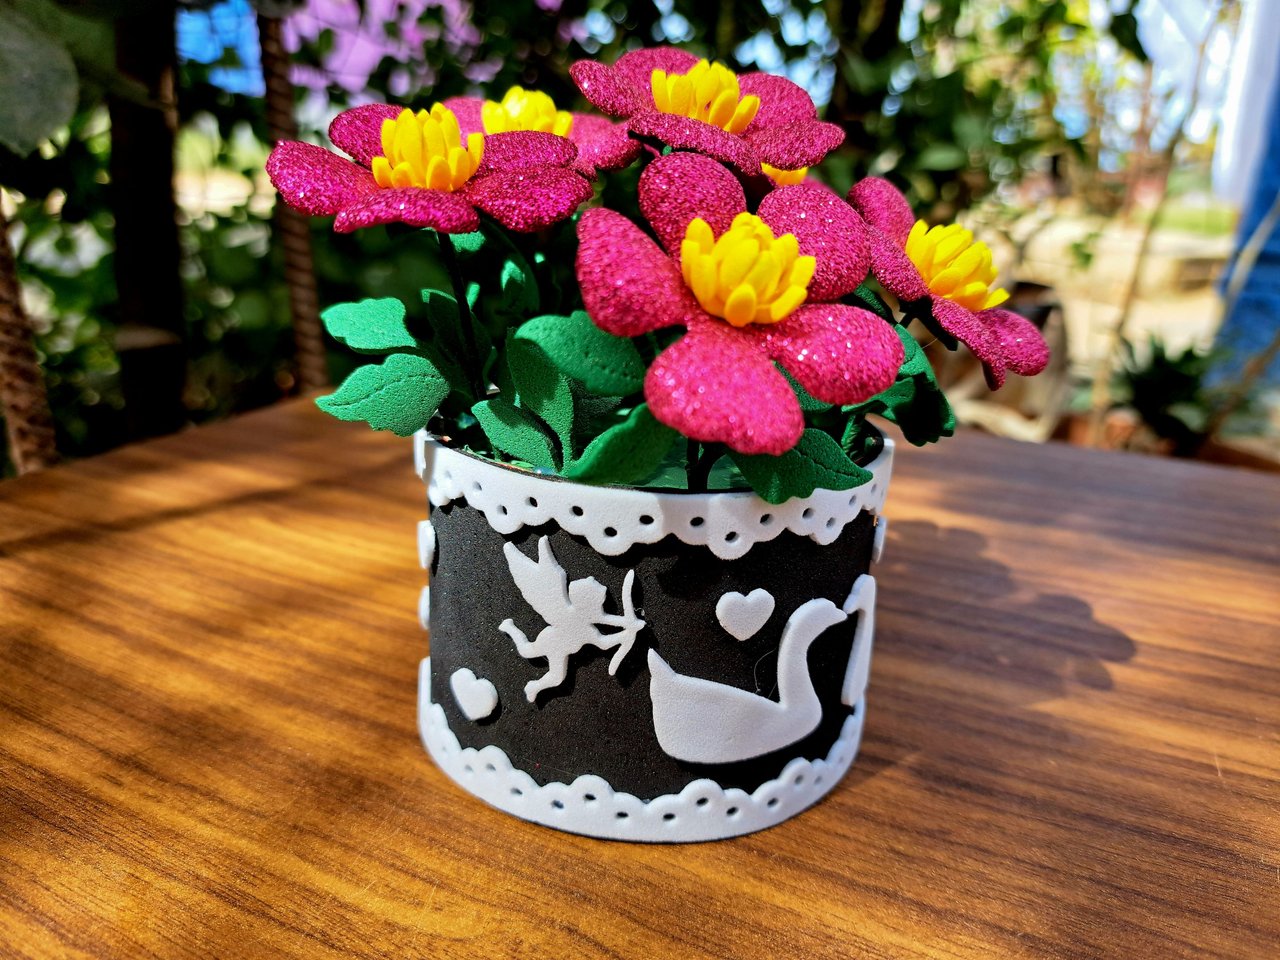
And that would be all. I hope this floral ornament has been to your liking and has inspired you to start thinking about what gifts you will make for next February 14. I, as always, am very happy to have been able to share with you once again my creations and I say goodbye until next time.
Y eso sería todo. Espero que este adorno floral haya sido de tu agrado y te haya inspirado para que desde ahora vayas pensando en qué presentes confeccionarás para el próximo 14 de febrero. Yo, como siempre, me voy muy contento por haber podido compartir con ustedes una vez más mis creaciones y me despido hasta una próxima ocasión.
 |  |
 |  |

Credits and Resources // Créditos y Recursos
Cover page created in Canva
Translated by DeepL
Images captured with my Samsung Galaxy A53


Posted Using INLEO
Que belleza, es incluso más bonito que algunas flores artificiales que se ven por ahí. Bastante elaborado, sí, pero vale la pena el esfuerzo con tan lindo resultado. 💖
Es por eso que digo que lo importante es la intención y el amor que se le ponga a la hora de hacer el regalo.
Bello 💖👏 Gran trabajo. Muchas felicidades!!!
Muchas gracias amiga.
Precioso, sería un gran detalle para regalar en san Valentín, amo las flores ❤️🌸💚💙
Creo que todos, incluso yo, amamos las flores. Regalar un ramo de flores transmite mucho.
Wow sí, es un detalle muy significativo.💙
!discovery 30
Gracias por el apoyo amiga 🥰
This post was shared and voted inside the discord by the curators team of discovery-it
Join our Community and follow our Curation Trail
Discovery-it is also a Witness, vote for us here
Delegate to us for passive income. Check our 80% fee-back Program
Thanks for the support 🤗
Thanks for the support 🫂
As always, a beautiful and wonderful job on your part.Thank you for leaving and sharing your step by step creative process with all of us.Keep up the good work you're doing Successes
And as always, I thank you from the bottom of my heart for your support.
Está precioso este detalle lleno de colores vibrantes, lo amé
Gracias me alegro de que fuese de tu agrado.