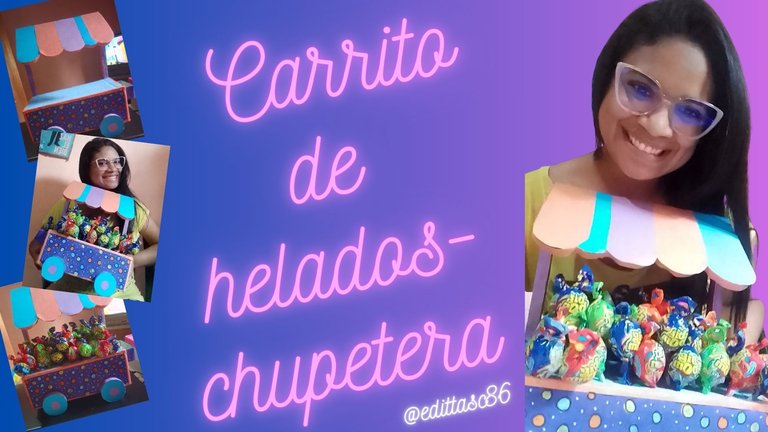
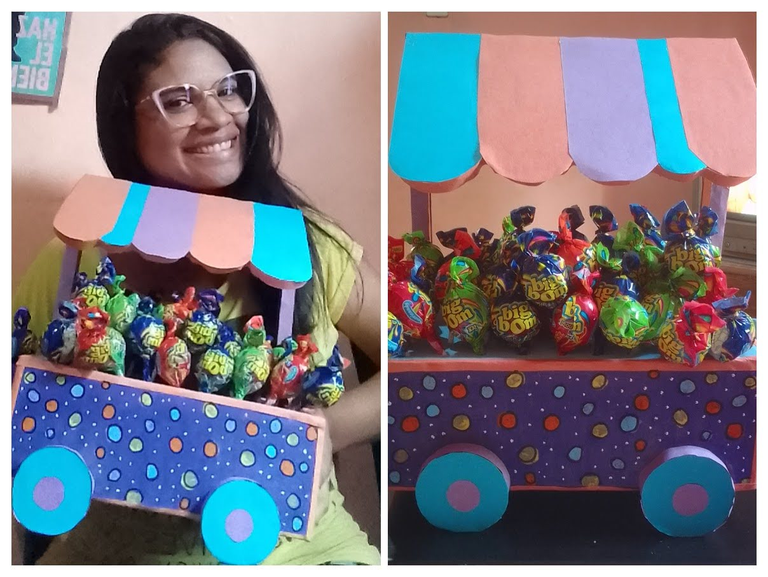
Saludos comunidad, espero se encuentren muy bien, Siempre es un gusto para mi mostrar lo que me gusta hacer, con el ingrediente o material básico pero mas importante para que todo nos quede hermoso, imagino saben cual es verdad? siii claro el amor 😊💕 hoy paso a compartir con ustedes esta linda chupetera espero sea de su agrado..
Cómo lo realice? sigan leyendo 😊
Materiales
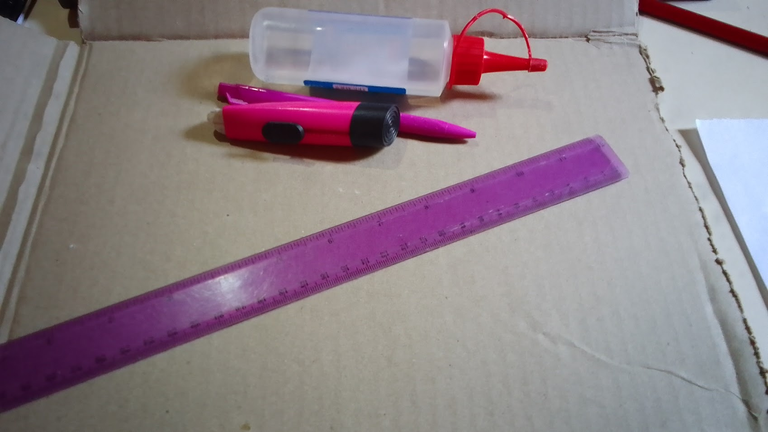
- Cartón
- Pega silicona (puede ser fría o caliente)
- cúter y/o tijera
- Lápiz, regla, borrador
- papel de construcción
- pinturas de cerámica
Paso a paso chupetera Carrito de helados 😊
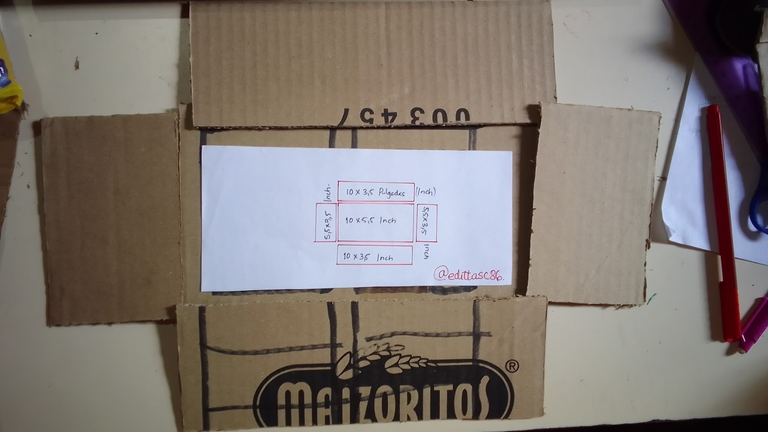
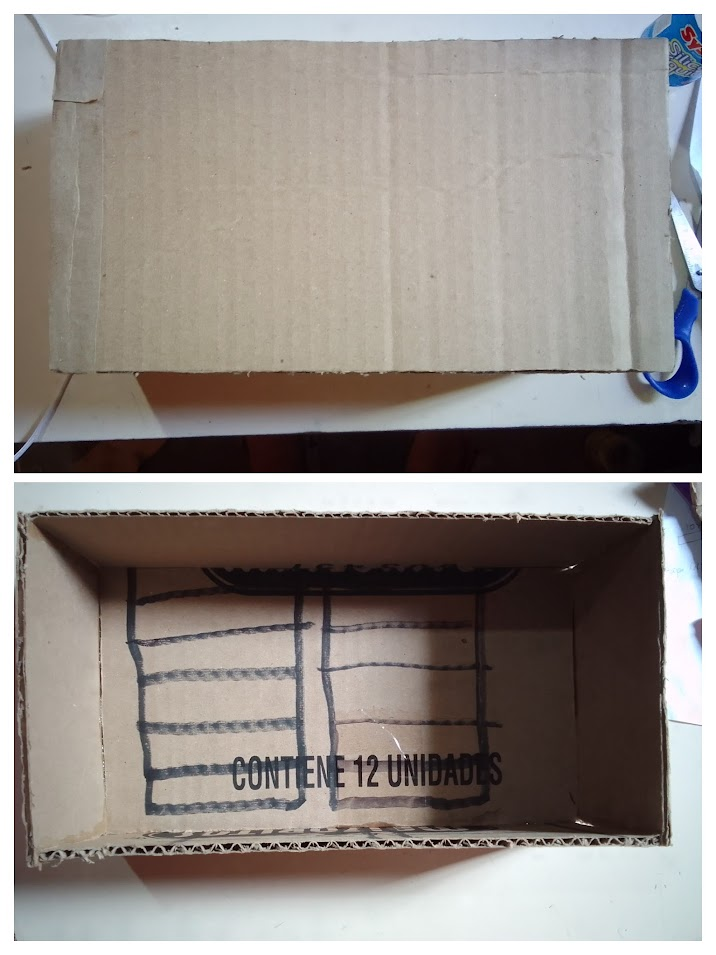
1- Base: para la base con la regla medí y saque 6 piezas para forma una caja, el centro 2 piezas de 10x5,5 pulgadas. 2 los laterales de 10x3,5 y otros dos mas pequeños de 5,5x3,5 pulgadas.
Dibuje y recorte con el cúter.
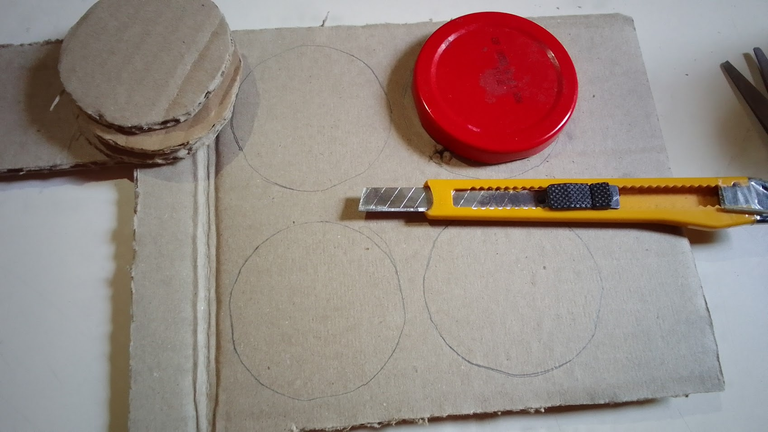
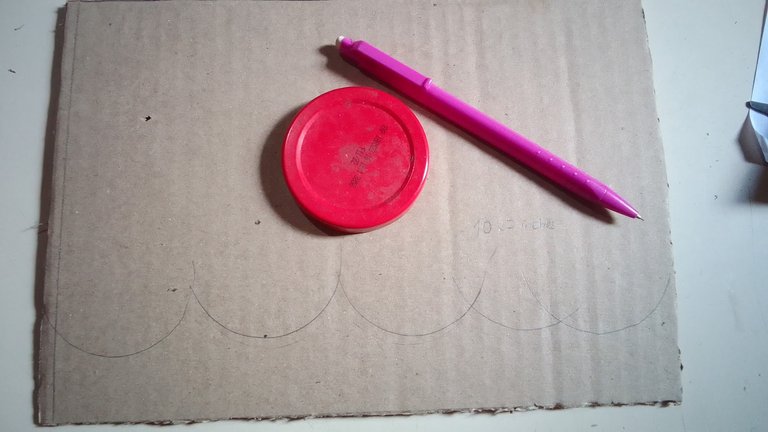
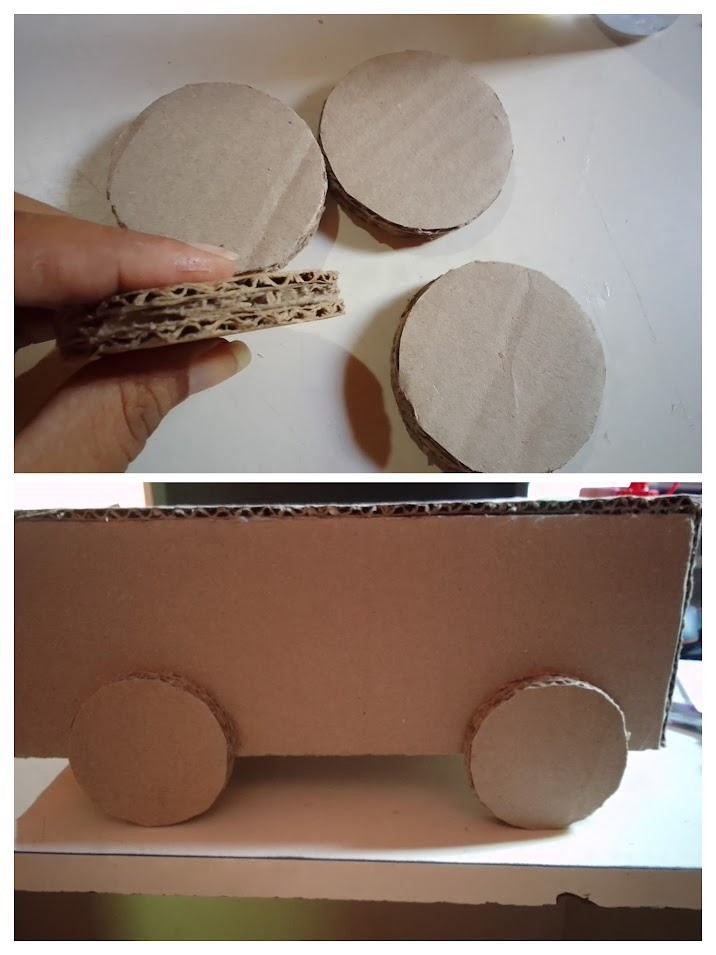
2- Ruedas: Ocupe una tapa aproximadamente de 6 cm con mi portaminas marque en el cartón la forma circular y con el cúter posteriormente corte, saque 12 círculos ya que cada ruedita iba a ocupar 3 círculos para hacerlos un poco mas fuertes y resistentes.
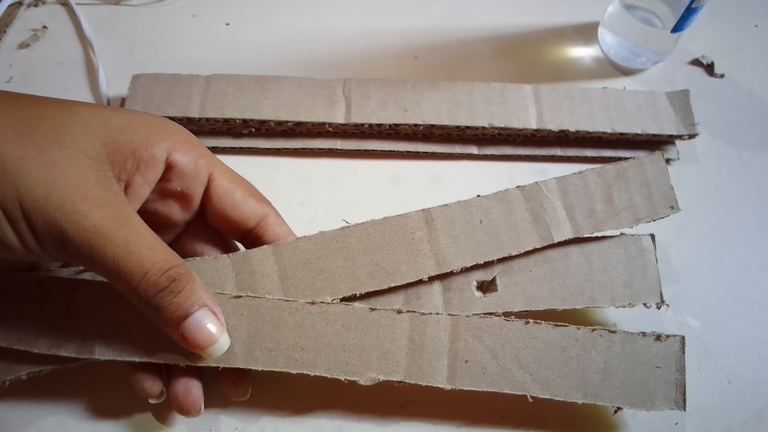
3- Bases para la carpa: Para esta base o pilares, dibuje en el carton la figura de 10x1 pulgada, necesite para esto 6 piezas, para unirlas para que la base sea fuerte.
4- Carpa: Dibuje un rectangulo de 10x7 pulgadas, recorte y dibuje con la tapa unos semi circulos para hacer la forma del borde circular.
Ensamblaje
1- Teniendo las 6 piezas listas para la base, aplicamos pega silicona fría o caliente a los bordes y lo unimos al cartón del medio, en mi caso como use silicona fría presioné un poco hasta que esta quedara un poco fija, recuerden la silicona fría dura aproximadamente 3 minutos en secar, la caliente si pega un poco mas rápido. pegamos todas la piezas hasta que nos quede así:
2- Luego, uní los círculos, les recuerdo que cada rueda tendrá 3 círculos y posteriormente pegue estas a la cajita que ya habíamos realizado en el paso anterior:
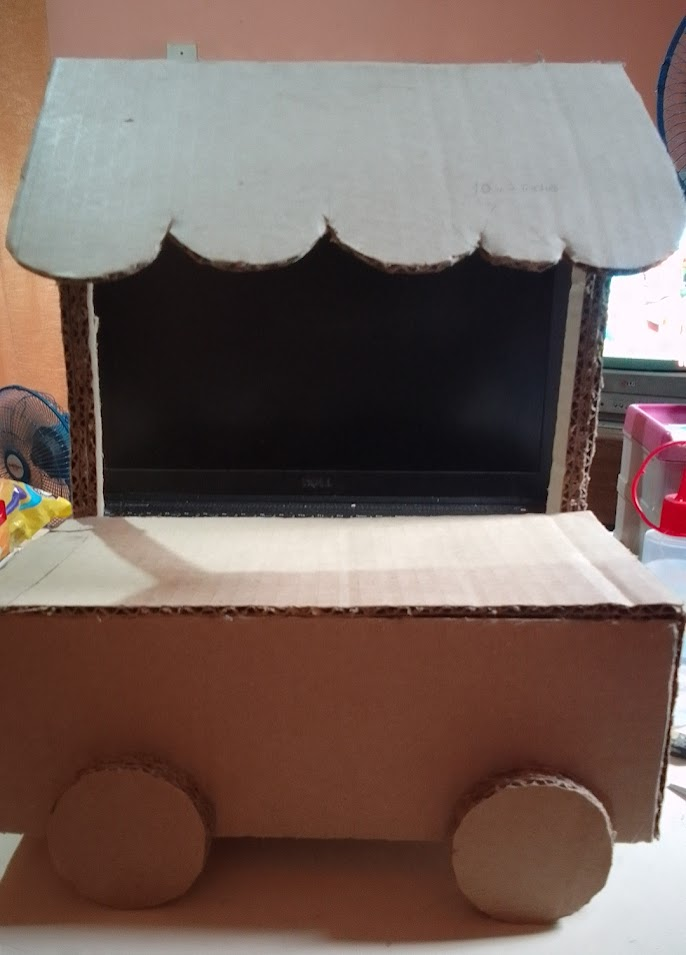
3- Pegue las figuras para la base de la carpa, serian dos para sostenerla y luego marque con la regla un pequeño triangulo, el cual recorte y recorte la carpa y peque y quedo así:
Decoración
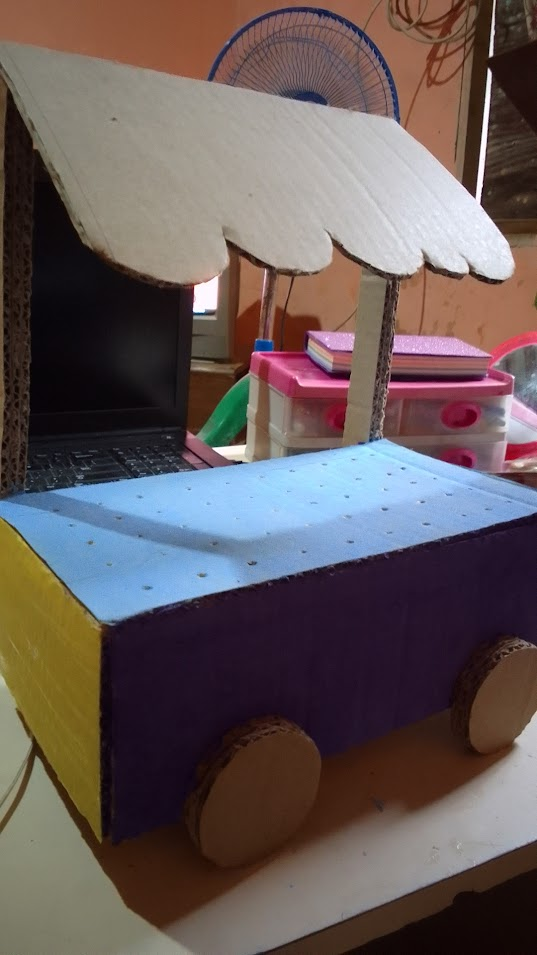
1- Antes de comenzar a pintar, le abrí unos huecos a la base de chupetera, con un destornillador pequeño, un total de 50 huecos, posterior a eso comencé aplicar color azul cielo, la parte del frente color morado y los laterales amarillo.
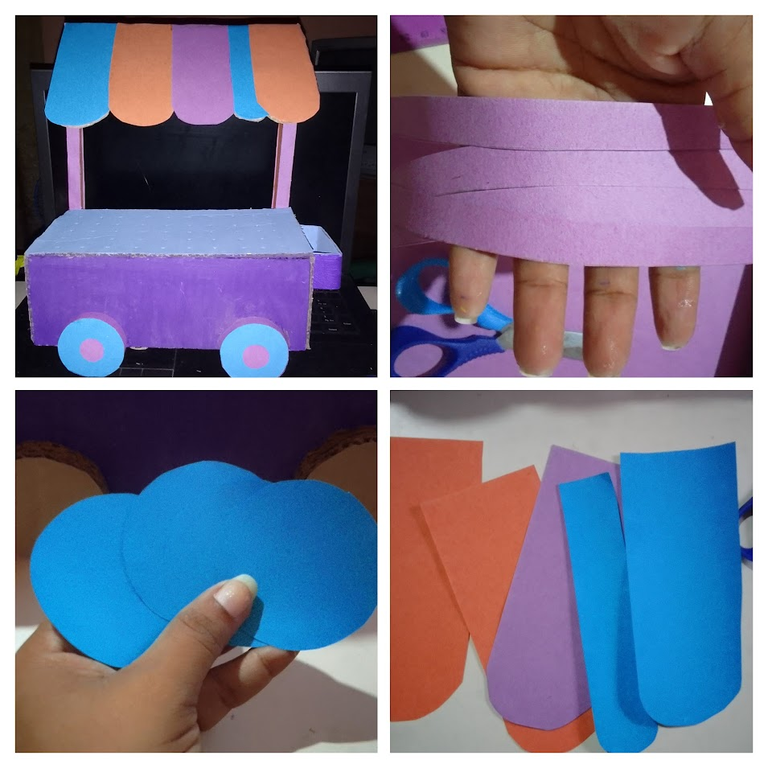
2- Luego con papel de construcción, recorte y pegue varias franjas para la parte de la carpa, así como para las ruedas y las bases,
3- Para finalizar el carrito, pinte círculos de colores, le remarque con marcador y con lápiz corrector puntitos, luego con papel de construcción forre los filos y quedo realmente hermoso:
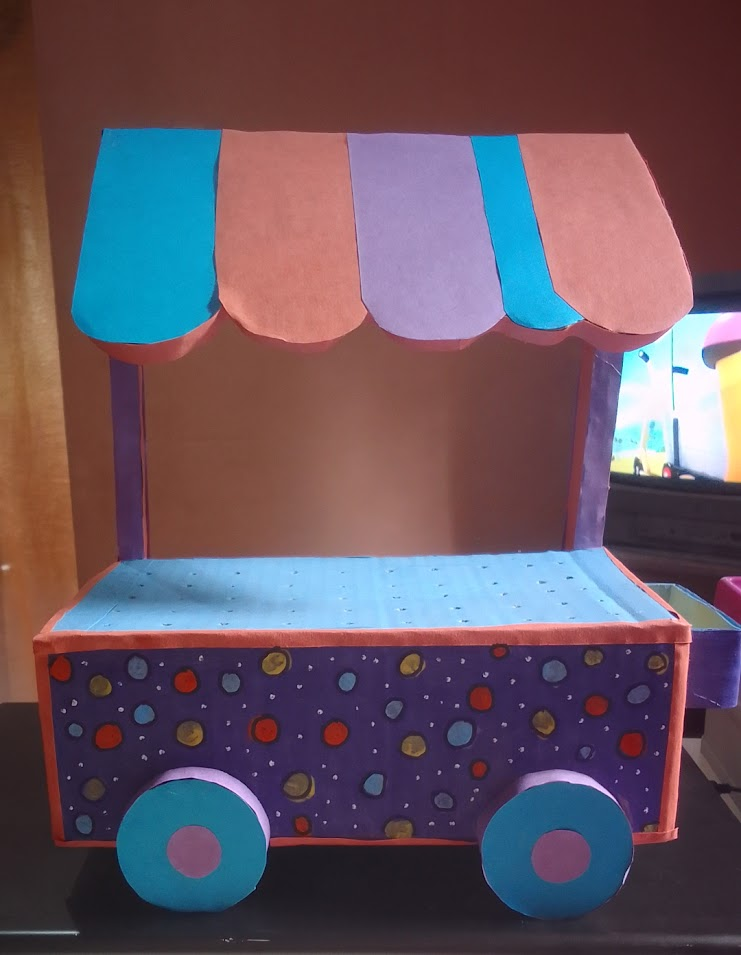
y así se ve esta belleza con sus chupetas, me encanto el resultado y espero que a ustedes también.. un fuerte abrazo para todos y bendiciones..
Gracias por llegar hasta aquí.. 💗
Hello community, I hope you are very well, it is always a pleasure for me to show what I like to do, with the basic ingredient or material but more important so that everything is beautiful, I imagine you know which one is true? Yes, of course, love 😊💕 Today I share with you this cute pacifier holder, I hope you like it ..
How did I do it? Keep reading 😊
Materials
- Cardboard
- Silicone glue (can be cold or hot)
- cutter and / or scissors
- Pencil, ruler, eraser
- construction paper
- ceramic paints

Step by step pacifier holder Ice cream cart 😊
1- Base: for the base with the rule I measured and took 6 pieces to form a box, the center 2 pieces of 10x5.5 inches. 2 the sides of 10x3.5 and two more small ones of 5.5x3.5 inches.
Draw and cut with the cutter.

2- Wheels: I used a cover approximately 6 cm with my mechanical pencil, I marked the cardboard with the circular shape and with the cutter later I cut it, I took 12 circles because each wheel was going to use 3 circles to make them a little stronger and more resistant.

3- Bases for the tent: For this base or pillars, I drew the figure of 10x1 inch on the cardboard, I needed this for 6 pieces, to join them so that the base is strong.

4- Tent: Draw a rectangle of 10x7 inches, cut and draw with the cover some semi-circles to make the shape of the circular edge.

Assembly
1- Having the 6 pieces ready for the base, we apply cold or hot silicone glue to the edges and join it to the cardboard in the middle, in my case as I used cold silicone I pressed a little until it was a little fixed, remember that cold silicone dries in about 3 minutes, hot one if it sticks a little faster. We glue all the pieces until we get this:

2- Then, I joined the circles, I remember that each wheel will have 3 circles and then I glued these to the box that we had already made in the previous step:

3- Glue the figures for the base of the tent, they would be two to hold it and then mark with the ruler a small triangle, which I cut and cut the tent and small and it was like this:

Decoration
1- Before starting to paint, I opened some holes in the base of the pacifier holder, with a small screwdriver, a total of 50 holes, after that I started applying sky blue color, the front part purple and the sides yellow.

2- Then, with construction paper, cut and paste several strips for the part of the tent, as well as for the wheels and the bases,

3- To finish the cart, paint circles of colors, underline with marker and with pencil corrector dots, then with construction paper line the edges and it looks really beautiful:

and this is how this beauty looks with its pacifiers, I loved the result and I hope you do too .. a big hug for everyone and blessings ..

Thank you for coming this far .. 💗
Cover and Banner made in Canva
Collage edited with Google photos
Photos taken with mobile device realme c11
Que lindo amiga .. ¡Saludos !
Hola amiga muchas gracias ❤️
Te quedó super bonito ❤❤
Hola!! Muchas gracias 🥰🥰
Que linda y creativa idea, creo que tengo unos cuantos años sin ver una chupetera en una fiesta, creo que se ha dejado de usar un poco pero con esta idea tuya vale la pena que se incluyan en las fiestas, es bastante vistosa y linda 😁
Hay que rescatar las tradiciones 🤭🤭 muchas gracias me alegro te haya gustado 🥰
¡Enhorabuena!
✅ Has hecho un buen trabajo, por lo cual tu publicación ha sido valorada y ha recibido el apoyo de parte de CHESS BROTHERS ♔ 💪
♟ Te invitamos a usar nuestra etiqueta #chessbrothers y a que aprendas más sobre nosotros.
♟♟ También puedes contactarnos en nuestro servidor de Discord y promocionar allí tus publicaciones.
♟♟♟ Considera unirte a nuestro trail de curación para que trabajemos en equipo y recibas recompensas automáticamente.
♞♟ Echa un vistazo a nuestra cuenta @chessbrotherspro para que te informes sobre el proceso de curación llevado a diario por nuestro equipo.
🥇 Si quieres obtener ganancias con tu delegacion de HP y apoyar a nuestro proyecto, te invitamos a unirte al plan Master Investor. Aquí puedes aprender cómo hacerlo.
Cordialmente
El equipo de CHESS BROTHERS
Muchas gracias por su valoración 🤗
Que lindo y tierno trabajo, lo ame 😍 admito que esa chupetera en mi casa estaria siempre vacia porque no tengo control con las cosas dulces jajaja pero es super creativa, linda y divertida. Muy buen trabajo nos compartes, gracias 😍
Hola me alegra te haya gustado mucho.. gracias a ti por visitar mi post ❤️❤️
Me encanto amiga, que talento tienes para las manualidades, intentare hacerlo a ver que tal, lo haces ver muy facil.
Hola amiga muchas gracias ❤️.. inténtalo seguro te queda hermoso 🥰🥰🥰 es mucho más fácil de lo que piensas claro cuando lo intentes te darás cuenta 🥰