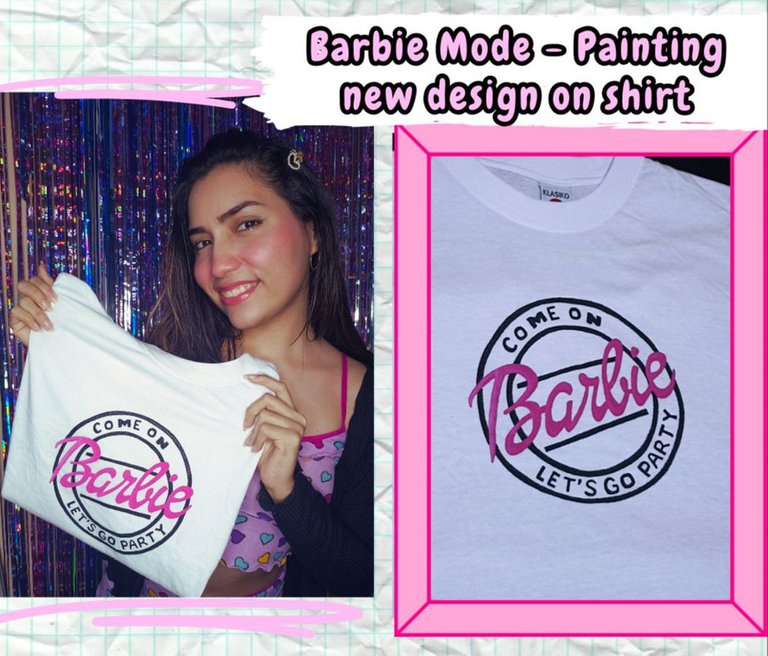


Hola amigos de Hive y comunidad ❤️ en esta oportunidad les quiero mostrar el proceso de un nuevo trabajo de dibujo que hice hace poco, un pedido muy especial de mi tía, quien aprovecho su estadía en casa para que le hiciera un diseño tipo logo de Barbie en una camisa. Ese mismo día, luego de aceptar el encargo, ella salió muy entusiasmada a comprar su camisa, un modelo básico en fondo blanco para que todos los colores resaltaran...y porque también esa era la idea que ella tenia en mente desde el principio.
Cuando alguien me pide un dibujo o cualquier diseño personalizado para una prenda, me gusta primero buscar o hacer uno lo mas fácil posible, ya que cada pieza me supone un reto, pero a la vez también me gusta aceptar uno un poco mas complejo porque así voy perdiendo ese miedo y además aprendo nuevas técnicas de dibujo y diseño.


- Camisa blanca básica
- Pinturas acrílicas o para tela (Negro, Fucsia)
- Pinceles
- Patrón del diseño


Antes de empezar a dibujar cualquier cosa sobre la tela, me gusta primero hacer una especie de boceto o borrador en papel, bien sea para guiarme o para ya estar familiarizada con el diseño. En este caso busque este logo que esta muy de moda pero que para dibujarlo esta un poco difícil, sobre todo por las líneas curvas y las letras siguiendo esa dirección, pero como dije antes, me sentía lista para aceptar el reto, y ya con la aprobación de mi tía me puse manos a la obra.
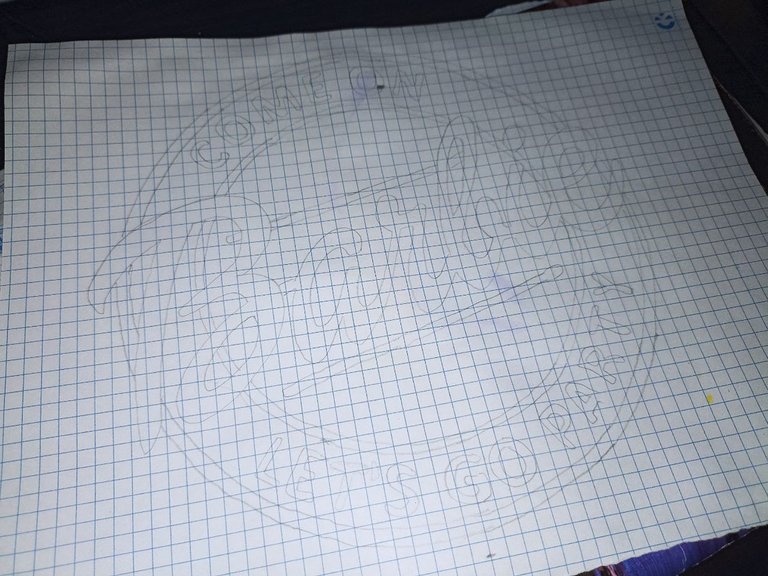
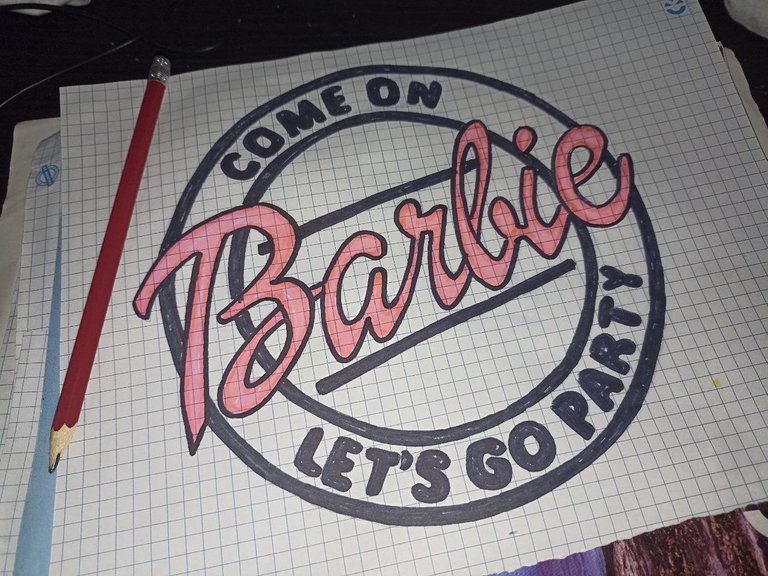

Prepare mi zona de trabajo colocando el borrador debajo de la tela y sujetándolo con un gancho, y ya una vez listo ese paso, empecé a pintar las letras del frente, la palabra Barbie en un color fucsia, una vez seco le di un lindo efecto de luz sobras combinando un poco de blanco con la pintura original, y así de paso le estaré dando otra capa.
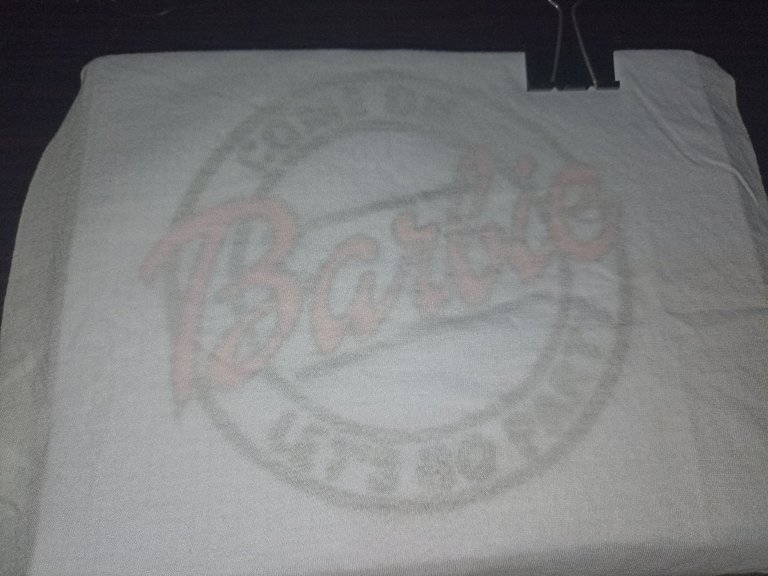
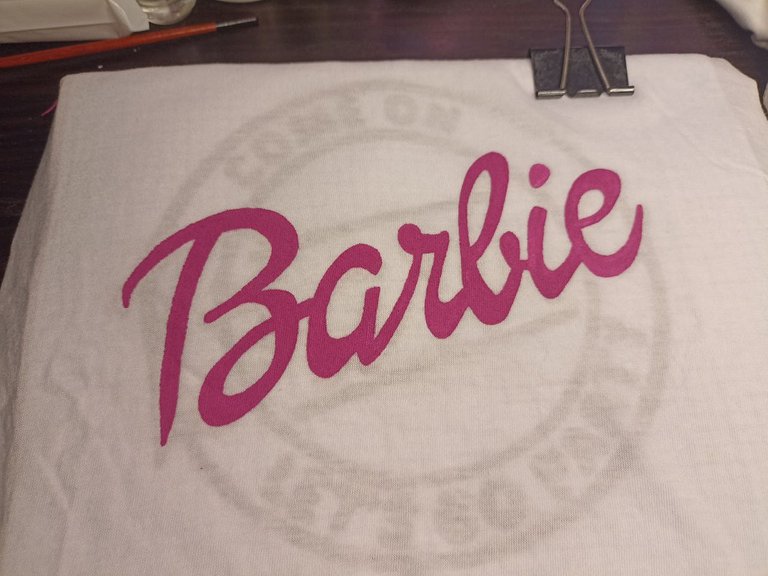

El siguiente paso es un poco mas complicado ya que aquí debía pintar un circulo que bordeara el diseño y otro mas pequeño en el centro, aquí terminare usando solo color negro, dando las capas que sean necesarias y también para hacer las letras que formaran la frase en el medio de ambos círculos, y todos los detalles finales del interior.
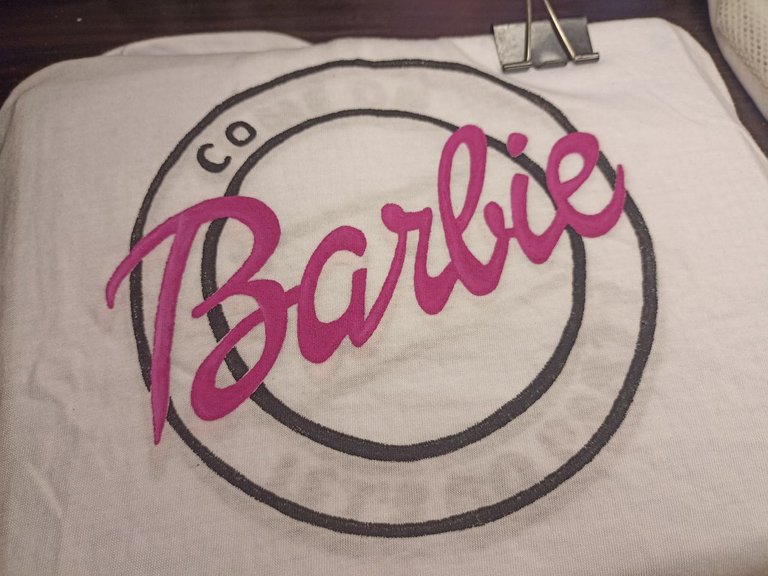
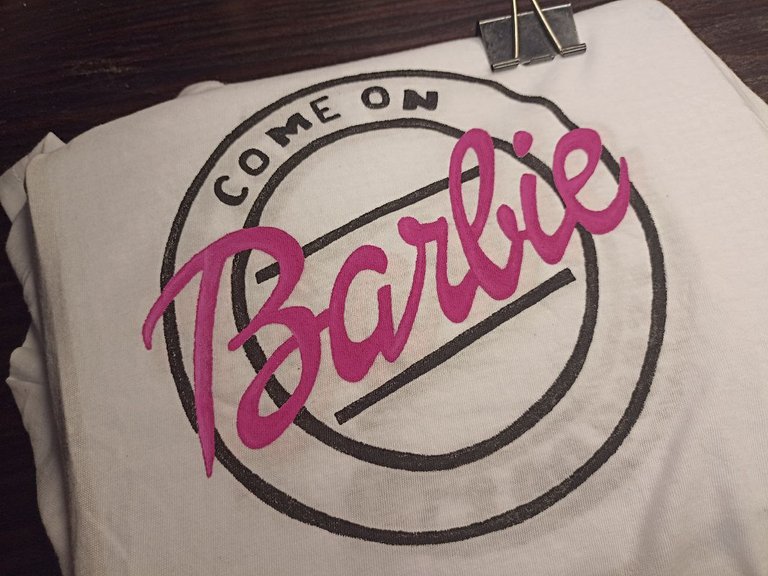


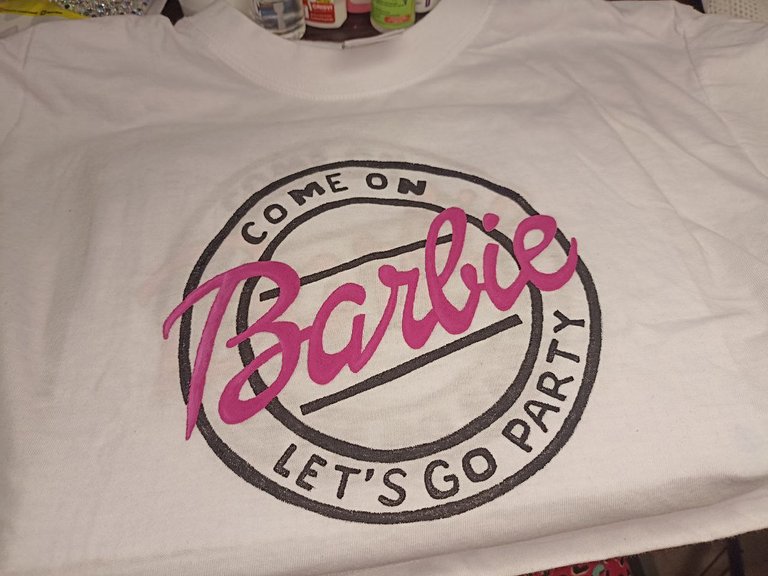
Y aquí les muestro el trabajo y todo el diseño terminado, una vez seco, es importante plancharlo por el revés para asegurar la duración tanto de los colores como de la pintura en si sobre la tela. Me gusto mucho como quedo el resultado, y lo mas importante fue que a mi tía también le encanto, aunque ya no esta en casa espera muy ansiosa hasta que pueda llevársela y poder lucirla como ella quiere !!...espero compartirles muy pronto nuevos trabajos como este que vaya creando, con mucho cariño me despido y será hasta la próxima!!💕


Hello friends of Hive and community ❤️ in this opportunity I want to show you the process of a new drawing work I did recently, a very special request from my aunt, who took advantage of her stay at home to make a Barbie logo design on a shirt. That same day, after accepting the order, she went out very excited to buy her shirt, a basic model on a white background so that all the colors would stand out...and because that was also the idea she had in mind from the beginning.
When someone asks me for a drawing or any custom design for a garment, I like first to look for or make one as easy as possible, because each piece is a challenge for me, but at the same time I also like to accept a more complex one because I lose that fear and also learn new drawing and design techniques.


- Basic white shirt
- Acrylic or fabric paints (Black, Fuchsia)
- Brushes
- Pattern of the design


Before I start drawing anything on the fabric, I like to first make a kind of sketch or draft on paper, either to guide me or to be familiar with the design. In this case I looked for this logo that is very fashionable but to draw it is a little difficult, especially because of the curved lines and the letters following that direction, but as I said before, I felt ready to accept the challenge, and with the approval of my aunt I got down to work.


I prepared my work area by placing the eraser under the fabric and holding it with a hook, and once that step was ready, I began to paint the letters on the front, the word Barbie in a fuchsia color, once dry I gave it a nice light effect by combining a little white with the original paint, and this way I will be giving it another layer.


The next step is a little more complicated since here I had to paint a circle that will border the design and another smaller one in the center, here I will end up using only black color, giving the layers that are necessary and also to make the letters that will form the phrase in the middle of both circles, and all the final details of the interior.


And here I show you the work and all the finished design, once dry, it is important to iron it on the reverse side to ensure the durability of both the colors and the paint itself on the fabric. I really liked the result, and the most important thing was that my aunt also loved it, although she is no longer at home, she is waiting very anxiously until she can take it and wear it as she wants !!....I hope to share with you soon new works like this that I create, with much affection I say goodbye and will be until next time!


Todo el contenido es de mi autoría y las imágenes son de mi propiedad
Cámara: Redmi note 10s
Uso un aro de luz LED como base para mi teléfono y tomarme las fotos
All content is my own and images are my property
Camera: Redmi note 10s
I use an LED light ring as a base for my phone to take pictures of myself

Edición y Separador|Editing and Separator
App PicMonkey - App Picsart - App Canva
Traductor|Translator
DeepL


that's a design to be proud of. Nicely.
Hola!! 🌼 Cuando vi este trabajo no me imaginé que estuviera pintado a mano 😍. Me gusta muchísimo tu prolijidad. Voy a tener en cuenta esta técnica en mi lista de cosas que desearía aprender. Te felicito porque te ha quedado preciosa!!🌷