Hoy les mostraré como hacer un creativo sobre fácil y rápido de hacer ideal para las cartas navideñas de nuestros pequeños, espero les guste y la puedan realizar para que así decoren las árboles y los niños se sientan muy emocionados con sus cartas para Papá Noel.
Hello Hivers friends happy and pleasant Saturday to all of you since a few days absent I am again sharing a post.
Today I will show you how to make a creative envelope easy and quick to make ideal for Christmas letters from our little ones, I hope you like it and can make it so you can decorate the trees and children feel very excited with their letters to Santa Claus.
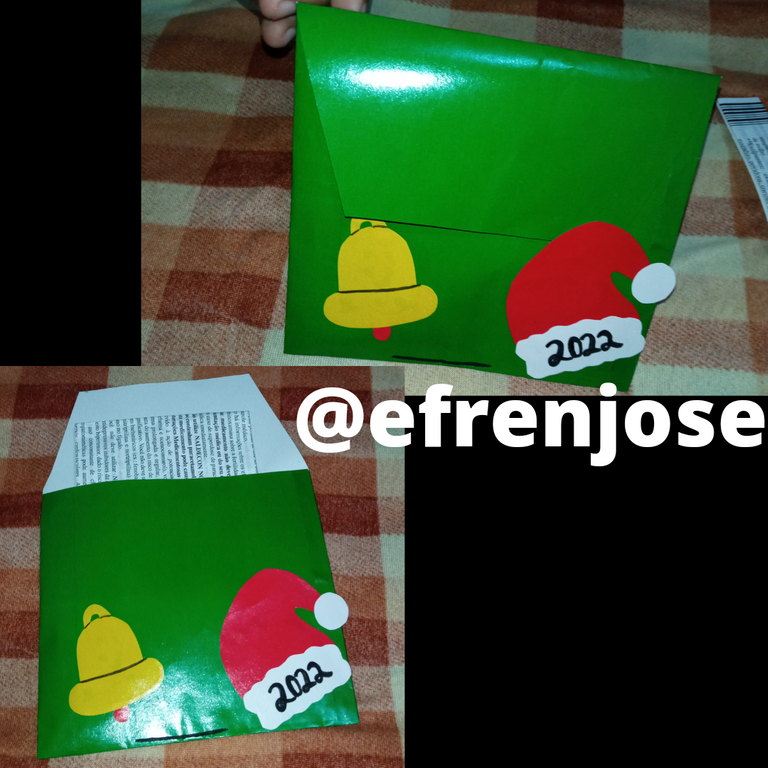
Realicemos un creativo sobre para las cartas de navidad
Let's make a creative envelope for Christmas letters
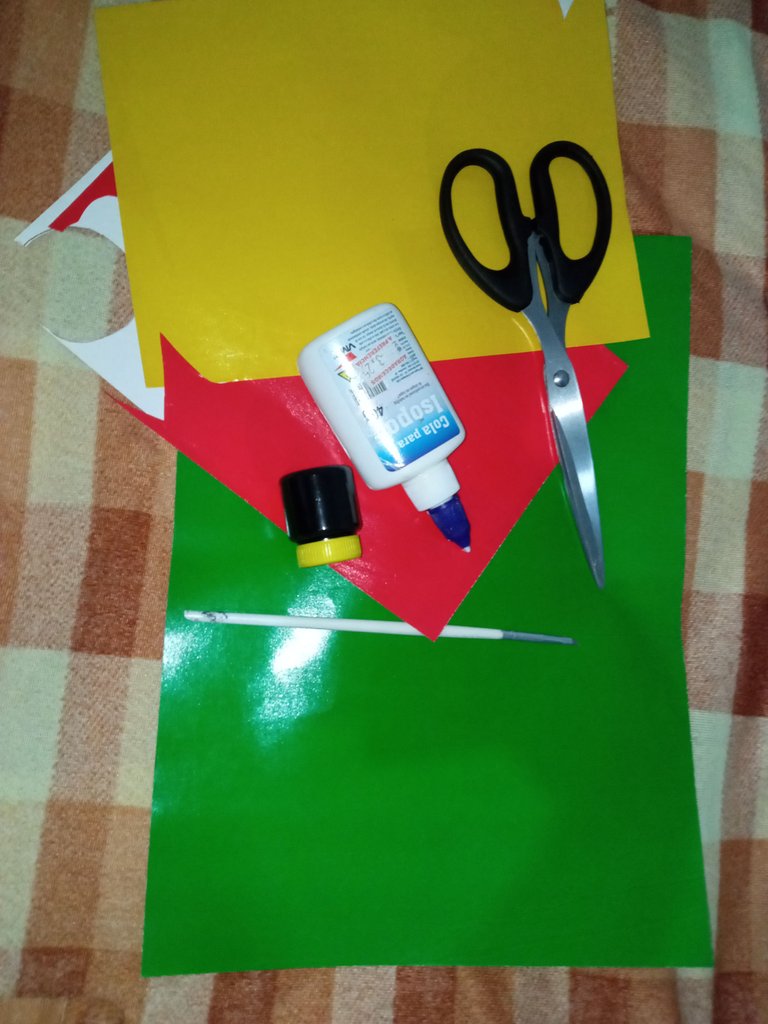
Los materiales utilizados en el proceso fueron estos:
Papel lustrillo verde, rojo y amarillo
Pega blanca
Tijera
Pintura negra
Pincel
The materials used in the process were as follows:
Green, red and yellow glossy paper
White glue
Scissors
Black paint
Brush
Pasos a seguir | Steps to make
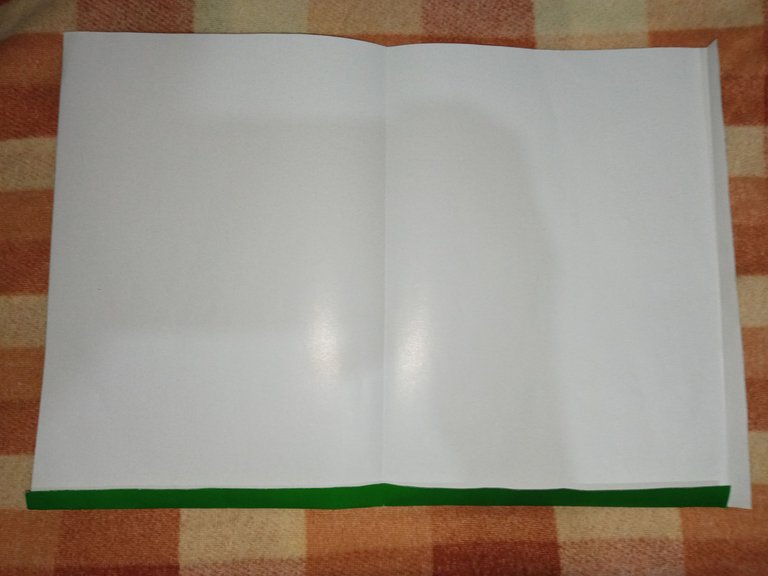
Primer paso: Iniciamos doblando la hoja de papel lustrillo verde por la mitad, la parte de abajo y uno de los lados de la hoja.
First step: We start by folding the sheet of green lustrillo paper in half, the bottom and one side of the sheet.
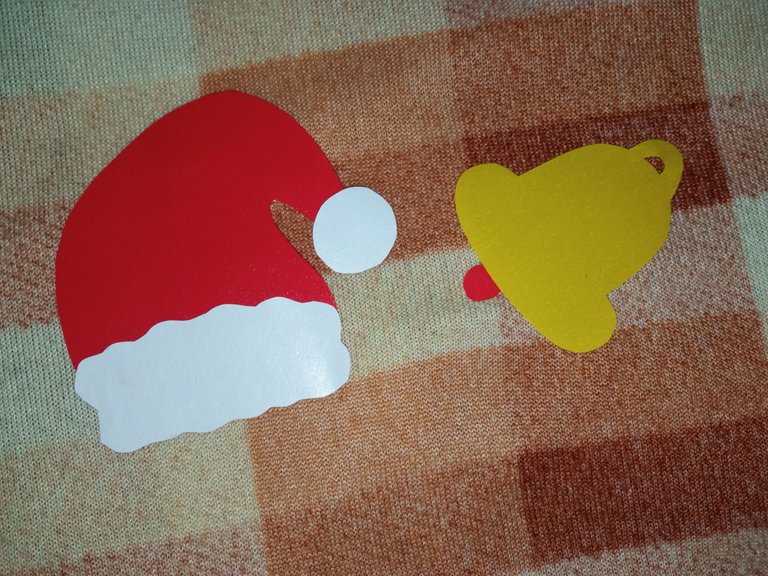
Segundo paso: Recortamos de los papel lustrillo rojo y amarillo un gorro de Santa Claus y una campaña la parte del gorro blanco lo hice con la misma hoja pero en la parte de atrás.
Second step: We cut out from the red and yellow lustrillo paper a Santa Claus hat and a campaign the part of the white hat I made with the same sheet but on the back.
Tercer paso: Pegamos la hoja de papel lustrillo verde y recortamos dando forma de sobre.
Third step: Glue the sheet of green lustrillo paper and cut it into the shape of an envelope.

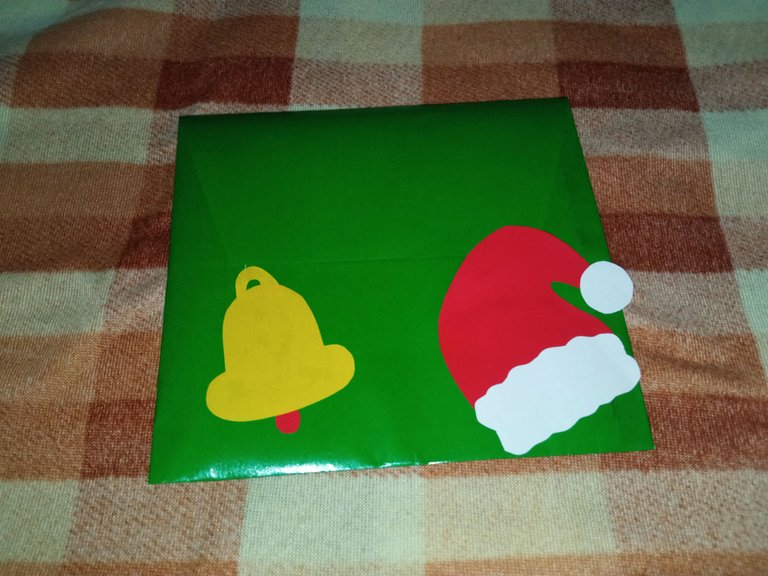
Cuarto paso: Luego pegamos la campana y el gorro en el sobre
Fourth step: Then we glue the bell and the cap on the envelope.
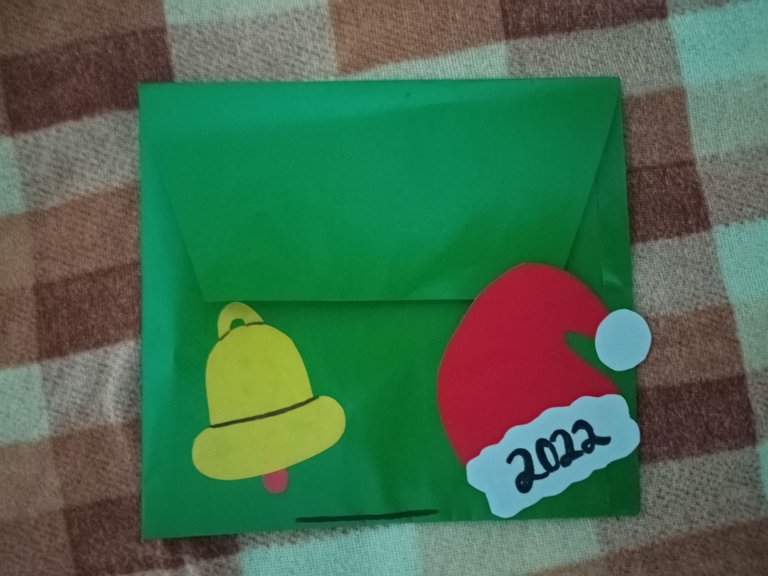
Quinto paso: Por último pintamos la silueta de la campana, el año en el gorro y una raya para que los niños escriban sus nombres.
Fifth step: Finally, we painted the silhouette of the bell, the year on the hat and a line for the children to write their names.
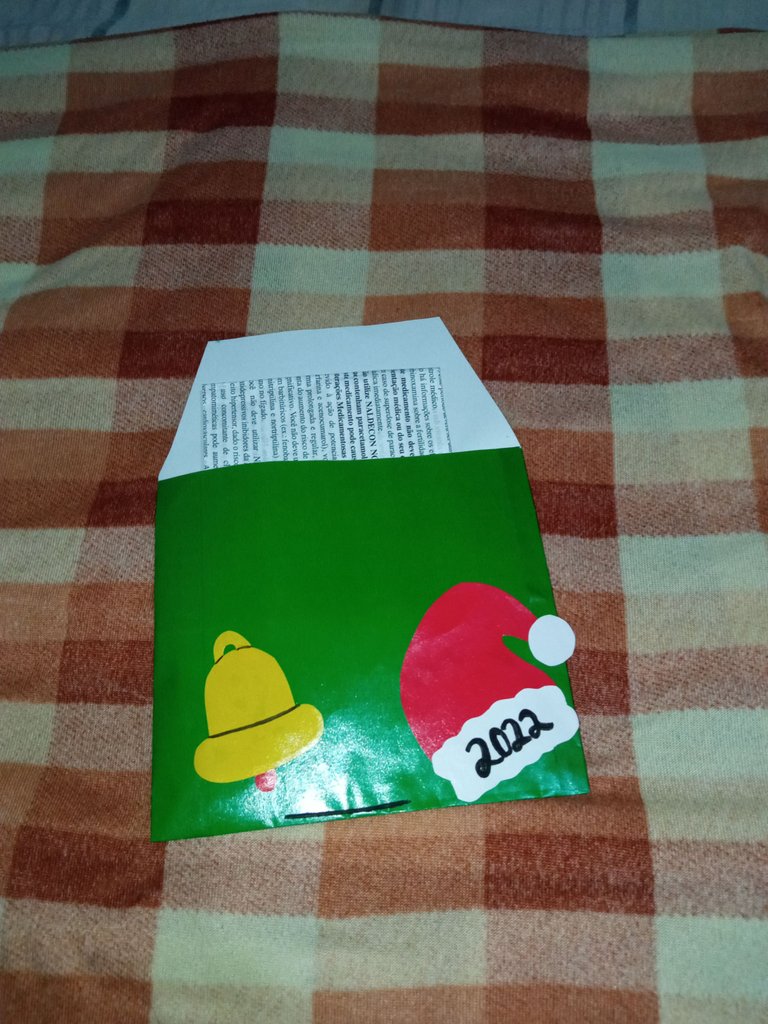
Este Creativo sobre cómo pudieron ver es muy fácil y rápido de hacer a los niños les encantará, aquí les dejo cómo quedó lista para usar:
This creative envelope as you could see is very easy and quick to make and the kids will love it, here is how it turned out ready to use:
Me despido hasta un próximo post, saludos.
I will say goodbye until a future post, greetings.