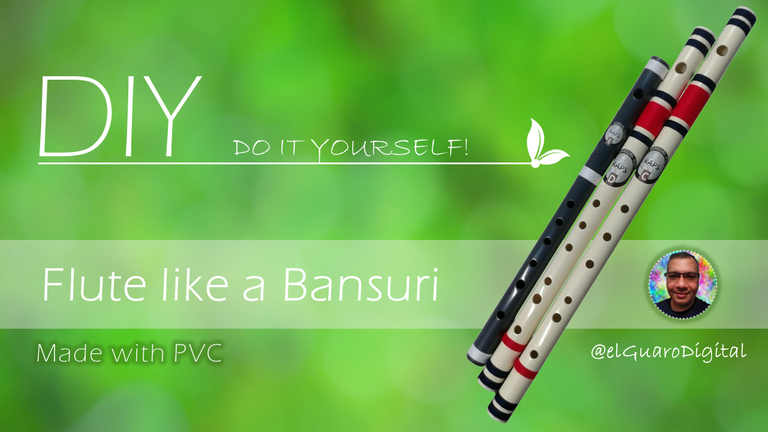
¡DIY! Flute like a Bansuri.
This post is a debt that I have with myself since those who know me personally know that "I LOVE HINDUSTANI MUSIC" music that most might think only belongs to #India and it is not, Hindustani Classical Music covers from Nepal , India, Pakistan and Afghanistan, and at a global level with the migration of many Asians to Europe and America, Westerners have begun to fall in love with what I consider to be the other side of universal classical music, it does not belong to any particular religion, it is performed by Hindus, Muslims, Siks, Christians, Jains etc.
My approach to Indian culture led me to listen to this type of music since the 90s and precisely in 1999 on my first trip to India and I say "first trip" because I hope to return "one day".
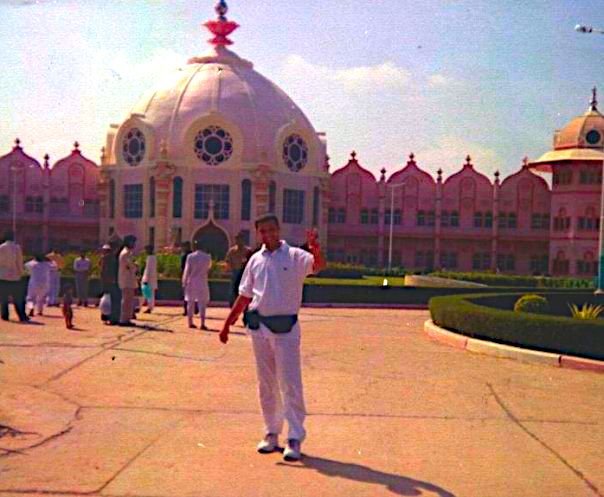
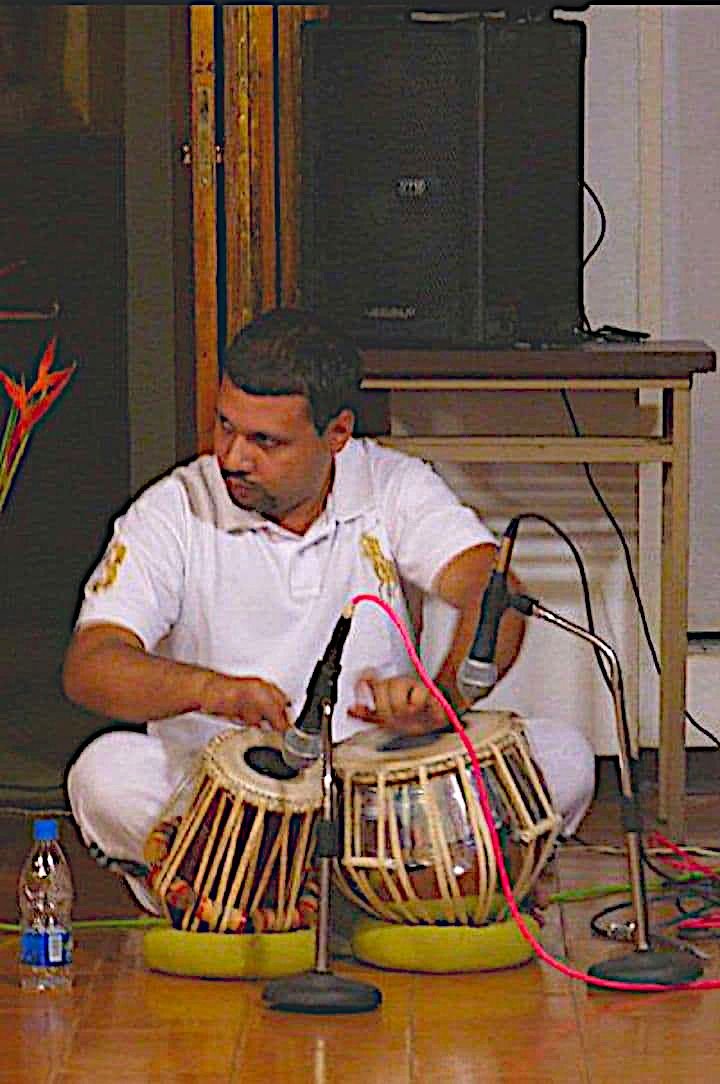
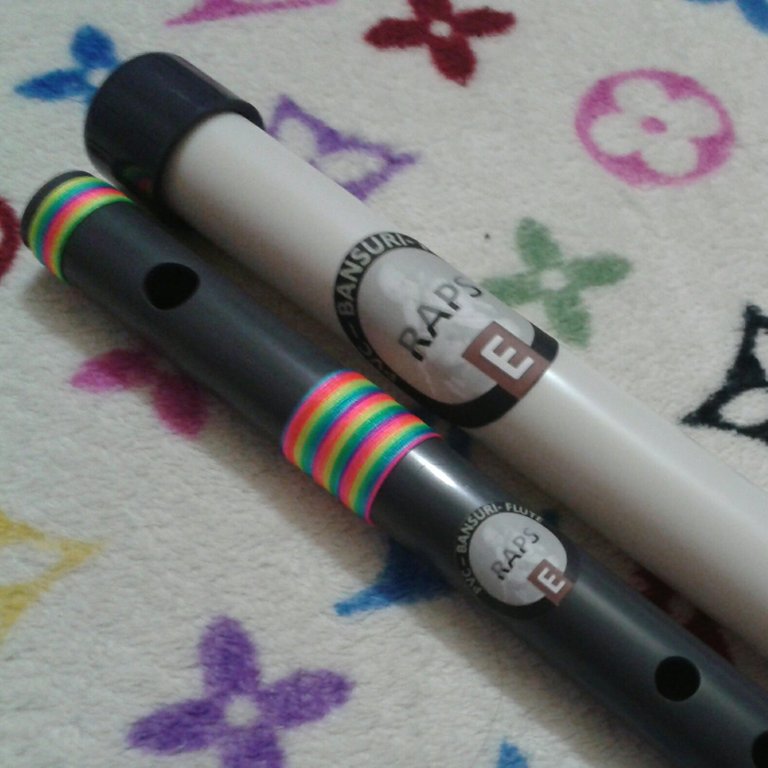
Well I fell hopelessly in love, wanting to have all the instruments I could have, I have had percussion instruments such as the "Tabla", the Harmonium (Wind Organ) and Bansuris (Bamboo Flutes).
|

|
The Bansuri is an instrument with certain limitations, that is, it can reach a maximum of 2 and a half octaves in the musical staff, but this can be solved by making flutes of different sizes and covering the entire spectrum.
This led me to become interested in the manufacture of the flute, and as always in this musical aspect, I have been "self-taught", I said "let's get to work", I began to investigate everything I could, resulting in my first flutes made with PVC tubes since obviously the type of bamboo is special, only in some parts of the world is this type of bamboo with quite separate nodes, China, India and in Latin America, Bolivia and Peru, in my country Venezuela we have a type of Bamboo quite strong and rustic but for use in the construction of houses etc.
 |

|
Obviously the option is PVC pipes, it is easy to get and from the point of view of working with it it is similar to bamboo, it sounds very similar, it has its advantages and disadvantages, but to begin with it is the best option, you can try and then decide if you want to acquire a professional Bansuri with all of the law.
I was able to try my first 4 fabrications and they sounded quite good, of course never like a Bamboo flute since its acoustics are unsurpassed, my greatest surprise was that immediately after making them, i sold all, opening a large pandora's box for me, now I felt like one of the buyers of my flutes told me "You are a Wind Lutier" Ahh? okay okay :D
I was able to sell more than 40 flutes, to be honest I think more, this led me to be much more detailed and try with bamboo, all were sold satisfactorily, even the super master "Pandit Hariprasad Chaurasia" would play one of my flutes. haha it's a joke!

Well the idea of this tutorial is to share the manufacturing method, tips and encourage them to make something with their hands, it is quite easy and I would like them to invite their children to do it at home, it is a great opportunity to know if they like it or not The music, with this type of flute you can touch any kind of music, not just the Hindustani!
No more blah! blah! what to add! :D
Steps to create the Flute:
Step 1: Materials and Tools
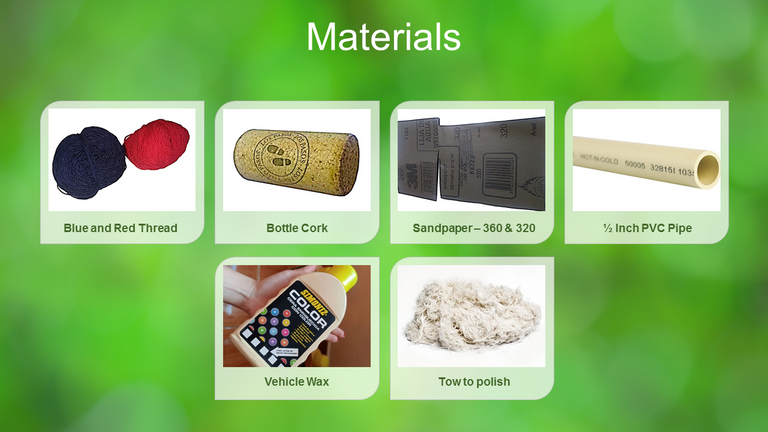

Step 2: Draw a guide line
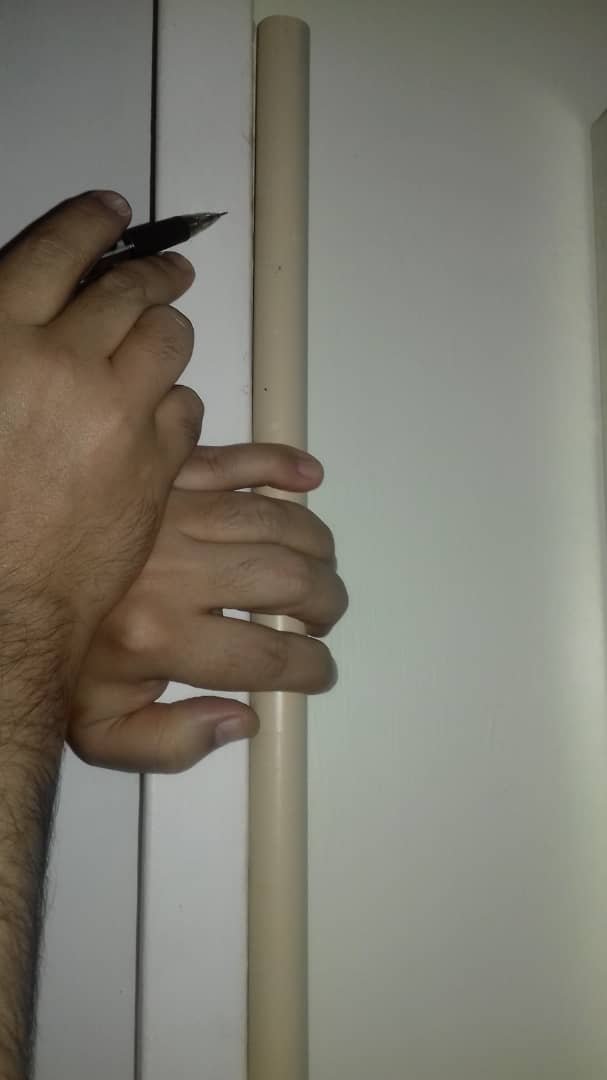
As simple as using the door frame or a corner of the room to immobilize the tube, we trace the line from end to end using a graphite or colored pencil. This line is very important so the holes of our flute will be well aligned and will look very neat and straight, I assure you.
Step 3: Creating the embouchure
This is how we will call the hole where the flutist will blow the air, which through his mouth will produce the sound. This step is very important since the creation of the other holes of the flute will depend on it.
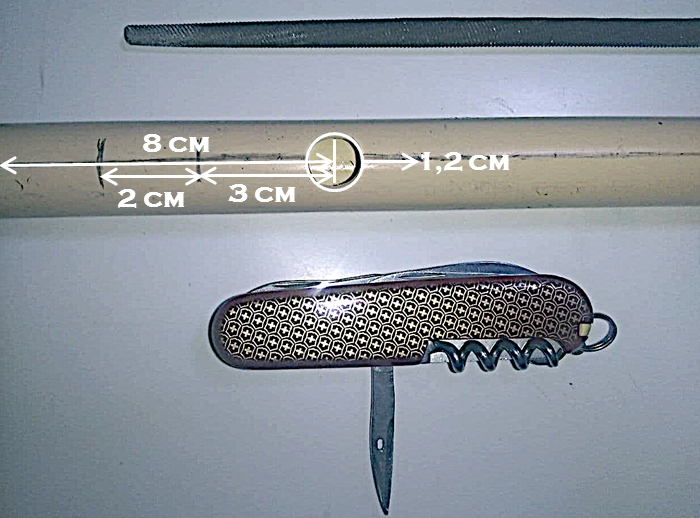
- The first thing is to measure 8cm from the tip of the tube and mark with an "X" exactly on the previously drawn guide line.
- Then mark a line at 5 cm and another at 3 cm, this will serve as a guide to position the cork.
- Take the tool to make the first hole in my case the Swiss Army Knife, make it until it reaches a diameter of 1.2 cm, use the iron file to make it as neat as possible.
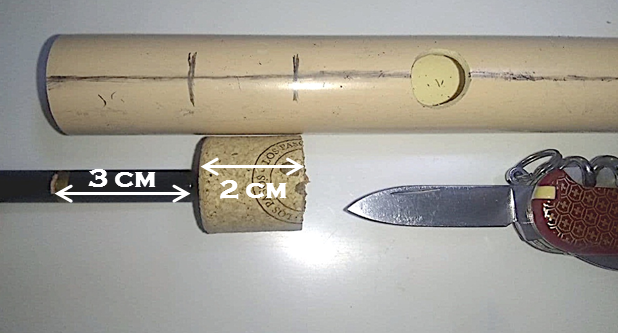
- Take the cork that will serve as the stopper for the flute and cut it down to 2cm.
- Then insert it from the measured side and make it reach the marked lines, for this we will use the colored pencil, we will make a mark at 3 cm from the tip, this mark will be as far as we must push the cork.
|
|
Step 4: Determine the note of the flute
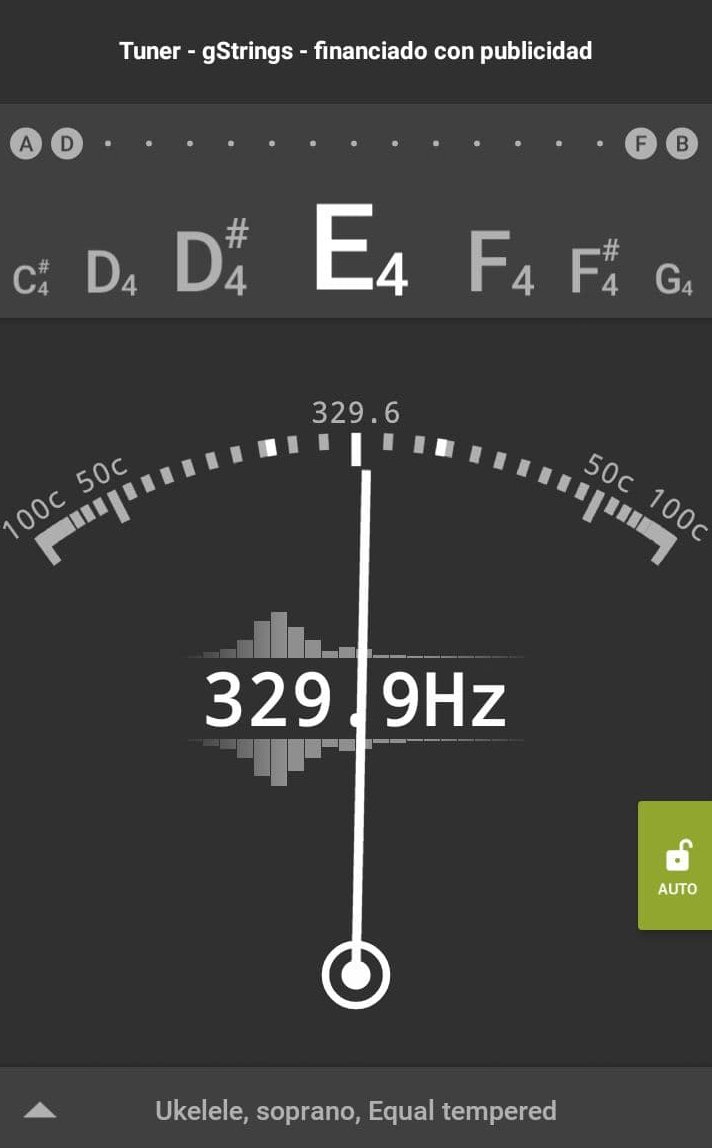
To achieve this very important step, we must use the App "GString" and do the first sound check.
- We run the tuner app and make sure that the right side button with the padlock icon is set to "Auto".
- We take the flute and bring the embouchure closer to our lower lip and blow not too hard but enough to produce the sound to be able to register it in the "GString" app.
- When measuring with the tuner if you have done all the steps up to here, the note must be exact "E" or "E Major", with this we will be able to make a flute in "A" or "A Major".
Step 5: Calculate and Mark the 6 Note Holes
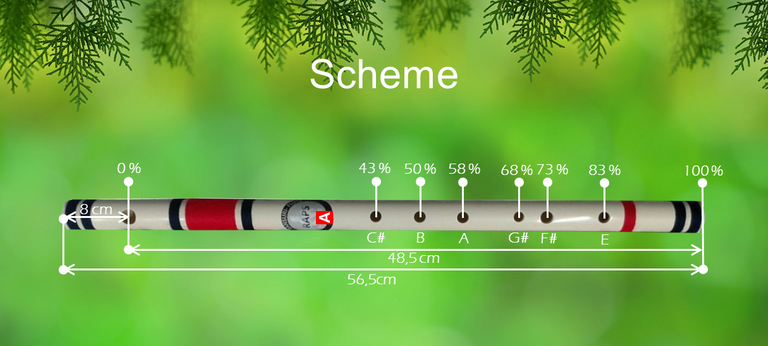
In this step we take the "Tape Measure" or the tool to measure that we have at hand, we will also use a calculator to apply a rule of three. If we measure from the center of the embouchure to the end of the tube we will obtain that it measures (48.5cm) that will be our 100% while the embouchure will be 0%. Mark with an "X" on the guide line as shown in the image.
The calculation "Rounding" would be as follows:
- Note "E": (48,5 x 83) / 100 = 40,3 cm
- Note "F#": (48,5 x 73) / 100 = 35,4 cm
- Note "G#": (48,5 x 68) / 100 = 33 cm
- Note "A": (48,5 x 58) / 100 = 28,1 cm
- Note "B": (48,5 x 50) / 100 = 24,3 cm
- Note "C#": (48,5 x 43) / 100 = 20,9 cm

Step 6: Punch Note Holes and Tune
Once we have marked where the holes for the notes are going to go, we can start to make the holes, in my case using the Utility Knife and its useful tool for drilling holes, as well as the iron file. Each manufacturer has his method but I recommend starting from the note furthest from the embouchure, that is; from the mark for the note "E" to the note "C#".
It must be tuned perfectly "one by one" using the App GString which is quite sensitive and very accurate so you should make an effort to be very precise, enlarge each hole and sound the embouchure until the GString needle reaches the position that indicates a complete tuning.
Here is a list of how many Hertz each note of the flute should be at so that it is perfectly in tune:
- Note "E": 329,6 Hz
- Note "F#": 370,0 Hz
- Note "G#": 415,3 Hz
- Note "A": 440,0 Hz
- Note "B": 493,9 Hz
- Note "C#": 554,4 Hz
Step 7: Sand and Polish
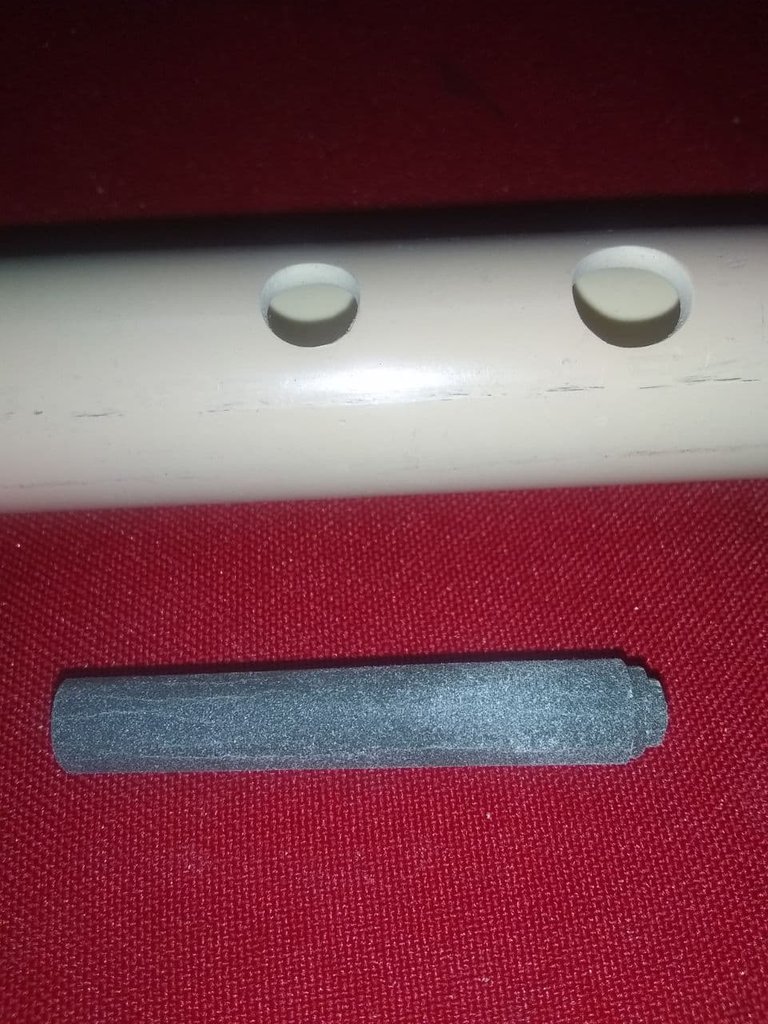
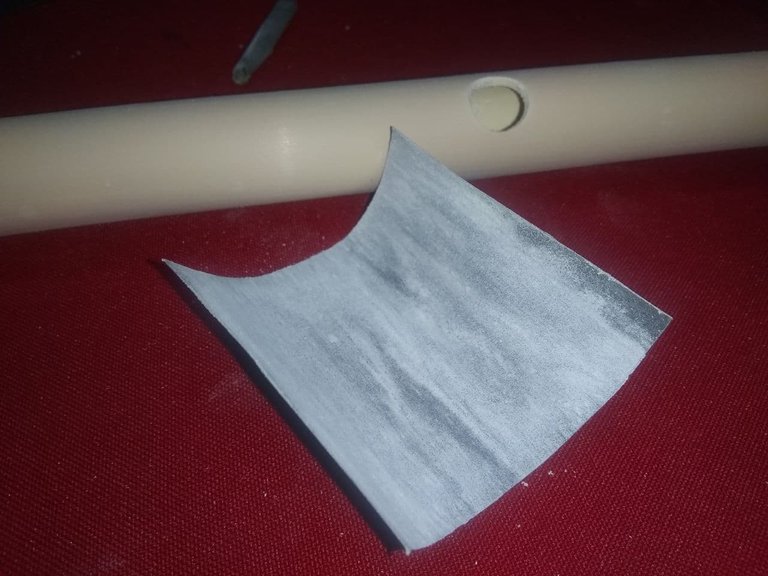
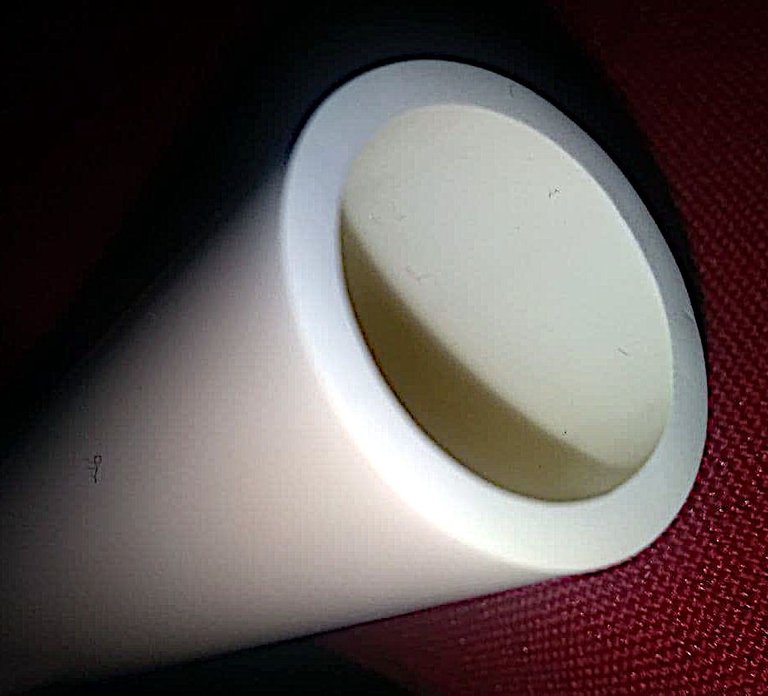
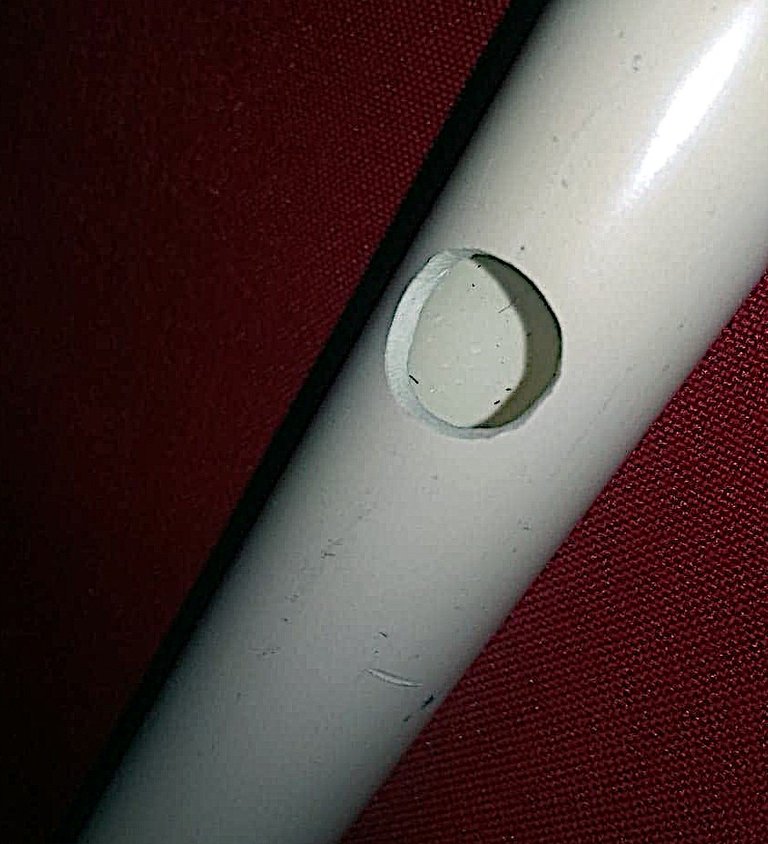
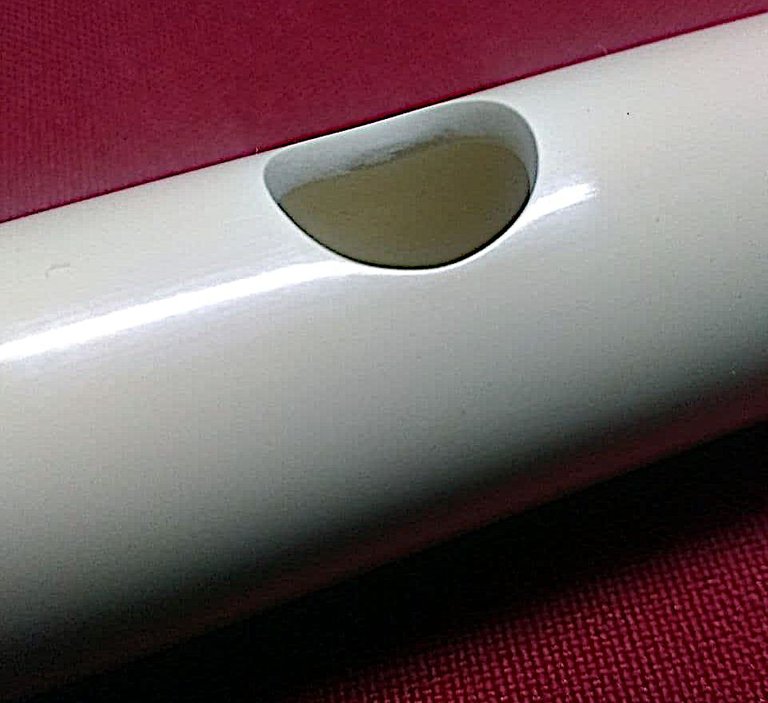
Once the flute is perfectly tuned, now we have to give it its shine, for that we must first sand the surface with the coarsest sandpaper (No. 320) in my case, we must try to clean all marks and all roughness of the tube, also make sure in the tips of the same, that there is no trace of cuts and scratches.
| Sand Holes | Flute Body Sanding |
|
|
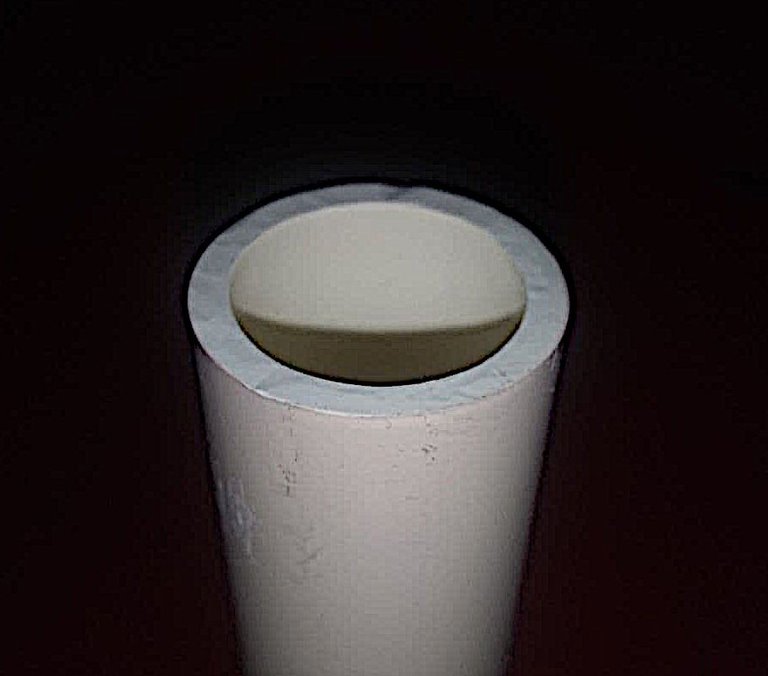
With the finest sandpaper (No. 360) in my case, we finish so that the surface is very smooth and soft to the touch, I like it to be neat, so I want to emphasize that you work well in every inch of the flute.
| Before | After |
|
|
|
|
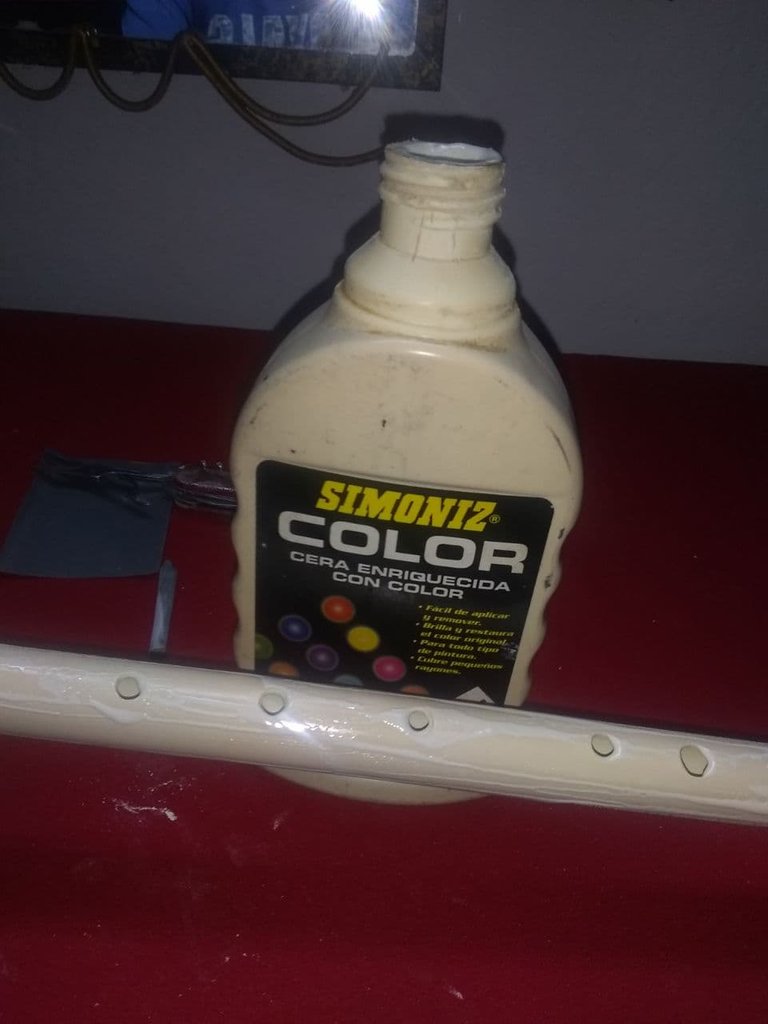
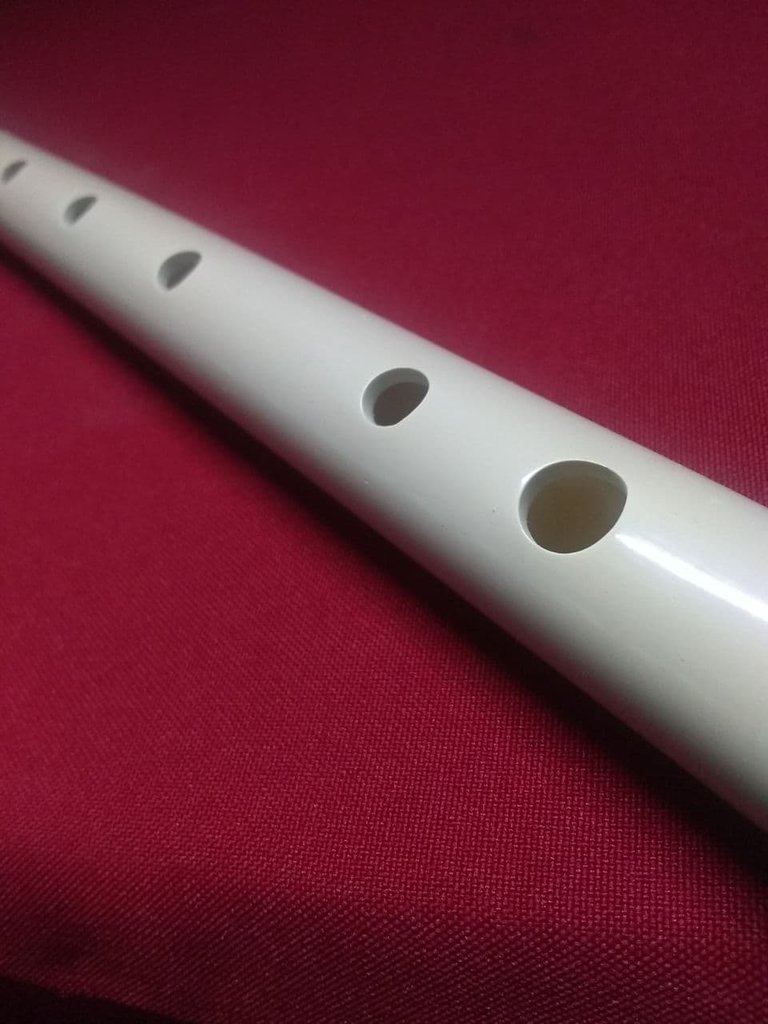
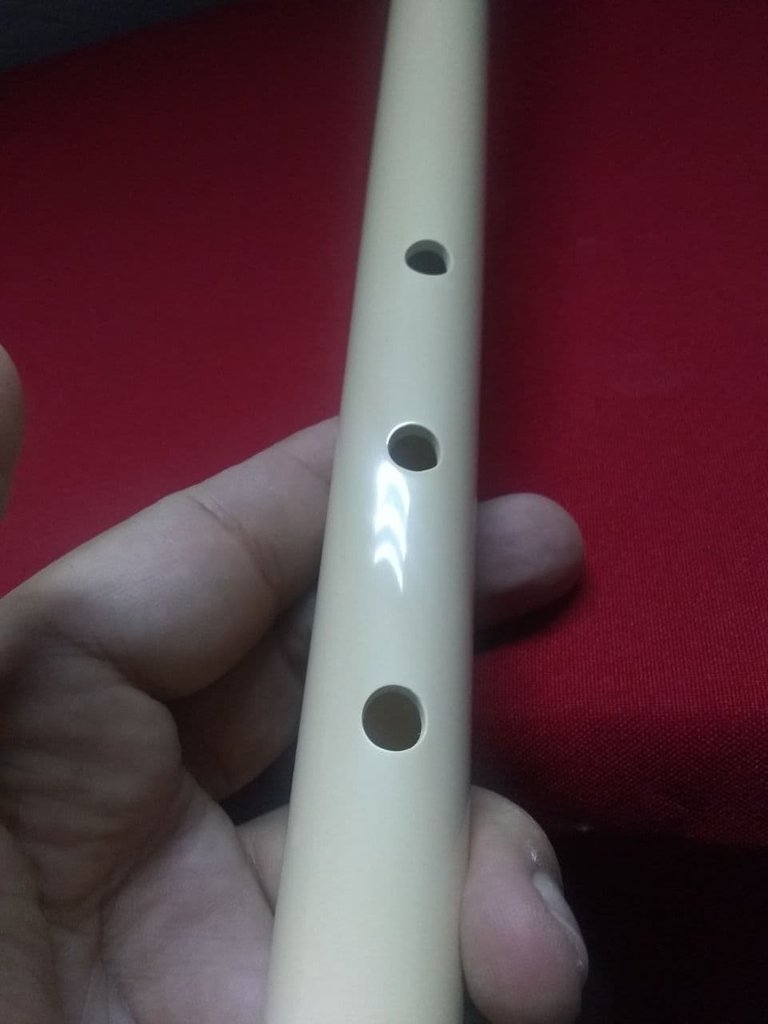
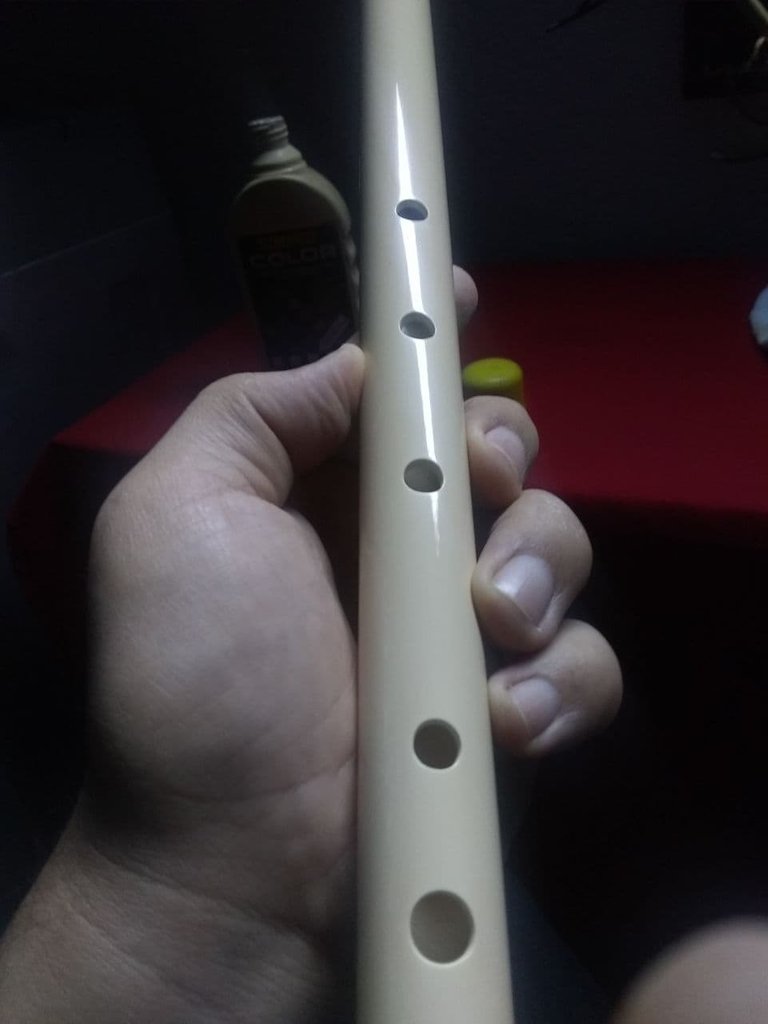
Once the job of whitening the flute with sanding is done, it is time to polish, I generally use tow but it can be any dry cloth, vehicle polishing wax is ideal, some, like in my case, come in colors, the one I have always used is White color". Just apply and let dry, once dry you have to start polishing hard until the shine comes out.
|
|
|
|
Step 8: Decorate with Threads
Actually in a bamboo flute the threads have a double function, one is clearly to embellish the flute with such beautiful color combinations, the other is to keep the bamboo in one piece, the thread prevents the bamboo from breaking or splintering when falling or being hit by carelessness or mistake.
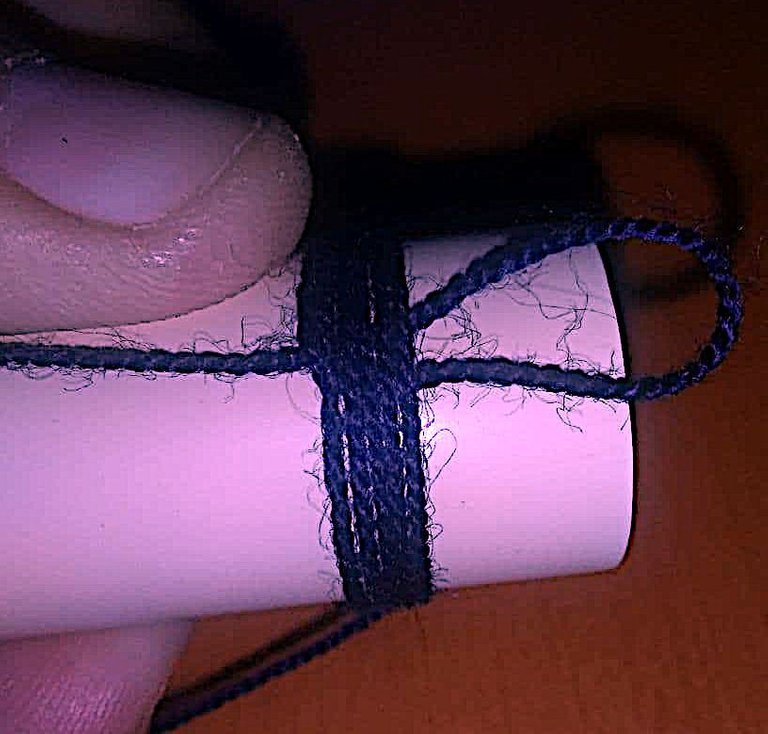
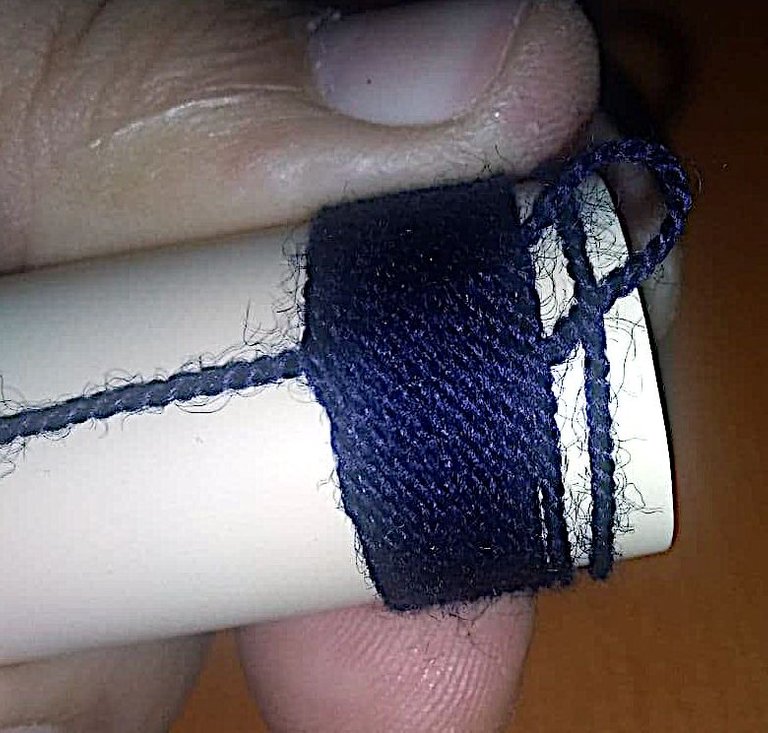
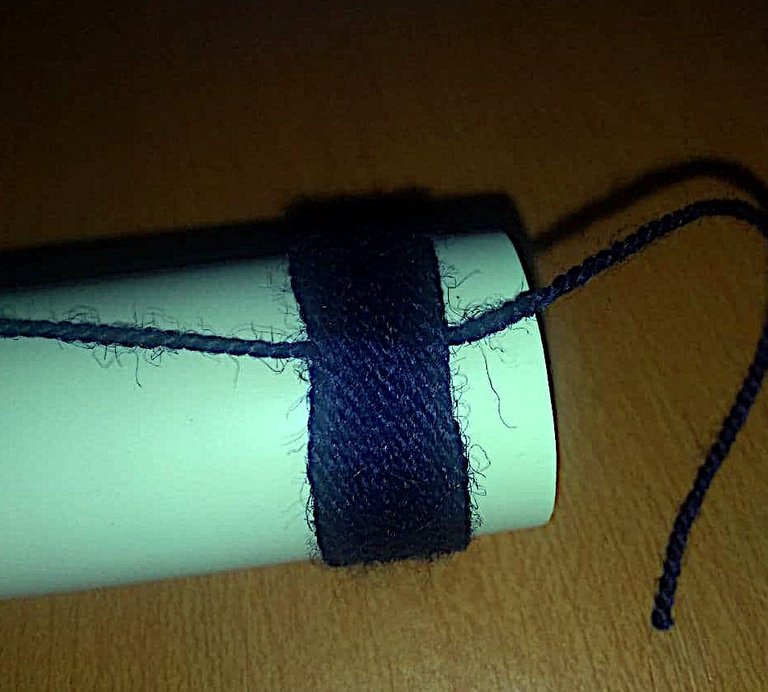
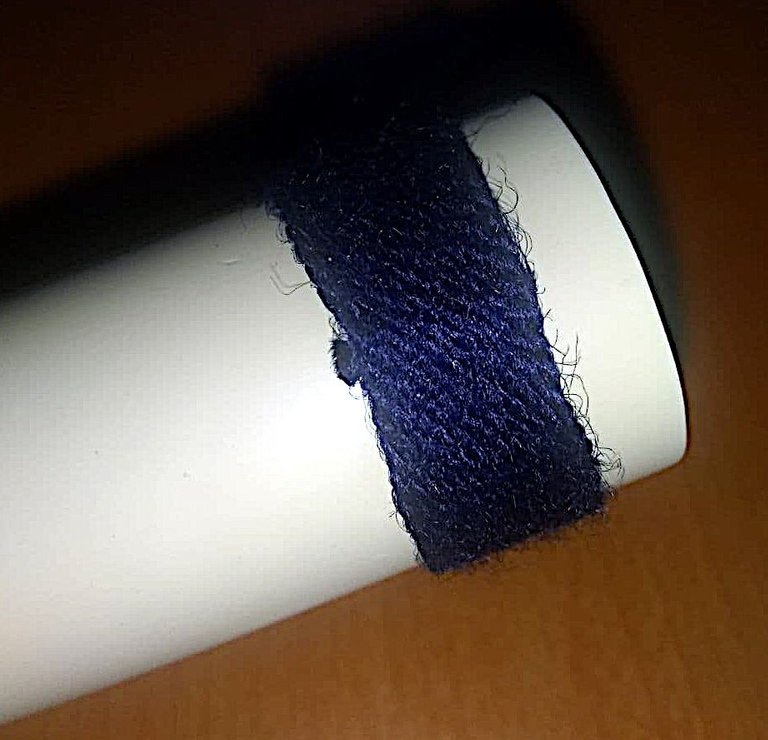
In our case it is only to decorate, the technique is quite simple, we will need to take the complete roll of thread, without cutting it, then make a double on the opposite side to the holes of the flute, we turn over the double, leaving a protruding part, generally I do 15 laps.
Once the 15 turns have been completed, we cut, we insert the end of the thread between what comes out of the doubles and we pull the thread so that there is a hidden tie, it only remains to cut the excess thread.
|
|
|
|
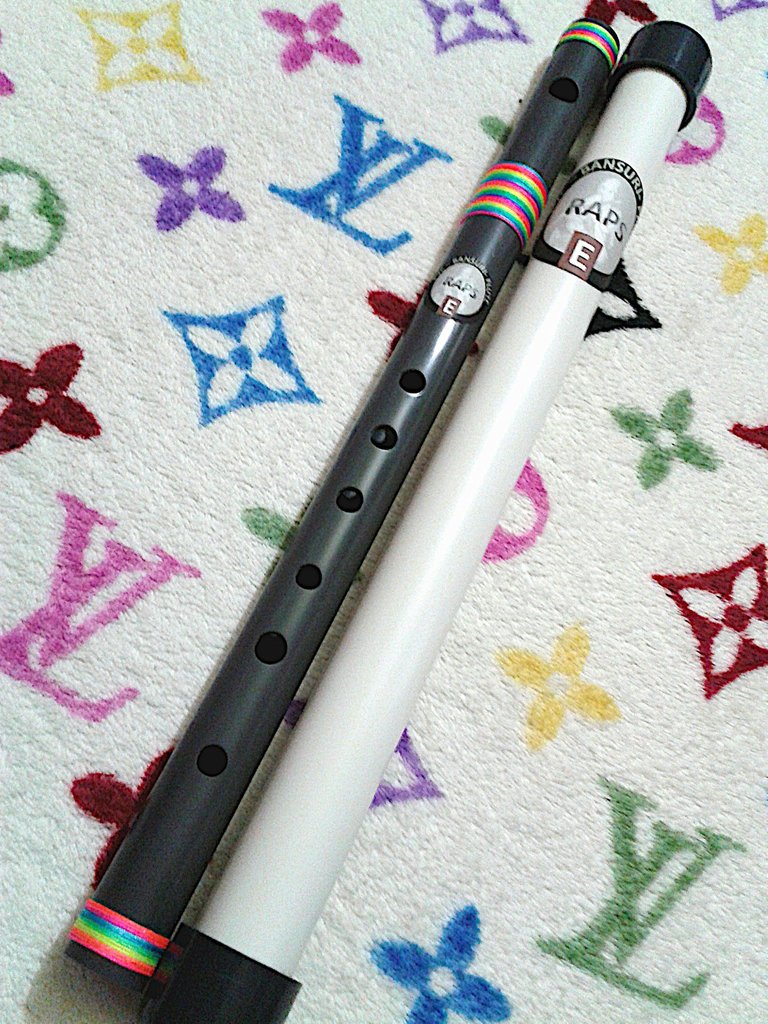
You can make the pattern you want, there are no limits to this, I am more traditional I like it to look like a traditional and real Bansuri. I show you in this photo a variant that I made a long time ago that includes a case also made of PVC.
 |
|
Result and conclusions
There is a lot of time dedicated to this publication, I started at the beginning of January 2022 and so far I can say that I have managed to summarize the process a bit, getting to this has taken me a lot of research and practice, that's why I want to share the way how making the flute as someone else also published and helped me in my concern of what is for me a hobby, a real enjoyment.
Forming the idea of the post, compiling my photos, compiling the information of the materials, tools and technical details, writing the article and making the instrument for the article, has been a real and entertaining enjoyment that even the time it has taken me to do it has not been inconvenient, albeit laborious.
#PVC flutes do not require too much care like bamboo ones, don´t worry about atmospheric conditions that may affect their sound, it is the advantage that this material gives you.
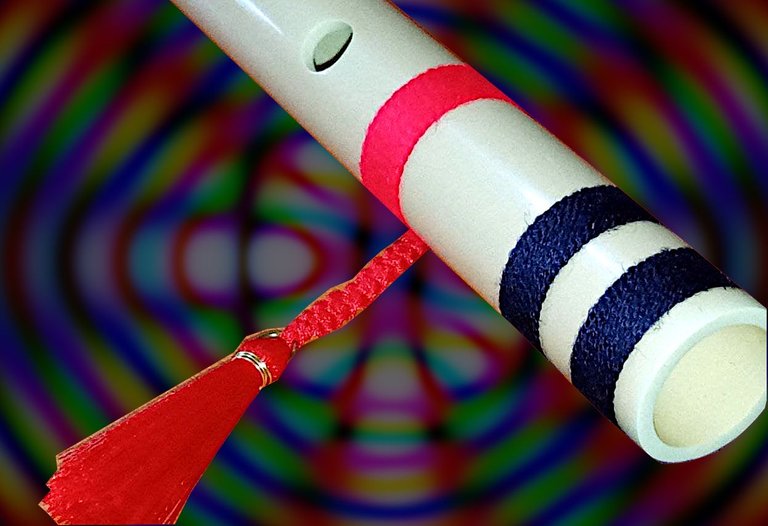
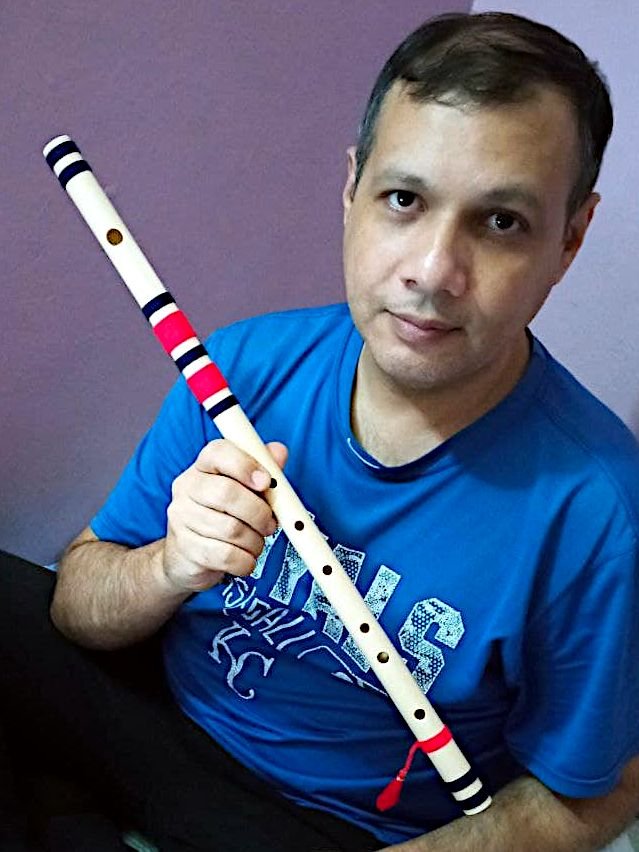
As far as I'm concerned, this flute made for #hive and all the #diy communities has been one of the best I've made both visually and in its tuning.

I admire the time it took you to make your project, I am amazed because I love the world of music and musical instruments. I know that flutes can be recreated with various materials, but making them sound in tune is a somewhat difficult process, however you provide us with very valuable information here on how to do it.
I am very pleased with your tutorial, its originality and the orderly and structured way you have done it, I congratulate you.
Thank you for telling us part of your life and being able to know a little more about you through your publication.
We hope to see you more often here.
Receive a big welcome from our great creative community.
Thank you so much!
Truly fantastic...great to see how India inspire to make a awesome flute.. bansurei....it is famous here and even kidd play with them...
Thank you so much! I love you India!
Discord Server.This post has been manually curated by @steemflow from Indiaunited community. Join us on our
Do you know that you can earn a passive income by delegating to @indiaunited. We share 100 % of the curation rewards with the delegators.
Here are some handy links for delegations: 100HP, 250HP, 500HP, 1000HP.
Read our latest announcement post to get more information.
Please contribute to the community by upvoting this comment and posts made by @indiaunited.
Congratulations @elguarodigital! You have completed the following achievement on the Hive blockchain and have been rewarded with new badge(s):
Your next target is to reach 2000 upvotes.
You can view your badges on your board and compare yourself to others in the Ranking
If you no longer want to receive notifications, reply to this comment with the word
STOPCheck out the last post from @hivebuzz:
Support the HiveBuzz project. Vote for our proposal!
Very cool post, friend! Your process looks very doable, although I'm sure the finer details are quite difficult to pull off. I can see the skill in your work!
I'm not a bit surprised to read that you've sold over 40 of these marvelous instruments. Many folks love playing the flute, and most of us did so in school with either a flute or a recorder.
Thank you for sharing this very interesting post! Good luck with your future flute creations.
Cheers!
Many Thanks Dear friend!
Very good evening, I want to express my congratulations for such an excellent work, it would be a real pleasure to listen to your sound. Congratulations
Thank you my friend! I hope show you about the flute's sound soon!