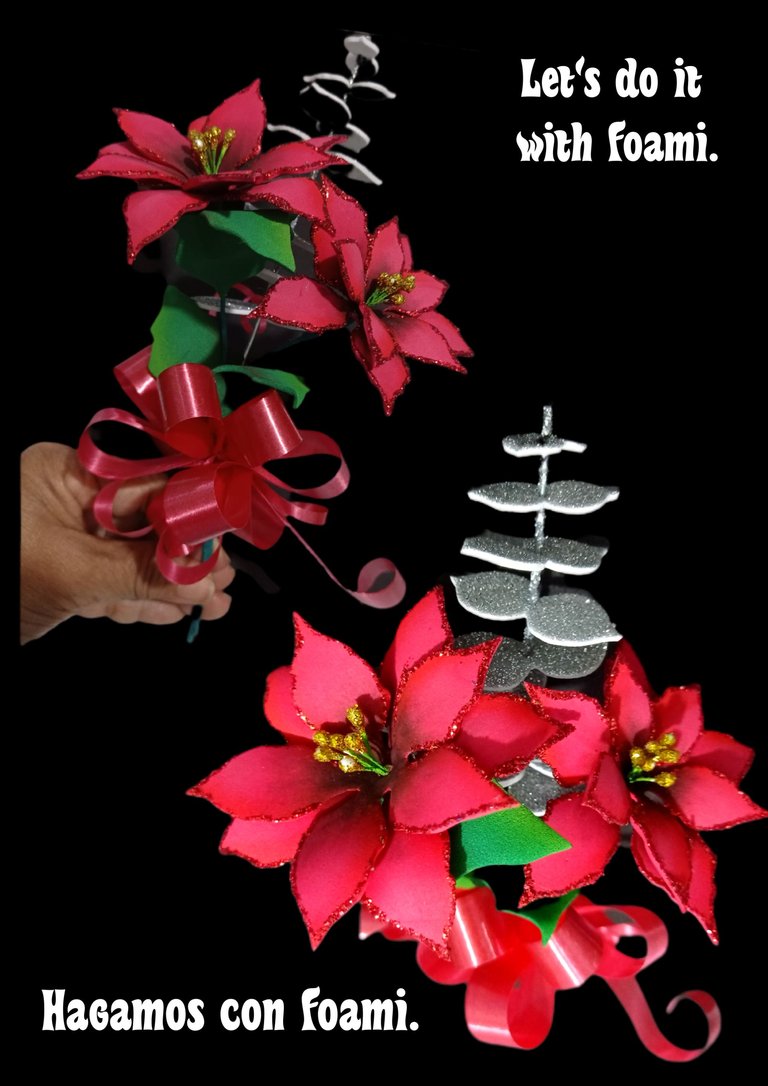
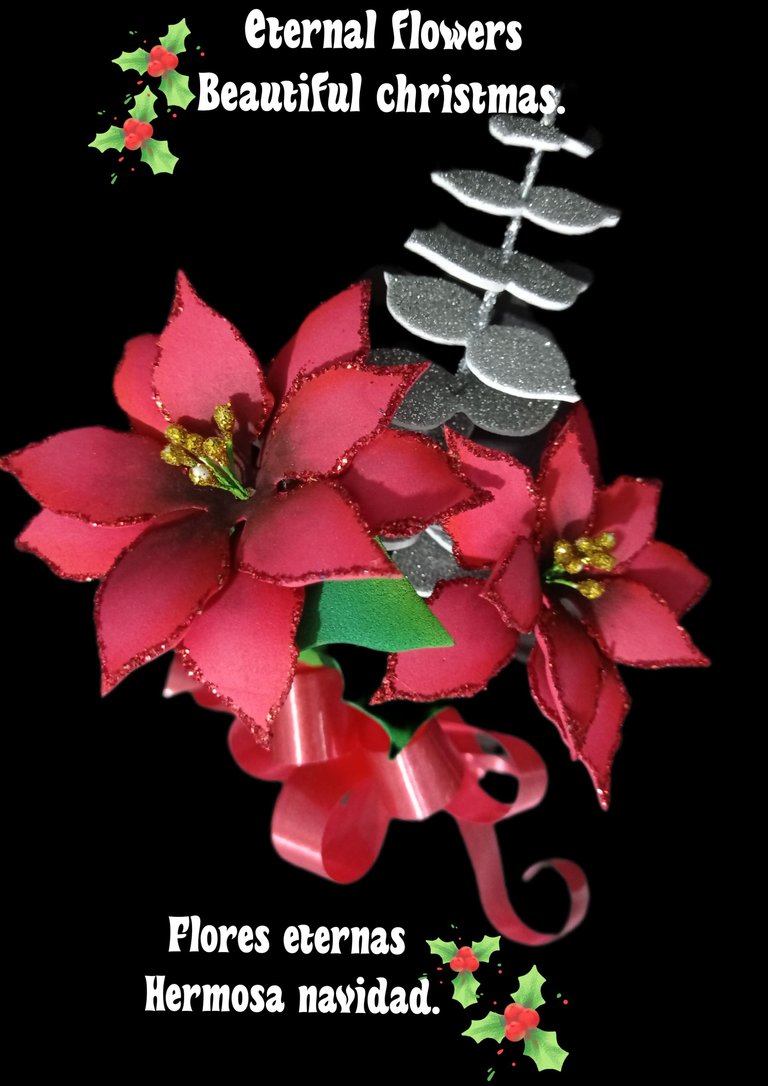
Hola mis queridos creadores y bienvenidos a todos los amigos que me visitan.
Verás que son muy fáciles de realizar con foami, muy económicas y quedan muy lindas.
Los materiales a usar son:
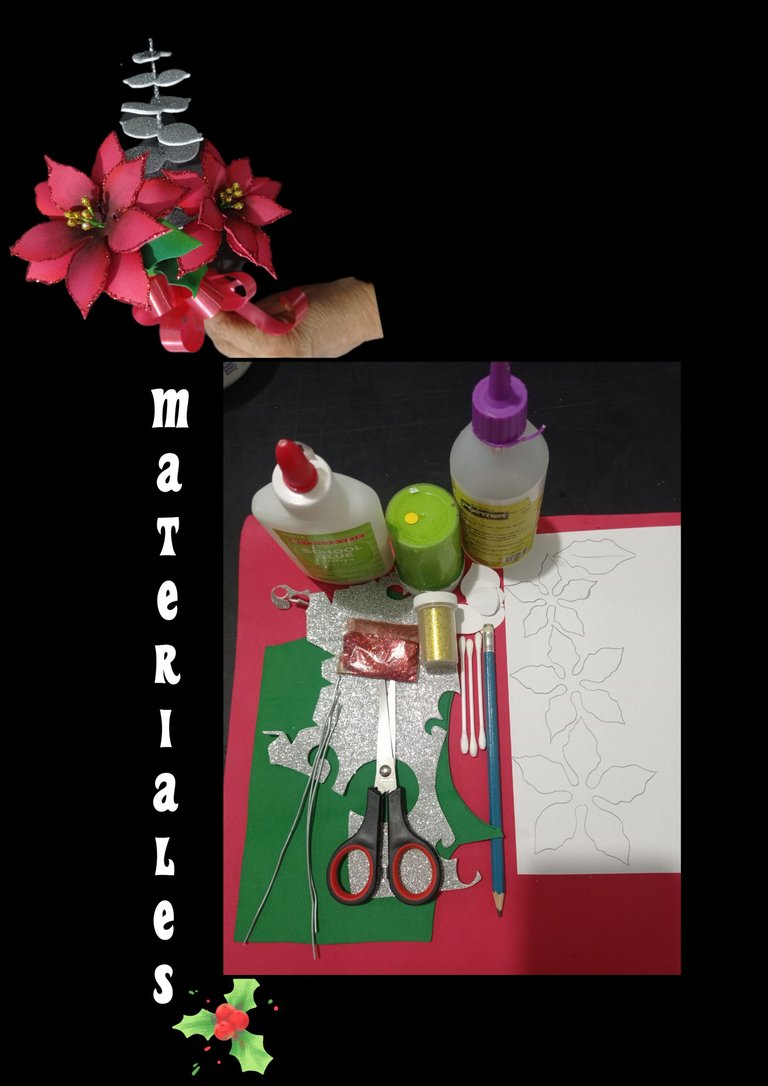
| Foami mate y escarchado | Escarchas |
|---|---|
| Alambre | Pistilos |
| Pinturas o tizas | Tijera |
| Cola blanca y silicón | pañito de algodón |
| Molde o dibujo de flores | Plancha eléctrica |
| Goma espuma | Papel crepé o type floral |
Empecemos:
Paso 1:
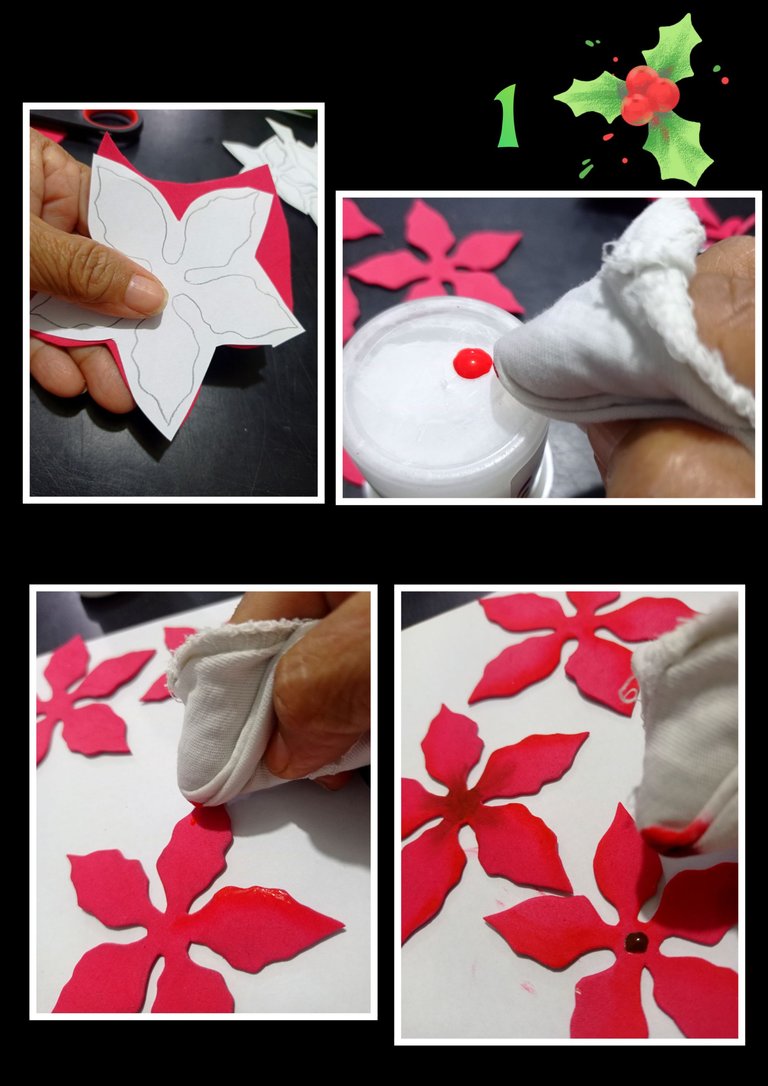
- Marca y recorta las flores en el foami rojo, serán cuatro (4)piezas, dos grandes y dos pequeñas.
- Humedece y Cubre el dedo índice con un pañito de algodón, luego moja con pintura roja y pasa por todo el borde de las flores y deja secar.
- Luego pon un poco de pintura negra o marrón oscuro en el centro de cada capa de pétalos y con el pañito pinta del centro al medio de cada uno de los pétalos y deja secar.
Paso 2:
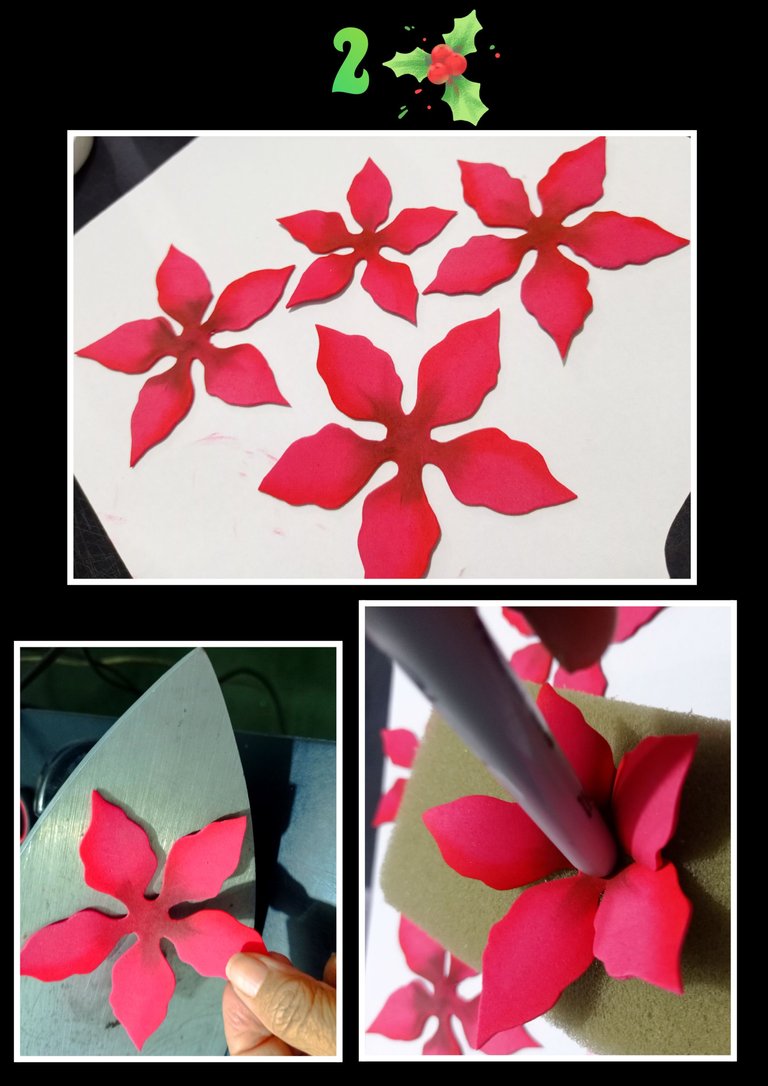
- Ahora calienta la plancha y coloca las flores a calentar luego coloca sobre la goma espuma y con un marcador o lápiz presiona el centro y suelta hasta que tome forma.
- Así harás con todas las capas.
Paso 3:

- Recorta 4 hojas y pinta de igual forma que hiciste con los pétalos, pero con pintura verde claro y negro.
- Ahora pinta los hilos de los pistilos con pintura verde y deja secar, después aplica cola blanca a los pistilos y rocía con escarcha dorada y deja secar.
- Luego haz un orificio en el centro de los pétalos e inserta los pistilos como se observa en la foto.
Paso 4:
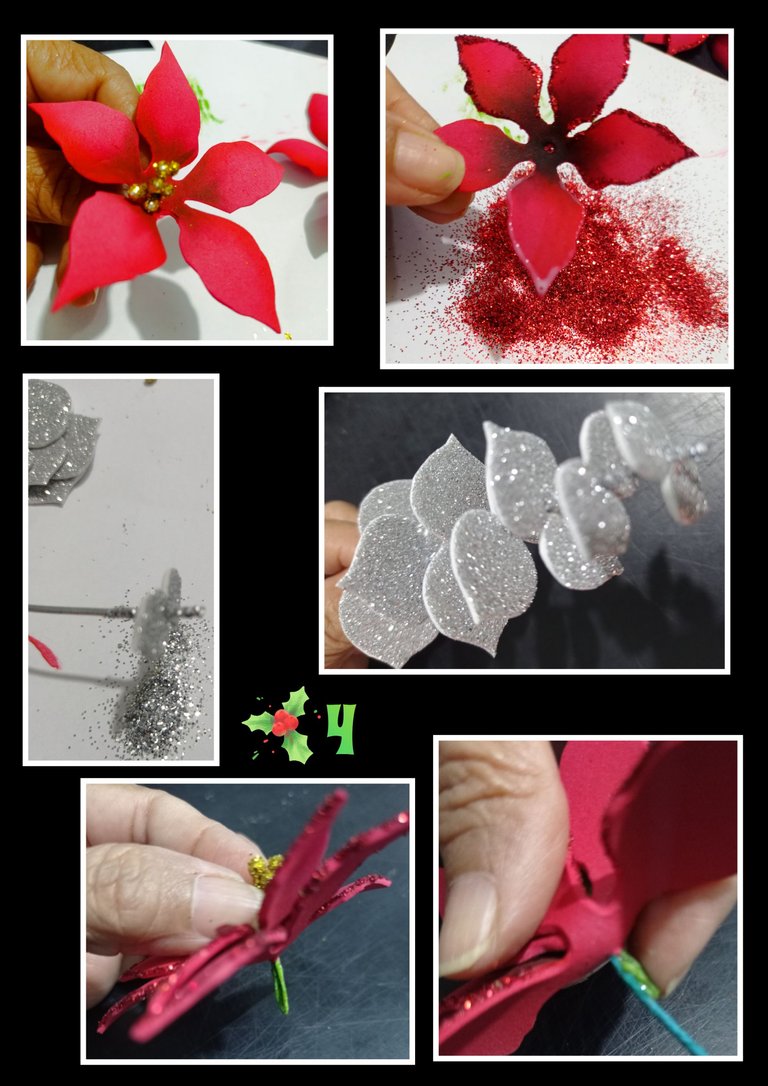
- Ahora aplica cola blanca con un pincel o palito de madera por cada uno de los pétalos y rocía con escacha roja y deja secar.
- Por otra parte recorta pares de hojitas de eucalipto en escarchado plateado e inserta las más pequeñas en un extremo del alambre, luego aplica cola al alambre y rocía con escarcha plateada, vuelve a insertar otro par de hojas y repite el paso anterior entre cada par de pétalos aplica cola al alambre y rocía con escarcha.
- Después toma la flor y pega en la parte de abajo de la flor el alambre a los pistilos.
Paso 5:
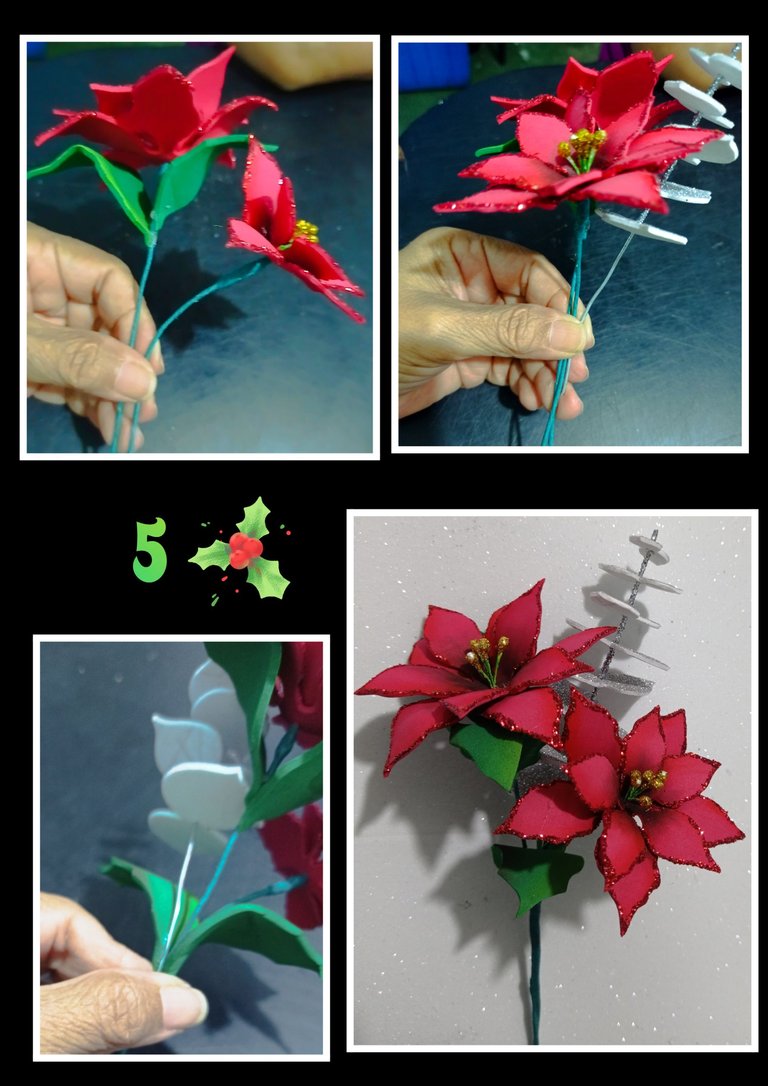
- Recorta una tira de papel crepé verde y forra los alambres para tapar el silicón y pega las hojas a tu gusto, puedes dejar las flores separadas o hacer un pequeño ramito y agregarle la rama de eucalipto, como este y unes forrando juntos todos los alambres.
Paso 6:
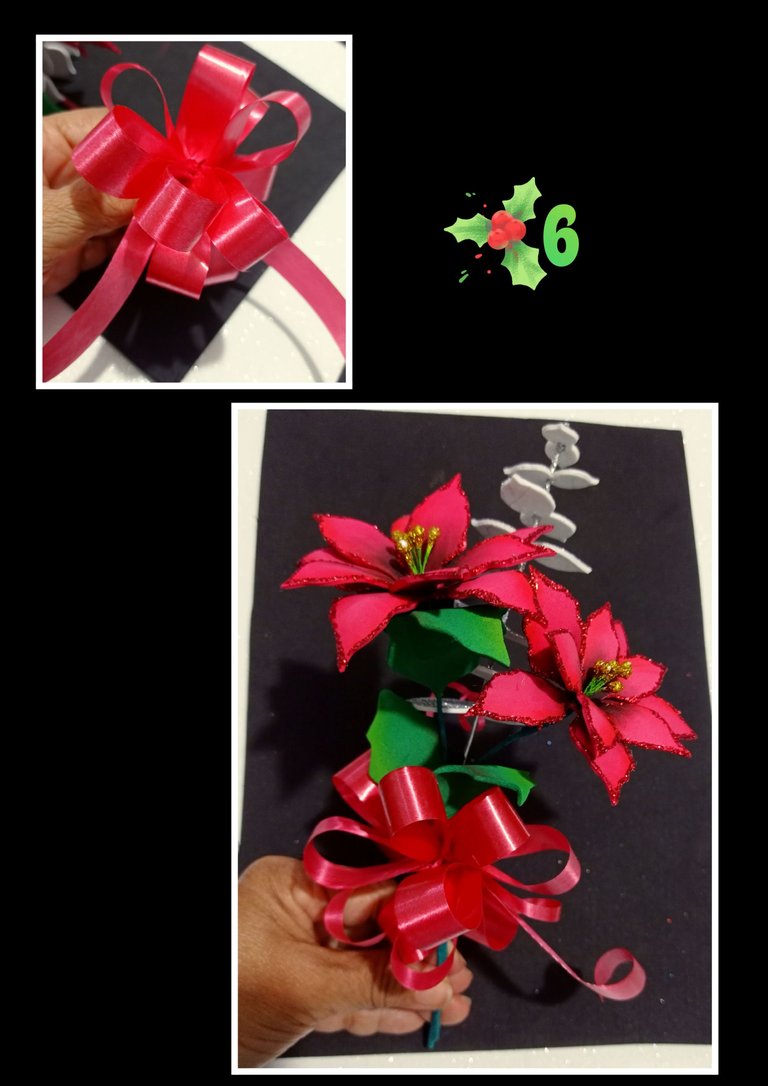
- Por último puedes hacer un lazo con cintas de papel y amarrar en la parte baja del tallo.
- También puedes colocar en una base y armar un arreglo.
Ahora verás el resultado final.
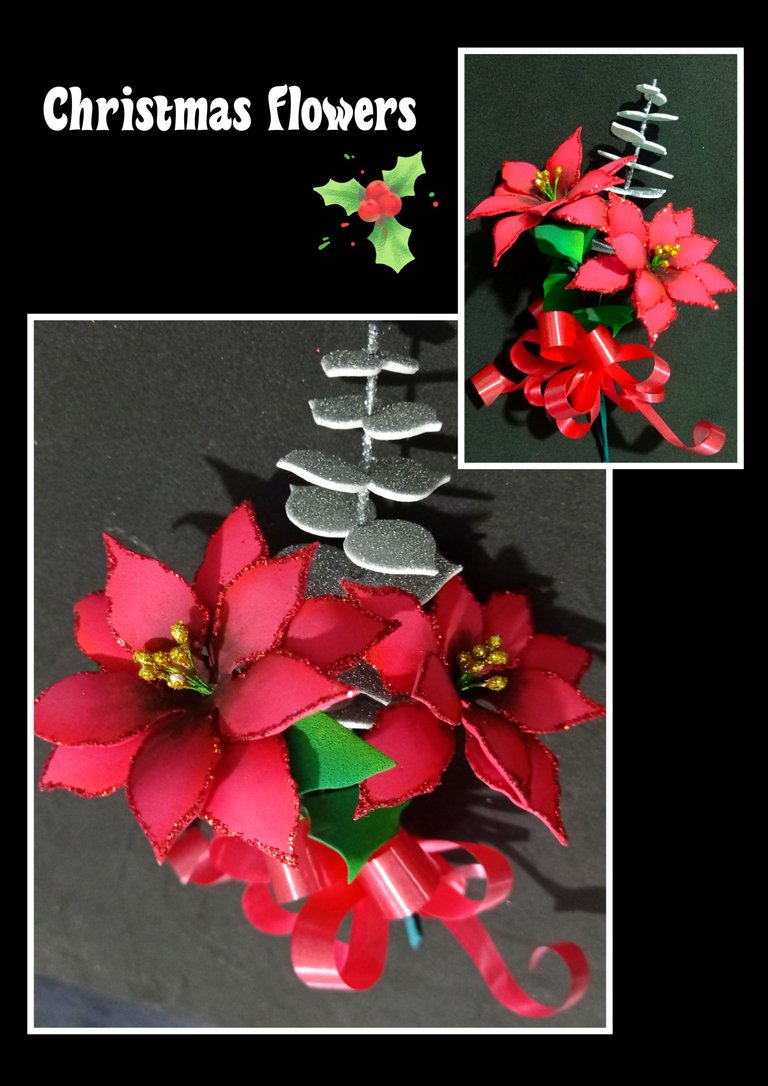
Traductor: DeepL
Teléfono: Redmi Note 9.
Aplicación de collage: GridArt
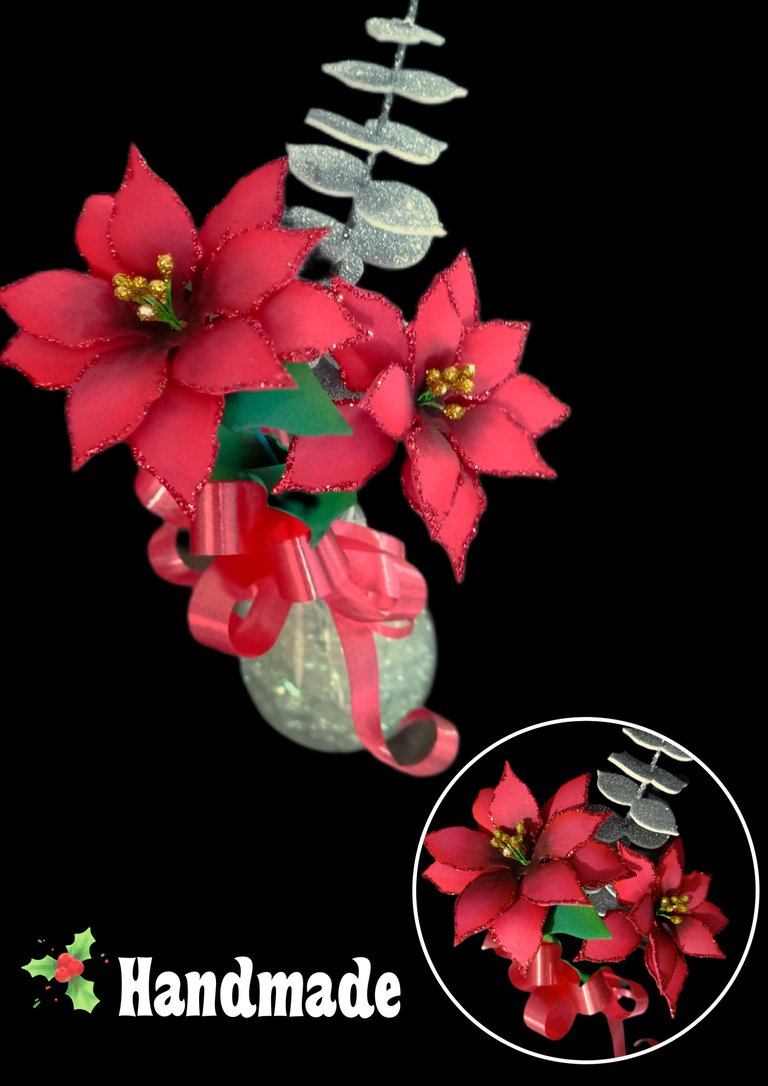
X: elmundodebetty
instagram: elmundodebetty

Muchas gracias por tu apoyo y tu comentario.
Saludos y hasta mi próxima publicación, me encantará verte por aquí.
English:


Hello my dear creators and welcome to all the friends who visit me.
You will see that they are very easy to make with foami, very economical and look very nice.
The materials to use are:

| Foami matte and frosted | Frosts |
|---|---|
| Wicker | Pistils |
| Paints or chalks | Scissors |
| White glue and silicone | cotton cloth |
| Flower mold or drawing | Electric iron |
| Foam glue | Crepe paper or floral type |
Let's start:
Step 1:

- Mark and cut out the flowers on the red foami, there will be four (4) pieces, two large and two small.
- Moisten and Cover the index finger with a cotton cloth, then wet with red paint and go all around the edge of the flowers and let dry.
- Then put a little black or dark brown paint in the center of each layer of petals and with the tissue paint from the center to the middle of each petal and let dry.
Step 2:

- Now heat the iron and place the flowers to heat then place on the foam rubber and with a marker or pencil press the center and release until it takes shape.
- This is how you will do with all the layers.
Step 3:

- Cut out 4 leaves and paint in the same way you did with the petals, but with light green and black paint.
- Now paint the threads of the pistils with green paint and let dry, then apply white glue to the pistils and sprinkle with gold frosting and let dry.
- Then make a hole in the center of the petals and insert the pistils as seen in the photo.
Step 4:

- Now apply white glue with a paintbrush or wooden stick for each of the petals and sprinkle with red frosting and let dry.
- On the other hand cut out pairs of eucalyptus leaves in silver frosting and insert the smaller ones at one end of the wire, then apply glue to the wire and sprinkle with silver frosting, re-insert another pair of leaves and repeat the previous step between each pair of petals apply glue to the wire and sprinkle with frosting.
- Then take the flower and glue the wire to the pistils at the bottom of the flower.
Step 5:

- Cut a strip of green crepe paper and line the wires to cover the silicone and glue the leaves to your liking, you can leave the flowers separate or make a small branch and add the eucalyptus branch, like this one and join the wires together.
Step 6:

- Finally you can make a bow with paper ribbons and tie at the bottom of the stem.
- You can also place on a base and put together an arrangement.
Now you will see the final result.

Translator: DeepL
Phone: Redmi Note 9.
Collage application: GridArt

X: elmundodedebetty
instagram: elmundodedebetty

Thank you very much for your support and your comment.
Salutations and until my next publication, I'll love to see you around here.
~~~ embed:blogger/comments/1habvsi/acompáñame_y_haz_conmigo_unas_flores_de/ reddit metadata:fGJsb2dnZXJ8aHR0cHM6Ly93d3cucmVkZGl0LmNvbS9yL2Jsb2dnZXIvY29tbWVudHMvMWhhYnZzaS9hY29tcMOhw7FhbWVfeV9oYXpfY29ubWlnb191bmFzX2Zsb3Jlc19kZS98 ~~~
The rewards earned on this comment will go directly to the people( @yolimarag ) sharing the post on Reddit as long as they are registered with @poshtoken. Sign up at https://hiveposh.com. Otherwise, rewards go to the author of the blog post.
Aaaww que lindas flores amiga, parecen reales, un lindo adorno para la mesa, Dios bendiga tus manos y talento.
Saludos!
Hola amiga, que lindo mensaje.
Gracias por tus buenos deseos y amén.
Saludos.
Te quedaron bellísimas amiga, me encanto todo el paso a paso para hacerlas. Gracias por compartir.
Hola amiga, me alegra mucho que te haya gustado.
Gracias por comentar y apoyar.
Tus proyectos son muy bellos.
Saludos y bendiciones.❤️
Que belleza¡¡, realmente quedaron muy originales amiga. Me gustó como utilizaste tus materiales y los colores que escogiste, además fue un excelente paso a paso, felicitaciones. Saludos
Buenas noches, me alegra mucho leer tu comentario, muchas gracias.
Igualmente saludos y bendiciones para ti.
Súper lindo y grita totalmente navidad, es muy fácil seguir tu tutorial tan bien explicado, no hay excusas para no replicarlo y tenerlo en nuestras decoraciones.
Feliz día querida Yenny, muchas gracias por tu comentario y si de verdad es muy fácil.
Me alegra mucho que te haya gustado y de nuevo gracias por pasar por aquí.
Esta hermosa flor la conoci aqui en esta comunidad y ya me volvi fan jaja es muy bella y las manualidades inspiradas en esta flor realmente quedan muy decorativas, excelente trabajo 😍
Hola Buhito, que bueno que la conociste en esta comunidad, yo también he conocido y aprendido mucho de ella.
De verdad me alegra mucho y muchas gracias por tu apoyo.
Feliz día.
Wowe que lindo le quedó su trabajo. Excelente.
Feliz día.
Gracia y paz!!
Feliz día, gracias por comentar y apoyar mi trabajo.
Me alegra mucho que le haya gustado.
Amén.
Wow, the results are really amazing.
Muchas gracias por tu apoyo y comentario.
Saludos.
you're welcome sis
Supongo que necesitó mucha paciencia para hacer los pétalos, le quedaron hermosos! ❤
Dios la bendiga!
Hola, muchas gracias por comentar y jajajaja, creo que todos la necesitamos si queremos hacer bien las cosas...
Que bueno que le gustaron mis flores.
Amén e igualmente.
Wow! This is so beautiful and creative. As a community we are proud of your work and we hope to see more of them. Well done.
Saludos.Hola querida comunidad de @diyhub muchas gracias por su apoyo y por tan lindo mensaje.
Pero que trabajo tan espectacular, te quedaron muy hermosas esas flores navideñas, cuanta creatividad
Buenas noches y muchas gracias por tu comentario, que bueno que te gustaron.
Te quedó increíble amiga! Nunca dejas de sorprender con tus trabajos tan delicados y prolijos.💕
Hola mi querida amiga, muchas gracias por pasar por aquí y apoyarme con tan lindo comentario.
Bendiciones.