Hi everyone, greetings and blessings!
I had been waiting for a while for the opportunity to get my creativity going by giving some love to those wood scraps and scraps that we often throw in the trash. As someone said, it all depends on the perspective we have with the useful materials.
In the carpentry there are many small pieces of different woods, such as oak, cedar, apparatus and pine. It is true that there are many ideas on the web with which we can feel affinity and empathy due to the curious things they do, however, it is always good to put our personal touch on our projects.
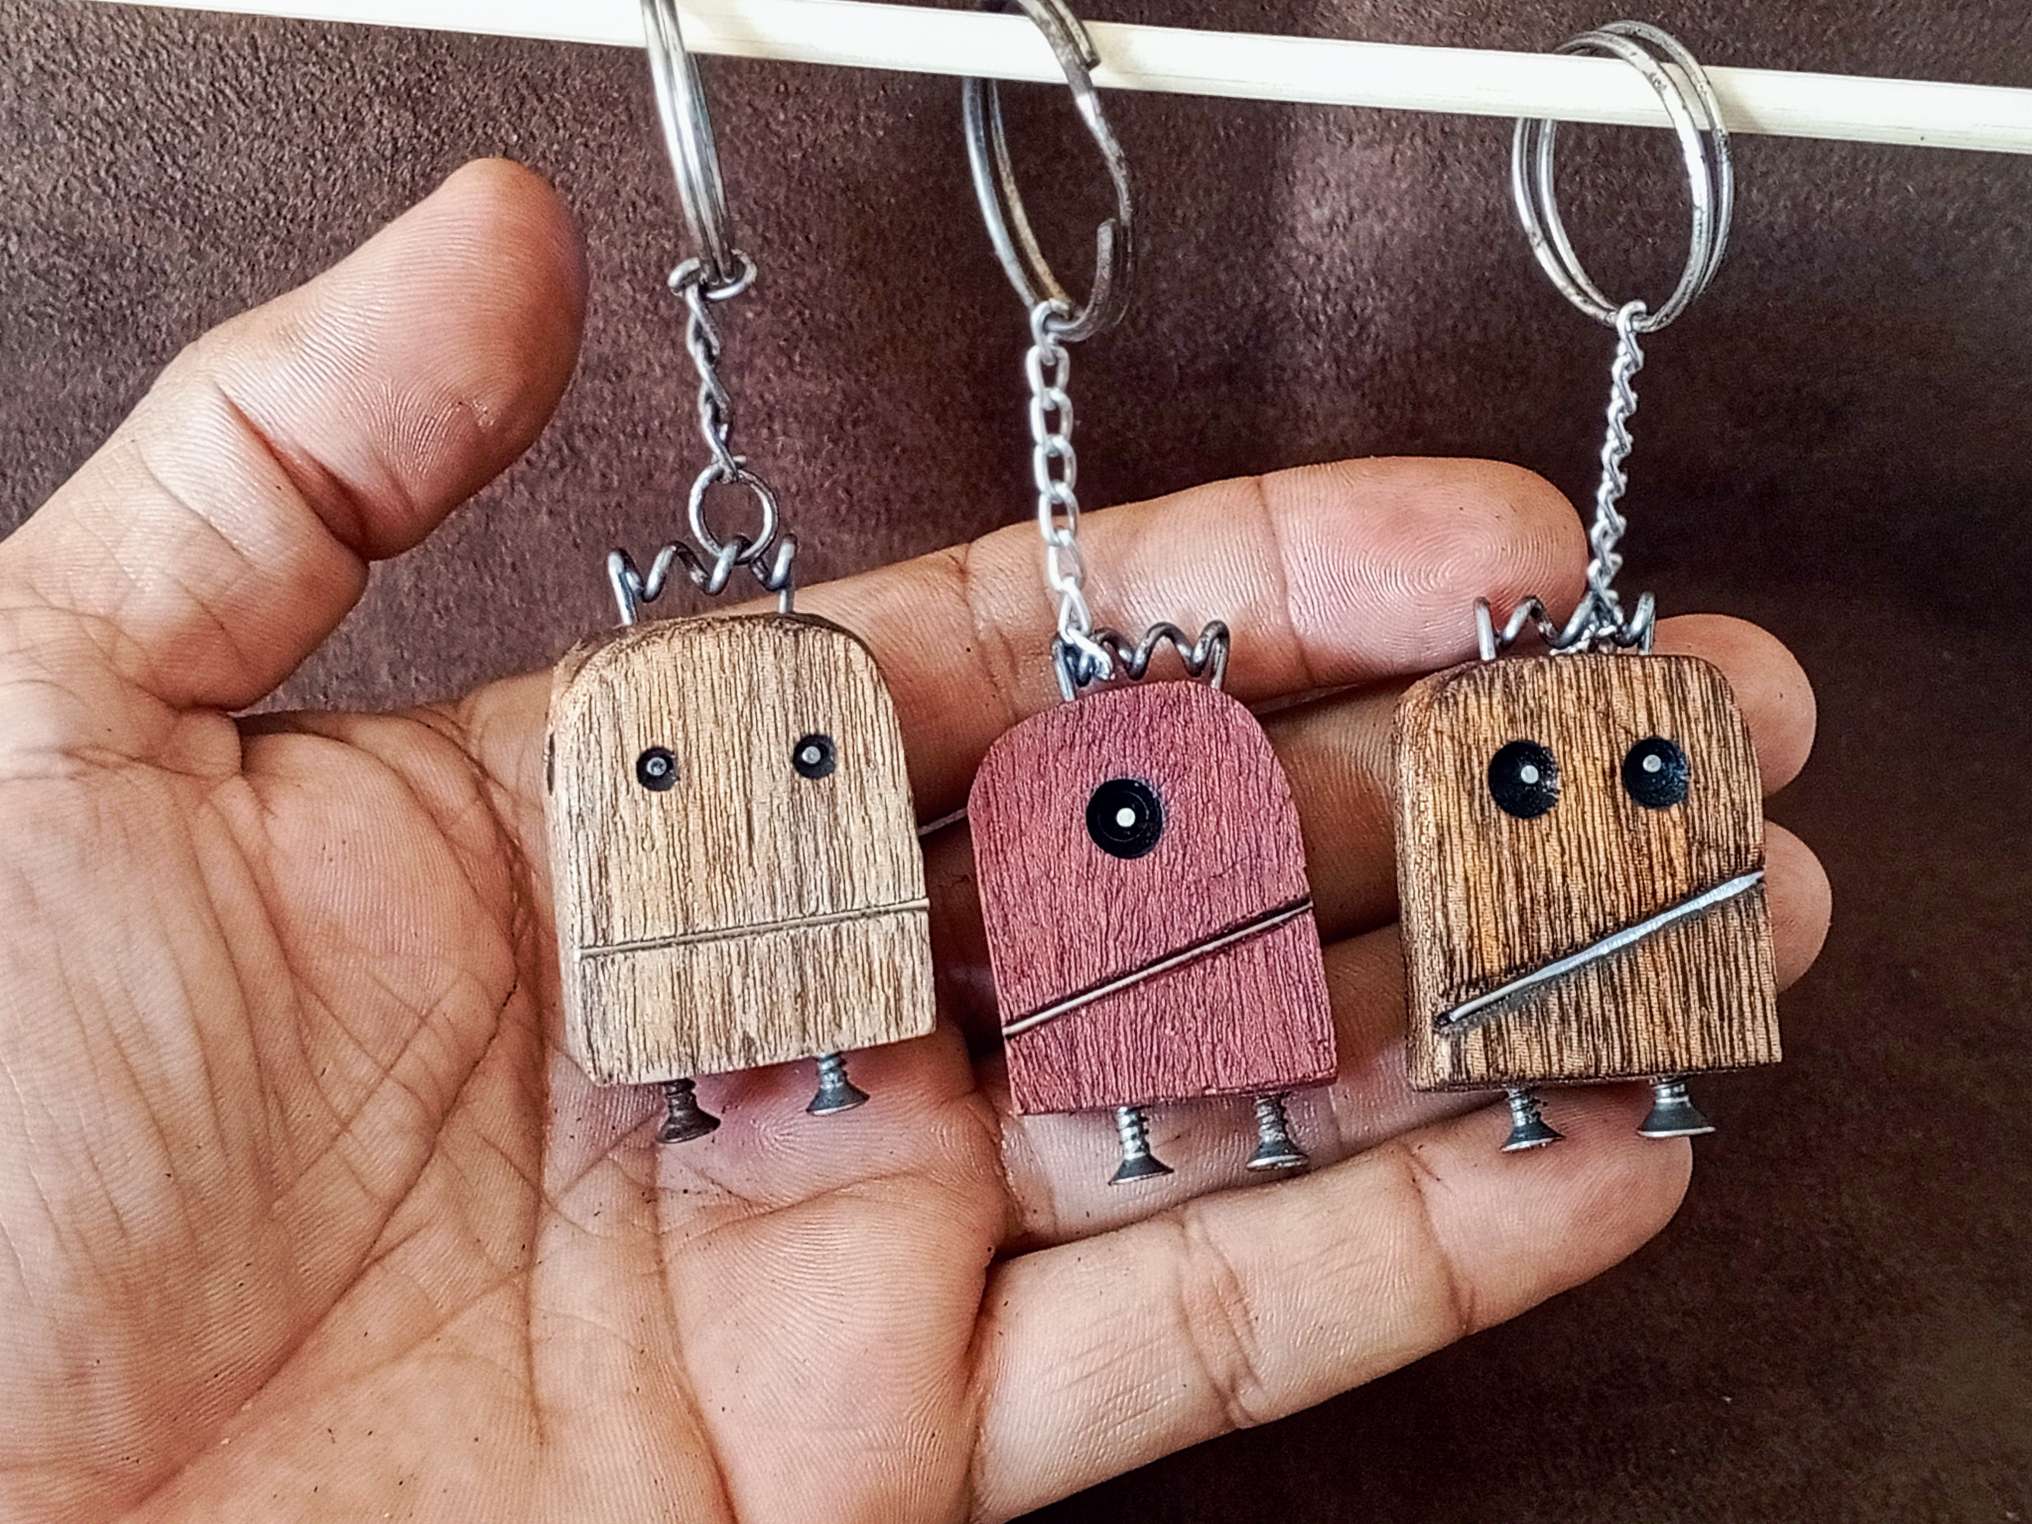
On this occasion I made a set of three keychains of small creatures combining wood and metal. I invite you to join me to see the following step by step
¡Hola a todos , saludos y bendiciones!
Tenía tiempo esperando la oportunidad para poner en marcha la creatividad dándole un poco de amor a esos recortes de madera y desperdicios que solemos tirar a la basura con frecuencia. Cómo dijo alguien, todo depende de la óptica que tengamos con los materiales de provecho.
En la carpintería abundan pequeños trozos de distintas maderas, como lo son el roble, cedro, aparato y pino. Bien es cierto que hay muchas ideas en la web con las que podemos sentir afinidad y empatía por lo curioso de las cosas que hacen, sin embargo, siempre es bueno de poner nuestro toque personal a nuestros proyectos.
En ésta oportunidad hice un set de tres llaveros de pequeñas criaturas combinando madera y metal. Los invito a que me acompañen a ver el siguiente paso a paso
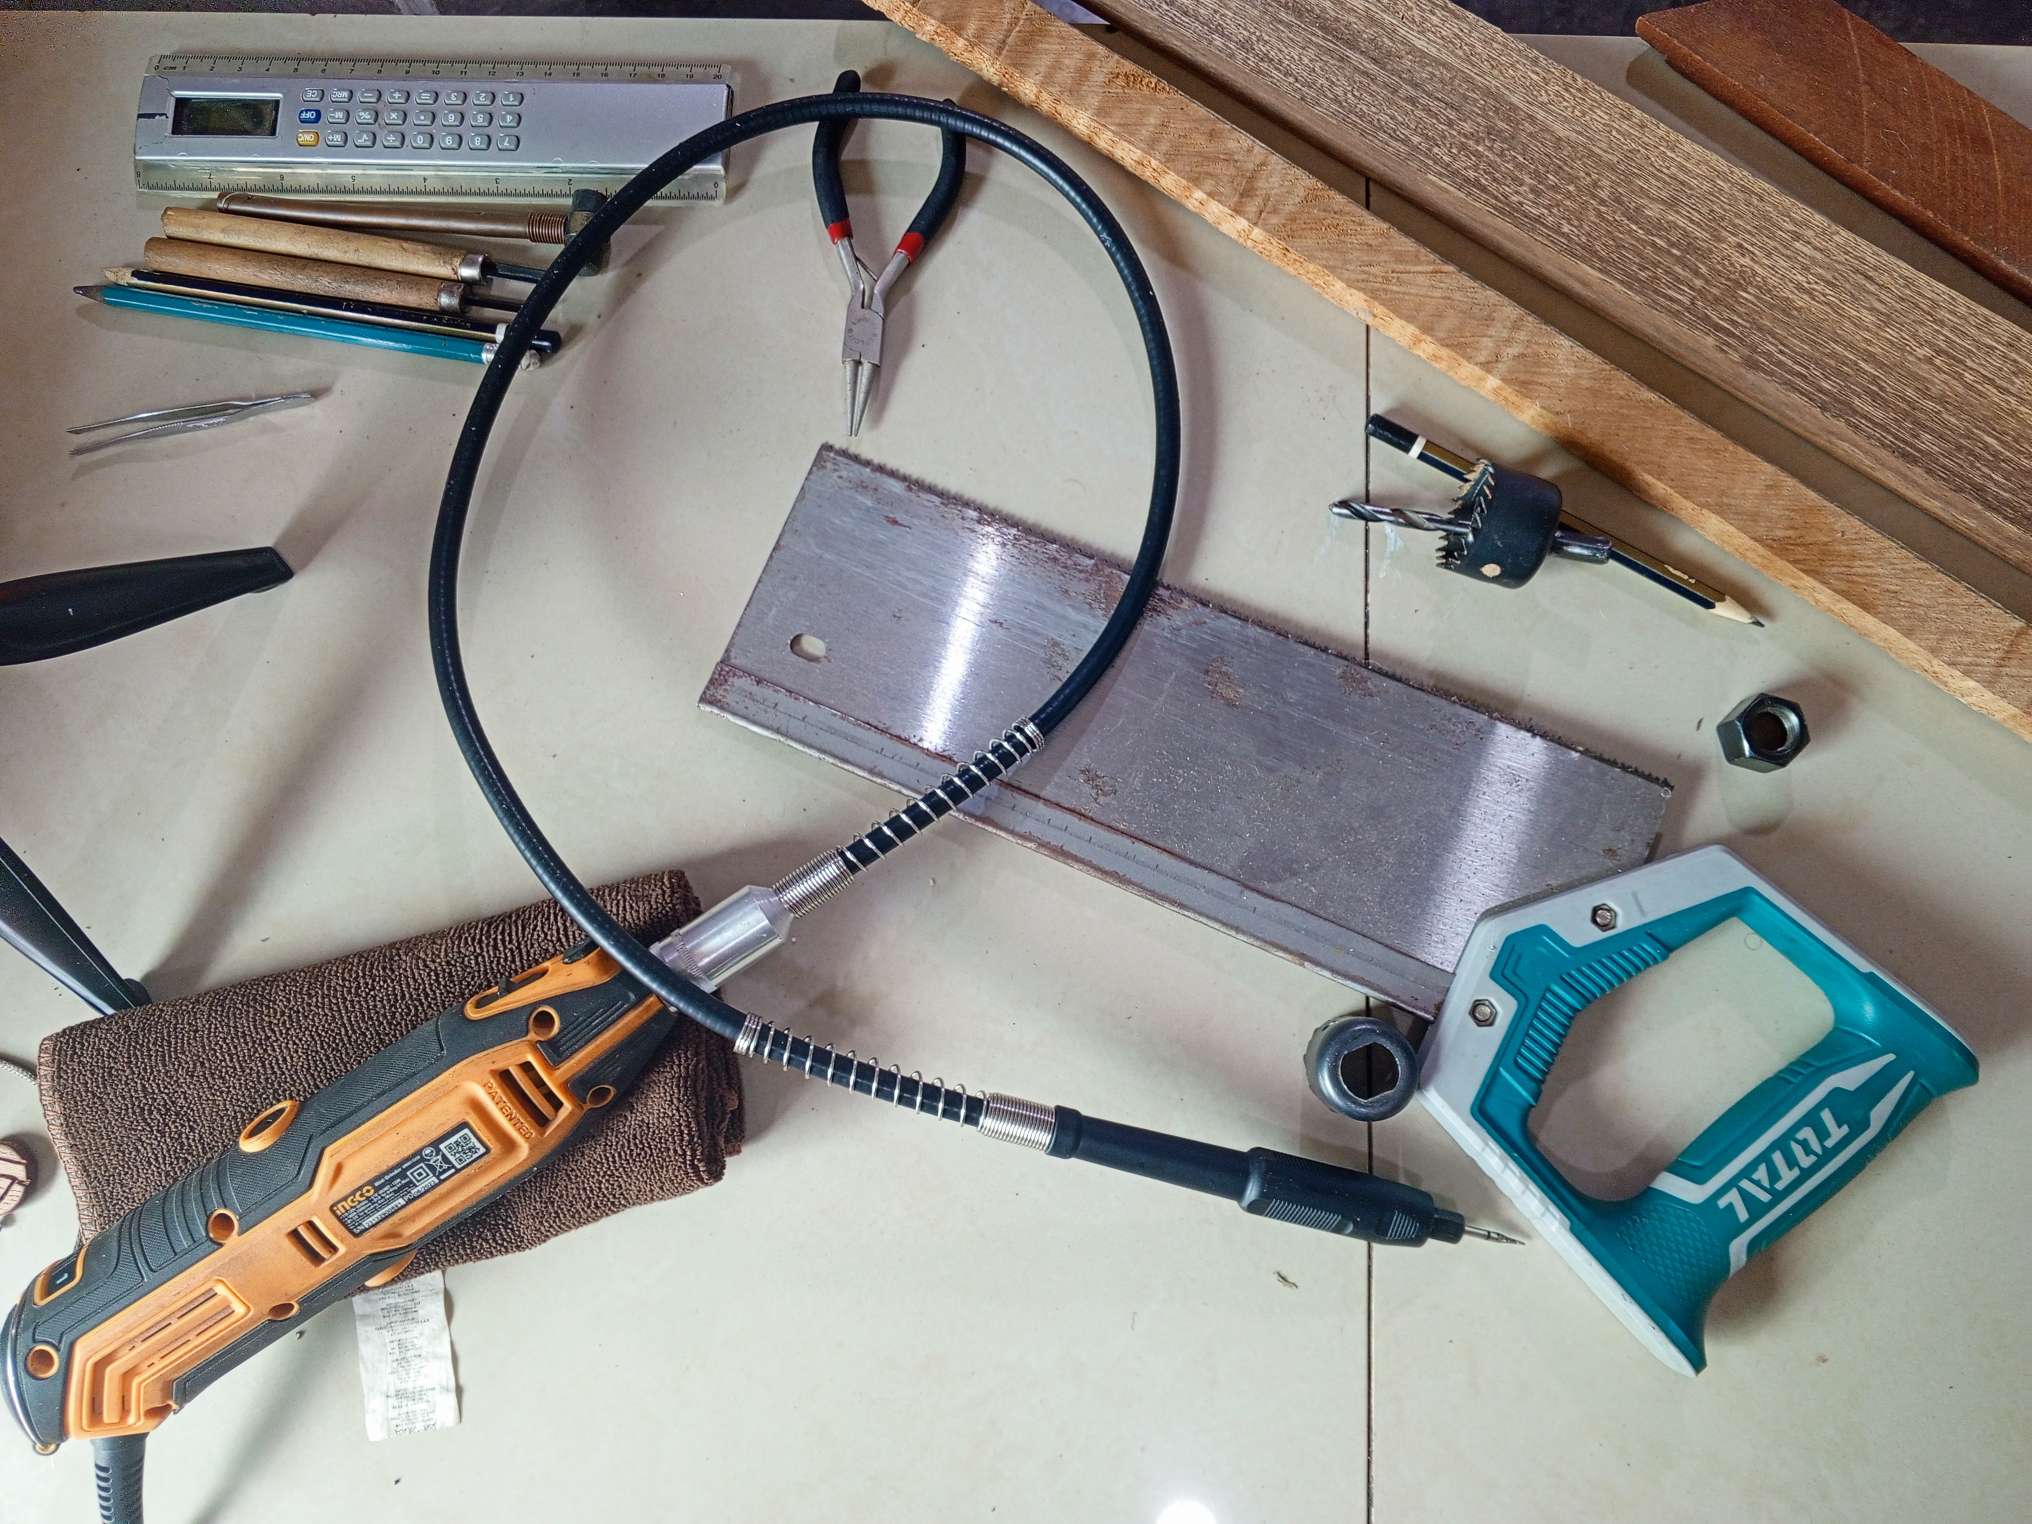
Materiales
Madera de cedro y caoba
Tornillos
Sierra manual
Dremel
Gancho de ropa
Destornilladores
Mechas de madera
Aceite y brillo para madera
Colgantes de llavero
Materials
Cedar and mahogany wood Screws manual saw Dremel clothes hook Screwdrivers wooden wicks Wood oil and gloss Keychain pendants
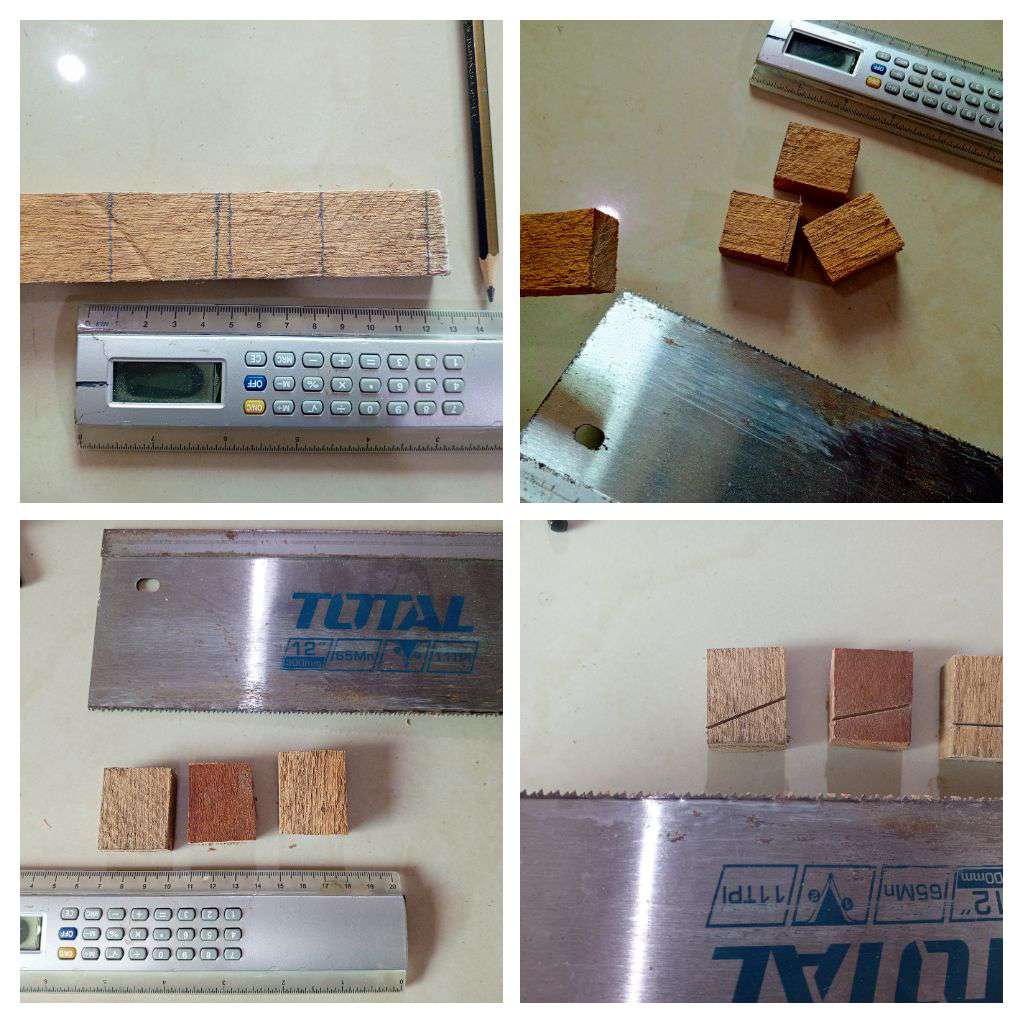
Iniciamos tomando medidas en la madera, de acuerdo al tamaño del diseño que queremos, como son unos llaveros, los hice de una medida de 3.5 centímetros por 2.5 de ancho .
Recortamos utilizando una sierra manual y con la ayuda de una lija suavizamos la superficie para evitar filos que hagan daño en el uso diario.
Con la sierra marcamos un raya horizontal y vertical en los rectángulos que son como la boca de nuestra pequeña criatura.
We start by taking measurements on the wood, according to the size of the design we want, such as keychains, I made them measuring 3.5 centimeters by 2.5 wide.
We cut it using a manual saw and with the help of sandpaper we smooth the surface to avoid sharp edges that cause damage in daily use.
With the saw we mark a horizontal and vertical line on the rectangles that are like the mouth of our little creature.
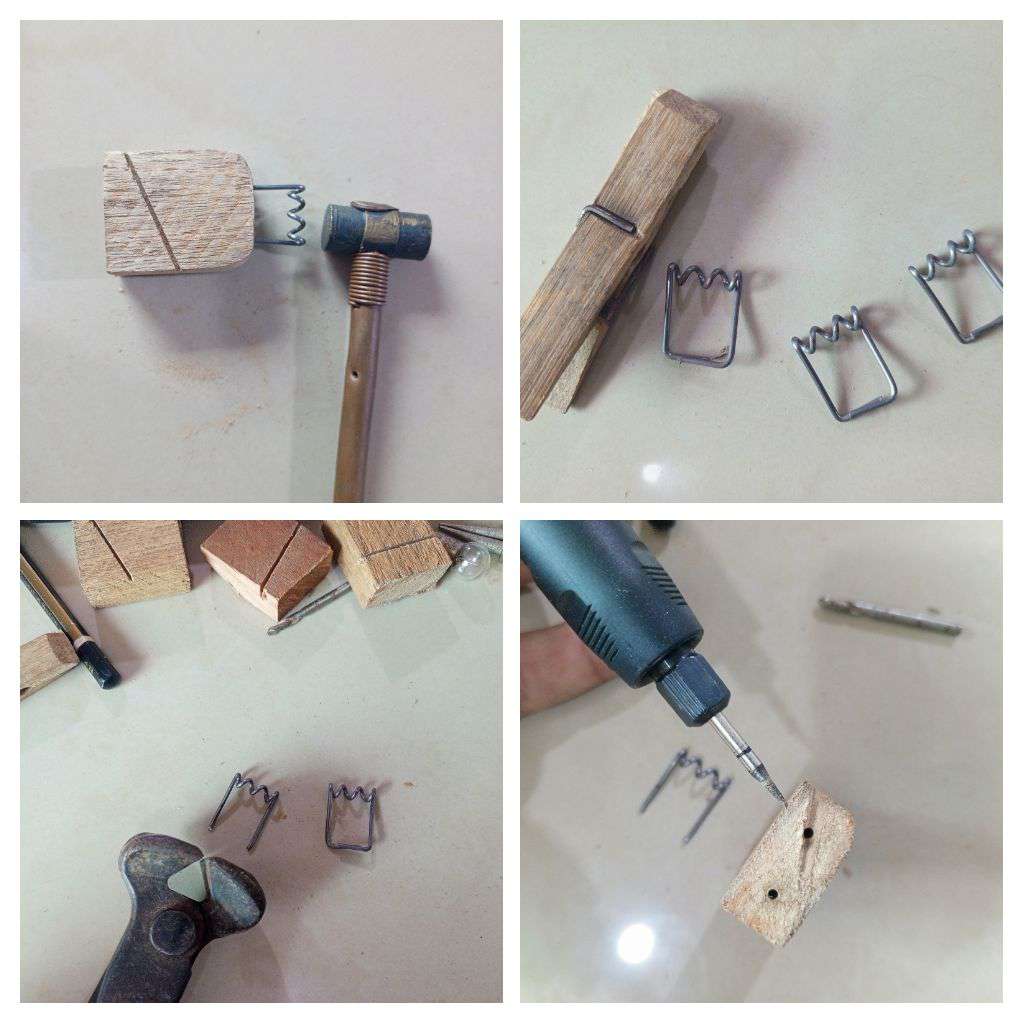
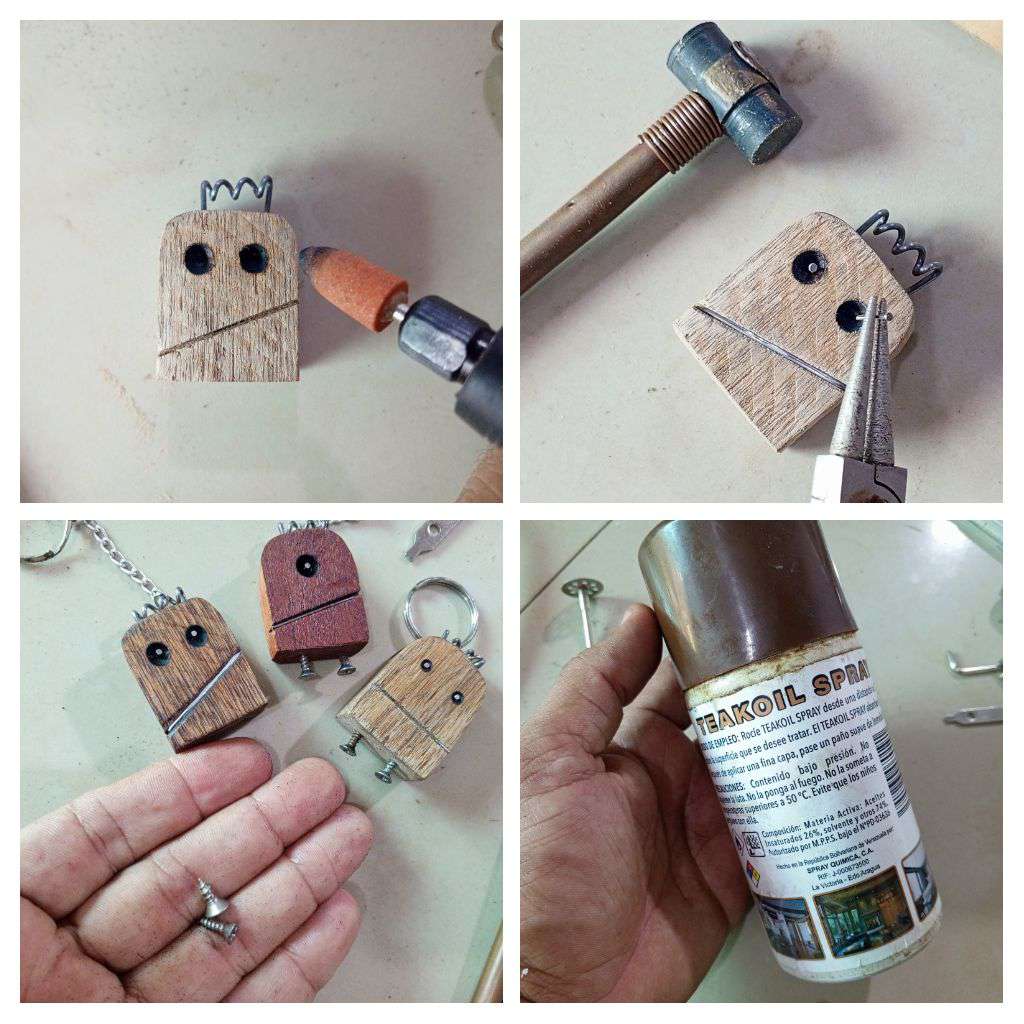
Los ganchos de ropa traen un alambre como especie de resorte, con ésto lo recortamos y colocamos los cabellos de los pequeños robots.
Para este proceso retiramos el resorte del gancho y recorte que queden dos puntas y luego abrimos dos orificios con el Dremel y martillamos hasta que quede bien fijo.
The clothes hooks have a wire as a kind of spring, with this we cut it and place the hair of the little robots.
For this process, we remove the spring from the hook and trim so that two points remain and then we open two holes with the Dremel and hammer until it is secure.
Para los ojos del robot utilizamos una piedra de esmelilar, ésta hace agujeros y a la vez quema la madera. En el centro de casa ojo colocamos un clavo de acero inoxidable.
Igualmente en la boca colocamos un alambre de acero y lijamos utilizando una lija número 1000
Para las piernas del robot utilizamos tornillos de medio centímetro y se incrustra en la madera a una distancia de separación entre ambos de 1 centímetro.
El aceite de madera es muy importante para dar brillo y protección, yo utilizo aceite teca, que realmente realza las betas de la madera y oscurece dando un tono cálido.
For the robot's eyes we use a grinding stone, this makes holes and at the same time burns the wood. In the center of the eye we place a stainless steel nail.
Likewise, in the mouth we place a steel wire and sand using a number 1000 sandpaper.
For the legs of the robot we use half-centimeter screws and they are embedded in the wood at a separation distance of 1 centimeter between them.
Wood oil is very important to give shine and protection, I use teak oil, which really enhances the grain of the wood and darkens giving it a warm tone.
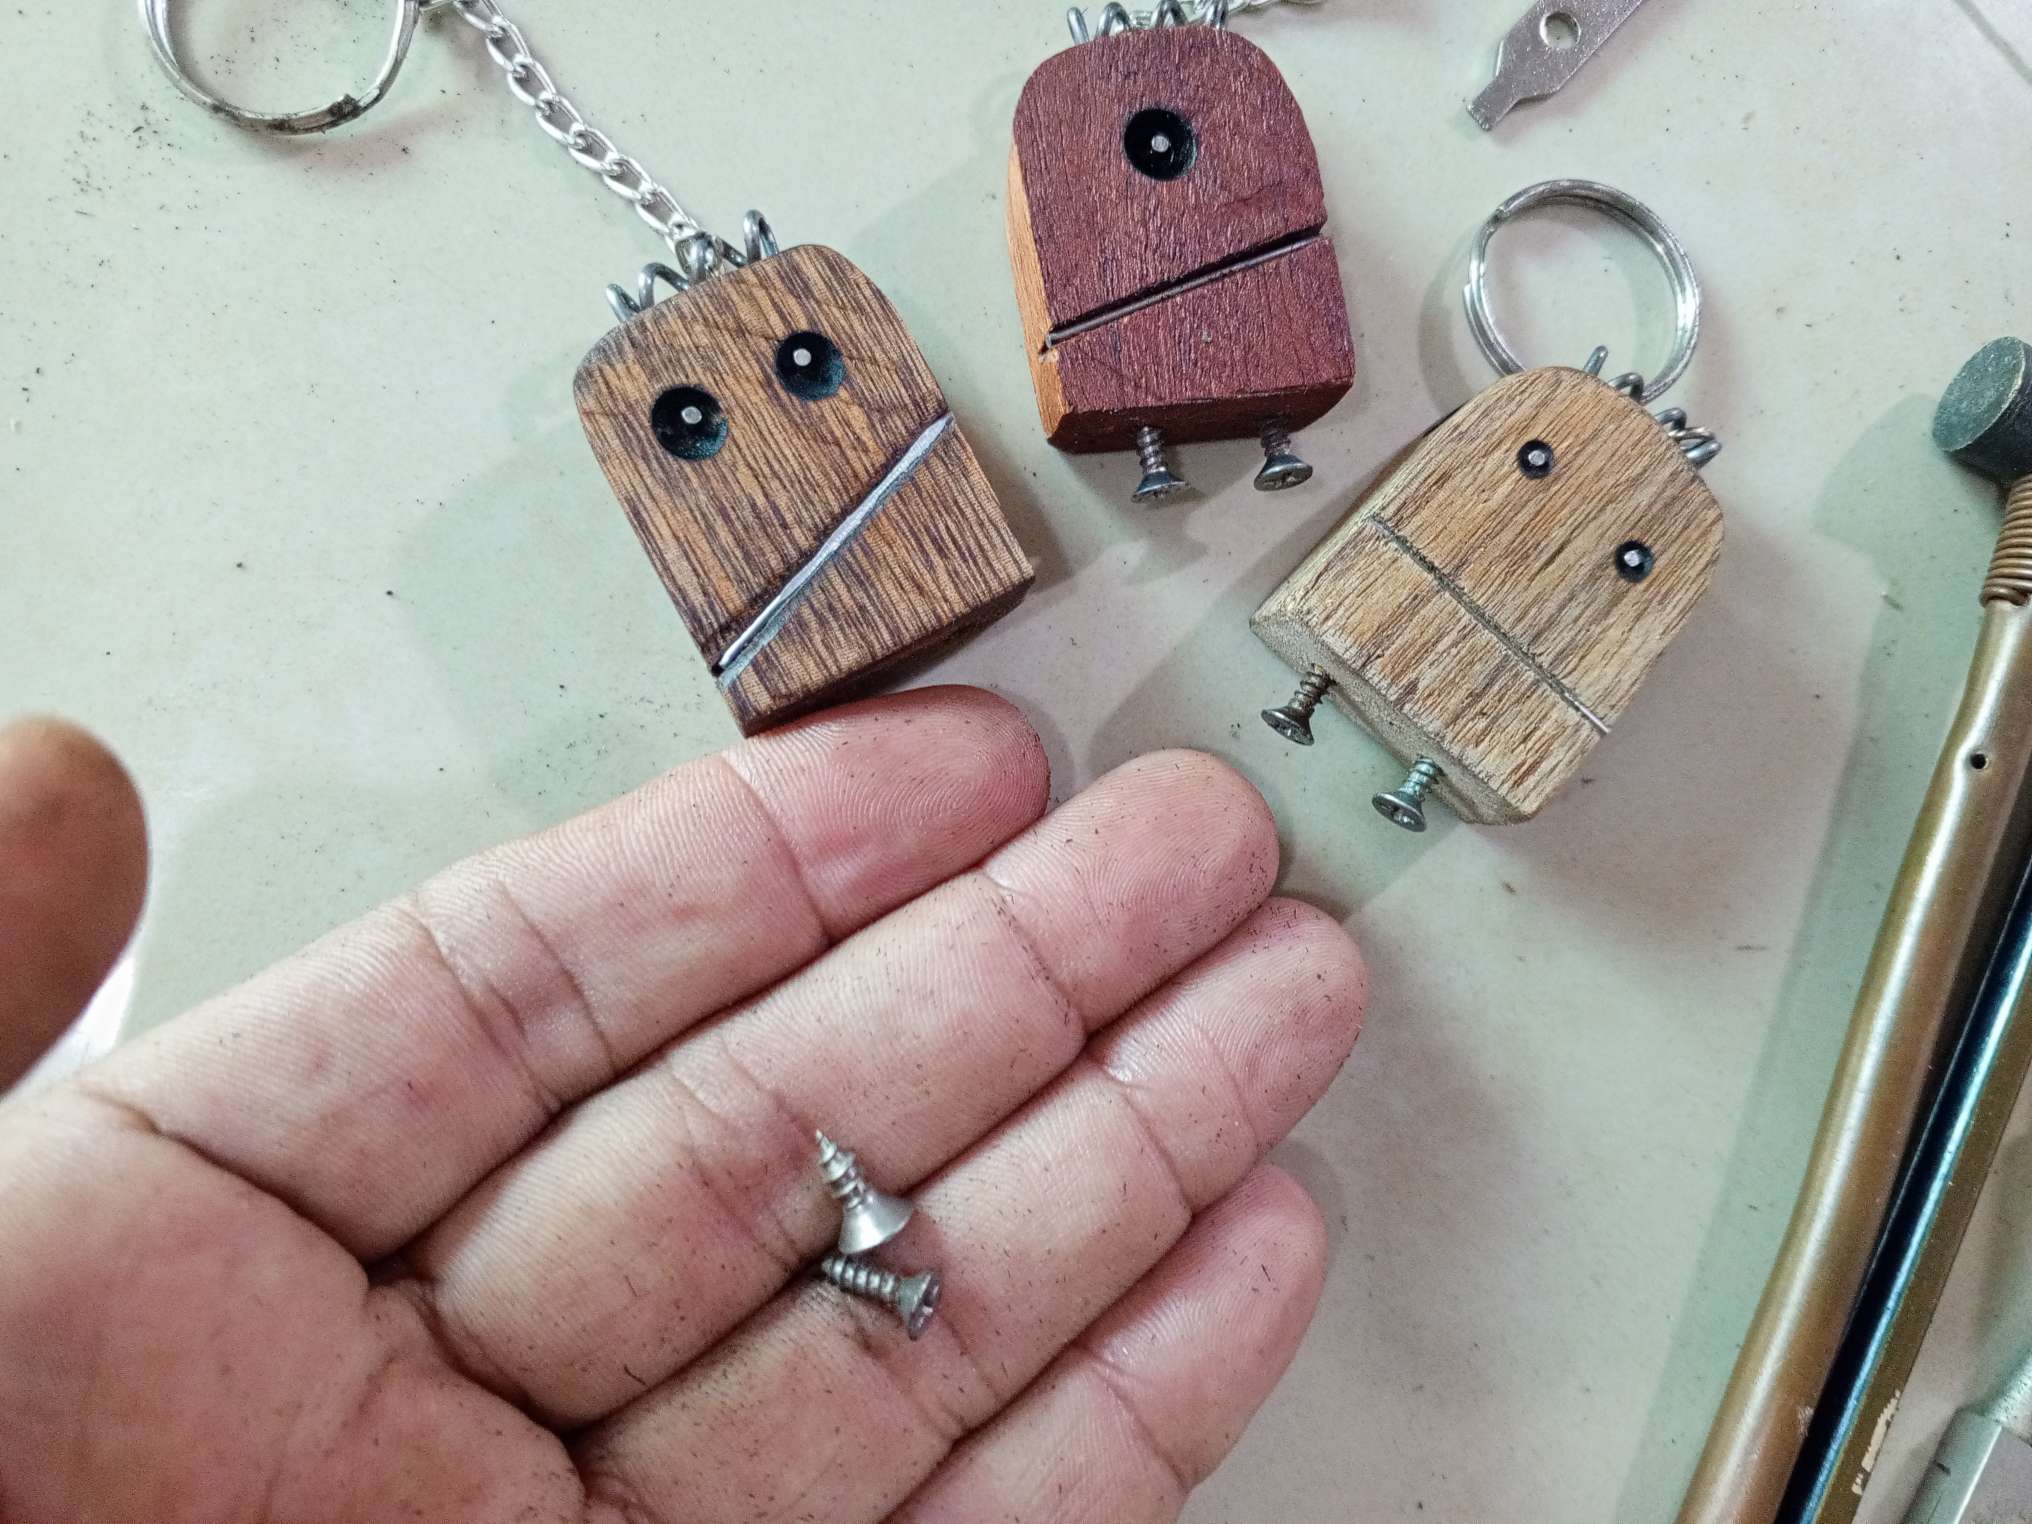
Finalmente colocamos una cadena y aro para llaves y obtendremos tres divertidos llaveros súper sencillos de hacer y muy económico.
Finally we add a chain and key ring and we will obtain three fun keychains that are super easy to make and very economical.
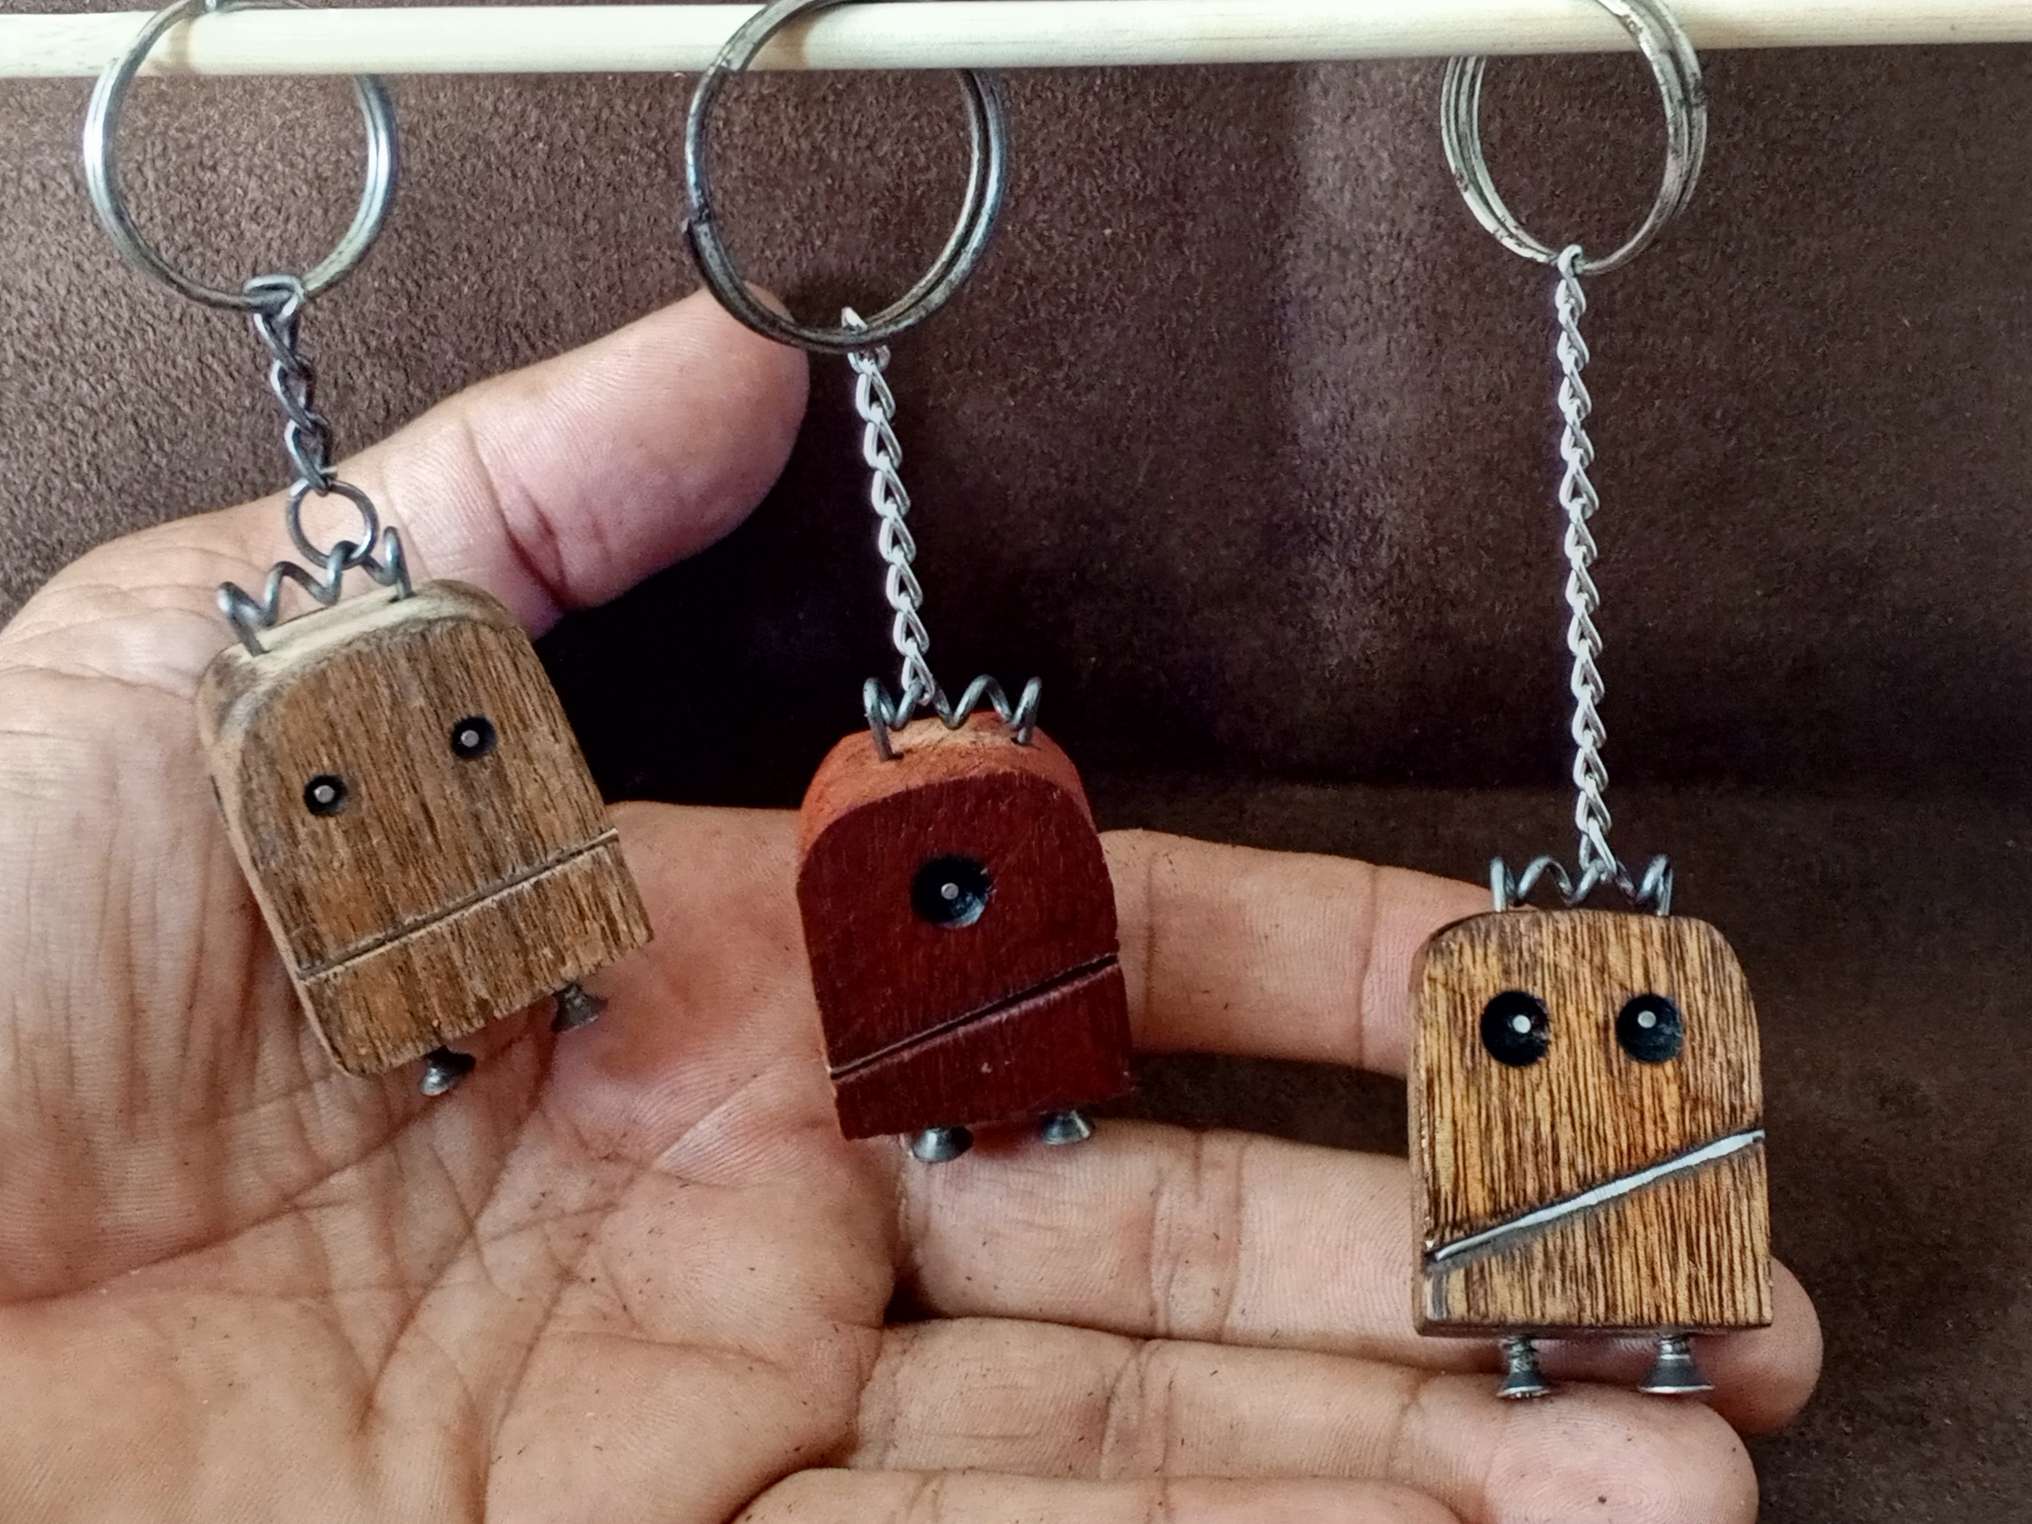
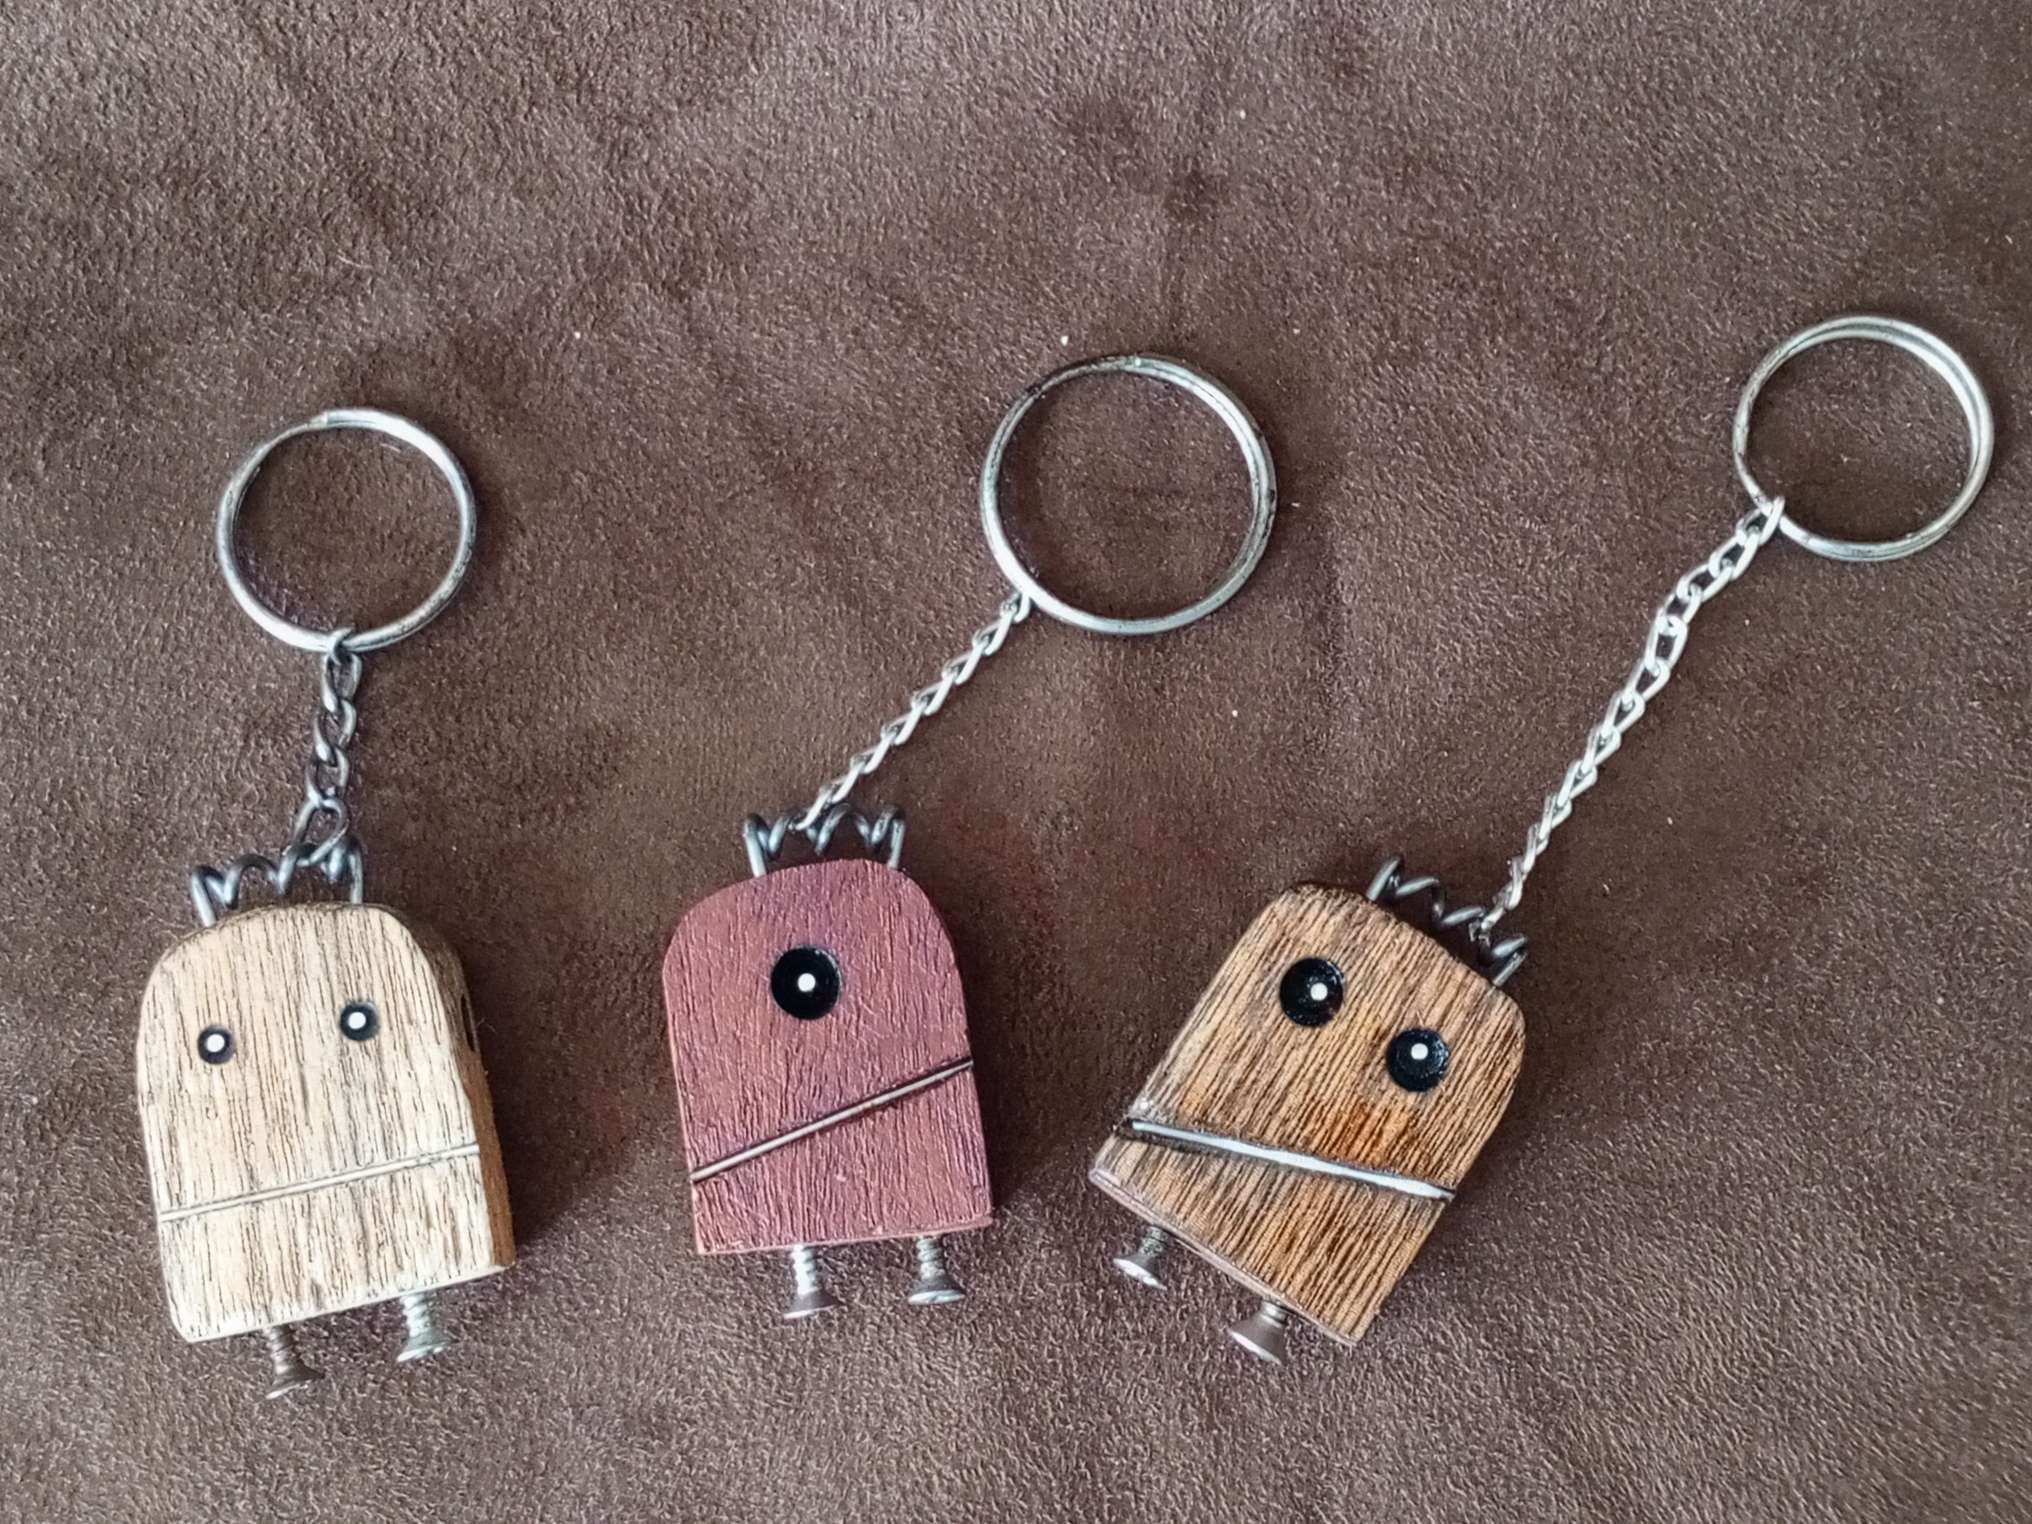
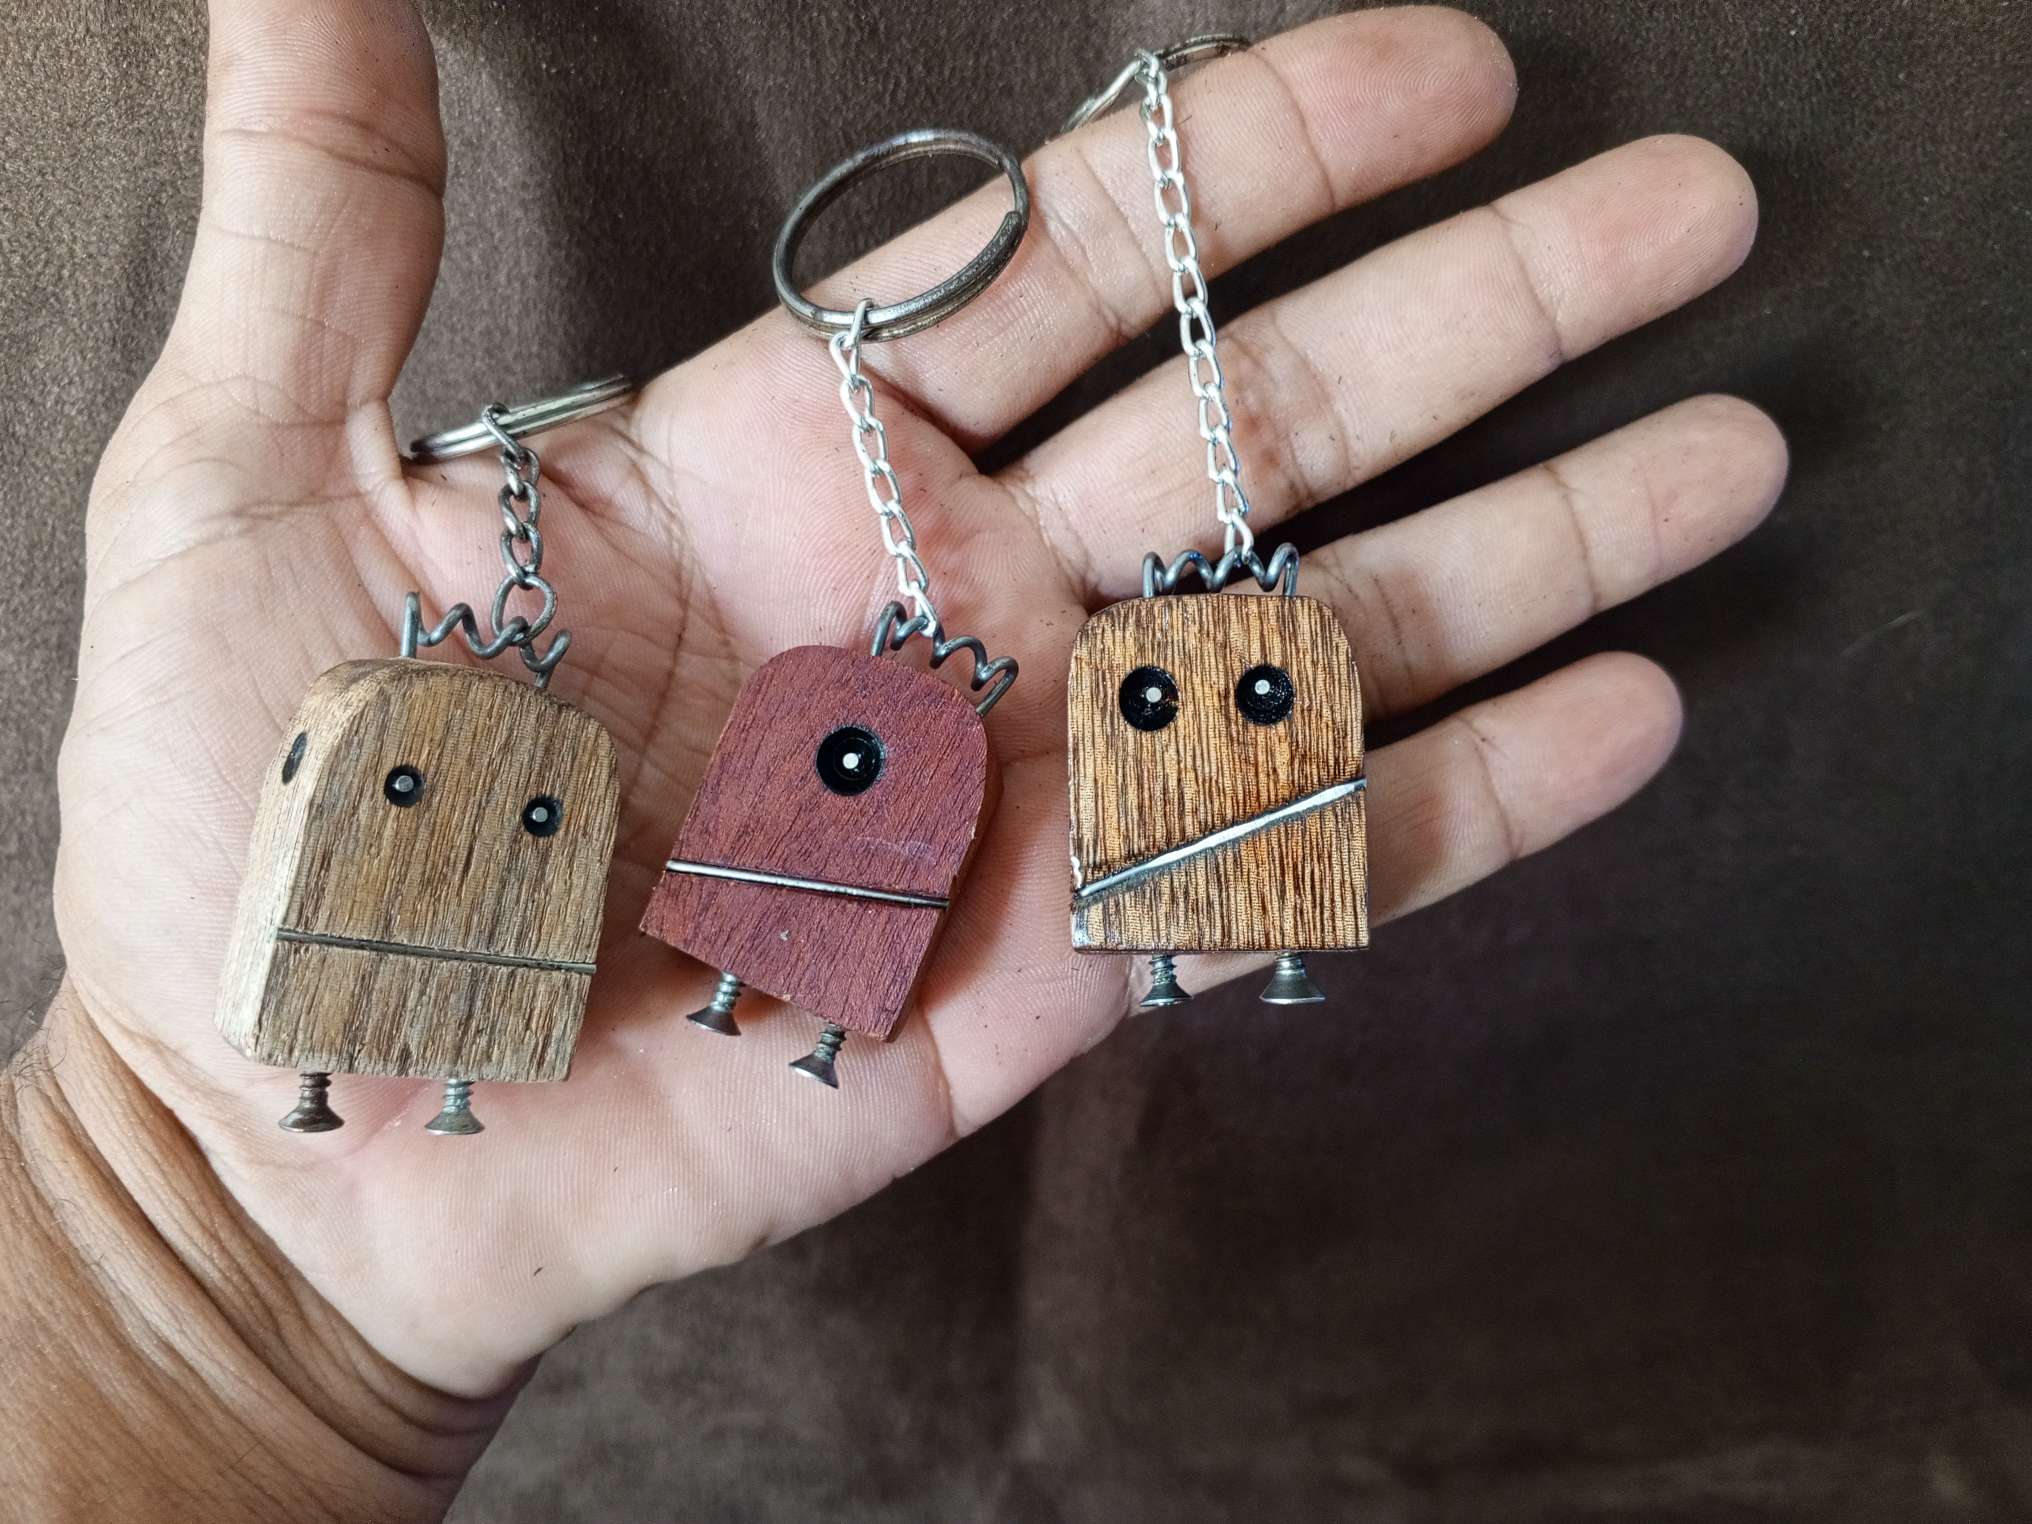
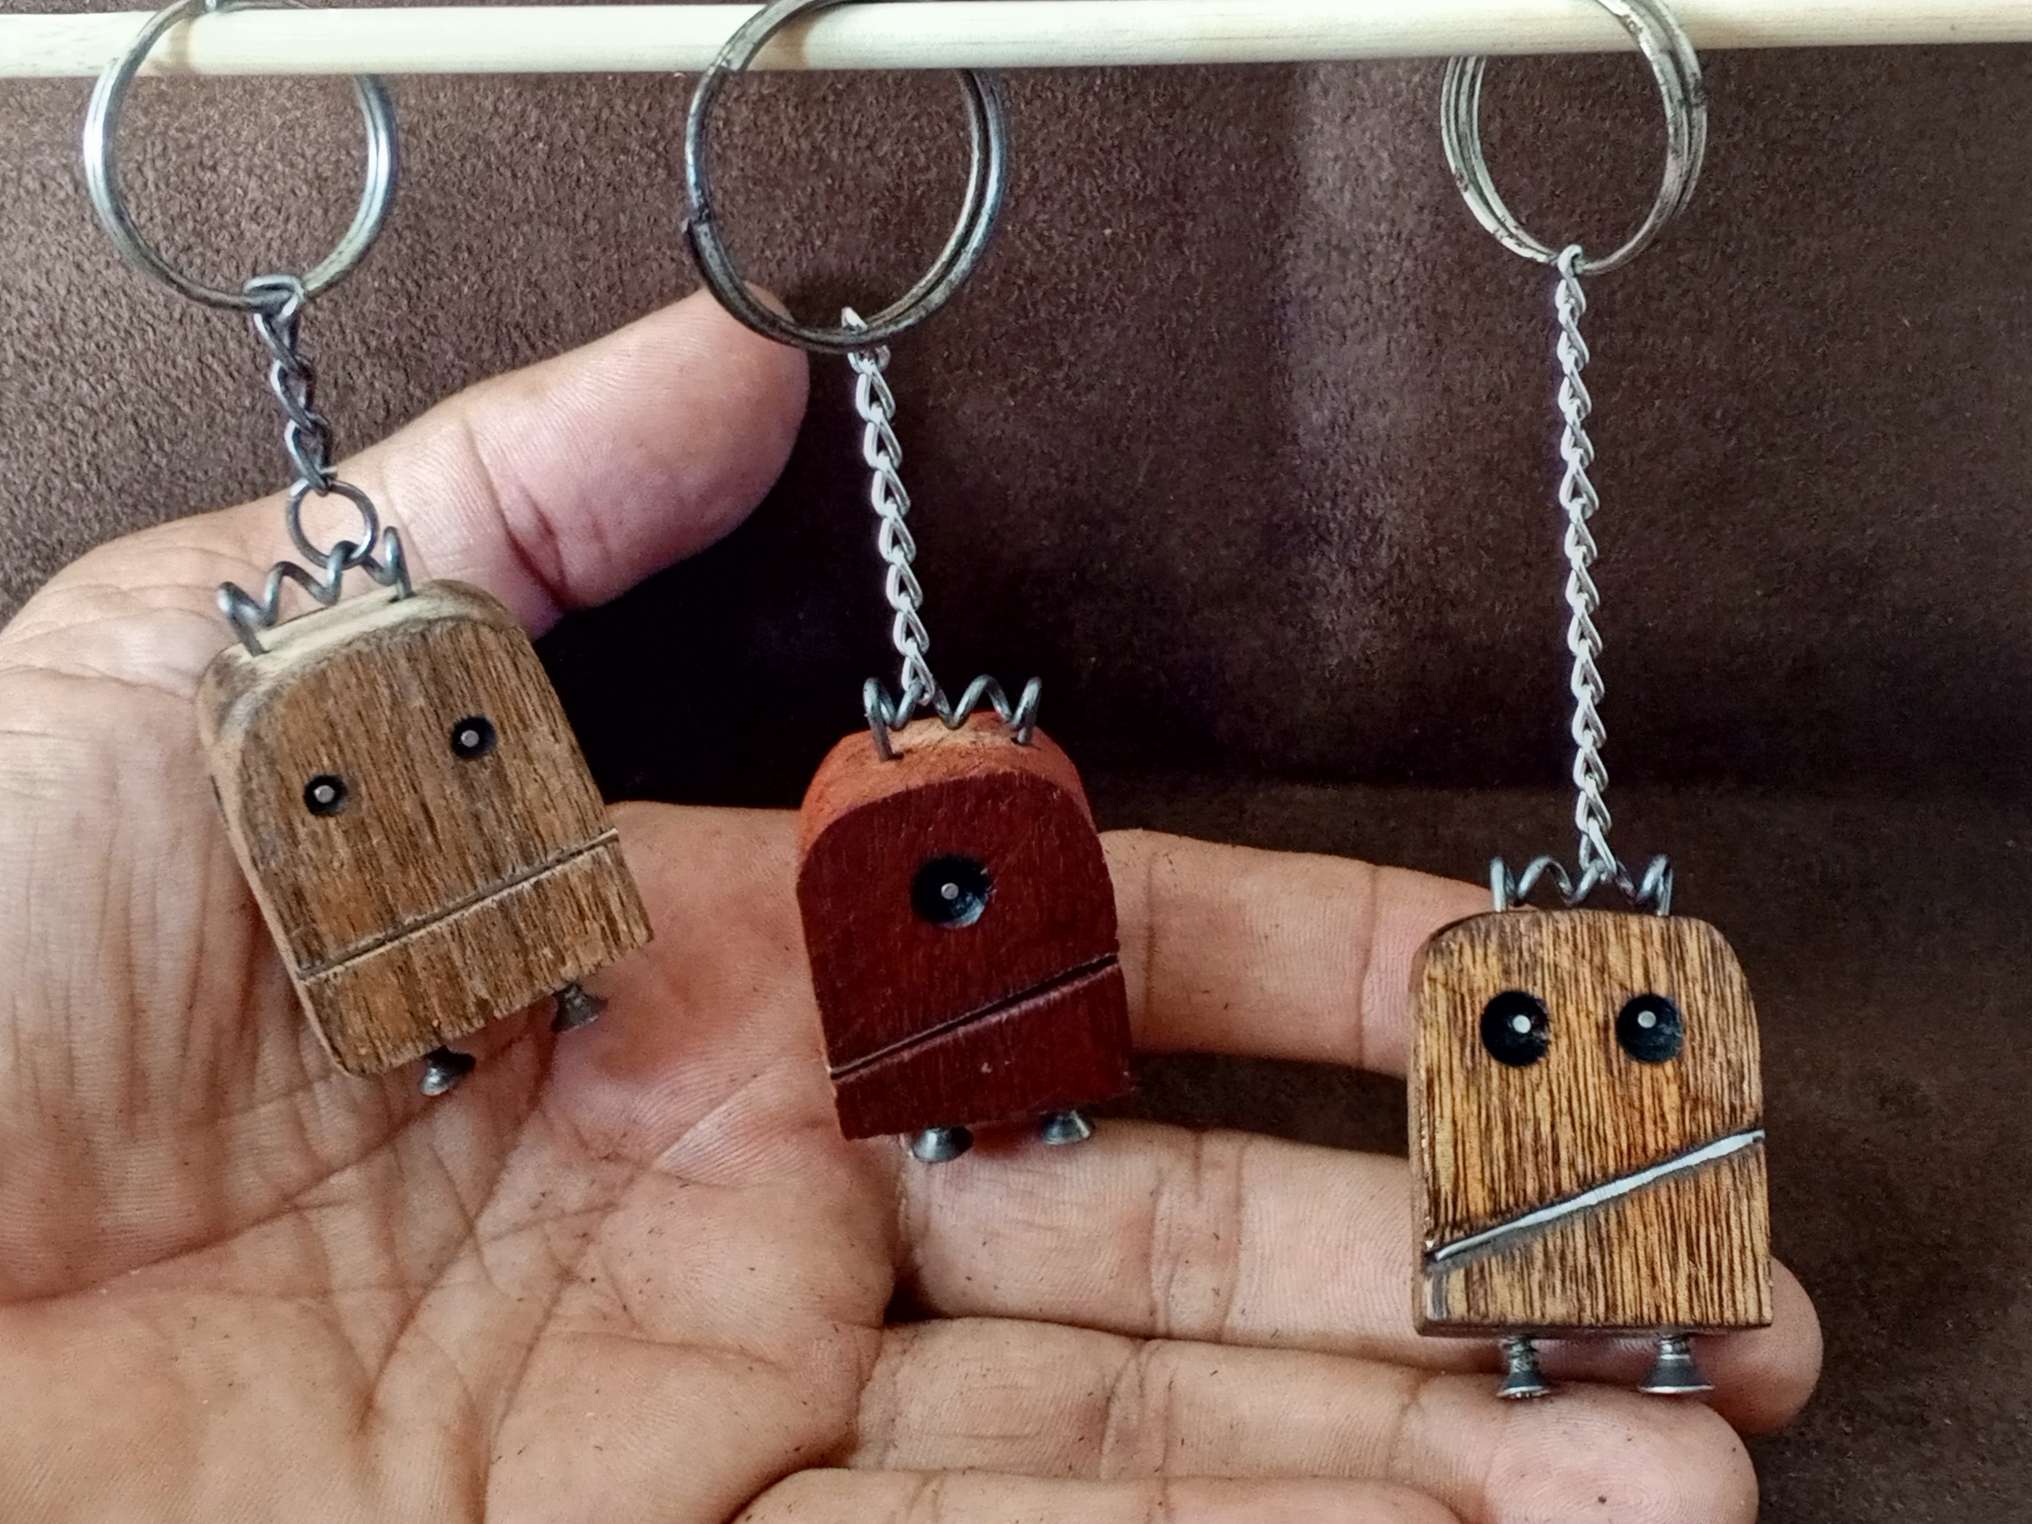
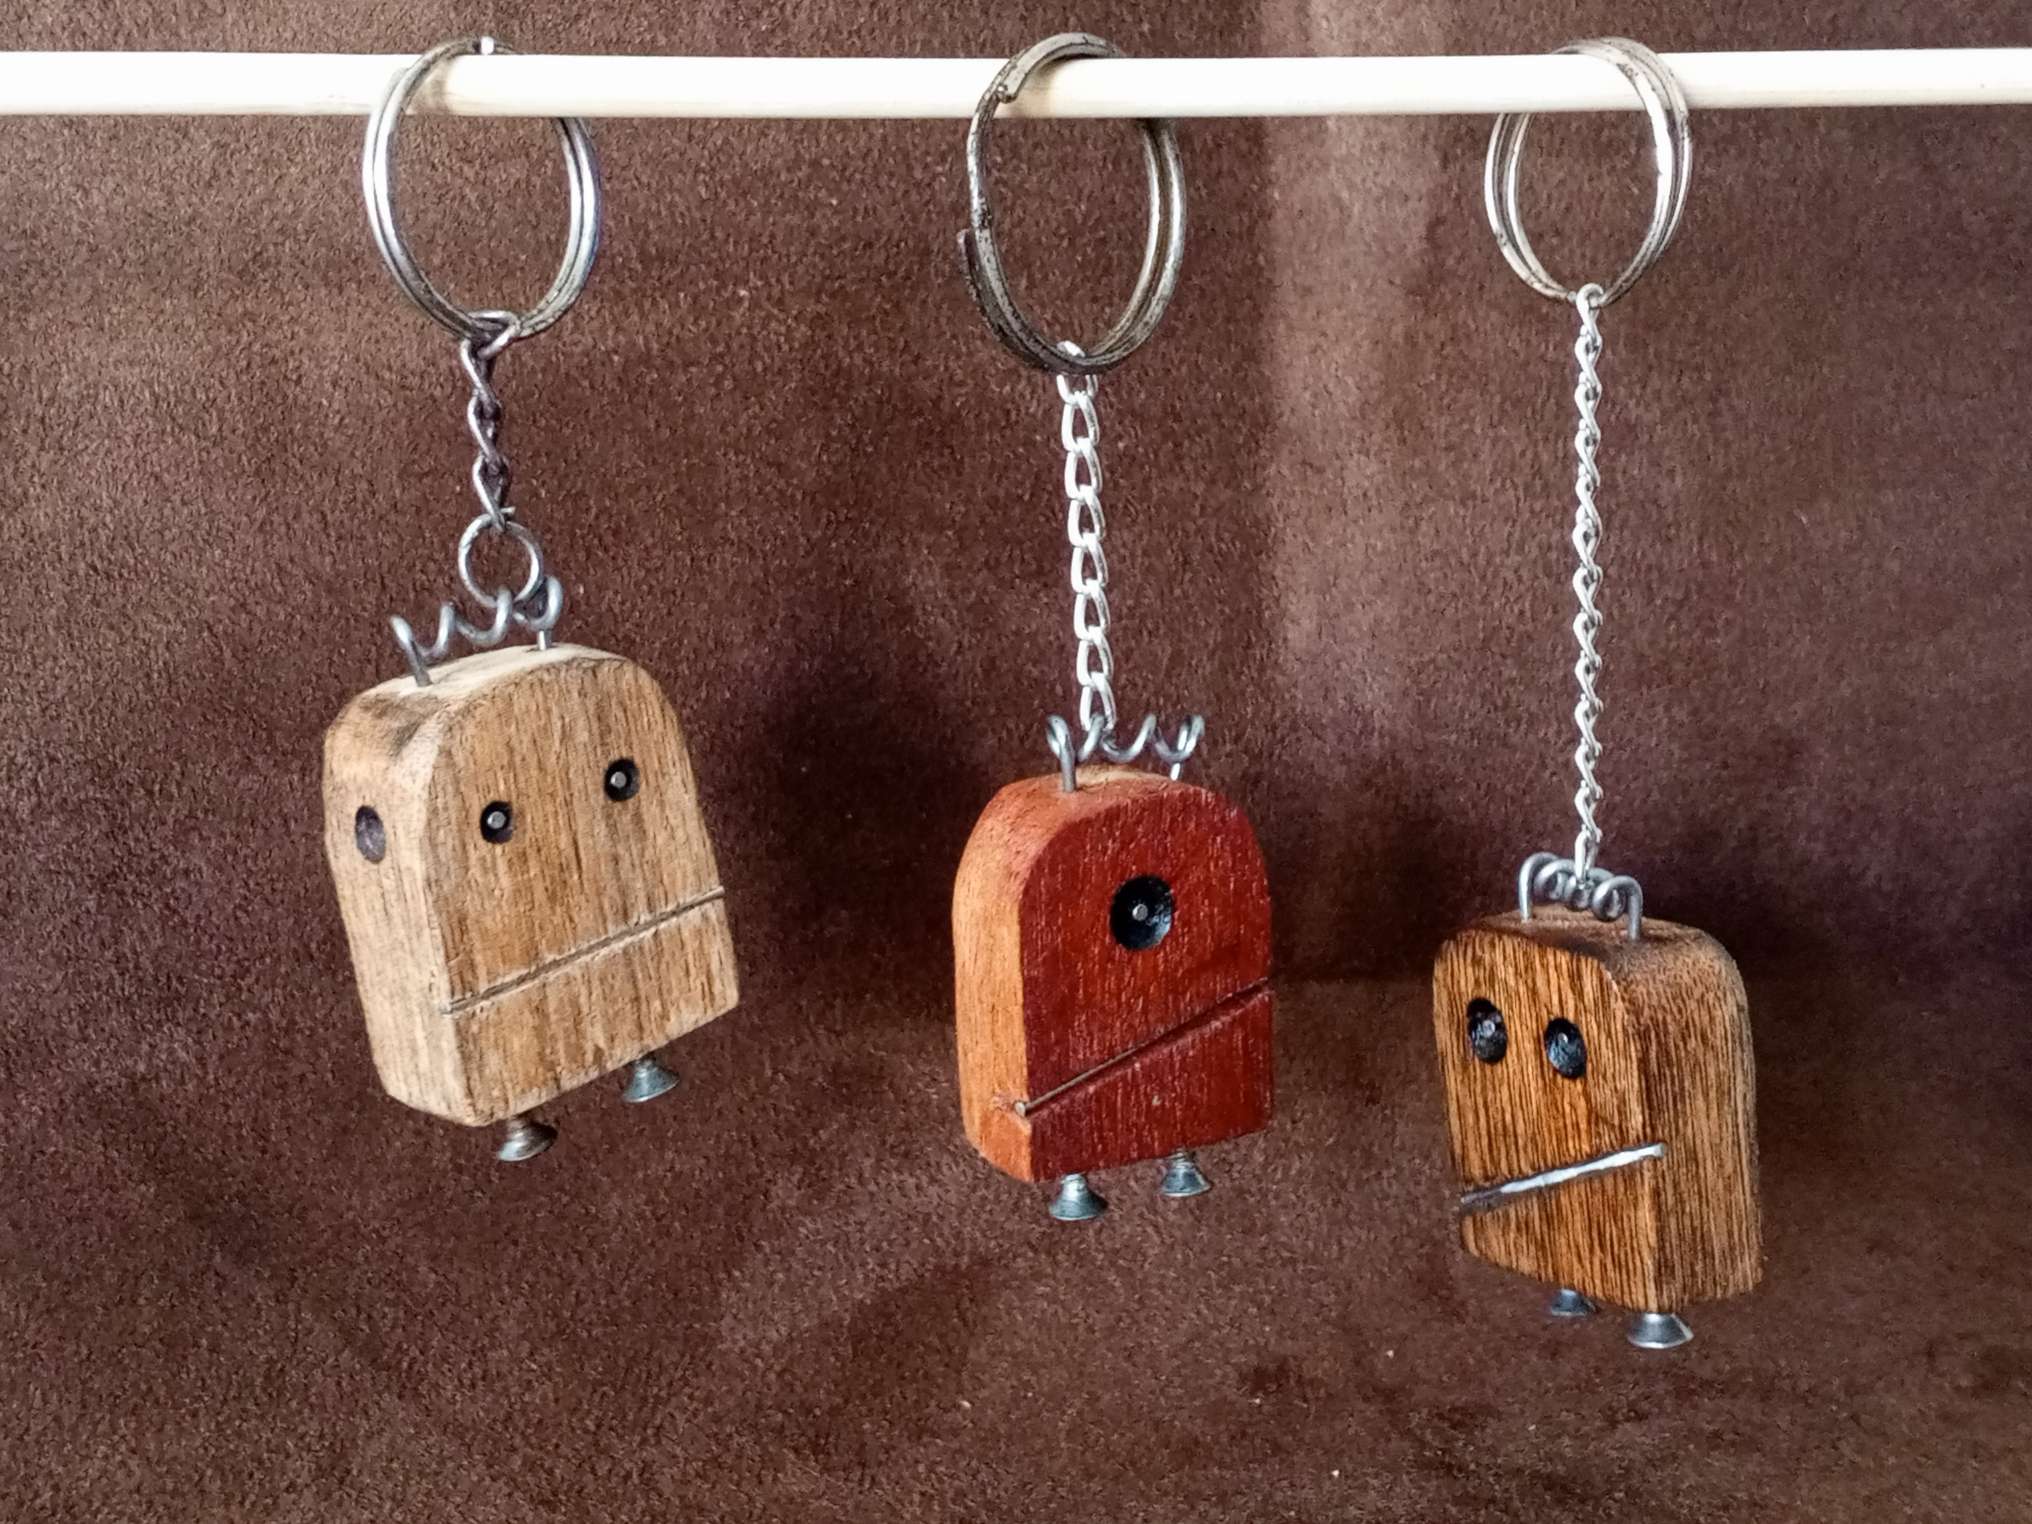
Espero les guste este set de llaveros divertidos, muy fácil de hacer y lo podemos personalizar para regalar en muestra de cariño y afecto.
Nos vemos en una próxima entrada!!
I hope you like this set of fun keychains, very easy to make and we can personalize it to give as a gift as a token of love and affection.
See you in a next post!!
 )
)
Que bonitos estos llaveros! Es increíble cómo combinando esos materiales se obtienen unos personajes tan curiosos☺️ que idea tan creativa✨
Jeje me haces reír, muy amable, gracias por tu comentario, saludos
Está muy divertido este proyecto que presentas hoy @emiliocabrera .
Muchas gracias 😊
Amigo @emiliocabrera esta muy bonito los llaveros, me imagino que son muy buenos, porque las plantas que trabajaste son fuerte. Bien emprendimiento.
Si jeje bastante duraderos y ecológicos. Muchas gracias por su aprecio a este post