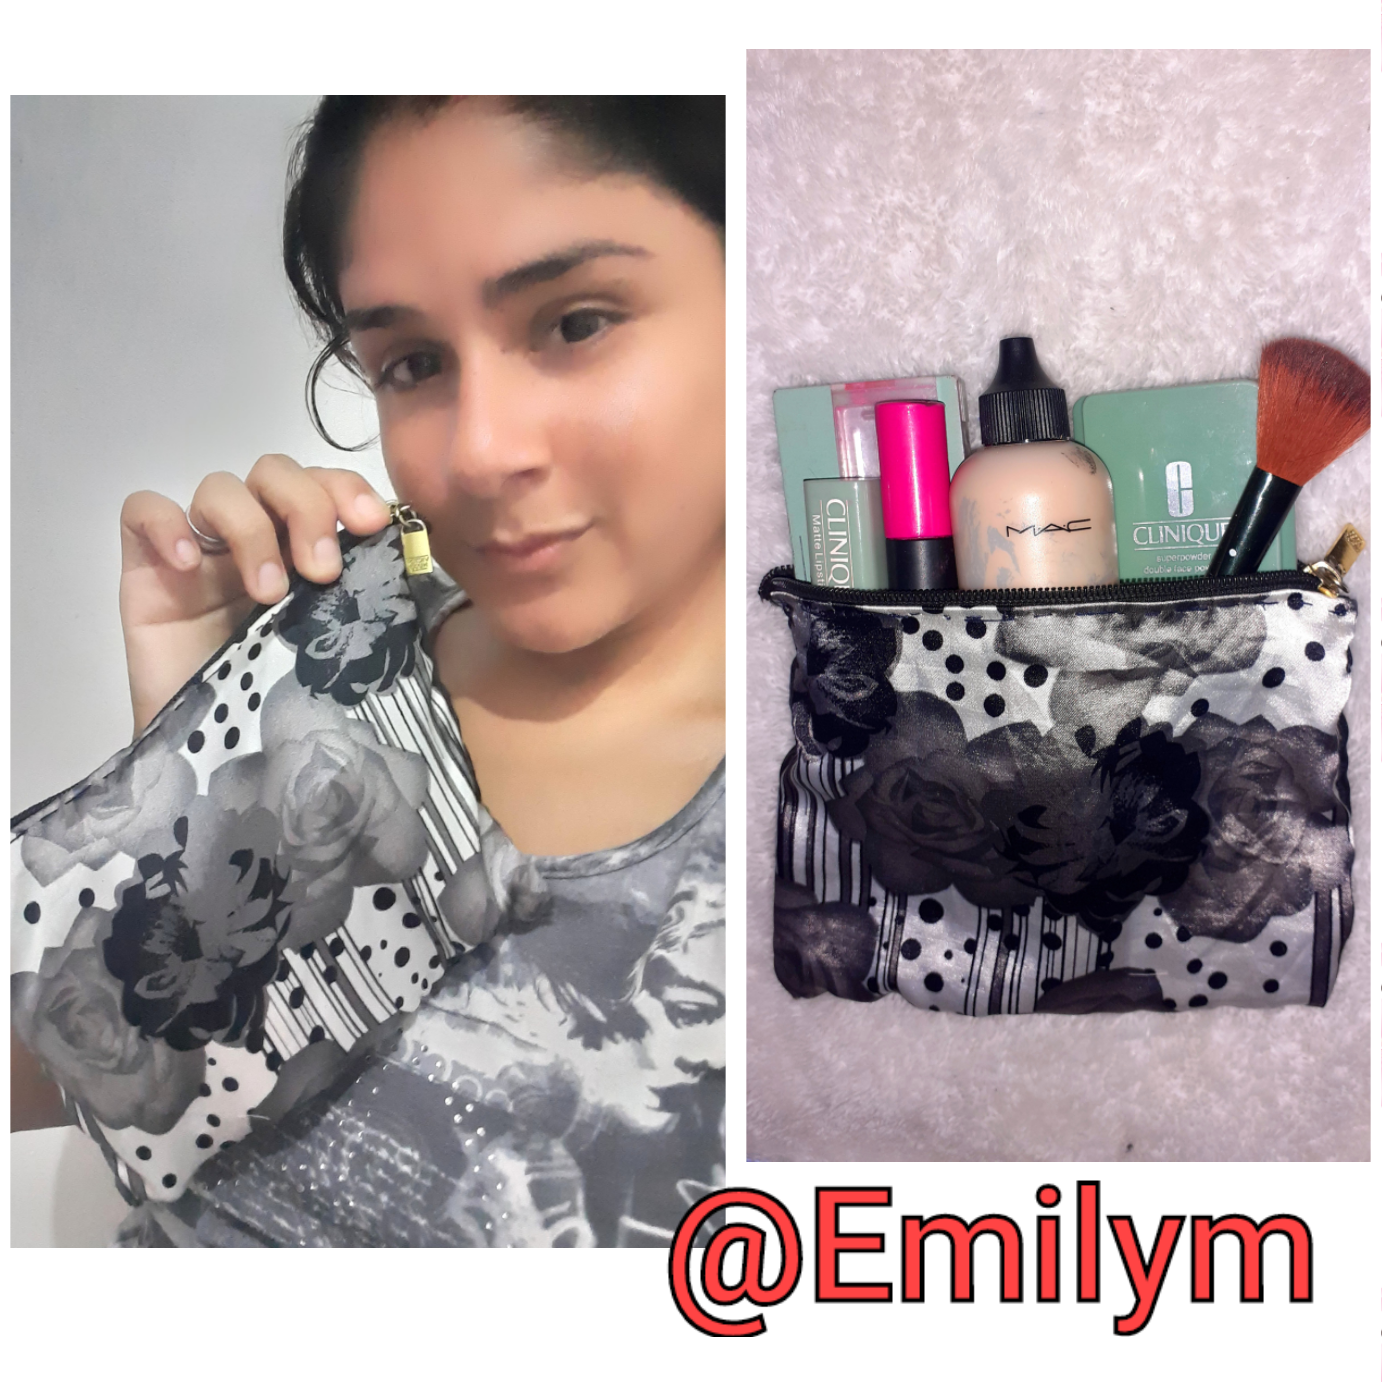
Hello 👋 my dear friends of this beautiful craft community of @hivediy, I hope you are having a great time, today I want to share my participation in the contest proposed by our friend @equipodelta in this wonderful community, in which; They invite us to make an ideal "Cosmetic Holder" to water this Christmas season, encourage yourself to participate, here is the step by step, I hope you get motivated ❤. I am pleased to invite my partner @brittandjosie
Hola 👋 mis queridos amigos de esta hermosa comunidad de manualidad de @hivediy, espero la estén pasando genial, el dia de hoy les quiero compartir mi participación al concurso propuesto por nuestra amiga @equipodelta en esta maravillosa comunidad, en la cual; nos invitan a realizar un "Porta cosmeticos" ideal para regar en esta época navideña, anímate a participar, aquí les dejo el paso a paso, espero que te motives ❤. Me complace invitar a mi compañera @brittandjosie
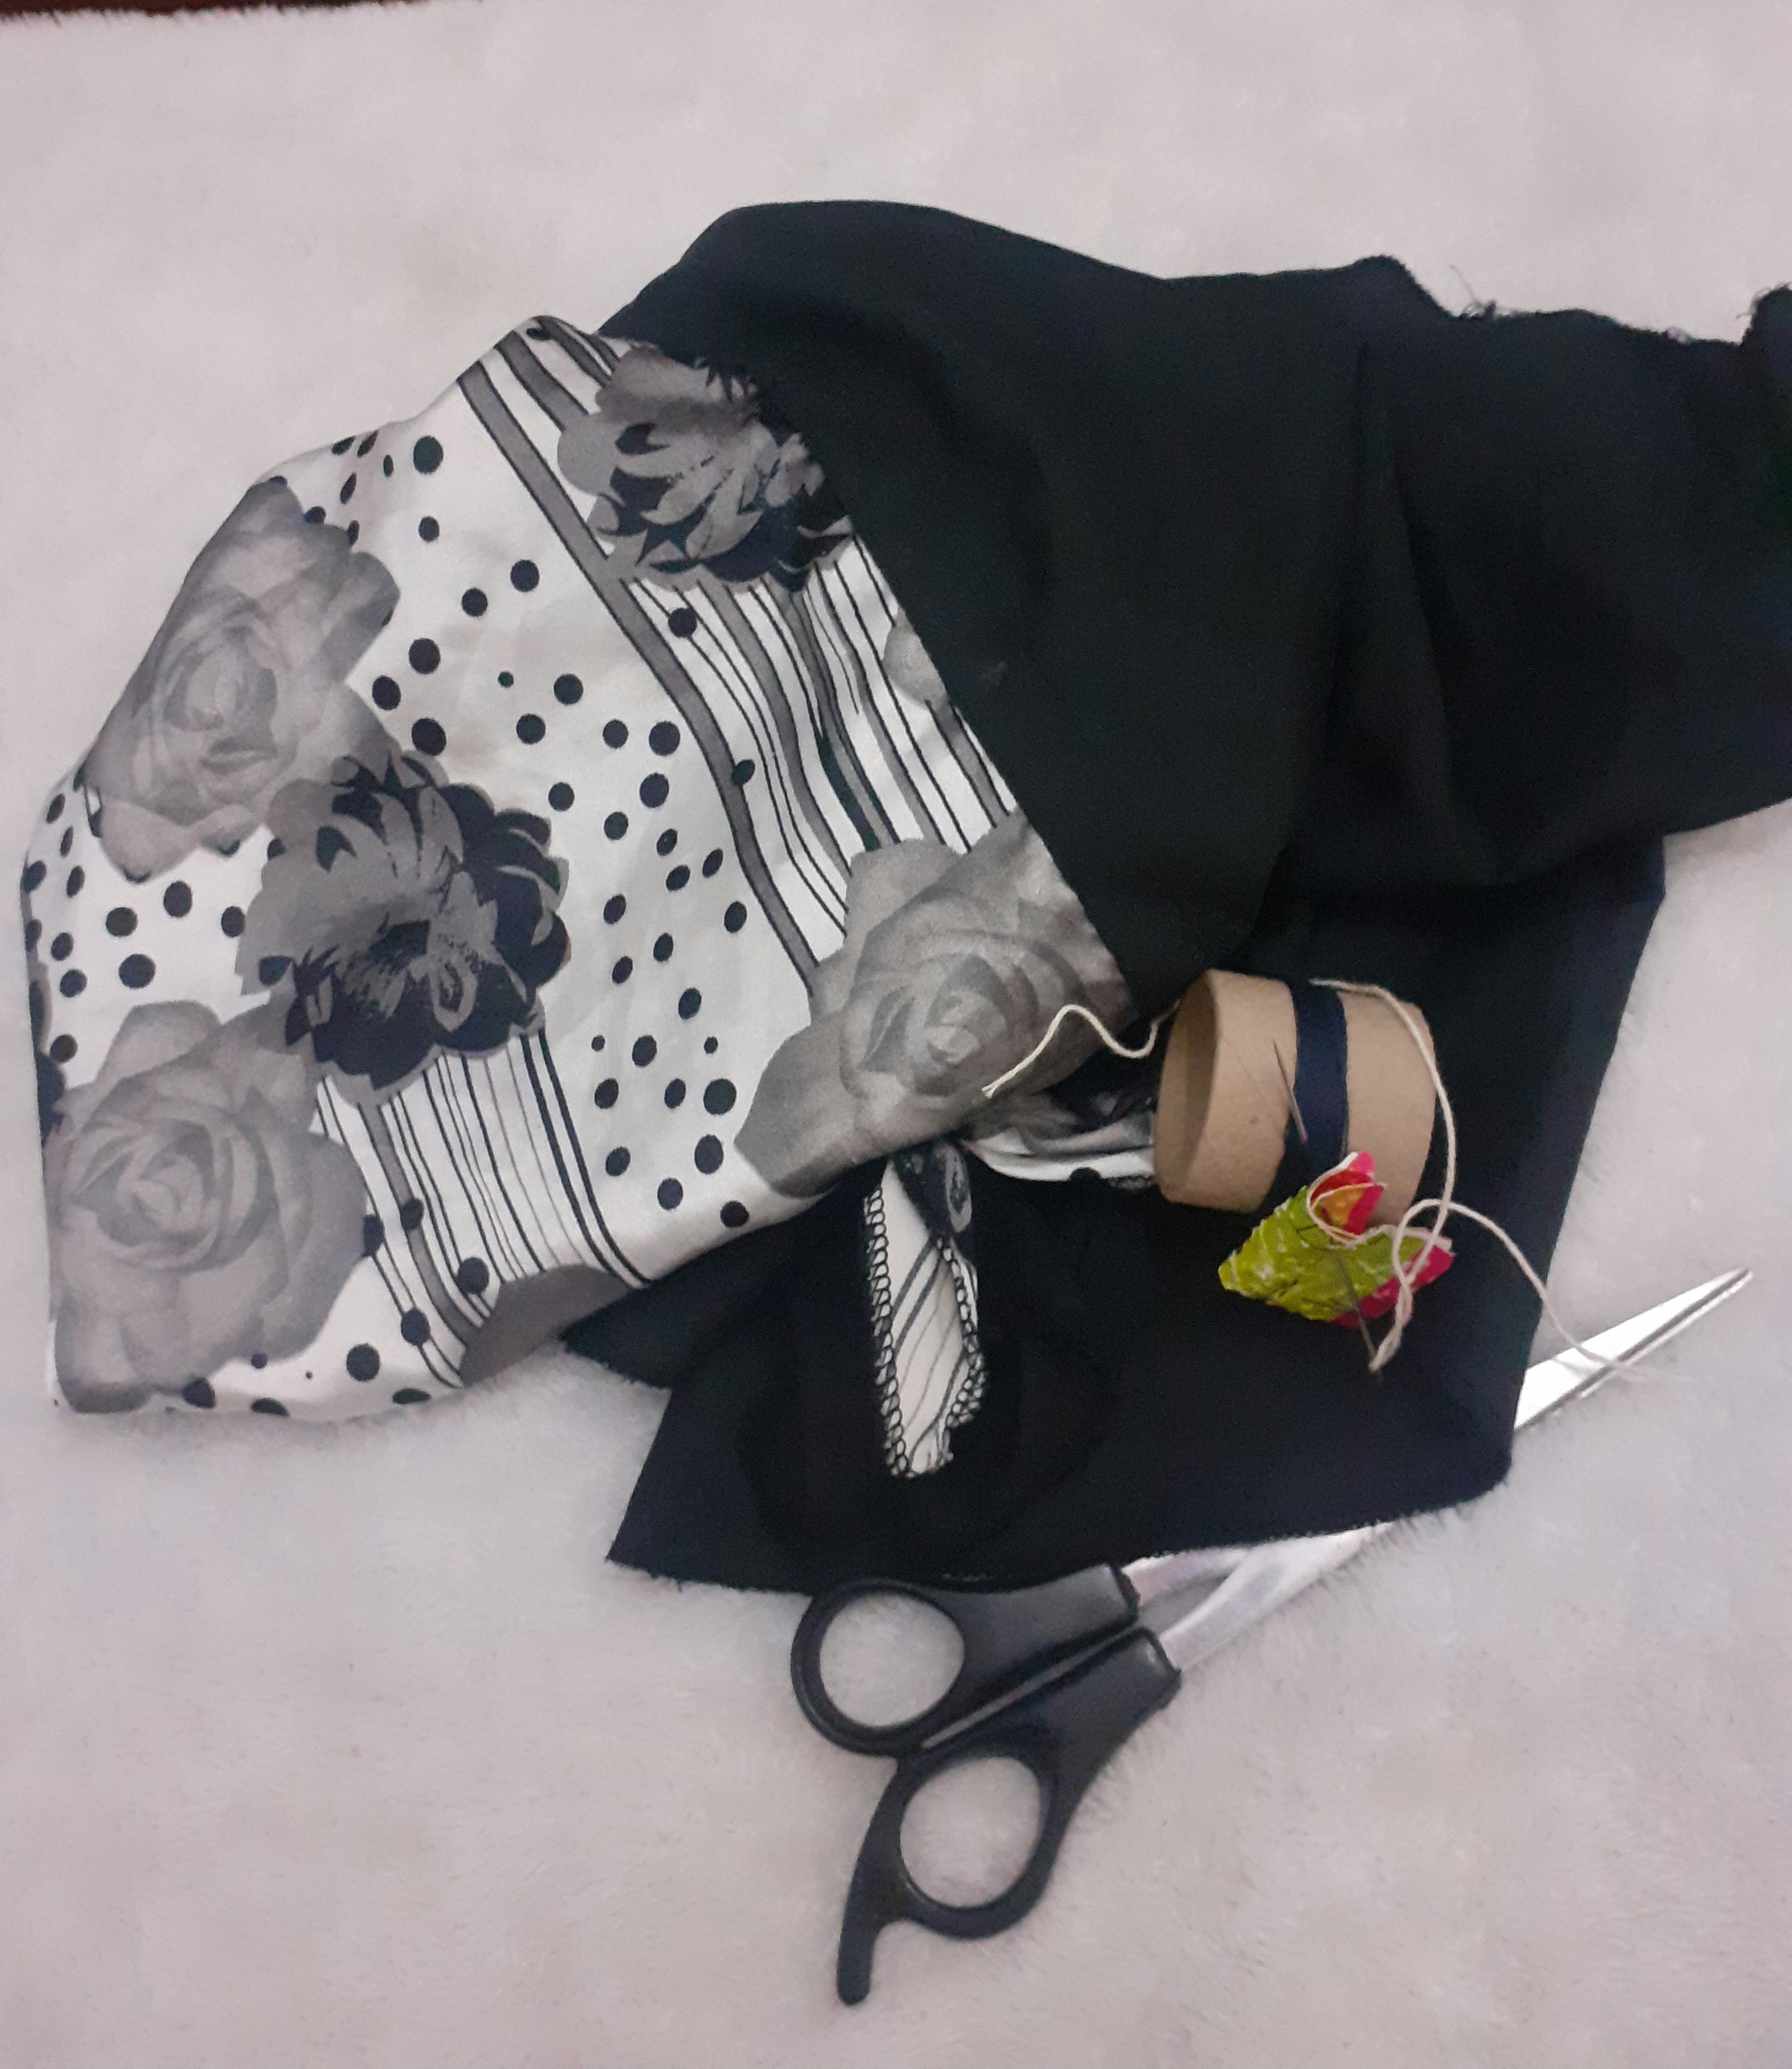
materials.
▪︎black cloth.
▪︎black patterned fabric.
▪︎scissors.
▪︎black thread and needle.
▪︎black lock.
materiales.
▪︎tela negra.
▪︎tela estampada negra.
▪︎tijera.
▪︎hilo negro y aguja.
▪︎cierre negro.
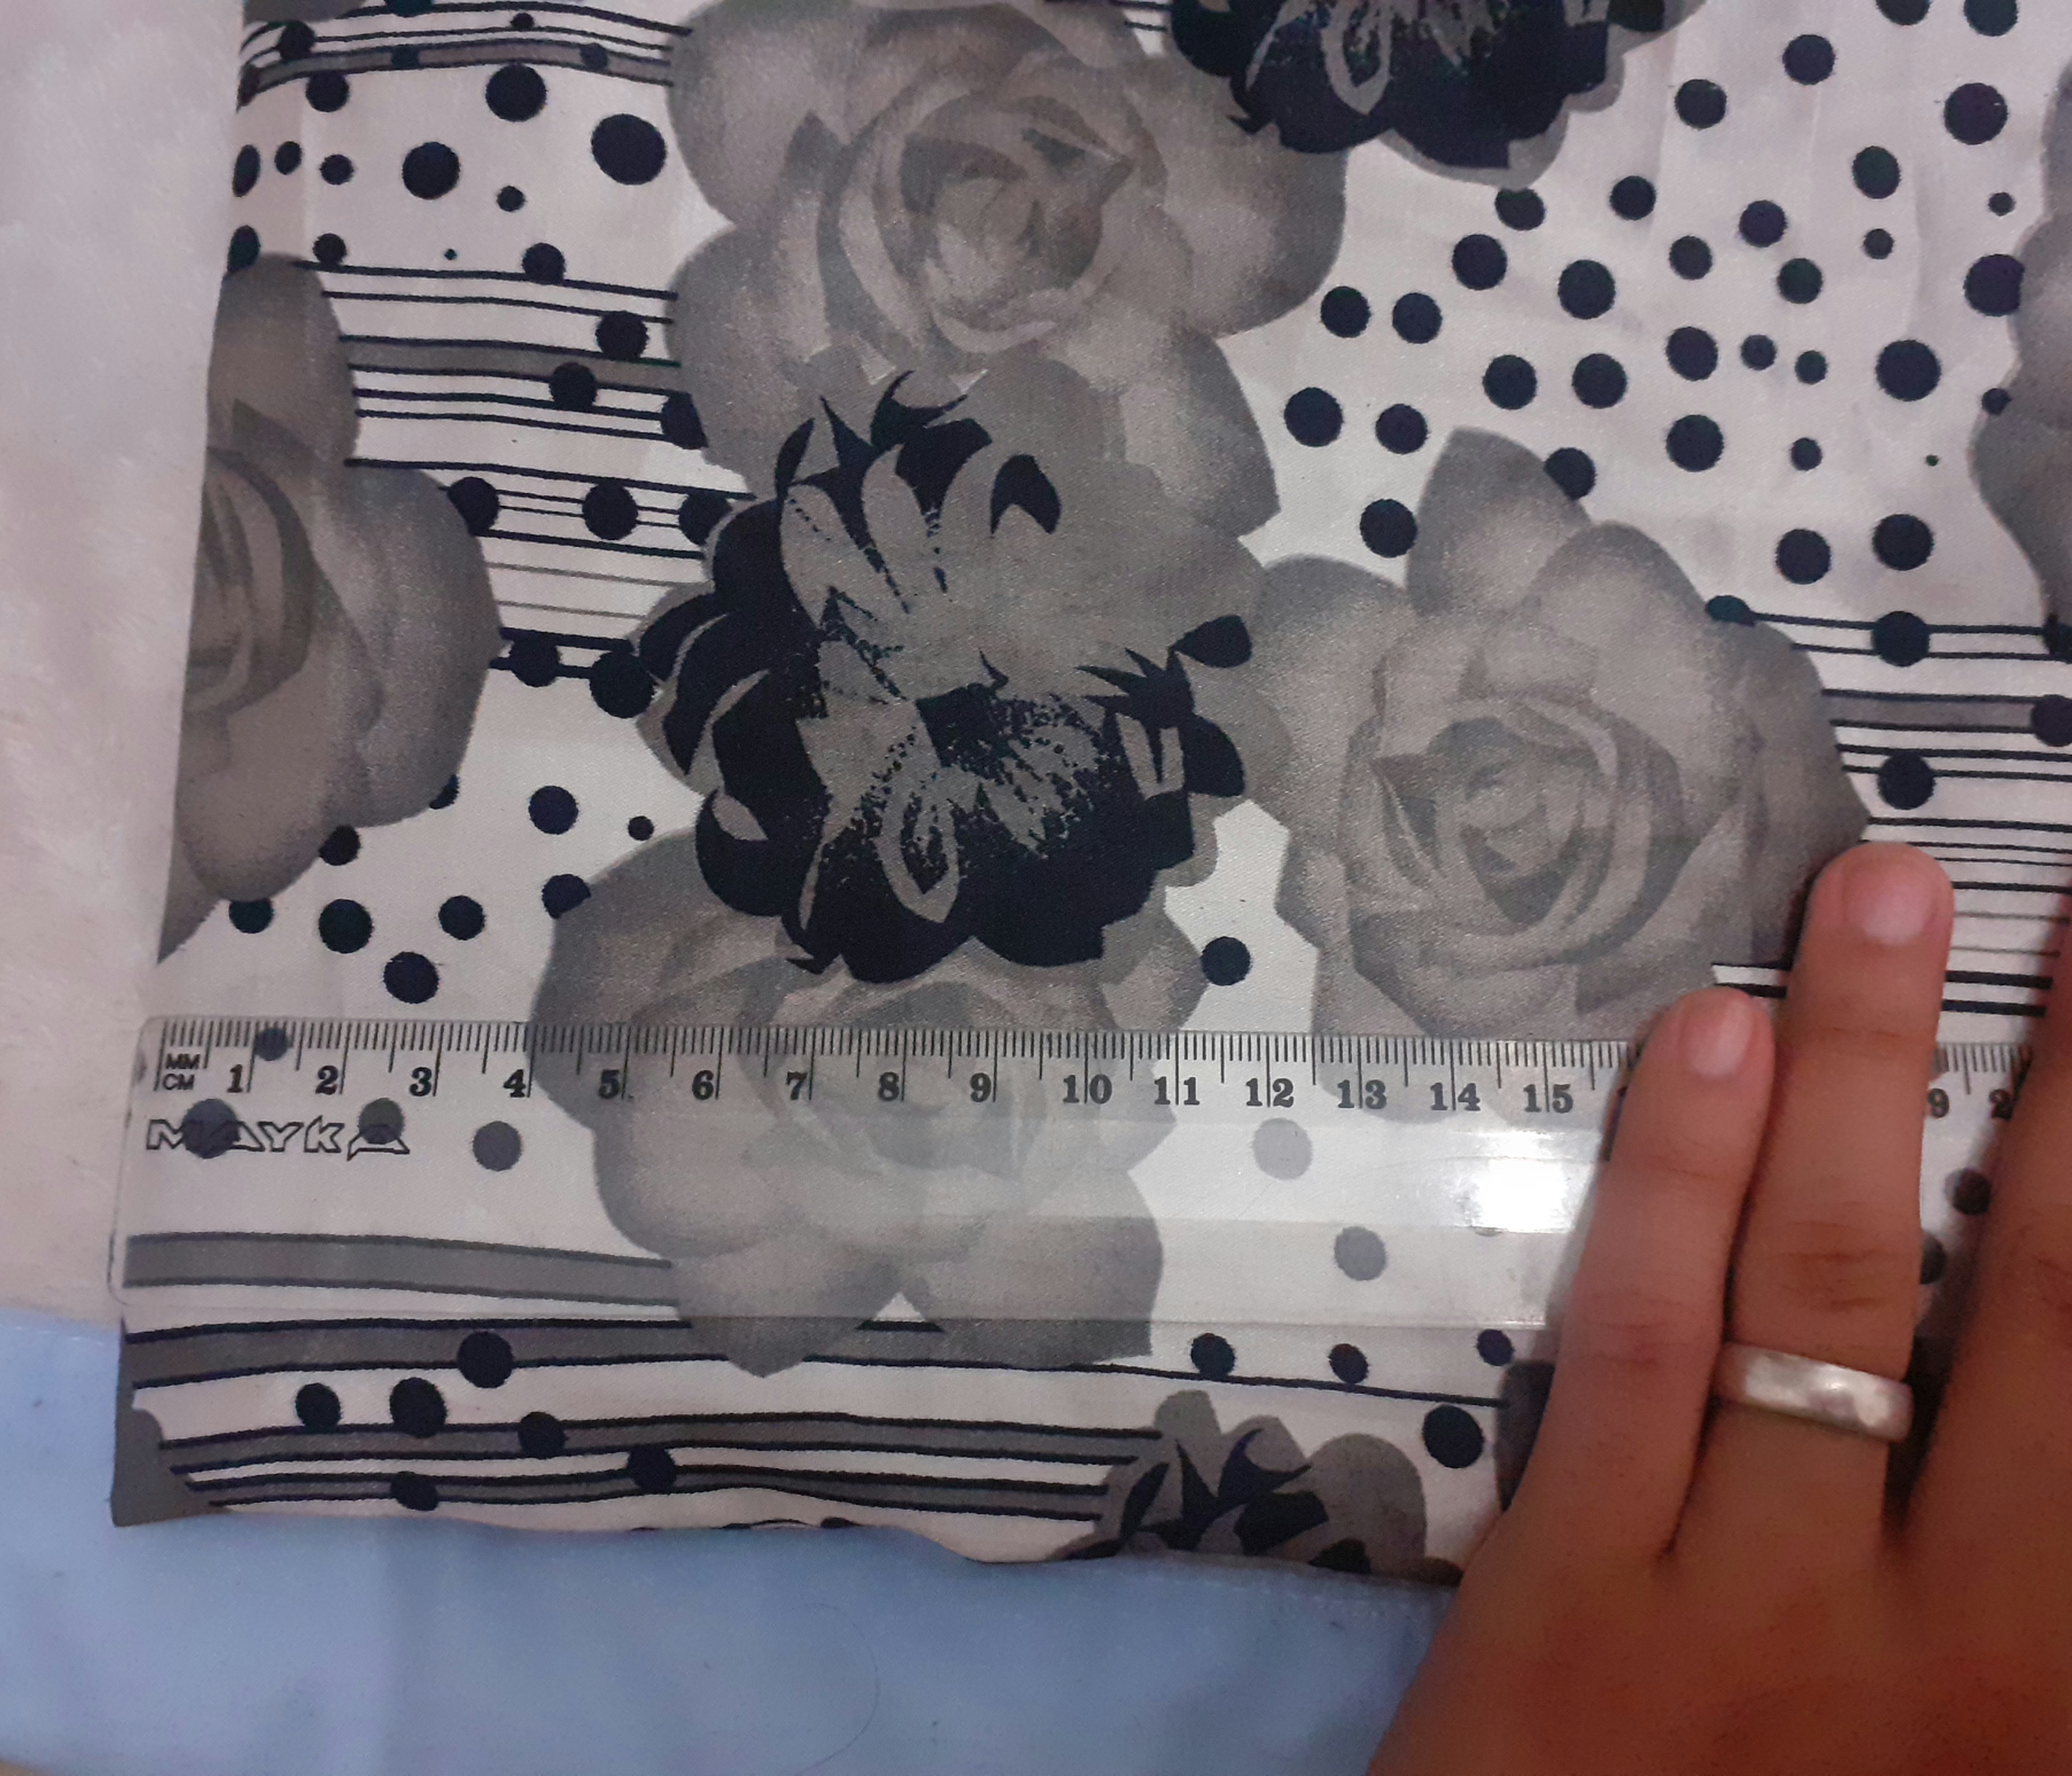
Step 1.
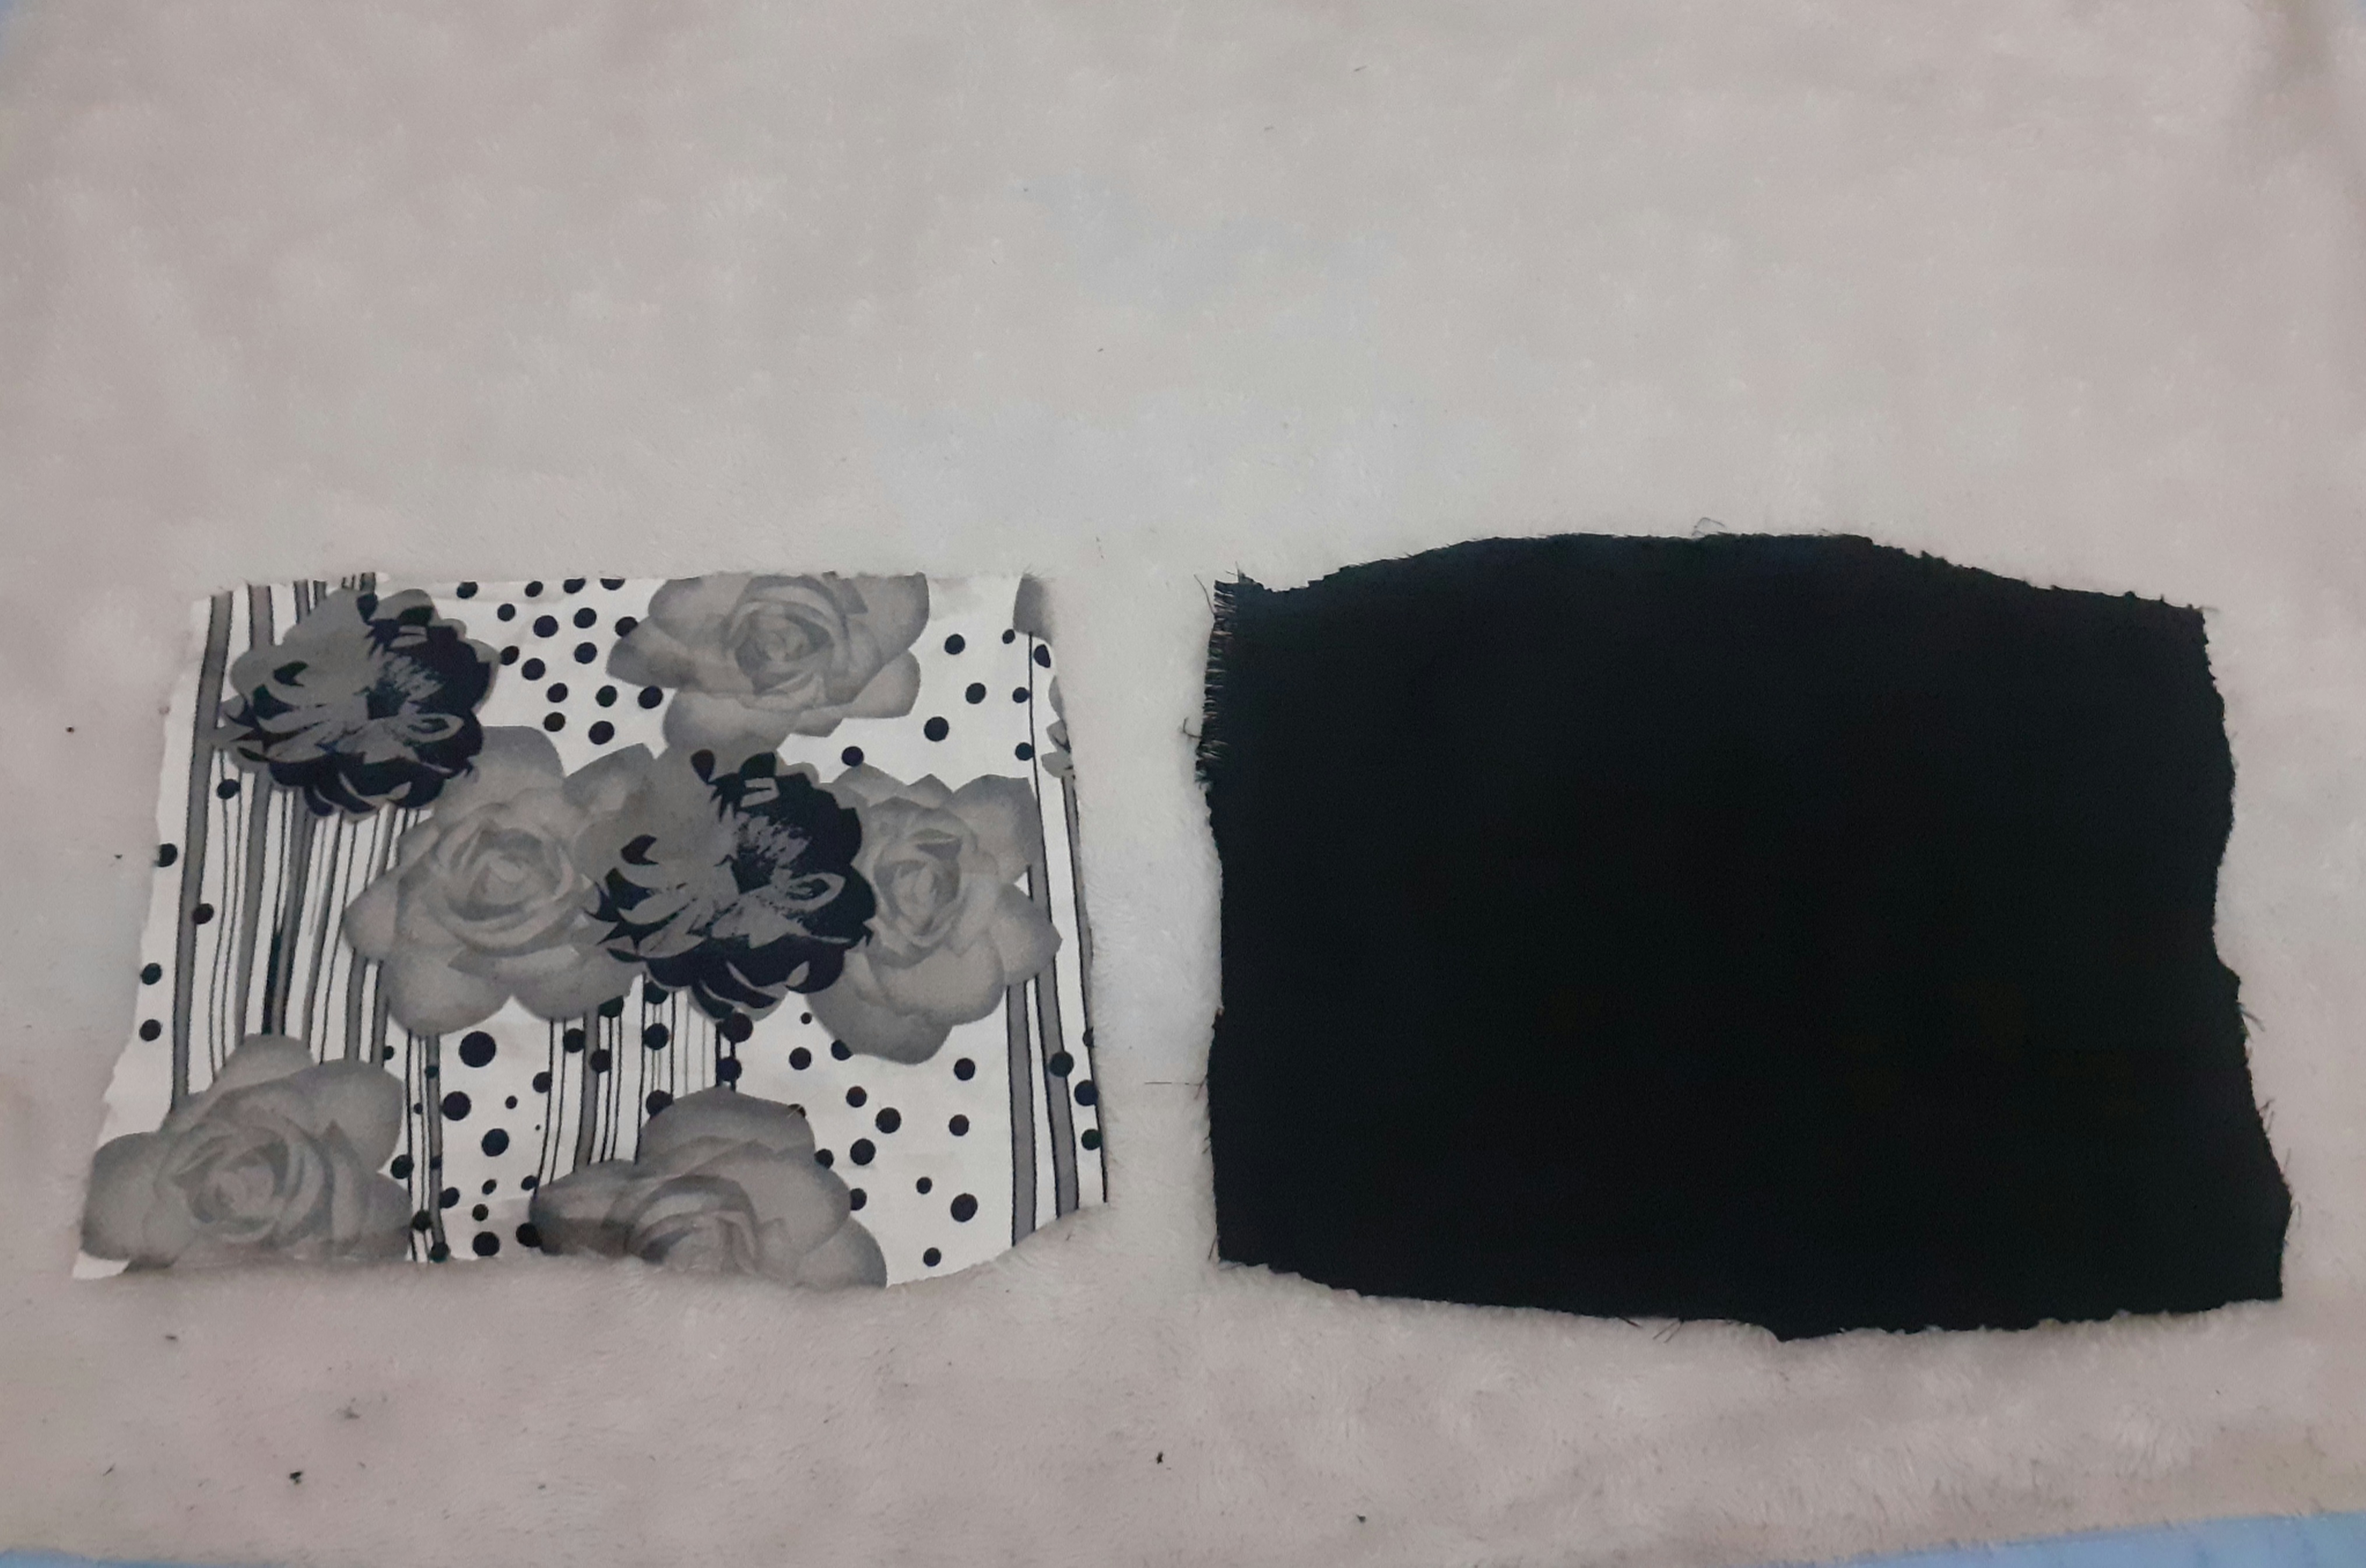
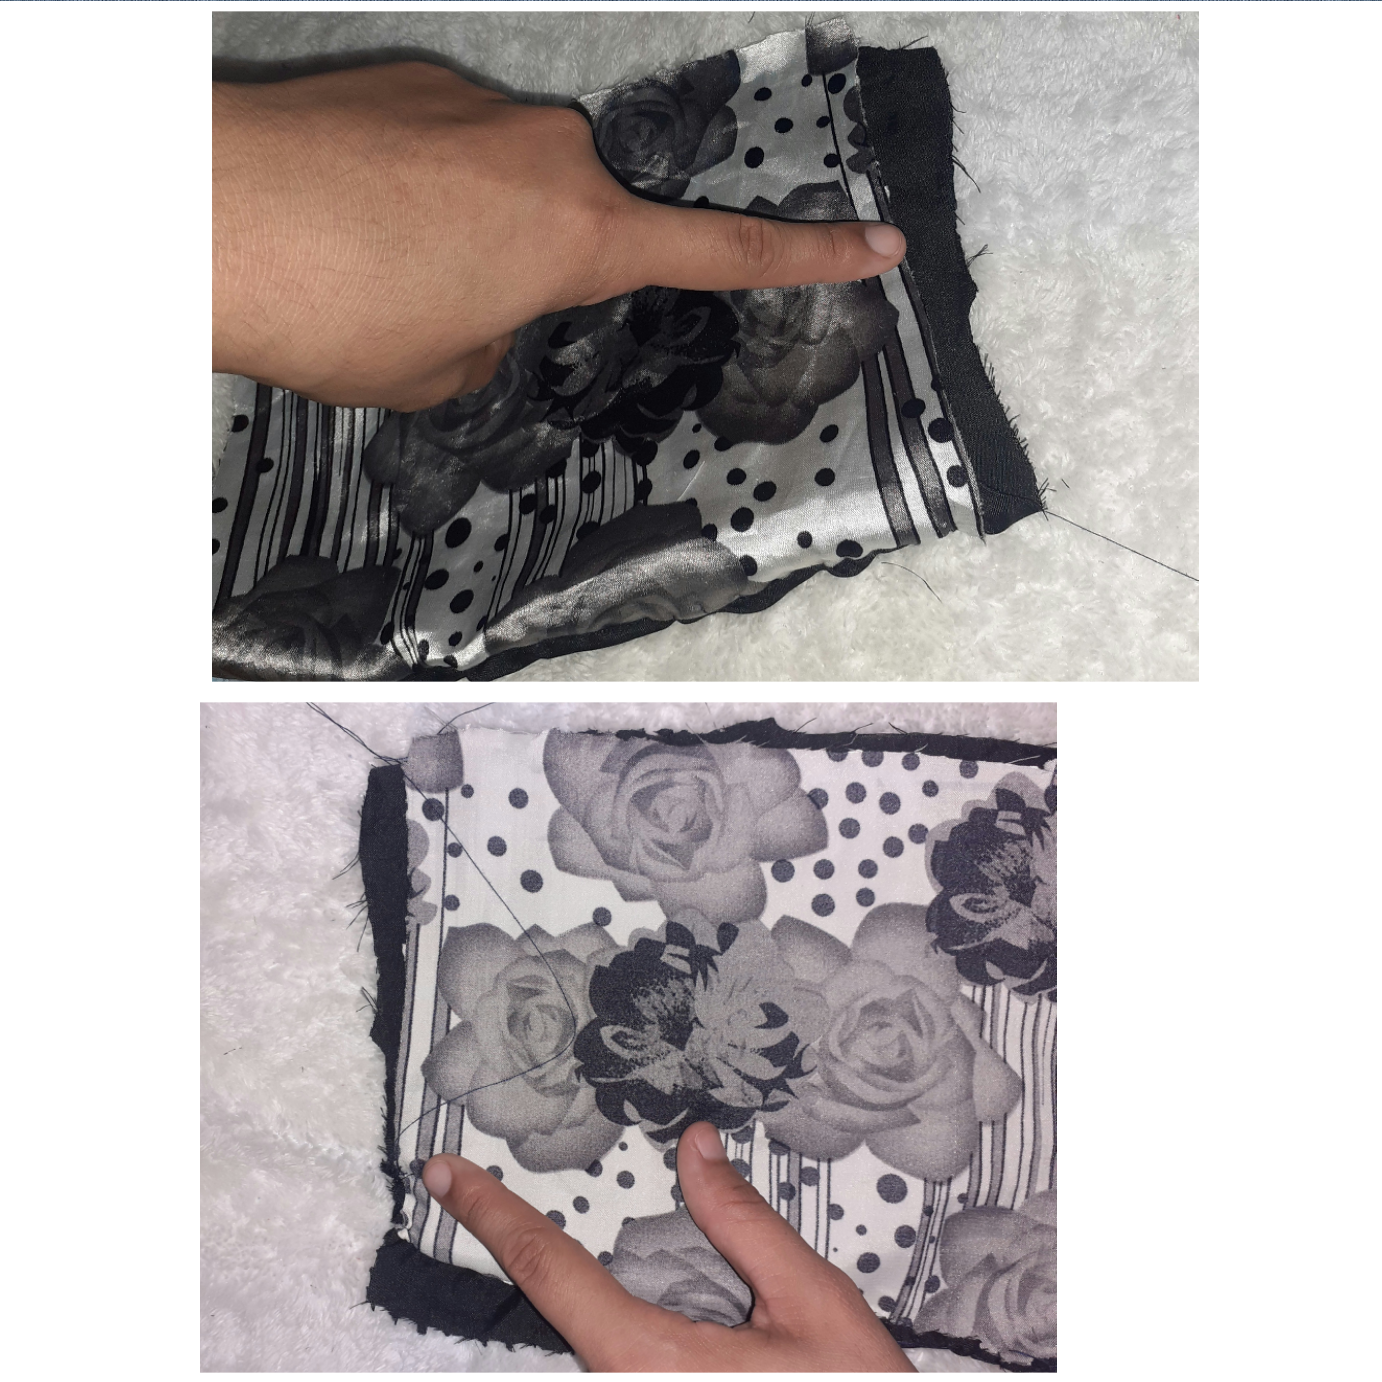
We take the patterned fabric and chop the black one into a rectangle, whose measurement was 15cm wide and 10cm long, for both fabrics. We stay this way.
Paso 1.
Tomamos la tela estampada y la negra la picamos formando un rectángulo, la cual su medida fueron, 15cm de ancho y 10cm de largo, para ambas telas. Nos quedo de esta manera.
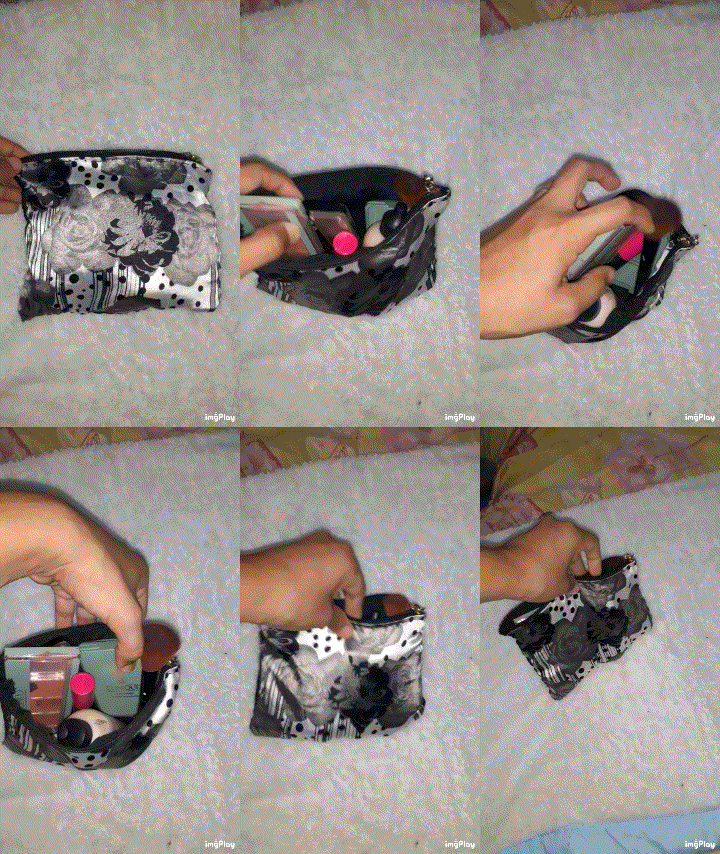
Step 2
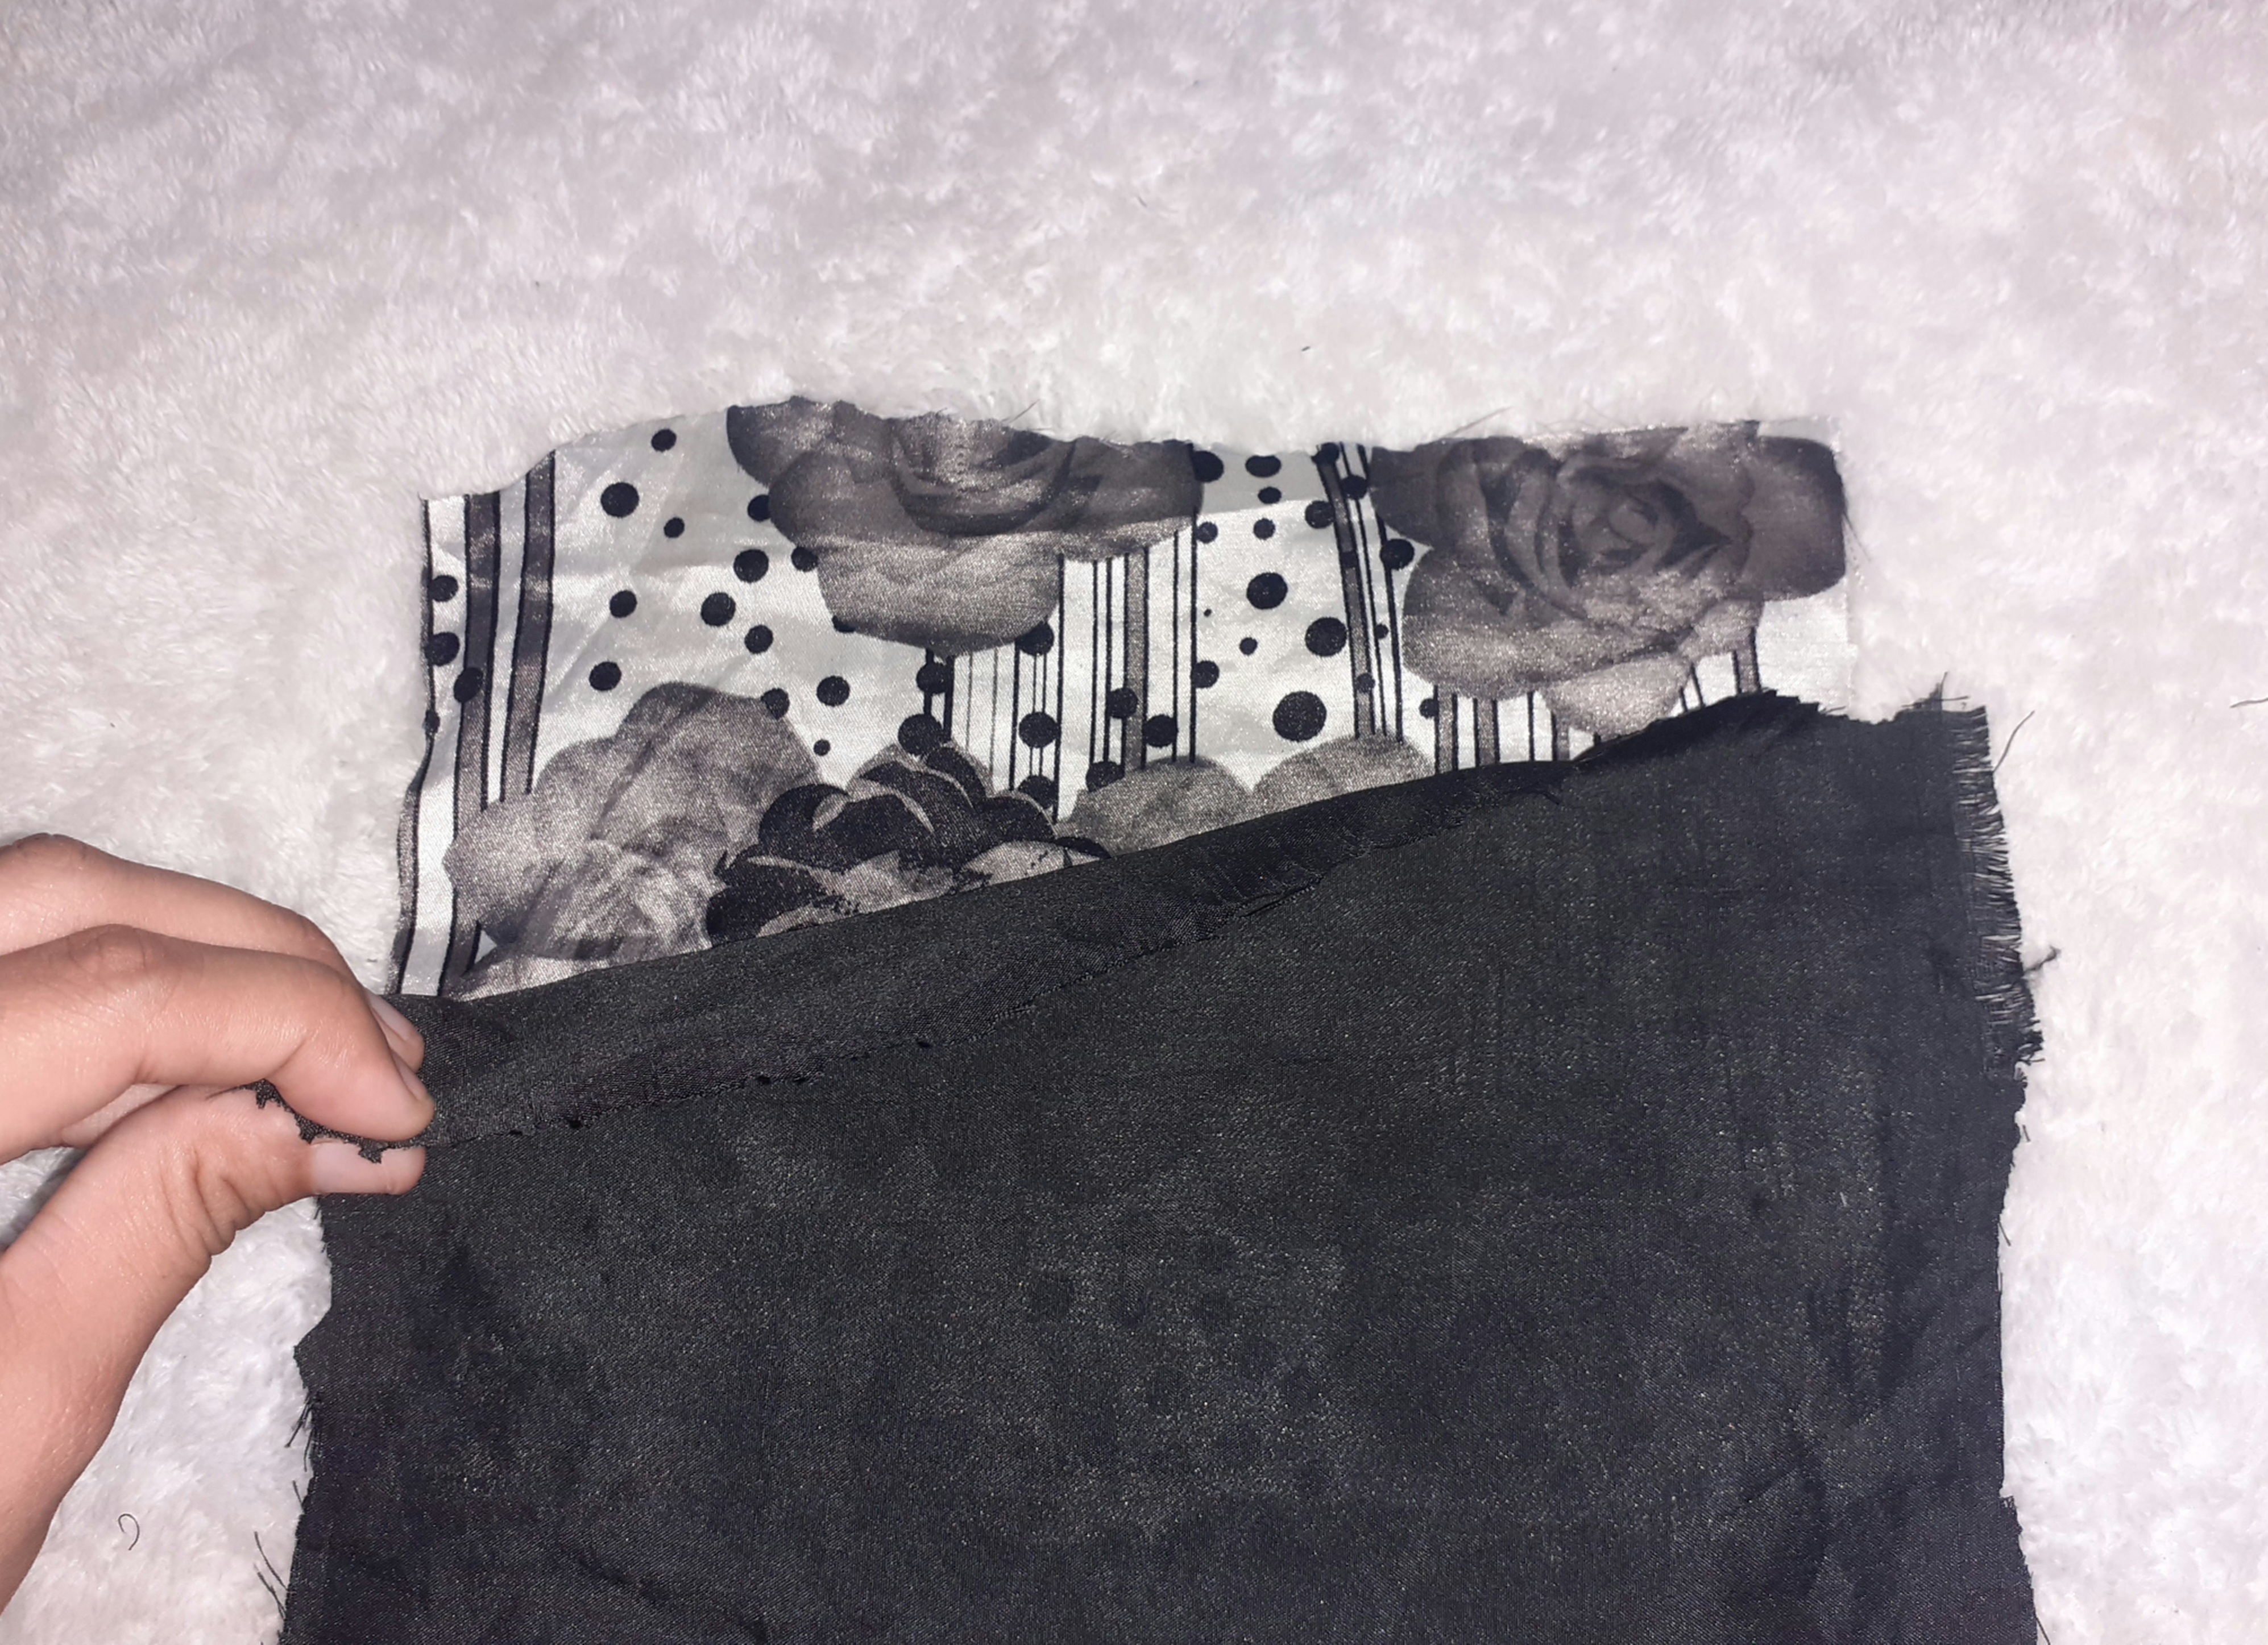
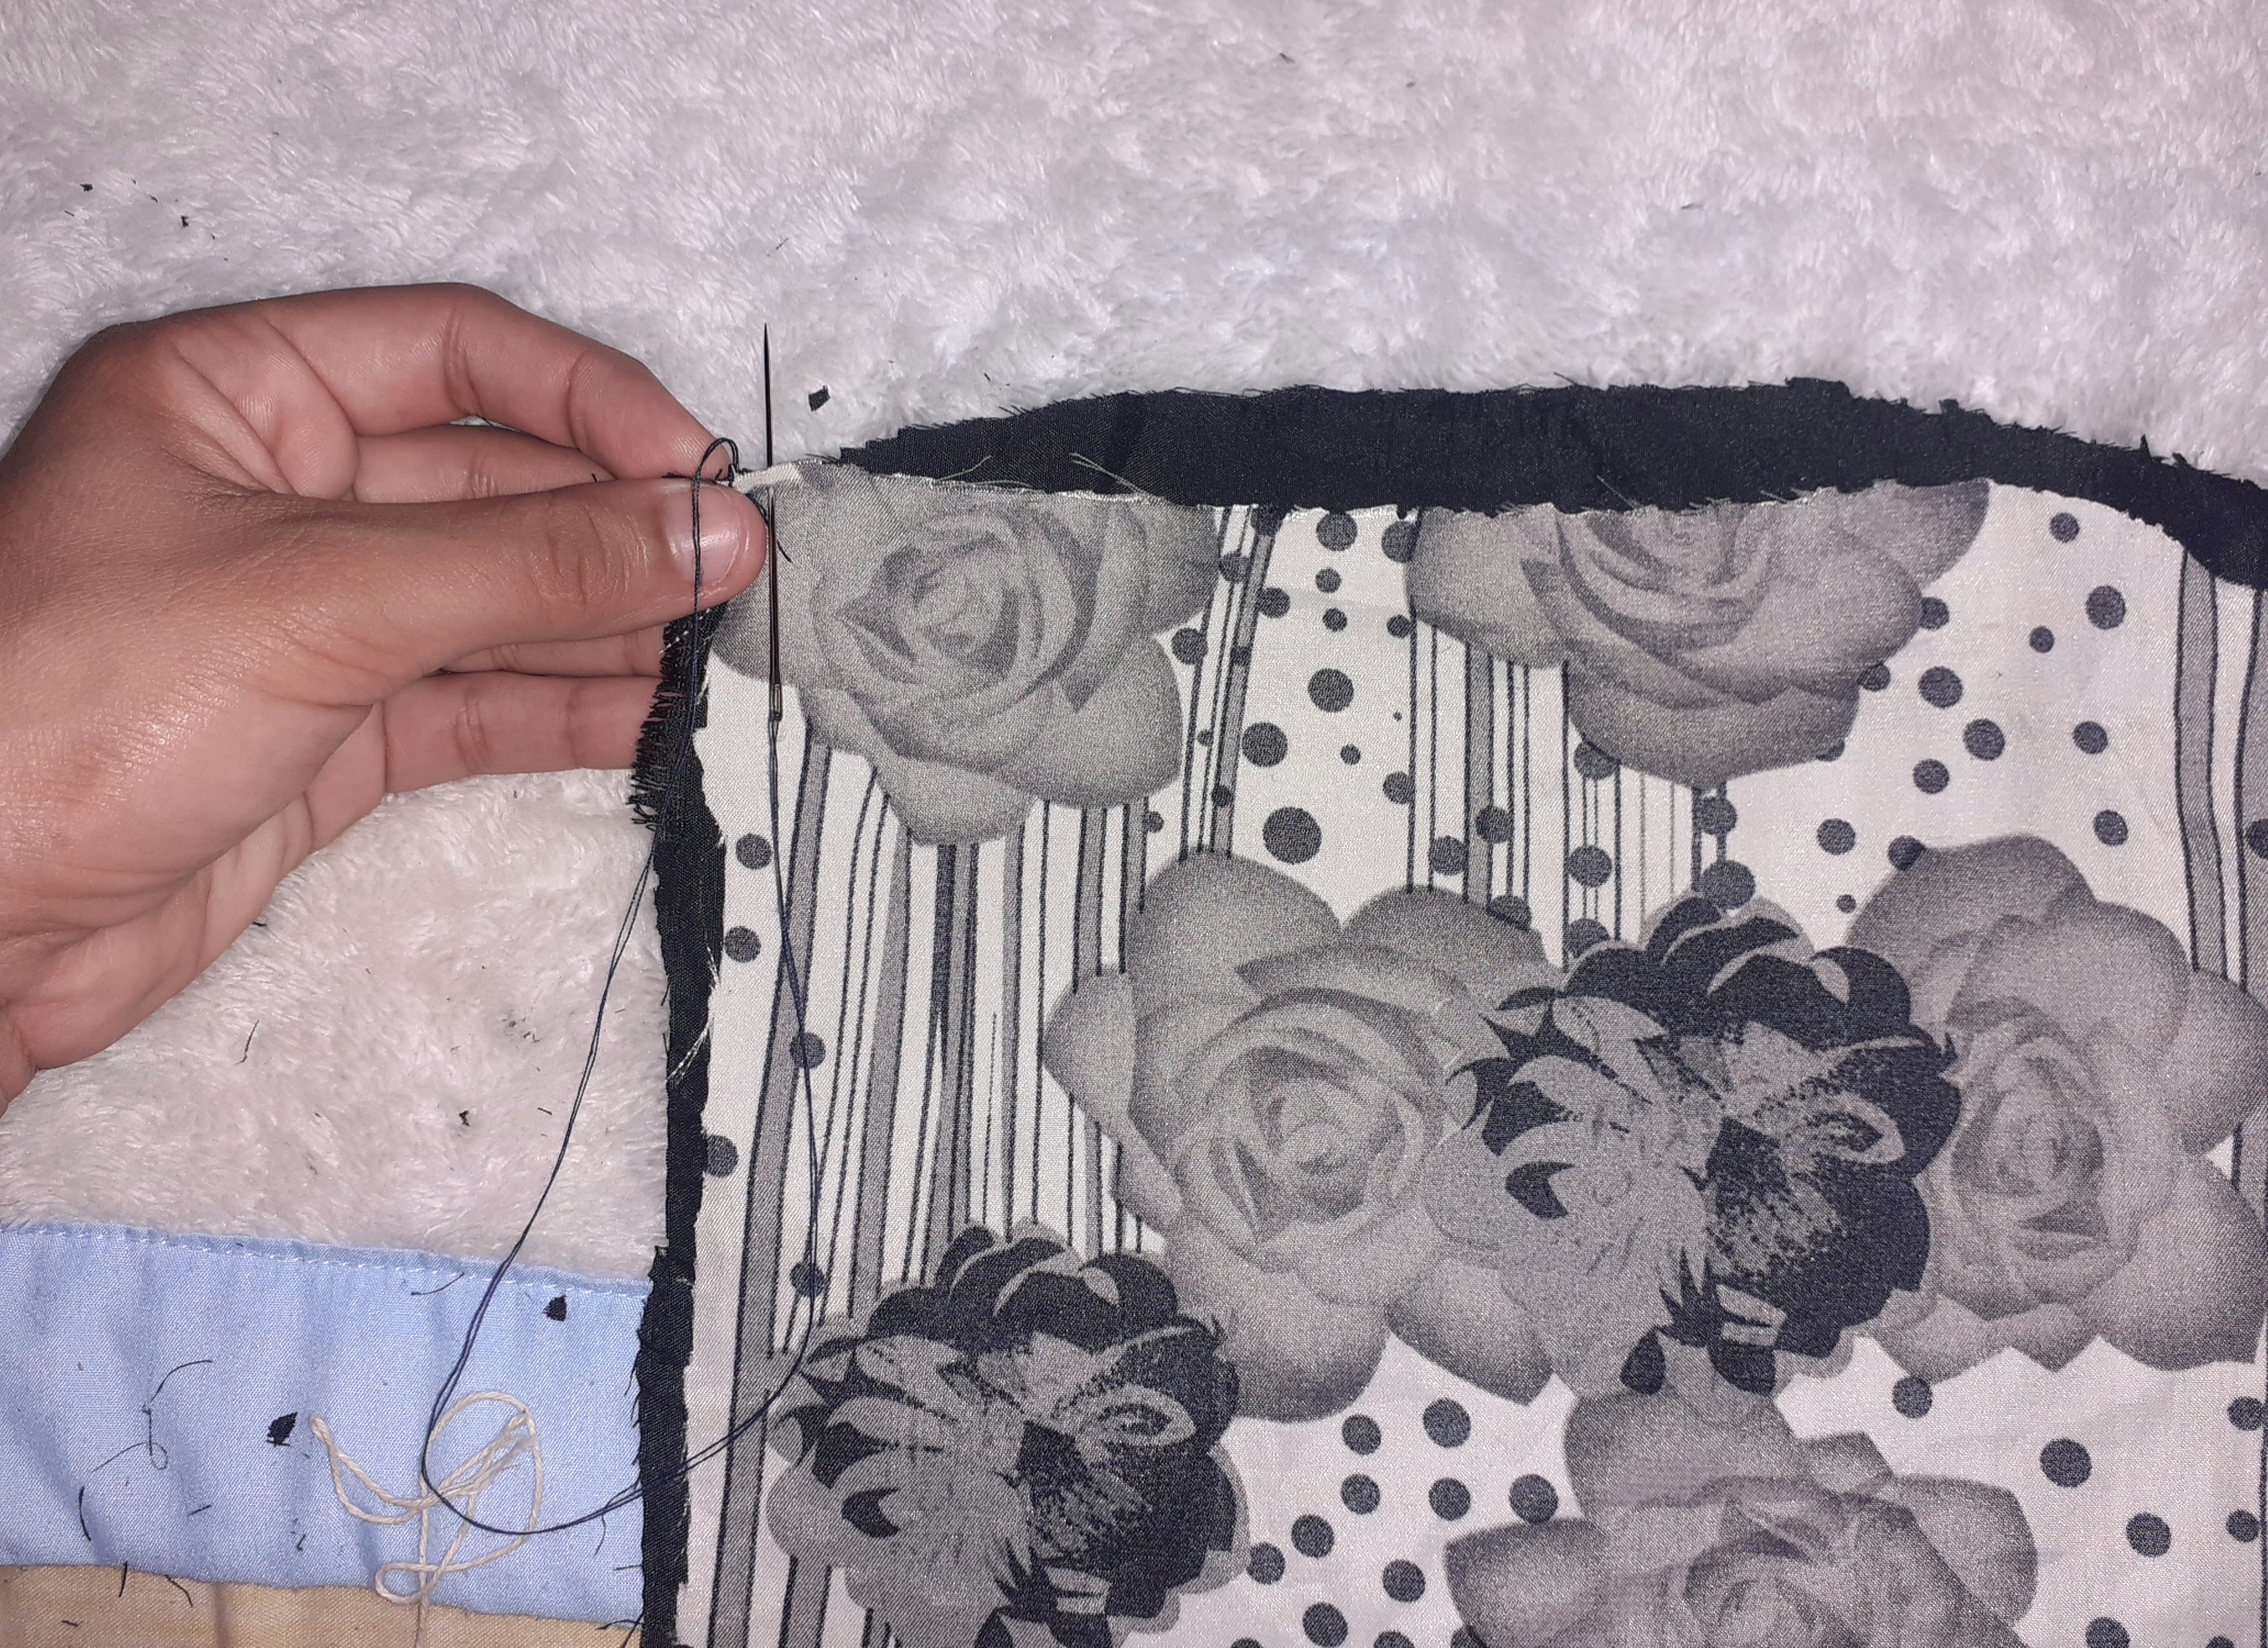
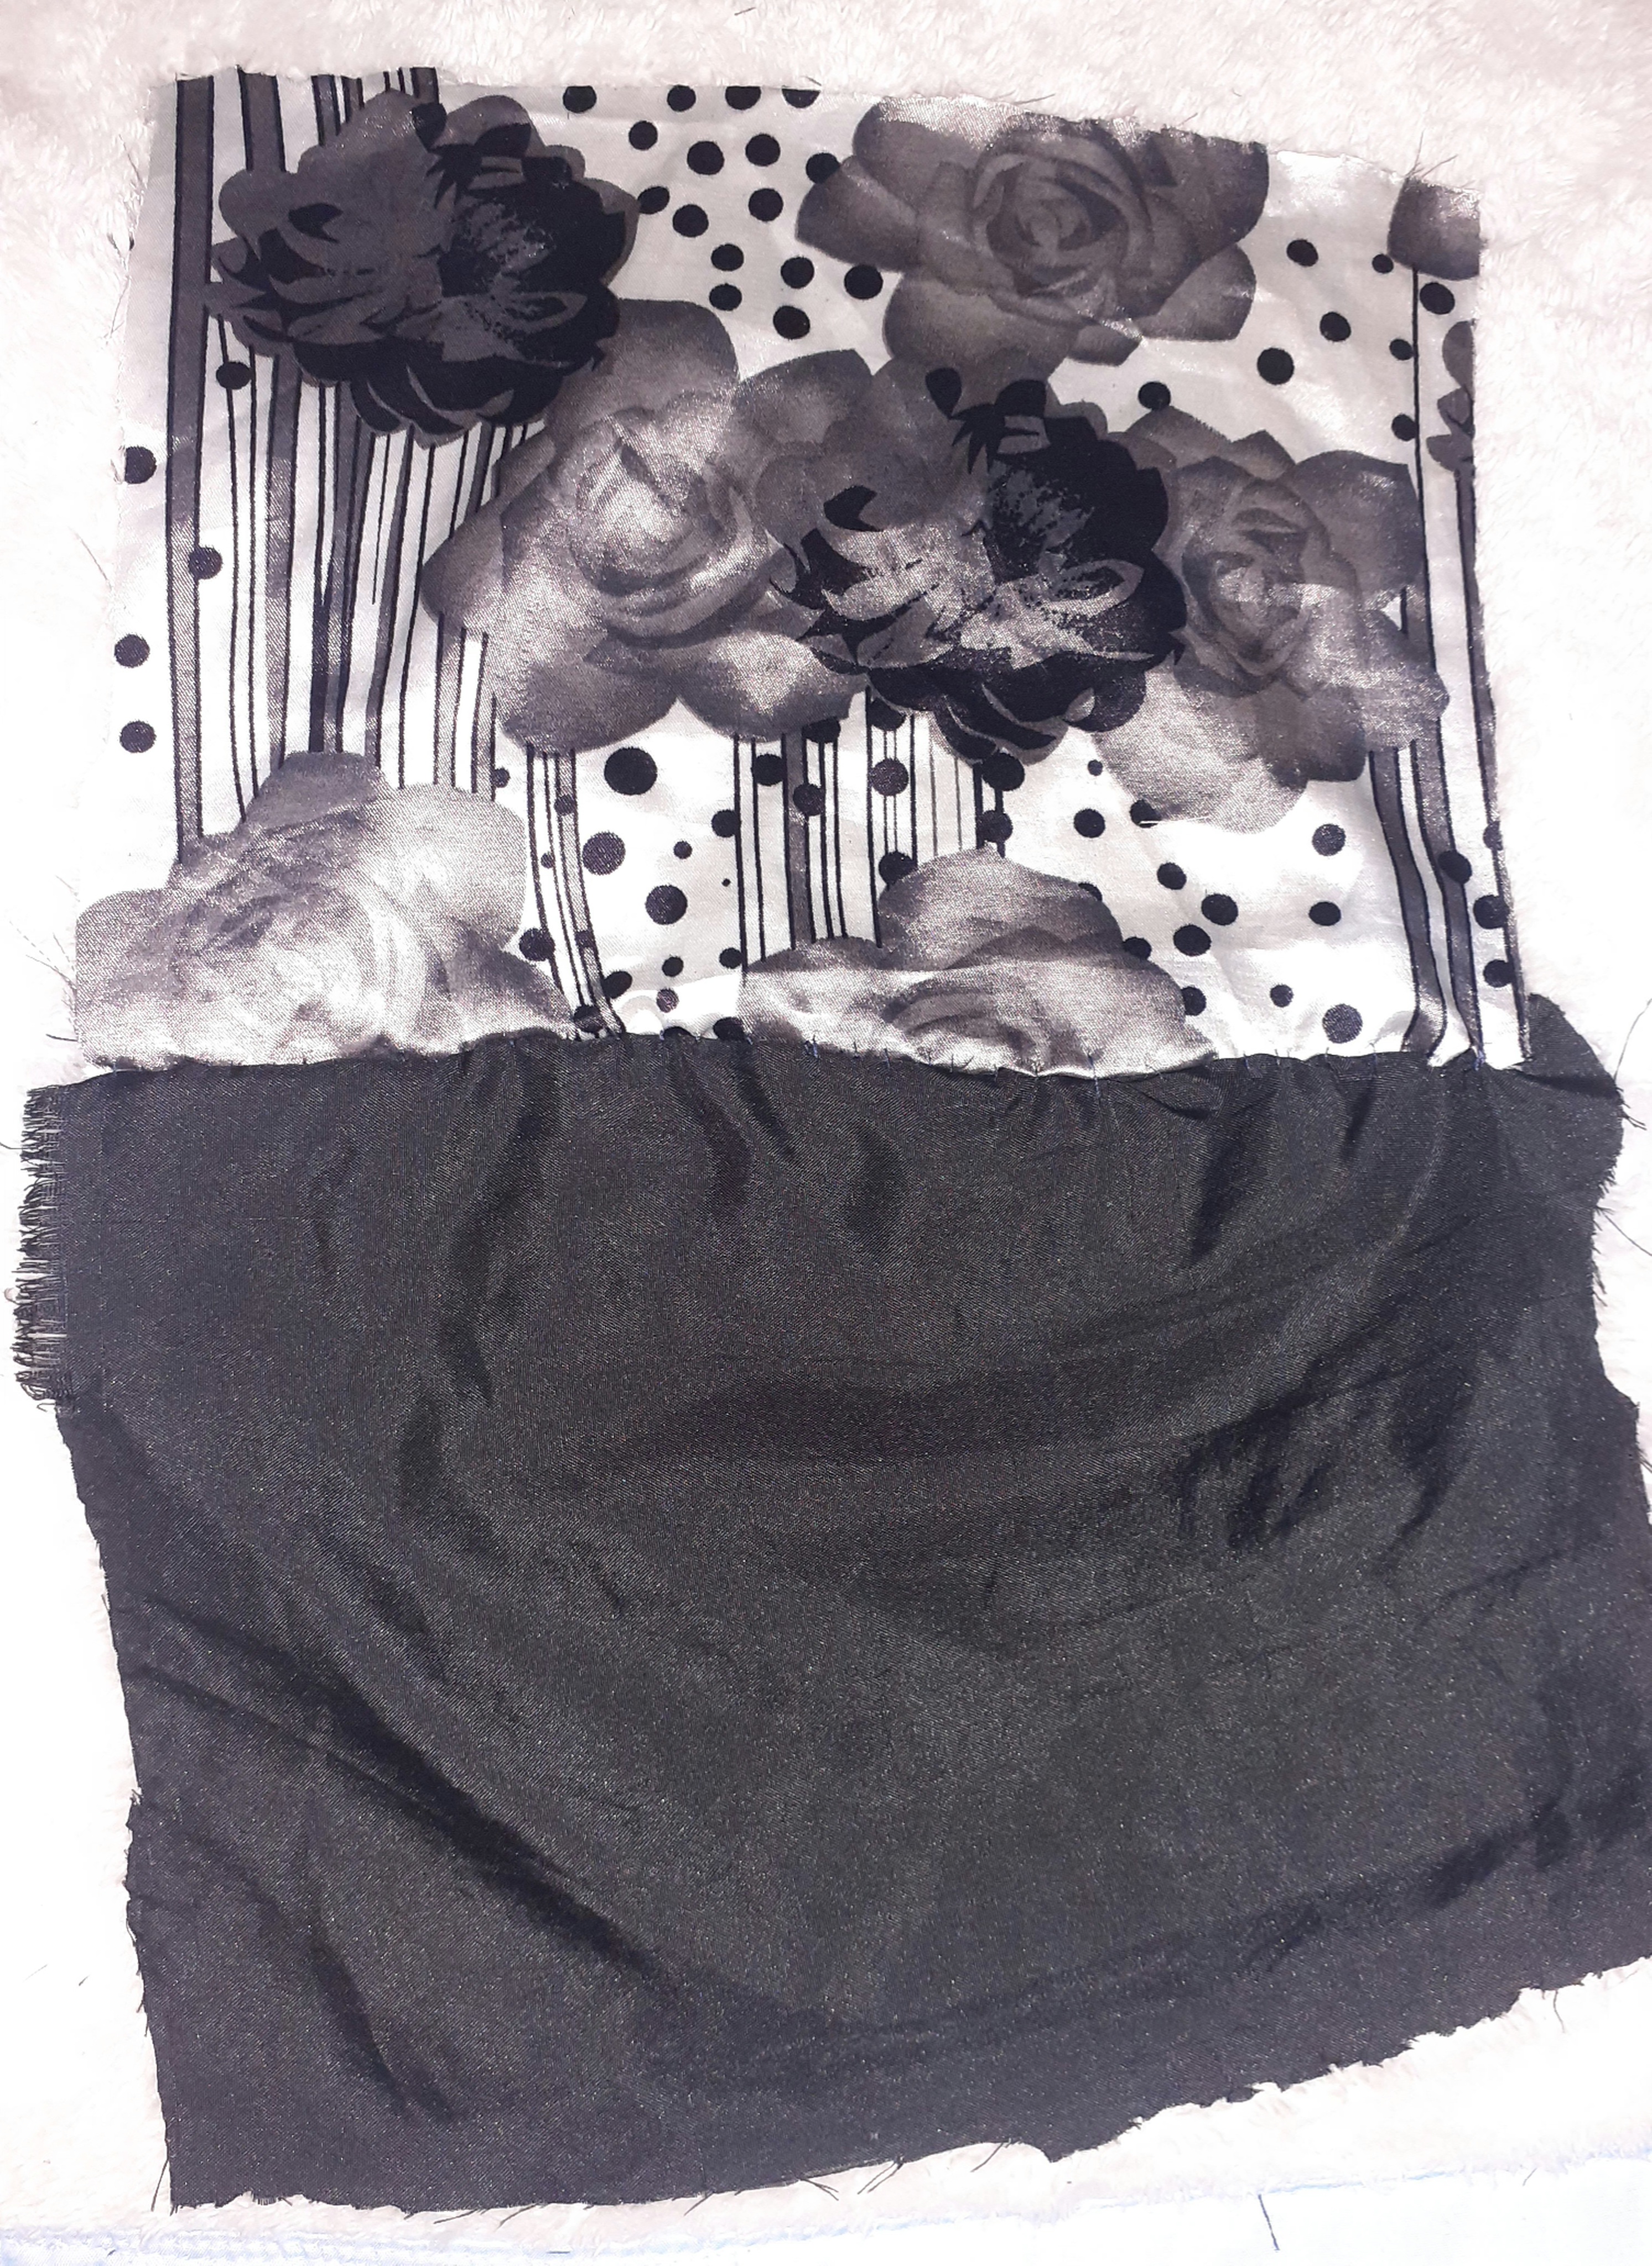
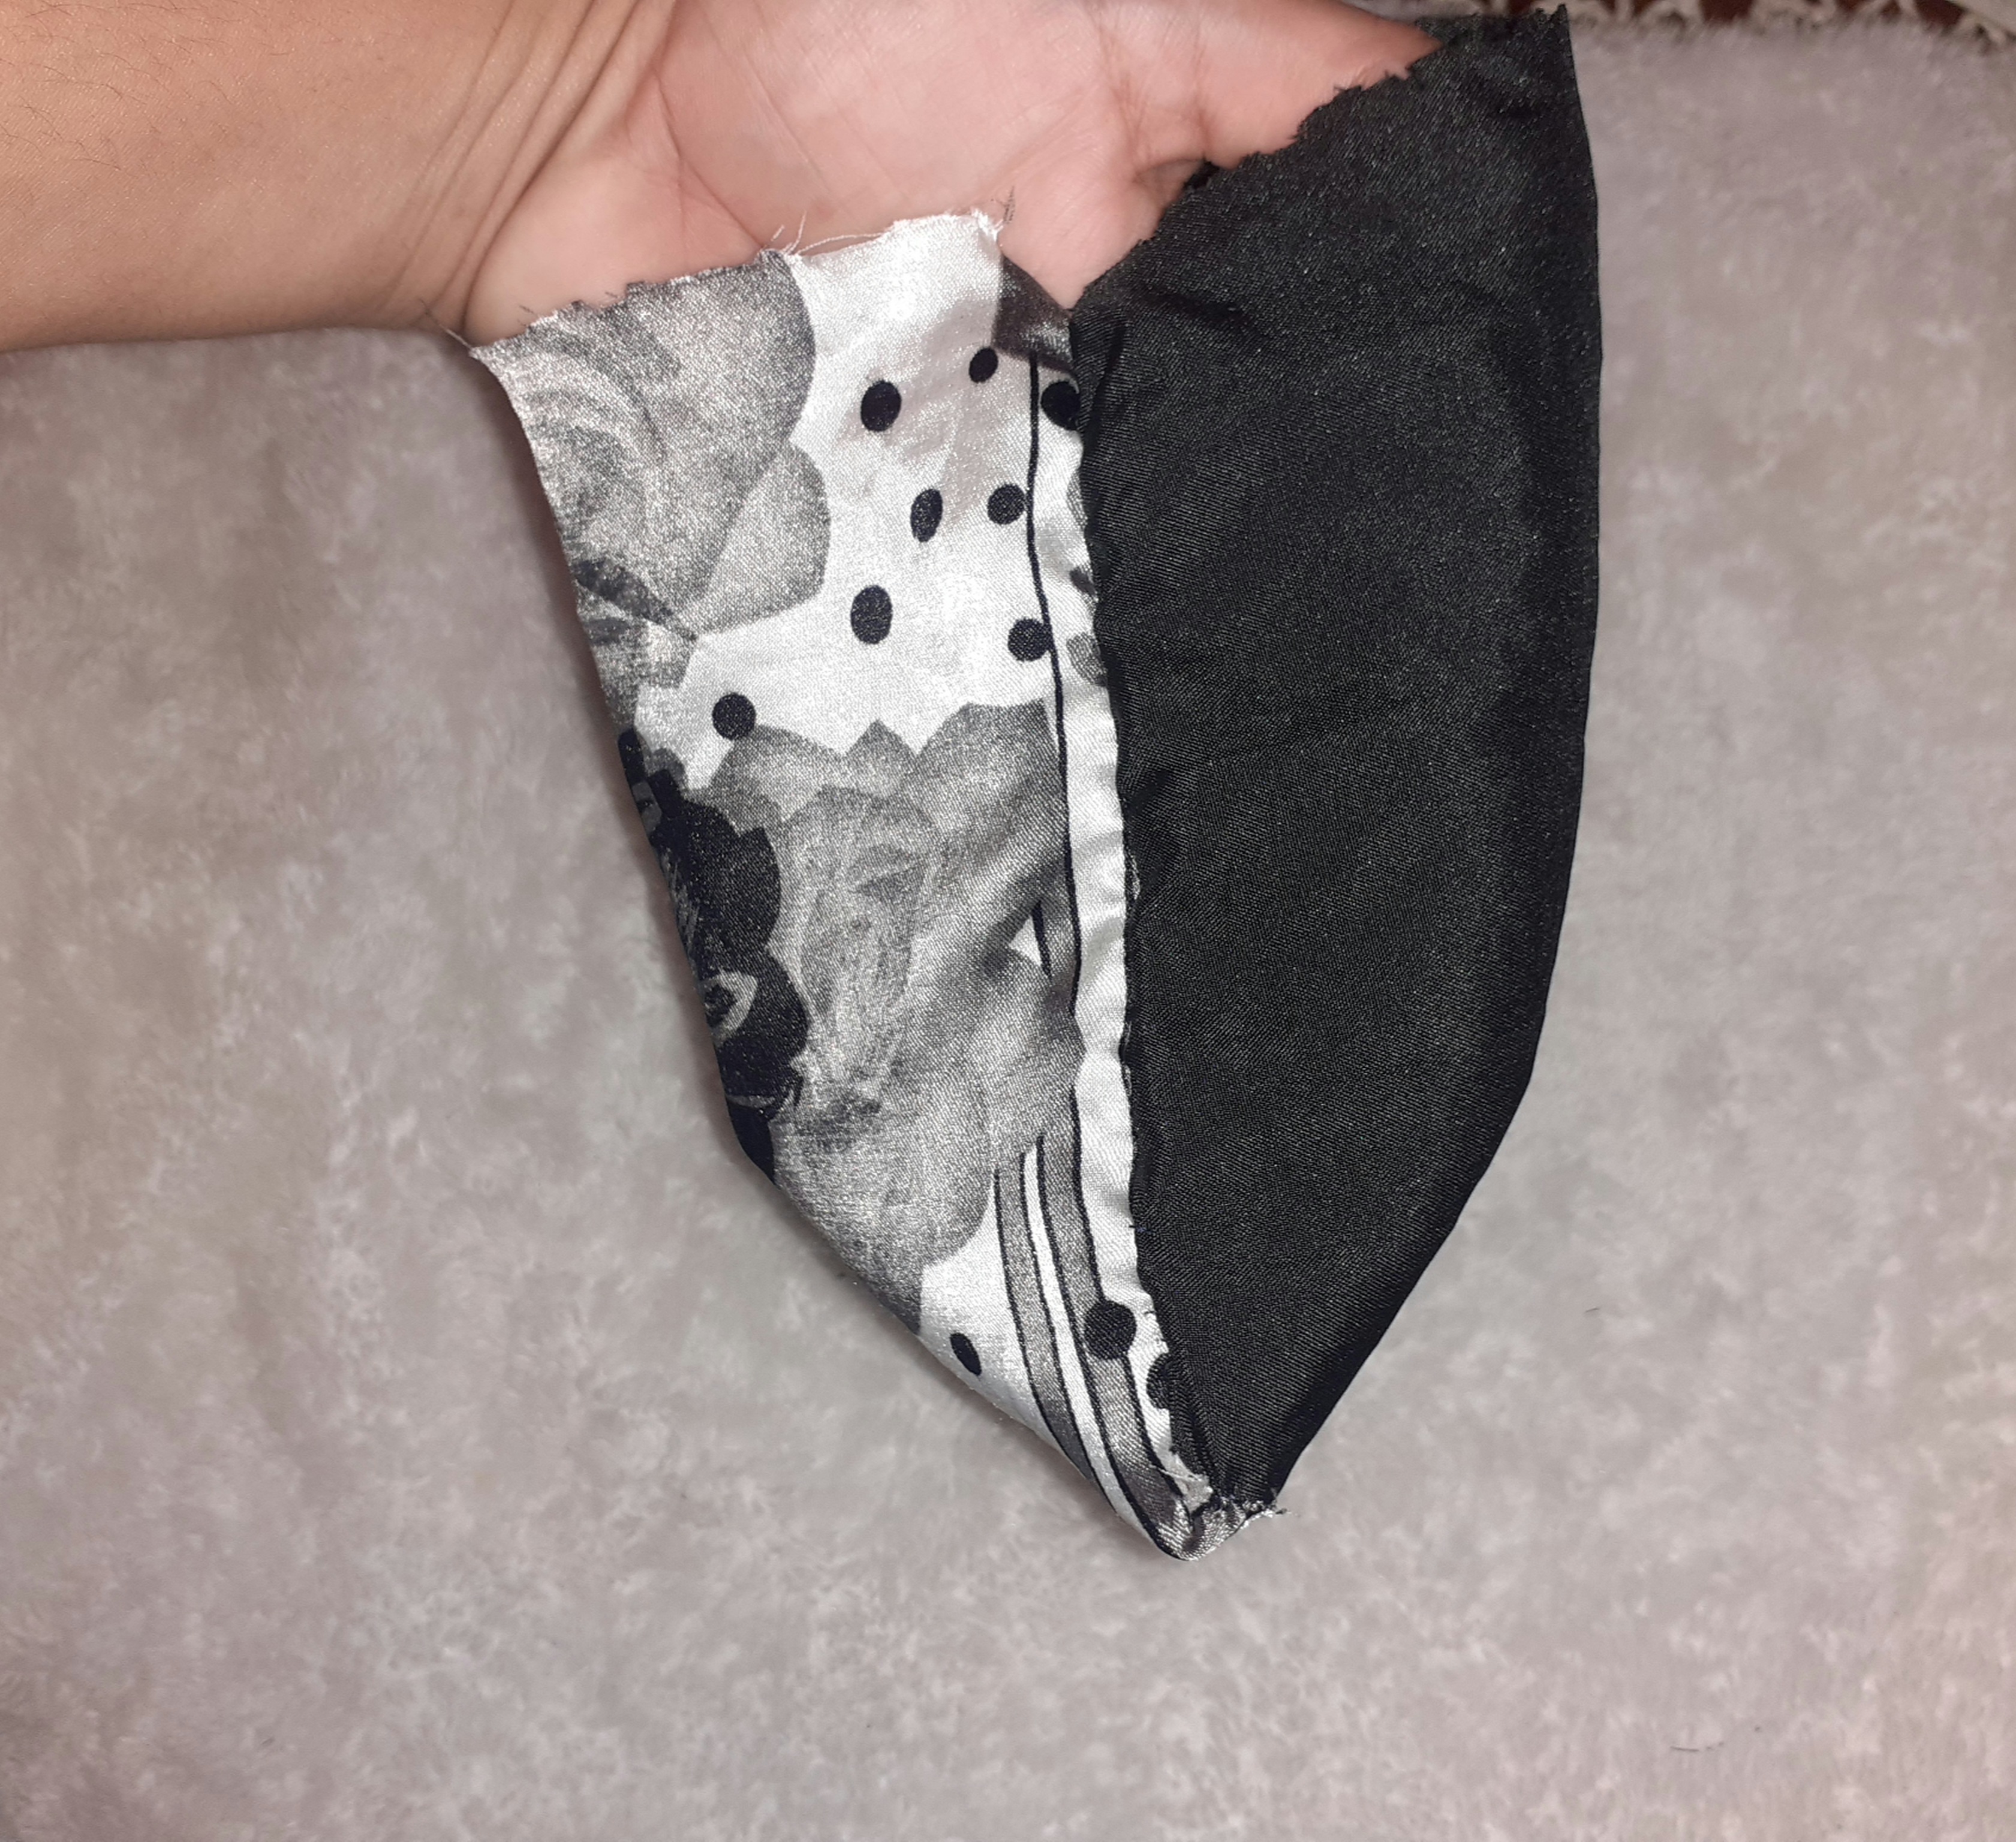
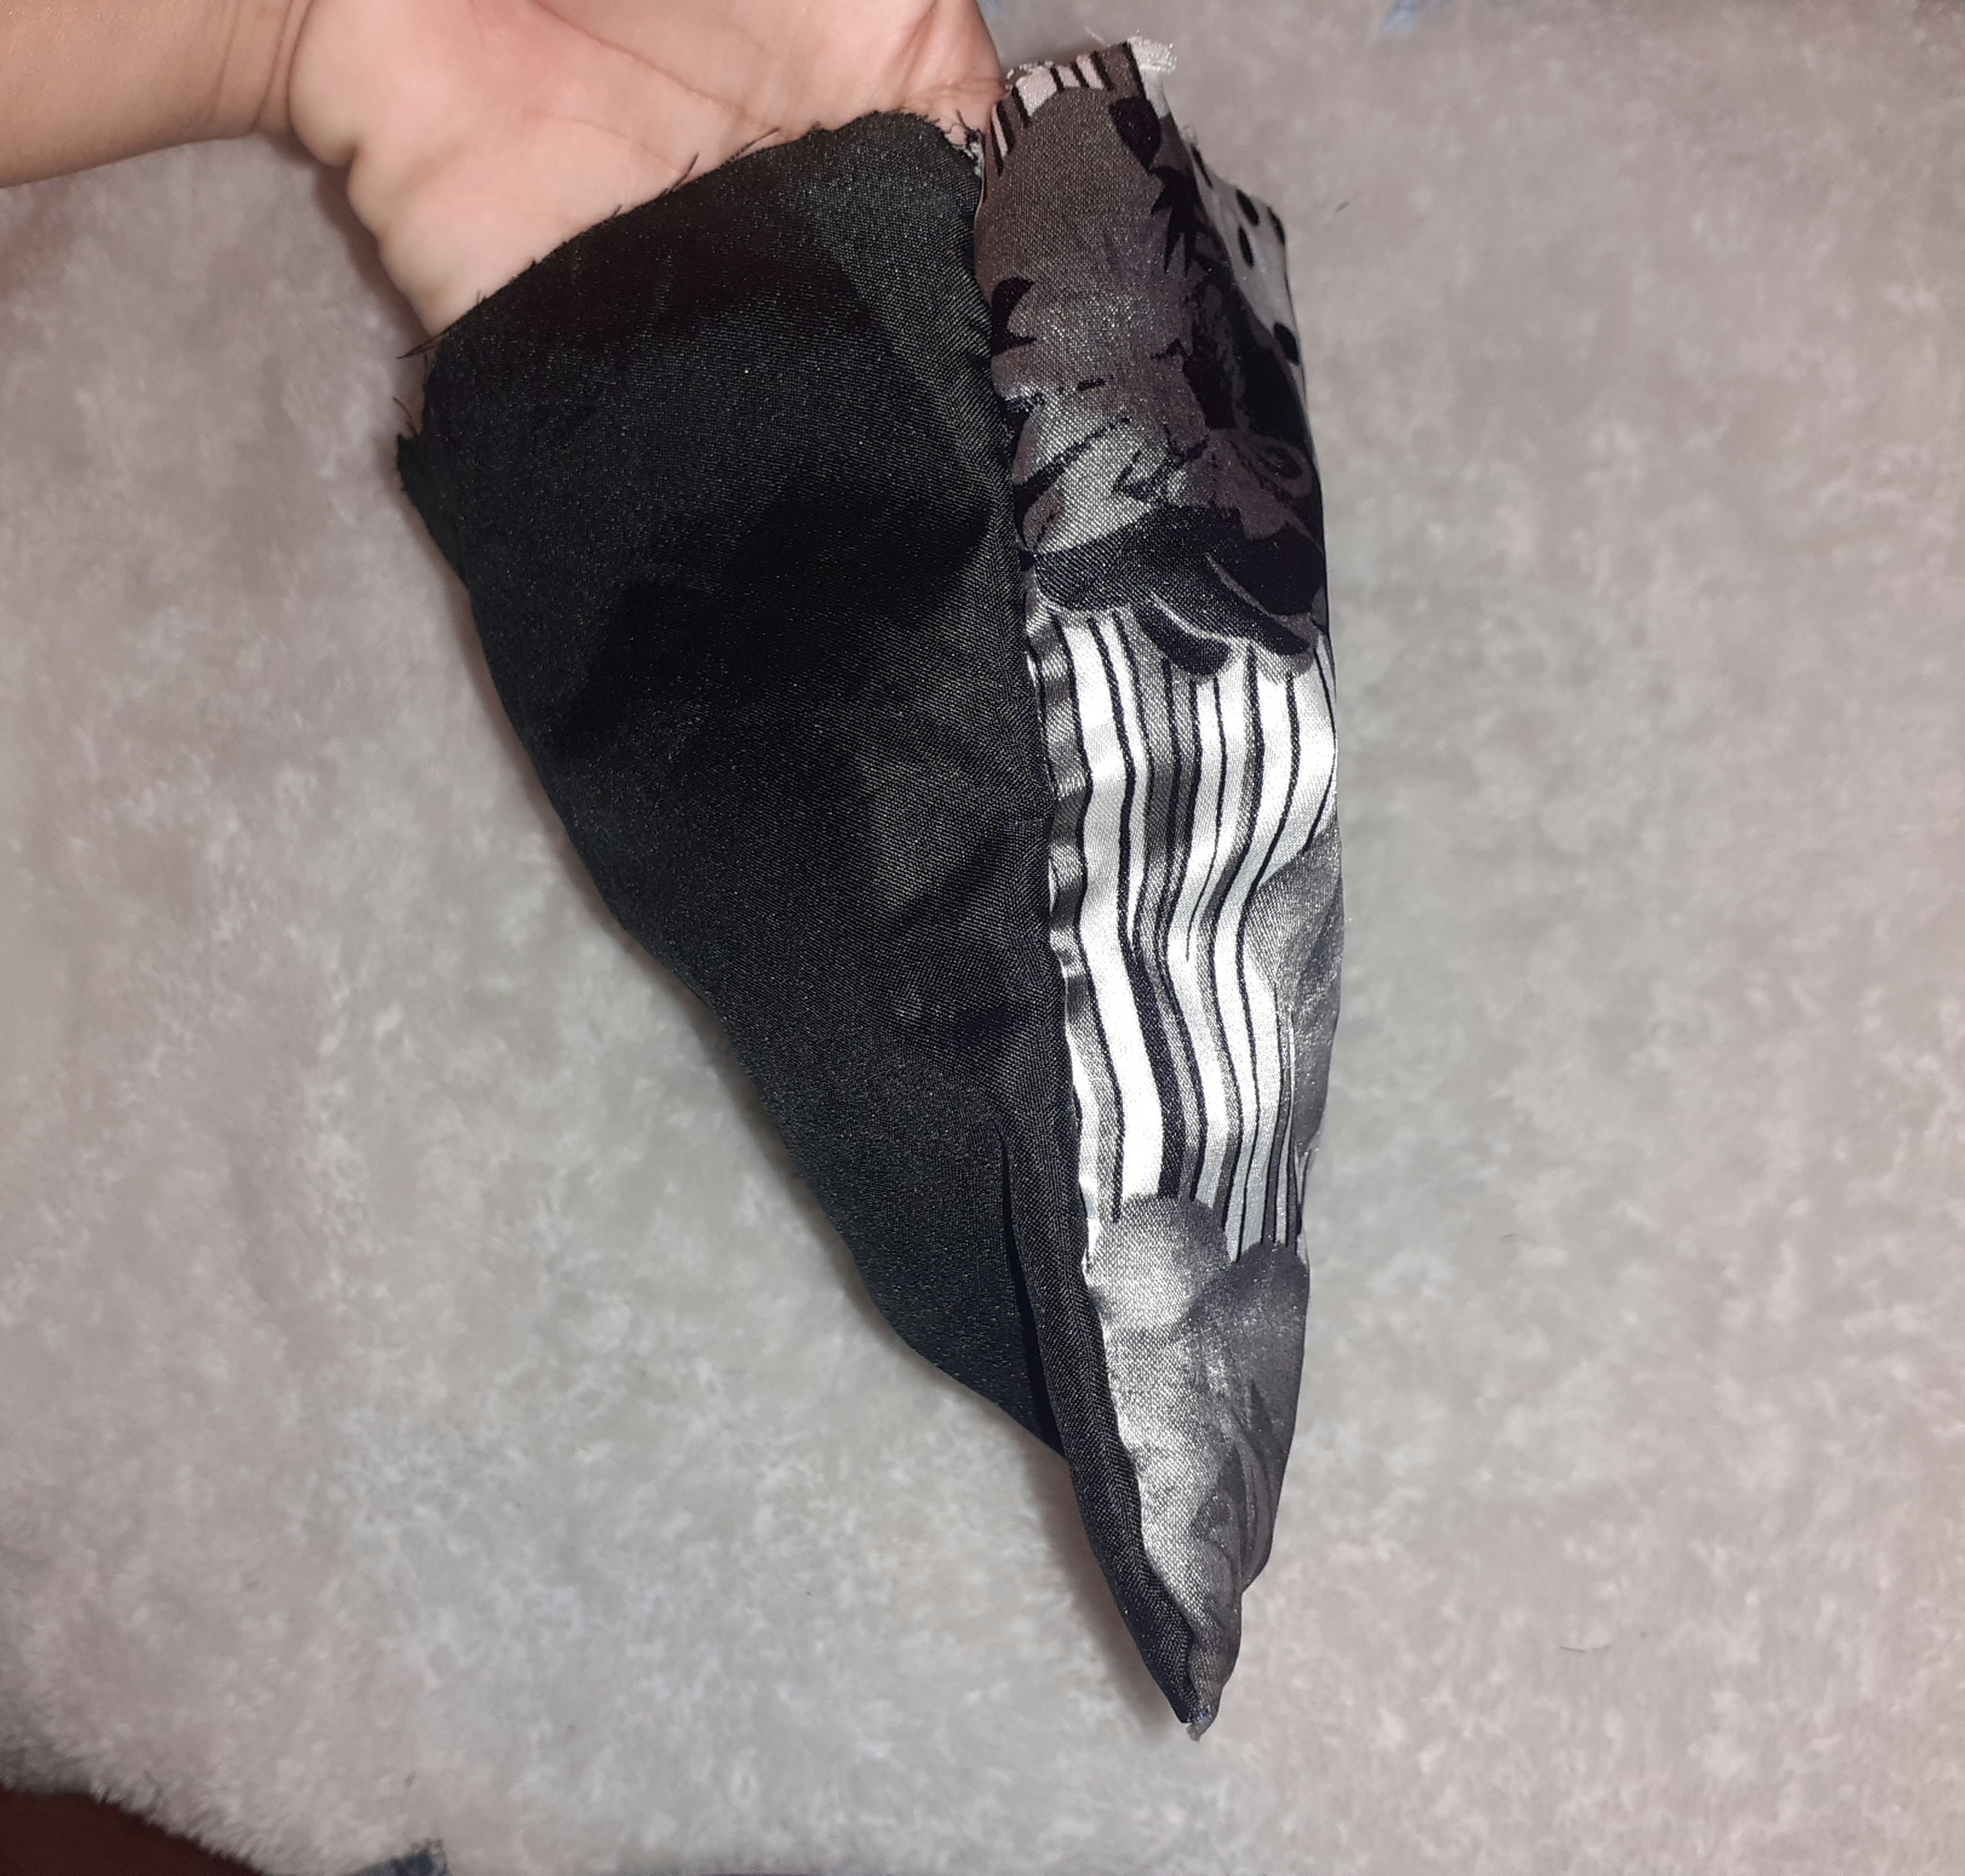
Then, with the fabrics cut, we are going to place one on top of the other, putting them together, grab the thread and the needle to proceed to sew by hand, in my case I do not have a sewing machine. We are going to start sewing the bottom of our future cosmetic holder.
Paso 2
Luego, ya las telas cortadas, vamos a colocar una encima de otra juntandolas, agarramos el hilo y la aguja para proceder a coser a mano, en mi caso No tengo maquina de coser. Vamos a comenzar a coser la parte de abajo de nuestro futuro porta cosmético.

step 3
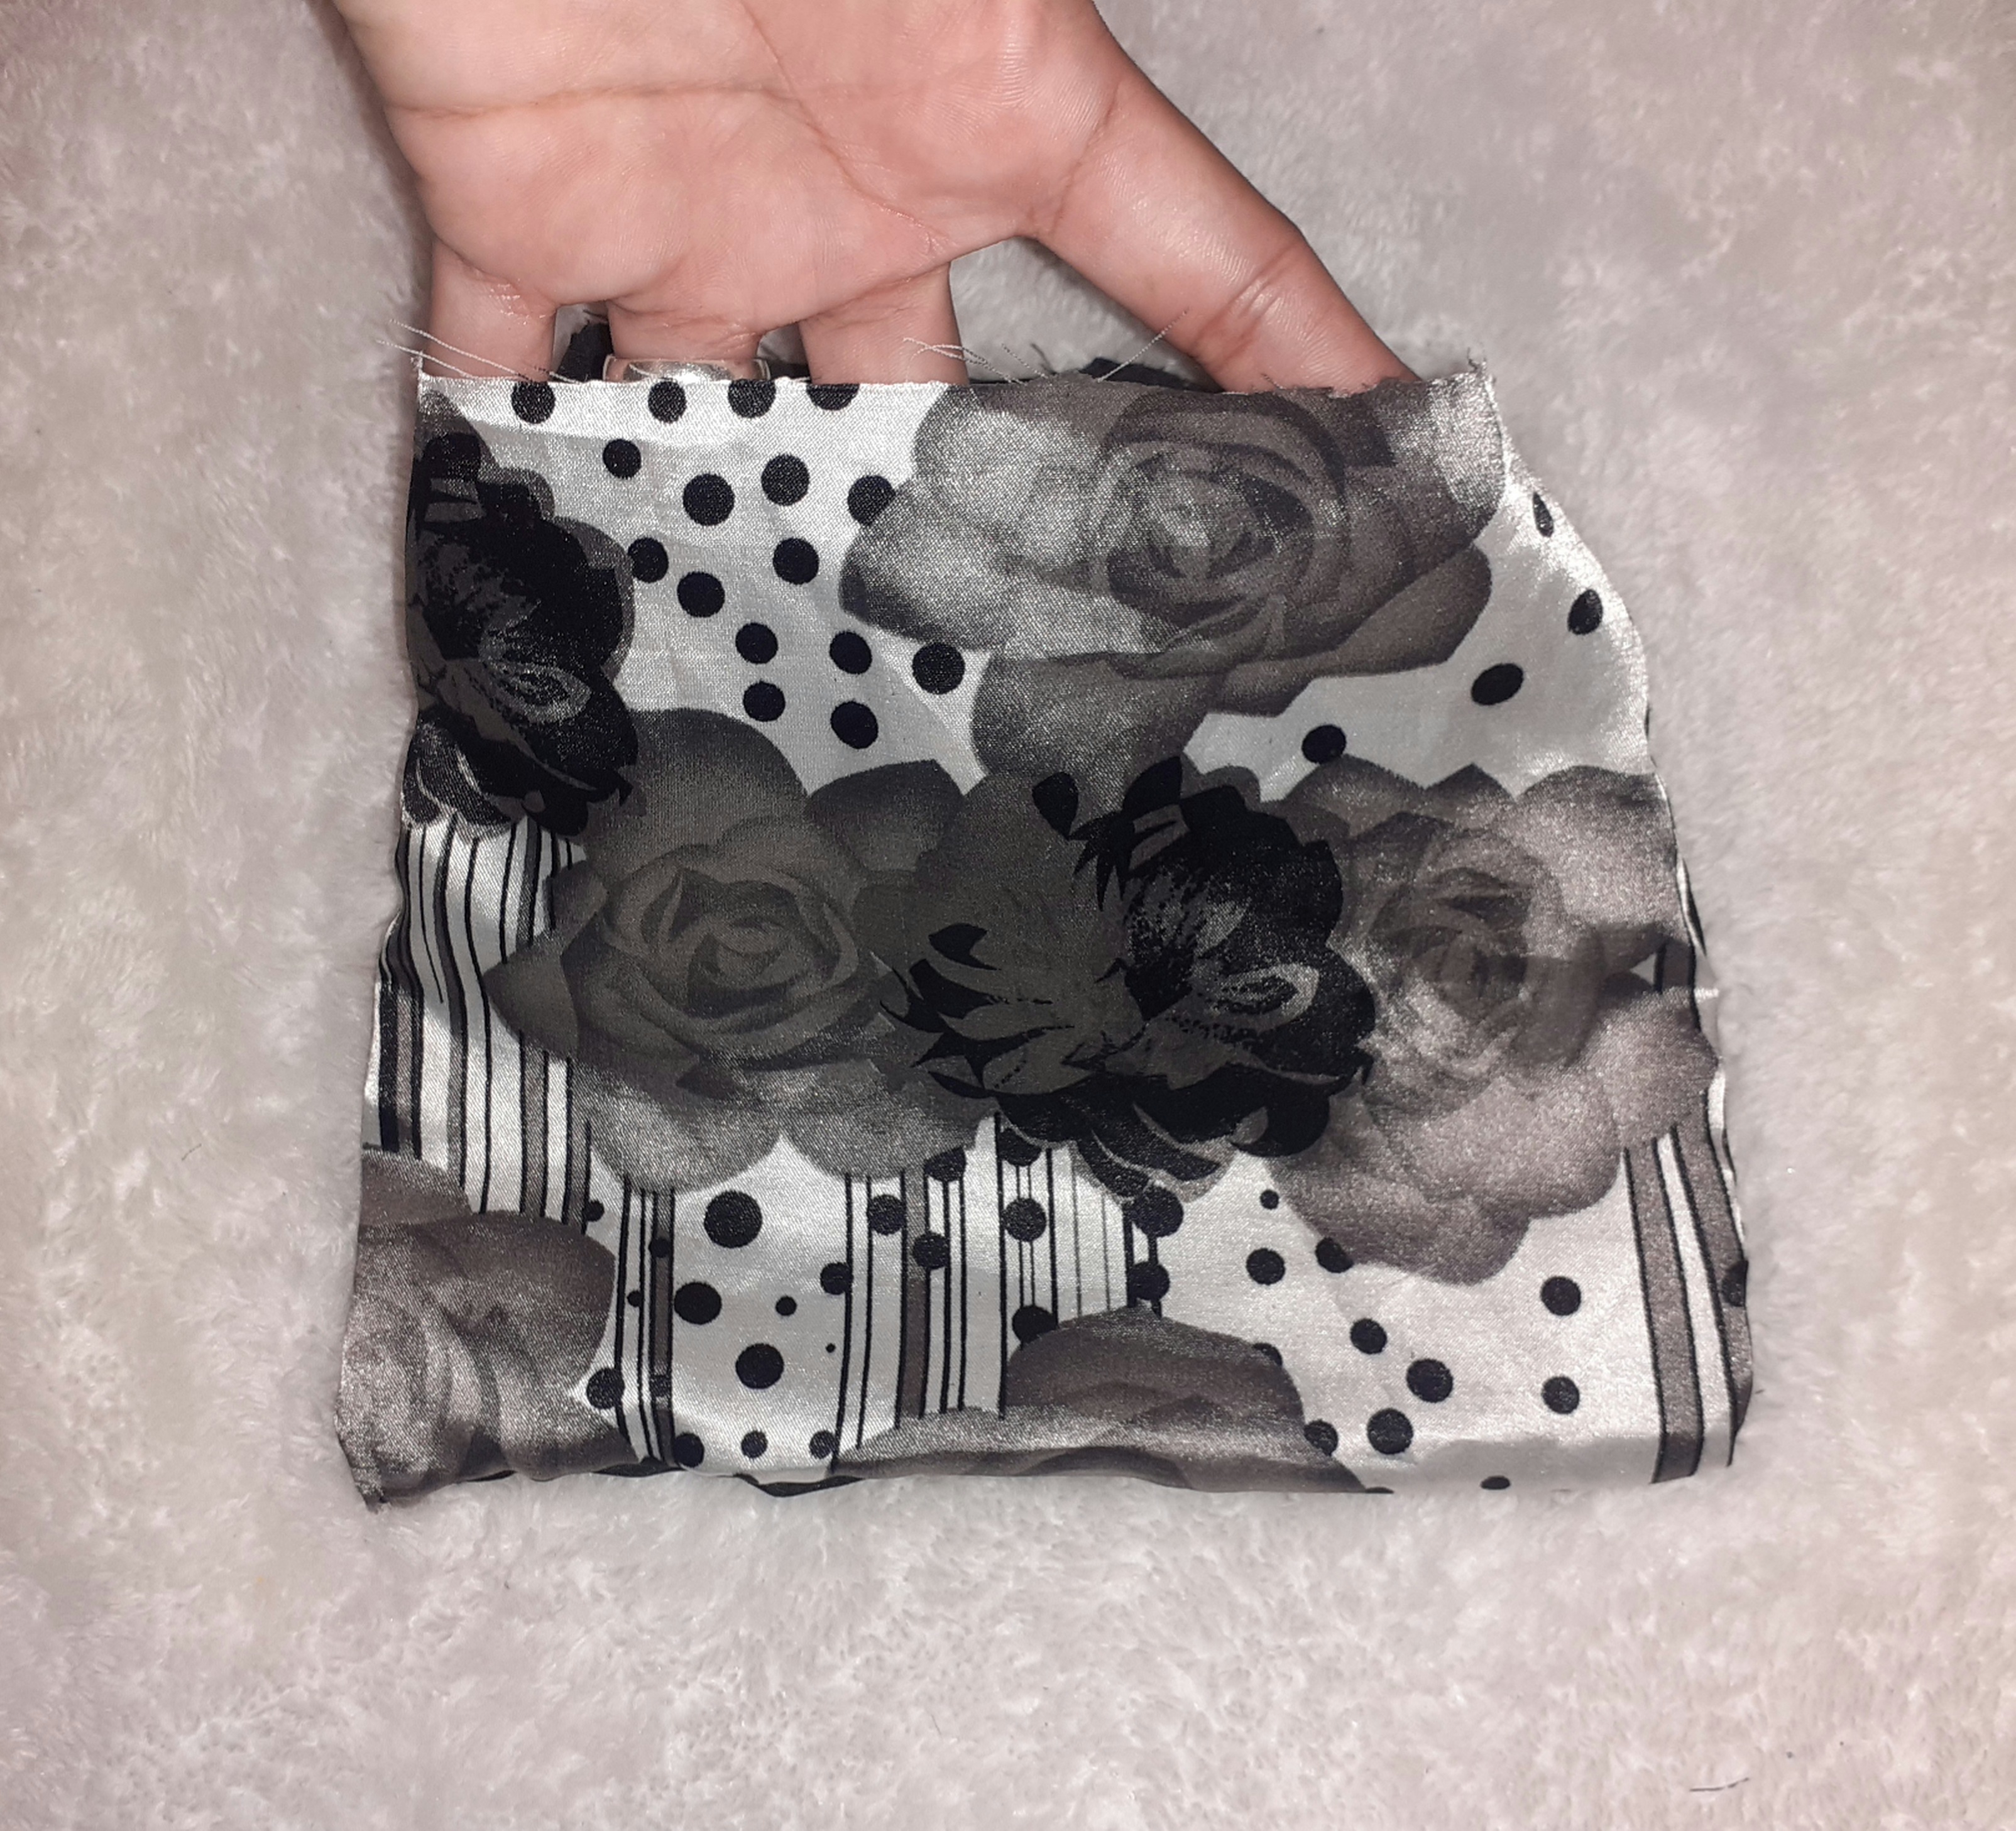
Afterwards, we are going to finish sewing on both sides, that's it ✅ it would be like this, we would only have to put the closure on it.
paso 3
Después, vamos a terminar de coser por ambos lados , y ya listo ✅ nos quedaría de esta forma, solo nos quedaría colocarle el cierre.
Step 4
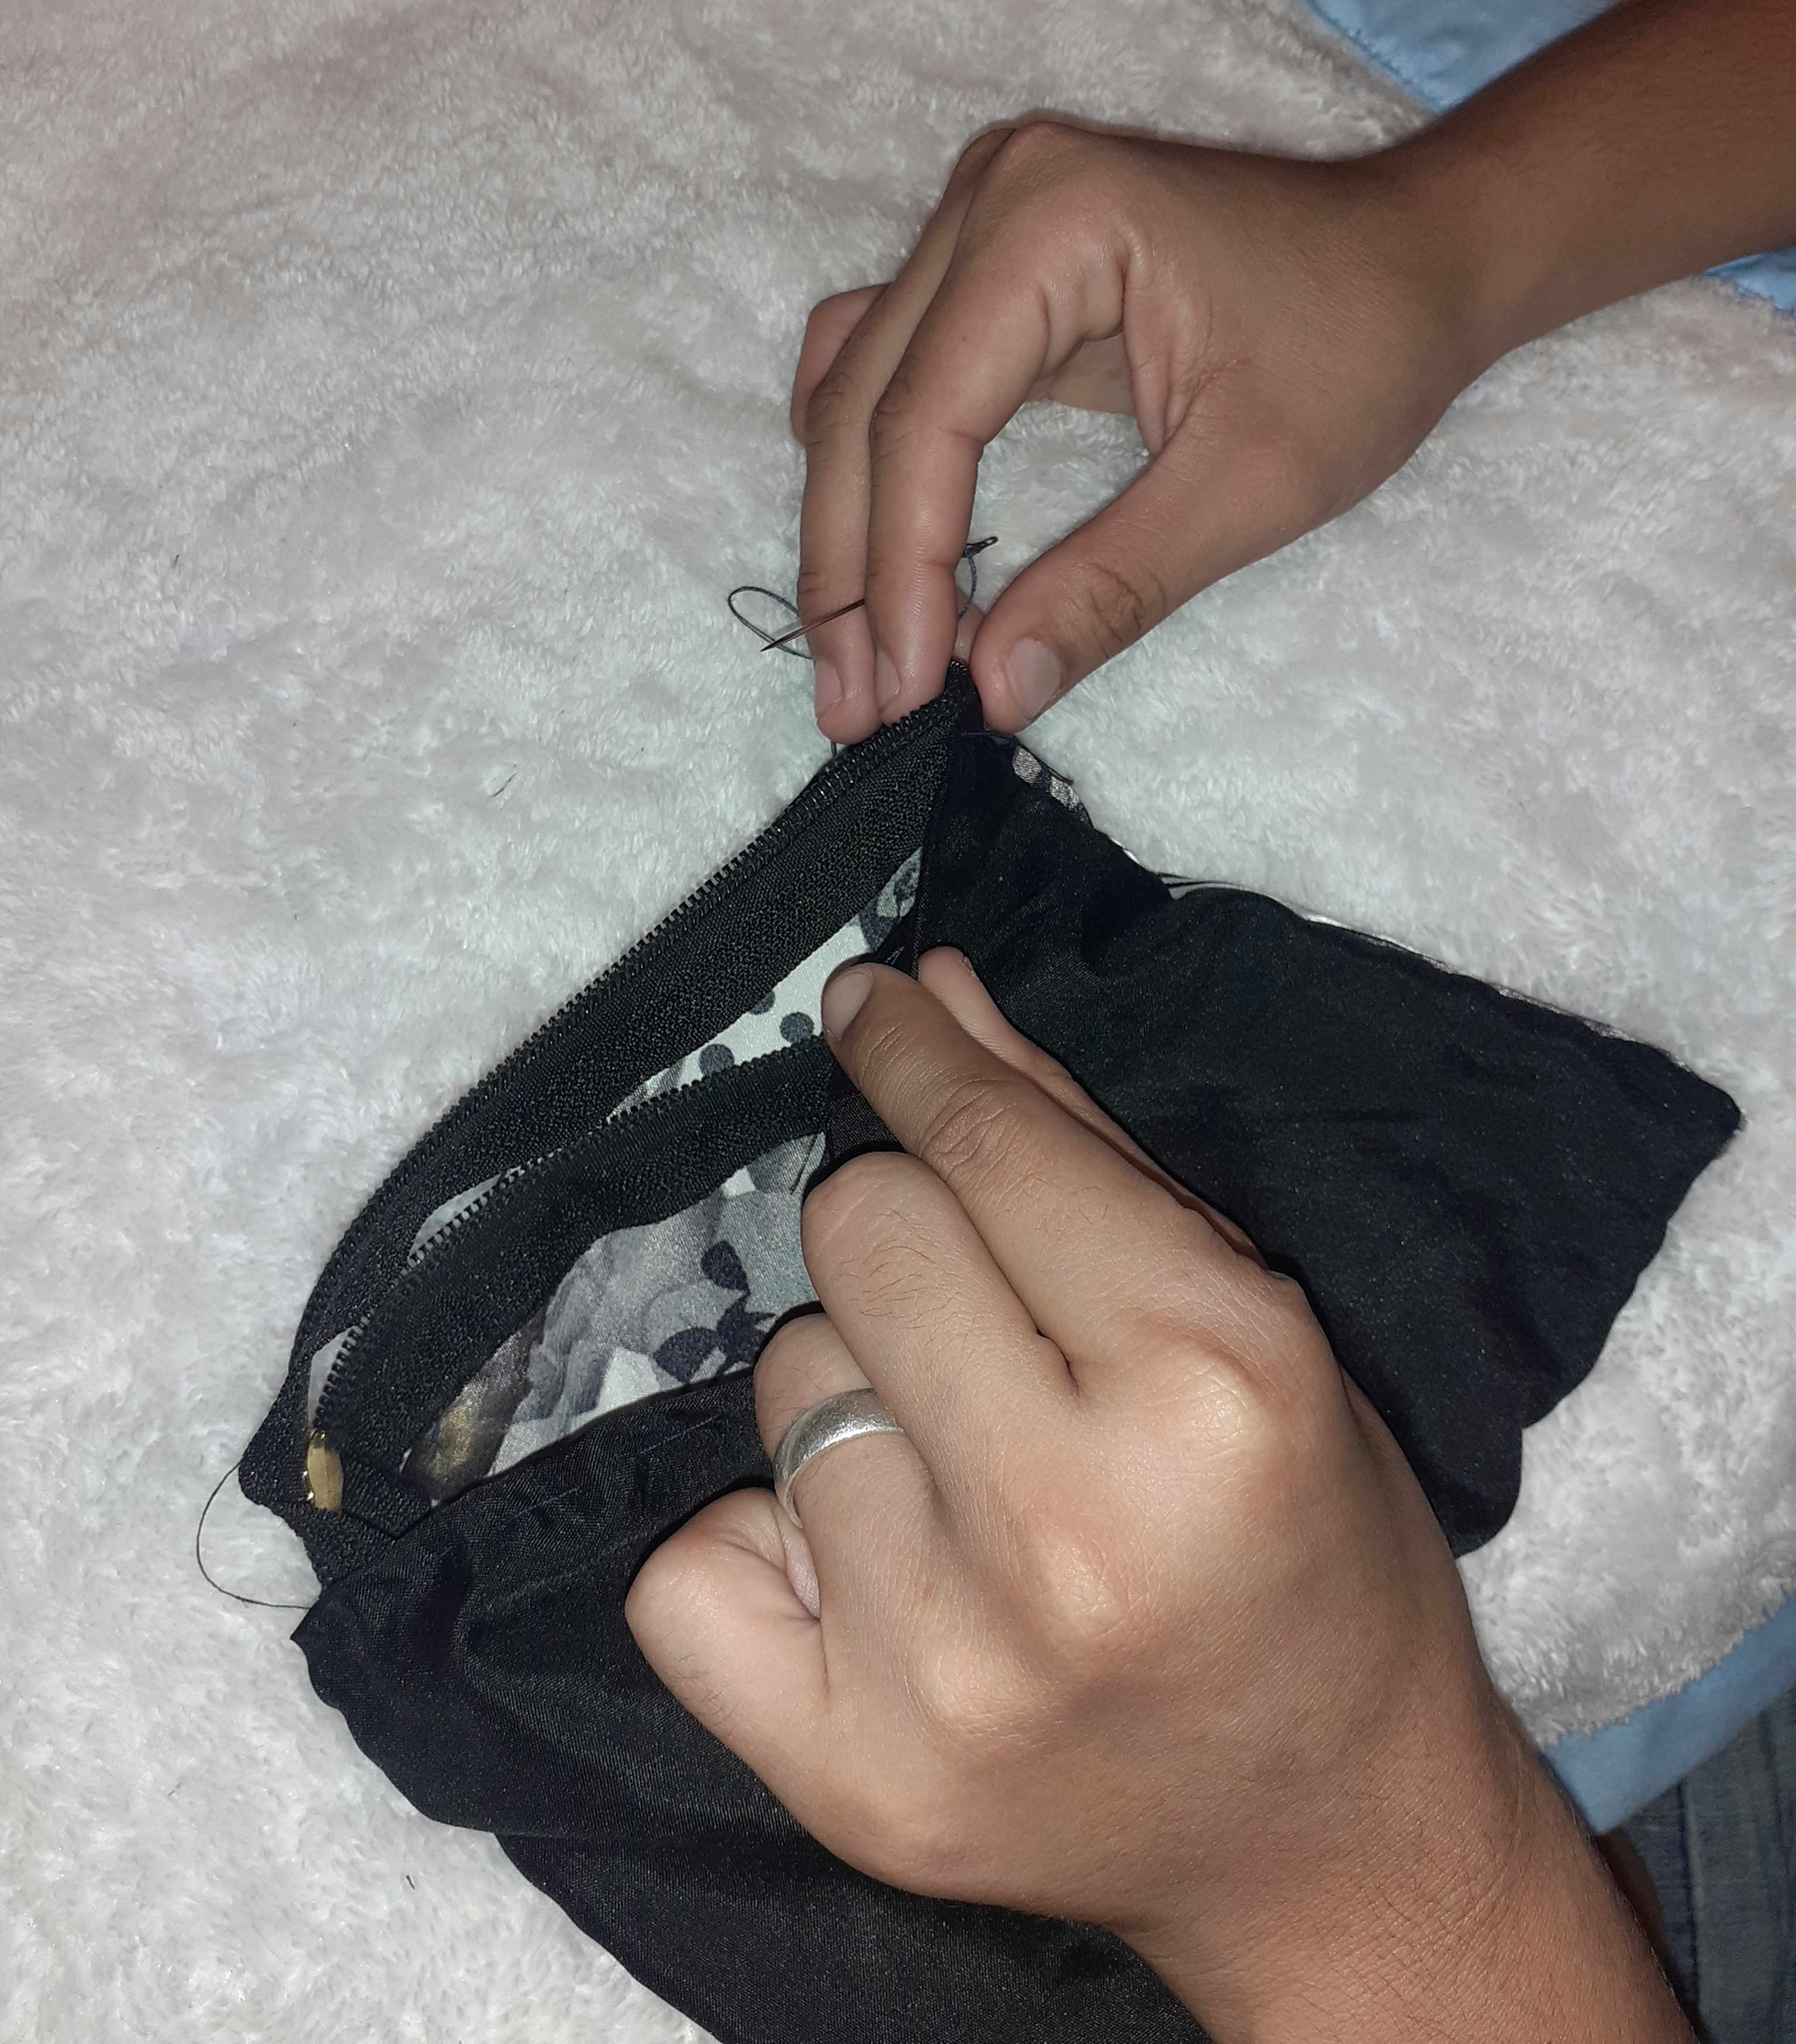
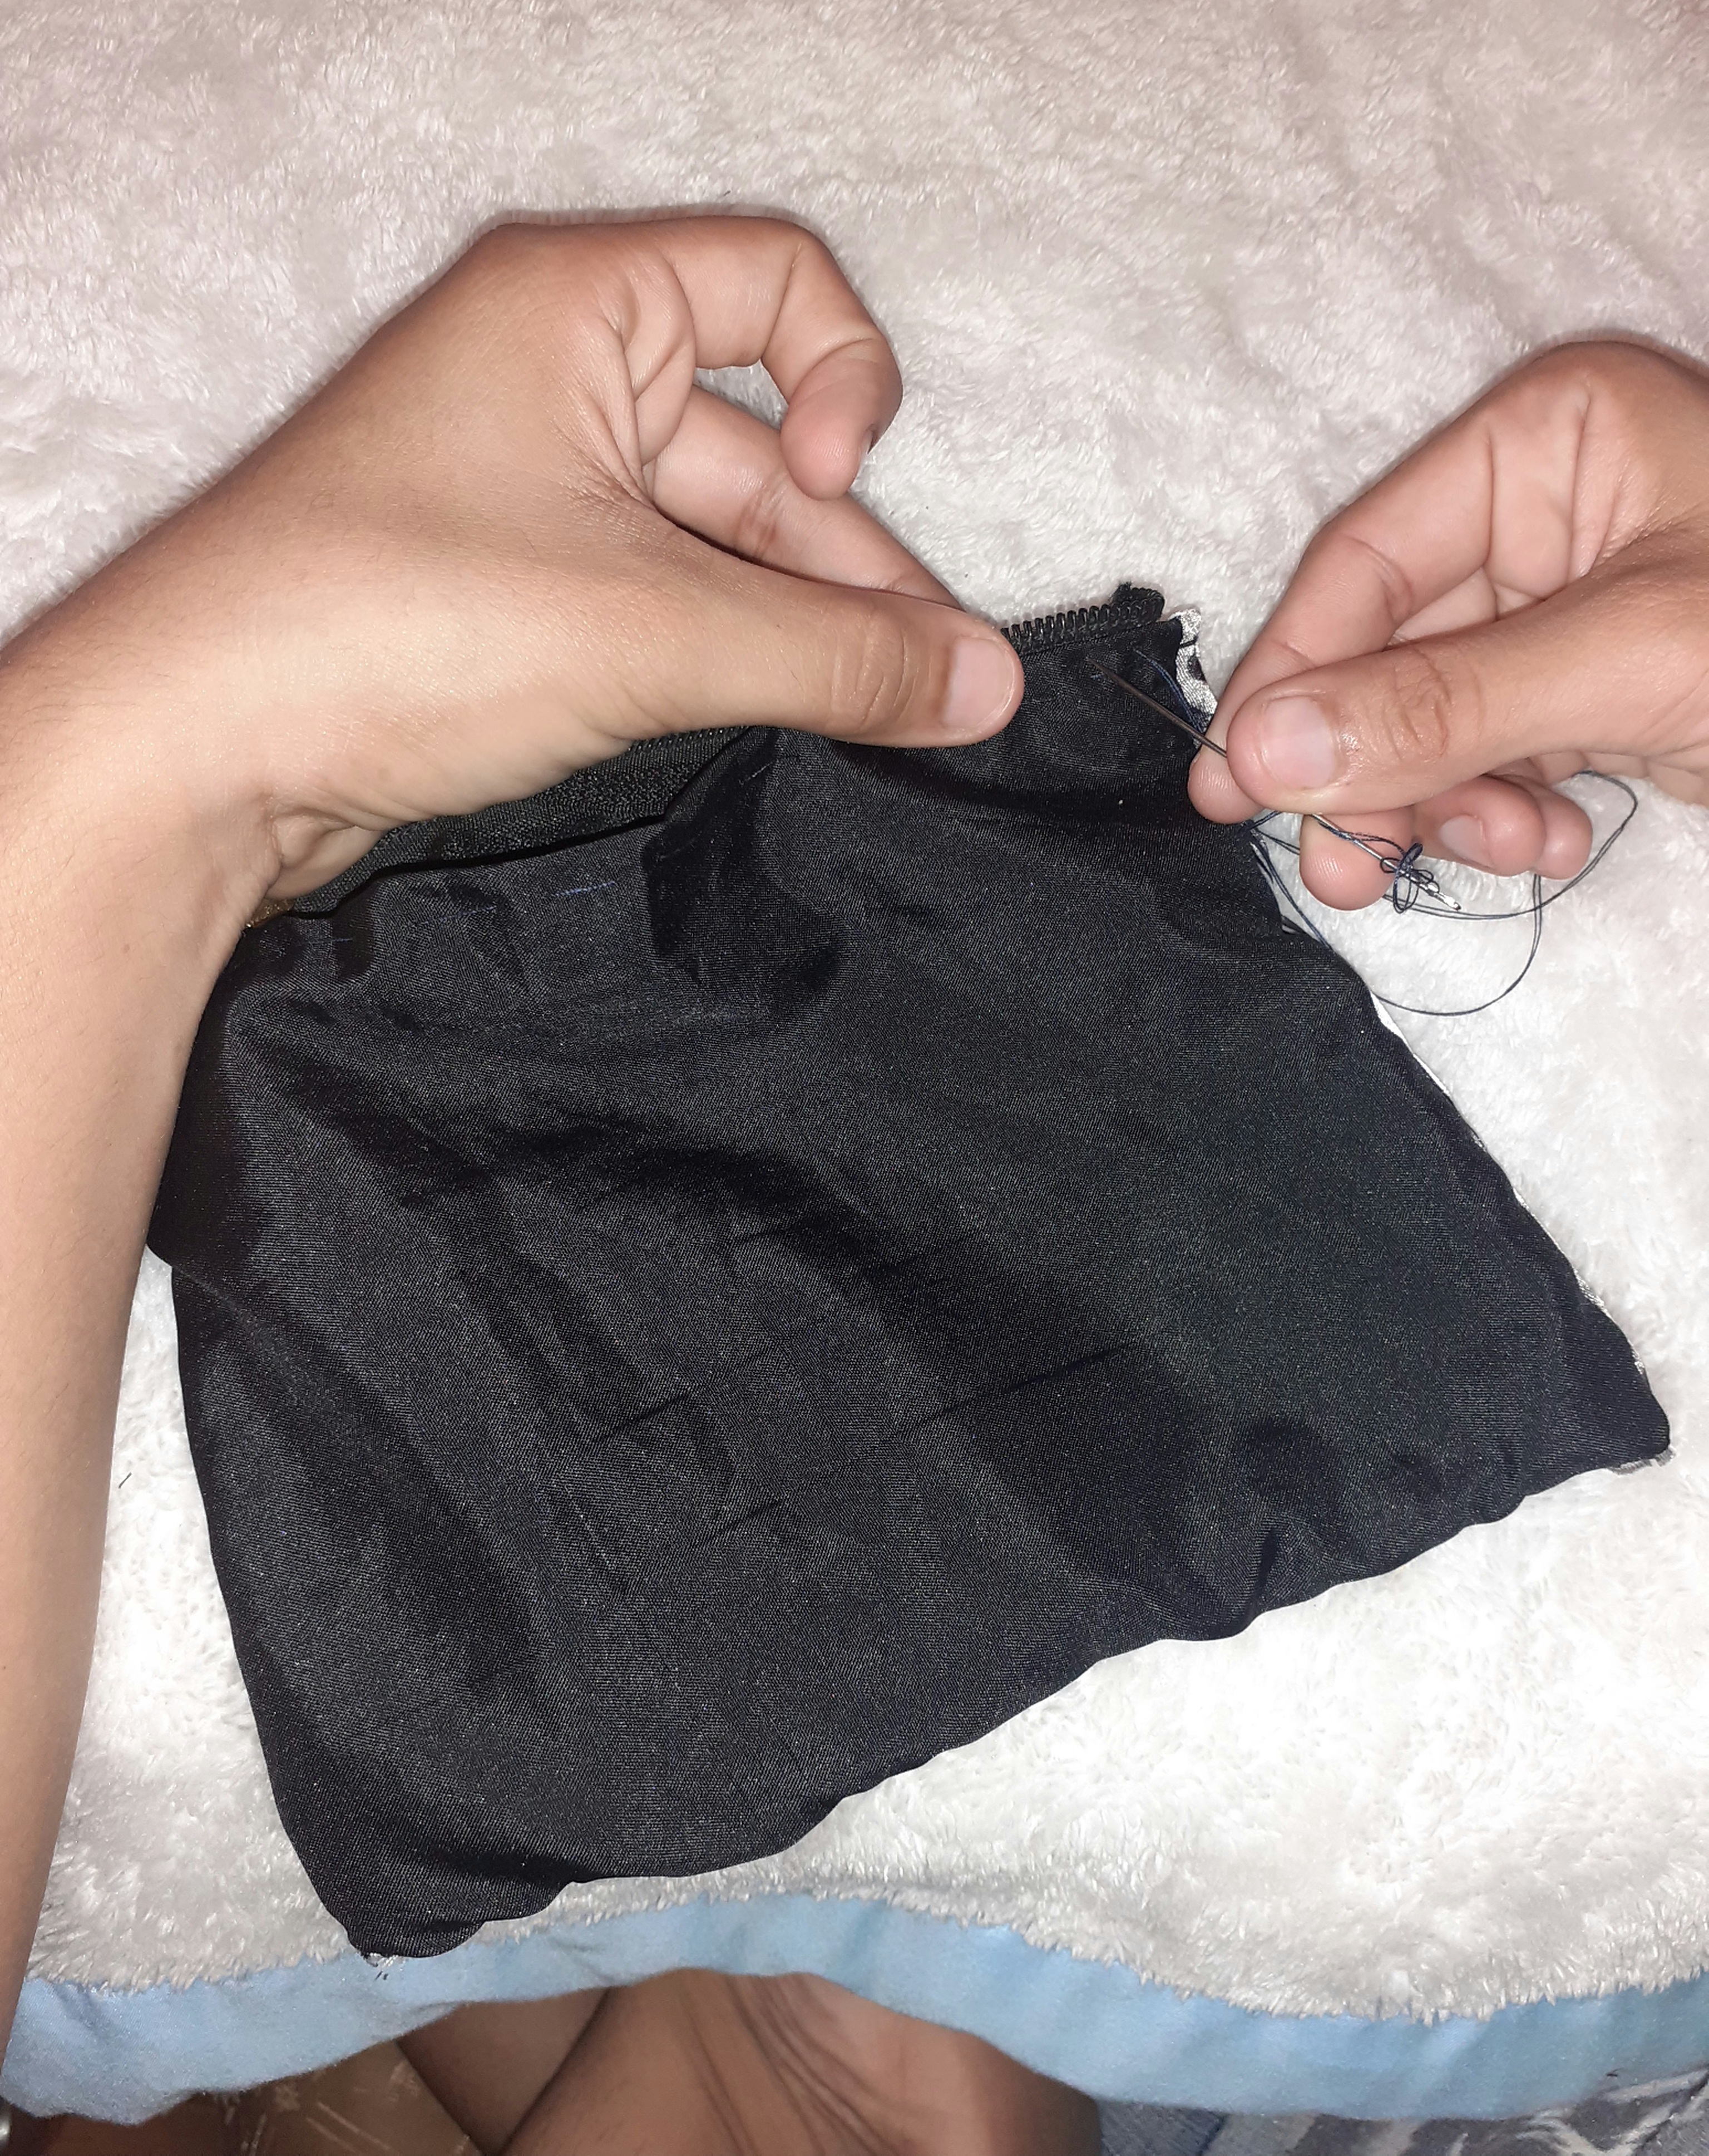
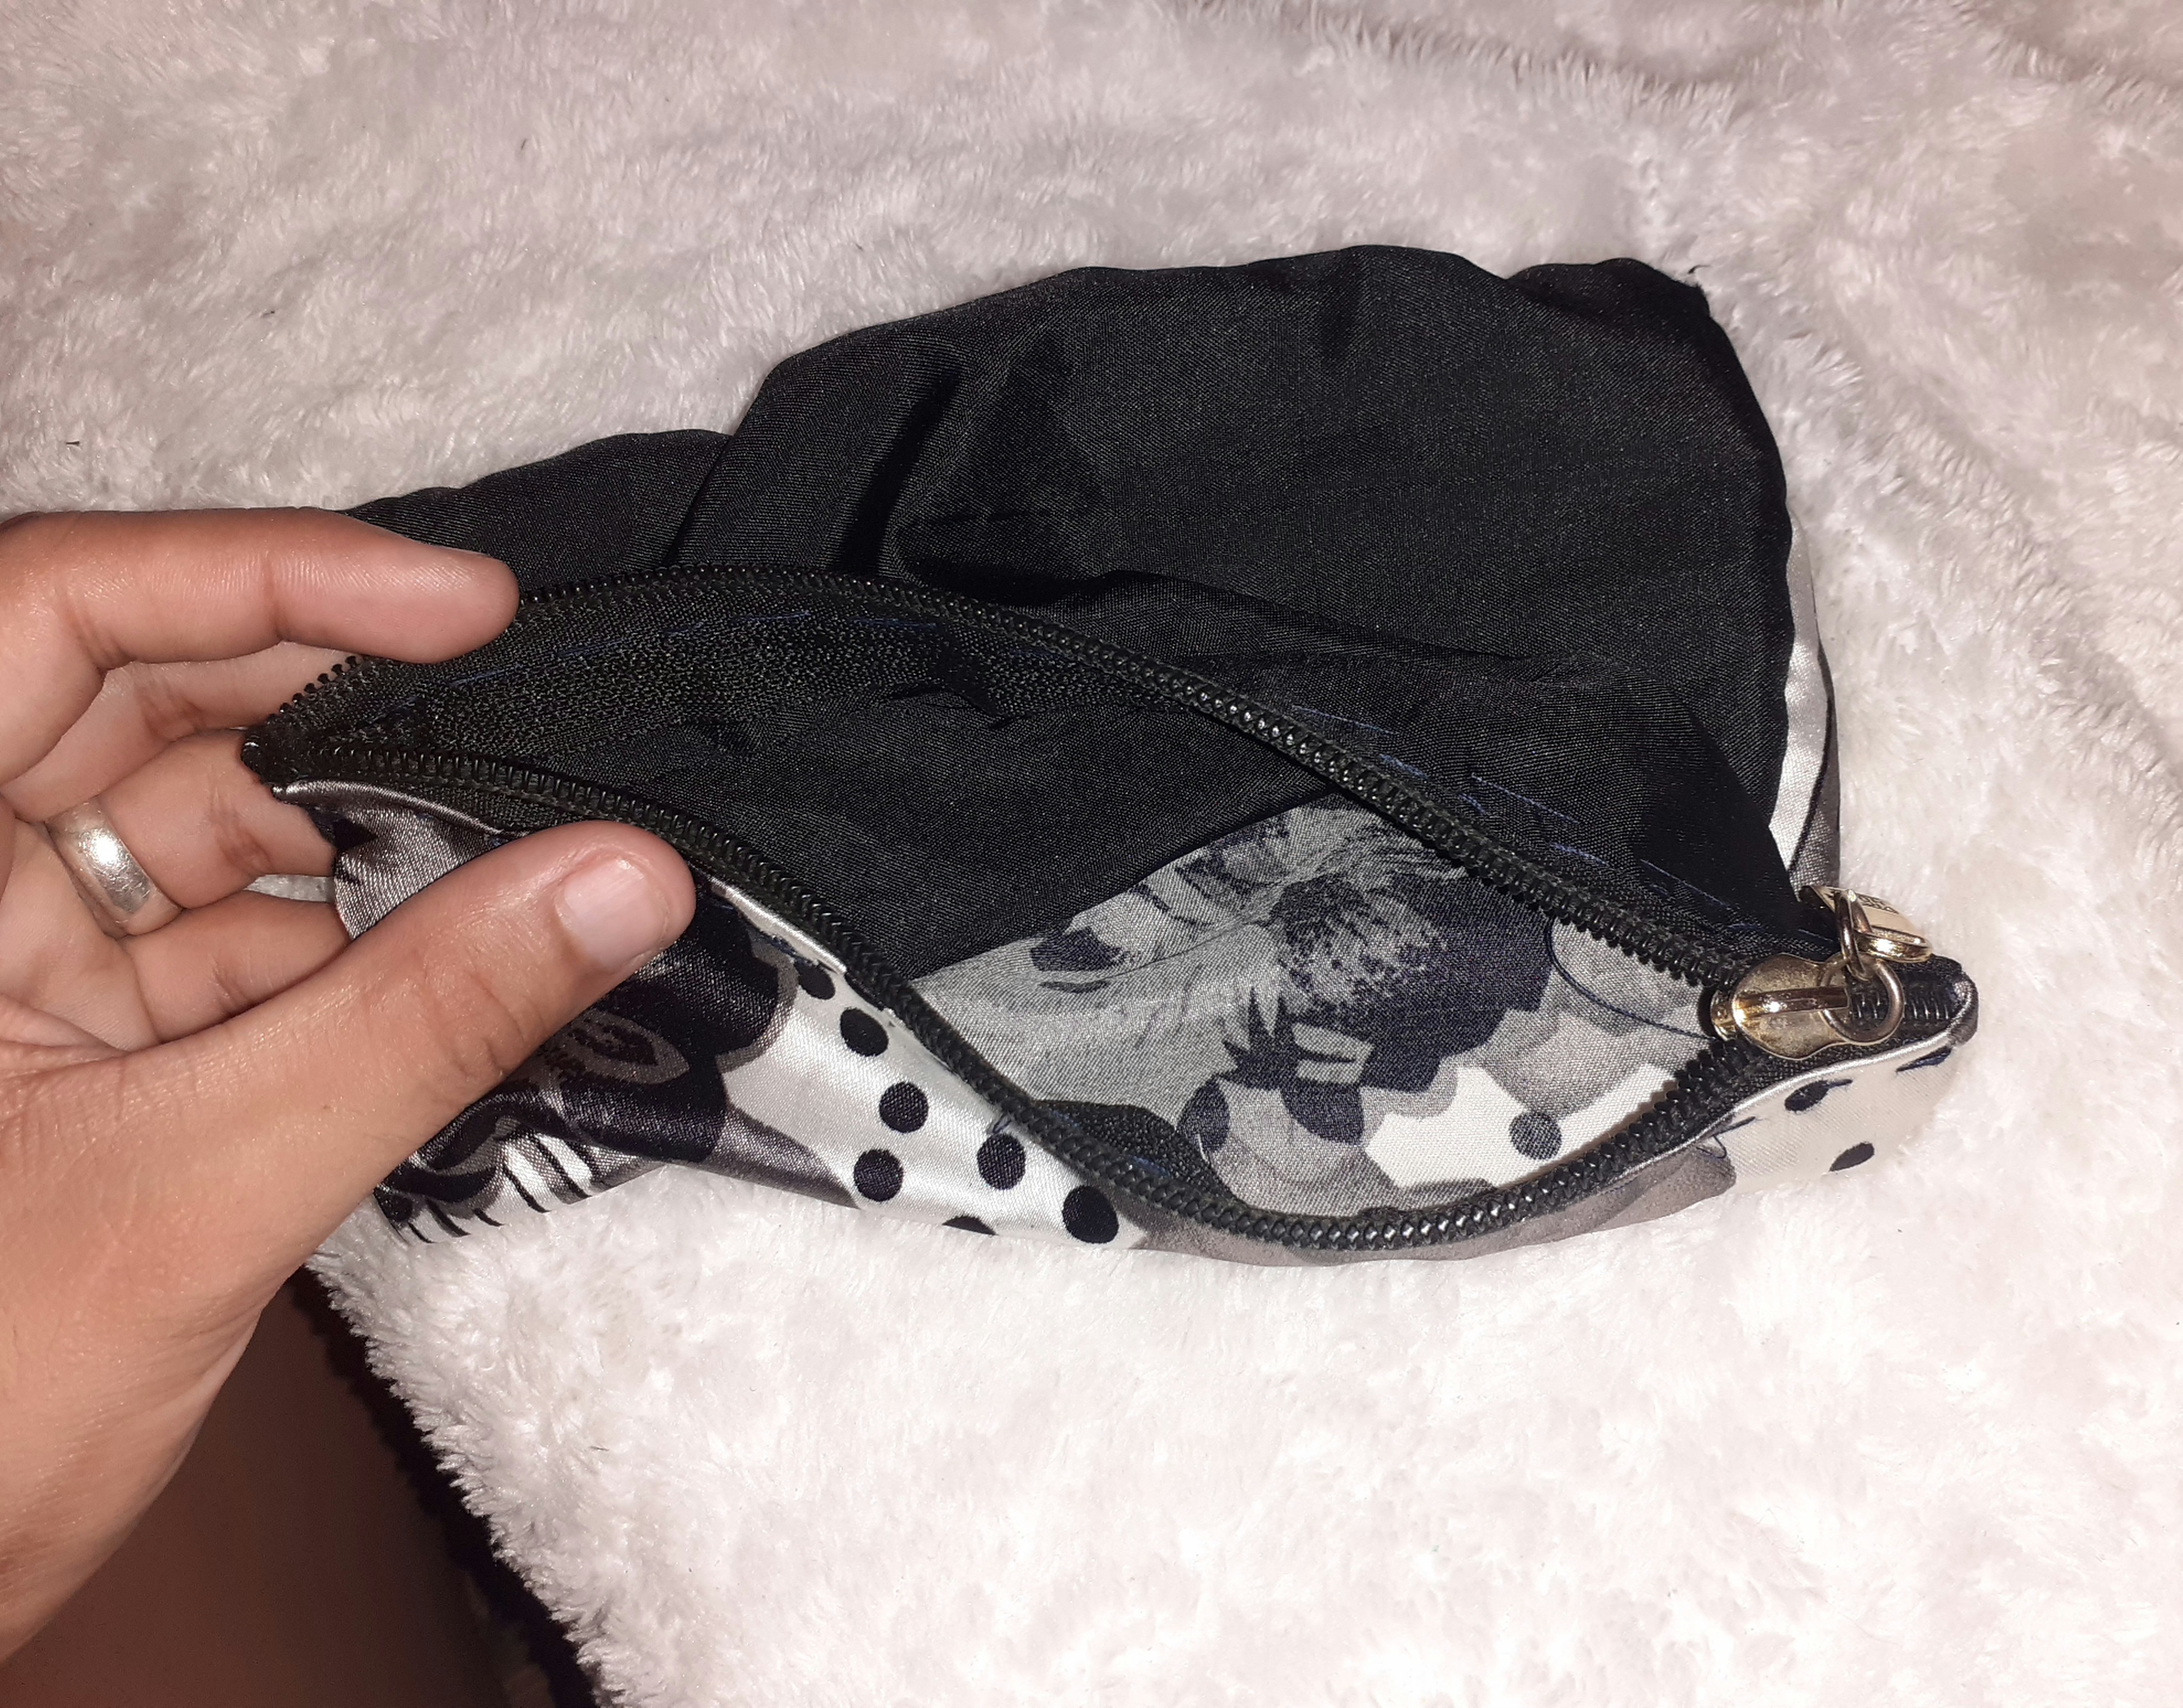
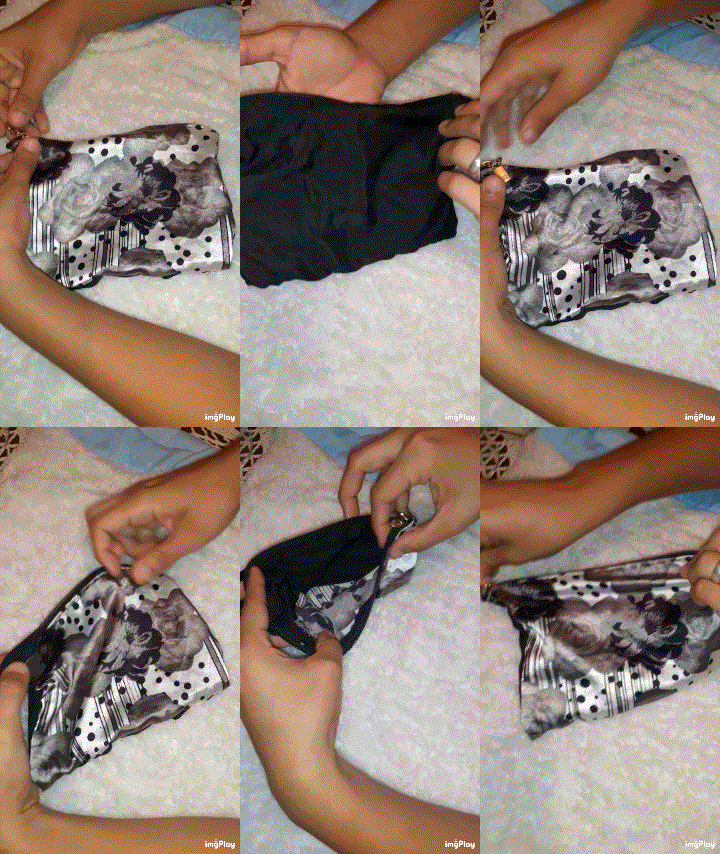
We fold the upper part of the fabric, where the zipper will be placed, and sew, thus giving a more homogeneous shape, after that, we proceed to sew our zipper, and ready our beautiful cosmetic holder ❤.
Paso 4
La parte de arriba de la tela la doblamos, donde se va a colocar el cierra, y cosemos, dando así una forma mas omojenea, después de ello, procedemos a cocer nuestro cierre, y listo nuestro hermoso porta cosmetico ❤.
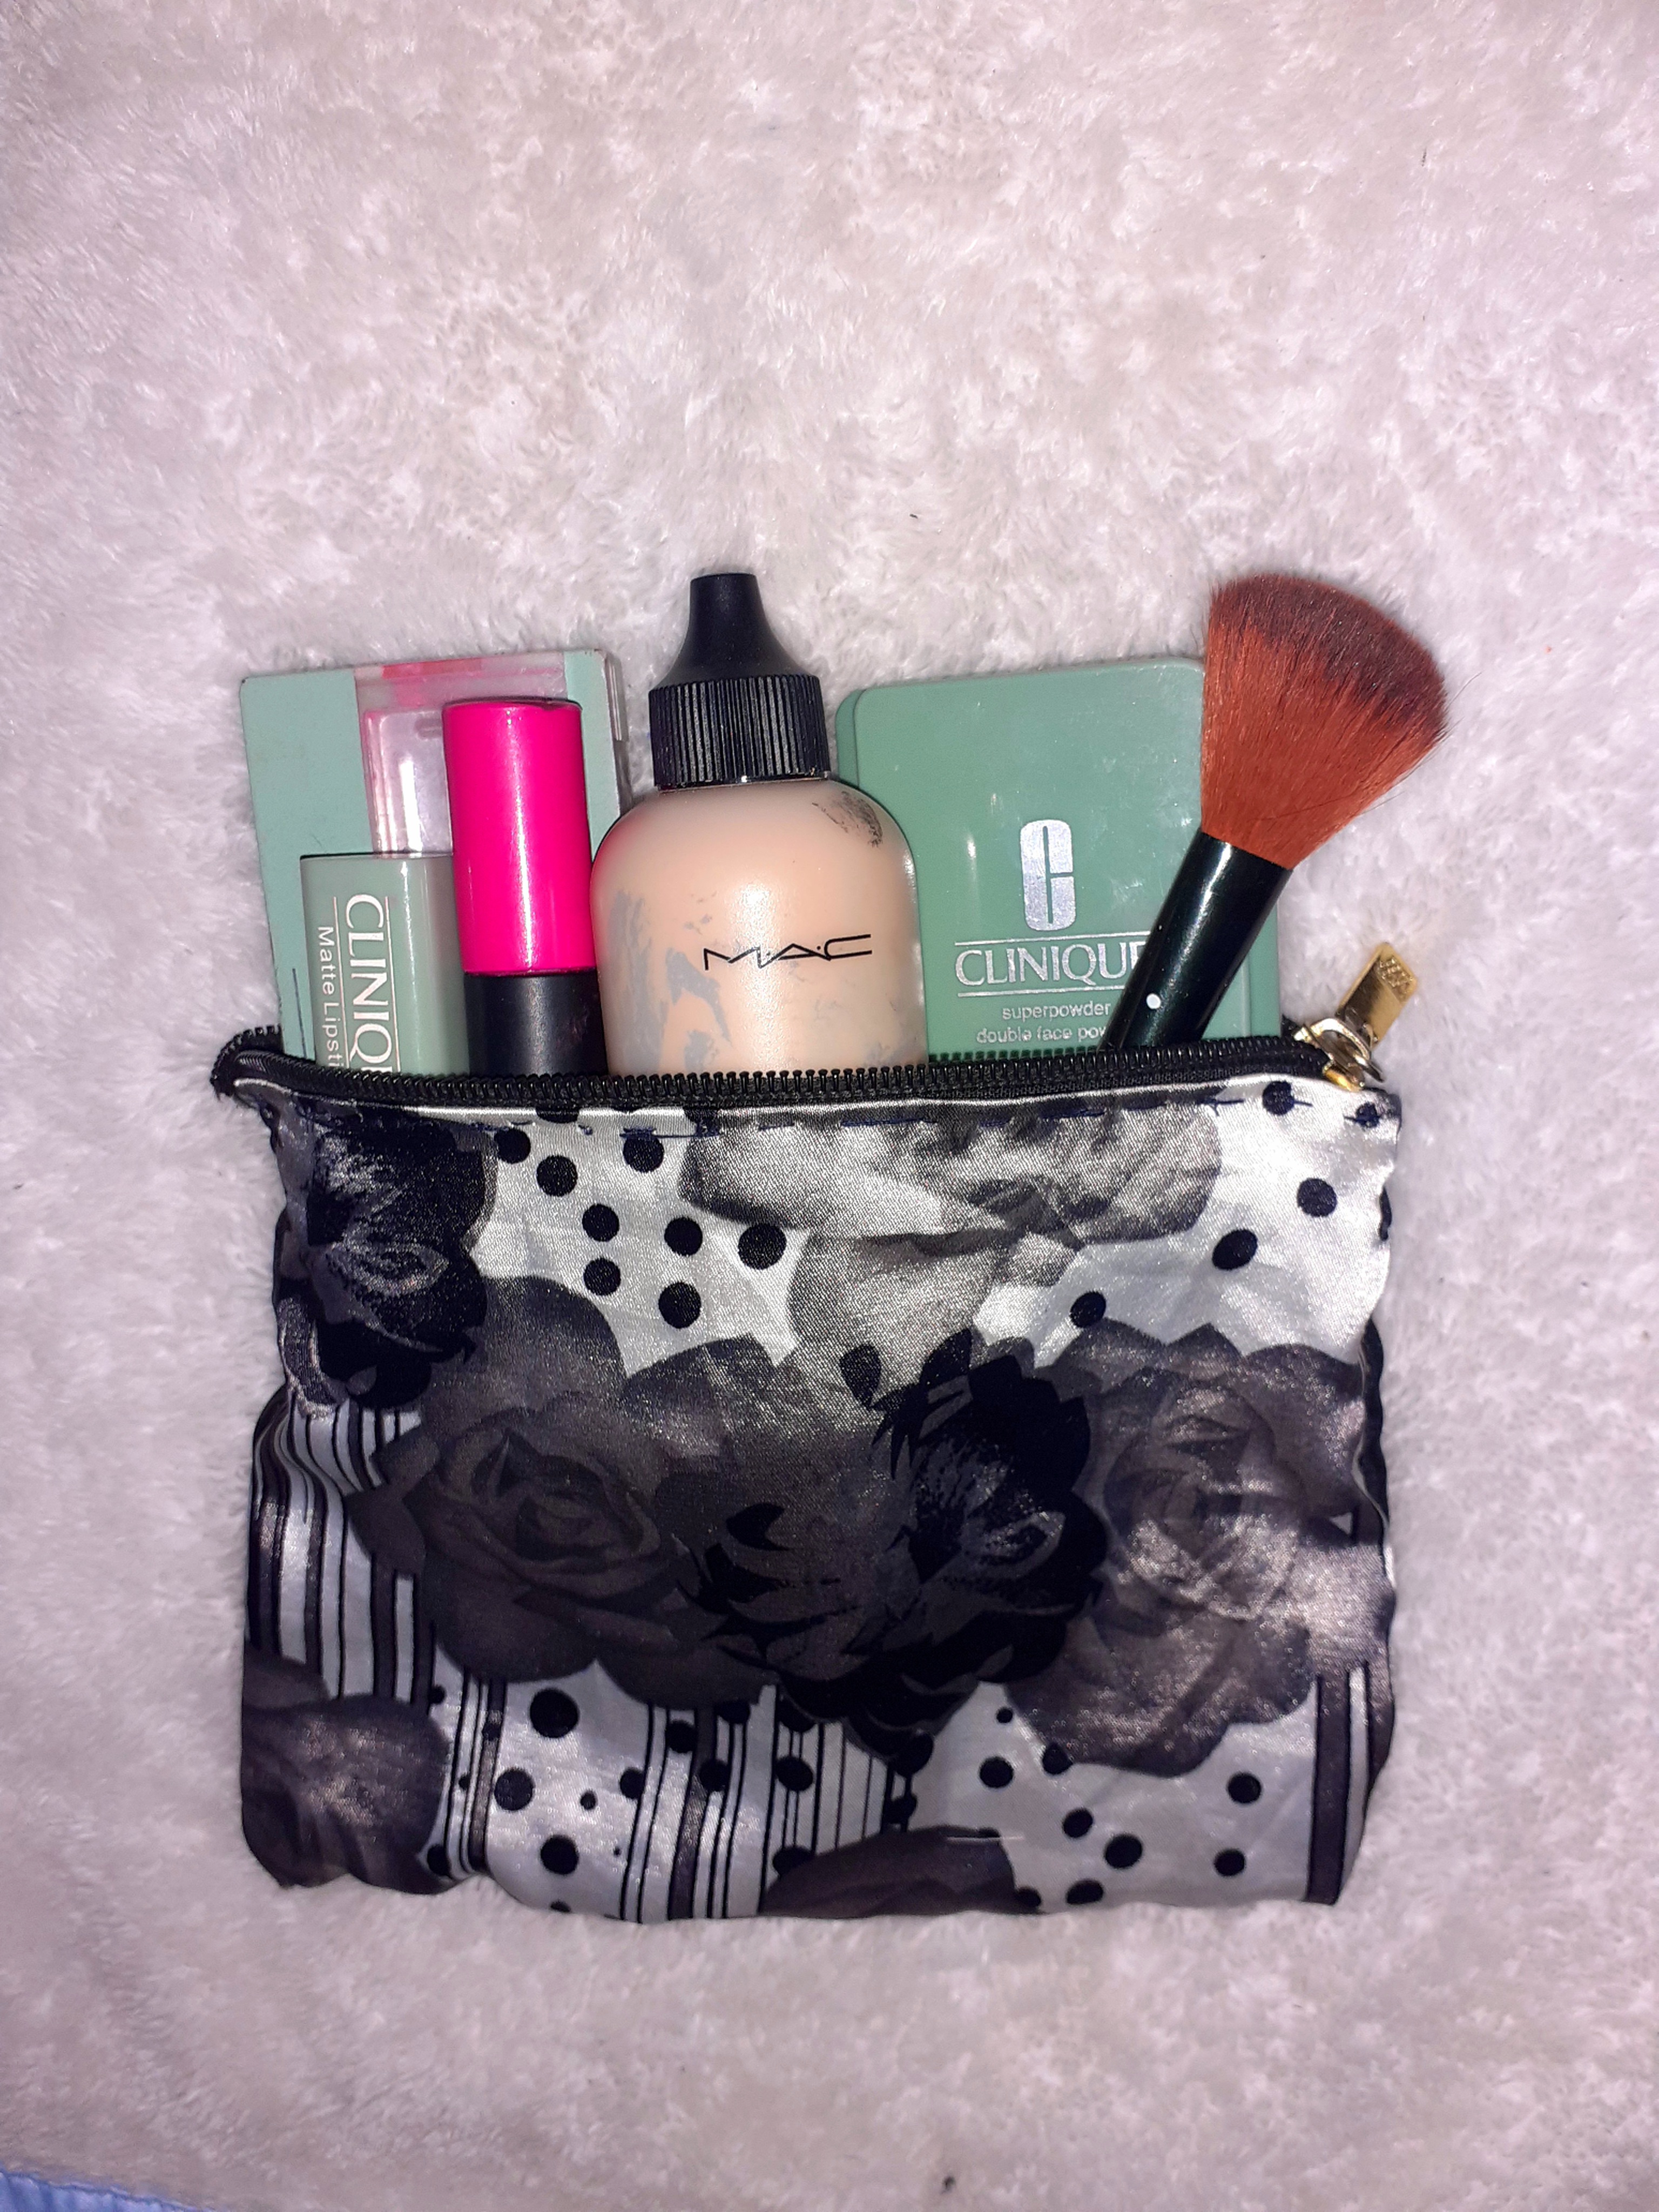
Me encantó la tela que usaste, se ve muy fina. Muchas gracias por compartir con nosotros tu tutorial y participar en el concurso. Mucha suerte.
Gracias a ti amiga. Muchas gracias. Me encanto tu concurso , algo muy diferente de lo que hacenos diaríamente.
Congratulations @emilym! You have completed the following achievement on the Hive blockchain and have been rewarded with new badge(s):
Your next target is to reach 300 replies.
You can view your badges on your board and compare yourself to others in the Ranking
If you no longer want to receive notifications, reply to this comment with the word
STOPCheck out the last post from @hivebuzz:
Support the HiveBuzz project. Vote for our proposal!
Muy bonito..
Graciassss amigo.
Hey! Me encantó la tela estampada que elegiste 🤩 Te quedó muy delicado y práctico 💪