

[Esp]
¡Saludos comunidad!
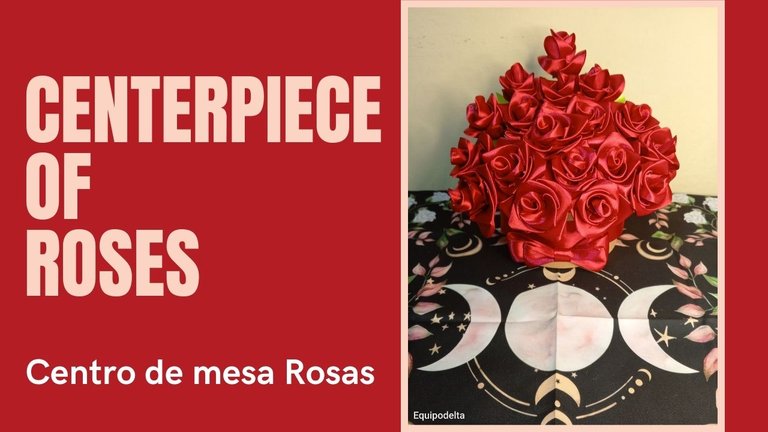
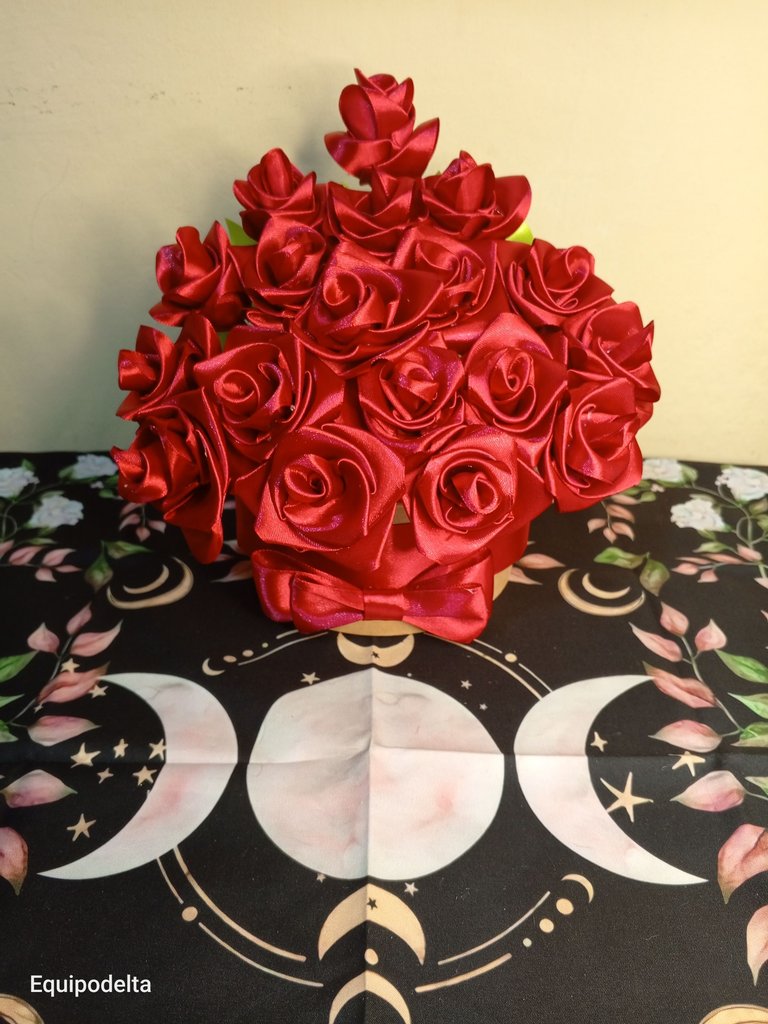
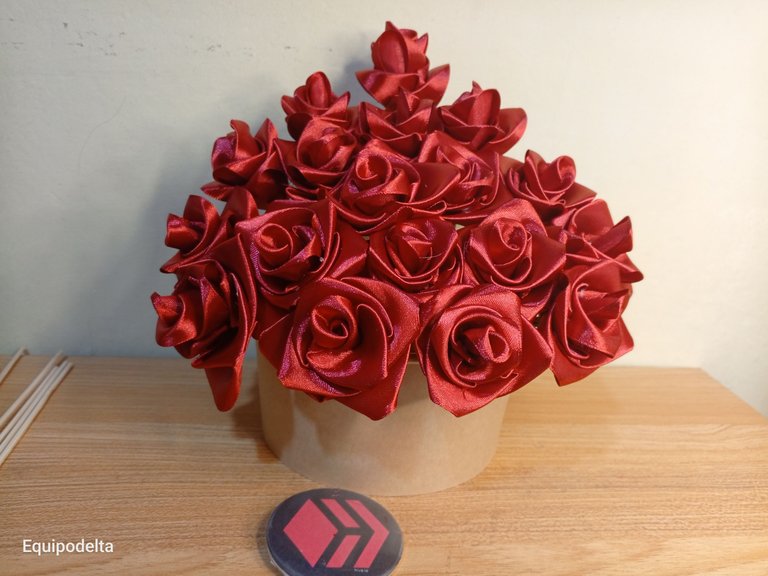
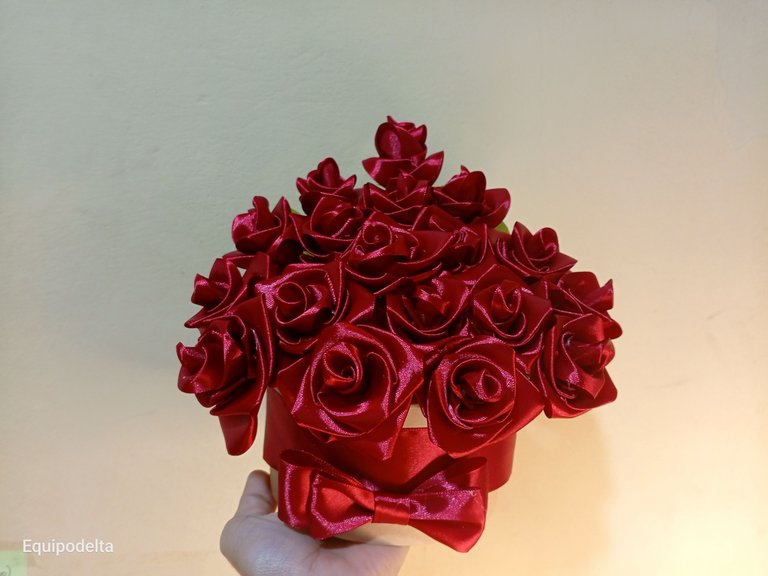
Mi mesa de tarot requería de algo especial. Me estoy perfeccionando en esto de hacer rosas eternas, hice un arreglo floral en color rojo escarlata, es la misma tonalidad de mis demás creaciones, trato de mantener la armonía de color, por eso siempre compro el rollo de cinta del mismo color y en el mismo sitio para evitar variaciones. Además que en ese establecimiento comercial es donde está más económico.
Mientras lo hacía recordé la última vez que recibí un ramo de flores, eso fue hace más de 17 años, guao que poco caballeros se han puesto los hombres. Creo que a toda mujer le encantaría recibir un ramo de flores, esta es una buena idea para obsequiar, te enseño cómo hacerla, es muy sencillo.
¿Recuerdan que en una publicación pasada les comenté que había comprado unos envases de cartón que me inspiraron hacer cosas bellas? Pues la cesta que contiene este precioso ramo es una de ellas.
Pensé que me llevaría más flores para cubrir todos los espacios pero no fue así, hubiera querido ponerle algo de follaje pero no encontré, creo que así de sencillo queda hasta mejor.
Acompáñenme al paso a paso.
English version
Greetings community!
My tarot table needed something special. I am getting better at making eternal roses, I made a scarlet red floral arrangement, it is the same shade of my other creations, I try to keep the color harmony, that's why I always buy the ribbon roll in the same color and in the same place to avoid variations. Besides, in that commercial establishment is where it is cheaper.
While I was doing it I remembered the last time I received a bouquet of flowers, that was more than 17 years ago, wow how ungentlemanly men have become. I think every woman would love to receive a bouquet of flowers, this is a good gift idea, I'll show you how to make it, it's very simple.
Remember in a previous post I told you that I bought some cardboard containers that inspired me to make beautiful things? Well, the basket that contains this beautiful bouquet is one of them.
I thought I would take more flowers to cover all the spaces but I didn't, I would have liked to put some foliage but I couldn't find any, I think it looks even better this simple.
Join me in the step by step.

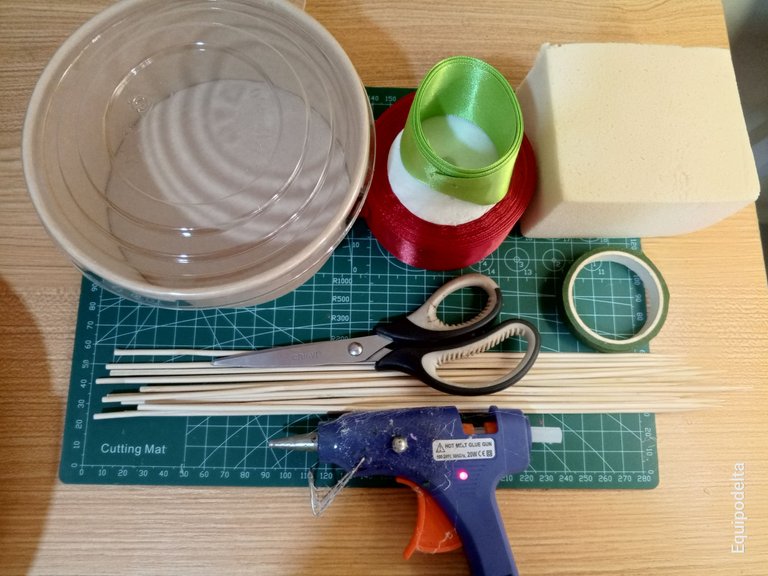
Materiales / Materials

| Spanish | English | |
| Cesta o envase de cartón | Basket or cardboard container | |
| Espuma floral | Floral foam | |
| Tijera | Scissors | |
| palitos de altura | high sticks | |
| Floratex | Floratex | |
| Silicón caliente | Hot Silicone | |
| Cinta de raso N°9 | Satin ribbon N°9 |


Paso a paso / Step by Step


Step 1️⃣/ Paso 1️⃣
 |  | |
 |  |
[Esp]
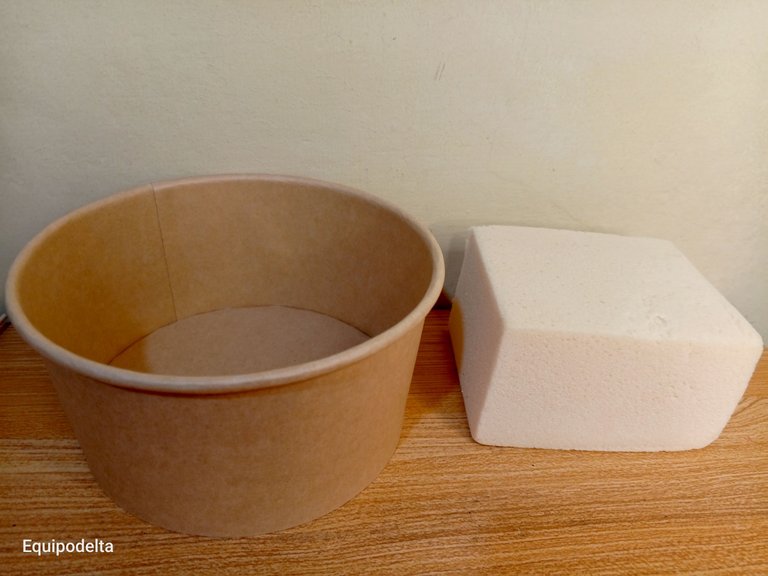
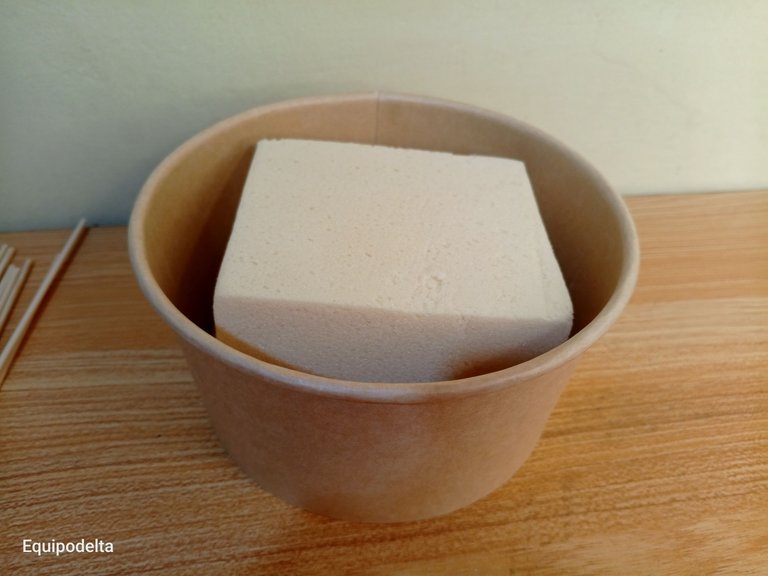
Toma la cesta o envase de cartón, coloca pegamento en el fondo en la parte interna y pega la espuma floral.
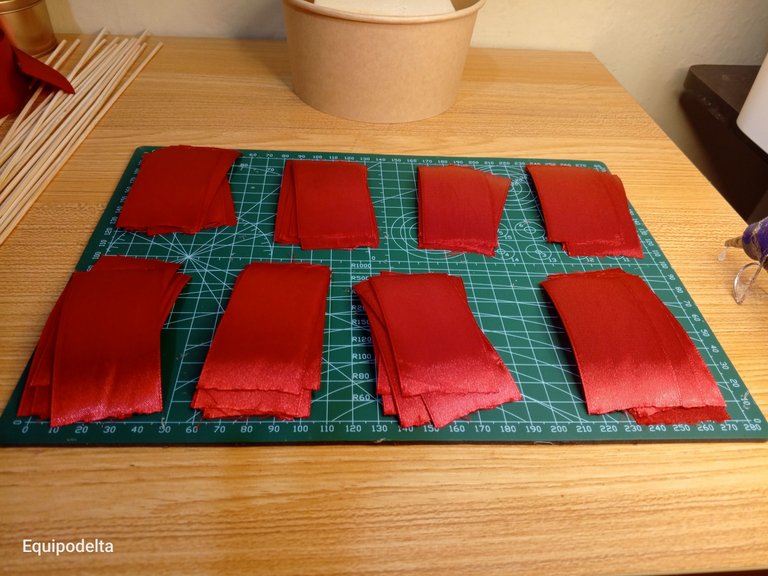
Recorta la cantidad de tiras necesarias para hacer las rosas, quema los bordes con yesquero, para cada rosa necesitarás 7 trozos de cinta de raso n°9 de 5 centímetros de largo.
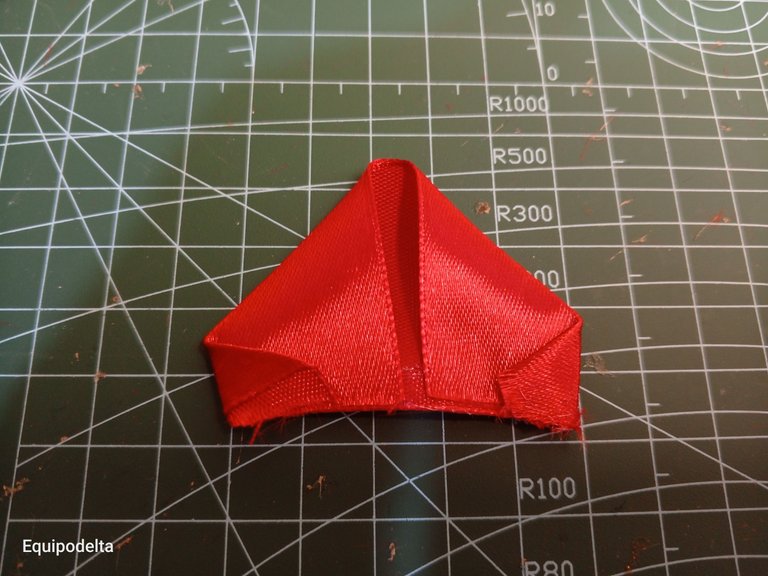
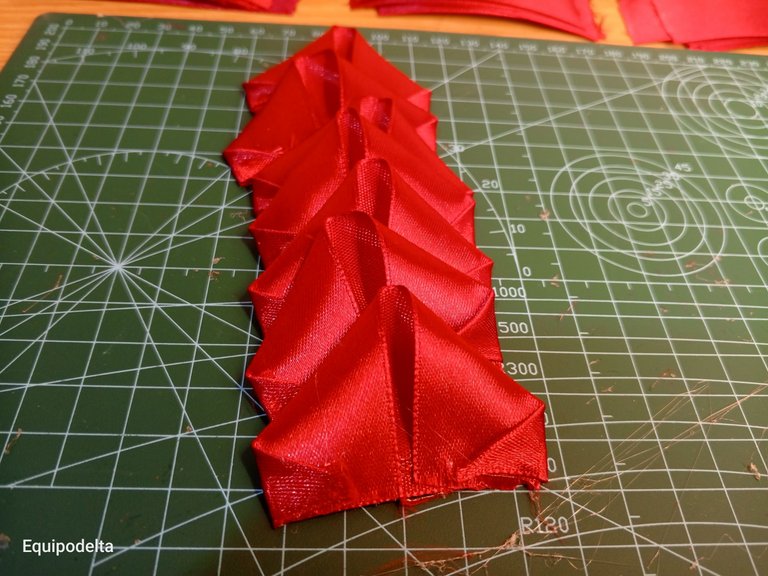
Dobla en forma de triángulo cada punta hacia dentro y luego doblas las puntas nuevamente hacia adentro, repite este procedimiento la cantidad de pétalos que necesites para hacer todas las rosas que sean necesarias para cubrir todos los espacios del arreglo floral.
English version
Take the basket or cardboard container, put glue on the bottom on the inside and glue the floral foam.
Cut the number of strips needed to make the roses, burn the edges with tinder, for each rose you will need 7 pieces of satin ribbon n°9 of 5 centimeters long.
Fold in a triangle shape each end inwards and then fold the ends inwards again, repeat this procedure as many petals as you need to make as many roses as necessary to cover all the spaces of the floral arrangement.

Step 2️⃣/ paso 2️⃣

 |  | |
 |  |
[Esp]
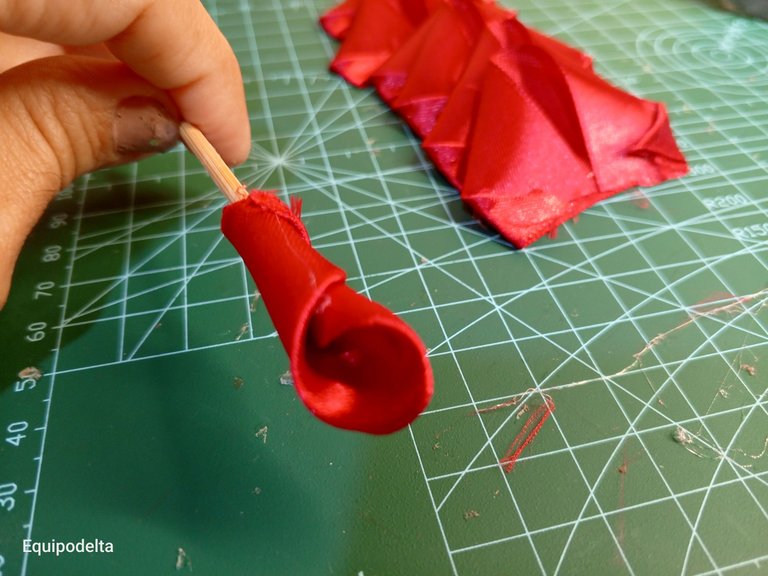
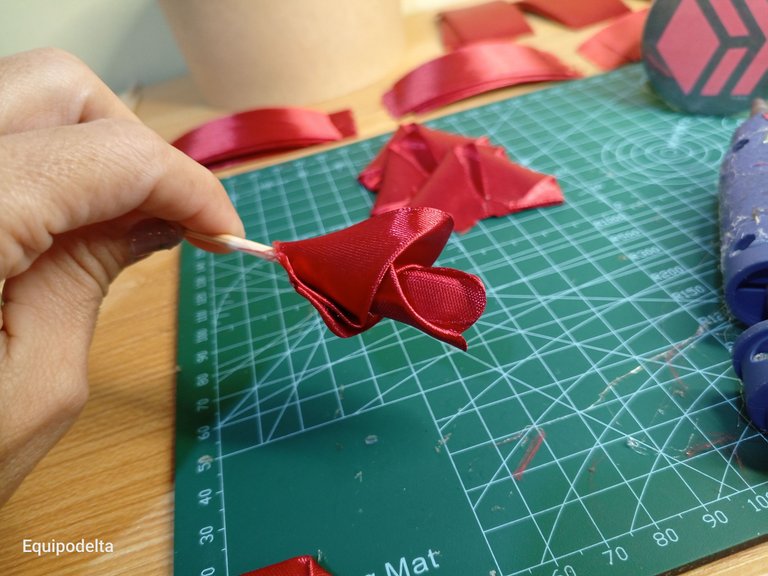
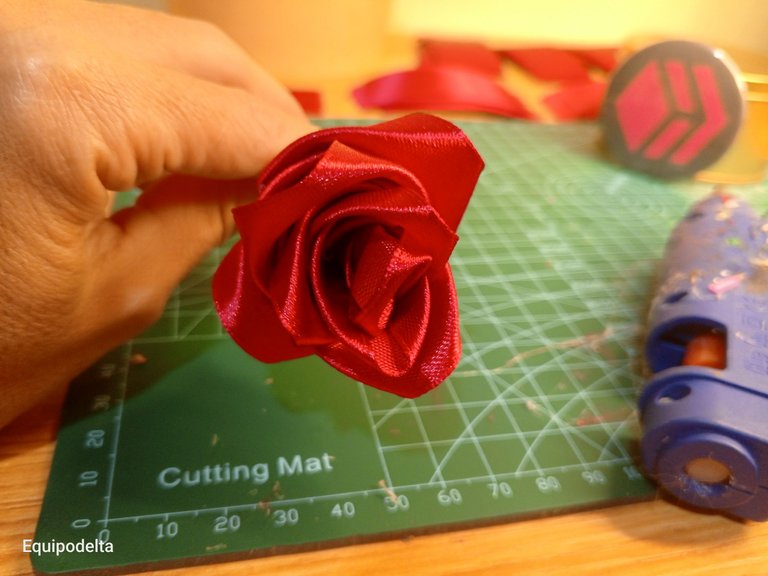
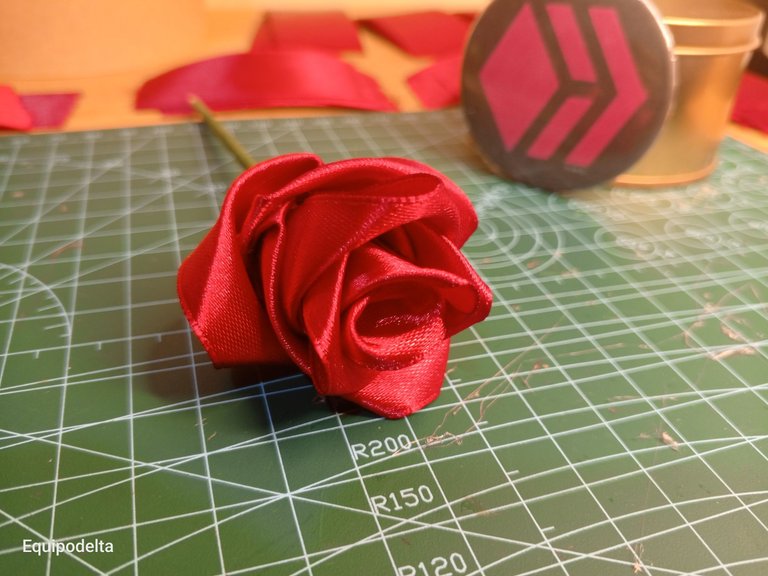
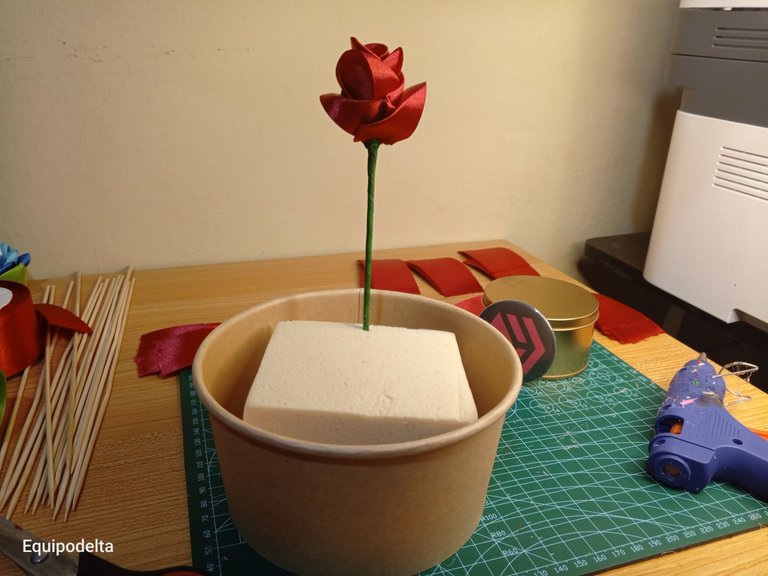
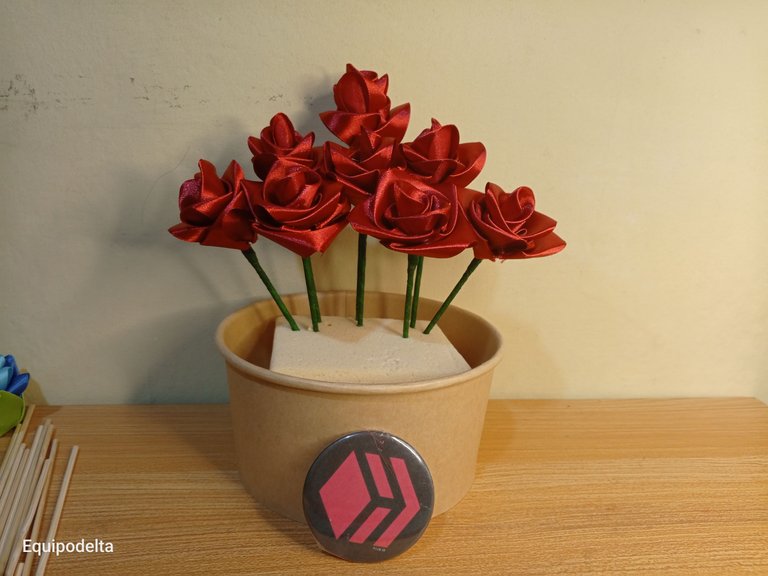
Toma un palito de altura, empieza enrollando el primer pétalo en él con ayuda del pegamento. Luego coloca el siguiente pétalo, trata de no apretar tanto el pétalo, que quede abierto, luego pega los siguientes pétalos intercalando, cubriendo espacios.
Forra con floratex el palito de altura.
Coloca la pieza central en la cesta, a partir de aquí podrás ver la altura que necesitas ir, bajando en escalera.
English version
Take a tall stick, start by rolling the first petal on it with the help of glue. Then place the next petal, try not to tighten the petal so much that it remains open, then glue the following petals, covering spaces.
Line the height stick with floratex.
Place the central piece in the basket, from here you will be able to see the height you need to go down the ladder.

Step 3️⃣/ paso 3️⃣

 |  | |
 |  |
[Esp]
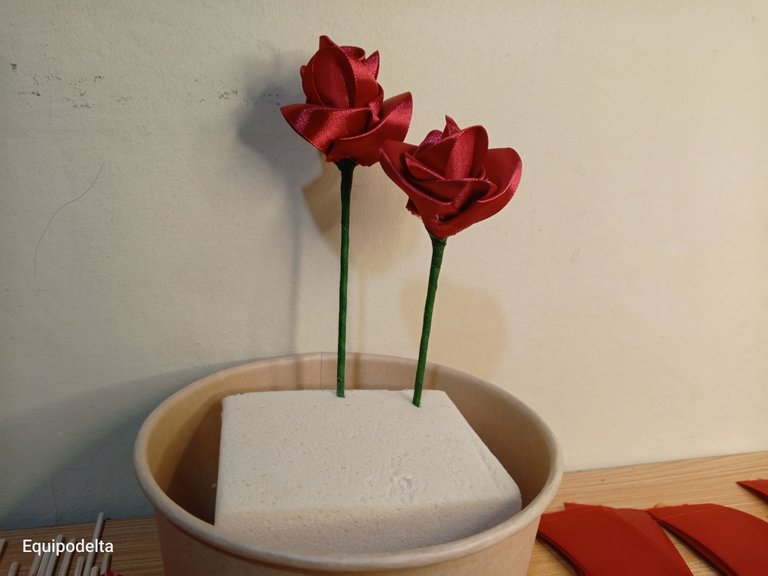
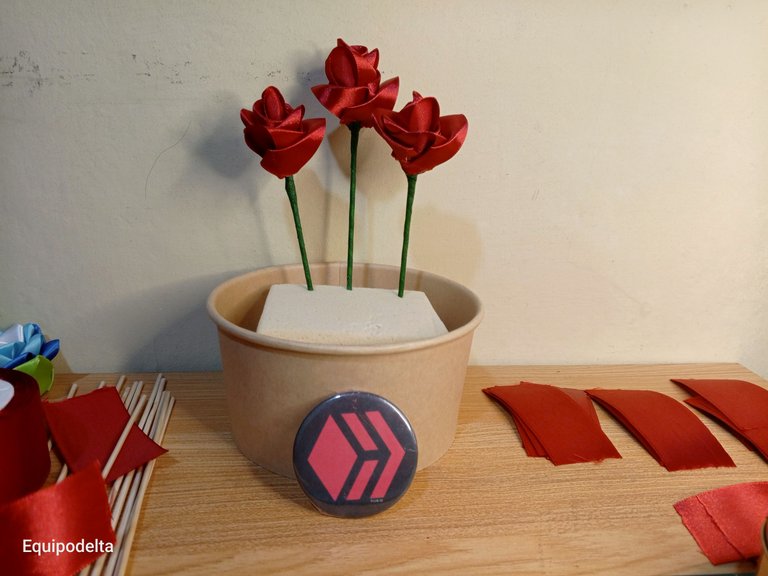
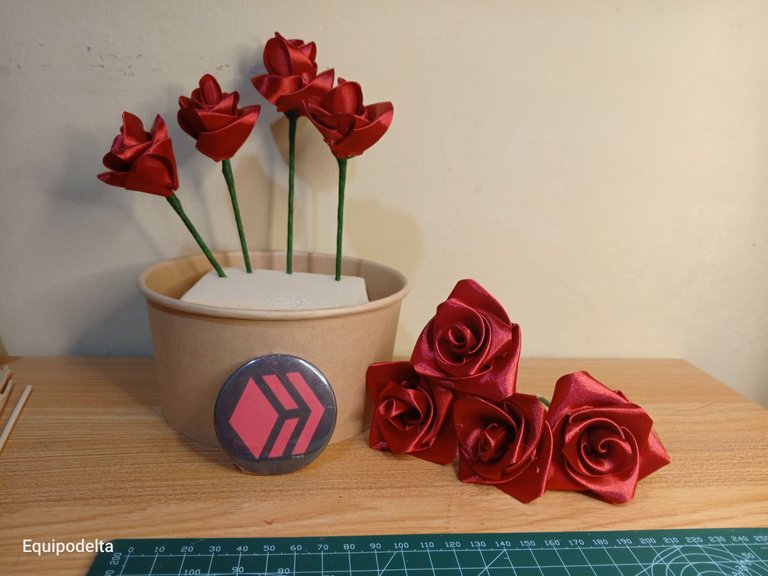
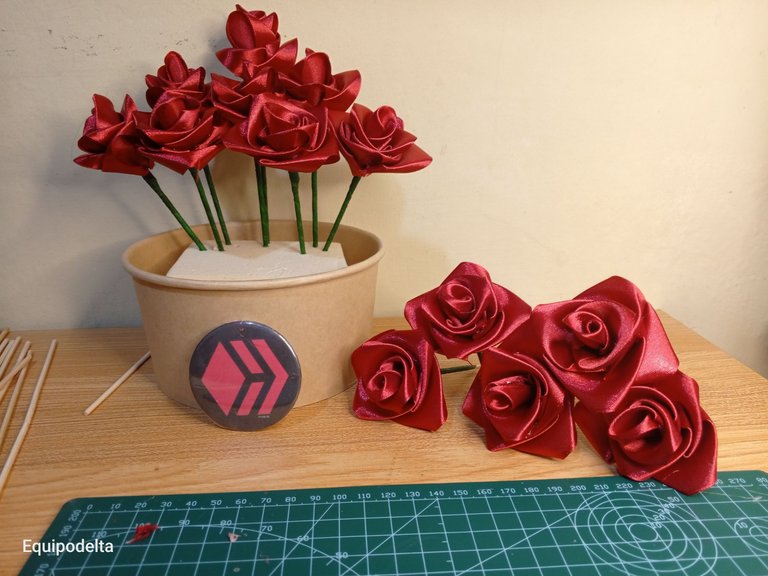
En la medida que repitas los pasos para hacer las rosas, irás pegando, como ven en las imágenes, en forma de escalera, descendente.
Mientras menos aprietes los pétalos al pegarlos más voluminosos se verán.
English version
As you repeat the steps to make the roses, you will be gluing, as you can see in the images, in a descending ladder shape.
The less you squeeze the petals when gluing them, the more voluminous they will look.

Step 4️⃣/ paso 4️⃣

 |  | |
 |  |
[Esp]
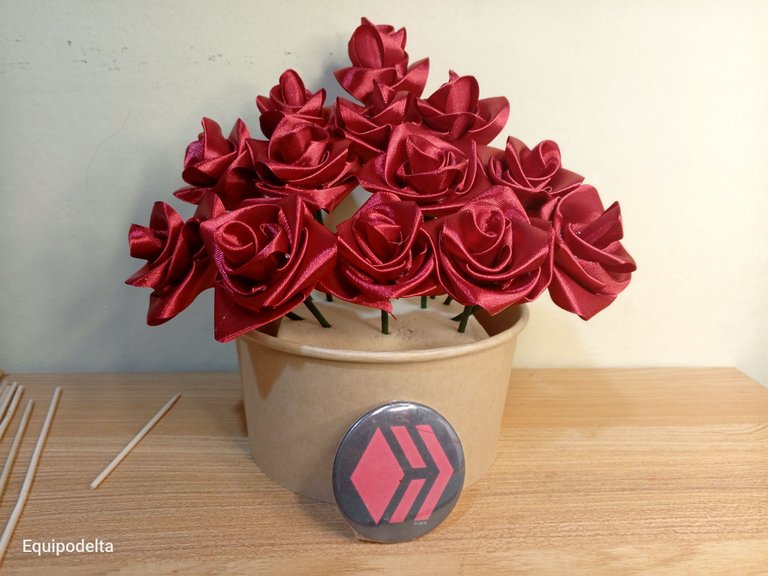
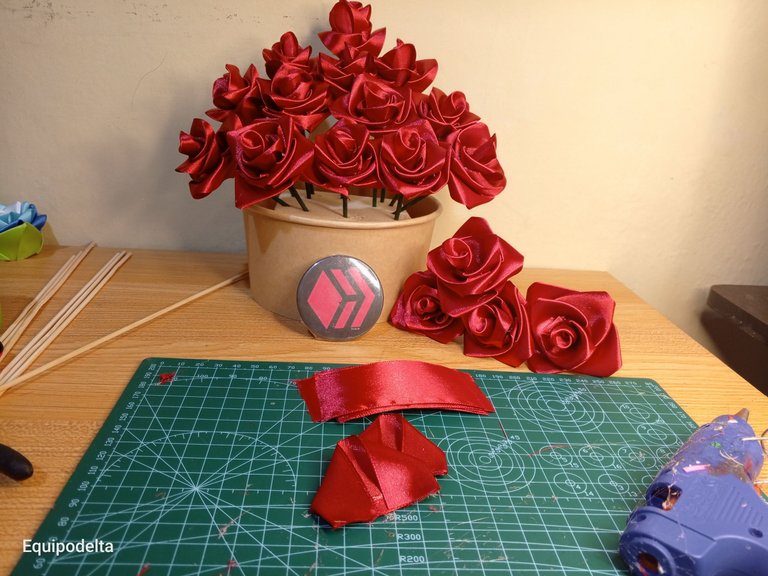
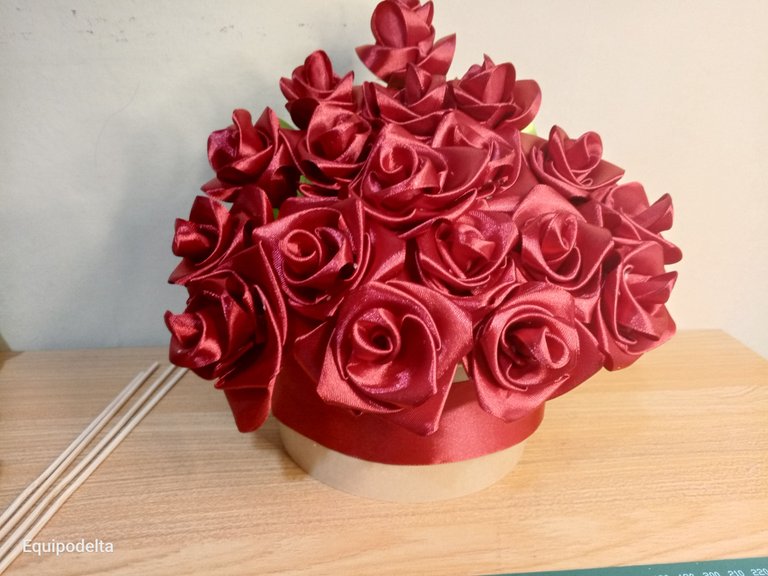
En la medida que vamos cubriendo los espacios con las rosas, va tomando mejor forma.
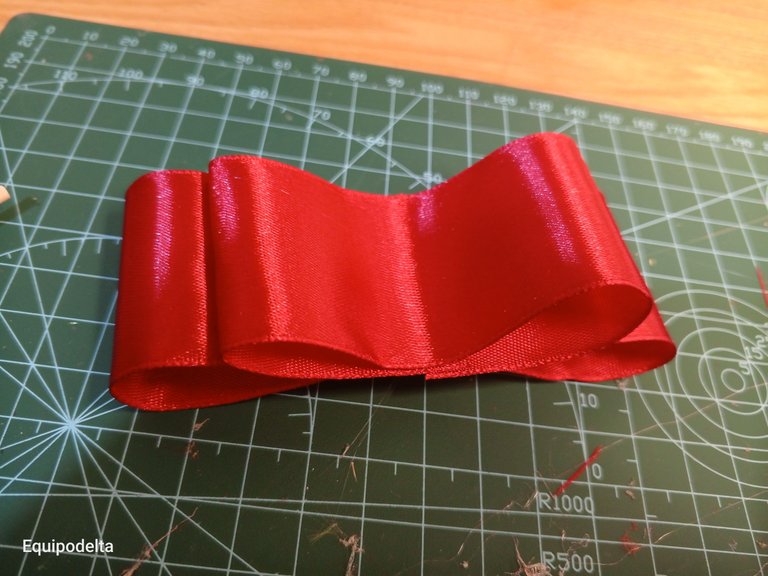
Cuando termines de colocar todas las rosas, realiza un doble lazo.
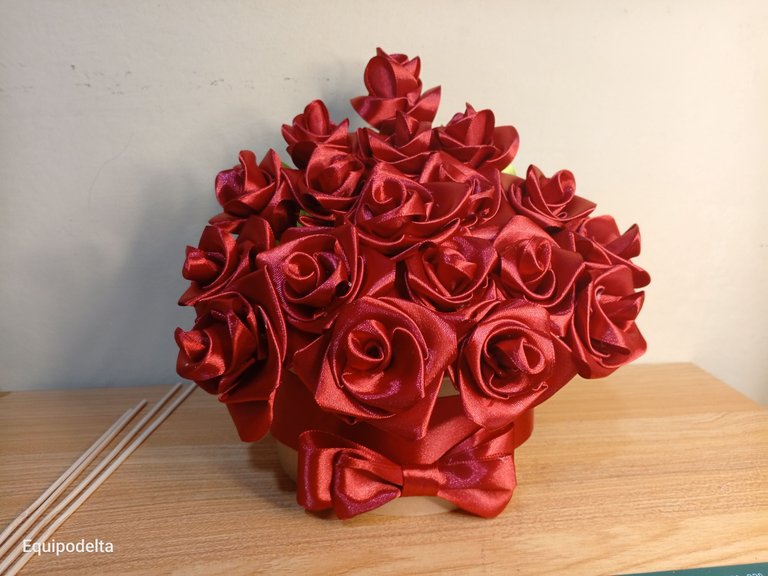
Luego, pon una cinta bordeando la cesta o el envase de cartón y pegas el lazo.
Hemos terminado el proyecto.
Espero te guste.
English version
As we cover the spaces with the roses, it will take better shape.
When you finish placing all the roses, make a double bow.
Then, put a ribbon around the basket or cardboard container and glue the ribbon.
We have finished the project.
I hope you like it.




Créditos / Credits


💜💜💜


![]() 👉
👉  👉
👉  👉
👉  👉
👉 
Here / Bríndame un café

Wow se ve hermoso 💗
Realmente todo lo que es hecho a mano me parece muy bonito, me encanta el rojo tan brillante como se ve en las fotos y el resultado final 😍
¿17 años? wow, bueno, yo nunca he recibido uno, ay 💔 jajaja pero este arreglo floral esta muy bello y lo compensa jaja para autoregalarmelo o lo pongo a Buhito a hacer uno y que me lo regale 😂
¡Ahora si es verdad que esas cartas saldrán mas mágicas y llenas de amor con ese ramo tan hermoso que has puesto para su mesa especial!
Hermoso 🤩 yo los he visto en tiktok pero aún no me atrevo a hacer uno, más es por falta de tiempo, entre la escuela y la casa quedo agotada. Pero realmente se ve fácil de hacer y es un lindo detalle para regalar.
Making these roses as beautiful and lovely as they are must have been a lot. They look stunning, well done.
Realmente un hermoso centro de mesas. Lo adoré. Gracias por compartir. Bendiciones.
Uy que hermoso y delicado!
De verdad que el trabajo valió la pena, tienes manos maravillosas.
Me encantó!
Gracias por mostrarnos tu paso a paso.
Te quedaron lindas las rosas graciss por compartir el paso a paso
Un abrazo amiga @equipodelta
If one didnt look closely it seems like a real rose. I love your talent and how you make unique things urself. And it really suits the table
Las rosas eternas de equipo de @equipodelta qué originales te quedaron, me encanta este centro de mesa de puras rosas rojas.
Quedaron preciosas estas flores eternas, me enamoré de ellas. Me gustaría hacerlas en amarillo claro que es mi color preferido en rosas, recuerdo que hace años me gustaba comprar una docena de ellas una vez a la semana, lamentablemente dejé de hacerlo por el presupuesto. Este tutorial es una gran opción.
Hola amiga,que lindas rosa, el color me encanta, si que tienes grandes ideas para decorar tu casa,la mesase verá muy bien con esta gran cesta de rosas. 🌹😍
Feliz fin de semana!
Wow this is so beautiful. If I am to rate you I will give you 100% I love you crafts. Weldone and thanks for sharing. I have learned from you.
Que lindo ramo de flores, a mi noe han regalado uno,no pierdo las esperanzas, muy fácil la explicación, tu.mesa se ve espectacular.
This is absolutely beautiful. Just reminded me of the time i taught DIY sunflower in arts and craft class during my teaching practice.