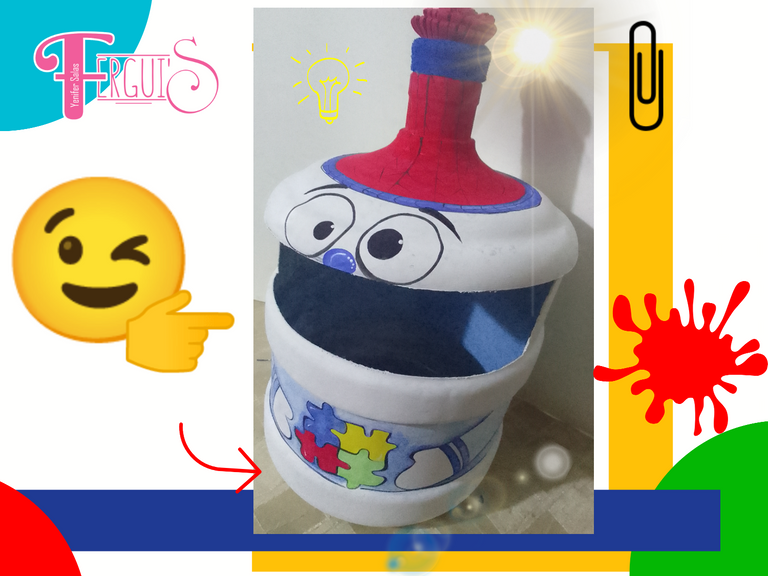
Hola Hola amigos creativos de HIVEDIY que la bendición de Dios nos acompañe siempre en esta oportunidad quiero compartir con ustedes una hermosa papelera hecha con materiales de provecho, todo comenzó por petición de una clienta muy especial para mí ella tiene un niño con una condición de autismo y en el colegio le pidieron como proyecto de grado entregar una papelera hecha con materiales reciclables por esta razón ella recurrió a mí en busca de alguna solución y lo único que me dijo que tenía disponible era un botellón de agua roto en la base a partir de eso puse mi imaginación a volar y cree una curiosa papelera, que si bien no es muy grande cumple con los requisitos exigidos en el colegio (ser animada y contener el símbolo del autismo) y yo me encargue además de que sea el centro de atención. Acompáñame y aprende a realizarla.
Hello Hello creative friends of HIVEDIY may God's blessing be with us always, in this opportunity I want to share with you a beautiful wastebasket made with recyclable materials, it all started by request of a very special client for me, she has a child with an autism condition and at school she was asked as a grade project to deliver a wastebasket made with recyclable materials for this reason she turned to me in search of a solution and the only thing she told me she had available was a water bottle broken at the base, from that I put my imagination to fly and create a curious wastebasket, Although it is not very big, it meets the school's requirements (to be animated and contain the symbol of autism) and I was also in charge of making it the center of attention. Join me and learn how to make it.
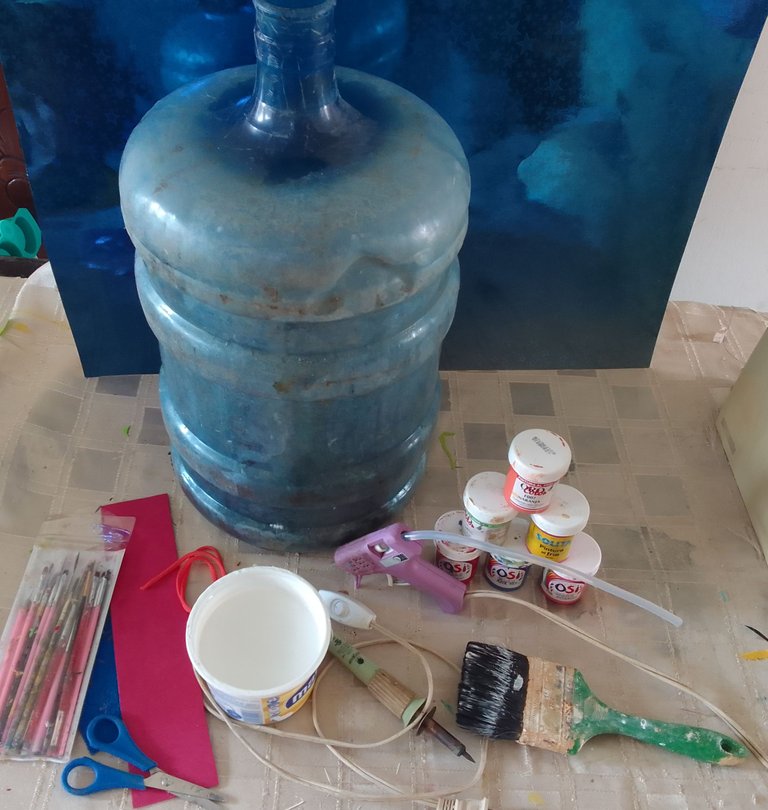
• Botellón de agua plástico
• Pintura blanca de caucho.
• Pintura al frío.
• Foami
• Trenza o cordón.
• Brocha gruesa.
• Pinceles.
• Hoja de segueta.
• Pistola de silicón.
• Cautín.
• Tijera.
• Plastic water bottle
• White rubber paint.
• Cold paint.
• Foami
• Braid or cord.
• Thick brush.
• Brushes.
• Saw blade.
• Silicone gun.
• Soldering iron.
• Scissors.
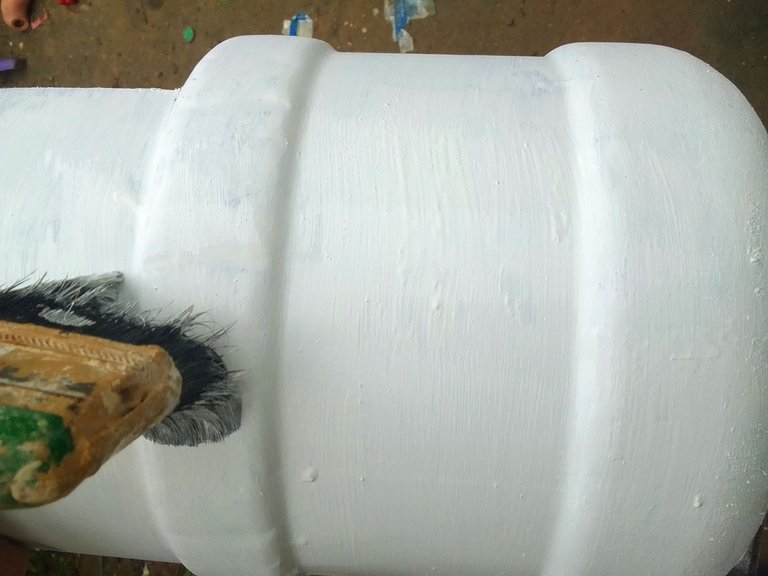
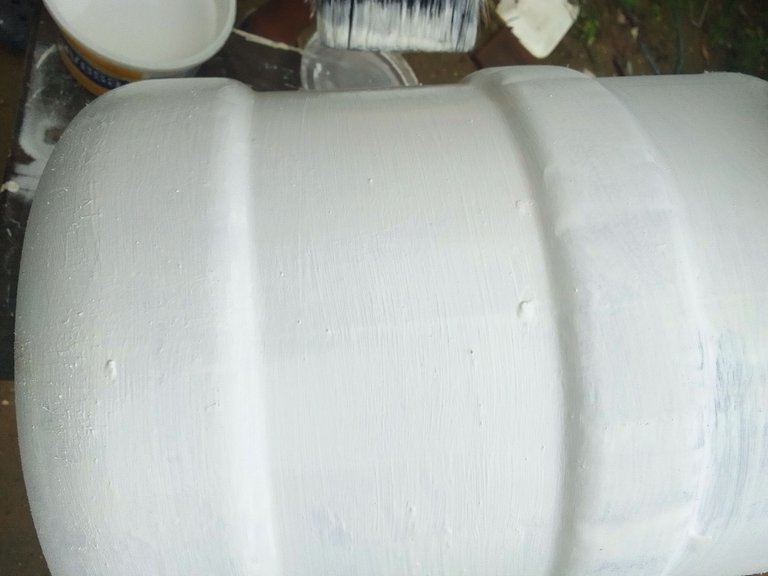
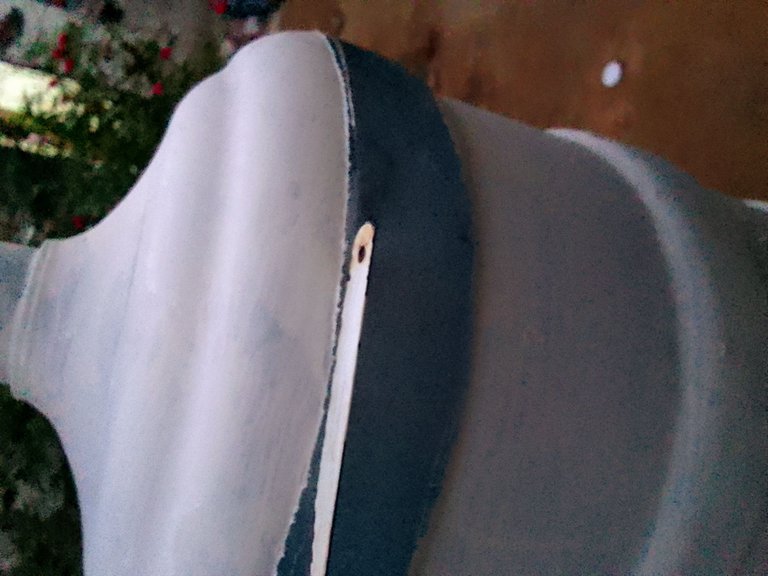
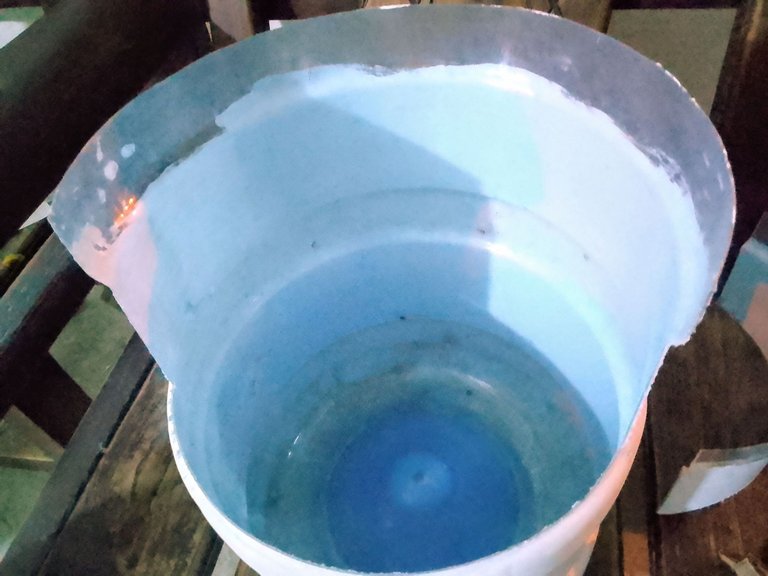
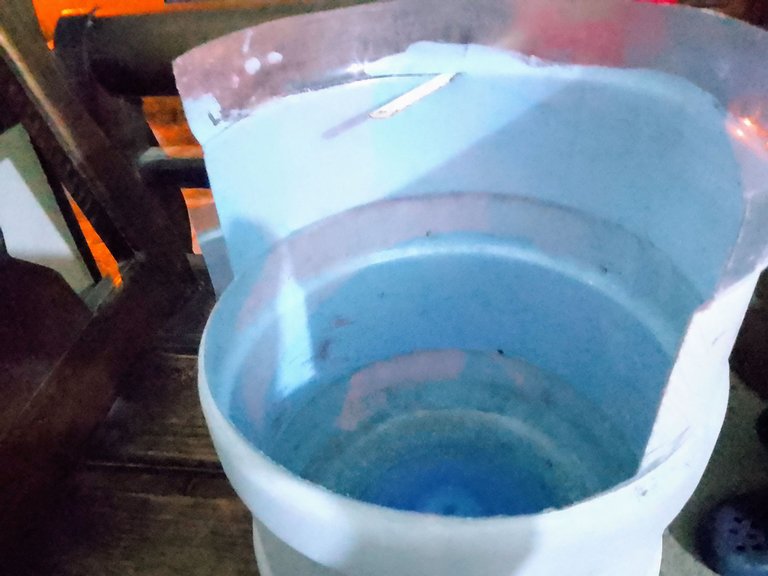
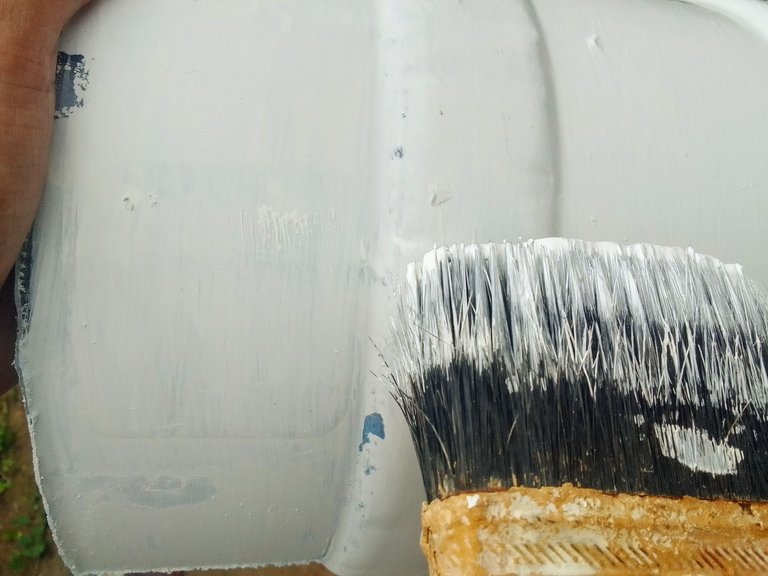
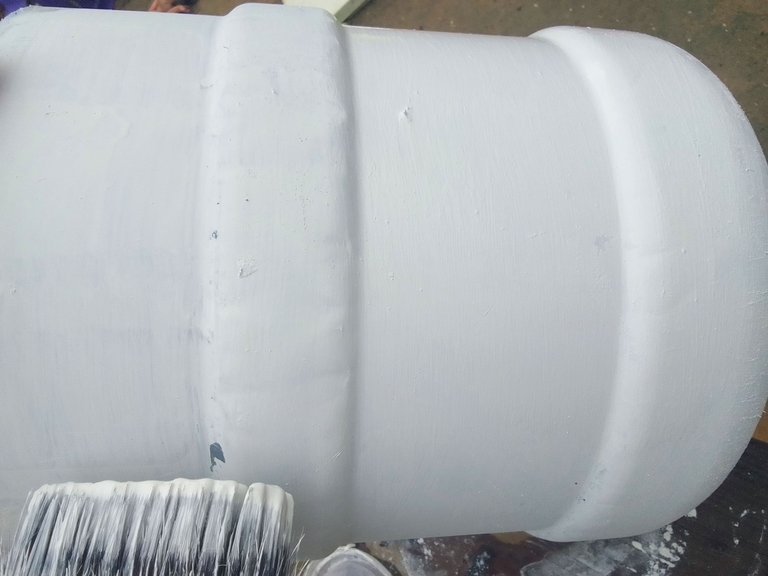
Primero agregué un poco de pintura blanca en un envase plástico pequeño, luego con una varilla de madera mezcle hasta homogeneizar la pintura, este paso es muy importante, pues la pintura al estar mucho tiempo almacenada se asienta y debe ser mezclada cada vez que sea usada para un resultado óptimo. Luego con la ayuda de una brocha pinte en dirección horizontal cada rueda del botellón, mientras menos humedecida esté la brocha es mejor, ya que, la pintura secará más rápido ahorrando tiempo para la aplicación de las capas siguientes, solo apliqué 2 capas en este paso.
First I added a little white paint in a small plastic container, then with a wooden stick mix until homogenize the paint, this step is very important, because the paint to be a long time stored settles and must be mixed each time it is used for an optimal result. Then with the help of a brush paint in horizontal direction each wheel of the bottle, the less wet the brush is the better, because the paint will dry faster saving time for the application of the following layers, I only applied 2 layers in this step.
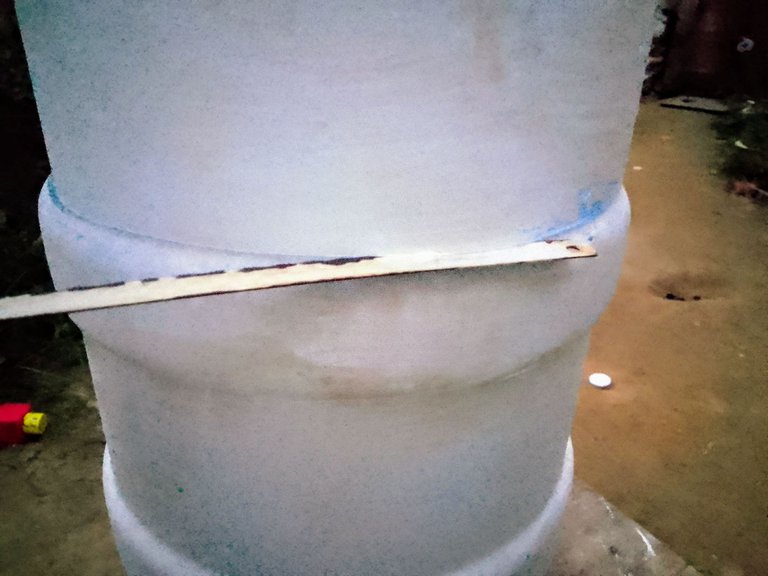
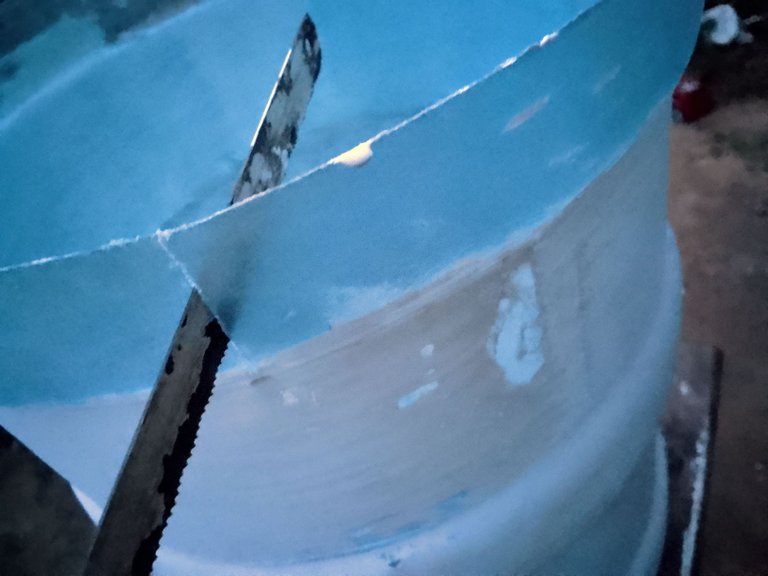
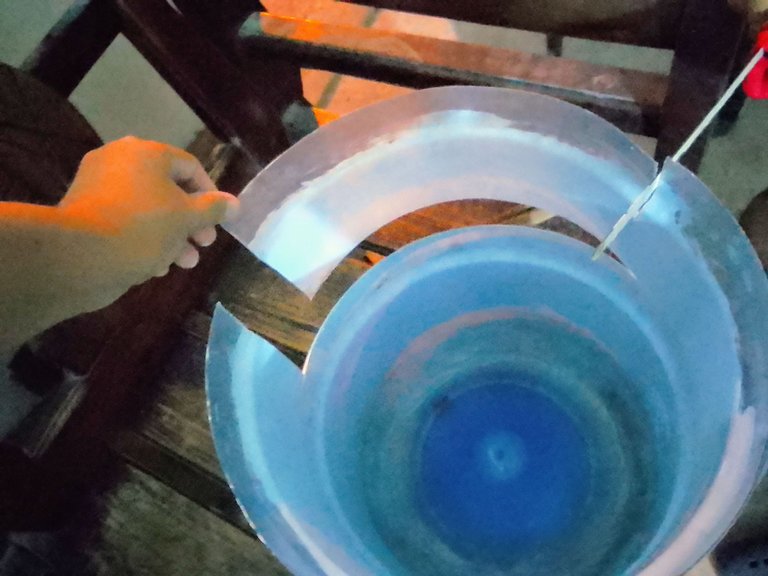
Una vez pintada la botella lo siguiente que hice con ayuda de una hoja de sierra fue cortar la botella específicamente la parte superior o cuello, así obtuve el cuerpo del bote de basura y la tapa. Posteriormente cometí un error 🙊 y corté muy abajo la botella, ya que quería eliminar una sección que impedía que la tapa pudiera sellar el cuerpo del bote de basura, sin embargo me di cuenta a tiempo y no terminé de cortar la rueda de la botellón sino que hice un corte vertical hacia los extremos donde ya había cortado y quedó la forma de una papelera de las que se usan para reciclar con un agujero en la parte delantera😁 lo cual fue un alivio ya que no teníamos más botellones disponibles.
Once the bottle was painted the next thing I did with the help of a saw blade was to cut the bottle specifically the top or neck, so I got the body of the garbage can and the lid. Later I made a mistake 🙊 and cut very low the bottle, because I wanted to eliminate a section that prevented the lid could seal the body of the garbage can, however I realized in time and did not finish cutting the wheel of the bottle but I made a vertical cut to the ends where I had already cut and was the shape of a wastebasket used for recycling with a hole in front😁 which was a relief because we had no more bottles available.
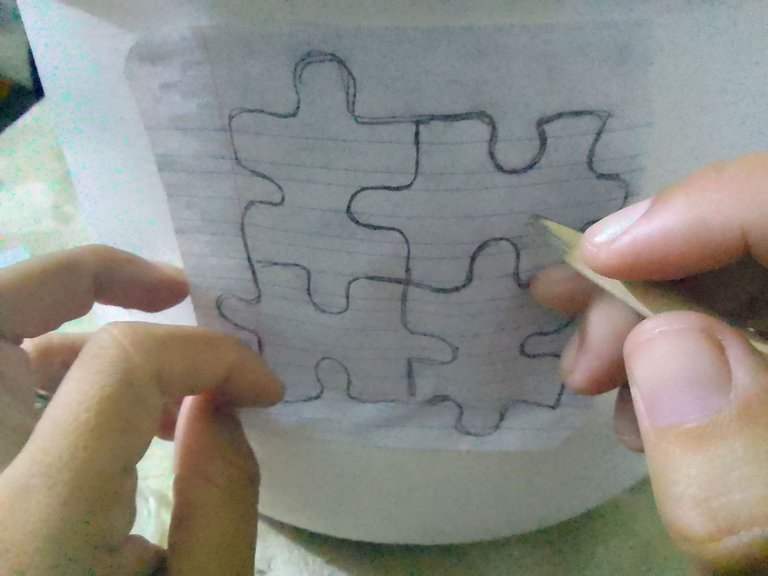
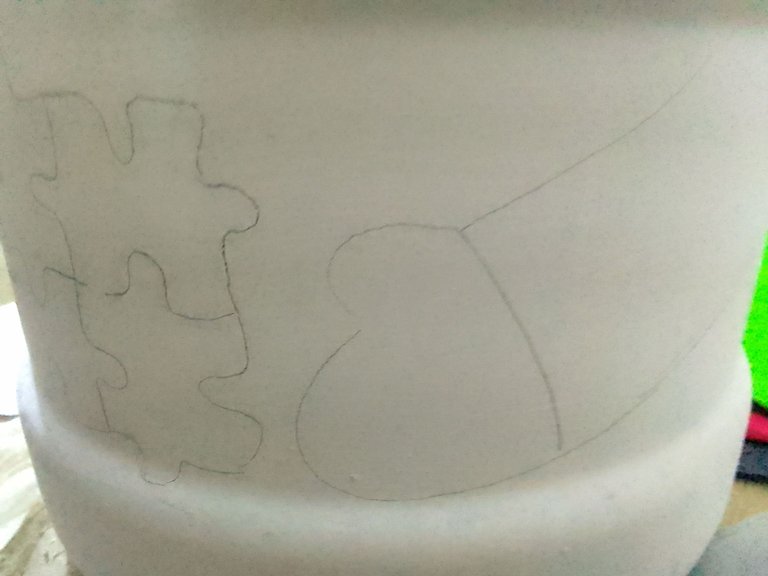
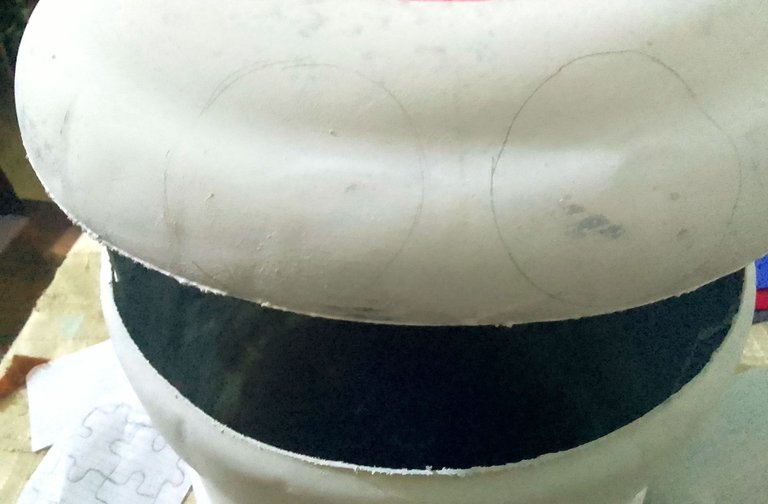
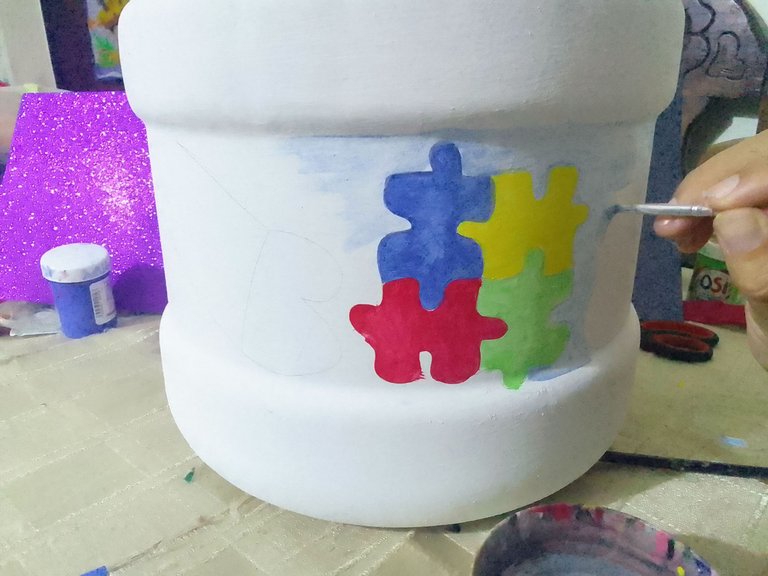
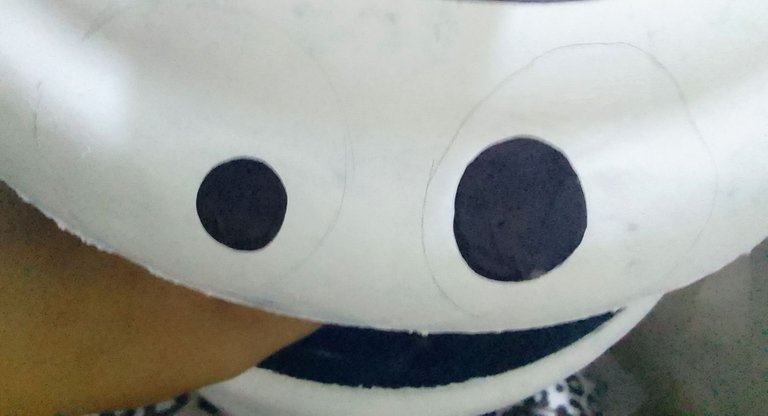
Culminado el paso anterior noté que se había removido la pintura en algunas partes de botellón por lo que procedi a retocar con pintura blanca los espacios decolorados, dejé secar por una hora para que estuviera bien seca y así poder realizar un dibujo sin que se mezclen los colores. De tanto buscar en la web, decidí por realizar un personaje semejante a un conserje de la pantera rosa para que guarde relación con la limpieza, lo primero que hice fue el logo del autismo en forma de rompecabezas en un papel como saben me encanta trabajar con patrones, luego utilicé una técnica que consiste en remarcar el papel sobre la superficie a dibujar resultando algo muy parecido a escribir sobre papel carbón. Despues, dibuje a pulso un par de ojos en la tapa y brazos justo a los lados del símbolo del autismo quedando esté en el centro.
After the previous step I noticed that the paint had been removed in some parts of the bottle, so I proceeded to retouch with white paint the discolored spaces, I let it dry for an hour so that it was well dry and so I could make a drawing without mixing the colors. After so much searching on the web, I decided to make a character similar to a janitor of the pink panther to be related to cleanliness, the first thing I did was the logo of autism in the form of a puzzle on paper as you know I love working with patterns, then I used a technique that involves highlighting the paper on the surface to draw resulting in something very similar to writing on carbon paper. Then, I drew by hand a pair of eyes on the lid and arms just to the sides of the autism symbol being in the center.
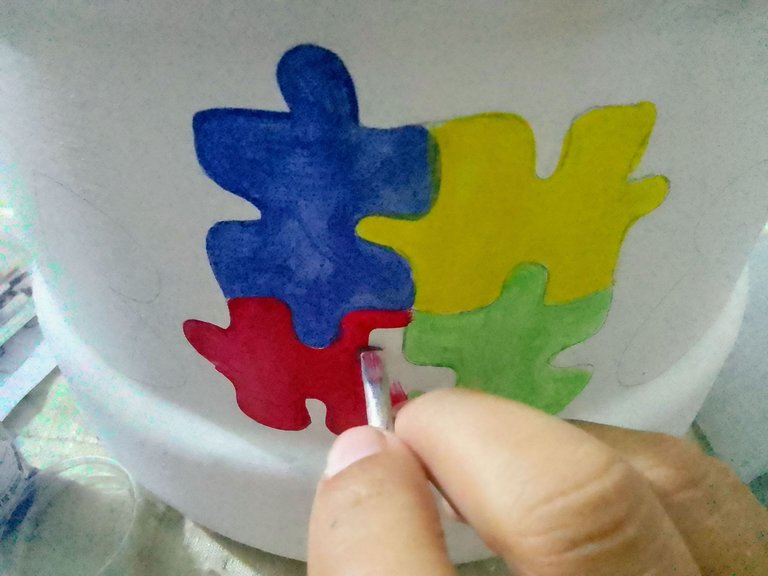
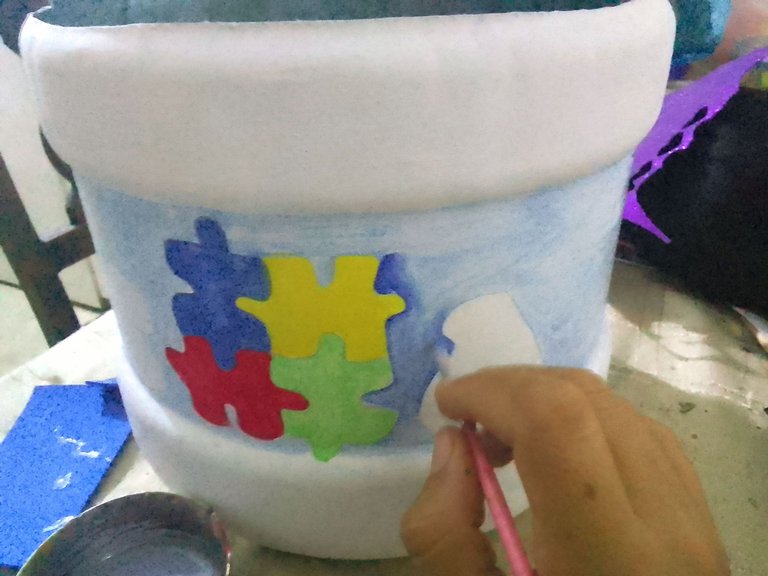
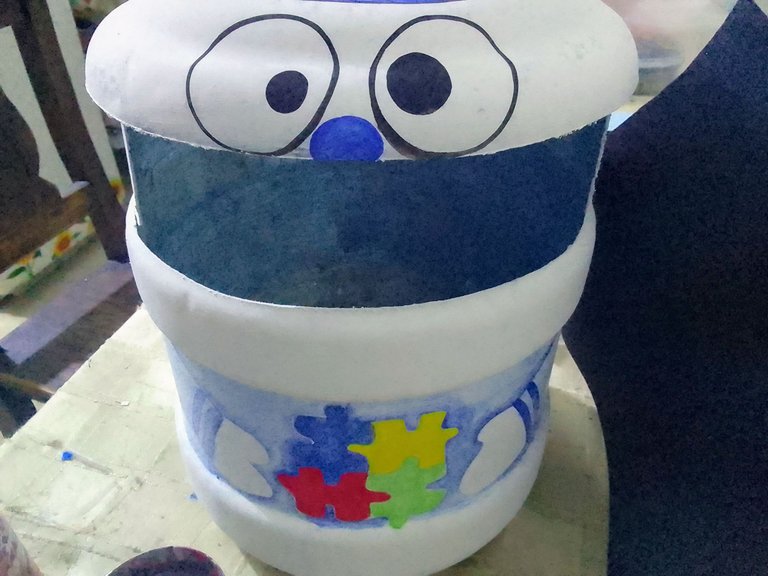
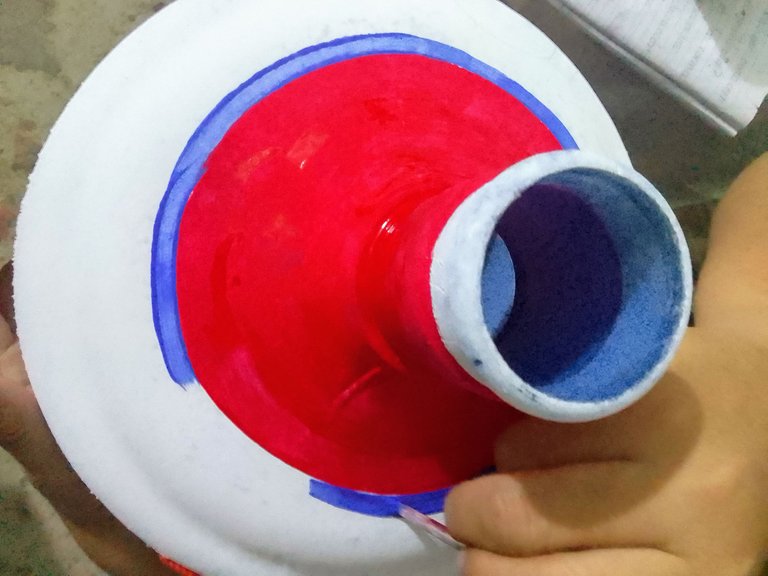
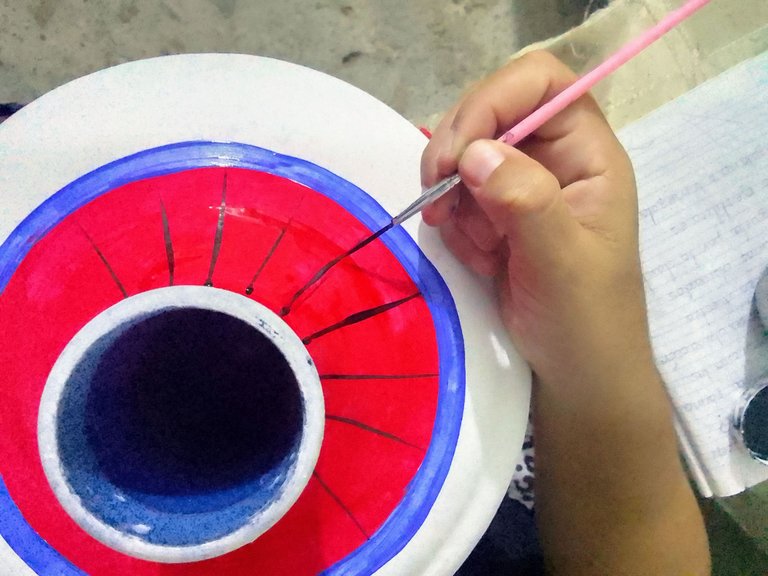
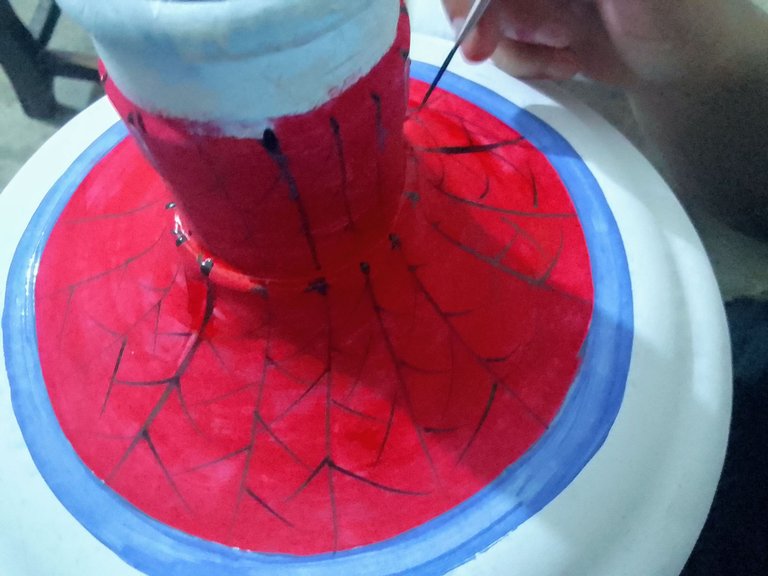
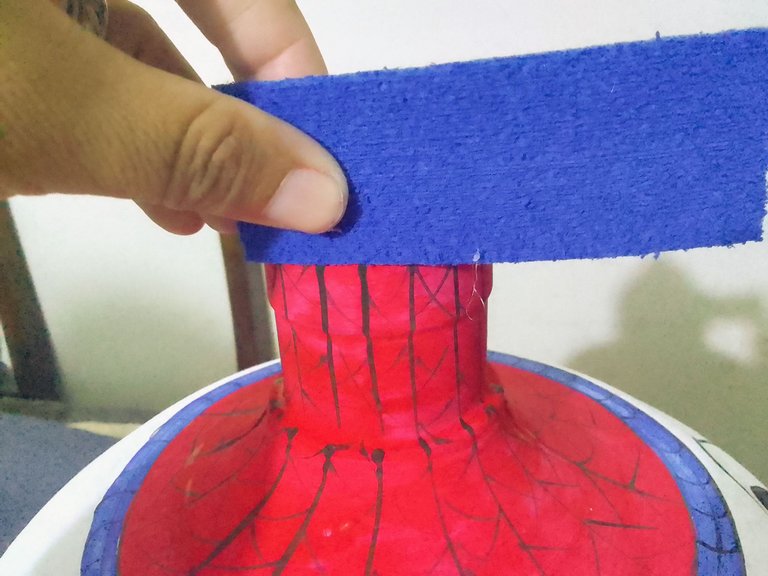
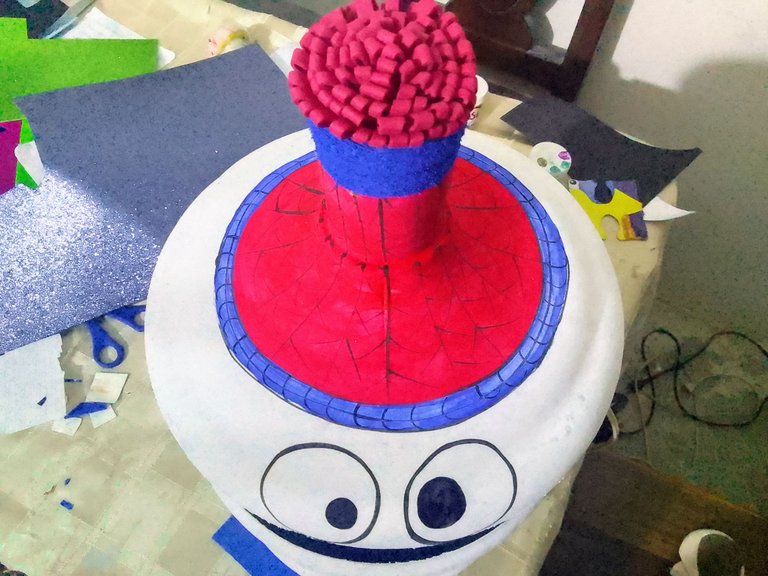
Con la figura plasmada en el botellón el siguiente movimiento fue darle color, comencé pintando con la ayuda de un pincel y pintura al frio las fichas de rompecabezas (símbolo de autismo), luego los brazos y ojos teniendo muy en cuenta no salir de la línea o en el caso de hacerlo que no sea tan notable pues esto se corregirá con el sombreado y delineado. En la parte superior de la tapa improvise una especie de pasa montañas con pintura al frío color rojo, azul y negro. Posteriormente sombree los brazos que son básicamente los que necesitan ser delineados y por último delinee todas las figuras.
With the figure captured in the bottle the next move was to give it color, I started painting with the help of a brush and cold paint the puzzle pieces (symbol of autism), then the arms and eyes taking into account not to go out of the line or in the case of doing so that it is not so noticeable because this will be corrected with the shading and outlining. On the upper part of the lid improvise a kind of mountain pass with red, blue and black cold paint. Then shade the arms that are basically the ones that need to be outlined and finally outline all the figures.
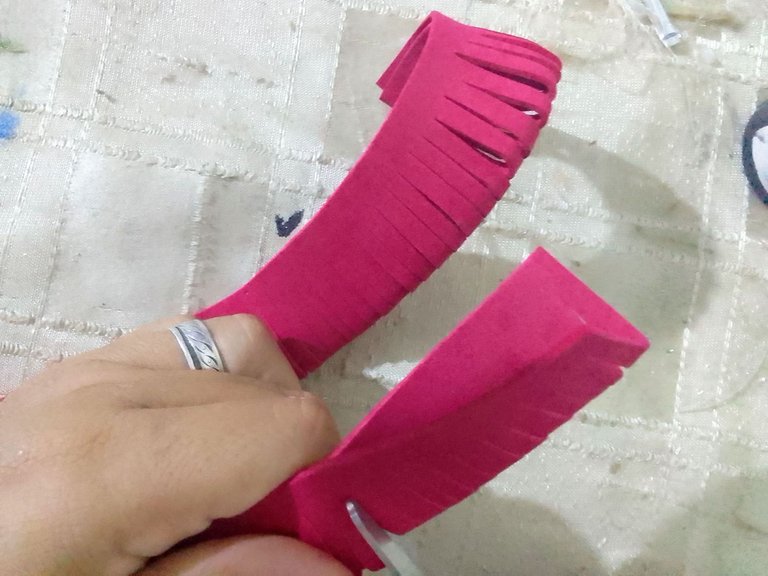
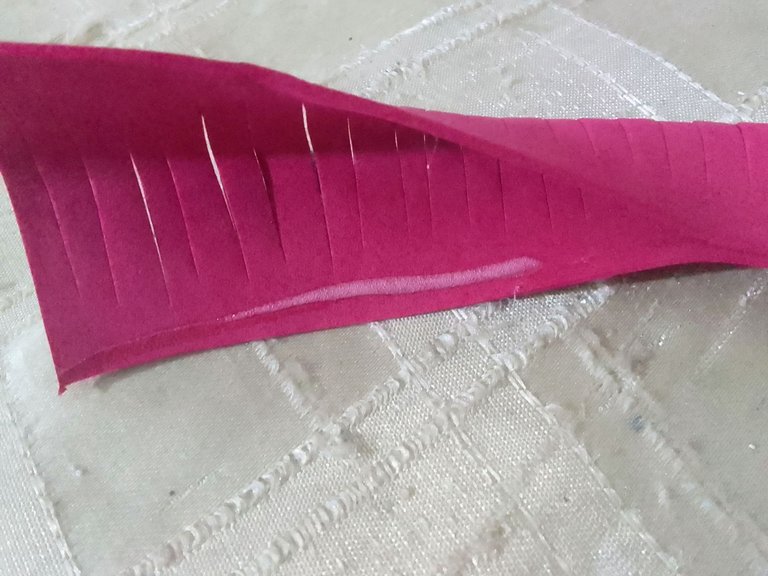
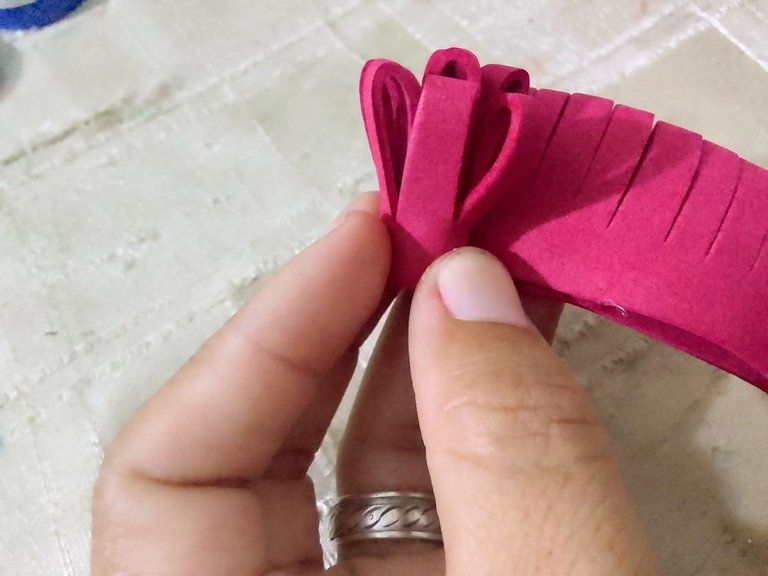
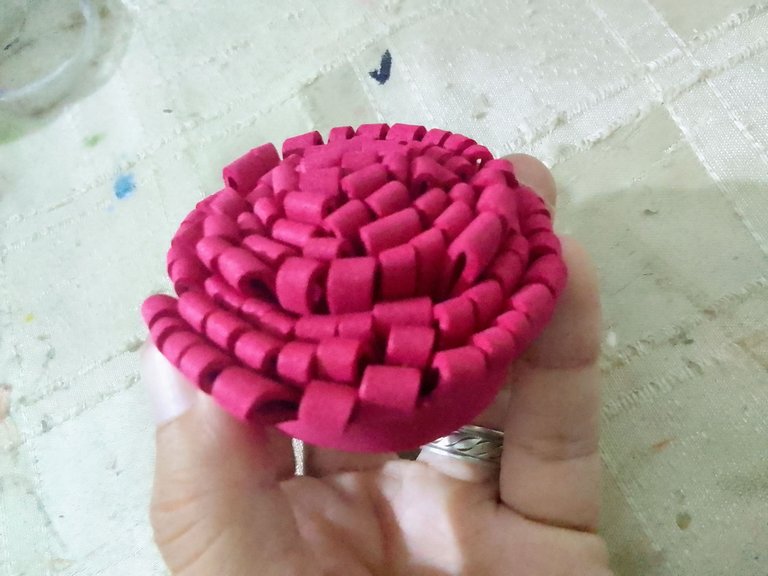
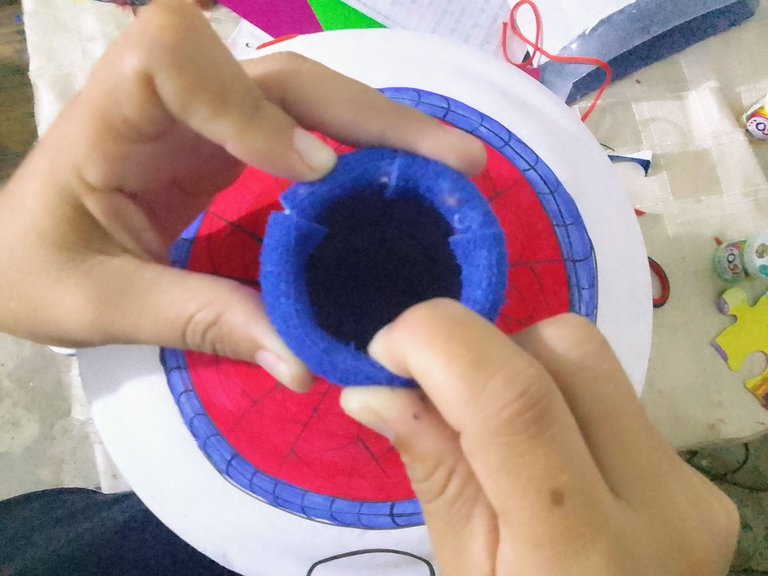
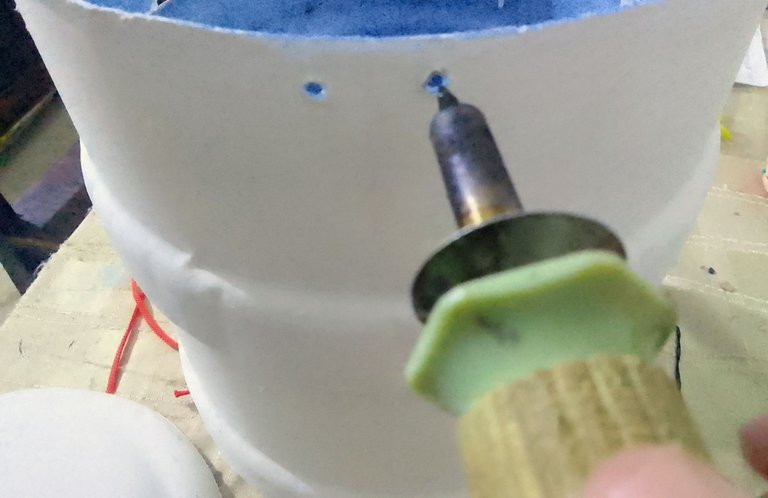
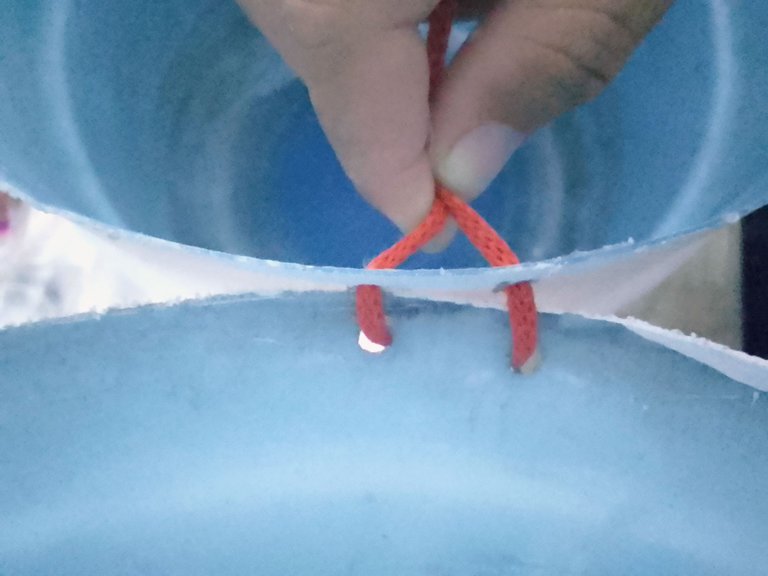
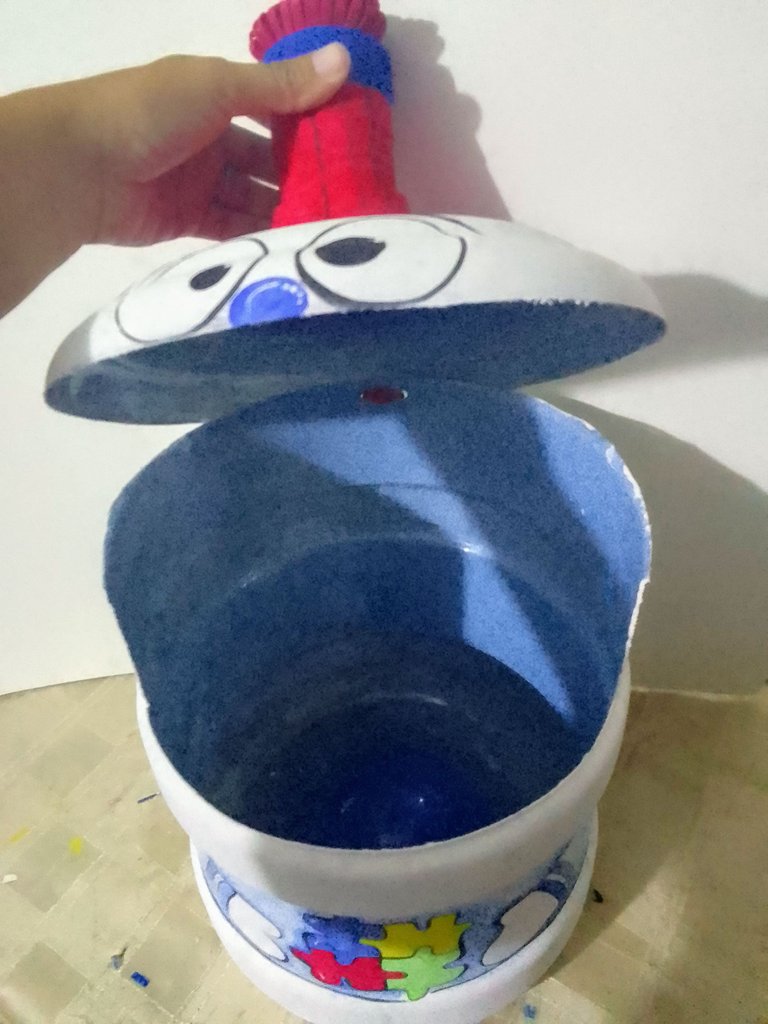
El botellón no tenía tapa así que me tocó inventar una para esto utilicé 2 tiras de foami rojo, las doble a la mitad y las pegué con silicón caliente de extremo a extremo, después realice cortes verticales de listones sin llegar al final de la tira horizontal, luego lo hice girar sobre su propio eje formando una especie de pompon, también corte 2 listones de foami azul que utilicé para disminuir el diámetro del cuello del botellón le agregué silicón caliente y lo fijé a presión de la parte interna del cuello del botellón. Luego agregué silicón al pompon realizado previamente y lo introduje a presión sobre el foami azul, por último y no menos importante con la ayuda del cautín perfore 4. Pequeños orificios en la parte trasera del botellón (2 en la tapa y 2 en el cuerpo luego hice pasar un cordón a través de ellos y lo anude para que la tapa no se desprenda del cuerpo y listo.!
The bottle did not have a lid so I had to invent one for this I used 2 strips of red foami, I folded them in half and glued them with hot silicone from end to end, then I made vertical cuts of strips without reaching the end of the horizontal strip, then I made it rotate on its own axis forming a kind of flake, also cut 2 strips of blue foami that I used to reduce the diameter of the neck of the bottle I added hot silicone and fixed it to pressure from the inside of the neck of the bottle. Then I added silicone to the previously made flakes and pressed them into the blue foami, last but not least with the help of the soldering iron I drilled 4 small holes in the back of the bottle (2 in the lid and 2 in the body, then I put a string through them and knotted it so that the lid does not come off the body and that's it!
Espero les haya gustado tanto como a mí este proyecto y puedan animarse a realizarlo. Una muy buena idea para reutilizar un objeto que por si solo sería desechado, que la bendición de Dios nos acompañe siempre.
I hope you liked this project as much as I did and that you will be encouraged to do it. A very good idea to reuse an object that by itself had discarded, may God's blessing be with us always.
Las fotos de esta publicación son de mi propiedad y fueron tomadas desde mi celular Realme C11.
Las ediciones de Foto y el Banner lo realice con las aplicaciones: Poster Maker, Text Art e in shot descargadas desde Play Store.
Textos traducidos en deepL.
The photos in this publication are my property and were taken from my cell phone Realme C11.
The photo editions and the banner were made with the following applications: Poster Maker, Text Art and in shot downloaded from Play Store.
Translated texts in deepL.
Congratulations @ferguis-ve! You have completed the following achievement on the Hive blockchain And have been rewarded with New badge(s)
Your next target is to reach 3500 upvotes.
You can view your badges on your board and compare yourself to others in the Ranking
If you no longer want to receive notifications, reply to this comment with the word
STOPCheck out our last posts:
This is a very smart way to make a waste container. Well done
Thank You very mucho..!☺️
Buen trabajo amiga, felicidades, muy buena creatividad e ingenio 💖
Muchas gracias amiga. Siempre intento resolver con lo que tengo a la mano. Gracias por leer..!
Te quedó bella
Muchas gracias ☺️
Muy creativo. Quedó espectacular y muy útil. Felicidades @ferguis-ve.
Muchas gracias @ivycrafts me alegra que te haya gustado. Gracias por leer..!