Hola hola amigos creativos de HIVEDIY que la bendición de Dios nos acompañe siempre, hoy les traigo una idea encantadora😍, para elaborar nuestros propios sellos personalizados realizados con materiales de provecho. Es un tutorial práctico, sencillo y muy útil a la hora de premiar, motivar o simplemente instruir a los pequeños de la casa. Del mismo modo es una herramienta de mucho valor para las maestras o para las mamis que nos gusta reforzar el aprendizaje de nuestros hijos, ya que a través de estos pueden enseñar los números, el abcdario entre otras cosas. Acompañenme, manos a la obra...
Hello hello creative friends of HIVEDIY may God's blessing be with us always, today I bring you a lovely idea😍, to elaborate our own personalized stamps made with useful materials. It is a practical tutorial, simple and very useful when it comes to reward, motivate or simply instruct the little ones at home. It is also a very valuable tool for teachers or for moms who like to reinforce our children's learning, because through these stamps they can teach numbers, the ABCs, among other things. Come with me, let's get to work...
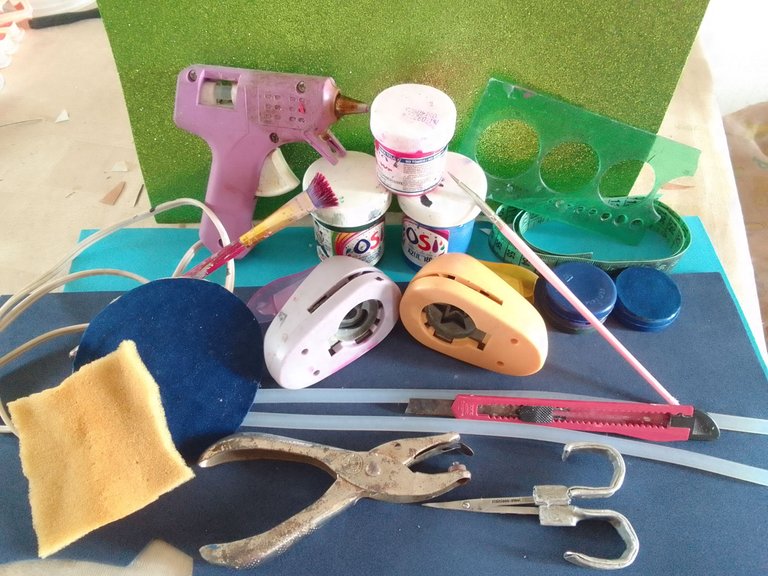
- Foami.
- Almohadillas goma espuma.
- Envases de heces.
- Silicón en barra.
- Tela de gamuza.
- Pintura al frío.
- cortador exacto.
- Palito de altura.
- hojas de papel tipo carta.
- Lápiz.
- Tijera.
- Perforador de formas.
- Pistola de silicón.
- Foami.
- Foam rubber pads.
- Stool containers.
- Silicone stick.
- Chamois cloth.
- Cold paint.
- Exact cutter.
- Height stick.
- Sheets of letter paper.
- Pencil.
- Scissors.
- Shape puncher.
- Silicone gun.
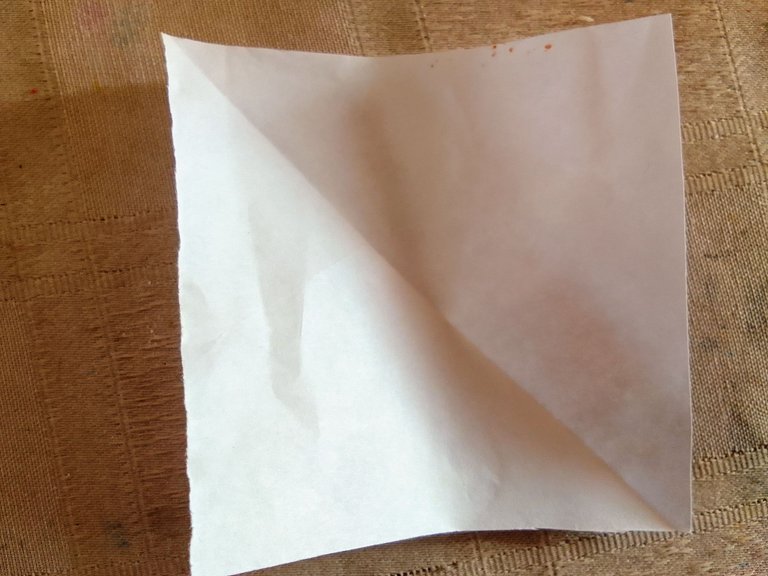
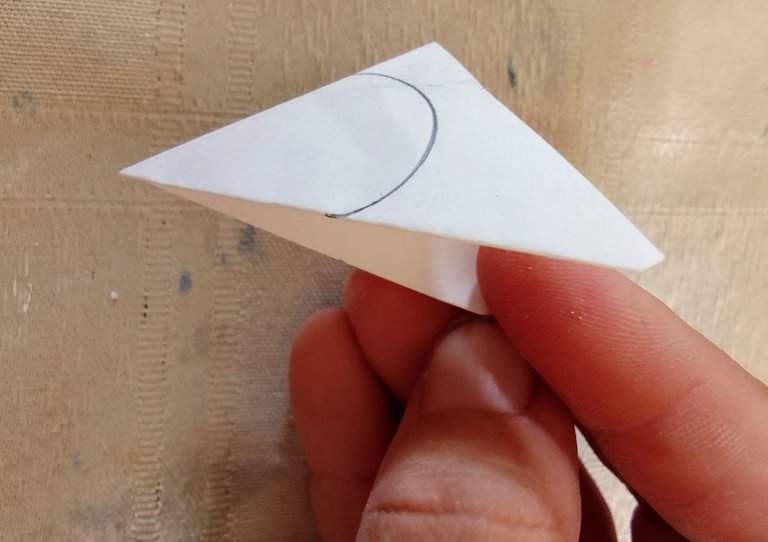
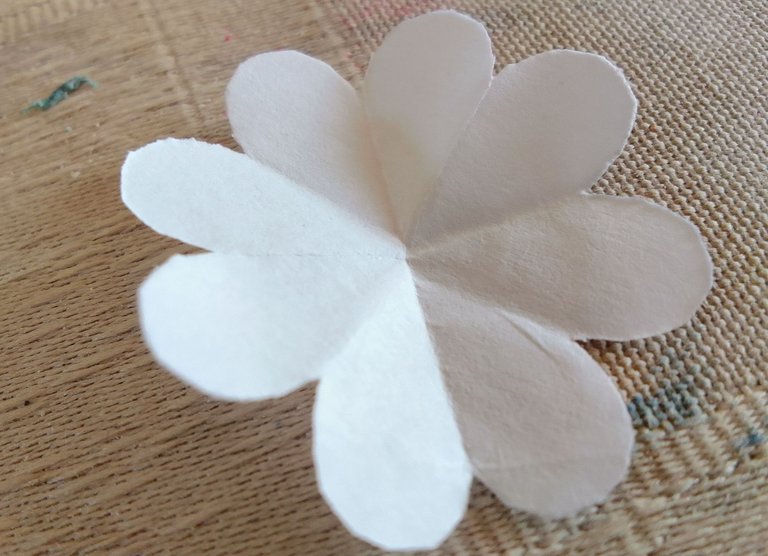
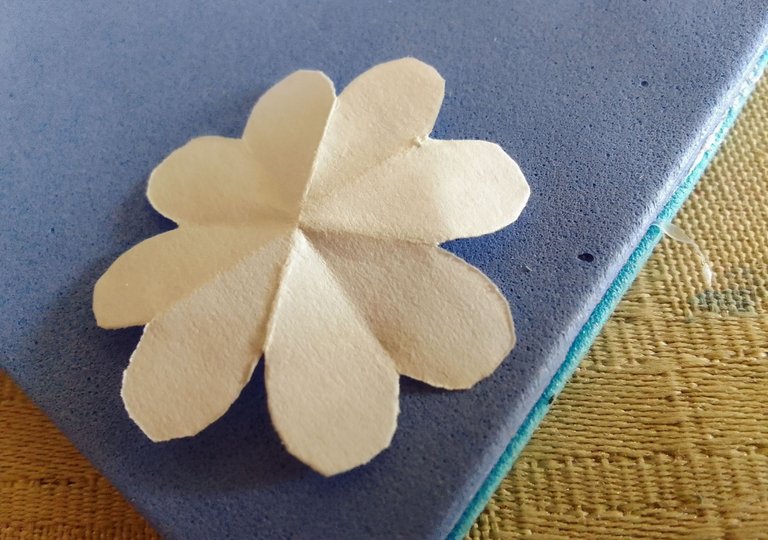
Realicé las figuras relativamente sencillas de hacer para iniciar este proyecto, la primera que hice fue una flor y comparto una manera de hacerla que servirá para elaborarla del tamaño que necesites, con solo tres dobleces.
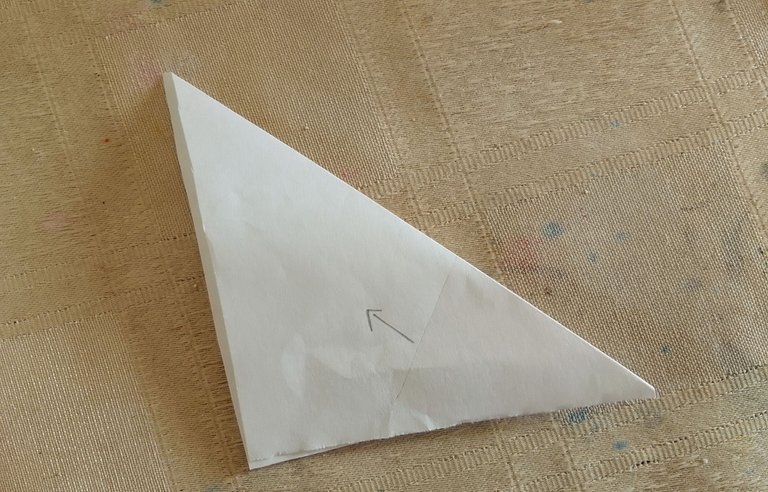
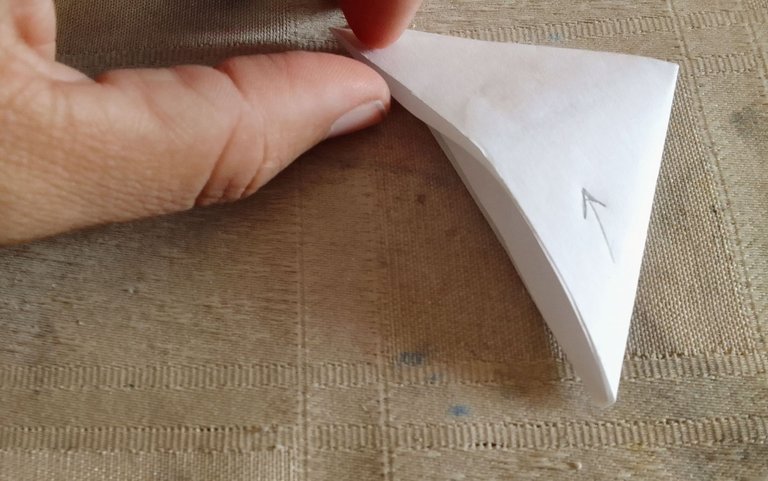
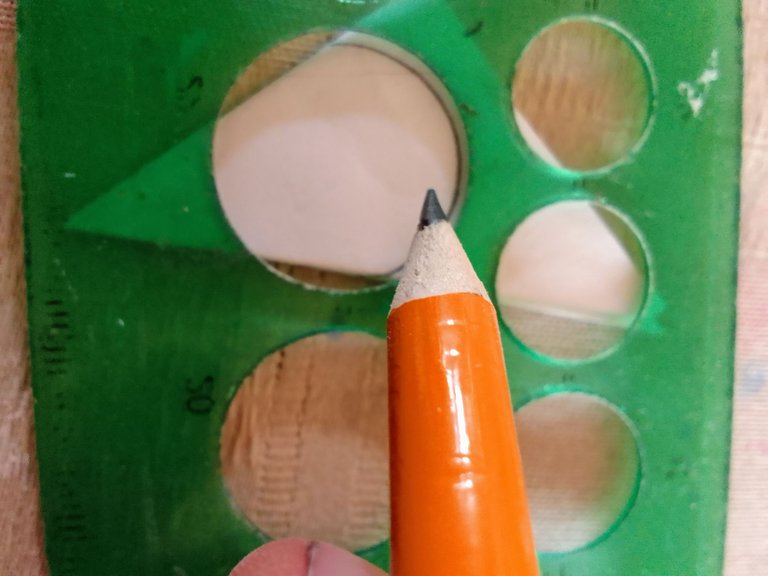
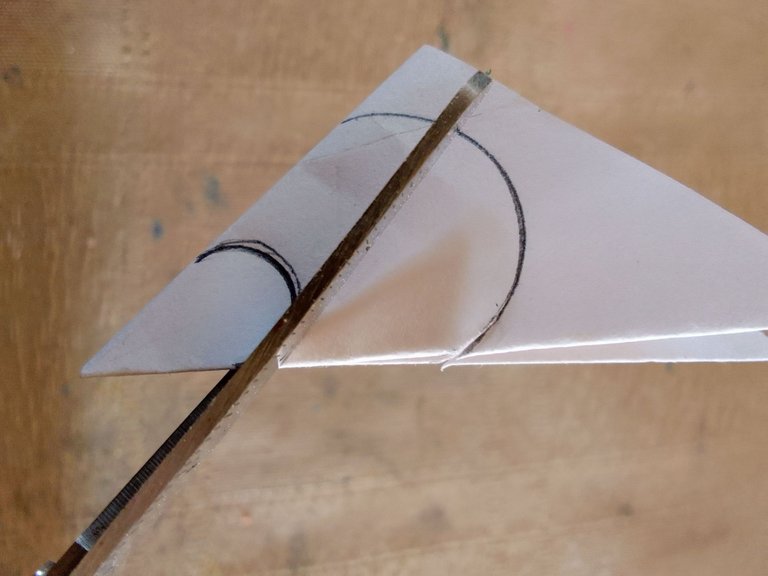
Primer doblez a la mitad, segundo y tercero siempre a mano derecha ahí te indico en la flecha al llegar al cono usa tu regla de círculo o pulso para obtener una forma arqueada precisa, inicia el corte por los dobleces y ya tienes un patrón de flor listo.
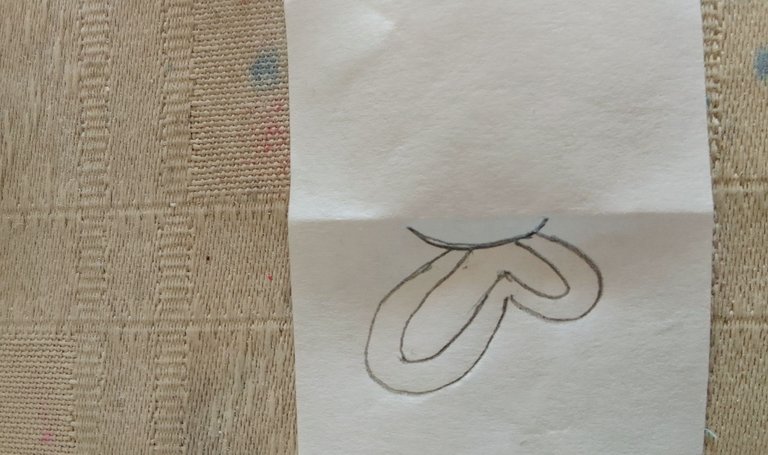
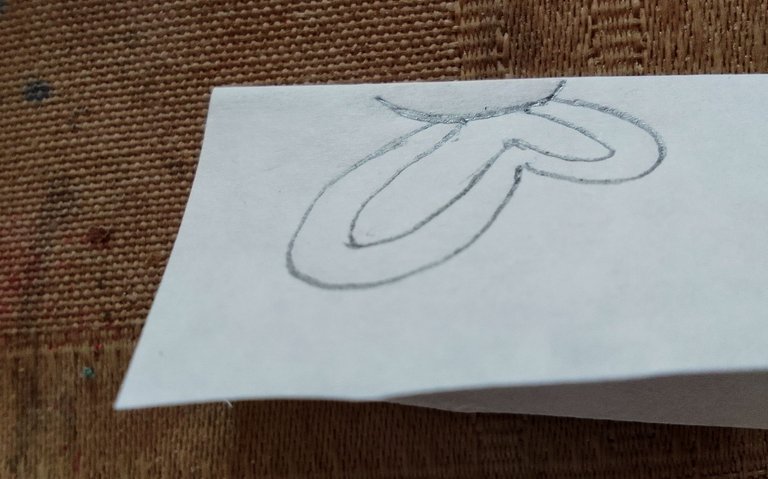
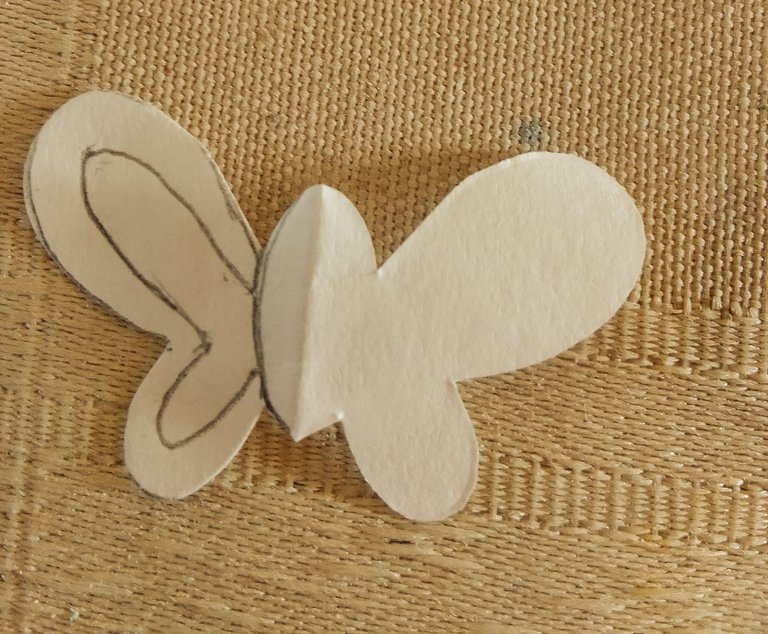
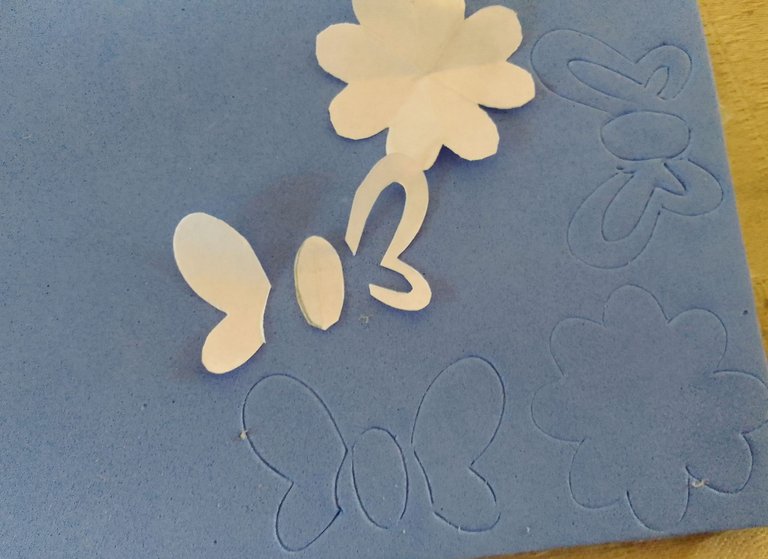
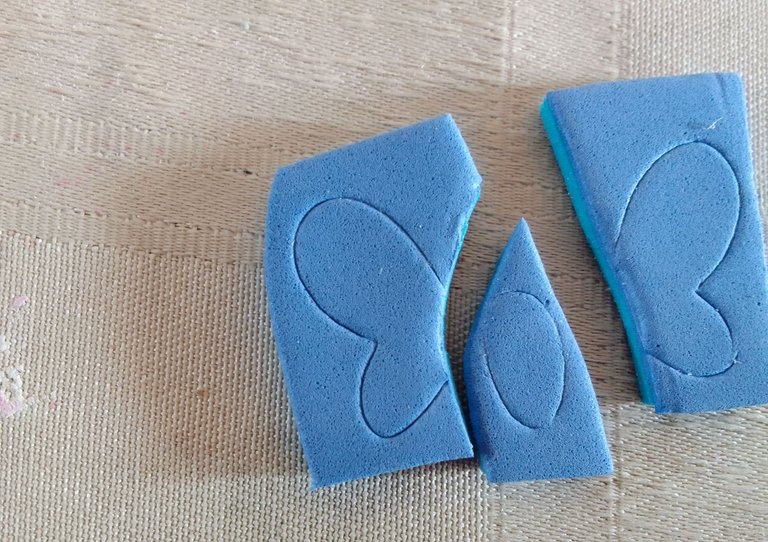
Para realizar este patrón es necesario doblar el papel a la mitad y dibujar la silueta de la mariposa, aprovechando el diseño básico, pinte un borde para obtener dos formas de mariposa, recorte a la mitad y luego separé las partes de la mariposa y listo.
I made the relatively simple figures to start this project, the first one I made was a flower and I share a way to make it that will serve to make it the size you need, with only three folds.
First fold to the middle, second and third folds always on the right hand side there I indicate in the arrow when you reach the cone use your circle ruler or pulse to obtain a precise arched shape, start the cut by the folds and you have a flower pattern ready.
To make this pattern it is necessary to fold the paper in half and draw the silhouette of the butterfly, taking advantage of the basic design, paint an edge to get two butterfly shapes, cut in half and then separate the parts of the butterfly and that's it.
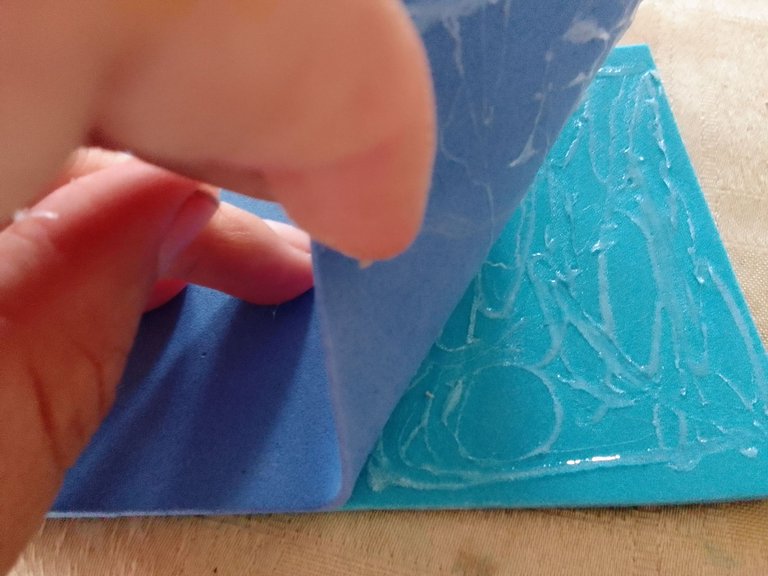
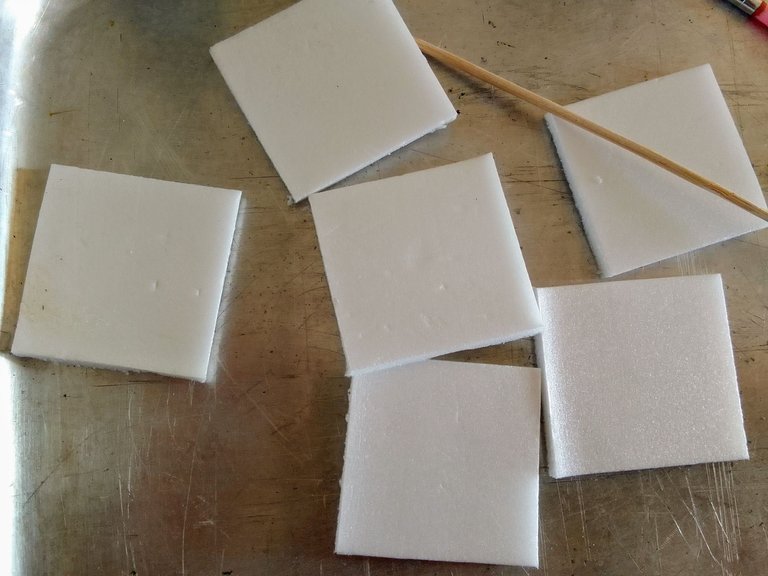
Primeramente corte dos piezas de foami (para dar altura a la figura) está altura será necesaria a la hora de humedecer el sello en la tinta y posteriormente aplicarlo en una superficie para que se aprecie el sello un poco más limpio sin imperfecciones. Luego las pegue con una capa pareja de silicón caliente (puedes utilizar silicon líquido).
Nota: En este paso puedes determinar las dimensiones del sello, ya que, solo se cortan y pegan piezas de foami sin realizar los diseños aun.
First I cut two pieces of foami (to give height to the figure) this height will be necessary when wetting the stamp in the ink and then place it on a surface to appreciate the stamp a little cleaner without imperfections. Then I sticked them with an even layer of hot silicone (you can use liquid silicone).
Note: In this step you can determine the dimensions of the stamp, since you only cut and glue foami pieces without making the designs yet.
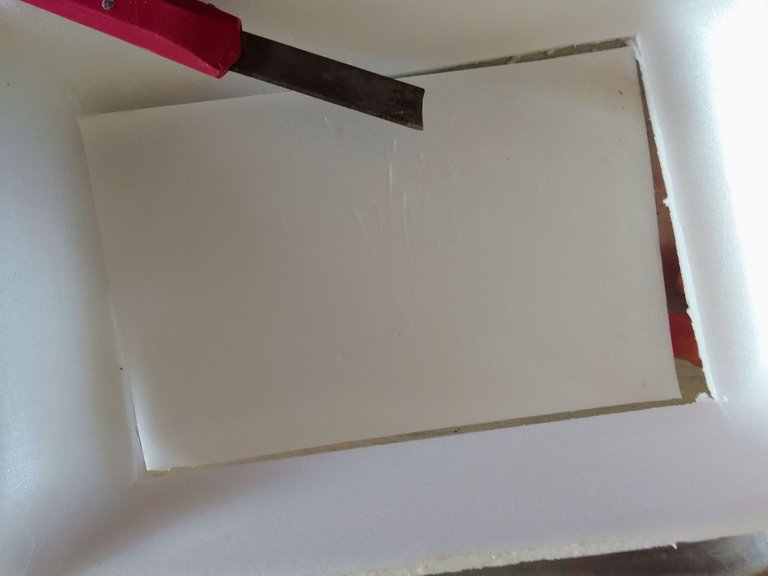
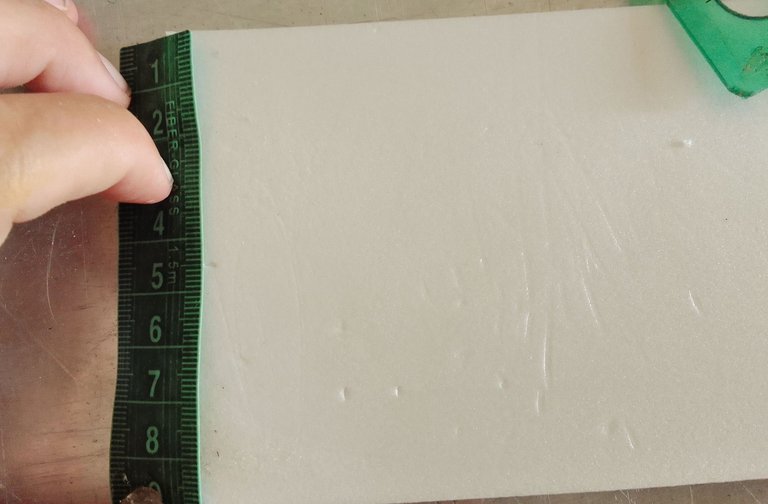
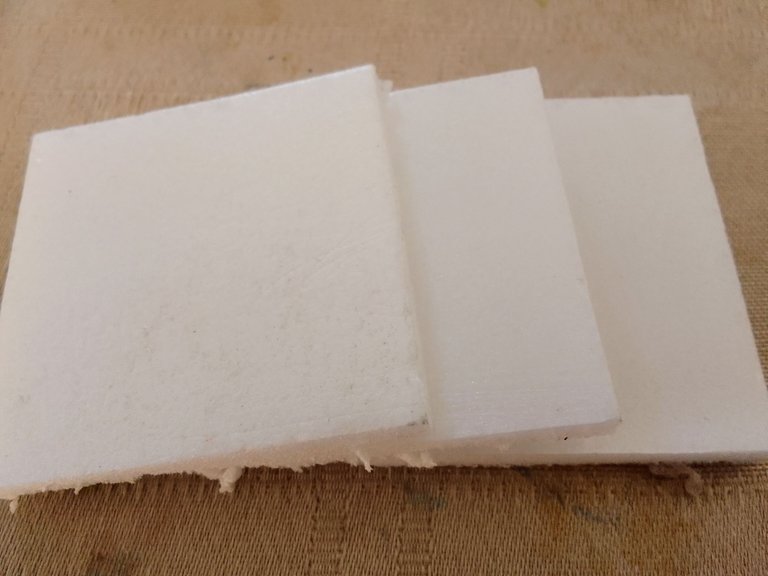
Utilicé el fondo de la bandeja de anime, lo corté con el exacto, luego medi la altura del mismo para posteriormente dividirlo en 6 piezas iguales, debido a la firmeza que ofrece este material lo considere útil para la elaboración de la base del sello.
I used the bottom of the anime tray, I cut it with the exact, then I measured the height of it to later divide it into 6 equal pieces, due to the firmness that this material offers, I considered it useful for the elaboration of the base of the seal.
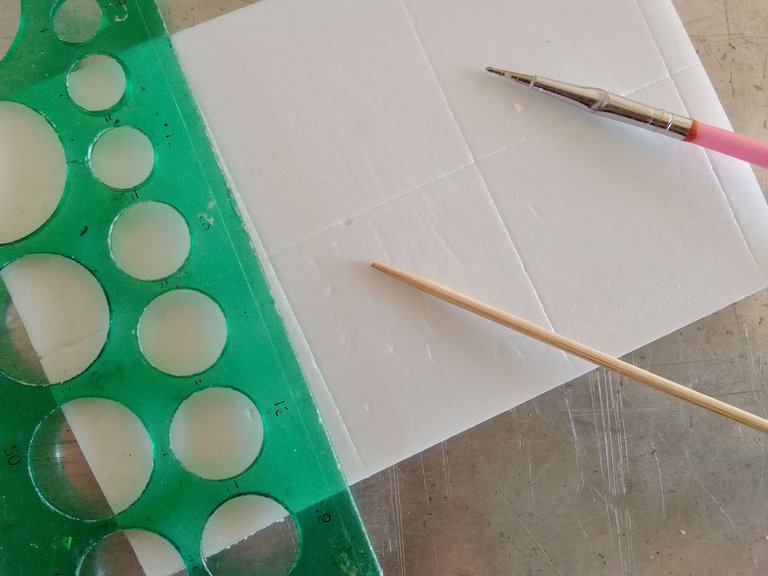
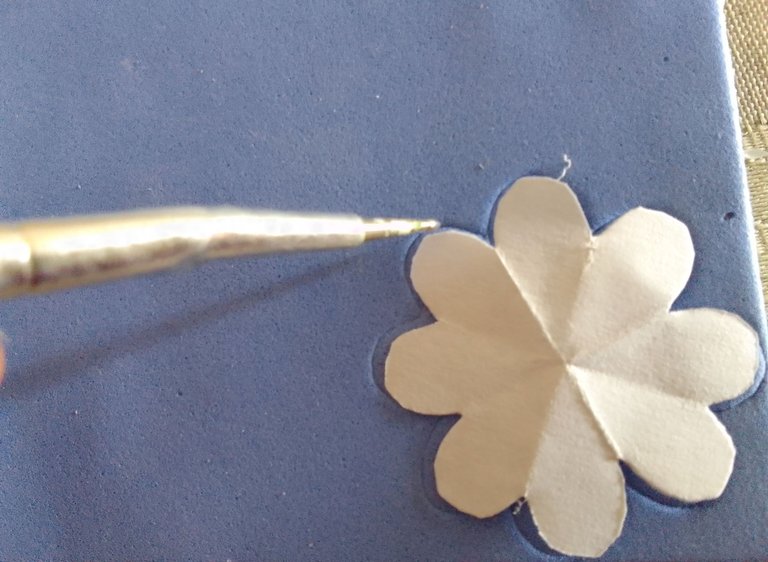
Con la ayuda de un objeto puntiagudo procedi a marcar la silueta de los diseños para los sellos, en este caso utilice un palito de altura, pero también puedes utilizar un repujador de punta fina, un lapicero sin tinta, cualquiera de estas opciones son una excelente herramienta que permite realizar un excelente trabajo.
With the help of a pointed object I proceeded to mark the silhouette of the designs for the stamps, in this case I used a height stick, but you can also use a fine tip embosser, a pen without ink, any of these options are an excellent tool that allows you to do an excellent job.
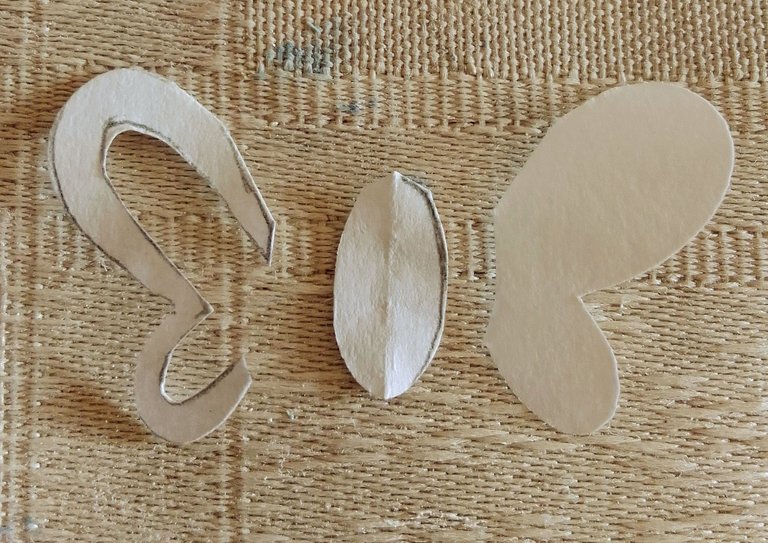
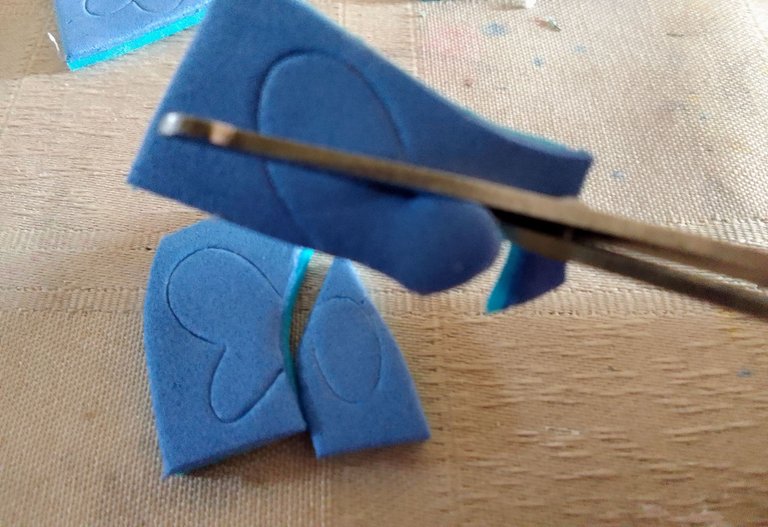
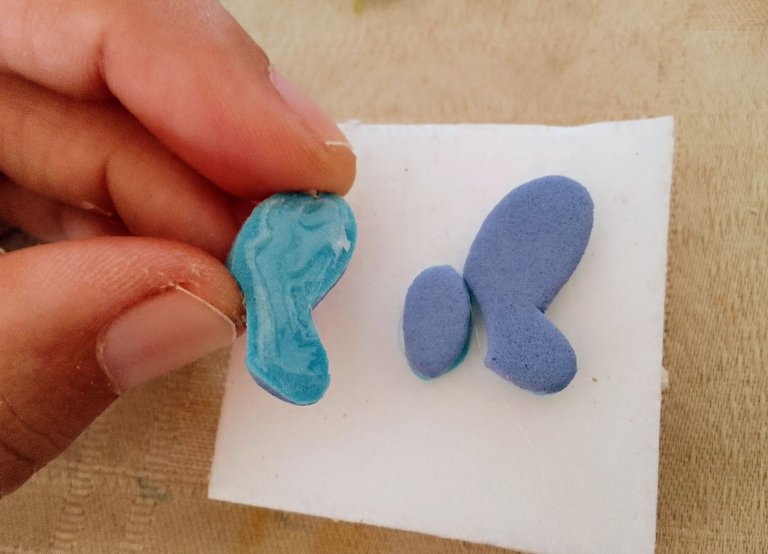
En este paso fue indispensable el uso de una tijera muy fina para obtener la figura lo más exacta posible, un pequeño corte demás puede hacer la diferencia, por lo que hay que ser muy precisos a la hora de realizar este paso, una alternativa a esta tijera puede ser un bisturí (manejar con mucho cuidado porque es peligroso).
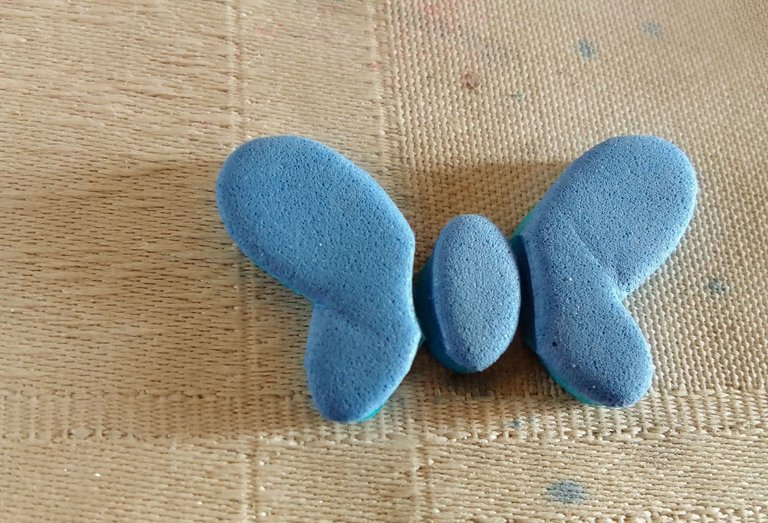
Con la figura de mariposa empecé el corte por dentro del ala, ya que, es la parte más dificil por lo delgado de la línea entre el cuerpo y el ala, luego, continúe con el cuerpo.
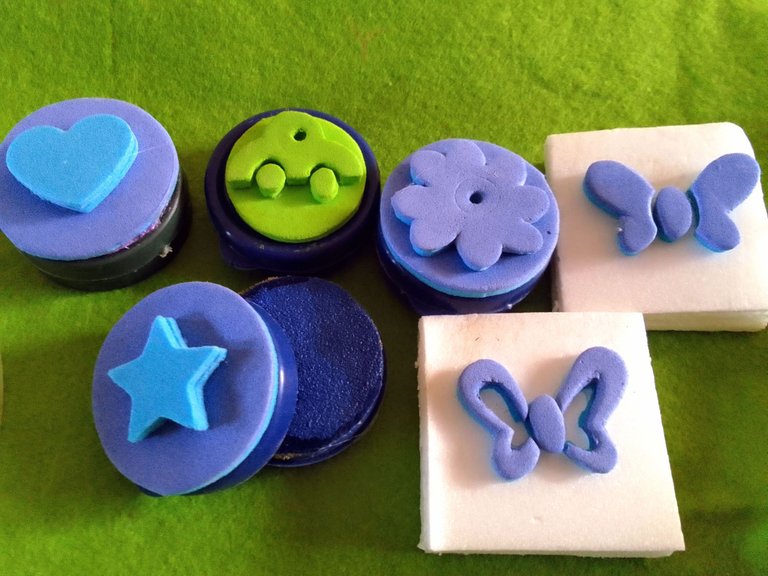
Para la figura de la flor tome en consideración que cada pétalo debía tener una ligera separación entre ellos por lo que mantuve una delgada distancia entre uno y otro, para el centro de la misma hice uso de un perforador.
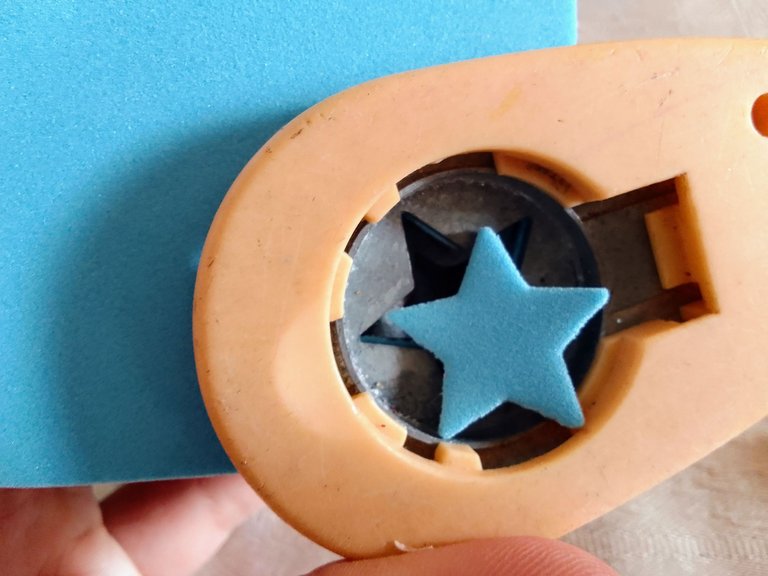
También elabore una estrella y un corazón pero en este caso no hubo necesidad de realizar patrones, ya que, desde hace mucho tiempo tengo entre mis materiales perforadores en forma de estrella y corazón, si tienen perforadores de formas el trabajo es mucho más sencillo, pues nos ahorramos los pasos anteriores solo debemos obtener las figuras de los perforadores y pegar en pares (para dar altura, como mencioné en el paso 1)
Tip al momento de comprar perforadores hay una gran variedad en el mercado y cada uno tiene sus usos es importante que observes si son para papel o foami, pues, muchas marcas no especifican en sus empaques si son para foami o papel pero la abertura que poseen los perforadores de foami.
In this step it was essential to use a very fine scissors to get the figure as accurate as possible, a small cut can make the difference, so you have to be very precise when performing this step, an alternative to this scissors can be a scalpel (handle very carefully because it is dangerous).
With the butterfly figure I started cutting inside the wing, since it is the most difficult part because of the thin line between the body and the wing, then, continue with the body.
For the figure of the flower I took into consideration that each petal should have a slight separation between them so I kept a thin distance between one and the other, for the center of the flower I used a hole punch.
I also made a star and a heart but in this case there was no need to make patterns, since, for a long time I have among my materials star and heart-shaped perforators, if you have shape perforators the work is much simpler, because we save the previous steps we only have to get the figures of the perforators and glue in pairs (to give height, as I mentioned in step 1).
Tip when buying perforators there is a great variety in the market and each one has its uses, it is important that you observe if they are for paper or foami, because, many brands do not specify in their packaging if they are for foami or paper but the opening that the foami perforators have.
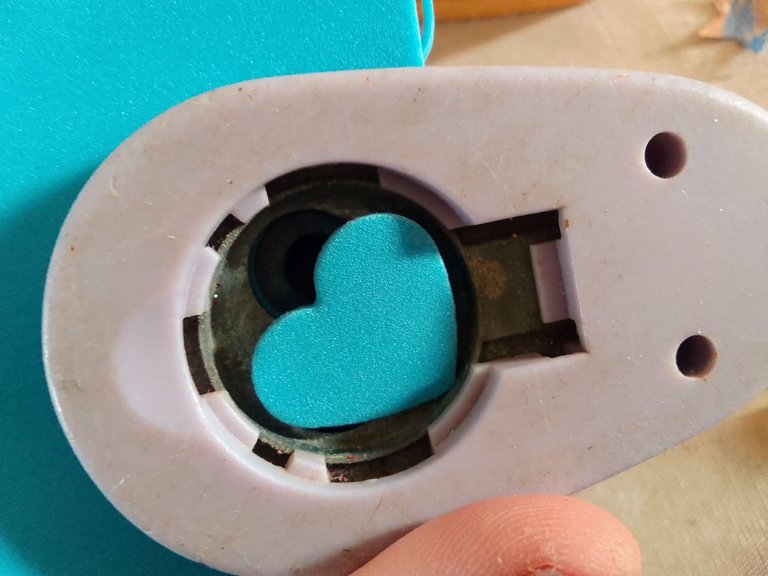
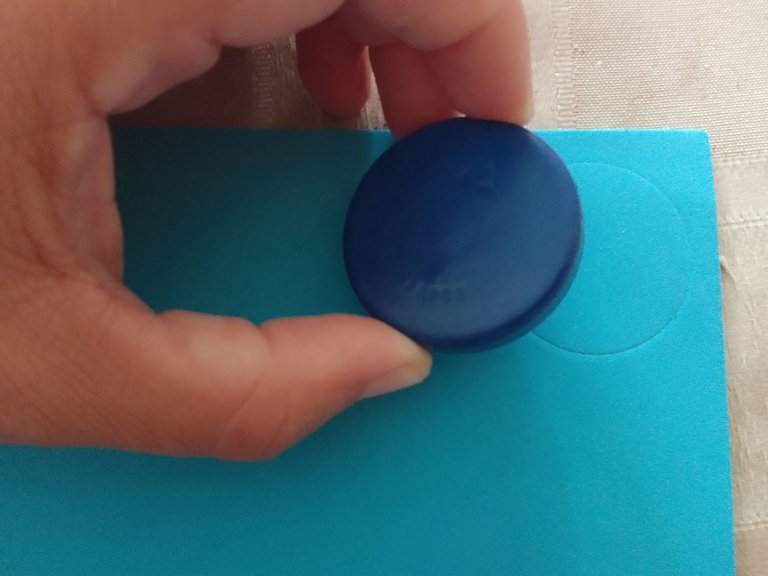
Los envase de heces fue una idea muy práctica que obtuve, pues, sobre la tapa pegamos círculos del foami doble que ya habiamos pegado previamente (paso 2) para marcar el círculo puedes utilizar la misma tapa del envase de heces haciendo presión sobre el foami y posteriormente lo pegué con una capa gruesa de silicón caliente.
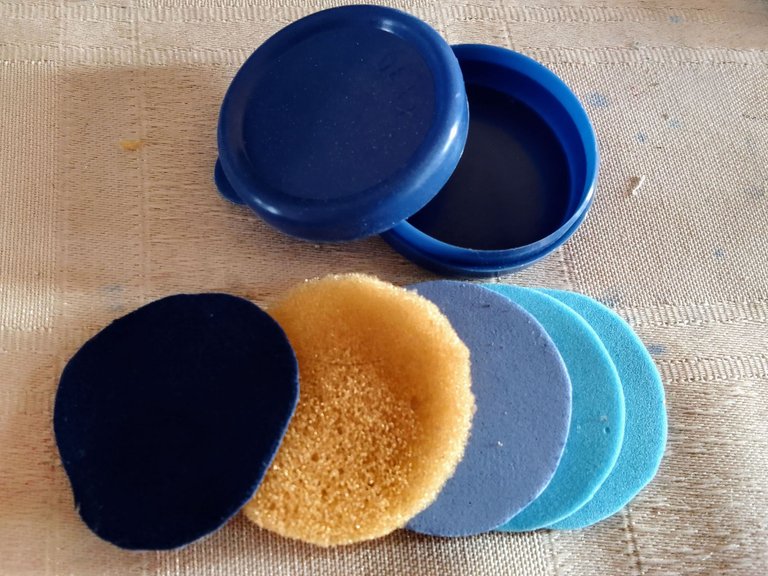
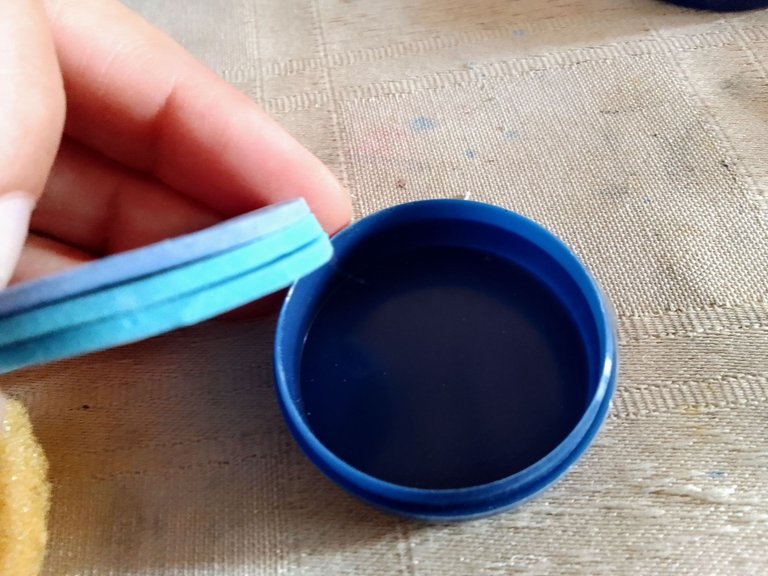
Para el interior del envase necesitamos un círculo de foami doble para darle altura a la esponja y una pieza de tela de gamuza, esta tiene como función que el líquido que se utilice para estampar se esparza de manera uniforme sobre el diseño evitando que el resultado sea un sellos disparejo.
Por último y no menos importante ubicamos en la parte superior de la tapa del envase la figura o diseño del sello, con las piezas de anime (paso 3) realicé dos bases de 3 piezas para obtener un buen agarre para el uso del sello, luego ubique la figura y la pegue con silicon caliente.
The stool container was a very practical idea that I got, well, on the lid we glued circles of double foami that we had already glued previously (step 2) to mark the circle you can use the same lid of the stool container by pressing on the foami and then I glued it with a thick layer of hot silicone.
For the inside of the container we need a double circle of foami to give height to the sponge and a piece of chamois cloth, this has the function that the liquid used for stamping is spread evenly over the design avoiding the result to be an uneven stamp.
Last but not least we place on the top of the lid of the container the figure or design of the stamp, with the anime pieces (step 3) I made two bases of 3 pieces to get a good grip for the use of the stamp, then place the figure and glue it with hot silicone.

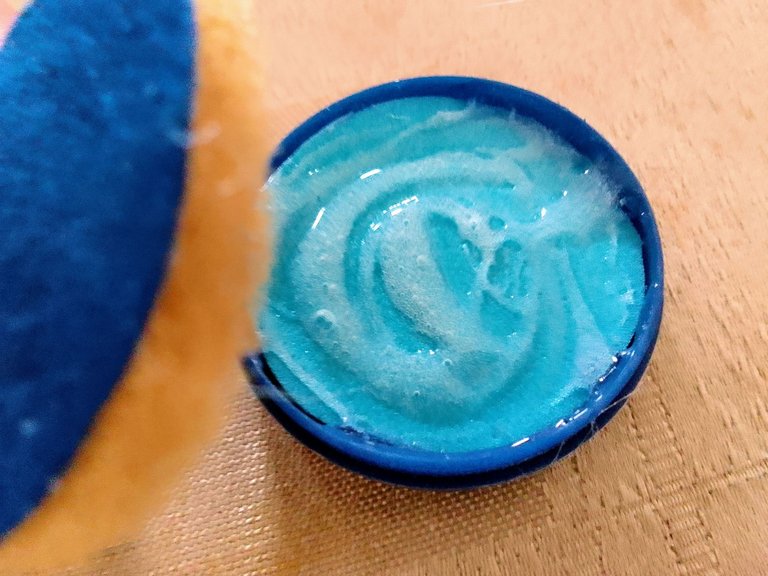
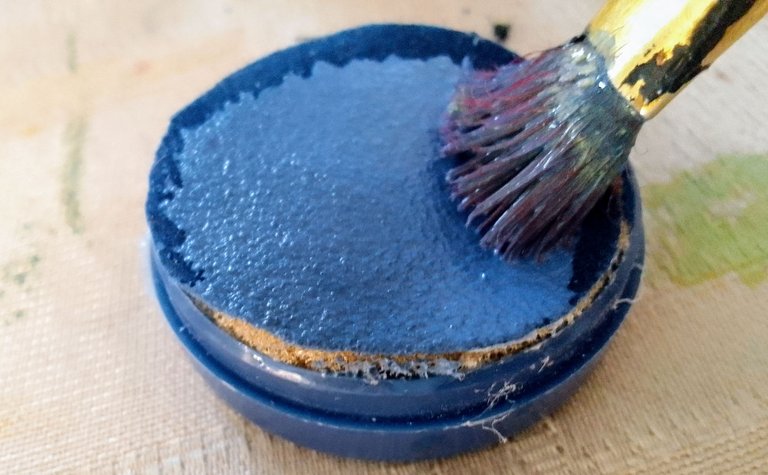
En este paso preparé una mezcla de agua y pintura al frío y lo unté a la base de esponja con un pincel y listo sellos a usar.
In this step I prepared a mixture of water and cold paint and applied it to the sponge base with a brush and ready to use stamps.
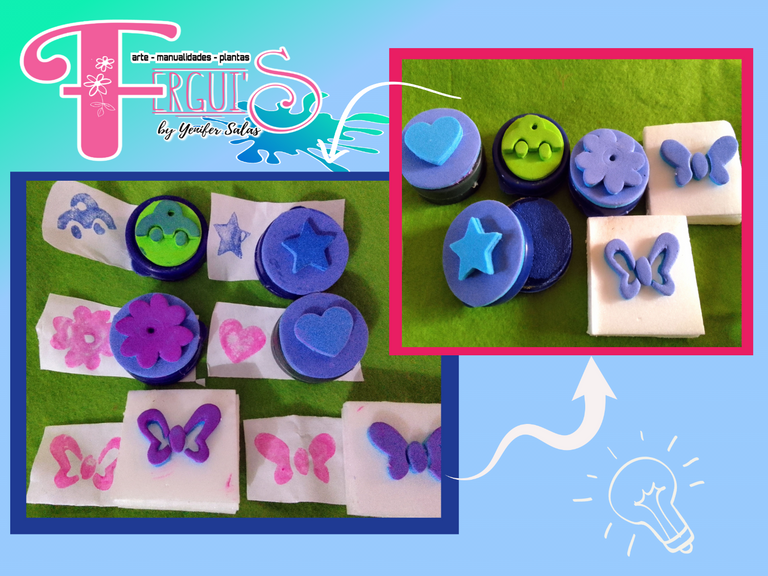
En el mercado hay gran variedad de herramientas para facilitar nuestro trabajos pero una vez me demuestro a mi misma que realizar un trabajo con mis destrezas es una satisfacción más a mi vida además de descubrir y desarrollar habilidades que desconocía. Estos sellos son muy útiles, hasta para personalizar nuestros trabajos podemos colocar nuestro sello en las bolsas que realizamos, hay tantas cosas que podemos hacer con recursos que tenemos en casa y con un resultado muy original. Espero sea de provecho para todos Dios les bendiga siempre.
In the market there are a variety of tools to facilitate our work but once I prove to myself that doing a job with my skills is one more satisfaction to my life in addition to discovering and developing skills that I did not know. These stamps are very useful, even to personalize our work we can put our stamp on the bags we make, there are so many things we can do with resources we have at home and with a very original result. I hope it will be useful for everyone God bless you always.
Las fotos de esta publicación son de mi propiedad y fueron tomadas desde mi celular Realme C11.
Las ediciones de Foto y el Banner lo realice con las aplicaciones: Poster Maker, Text Art e in shot descargadas desde Play Store.
Textos traducidos en deepL
The photos in this publication are my property and were taken from my cell phone Realme C11.
The photo editions and the banner were made with the following applications: Poster Maker, Text Art and in shot downloaded from Play Store.
Translated texts in deepL.
Muy bueno este tutorial. Creo que haré unos para estampar las hojas, cartulinas y foamis. Gracias por compartir.
Gracias me alegra que te haya gustado tanto como a mí, lo estoy usando para estampar las bolsas para entregar mis pedidos y para el uso mis hijos. 😁
Chévere!!! Excelente idea!!! Me encanta.
Excelente publicación, utilizar las partes o piezas de los recolectores de heces para hacer los sellos es un gran dato. Las figuras que se forman con los cortadores quedan muy prolijos los bordes y los sellos quedan entonces de bastante calidad.
Felicitaciones amiga
Gracias a ti por leer!! Y si con los cortadores ahorras tiempo y un buen acabado. Me alegra compartir mis ideas y sean de provecho al máximo 😁
Congratulations @ferguis-ve! You have completed the following achievement on the Hive blockchain And have been rewarded with New badge(s)
Your next target is to reach 2250 upvotes.
You can view your badges on your board and compare yourself to others in the Ranking
If you no longer want to receive notifications, reply to this comment with the word
STOPCheck out our last posts:
Support the HiveBuzz project. Vote for our proposal!
Kids love these stamps. I remember we had something similar when we were kids, but that was not homemade.
Yes they love them, my kids stamp everything they find on their way, I usually give them a sheet or an old notebook to distract them, I prefer that to them doing their "picassos" on the walls of the house.🤣
Thanks for reading.
Me encantó este trabajo, práctico y muy útil. Felicidades y éxitos para ti.
Holaa @ramisey me alegra que te guste.😊 La idea central fue esa hacer algo práctico y útil. Gracias por leer.🤗