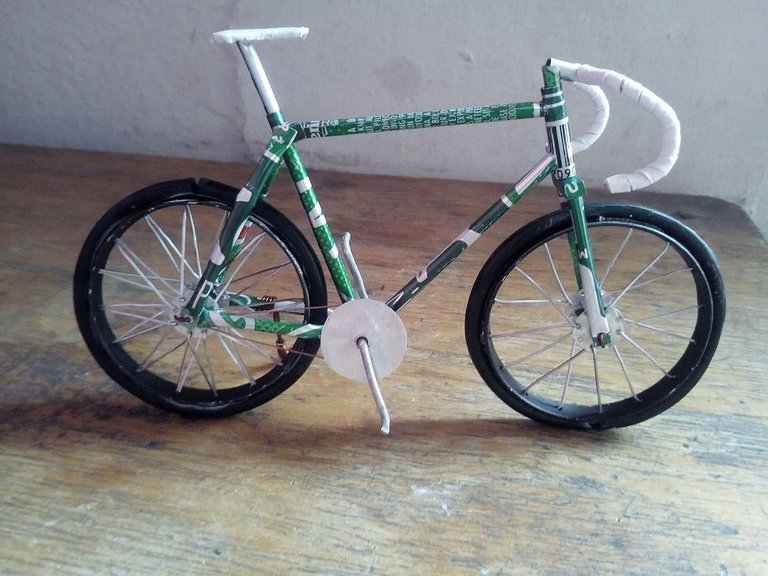
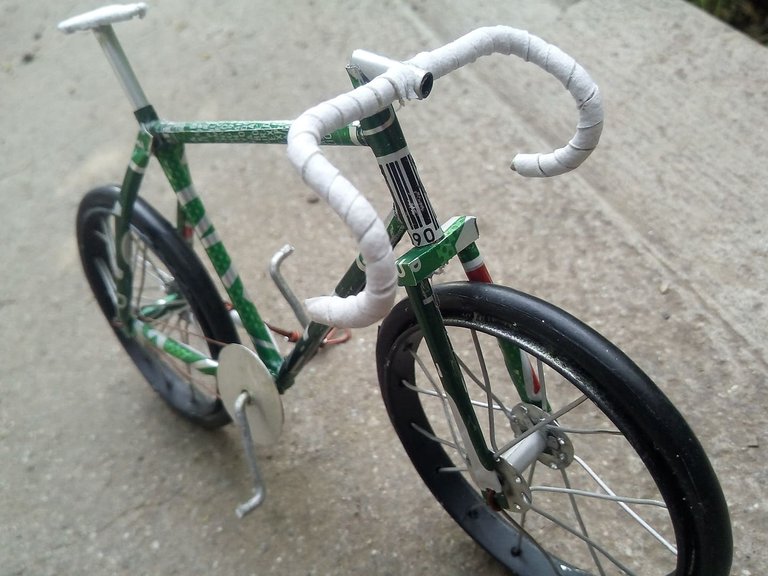
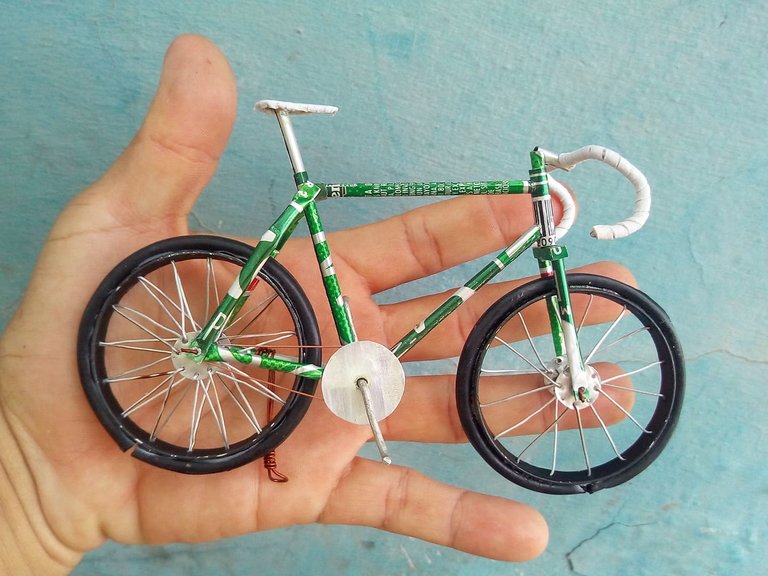
Hello friends, I hope you are very well, I was inactive for a few days due to lack of time but I have returned to show you my latest work. A Fixie type road bike. This model of bicycles is characterized by not having extra components like an ordinary road bicycle, it does not have brakes or speeds. The fixie model bicycles have a fixed pinion that is unique to the wheel with some screws which makes the bicycle go forward and backward. These bikes are so beautiful because some people make color combinations that make them look great, it's the "less is more" philosophy. They require some practice to know how to brake. The bike I made is based on this model. Hope you like.
Hola amigos, espero que se encuentren muy bien, estuve algunos días inactivo por falta de tiempo pero he vuelto para mostrarles mi último trabajo. Una Bicicleta de ruta tipo Fixie. Este modelo de bicicletas se caracteriza por no tener componentes extras como una bicicleta de ruta ordinaria, no posee frenos ni velocidades. Las bicicletas modelo fixie poseen un piñon fijo que va unico a la rueda con unos tornillos lo cual hace que la bicicleta pueda ir hacia adelante y hacia atrás. Estas bicicletas son muy hermosas porque algunas personas hacen combinaciones de colores que las hacen ver geniales, es la filosofía de "menos es más". Requieren algo de práctica para saber como frenar La bicicleta que hice esta basada en este modelo. Espero que les guste.

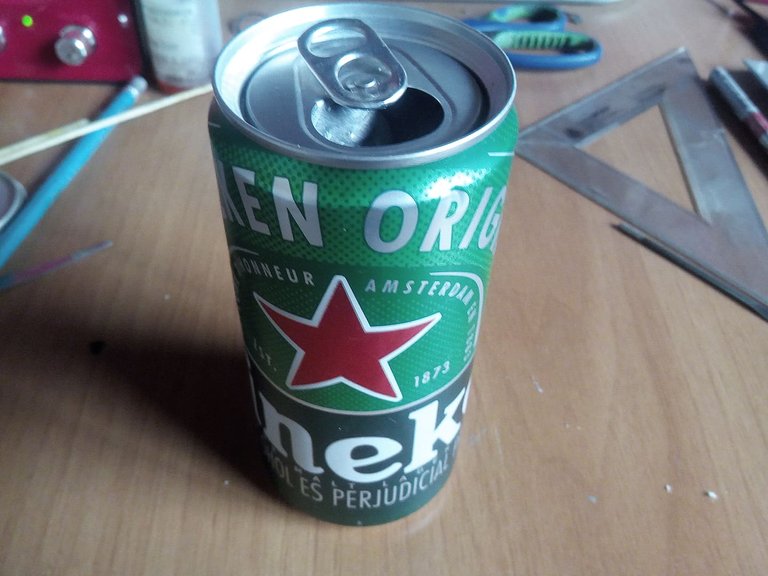
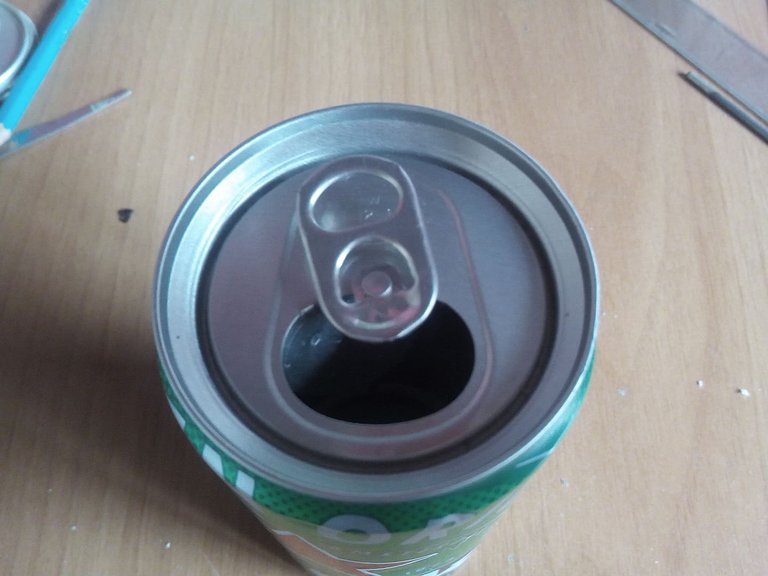
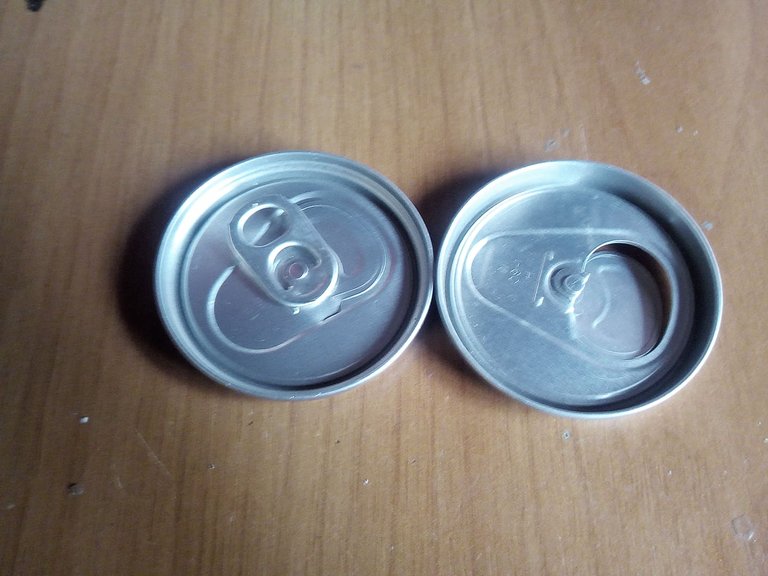
The first step is to choose a can that we have, we will use the upper part to make the wheels, it is important to start with the wheels because they will give us the measurements to be able to make the frame of the bicycle.
El primer paso es escoger una lata que tengamos, utilizaremos la parte de arriba para hacer las ruedas, es importante comenzar con las ruedas por que ellas nos darán las medidas para poder hacer el marco de la bicicleta.

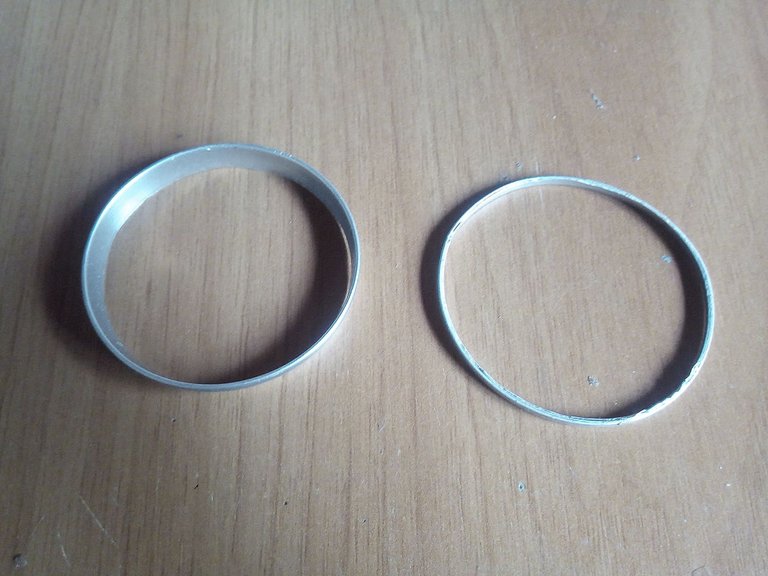
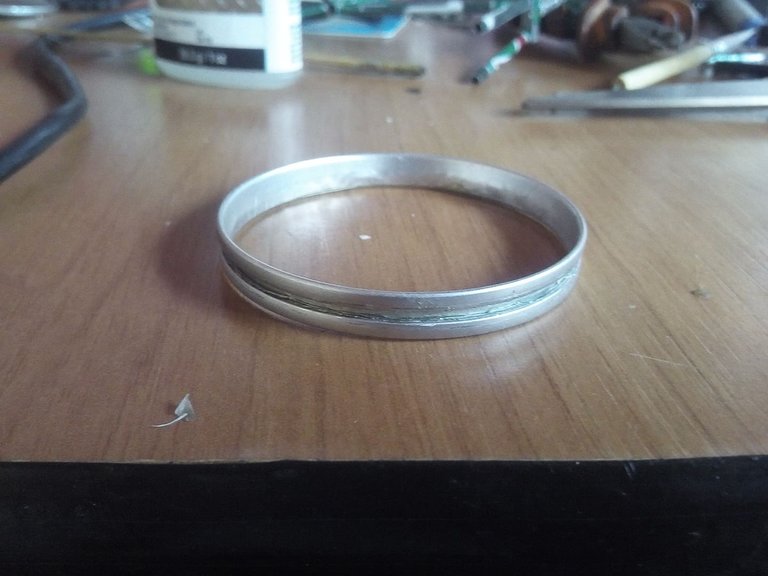
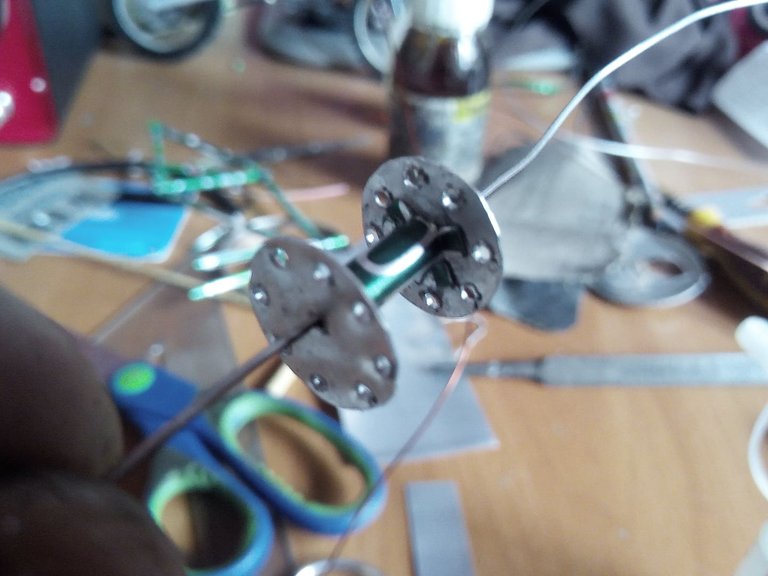
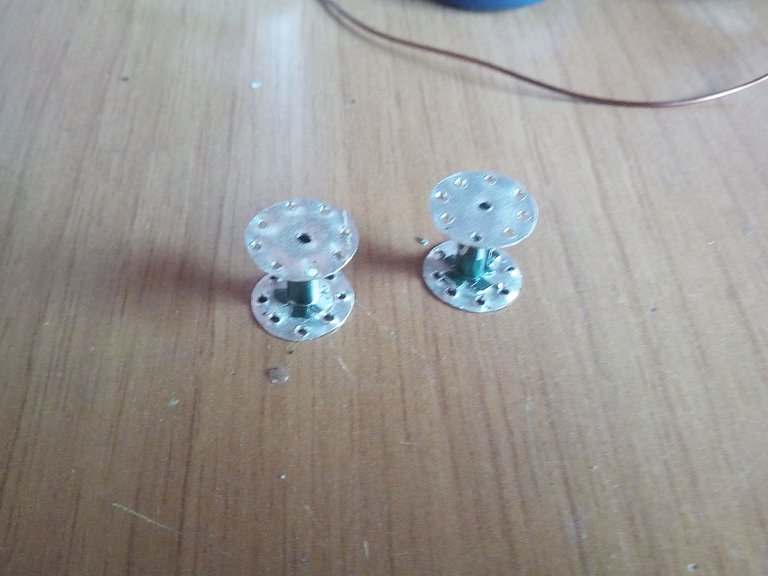
To make the wheels we will use the rings that surround the lids of the cans. We will use 4 in total, two of them will be cut long and the other two shorter. Then we join them to make the wheel rim. Then we will make the central axes of each rim, we will make them similar to the wheels where the sewing machine threads come from. We will make 8 holes on each side and in each rim we will make 16 holes.
Para hacer las ruedas utilizaremos los aros que rodean las tapas de las latas. Utilizaremos 4 en total, dos de ellos los cortaremos las largo y los otros dos mas corto. Luego los unimos para hacer en aro de las ruedas. Después haremos los ejes centrales de cada rim, los haremos similares a las ruedas donde vienen los hilos de máquinas de coser. Haremos 8 huecos por cada lado y en cada rim haremos 16 huecos.

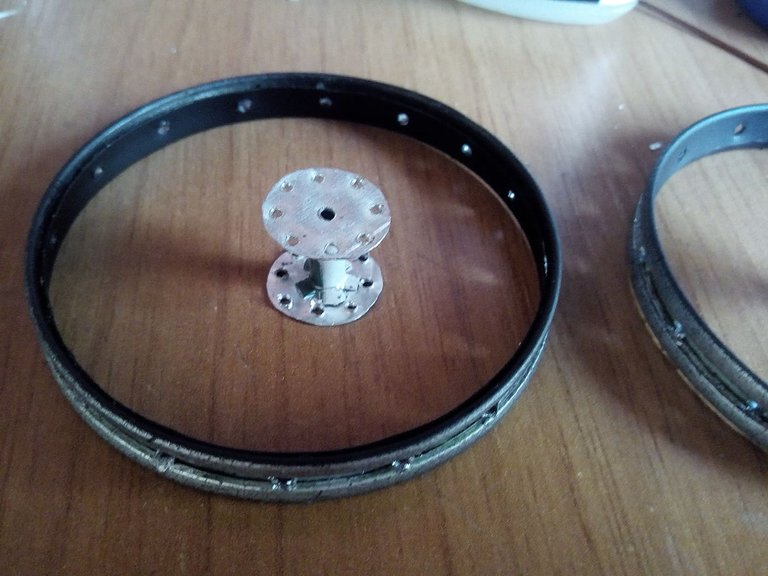
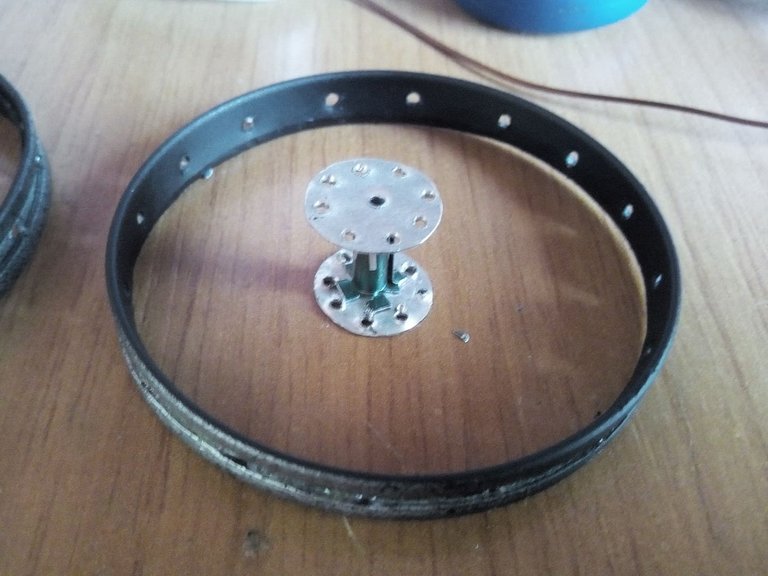
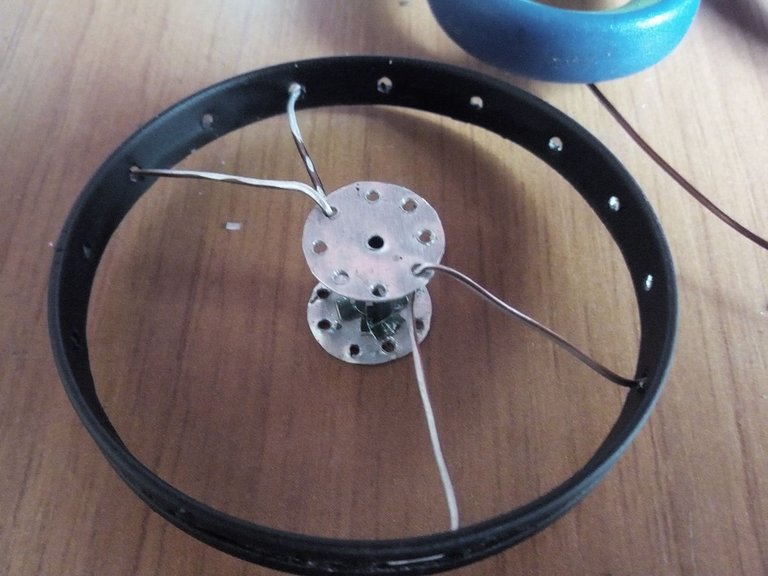
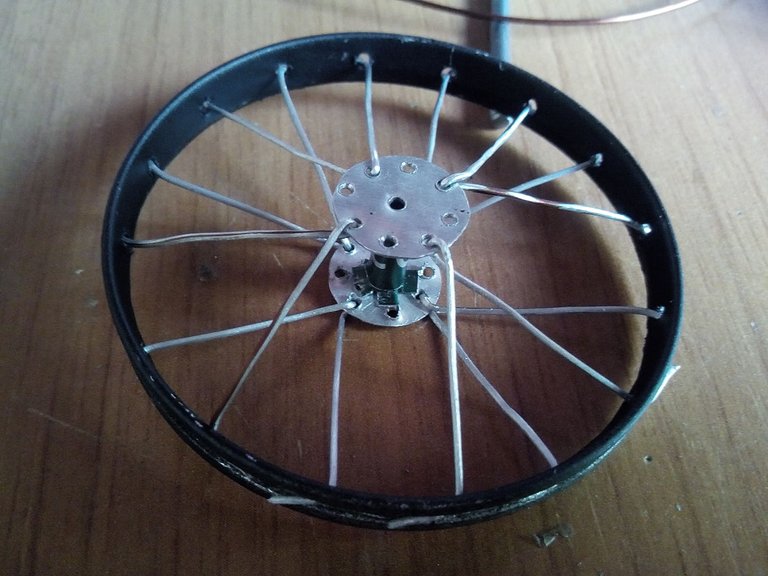
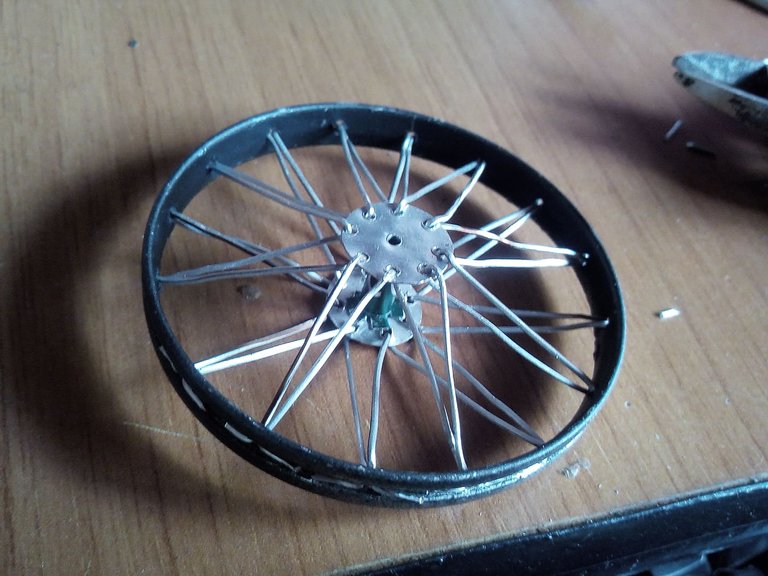
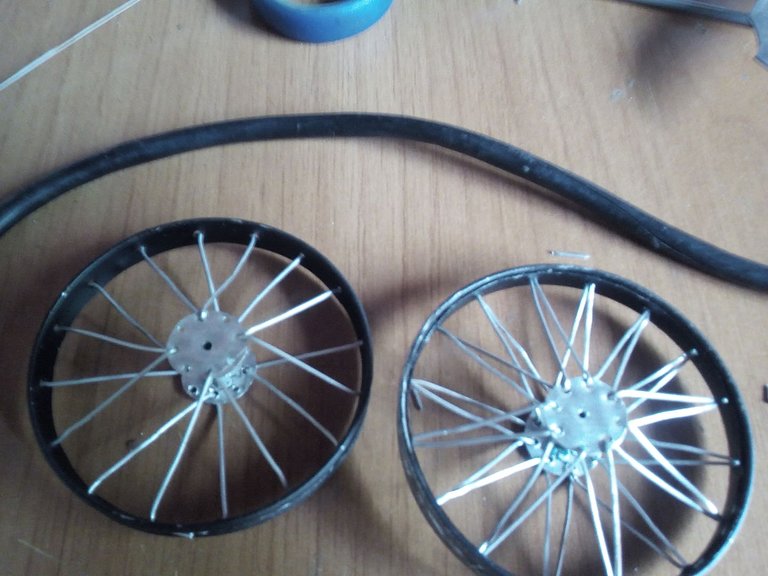
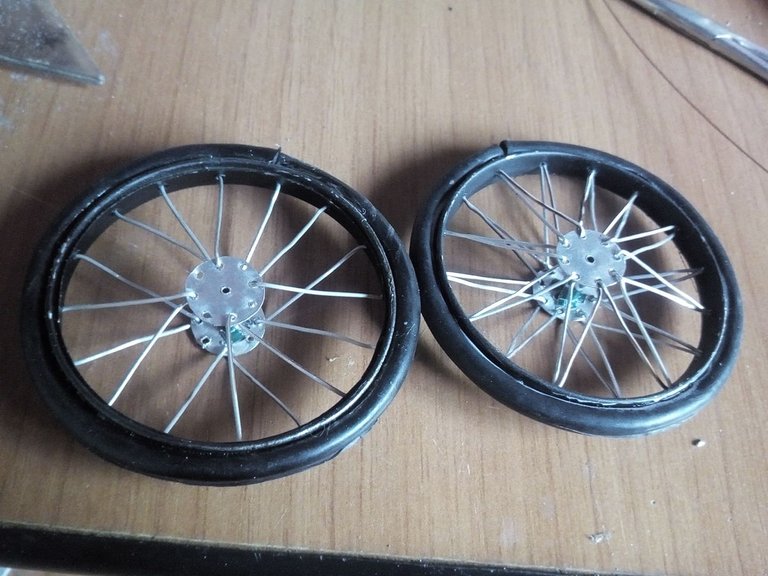
Now is the time to assemble the wheels. We will use copper wire to make the spoke of the wheel. We cut the strips of wire and we go through each hole that we made in both the central axes and the rim. After we have assembled the two wheels we put two rubbers for the tires, I used the cover of a usb cable.
Ahora es el momento de ensamblar las ruedas. Utilizaremos alambre de cobre para hacer el rayo de la rueda. Cortamos las tiras de alambre y las vamos pasando por cada agujero que hicimos tanto de los ejes centrales como del rim. Luego que hayamos ensamblados las dos ruedas colocamos dos gomas para los cauchos, yo utilice la cubierta de un cable usb.

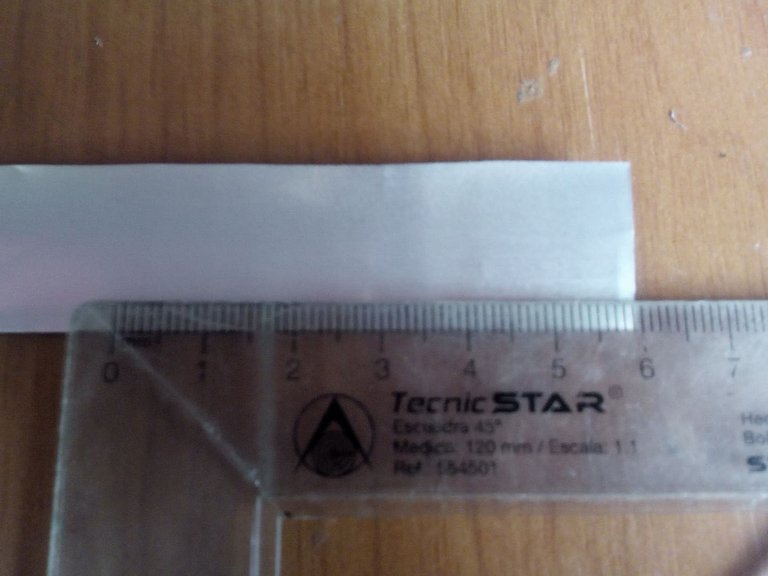
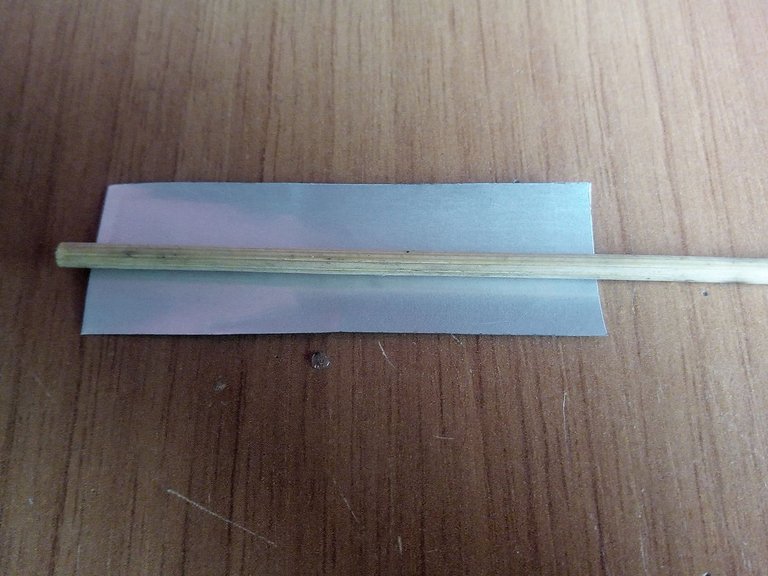
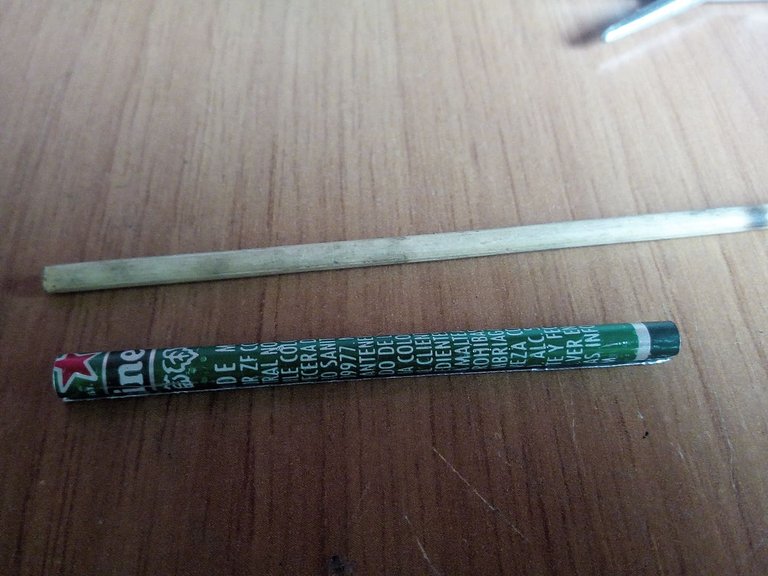
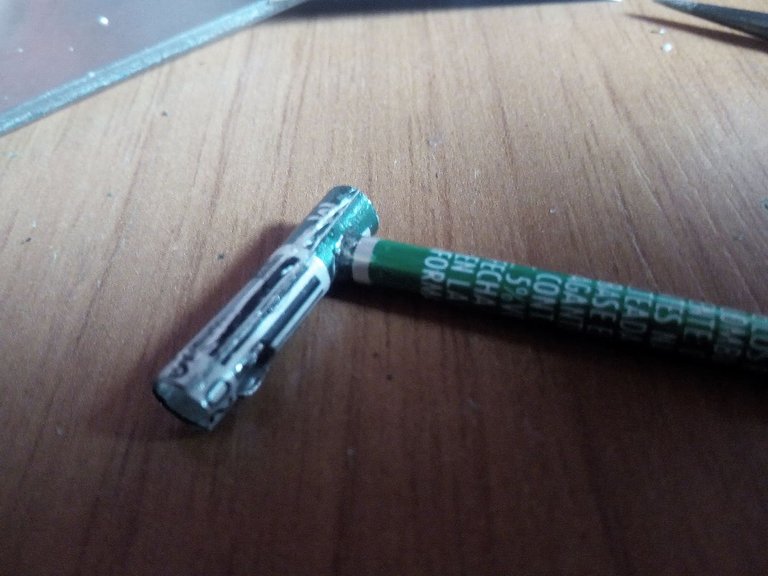
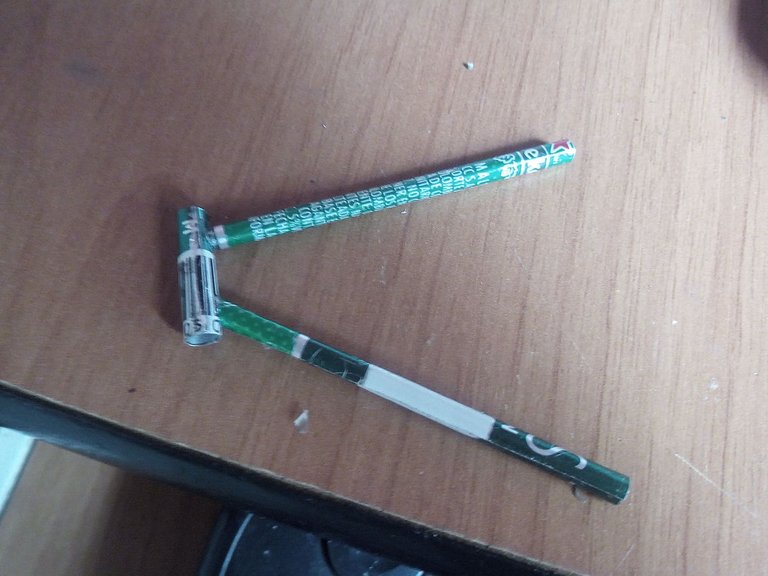
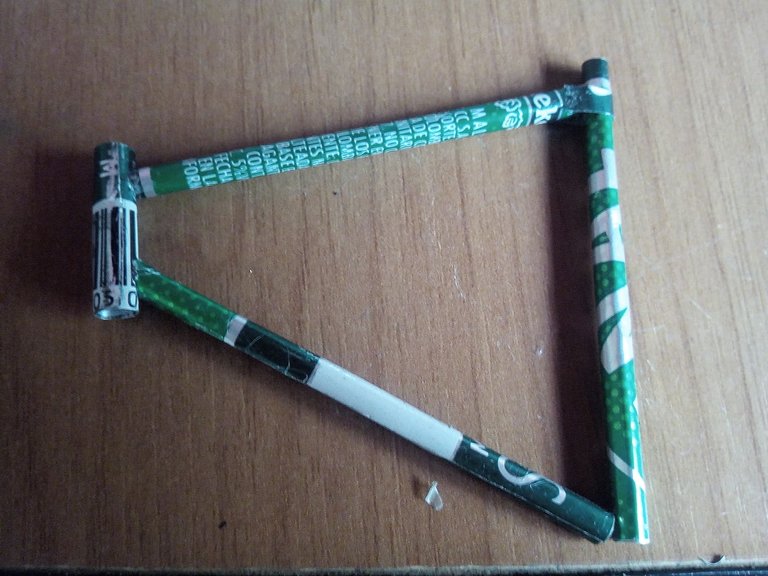
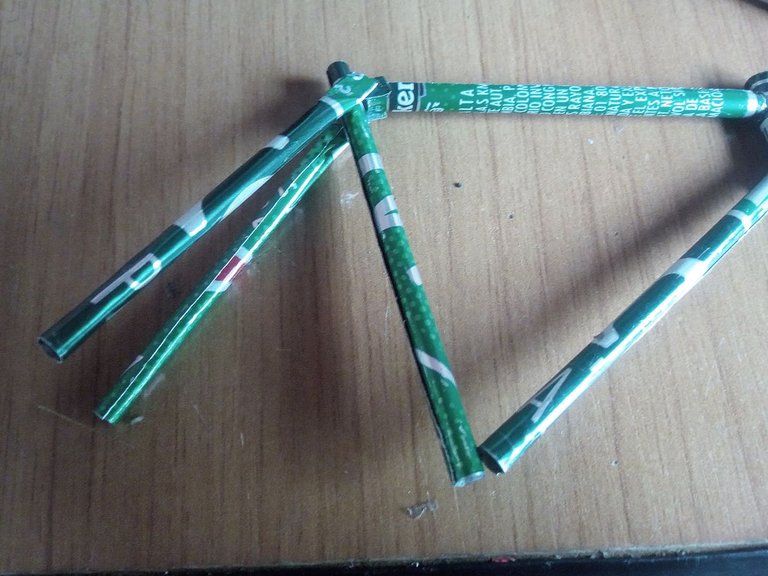
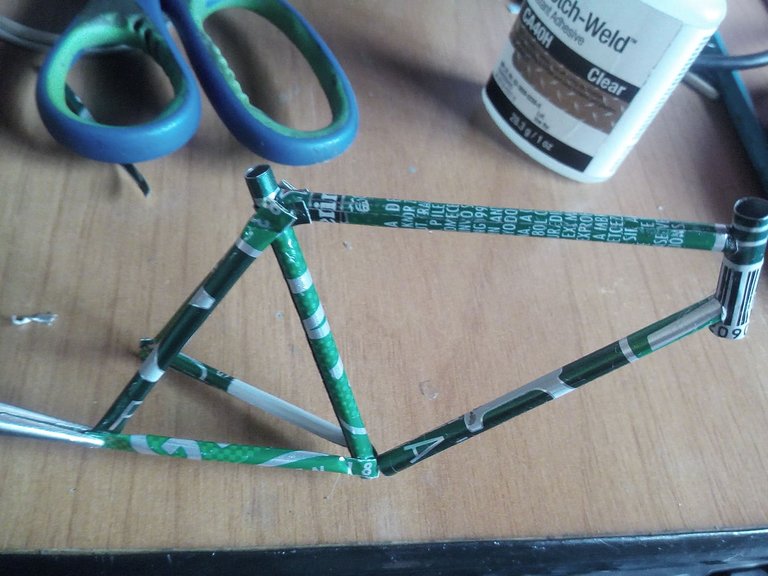
To make the frame of the bicycle we use the wheels as guides, so the front tubes will be 6 centimeters each, while the rear tubes will be 5.5 centimeters and the lower tubes will be 4.5 centimeters. We are joining each tube starting with the upper ones of the front part, then ending with the rear tubes and finally we place the lower tubes through which the bicycle chain passes.
Para hacer el marco de la bicicleta usamos las ruedas como guidas, así los tubos de la parte delantera serán de 6 centímetros cada unos, mientras que los tubos traseros serán de 5,5 centímetros y los tubos inferiores de 4,5 centímetros. Vamos uniendo cada tubo comenzando por los superiores de la parte delantera, luego finalizando con los tubos traseros y por último colocamos los tubos inferiores por donde pasa la cadena de la bicicleta.

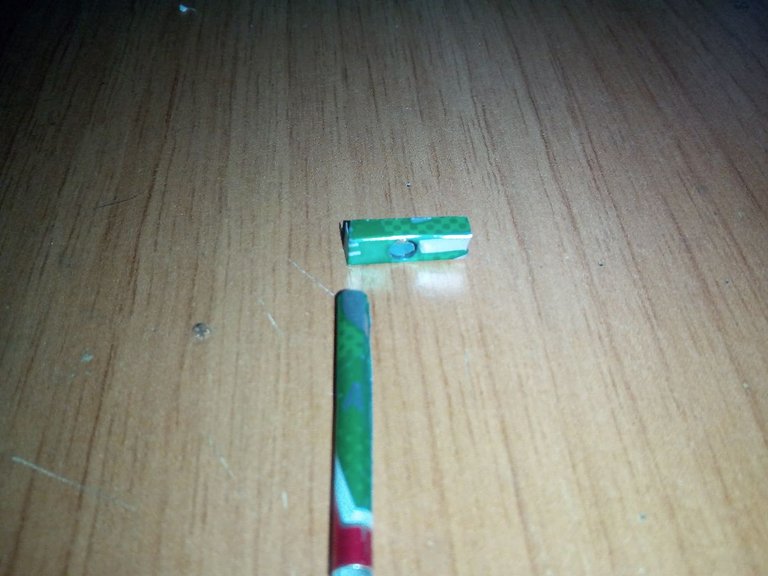
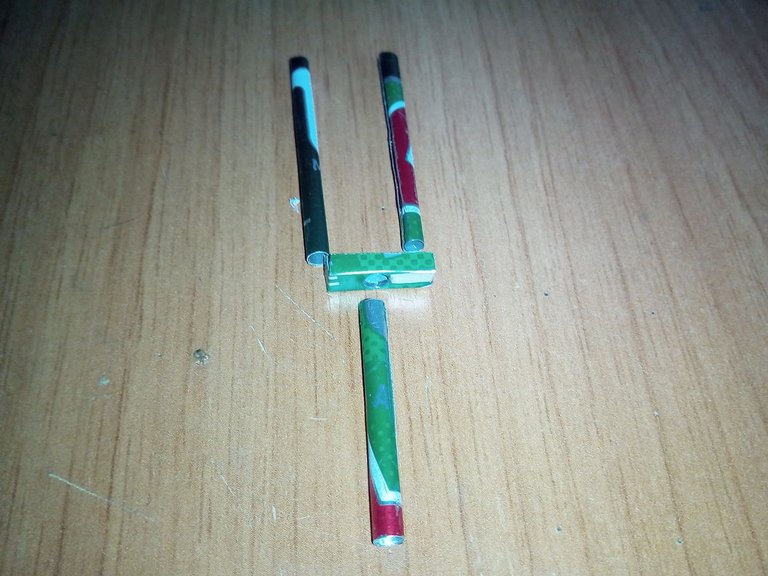
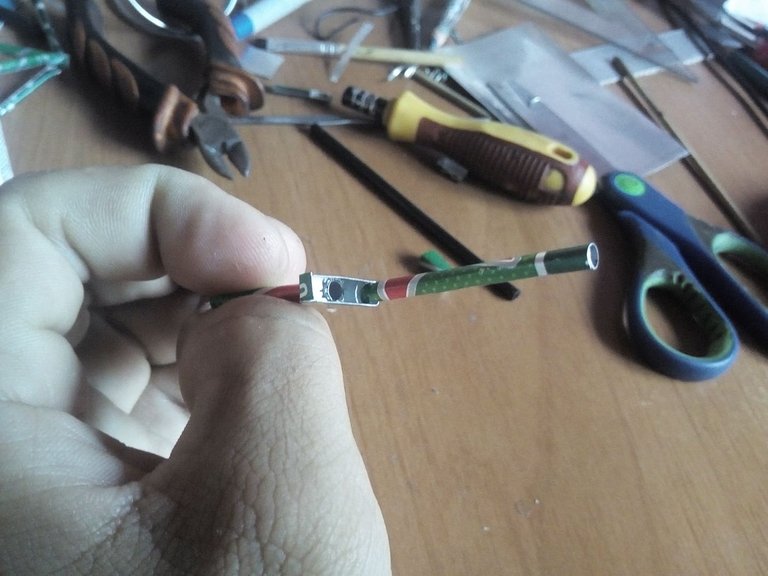
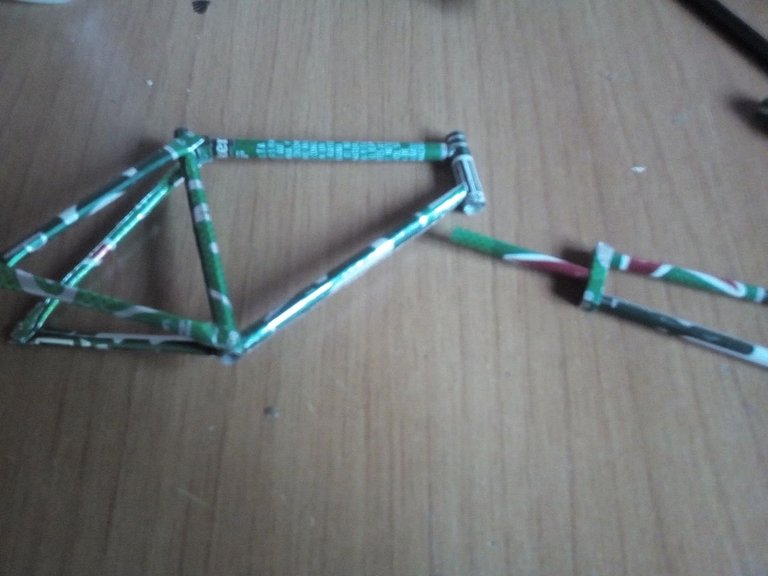
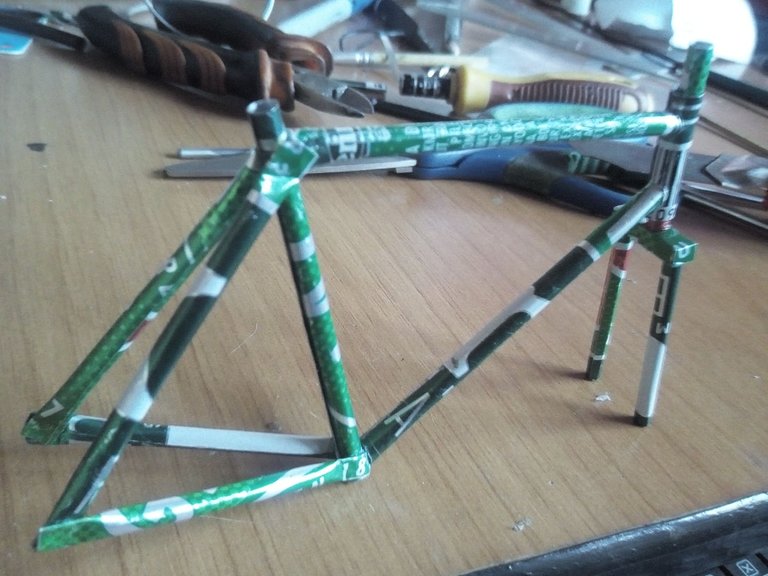
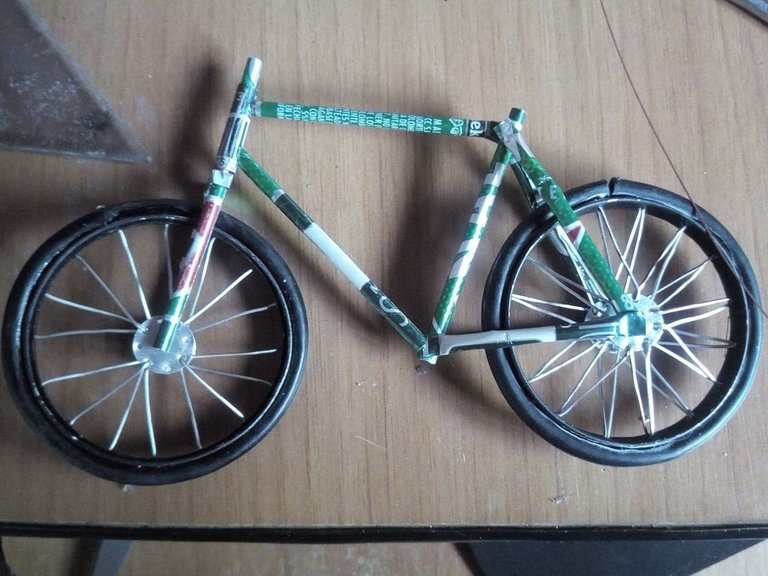
Now we have to make the fork of the bicycle. For that we make a small measures to be able to do it. We glue each of the parts with silicone and then we join it with the rest of the frame, then we put the wheels each in position, and we can see that we have a great bearing made, we are missing the seat, the handlebars and the pedals.
Ahora nos toca hacer la horquilla de la bicicleta. Para eso hacemos una pequeñas medidas para poder hacerlo. Pegamos cada una de las partes con silicon y luego lo unimos con el resto del marco, luego colocamos las ruedas cada una en posición, y podemos ver que llevamos una gran porte hecha, nos falta el asiento, el manubrio y los pedales.

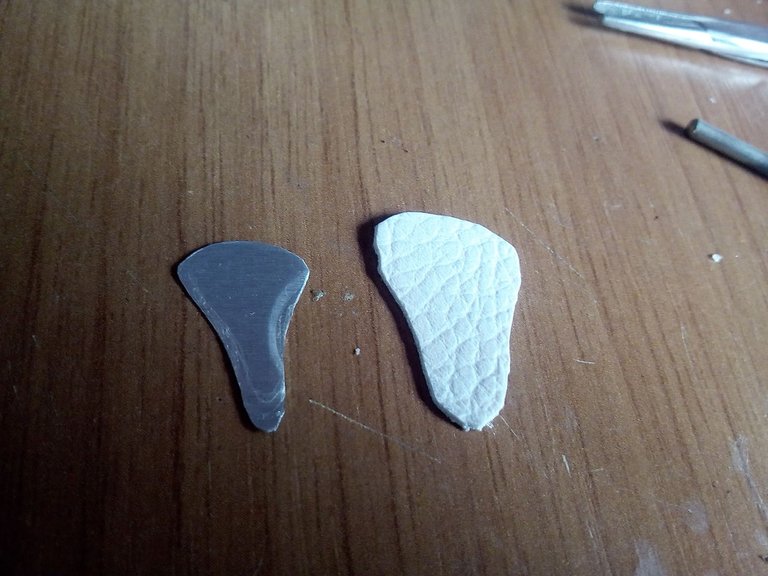
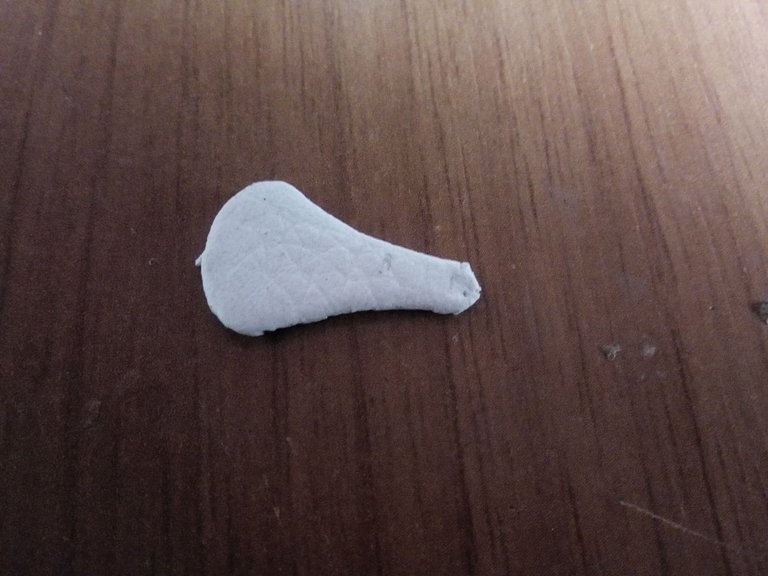
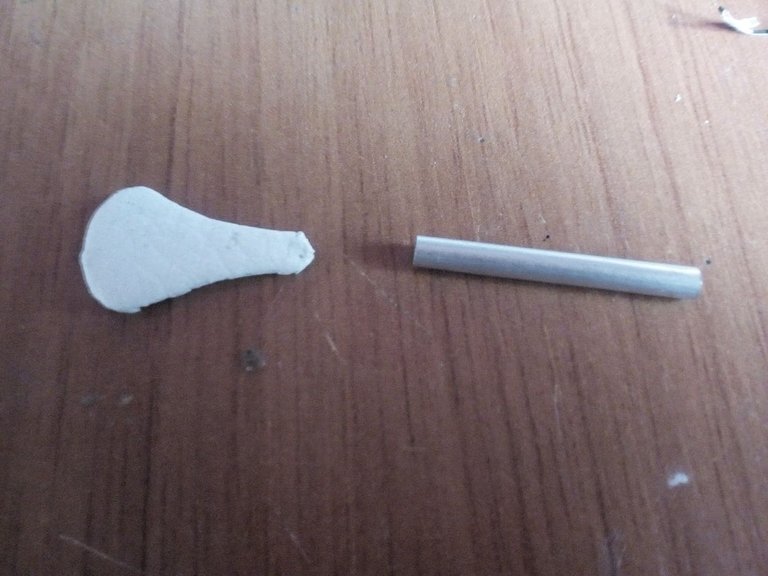
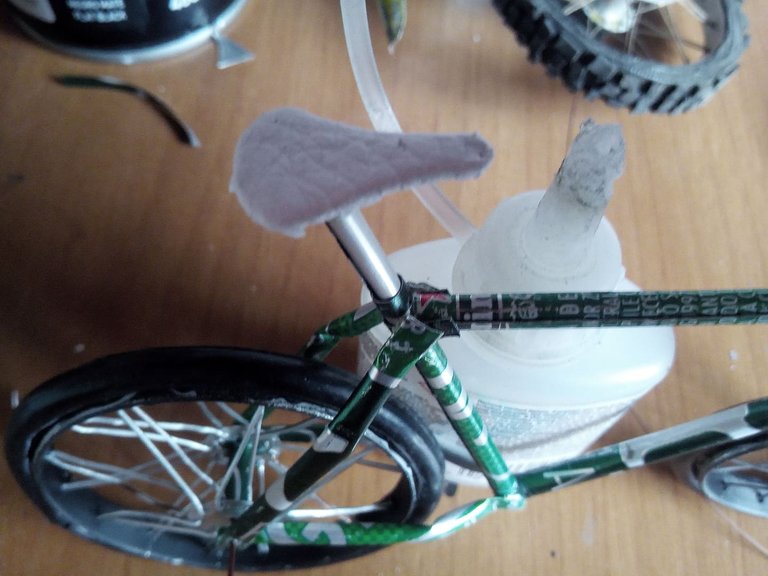
We also make the bicycle seat using the classic model, we cut a piece of tin and mold it, also a piece of synthetic leather to cover it. Once we cover it, we make a small tube and place it in its rightful place on the bike.
EL asiento de la bicicleta lo hacemos también usando el modelo clásico, cortamos un pedazo de lata y lo moldeamos, también un trozo de cuero sintético para cubrirlo. Una vez que lo cubrimos, hacemos un pequeño tubo y lo colocamos en el sitio que le corresponde en la bicicleta.

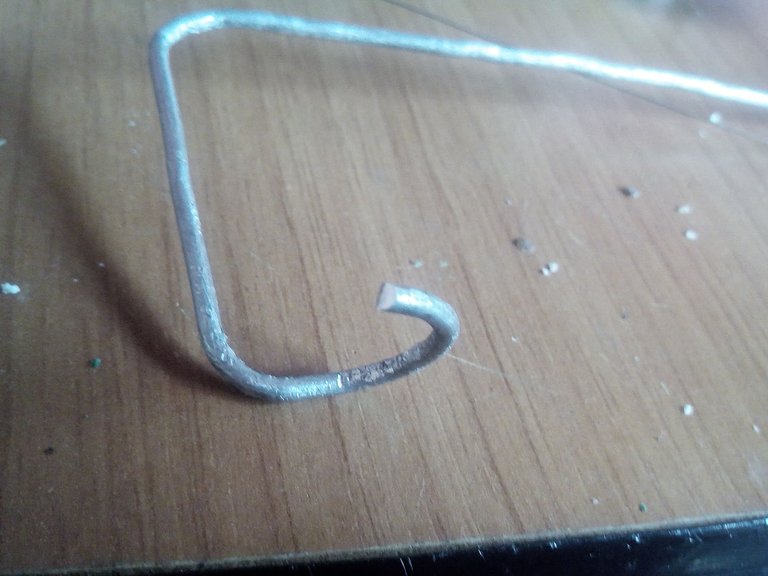
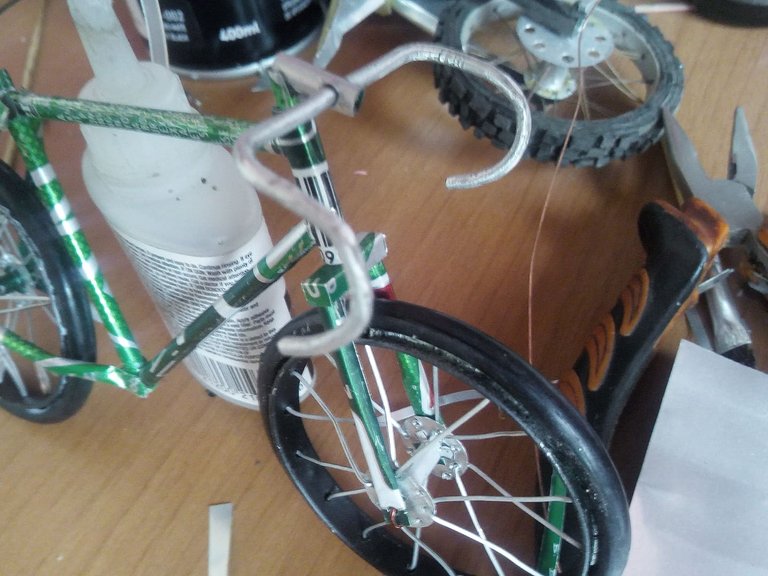
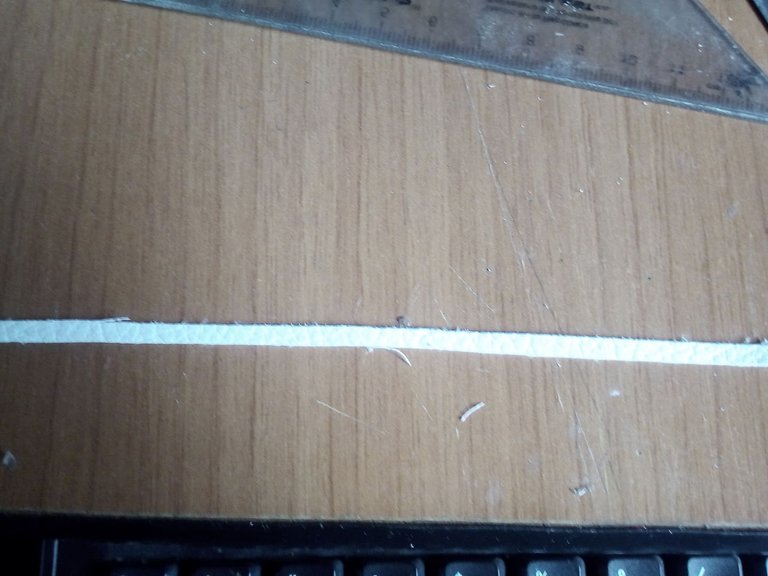
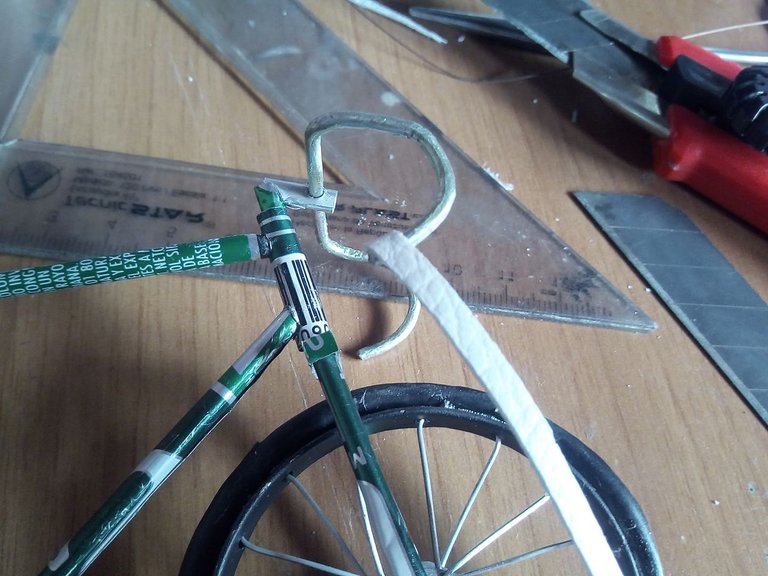
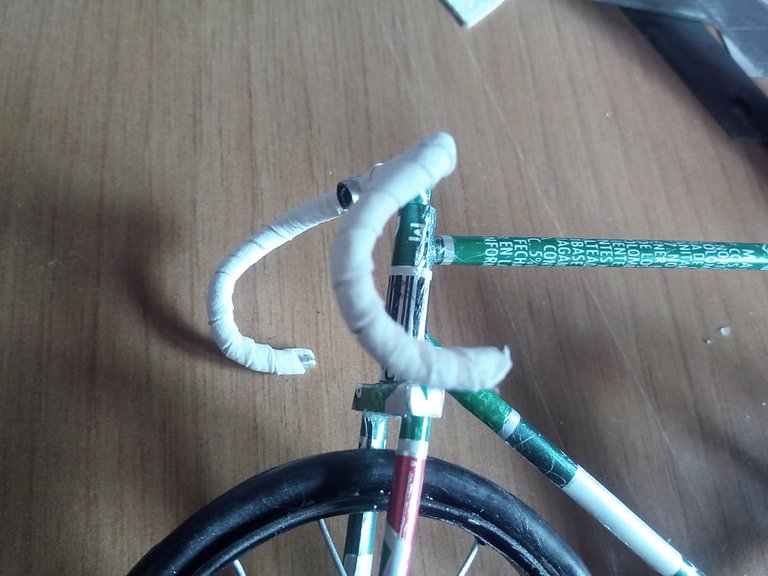
To make the handlebar we use a thicker copper wire, we mold it and complete its shape and then we put it in the part that corresponds to it, then with a small strip of synthetic leather and we cover the entire handlebar as is a real bicycle handlebar.
PAra hacer el manubrio usamos un alambre de cobre mas grueso, lo moldeamos y completamos su forma y luego lo ponemos en la parte que le correspondiente, después con una pequeña tira de cuero sintético y cubrimos todo el manubrio tal cual como un manubrio de bicicleta real.

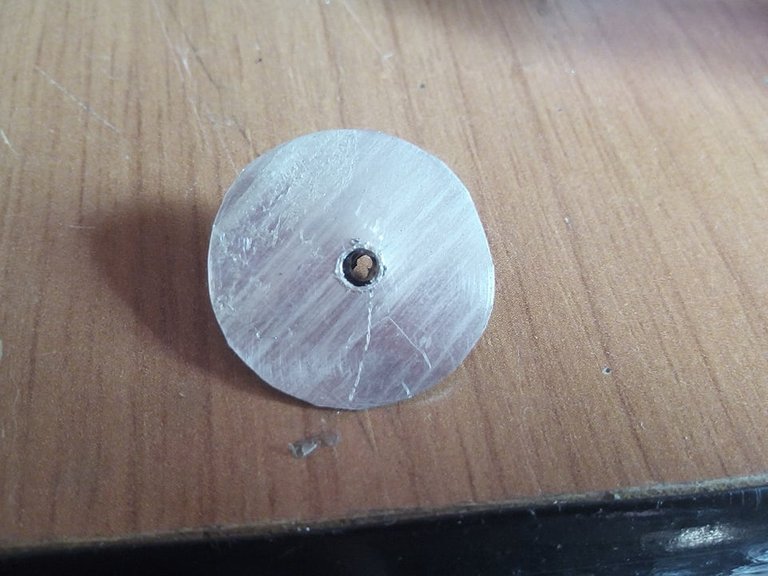
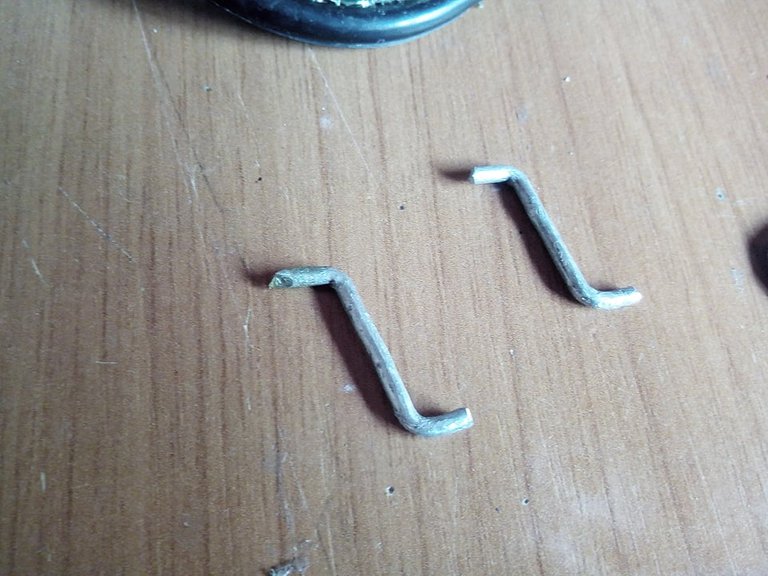
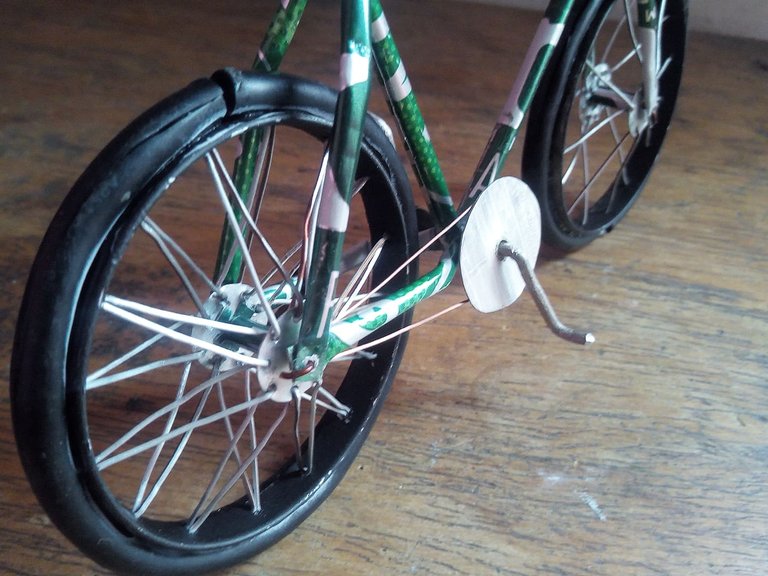
Finally we make the pedals and the cranks and the chain. For the cranks we use a circle made of aluminum and in the middle a hole where the pedal arms will go. We make the pedals with the same copper that we use for the handlebars. We put the pedals and then fix each one on the bike and we will have finished our Fixie bike.
Por último hacemos los pedales y las bielas y la cadena. Para las bielas usamos un circulo hecho de aluminio y en el medio un agujero por donde irán los brazos de los pedales. Los pedales lo hacemos con el mismo cobre que usamos para el manubrio. Colocamos los pedales y luego fijamos cada uno en la bicicleta y habremos finalizado nuestra bicicleta Fixie.

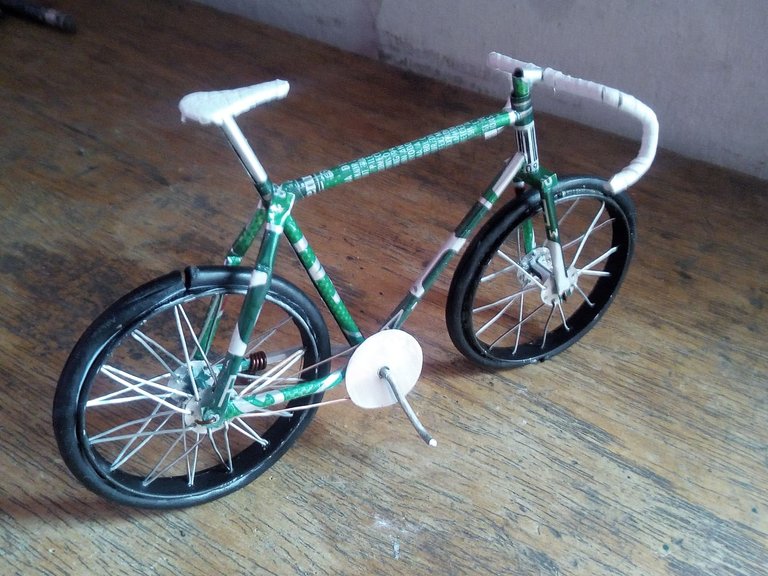
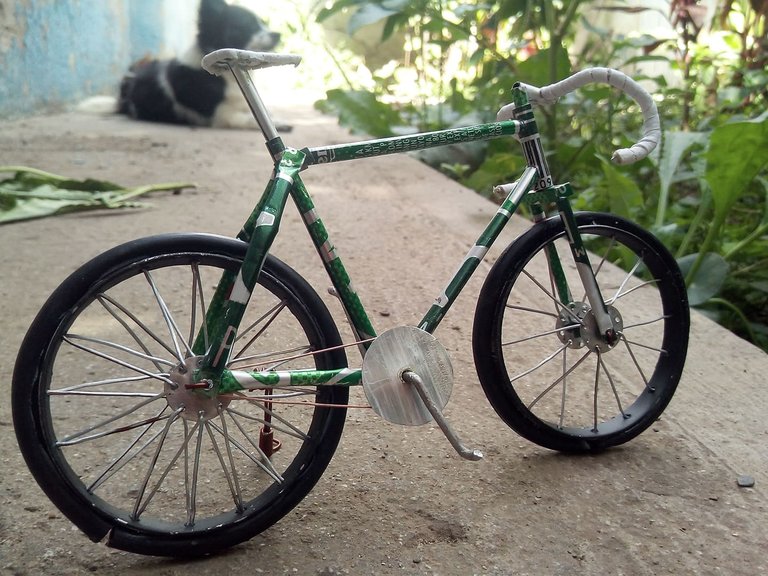
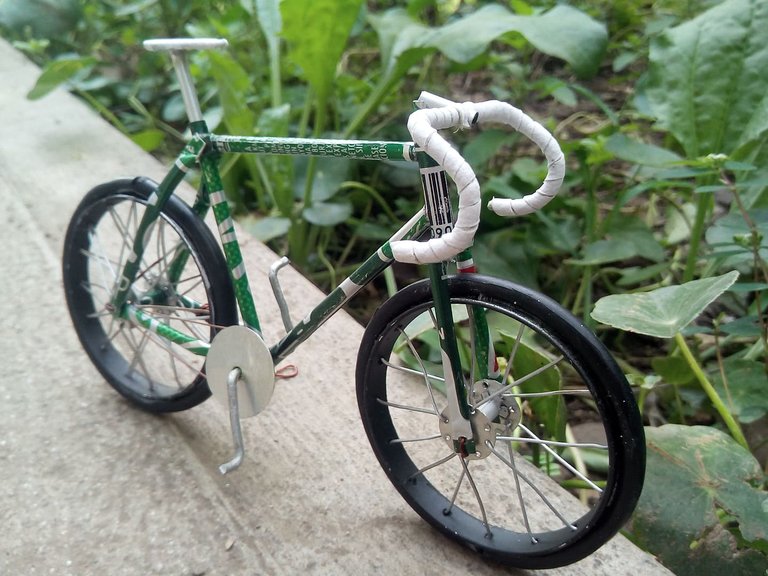
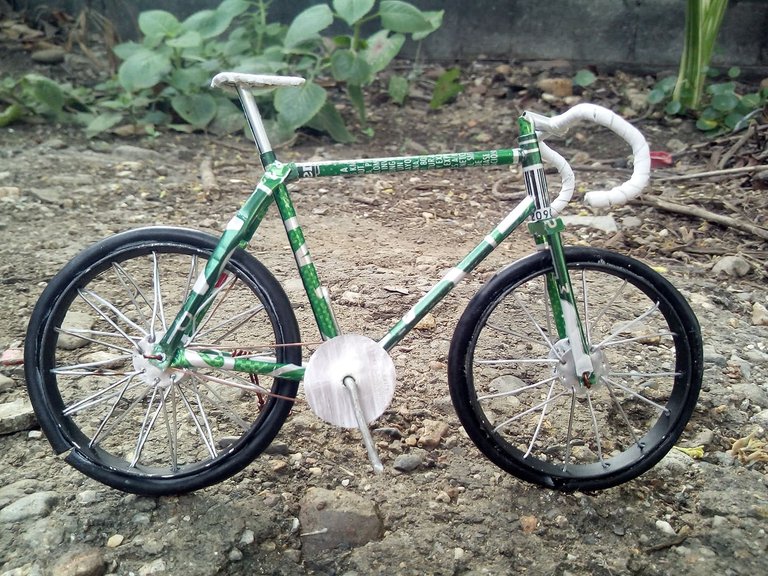
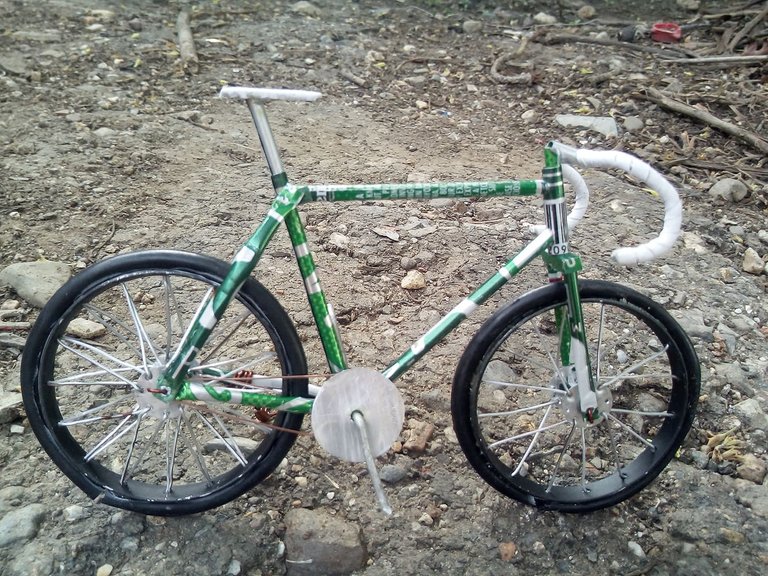
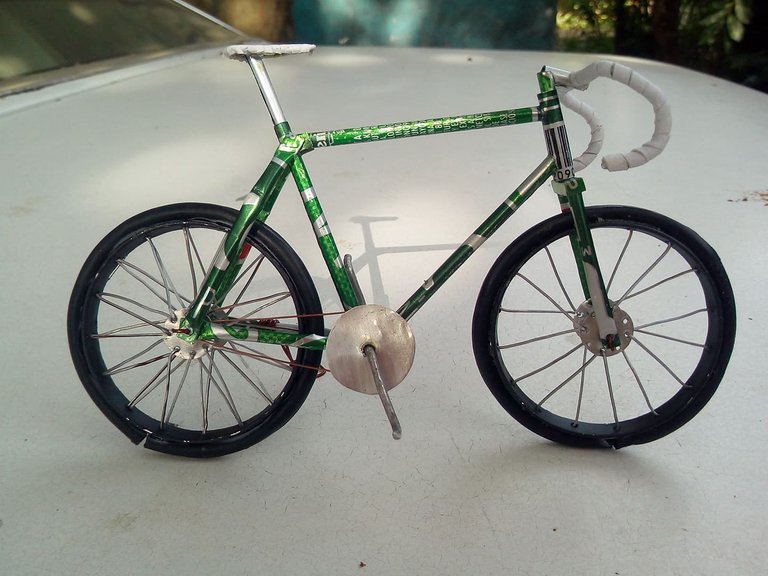
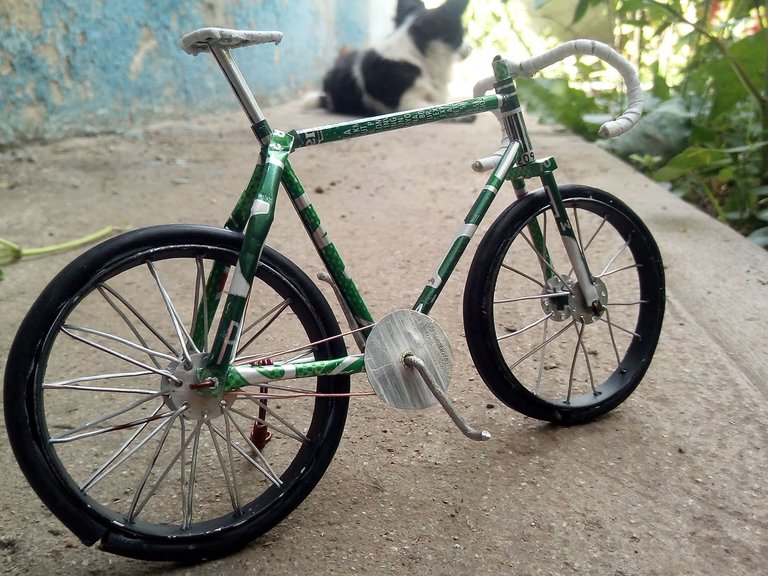
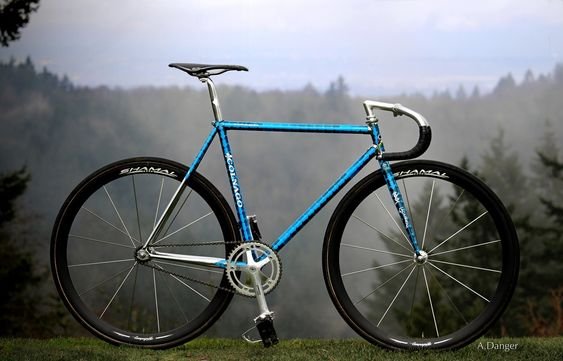
This is how our Fixie bike has been, I wanted to paint it blue like my bike but the paint has already run out. I think the model of my miniature bike would have been great. I had never made one, I always made motorcycles and cars but this is my first bike, I hope to make an MTB soon that I also like those models. I hope you liked it, as you can see it is very easy to do, you can try it .. I say goodbye to you soon, do not forget to comment how you thought it was.
Así ha quedado nuestra bicicleta Fixie, quise pintarla de azul como mi bicicleta pero la pintura ya se me termió. Creo que hubiera quedado genial el modelo de mi bicicleta en miniatura. Nunca había hecho una, siempre hacía motocicletas y carros pero esta es mi primera bicicleta, espero hacer una MTB pronto que también me gustan esos modelos. Espero que les haya gustado, como pueden ver es muy facil de hacer, pueden intentarlo.. Me despido hasta pronto, no olviden comentar que tal les ha parecido.

Hola @fixie como siempre enamorada de tus creaciones, que gran bici..., súper detallada y linda....
Un fuerte abrazo, saludos.
Hola querida amiga.. Desde hace tiempo me debía hacer una bici.. me alegra muchísimo que te haya gustado el diseño.
The rewards earned on this comment will go directly to the person sharing the post on Twitter as long as they are registered with @poshtoken. Sign up at https://hiveposh.com.
Gran trabajo como siempre bro, seguramente se requiere mucha paciencia y precisión para lograr un buen acabado en tus en tus obras, un Saludo y feliz fin de semana.
Que gran trabajo, me encanta. Te felicito.
Thank you for sharing this amazing post on HIVE!
non-profit curation initiative!Your content got selected by our fellow curator @stevenson7 & you just received a little thank you via an upvote from our
You will be featured in one of our recurring curation compilations and on our pinterest boards! Both are aiming to offer you a stage to widen your audience within and outside of the DIY scene of hive.
Join the official DIYHub community on HIVE and show us more of your amazing work and feel free to connect with us and other DIYers via our discord server: https://discord.gg/mY5uCfQ !
If you want to support our goal to motivate other DIY/art/music/homesteading/... creators just delegate to us and earn 100% of your curation rewards!
Stay creative & hive on!