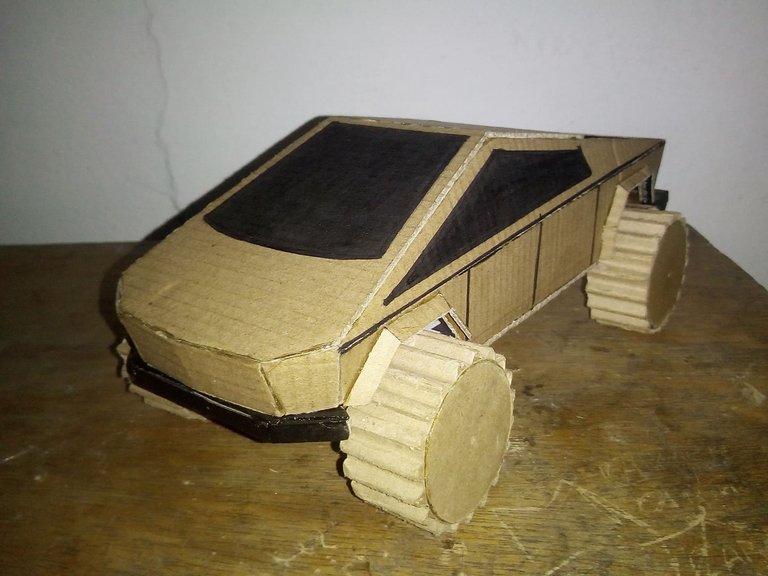
Hello friends of Hive I hope you are very well. Today I want to show you my latest work, the Caybertruck created by Elon Musk's TESLA company. This car is special because I did not make it for myself, but for a 12-year-old who is my neighbor. He has a speech disability but is very communicative, he likes the things I do a lot. He asked me to make this car with cardboard to collect it, but apart from that he also asked me for the templates and some cans because he wants to do it himself by his own means. Although it is a bit dangerous to work with soda cans, the day I am going to do it I will be helping you. For now I leave the process to you and I hope you enjoy it.
Hola amigos de Hive espero que se encuentren muy bien. Hoy quiero mostrarles mí último trabajo, la Caybertruck creada por la empresa TESLA de Elon Musk. Este auto es especial porque no lo hice para mi, sino para un joven de 12 años que es mi vecino. Tiene una discapacidad en el habla pero es muy comunicativo, le gusta mucho las cosas que yo hago. Me pidió que le hiciera este auto con cartón para coleccionarlo, pero a parte de ello también me pidió las plantillas y algunas latas porque el quiere hacerlo por el mismo por sus propios medios. Aunque es un poco peligroso trabajar con las latas de soda, el día que lo vaya hacer estaré ayudándolo. Por ahora les dejo el proceso y espero que lo disfruten.

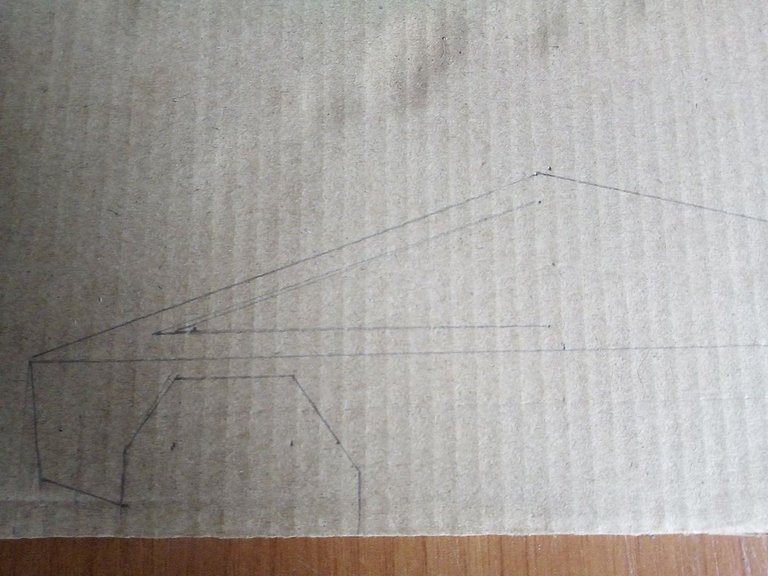
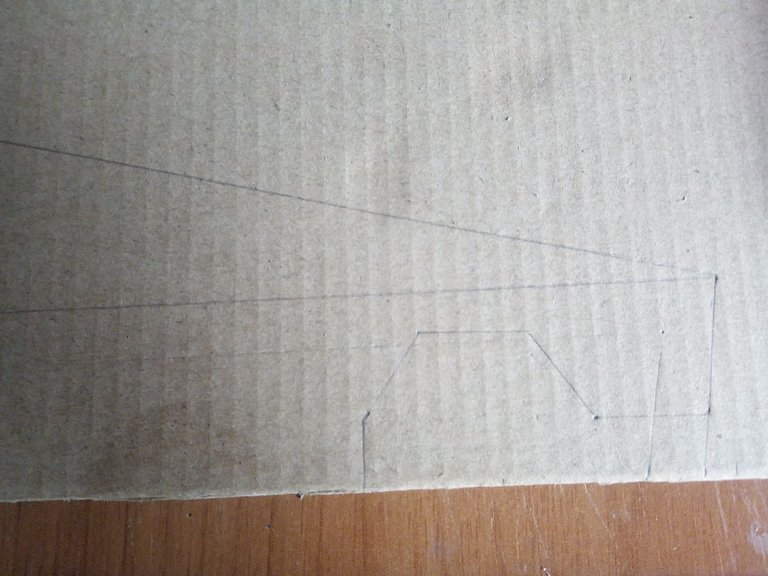
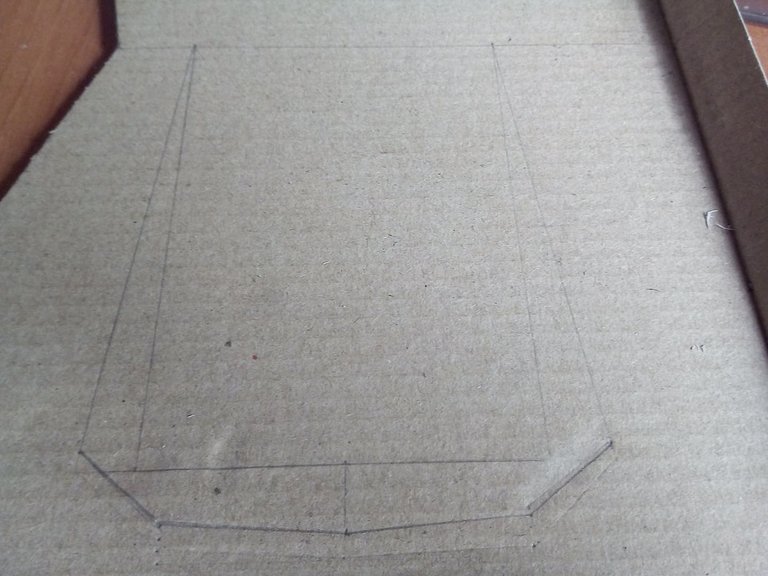
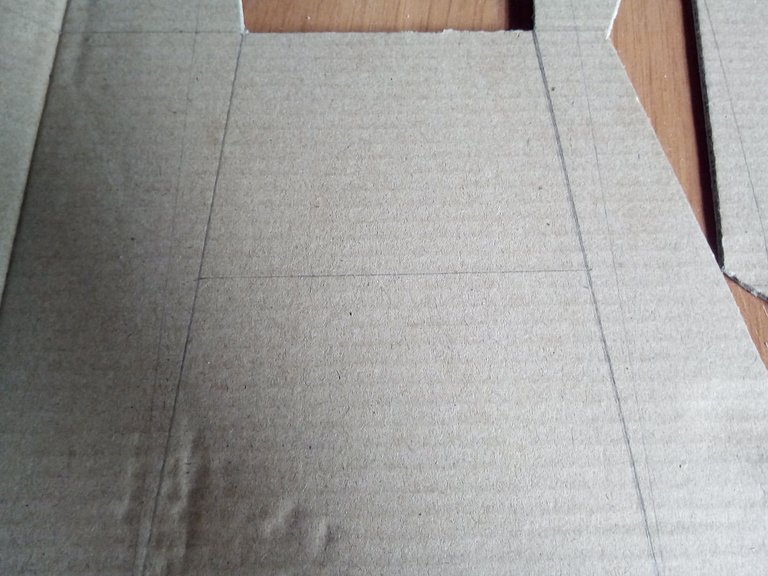
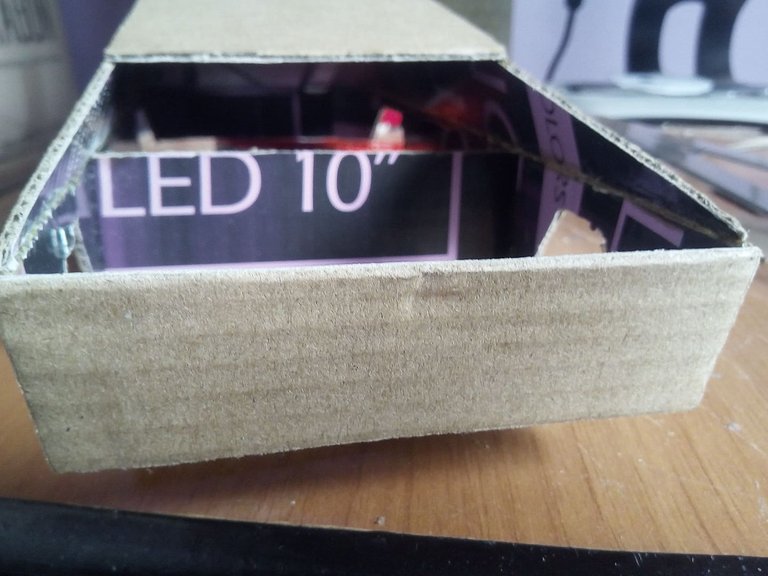
I found a cardboard box for a PC monitor, because I no longer had cardboard left to make crafts. I designed the templates in a more easy and simple way, also the model of this car greatly facilitates the creation of templates, its futuristic and linear design is very easy to replicate.
Encontre una caja de cartón de un monitor de PC, porque ya cartón no me quedaba para hacer manualidades. Diseñé las plantillas de una forma más faicl y sencilla, tambien el modelo de este auto facilita mucho la creación de las plantillas, su diseño futurista y lineal es muy facil de replicar.

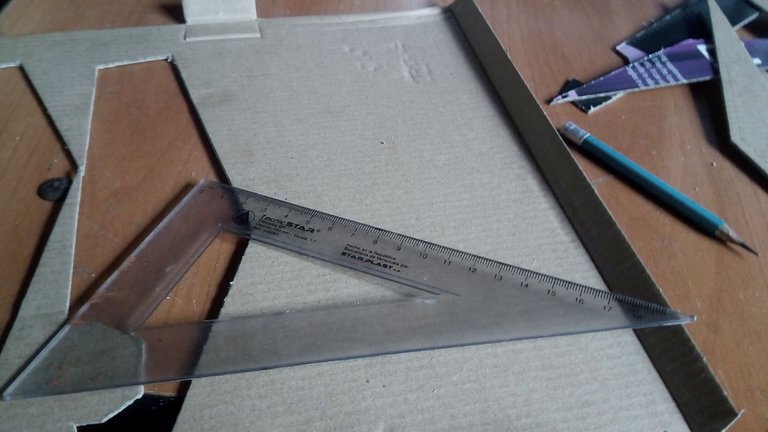
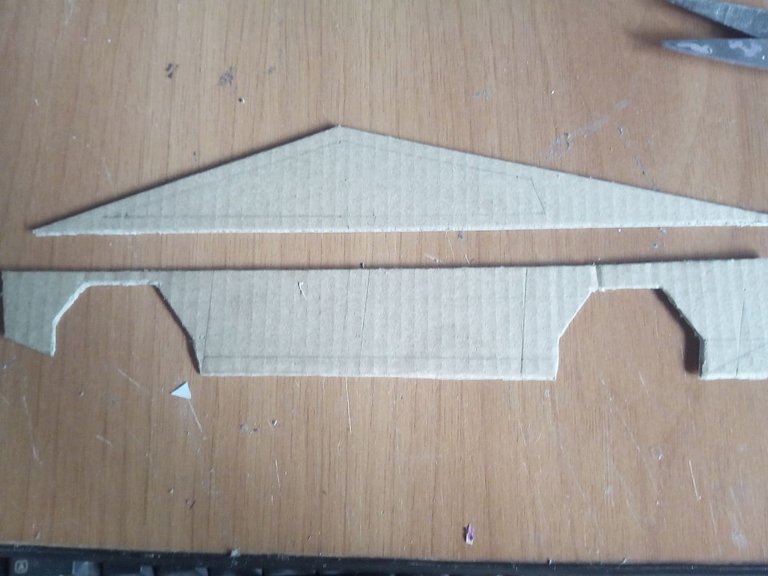
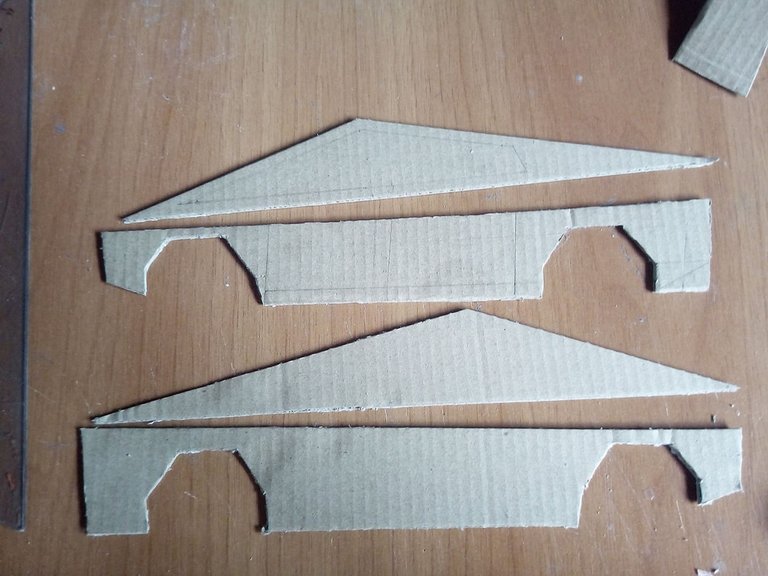
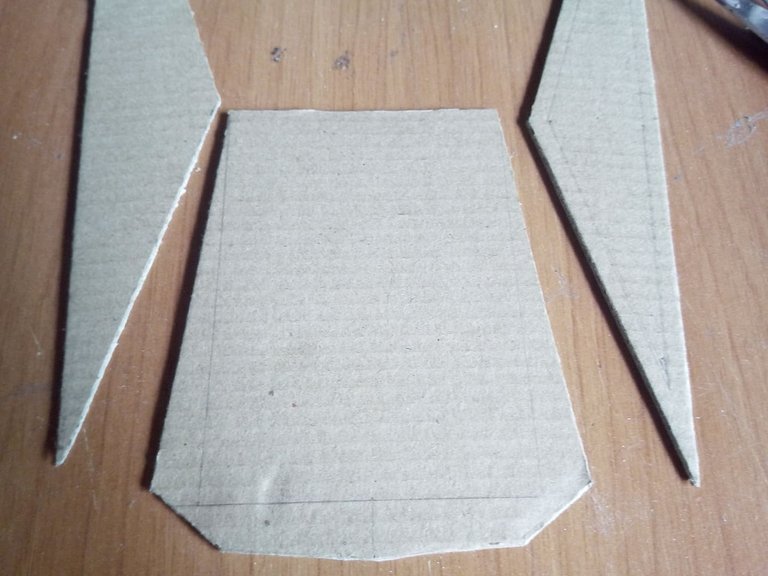
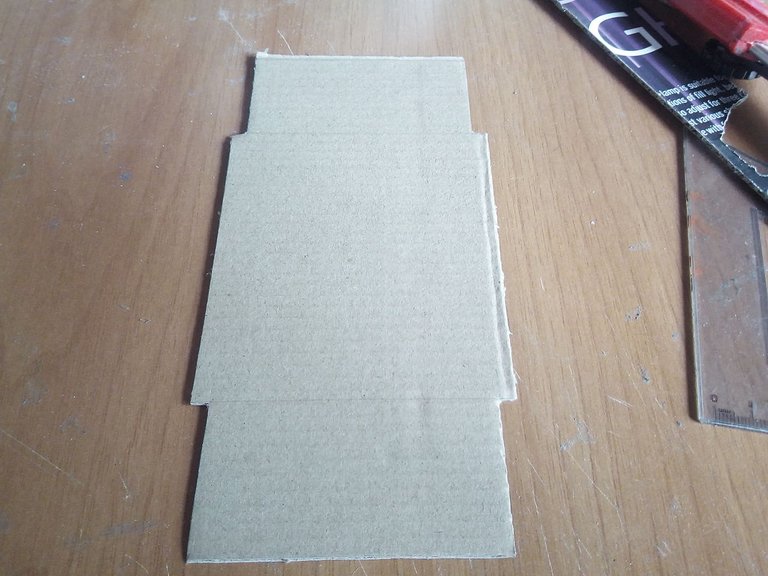
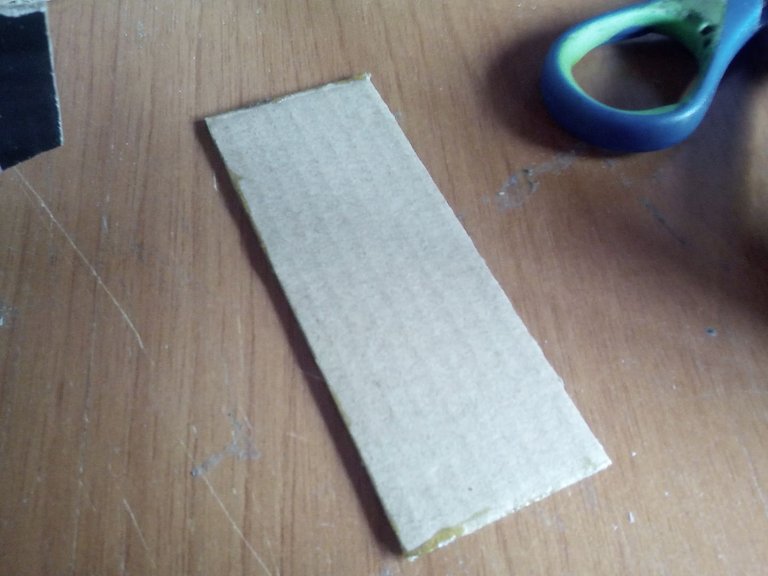
Once the templates are designed, we proceed to cut them. I used a square ruler and a razor to make the cut. As you can see we have cut each part. The hood, roof, doors, windows, and floor. Now it only remains to assemble each of the parts.
Una vez diseñada las plantillas procedemos a cortarlas. Utilicé una regla escuadra y una navaja para efectuar el corte. Como pueden ver hemos cortado cada parte. El capó, el techo, las puertas, las ventanas y el piso. Ahora solo queda armar cada una de las partes.

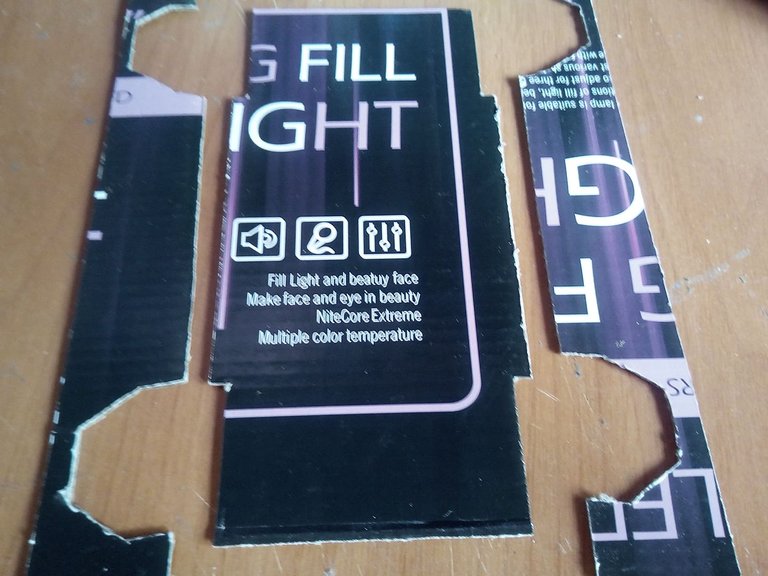
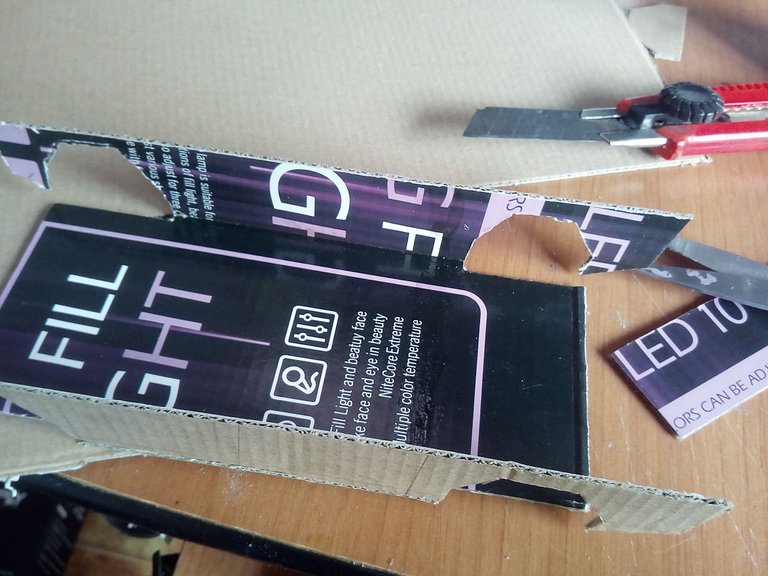
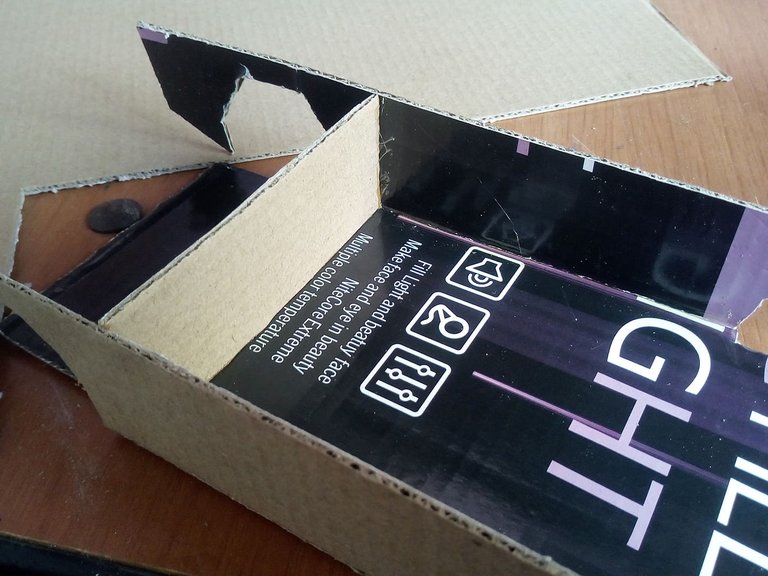
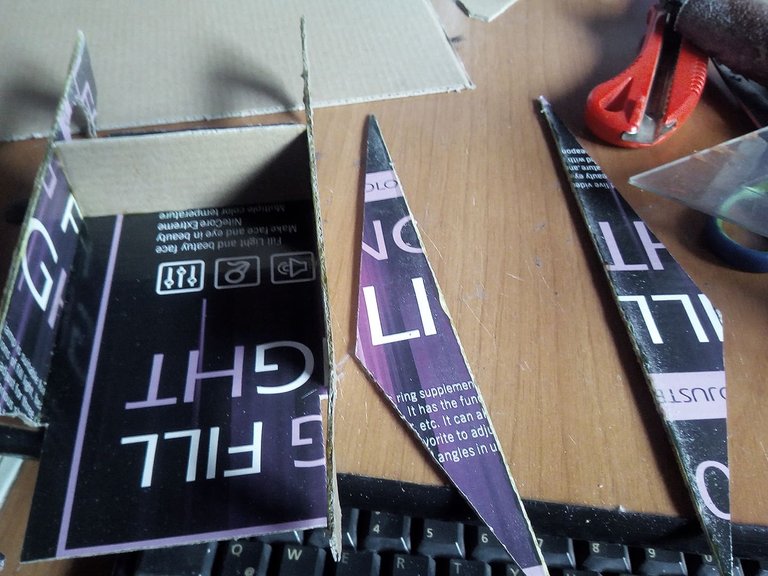
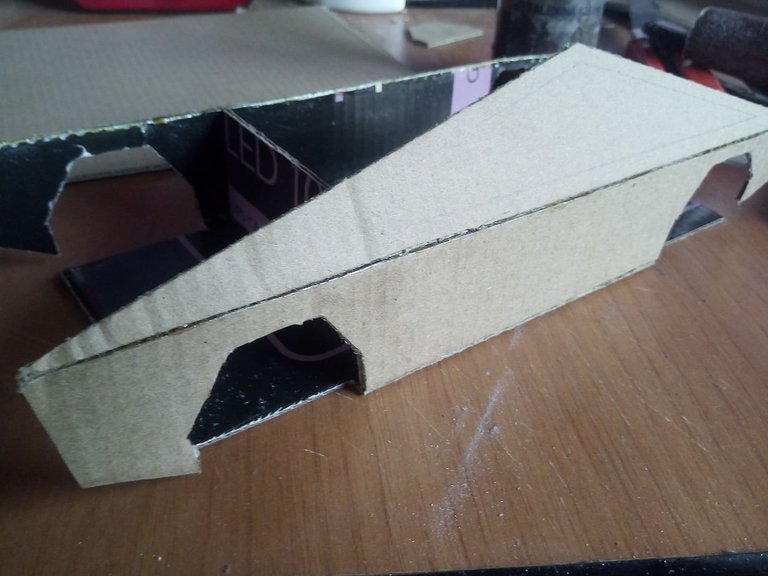
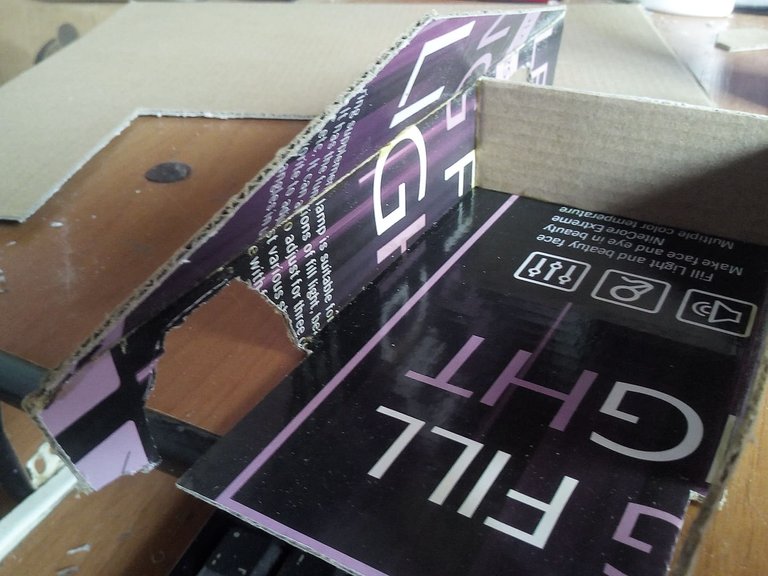
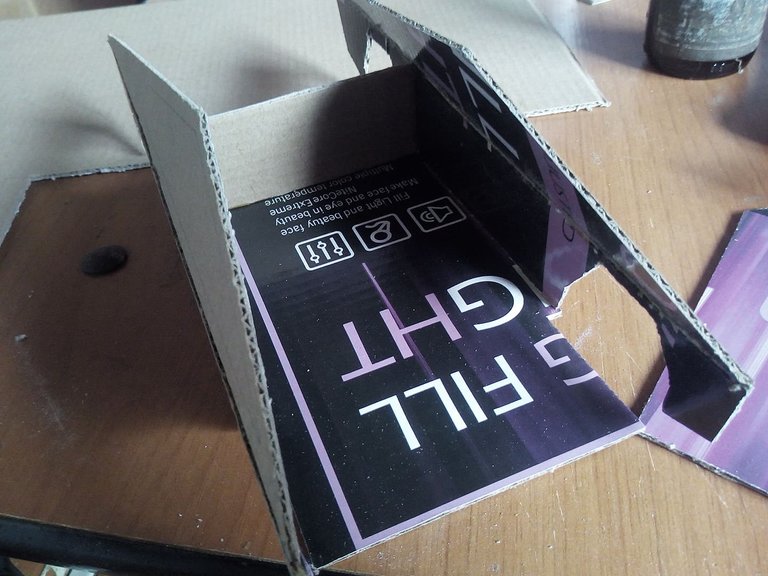
Now we begin with the process of assembling the body, first take the part of the door and we will glue them to what will be the floor of the car, in the middle we will place a piece of cardboard that will help us stabilize. Then we will place each of the parts of the windows in their place, and in this way we will have achieved 50% of our Tesla.
Ahora comenzamos copn el proceso de armar la carrocería, en primer lugar tomanos la parte de las puerta y las pegaremos a lo que será el piso del auto, en medio colocaremos una pieza de cartón que nos ayudará a establizar. Después colocaremos cada una de las partes de las ventanas en su lugar, y de esta manera habremos conseguido un 50% de nuestro Tesla.

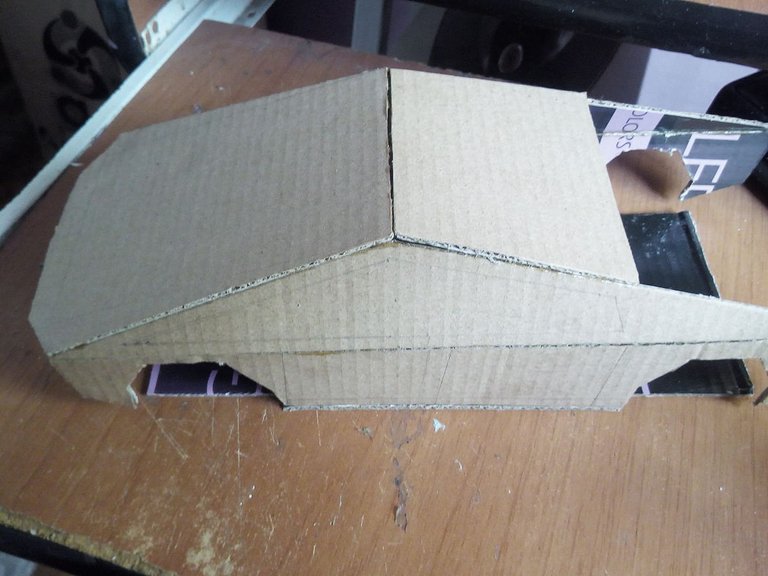
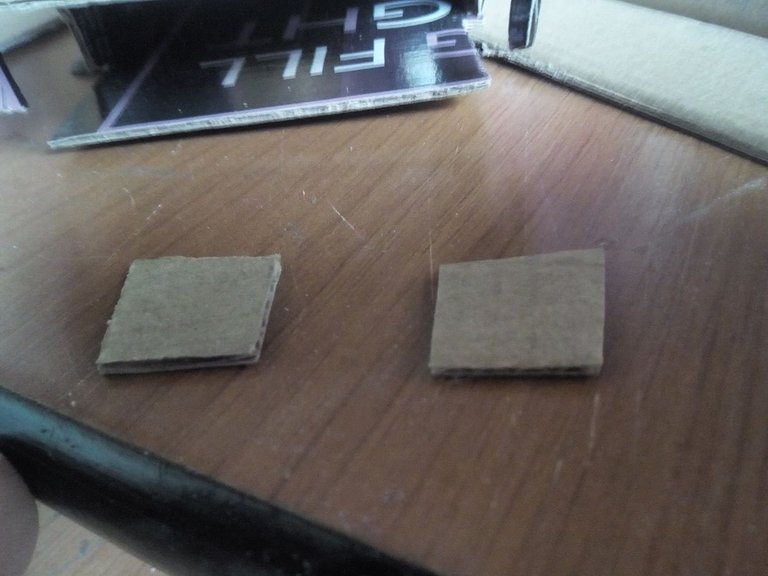
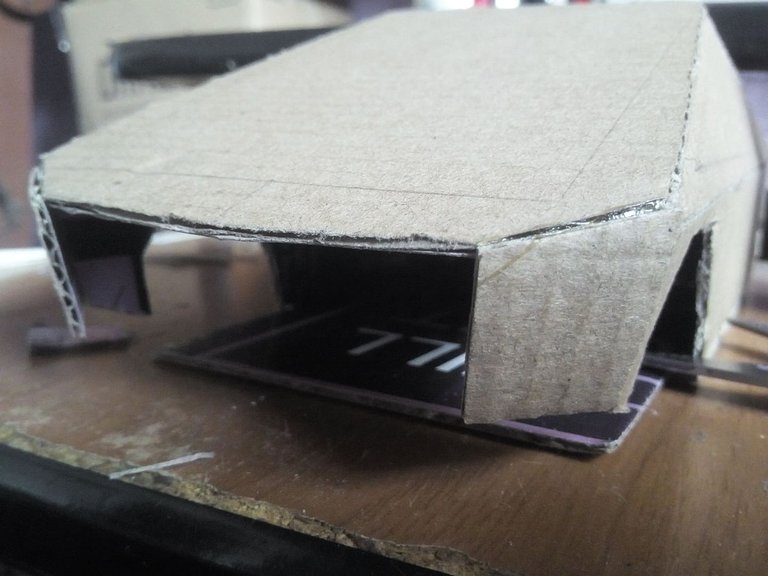
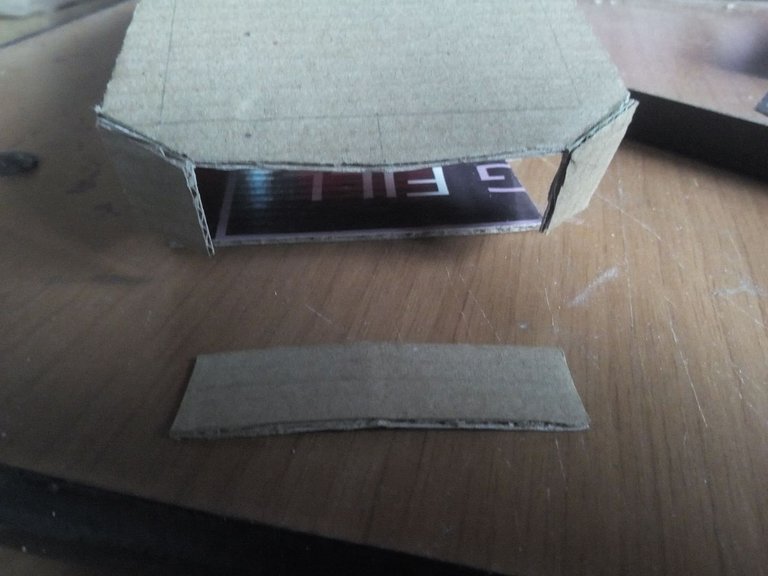
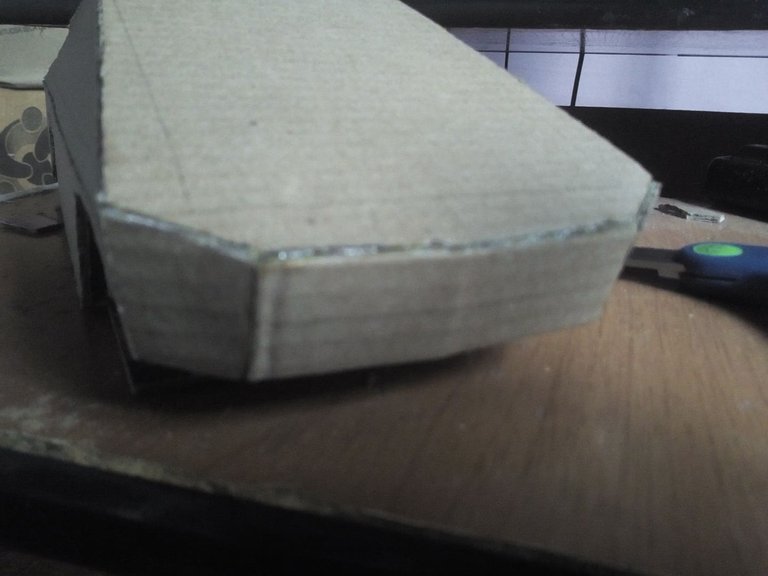
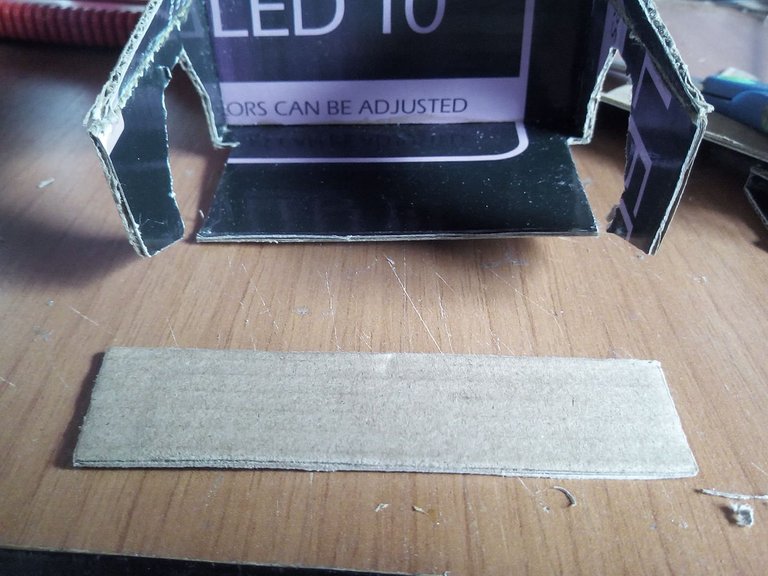
The next step is to continue gluing the rest of the parts that are important to the body. We put the hood, and part of the roof that has the Tesla. Then in the front part we place each of the parts duly cut following the model of the original car but without much detail. In the same way, we place the railing that goes to the rear.
El siguiente paso es continuar pegando el resto de las partes que son importante para la carrocería. Colocamos el capó, y partedel techo que tiene el Tesla. Luego en la parte frontal colocamos cada una de las partes debidamente cortadas siguiendo el modelo del auto original pero sin mucho detalle. De la misma forma colocamosla baranda que va en la parte trasera.

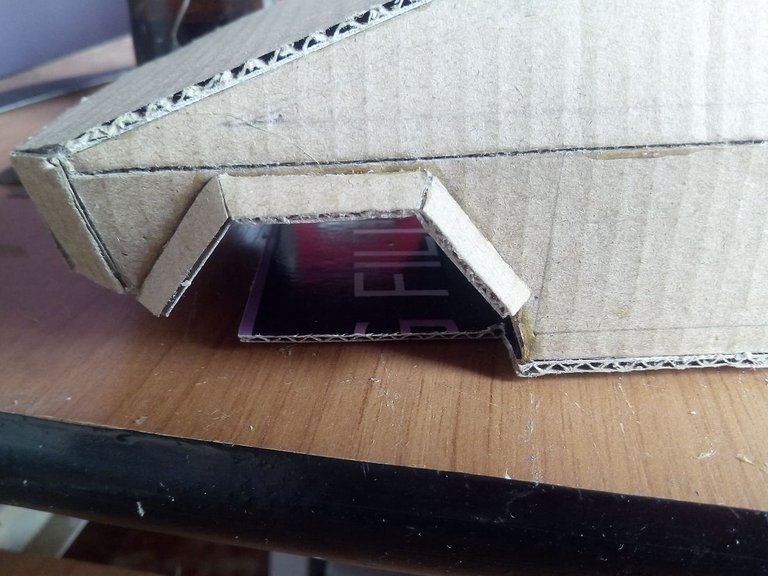
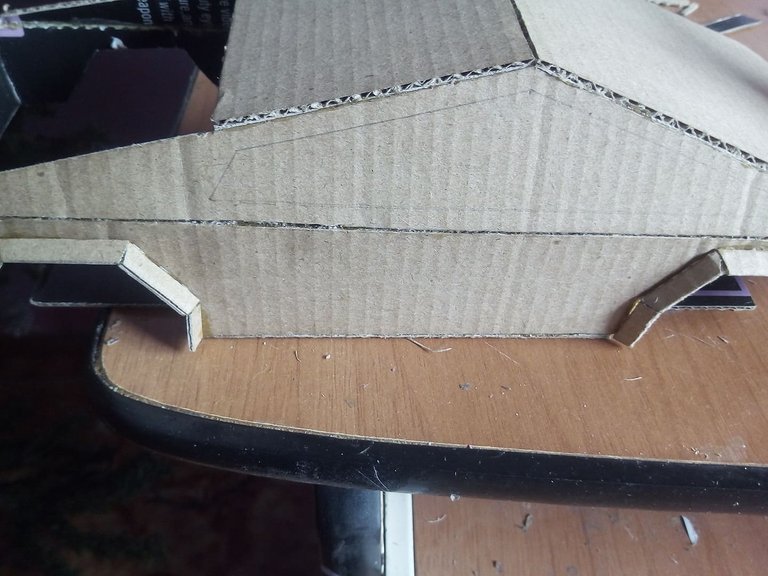
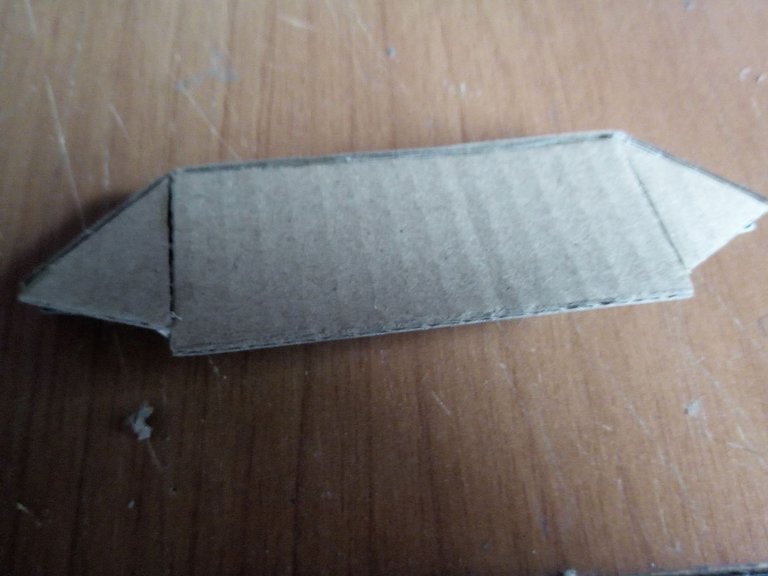
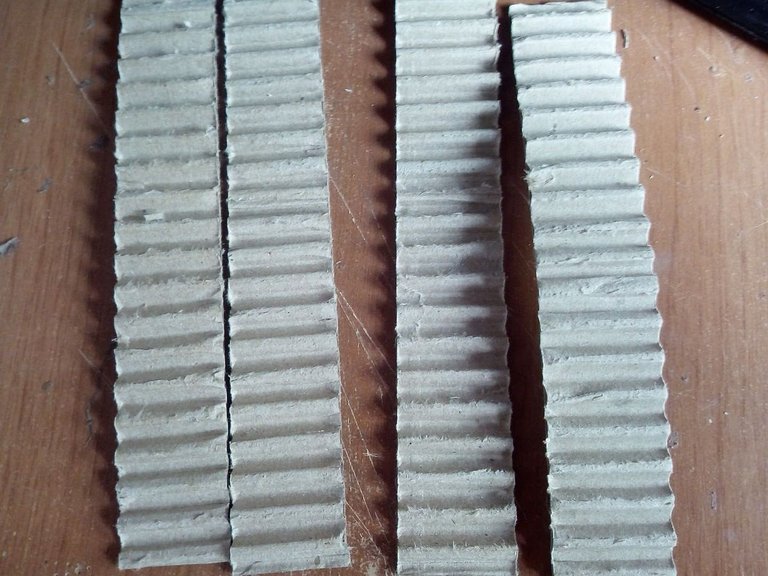
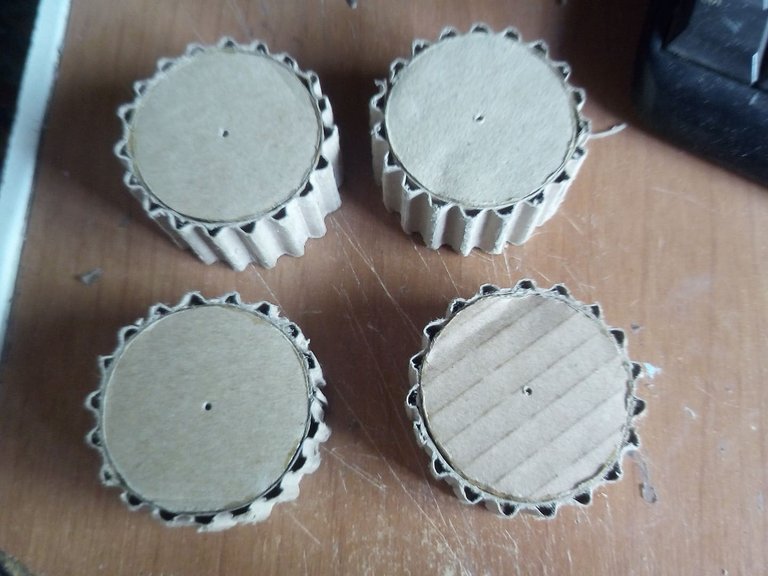
As we can see, we have already made most of the car, so you can see how simple and fun it is to make this model. Here we place some small fenders that go near the wheels and the front and rear fenders, we will paint them black to place them later. Next we cut out 8 cardboard circles to make the wheels, and we also cut 4 cardboard strips and removed one of their faces so that it would be like this, with these strips we will join each circle until we complete the 4 wheels.
Como podemos observar ya hemps realizado la mayo parte del auto, así pueden constatar lo sencillo y divertido que es hacer este modelo. AQui colocamos unas pequeñas defensas que van cerca de las ruedas y las defensas delanteras y traseras, estas las pintaremos de color negro para colocarlas después. Seguidamente recortamos 8 círculos de cartó para hacer las ruedas, y tambien cortamos 4 tiras de cartón y retiramos una de sus caras para que nos quede así, con estas tiras uniremos cada círculo hasta completar las 4 ruedas.

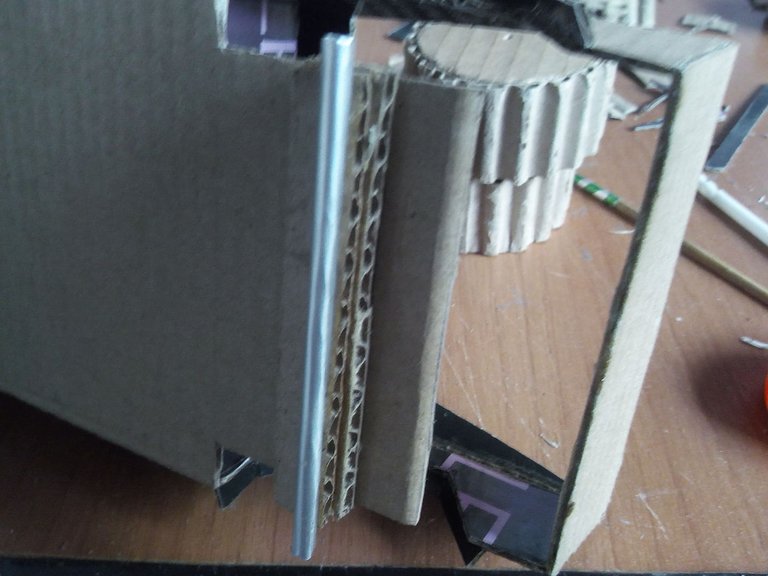
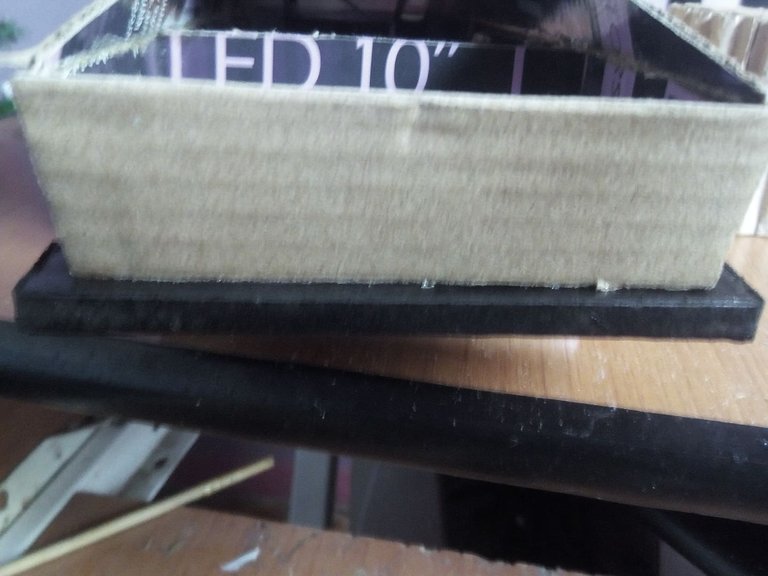
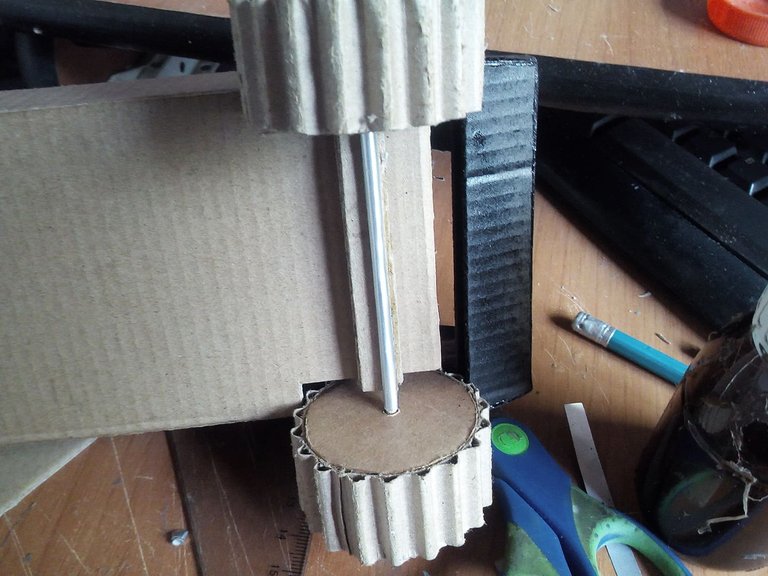
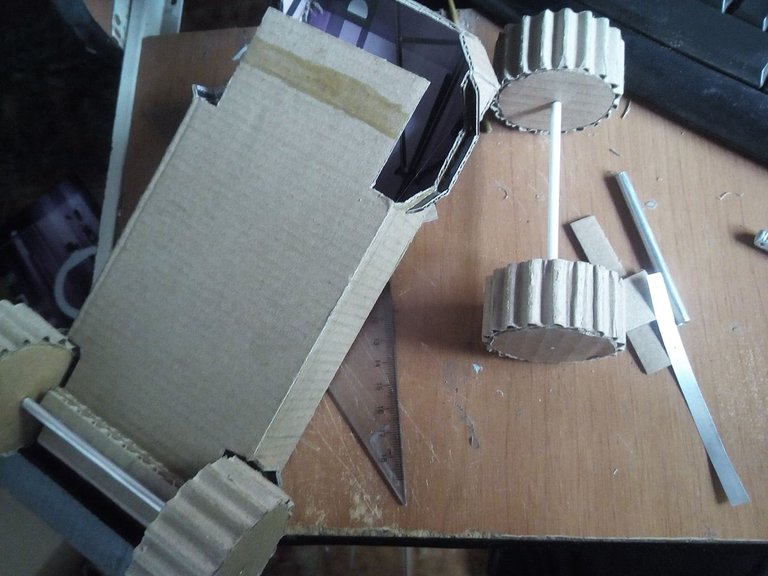
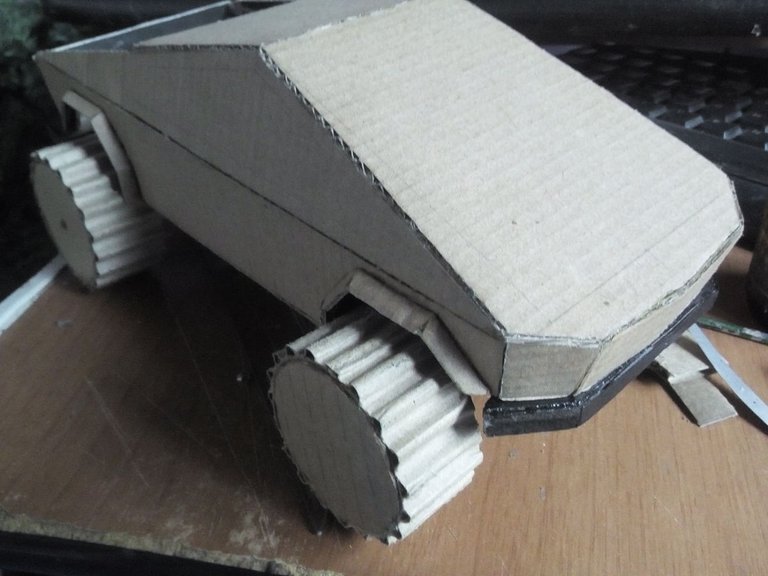
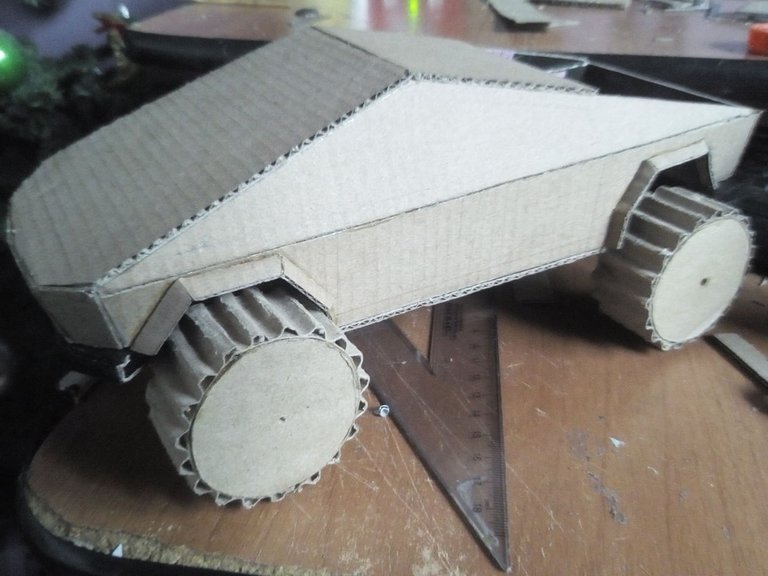
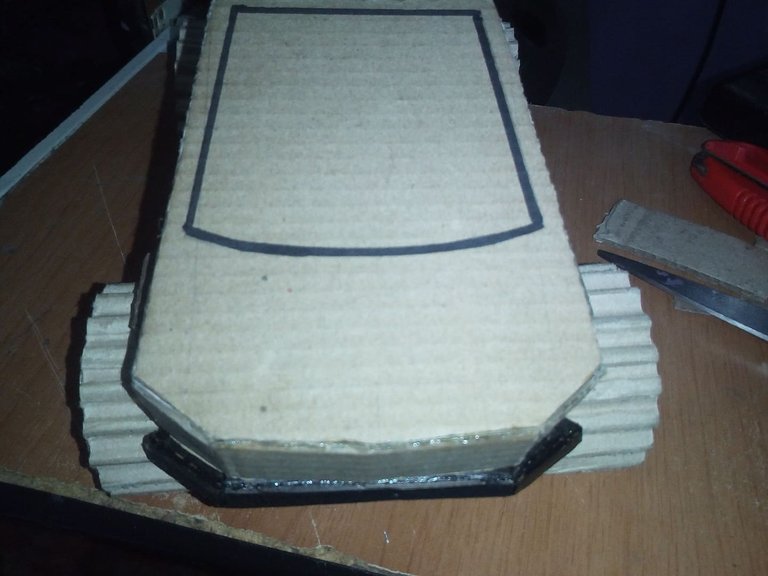
Now to finish we will place the transmissions, for this model I had to make them a little high since the wheels touched the body when rolling, so I put a piece of cardboard to lift more. We also put the fenders that we painted black and we were placing the wheels with their axles, the rear and the front. And so we will have finished the model.
Ahora para finalizar colocaremos las transmisiones, para este modelo tuve que hacerlas un poo altas ya que las ruedas tocaban la carrocería al rodar, así que le puse un trozo de cartón para levantar más. También colocamos las defensas que pintamos con color negro y vamos colocando las ruedas con sus ejes, las traseras y delanteras. Y así habremos finalizado modelo.

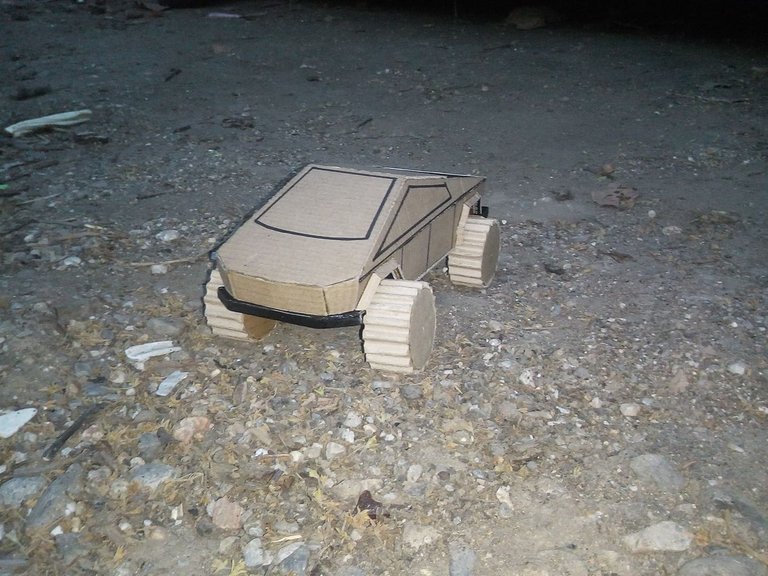
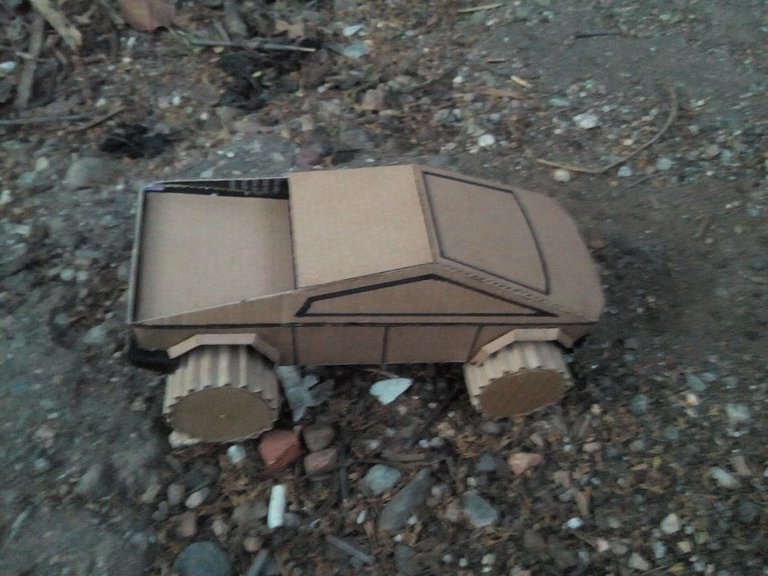
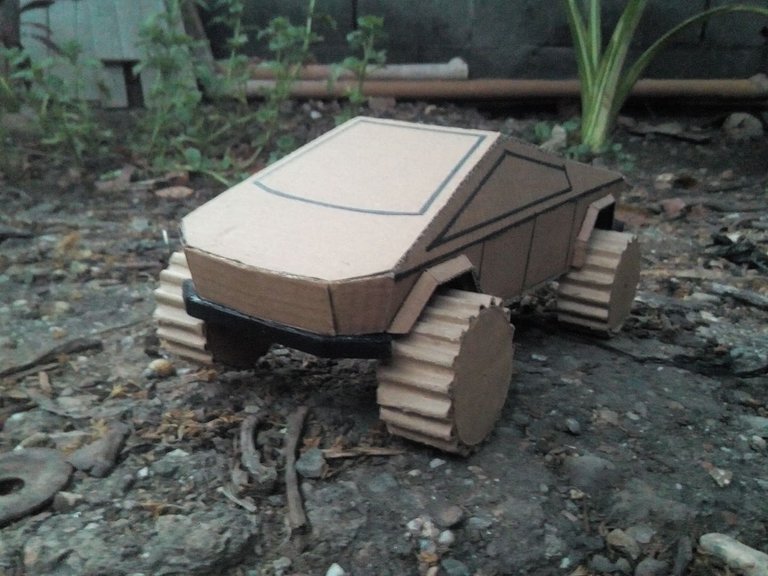
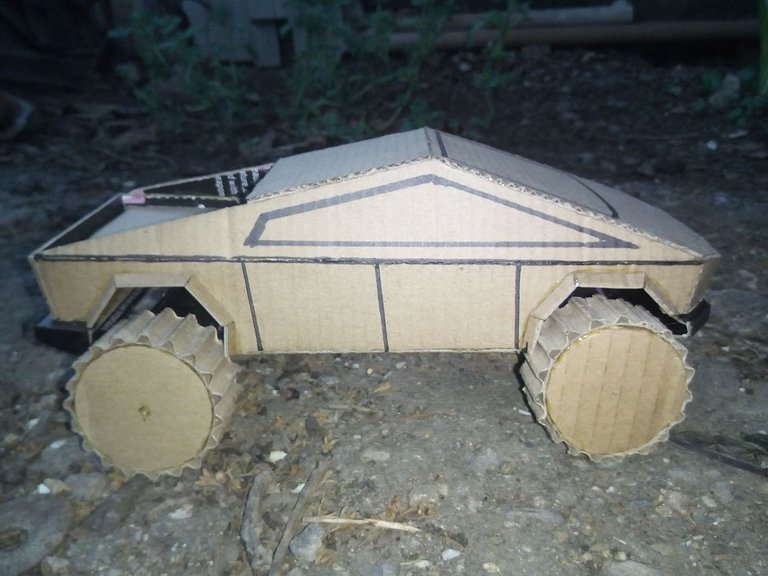
This story has two endings, one of them is with a permanent marker I made only the dividing lines of the doors, and the windows, but my little friend was not satisfied, because he wanted them painted black like the original model, so I had to go back and apply paint again. he he
Esta historia tiene dos finales, una de ellas es con un marcador permanente hice solamente las lineas divisoras de las puertas, y las ventanas, pero mi pequeño amigo no quedó satisfecho, porque las quería pintadas de color negro como el modelo original, así que tuve que regresar y aplicar pintura nuevamente. jeje

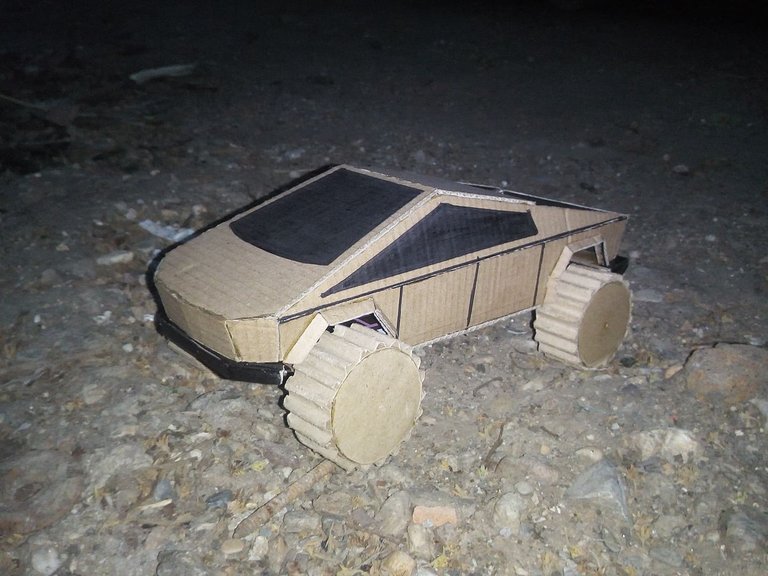
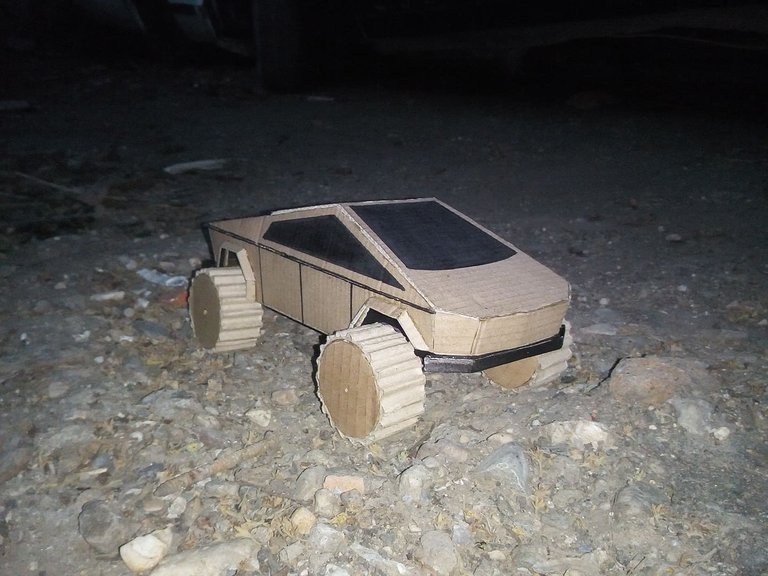
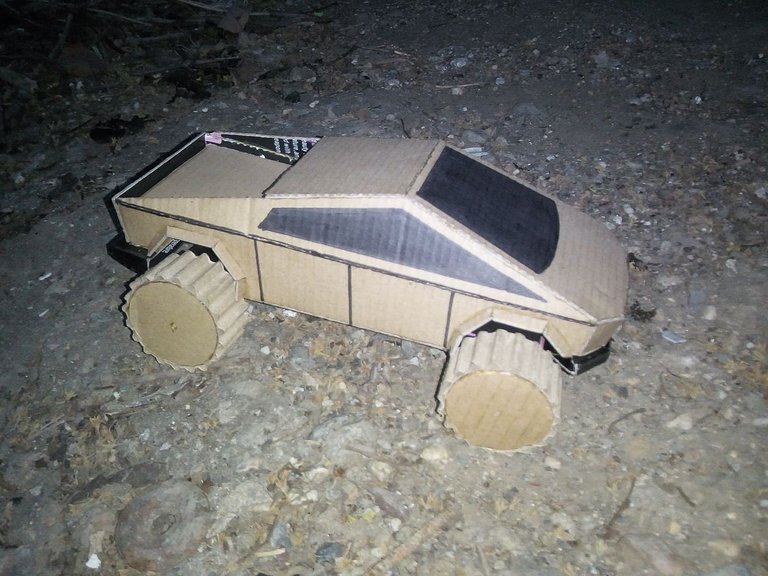
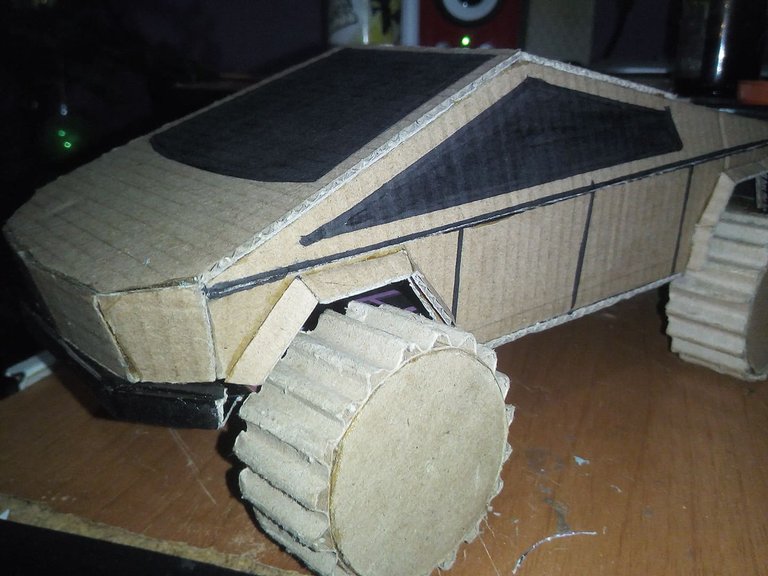
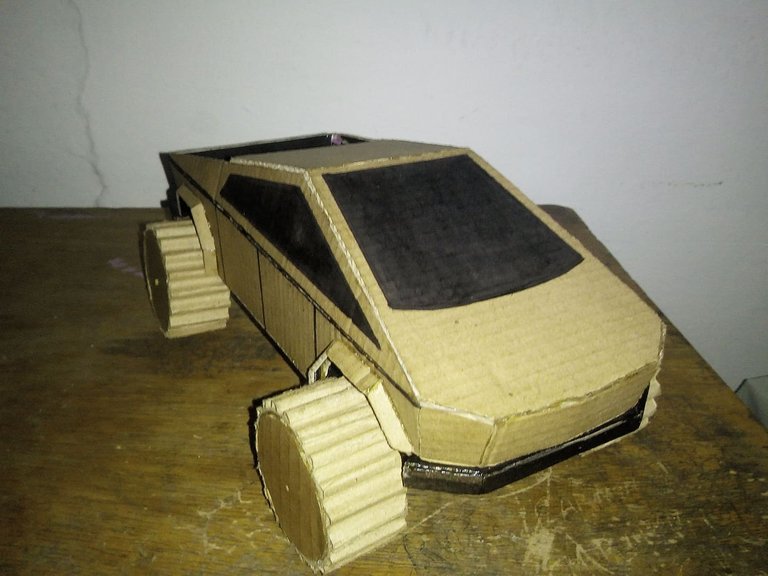
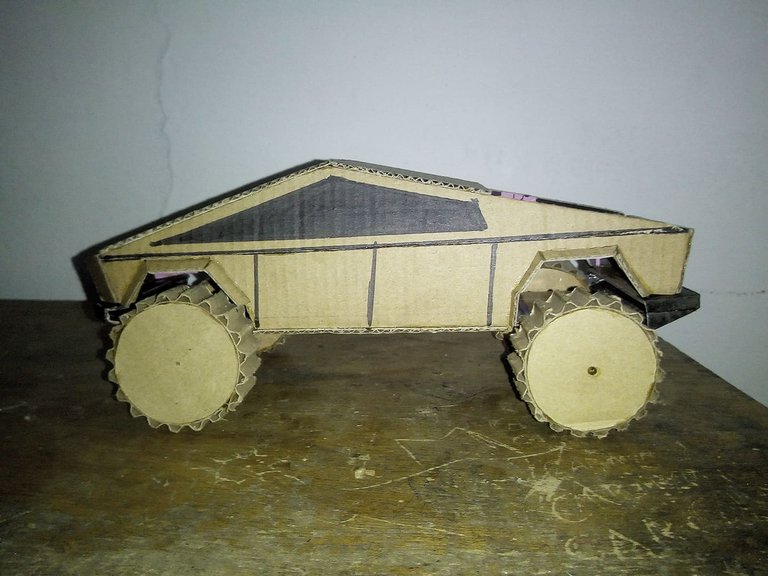
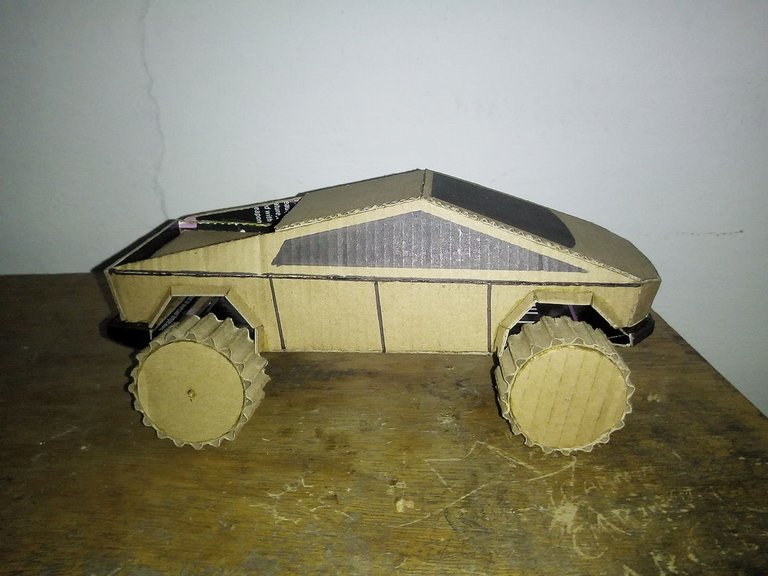

Now, this is the final result, with the paint properly applied I was able to make the front windshield and the window glass. I really liked making this model since it was not for me since I could not think of something to do but it was a suggestion. Like this car, many of the other works that I have been presenting in the community I have been giving away, many people like and appreciate the things I do so I am glad to give them as gifts. There are also other people who decide to buy them for me and although I don't know about prices or anything like that, I am grateful that they give it value and that fills me with great satisfaction. Hope you liked this tutorial and when my little friend decides to make his own model I will show them to him, I think he will be my first student jhehej. Greetings to all and happy week. See you soon.
Ahora si!, este si es el resultado final, ya con la pintura debidamente aplicada pude hacer el parabrisas delantero y los vidrios de las ventanas. Me gustó mucho hacer este modelo ya que no era para mi ya que no se me ocurría algo que hacer sino que fue una sugerencia. Al igual que este auto, muchos de los otros trabajos que he ido presentando en la comunidad los he ido regalando, a muchas personas les gusta y aprecian las cosas que hago así que con mucho gusto las obsequio. También hay otras personas que deciden comprarmelas y aunque no sé de precios ni de nada por el estilo, me siento agradecido de que le dan valor y eso me llena de mucha satisfacción. Espeor que les haya gustado este tutorial y cuando mi pequeño amigo decida hacer su propio modelo se los mostraré, creo que será mi primer estudiante jejej. Saludos para todos y feliz semana. Hasta pronto.
The rewards earned on this comment will go directly to the person sharing the post on Twitter as long as they are registered with @poshtoken. Sign up at https://hiveposh.com.
Thank you for sharing this amazing post on HIVE!
non-profit curation initiative!Your content got selected by our fellow curator @rezoanulvibes & you just received a little thank you via an upvote from our
You will be featured in one of our recurring curation compilations and on our pinterest boards! Both are aiming to offer you a stage to widen your audience within and outside of the DIY scene of hive.
Join the official DIYHub community on HIVE and show us more of your amazing work and feel free to connect with us and other DIYers via our discord server: https://discord.gg/mY5uCfQ !
If you want to support our goal to motivate other DIY/art/music/homesteading/... creators just delegate to us and earn 100% of your curation rewards!
Stay creative & hive on!
Una vez más nos sorprendes y deleitas con una de tus creaciones, es maravillosa la forma en que trabajas, me encantó como hiciste las rueditas ¡Qué detalles! Absolutamente fascinante.
lo de las ruedas siempre me ha gustado como quedan, y trato de aprovechar al maximo el carton. Gracias por pasar y comentar, me alegra que te haya gustado.
PIZZA Holders sent $PIZZA tips in this post's comments:
Join us in Discord!
@fixie! The Hive.Pizza team manually curated this post.Un abrazo y bendicionesHola @fixie, me encanto como te quedó el modelo, y como lo fuiste haciendo paso a paso, con los detalles muy bien hechos, sobre todo me gustaron las ruedas, están muy bien. Además de que haces feliz a un niño con tu trabajo, que maravilla. Te felicito.
muchas gracias, mi pequeño amigo quedó muy contento y me ha pedido otro modelo. Ya puso manos a la obra para hacerlo por él mismo. Muchas gracias por pasar y comentar.. Saludos!