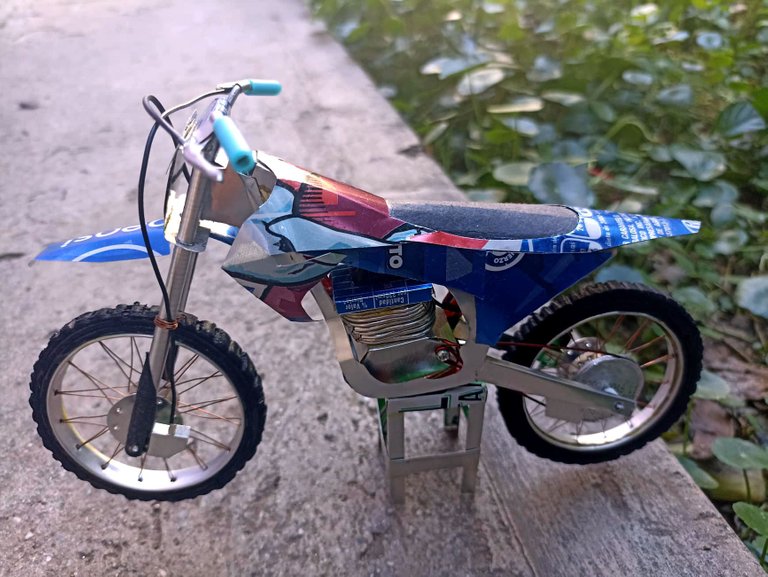
Hello dear friends, I hope you are very well and in good spirits despite the adversities, I come here to share something as usual. This time it is a dirt bike, a Yamaha YZ enduro 250cc model, a real machine, I made this model based on the 2021 version. I made this replica using soda cans, cardboard and plastic, I hope you like it.
Hola queridos amigos, espero que se encuentren muy bien y con mucho ánimo a pesar de las adversidades, vengo por aqui a compartir algo como de costumbre. Esta vez se trata de una motocicleta de cross, un modelo Yamaha YZ enduro 250cc una verdadera máquina, este modelo lo hice basado en la versión del año 2021. Hice esta réplica utilizando latas de soda, cartón y plástico, espero que les guste.

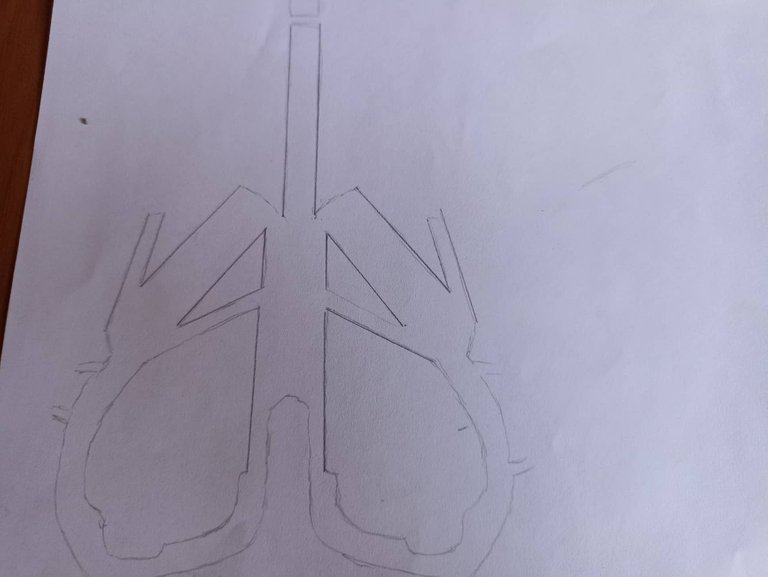
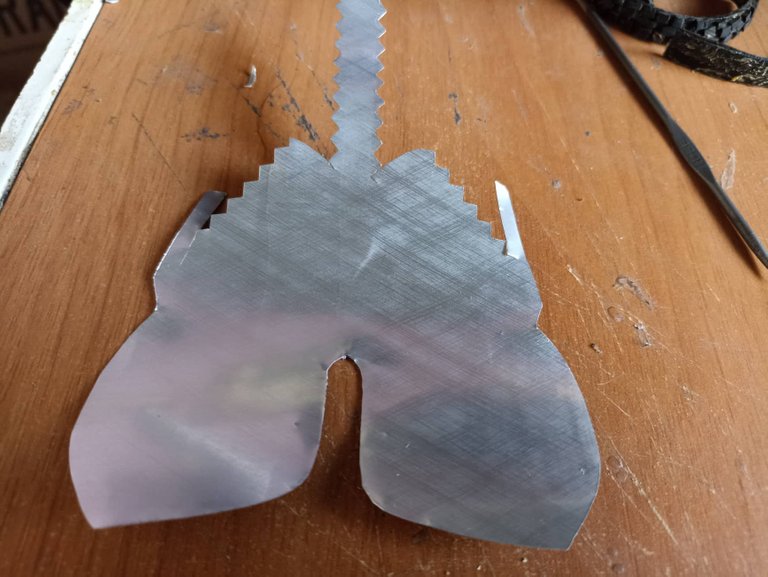
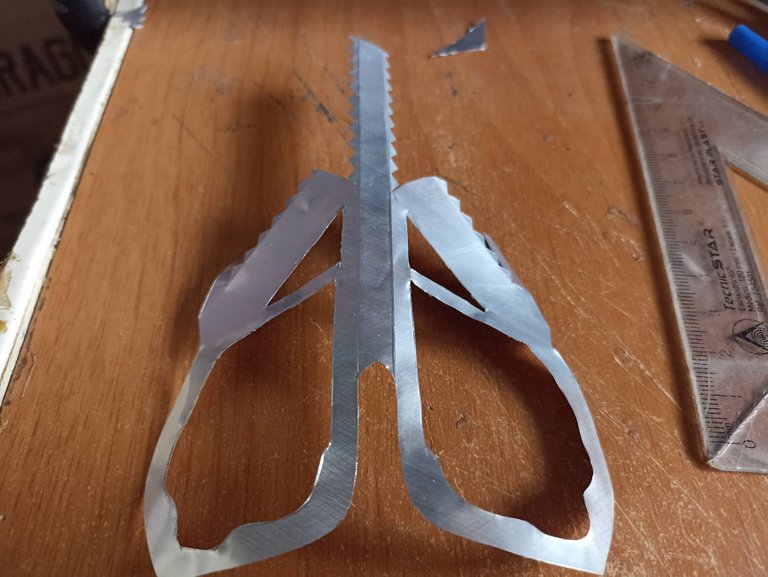
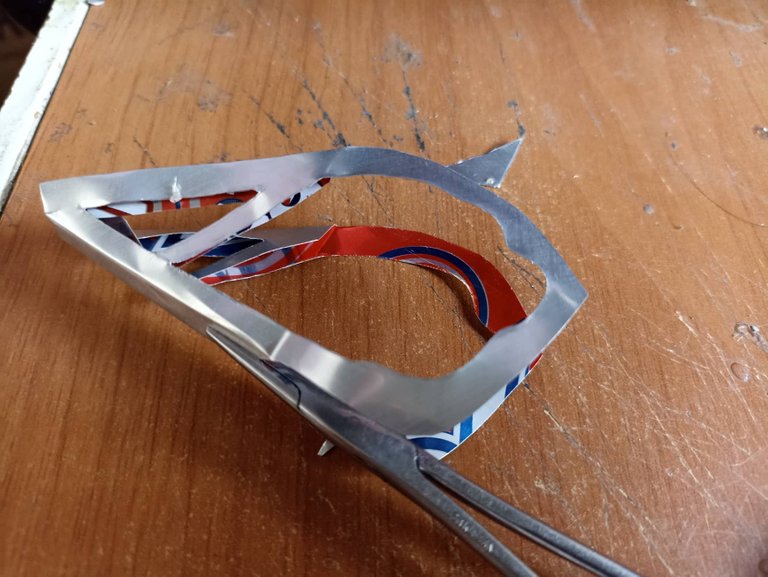
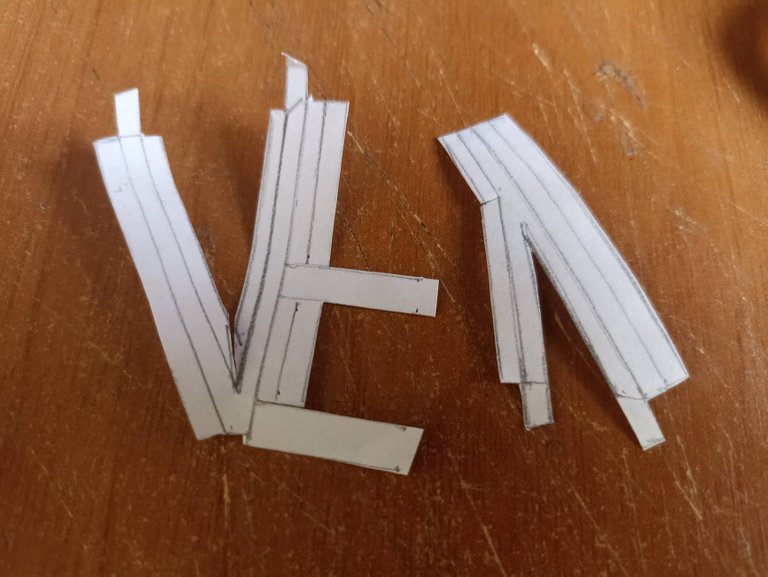
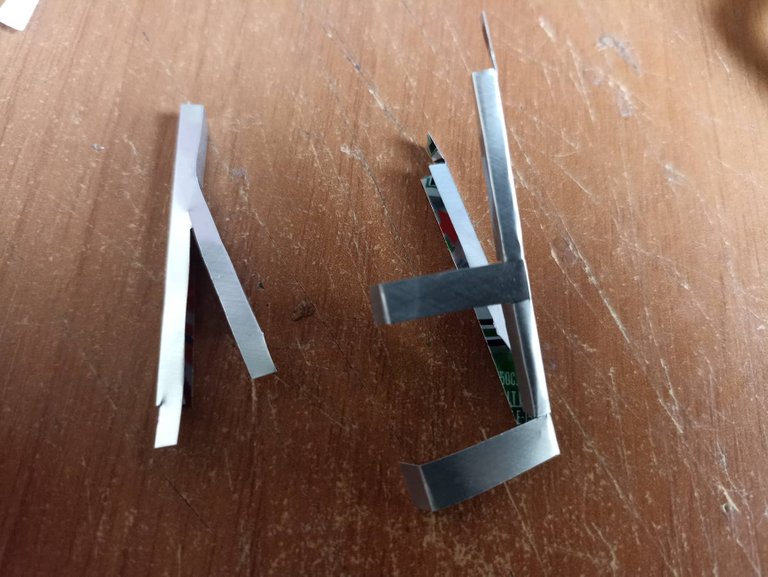
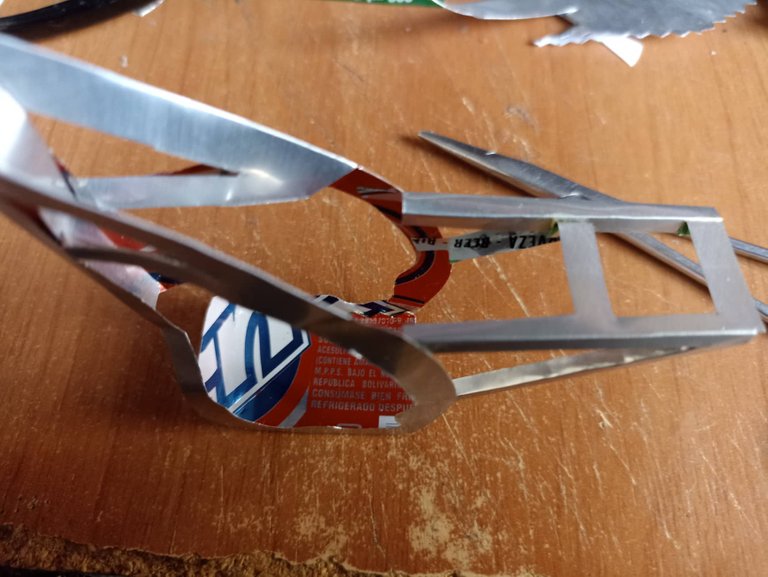
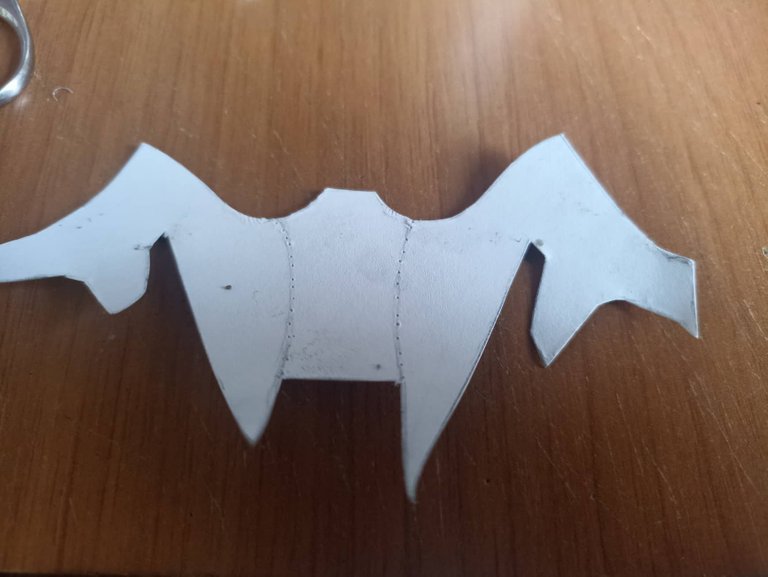
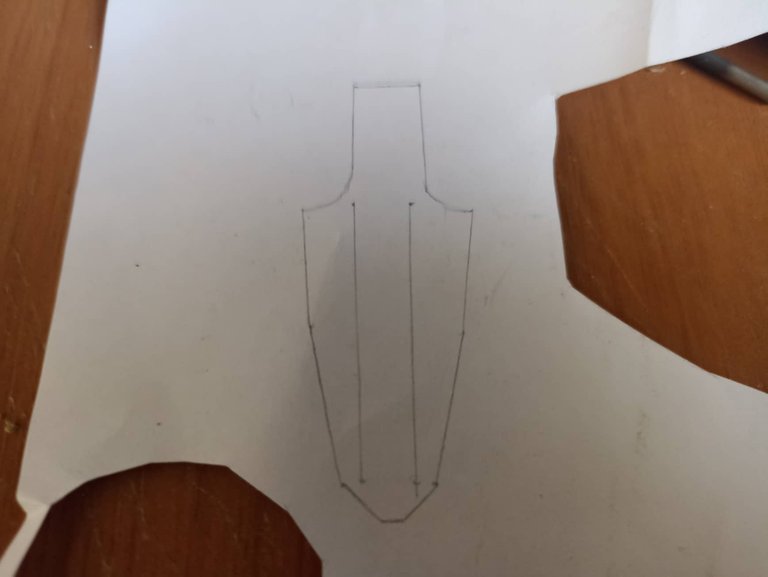
The first step to build this bike is to make the templates, since I don't have any templates I decided to make them by looking at real photos of the model, in this way I made parts such as the frame of the bike, I did it in two parts and then joined them together, I made the part of the upper frame where the gas tank and engine go, and the back part where the seat and exhaust pipe go. I made the template first and then I put it on the can so that I could extract the pieces and then mold them to stick them with glue.
El primer paso para construir esta moto es hacer las plantillas, como no poseo unas plantillas decidí hacerlas mirando fotos reales del modelo, de esta manera fui haciendo partes como el marco de la moto, lo hice en dos partes para luego unirlos entre ellos, hice la parte del cuadro superior donde va el tanque de gasolina y el motor, y la parte posterior donde va el asiento y el tubo del escape. Hice primero la plantilla y luego lo puse sobre la lata para así extraer las piezas y luego moldearlas para pegarlas con pegamento.

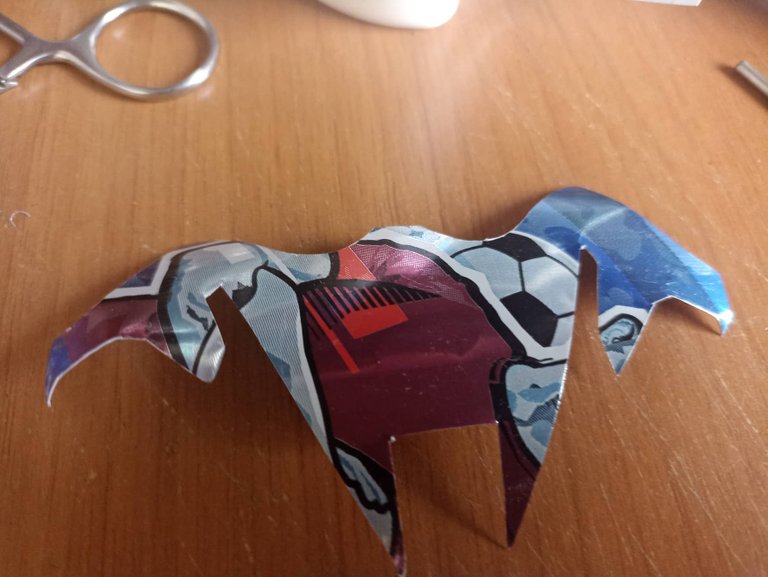
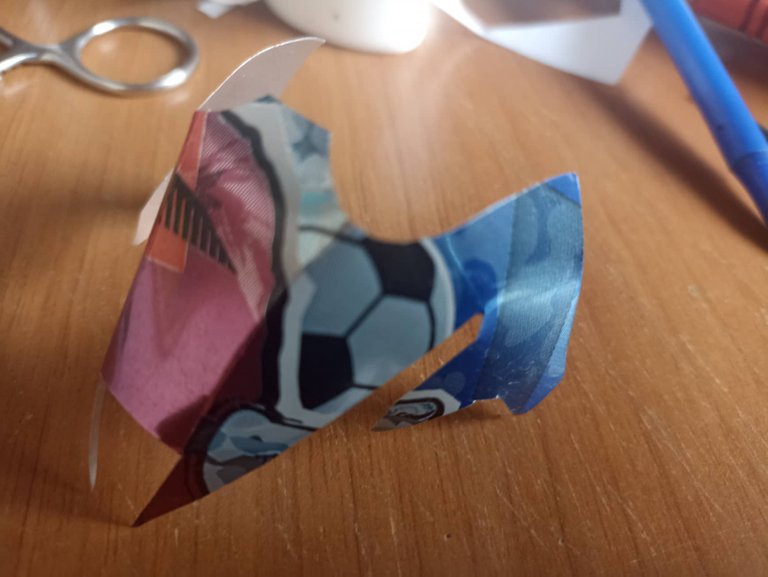
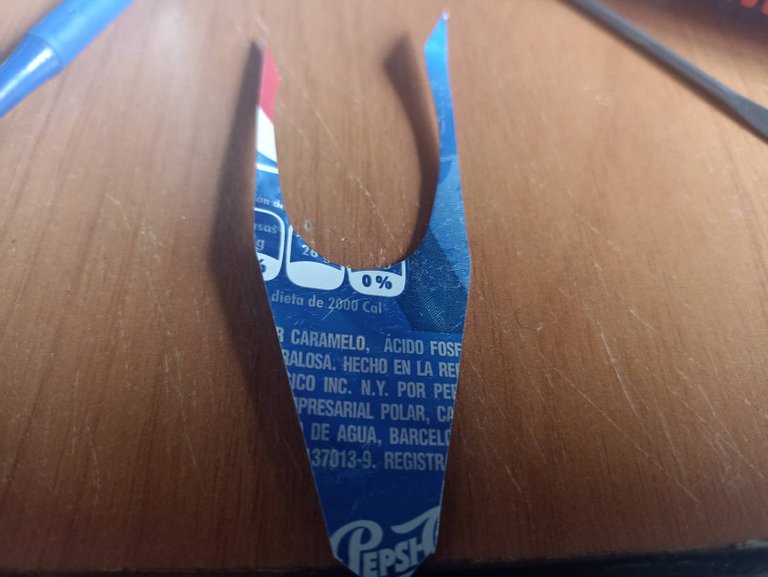
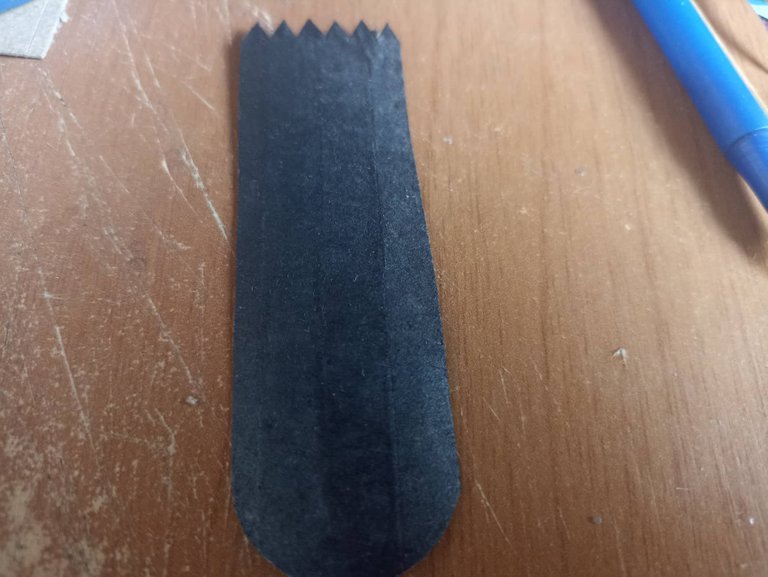
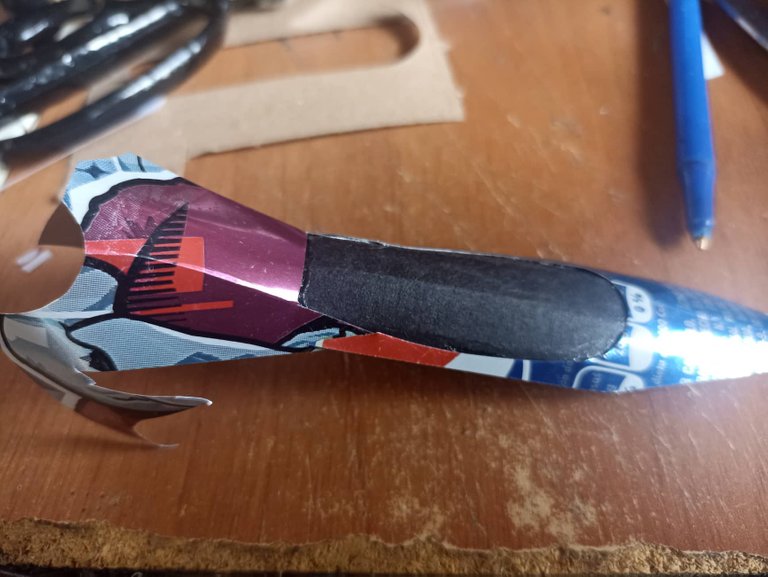
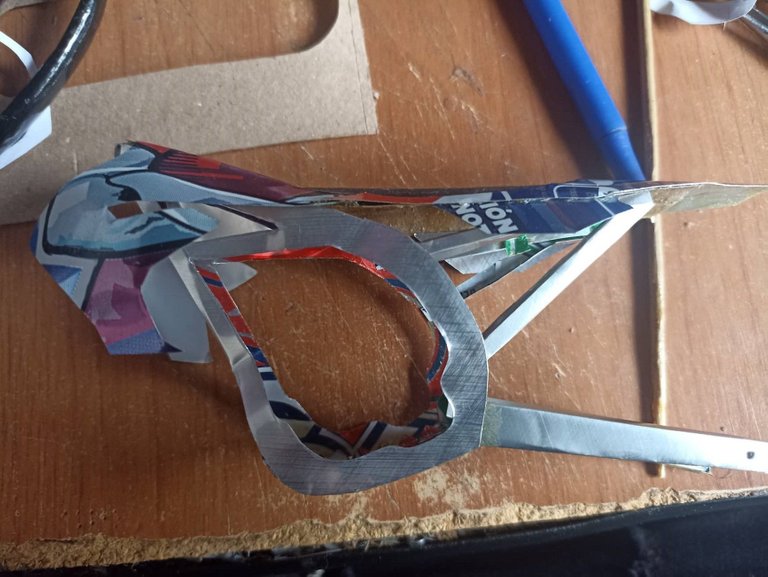
The second step following the order of assembly of the bike is to make the covers and covers. This Yamaha YZ is blue, so I used a blue can of Pepsi Cola, a special edition that came out in Venezuela, I liked that color and I used it. I drew the template for the gas tank covers, and also the seat and the rear protectors, I cut them out on the can and then I joined the pieces with glue, once they were ready I mounted them on the aluminum frame that I made in the step previous.
El segundo paso siguiendo el orden del ensamblado de la moto es hacer las tapas y cubiertas. Esta Yamaha YZ es de color azul, así que utilicé una lata de color azul de pepsi cola, una edición especial que salió en Venezuela, me gusto ese color y la utilicé. Dibuje la plantilla para las cubiertas del tanque de gasolina, y tambien el asiento y los protectores traseros, las recorté sobre la lata y luego fui uniendo las piezas con pegamento, una vez las listas las monte sobre el marco de aluminio que hice en el paso anterior.

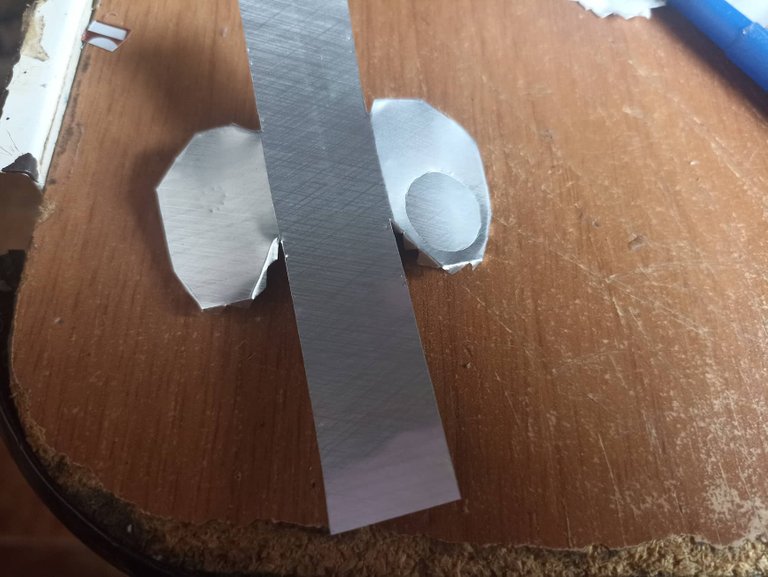
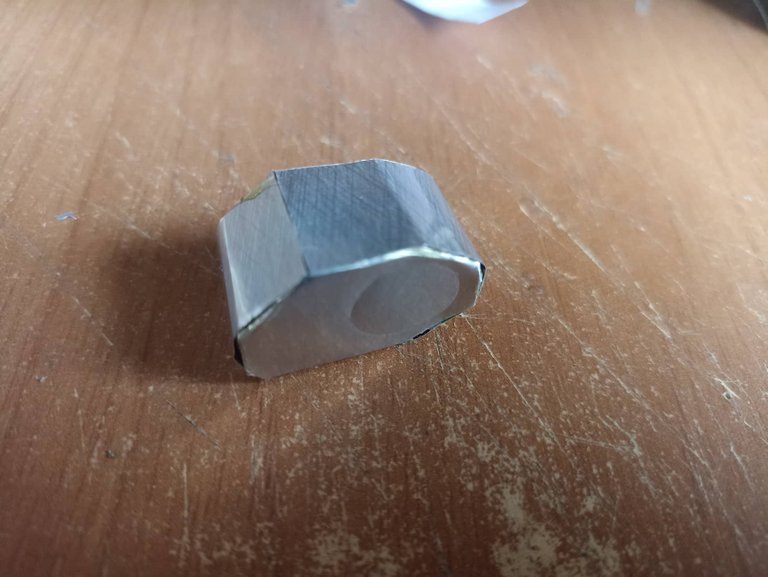
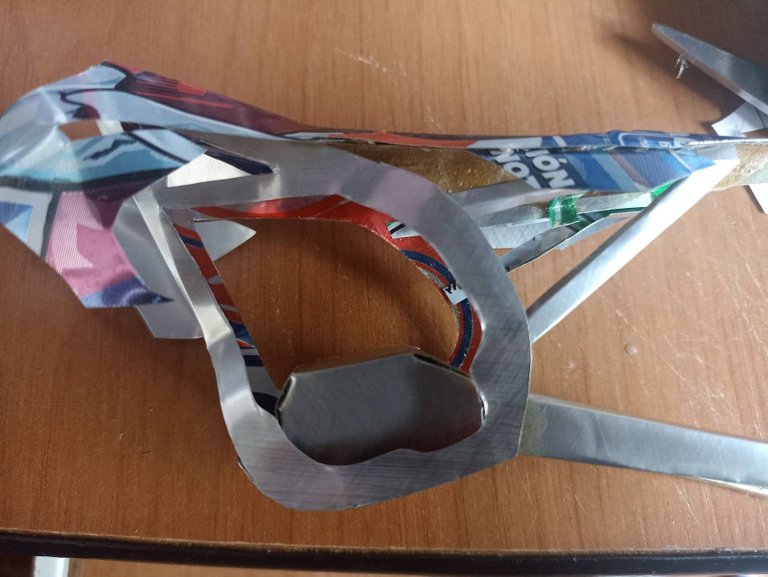
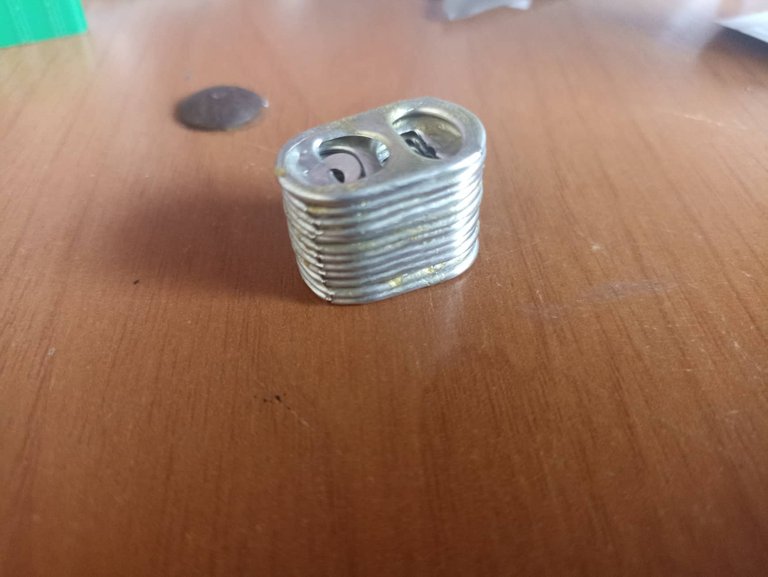
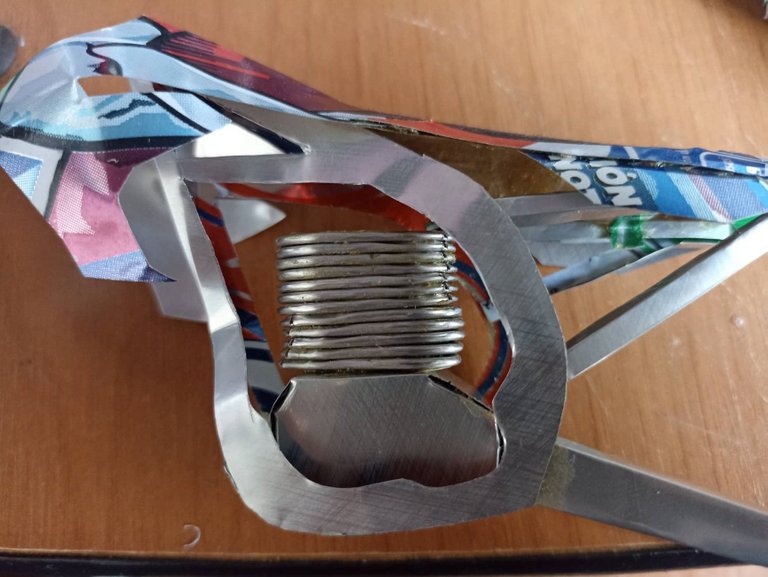
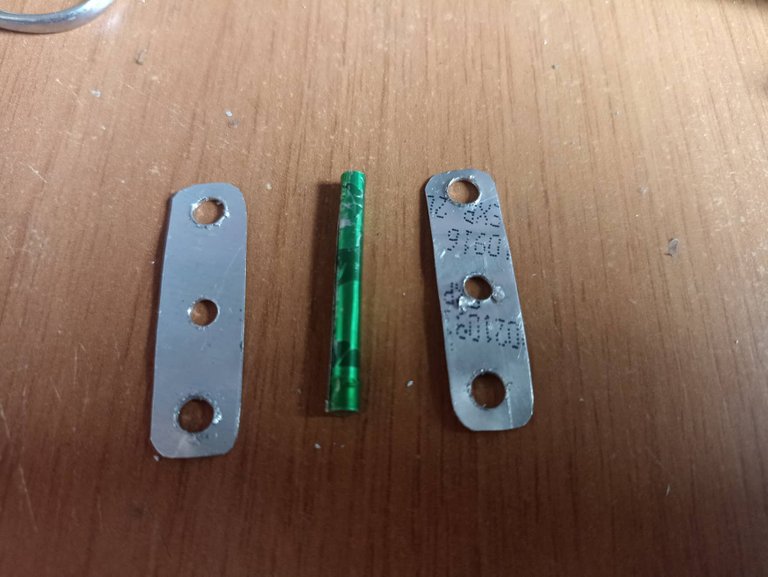
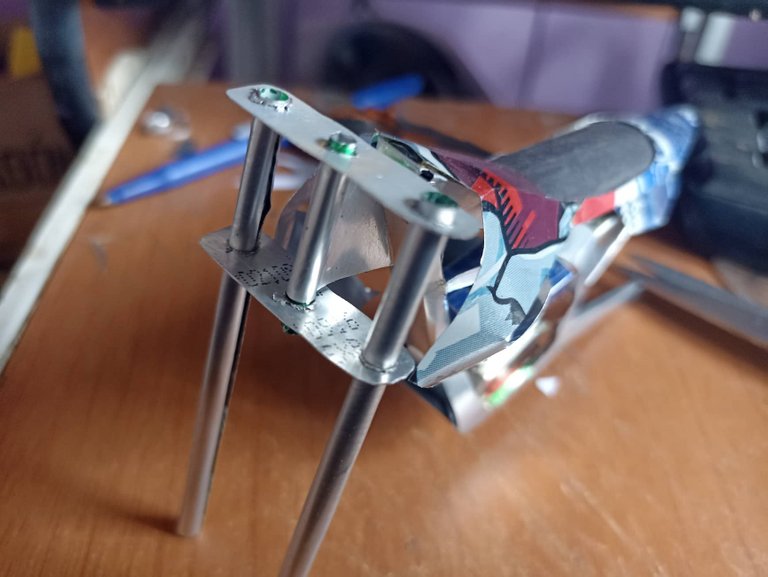
The next step is to make the parts that make up the interior of the motorcycle, in this case the entire engine, we make it from simple parts that I have used before for other motorcycle models, for example the rings to uncover the cans are very useful, I use imagination we can do what we like best. We also make the fork for the steering, we cut some small pieces with 3 holes, in the middle hole will go the axis that will allow the steering to cross, and in the other two the fork tubes.
El siguiente paso es hacer las partes que conforman el interior de la moto, en este caso todo el motor, lo hacemos de piezas sencillas que he utilizado antes para otros modelos de moto, por ejemplo los anillos para destapar las latas son muy útiles, utilizano la imaginación podemos hacer lo que más nos guste. Tambien hacemos la horquilla para la dirección, cortamos unas pequeñas piezas con 3 hoyos, en el hoyo del medio irá el eje que permitirá cruzar la dirección, y en los otros dos los tubos de la horquilla.

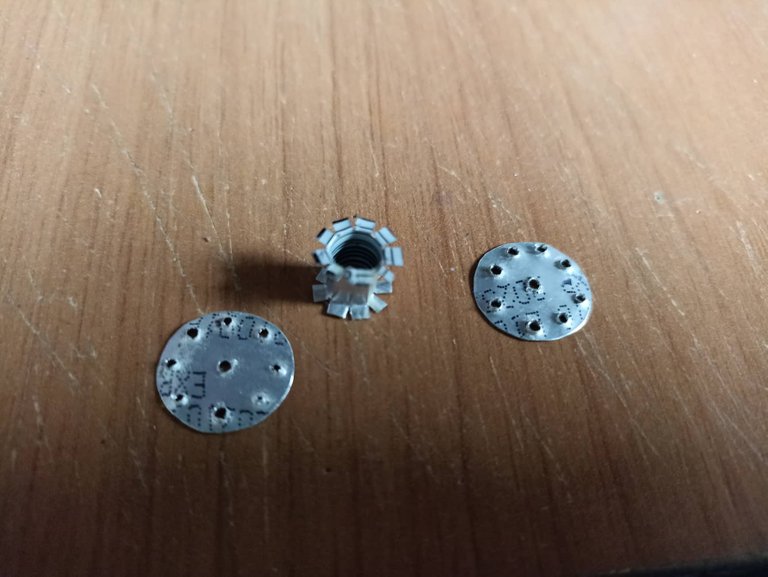
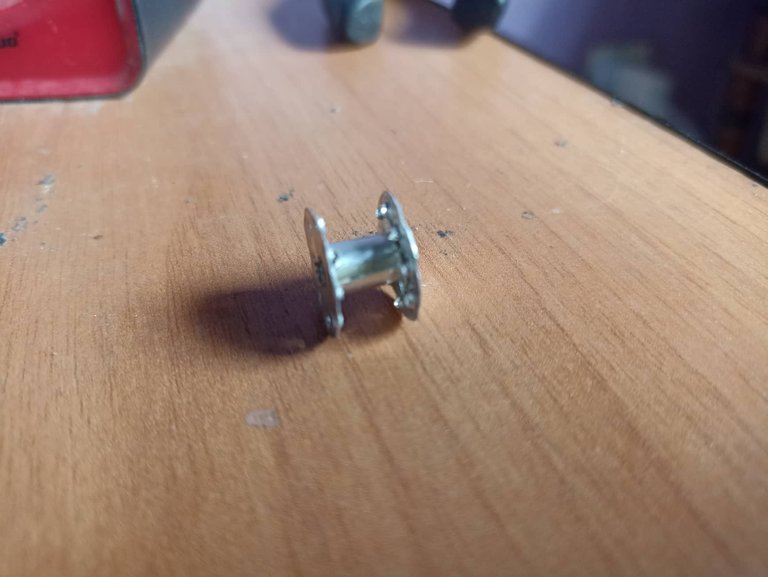
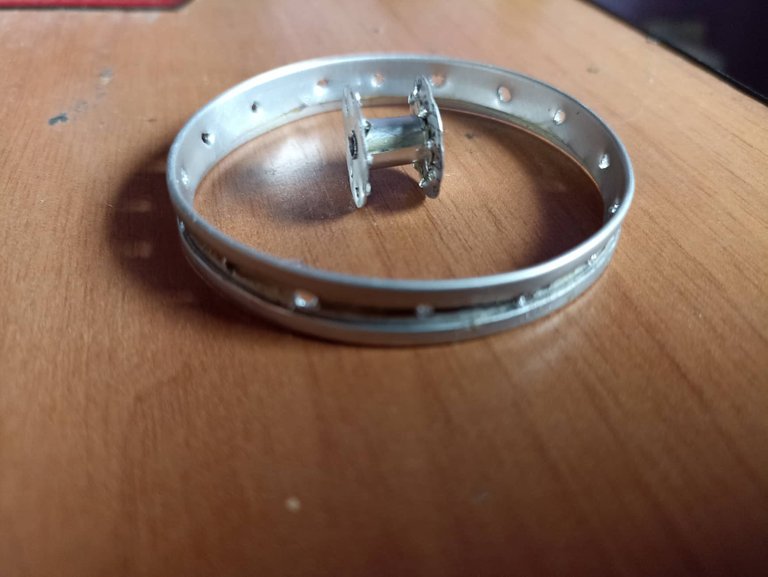
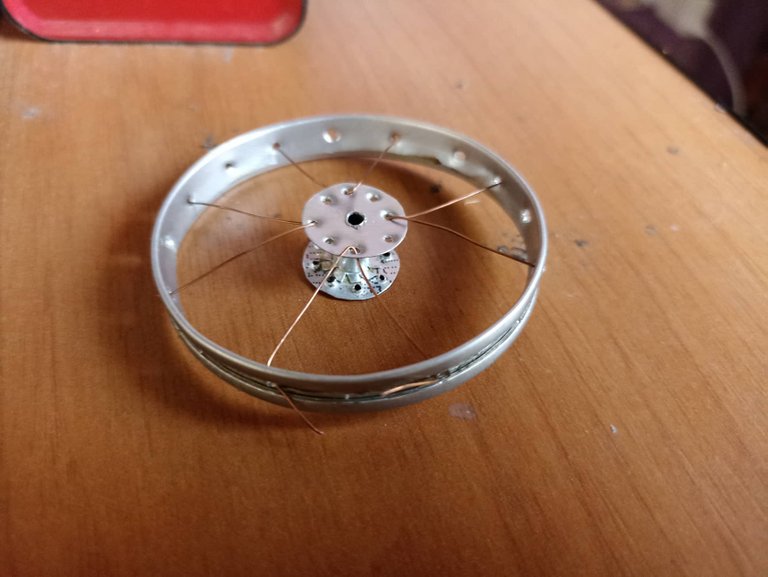
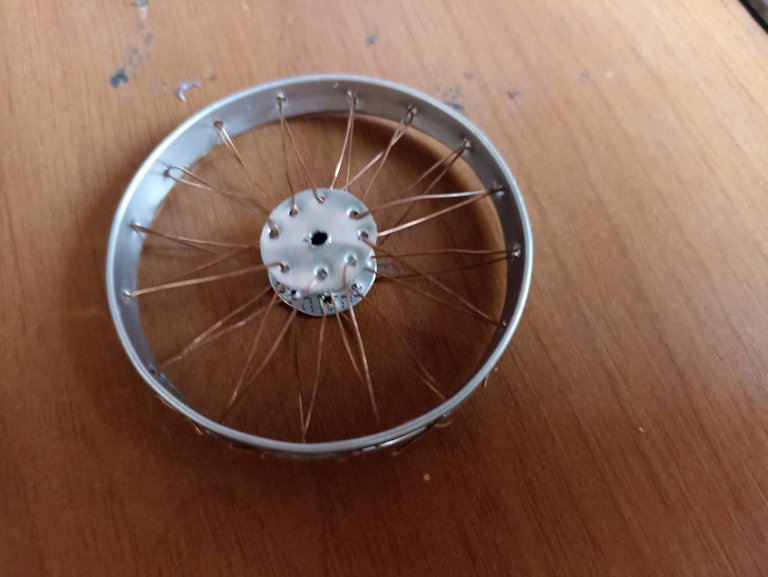
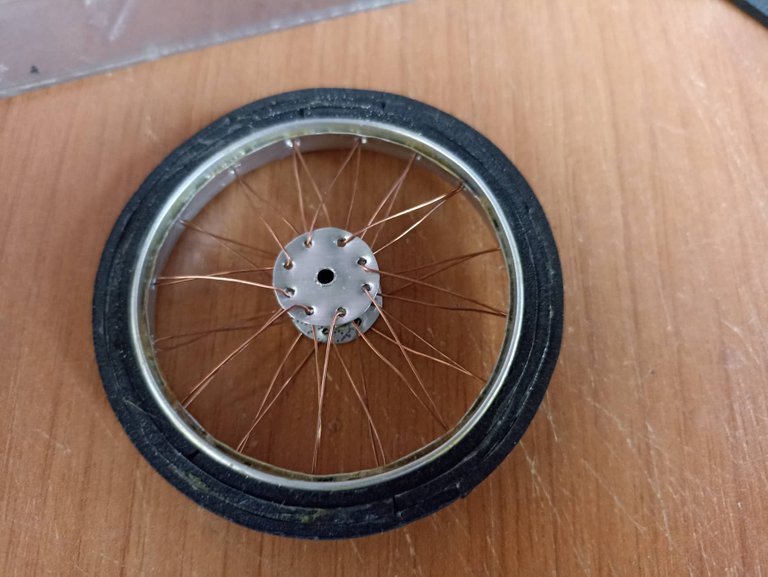
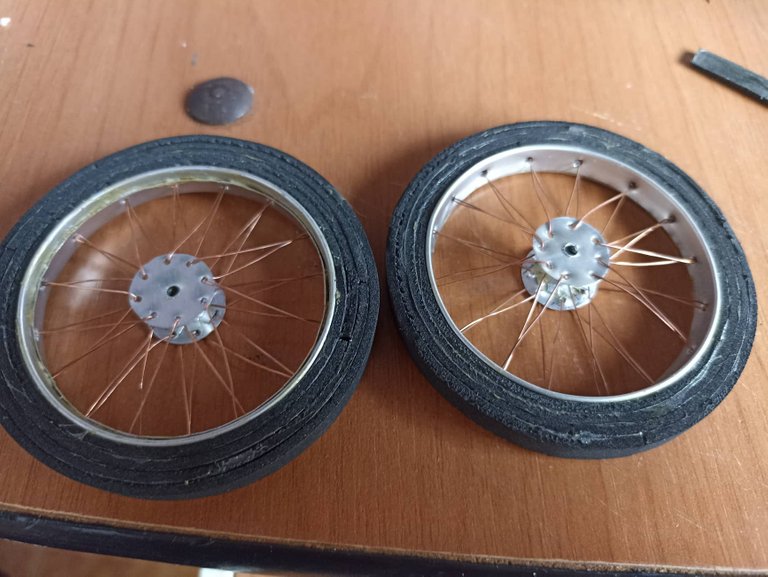
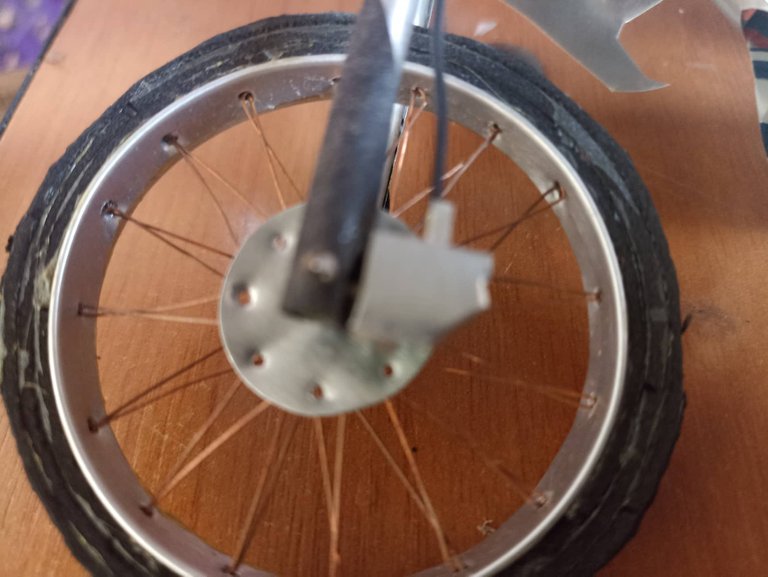
Now comes the making of the wheels, by far my favorite part because the level of difficulty was quite high and I needed 2 whole days to make them. I made the wheels using the upper part of the can, through which one drinks the drink, I removed all that part and left only two rings, in total I used 4 rings, because for each wheel I needed 2. Once I joined them I opened 16 holes, for the bearings I cut 4 circular cans and opened 8 holes in each one to insert the spokes of the wheel. And leave a hole in the middle where the axle goes to roll. Then, with fine copper wire, I made the spokes, inserting one by one into the holes. Once the wheel was finished I made the rubbers with foami.
Ahora viene la fabricación de las ruedas, por lejos mi parte favorita porque el nivel de dificultad fue bastante y necesite 2 días enteros para hacerlas. Las ruedas las hice utilizando la parte superior de la lata, por donde uno toma la bebida, le quite toda esa prte y solo dejé dos anillos, en total utilicé 4 anillos, pues para cada rueda necesite 2. Una vez que los uní abrí 16 hoyos, poara los rodamientos corte 4 latas circulares y abri 8 hoyos en cada una para introducir los radios de la rueda. Y deje un hoyo en medio donde va el eje para rodar. Luego con alambre de cobre fino fui haciendo los radios metiendo uno por uno en los hoyos. Una vez terminada la rueda hice los cauchos con foami.

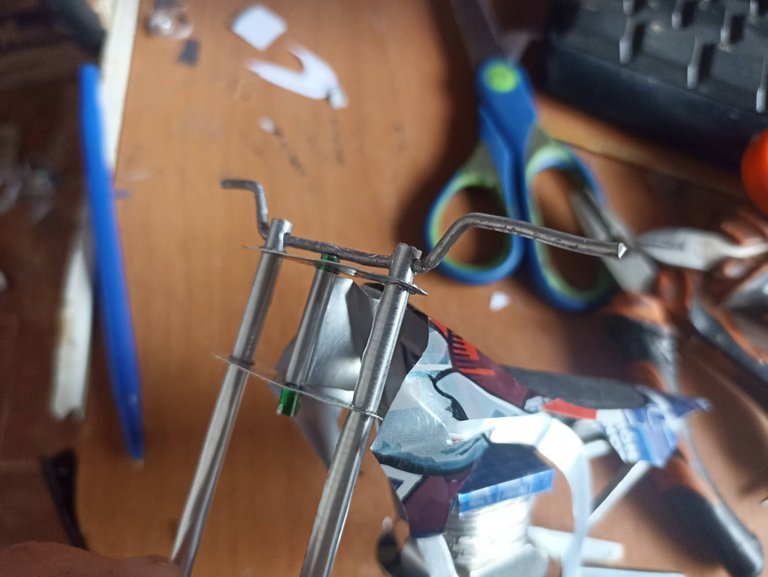
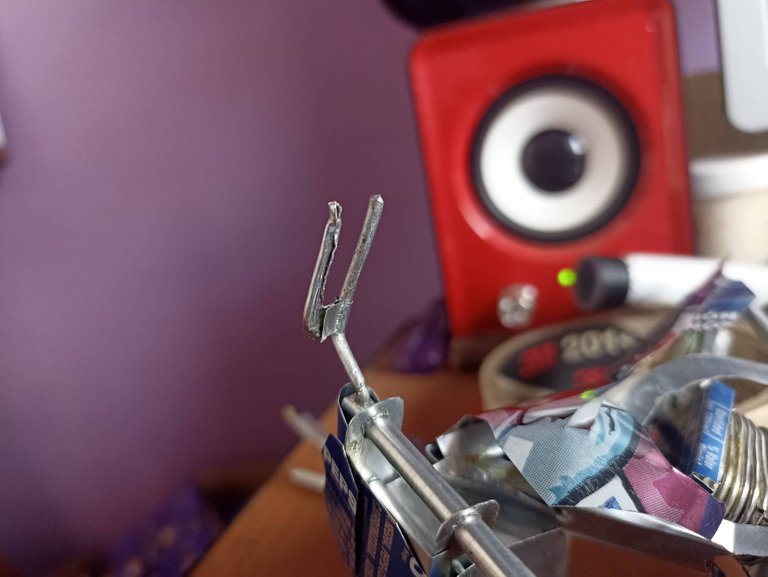
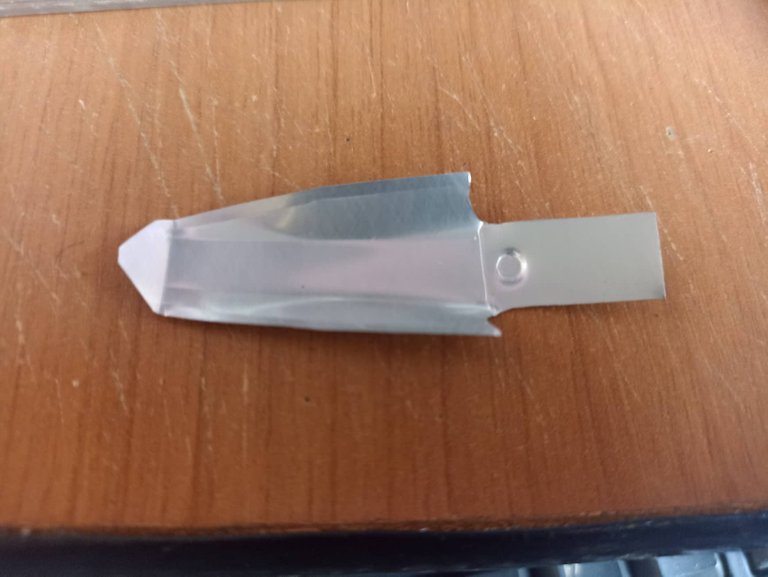
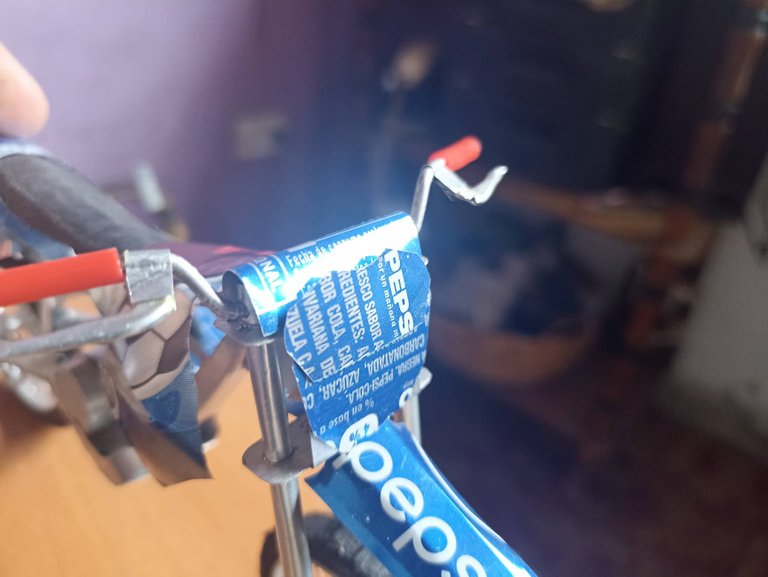
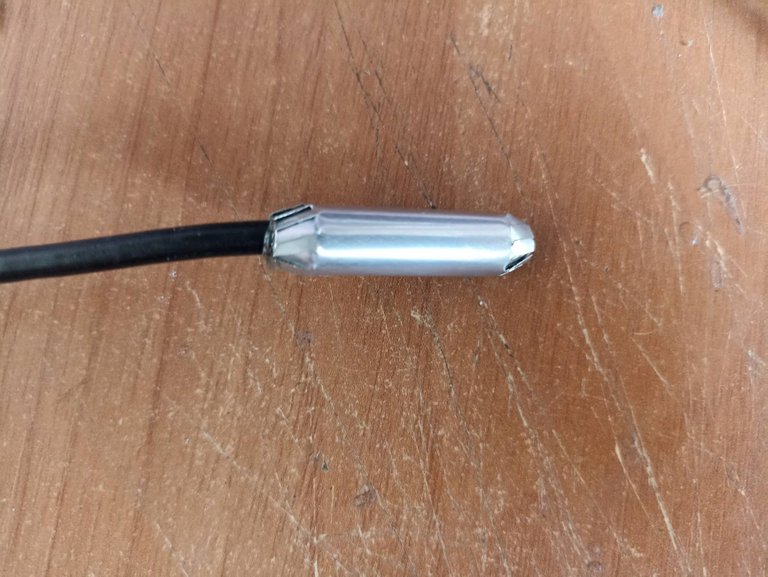
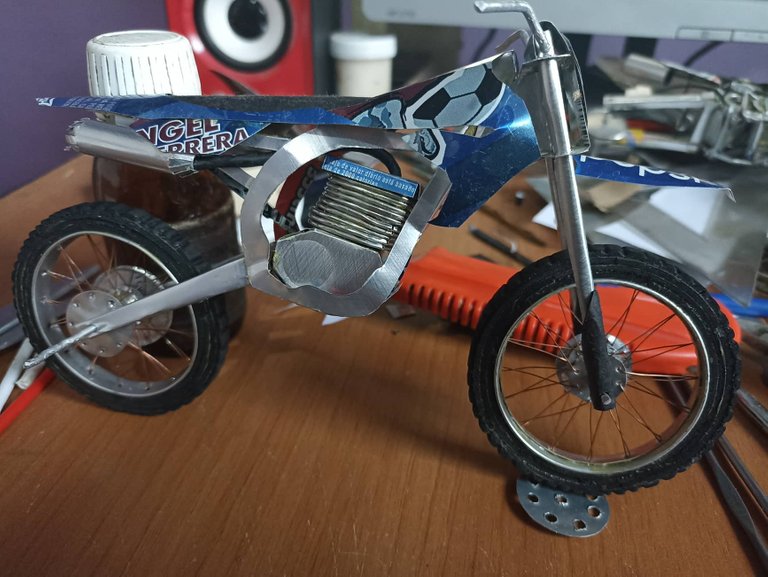
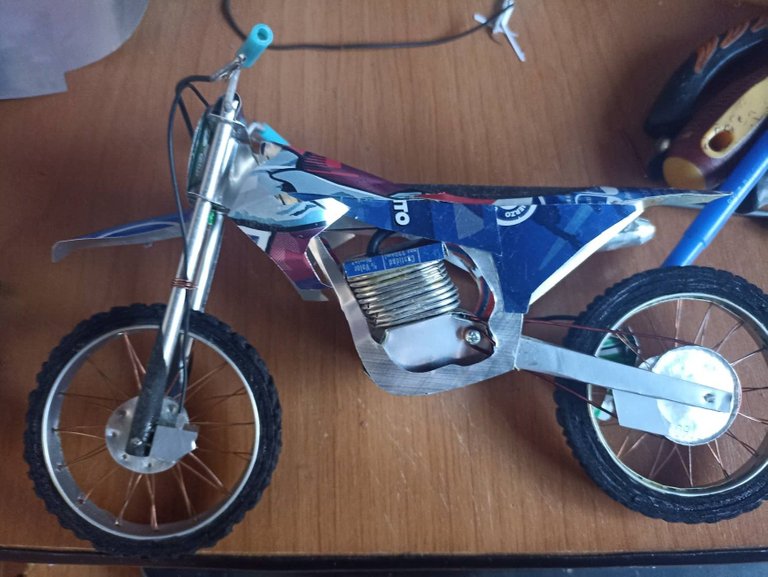
After having all the pieces, all that remains is to insert the wheels with their axles and then add the missing accessories. For example, I put a handlebar with its grips and brake and acceleration handles, at first I had put them red but then I put them blue, for the brakes I used damaged headphone cables, I also made the brake discs in each wheel and also the chain and sprocket. Without forgetting to place the exhaust pipe and add more volume to the motorcycle cover. I added the front fender as well as the front where the lighting headlamp goes, finally I made a small base like the ones used by real motorcycles to pose in the photographs. In this way, this Yamaha YZ enduro 250cc has been finished.
Luego de tener todas las piezas solo queda introducir las ruedas con sus ejes y después ir poniendo los accesorios que le faltan. Por ejemplo, le puse un manubrio con sus puños y manillas de freno y aceleración, al principio los había puesto de color rojo pero luego los puse de color azul, para los frenos utilicé unos cable de audífonos dañados, tambien hice os discos de freno en cada rueda y tambien la cadena y el piñon. Sin olvidar colocar le tubo de escape y agregar mas volumen a la cubierta de la moto. Agregué el guardafango delantero así como el frontal donde va el faro de iluminación, por último hice una pequeña base como las que usan las motos reales para posar en las fotografías. de esta manera ha quedado finalizado esta Yamaha YZ enduro 250cc.

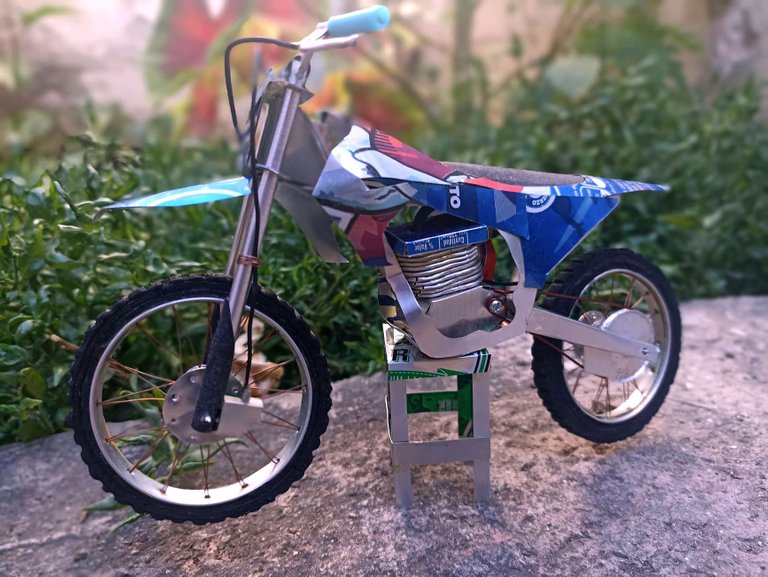
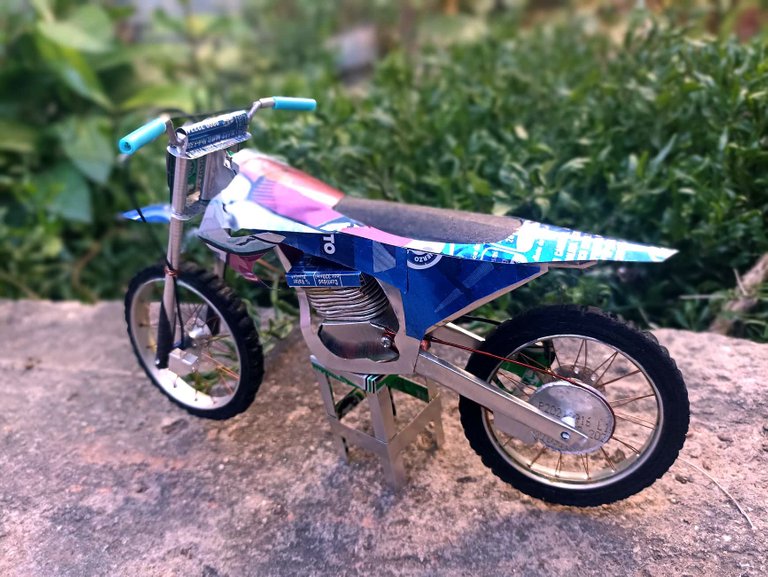
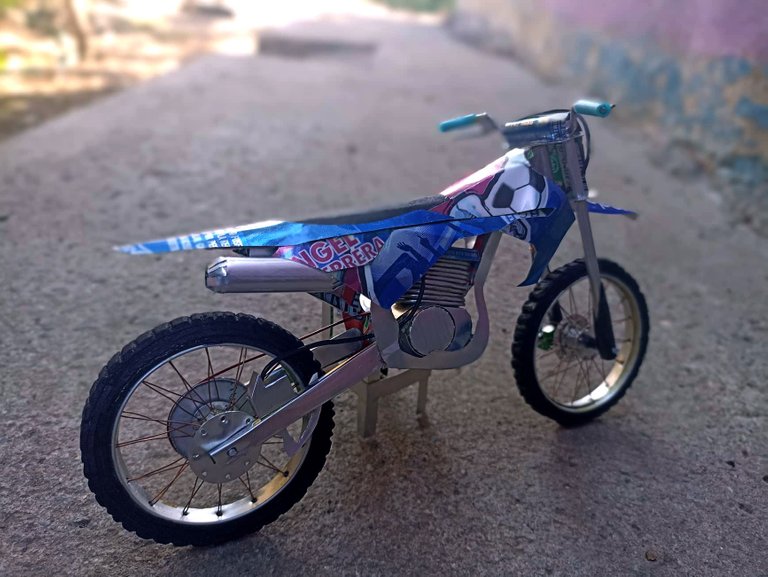
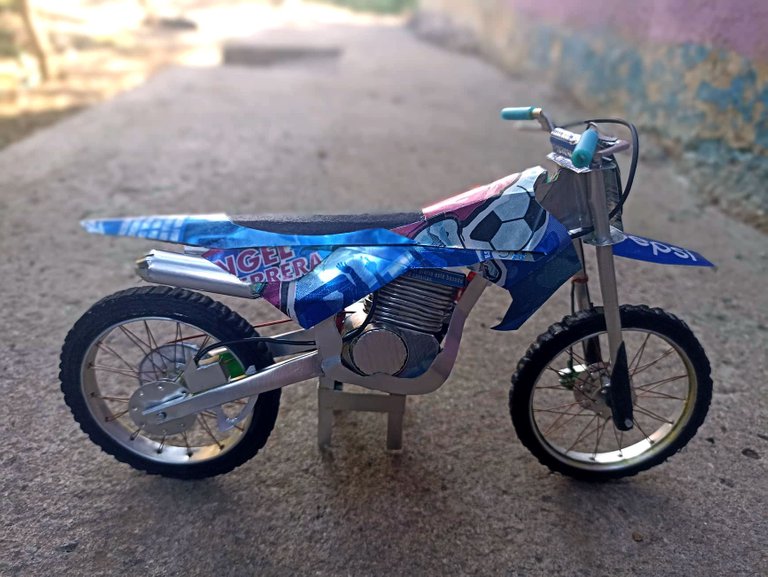
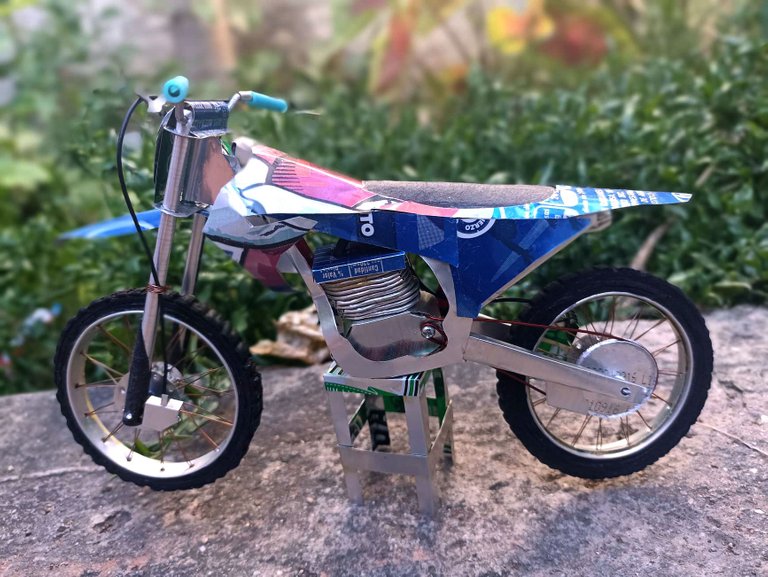
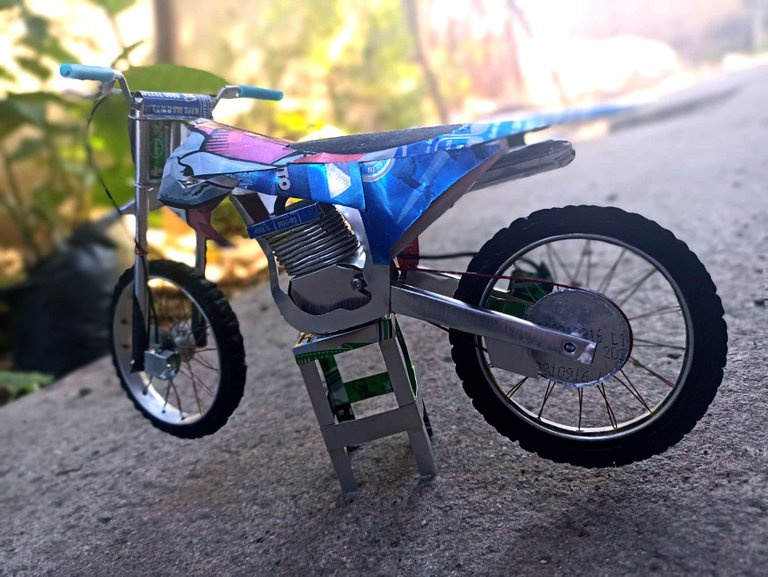
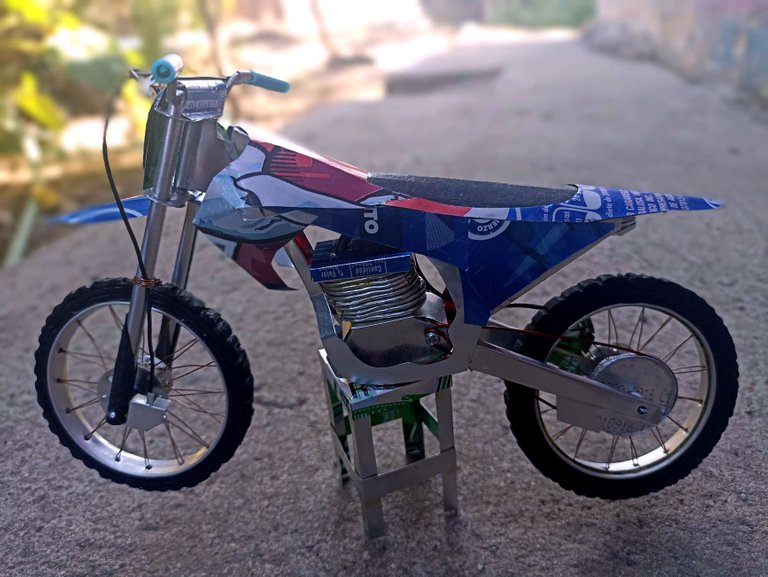

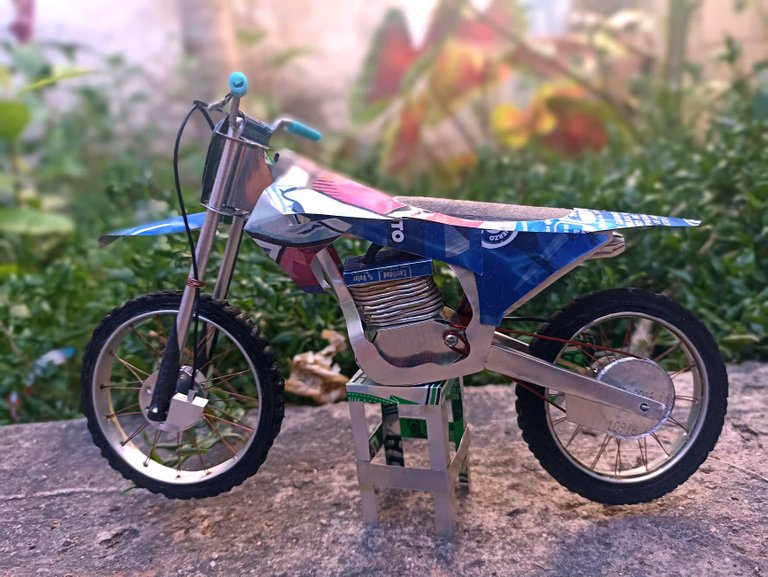
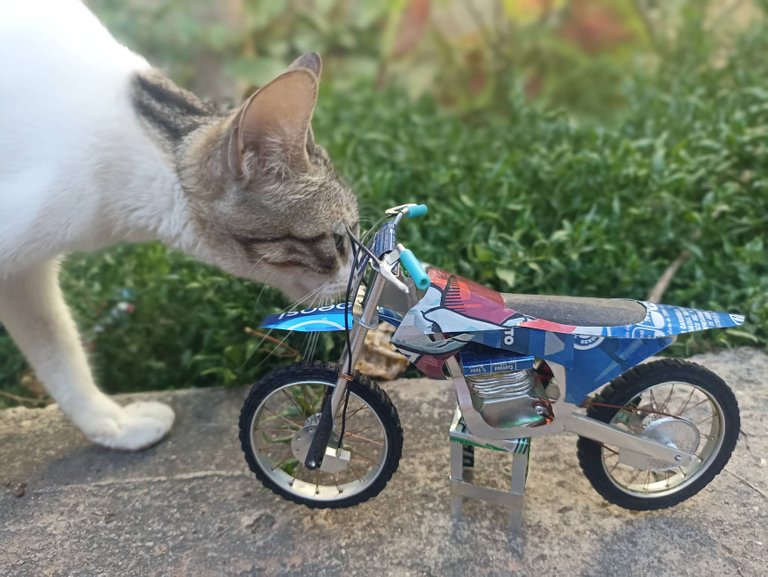
In this way you can see how this scale model project of a Yamaha enduro was finished, these motorcycles are a beauty of engineering, in addition to the adrenaline that you must feel driving one of them. I tried to do my best in this representation taking care of the best possible details to make it very realistic. It doesn't compare to my jobs from previous years where I didn't have a lot of experience making and working with templates. I hope you liked it, don't forget to comment on what you think of this work, your opinion is always important to me, I'll say goodbye soon, and I hope to come back with something new. Greetings to all friends!
De esta manera pueden apreciar como quedó finalizado este proyecto de modelo a escala de una Yamaha enduro, estas motocicletas son una belleza de la ingeniería, ademas de la adrenalina que se debe sentir manejar una de ellas. Trate de hacer mi mejor esfuerzo en esta representación cuidando los mejores detalles posibles para hacerlo muy realista. No se compara con mis trabajos de años anteriores donde no tenía mucha experiencia para hacer y trabajar con plantillas. Espero que les haya gustado, no olviden comentar que les ha parecido este trabajo, su opinión siempre es importante para mi, me despiedo hasta pronto, y espero volver ocn algo nuevo. Saludos para todos amigos!
The rewards earned on this comment will go directly to the people(@fixie) sharing the post on Twitter as long as they are registered with @poshtoken. Sign up at https://hiveposh.com.
Wow Fixie eres en verdad ¡increíble! ¿De donde sacas esa imaginación? O sea ese tanque quedó increíblemente, y esas ruedas juraba que eran de una bici de juguete o algo así, y veo al final que las construiste, ¡My God! ¡Eres un genio amigo!
Las ruedas no tenía pensado hacerlas así, creoi que las iba a hacer muy sencillas, pero luego de estar pasando un momento de terrible desánimo decidí utilizar esa misma energía para idear como hacerlas mejor y este fue el resultado ejejeje. Saludos y gracias por pasarte querida amiga!
Hola amigo @fixie. Te quedo increíble. Como siempre tu tan detallista con tus creaciones, todo se ve espectacular. Ah y me encanto ese hermoso peludo que poso junto a tu gran creación, excelente complemento 🐾😽😍... Que tengas bello día. Muchos saludos...💖
Es mi gata. siempre que puede anda inspeccionando la sobras jajaj. Me alegra que te haya gustado como quedó.. Esta lista para un paseo jejej. Saludos
Guao... A genial, de colección toda tu producción. Felicitaciones
jeje muchas gracias, y las próximas que vendran. GRacias por pasarte por aqui! Saludos.
Que belleza! Dios siga bendiciendo tus manos y tu talento
Muchas gracias por tus buenos deseos, y amen para esas bendicones! Saludos! Y me alegra que te haya gustado mucho.
Mi amigo el nivel de detalle que le imprimes esta sencillamente brutal, me quito el sombrero, mis felcitaciones!
Gracias mi pana, me esforcé bastante en darle esos detalles para darle más realismo.. Gracias por tu comentario. Saludos.
Woooo!!! Esto definitivamente le agrega un valor único a tu colección... Me gustaría ver toda la colección. Gracias por compartir tu trabajo espectacular.
💚♻️
🎆🎇🎉🎊🌧️💐✨🌾🌱🌹🌙🌿🍃🥀⚡🌺☘️🍀🌈🌷⭐🪴🌵🌸🌟💮🌴🌳💫☀️💮☔🌲🌳🌍🌌🌠☄️🏵️🐝🌻🌼🍄🐞🦋💙☕💜🍍🎆🎇🎉🎊
Algunas motos anteriores las he vendido. Pero ya con esta tengo 2. Basadas en marca reconocidas quiero hacer varias, cuando las tenga las mostraré..
Excelente bro, no se si ya habrás hecho una tipo Chopper pero sino seria brutal si hicieras una así estilo clásica.. gran trabajo.
Expectacular esa moto; tienes una imaginación para tus proyectos amigo única. Te felicito por tu nuevo trabajo y bendiciones amigo.
Muchas gracias amiga querida y amen por esas lindas bendiciones!
Cada detalle es alucinante y estoy riéndome como loca por lo impresionante y tan acertado de cada pieza, el motor es una locura. Lo que no te perdono es no haberle tomado una foto en plena carretera a nivel del suelo. Increíble, eres increíble 🍁📸
jajaja tienes que perdonarme, cree que lo he intentado per siempre me quedan horribles, no se cual es el truco para hacer esa ilusión óptica :(