Bienvenidos Queridos Amantes de la Artes Manuales
Welcome Dear Manual Arts Lovers
Hola querida comunidad #hivediy espero que todos se encuentren maravillosamente, discúlpenme nuevamente, por haber estado un poco desaparecida, pero, mis actividades laborales y las de mis princesas en sus colegios muchas a veces me adsorben completamente. Pero, aquí estoy de vuelta con ustedes para compartirles un pequeño proyecto, que tiene gran significado para mí, porque lo realice para celebrar la vida de mi pequeña princesa. Mi pequeña Nadiah cumplió sus 7 añitos el pasado 29 de marzo y para ella fue muy especial, porque es la primera vez que celebra su cumpleaños en su colegio con sus amiguitos y maestra.
Hello dear #HiveDiy community, I hope you are all feeling wonderful, excuse me again, for having been a bit absent, but, my work activities and those of my princesses in their schools sometimes completely absorb me. But, here I am back with you to share with you a little project that has great meaning for me, because I made it to celebrate the life of my little princess. My little Nadiah turned 7 years old last March 29th and it was very special for her, because it was the first time she celebrated her birthday at school with her friends and teacher.
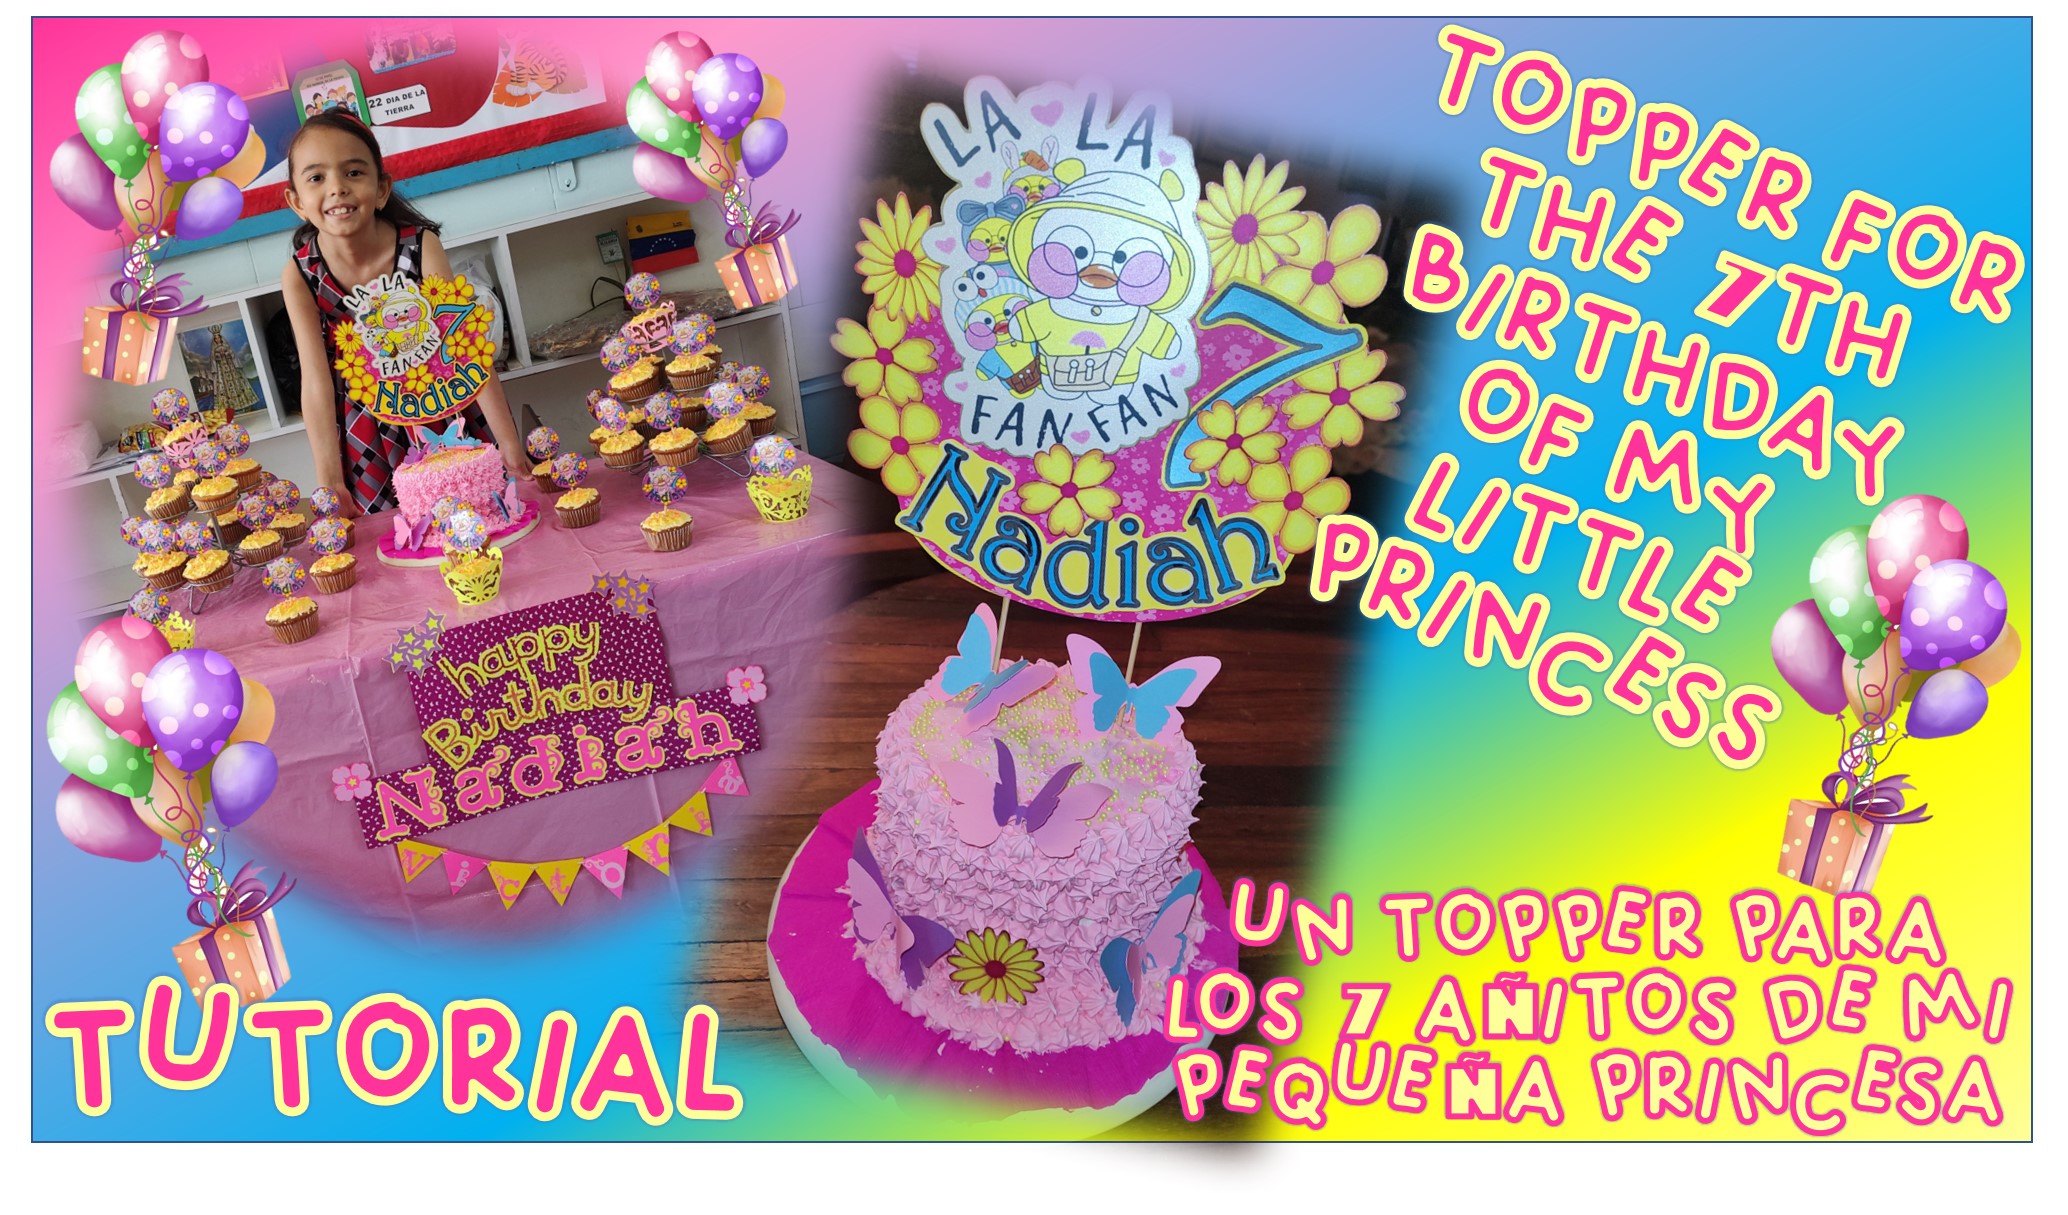

Como ella dice, ya es una niña grande, jajajaja; así que, por supuesto escogió el motivo de decoración de su celebración y como me lo temía, al igual que su hermana no le gusta ningún tema que esté de moda. Como suele suceder me toco ingeniármelas para resolver la decoración y hoy les compartiré el proceso de elaboración del topper para tortas, el lindo patito Lalafanfan. Antes de iniciar la explicación quería comentarles un poco sobre este simpático personaje, que, al parecer, nace como un reto de TikTok. La idea era dibujarlo y resulto que se volvió viral, muchísima gente empezó a dibujar al Pato Lalafanfan, cada uno a su estilo claro. Luego, empezaron a crear accesorios y ropita para el patito, en fin, se volvió todo un éxito, al punto que, el patito traspaso el mundo virtual y se volvió un pato de peluche, que por cierto mi hija adora.
As she says, she is a big girl, hahahaha; so, of course she chose the decoration theme for her celebration and as I feared, just like her sister, she does not like any trendy theme. As it usually happens, I had to figure out the decoration and today I will share with you the process of making the cake topper, the cute duckling Lalafanfan. Before starting the explanation, I wanted to tell you a little about this cute character, which, apparently, was born as a challenge from TikTok. The idea was to draw him and it turned out that it went viral, a lot of people started to draw Lalafanfan Duck, each one in their own style of course. Then, they started to create accessories and clothes for the duck, in short, it became a success, to the point that the duck went beyond the virtual world and became a stuffed duck, which by the way my daughter loves.
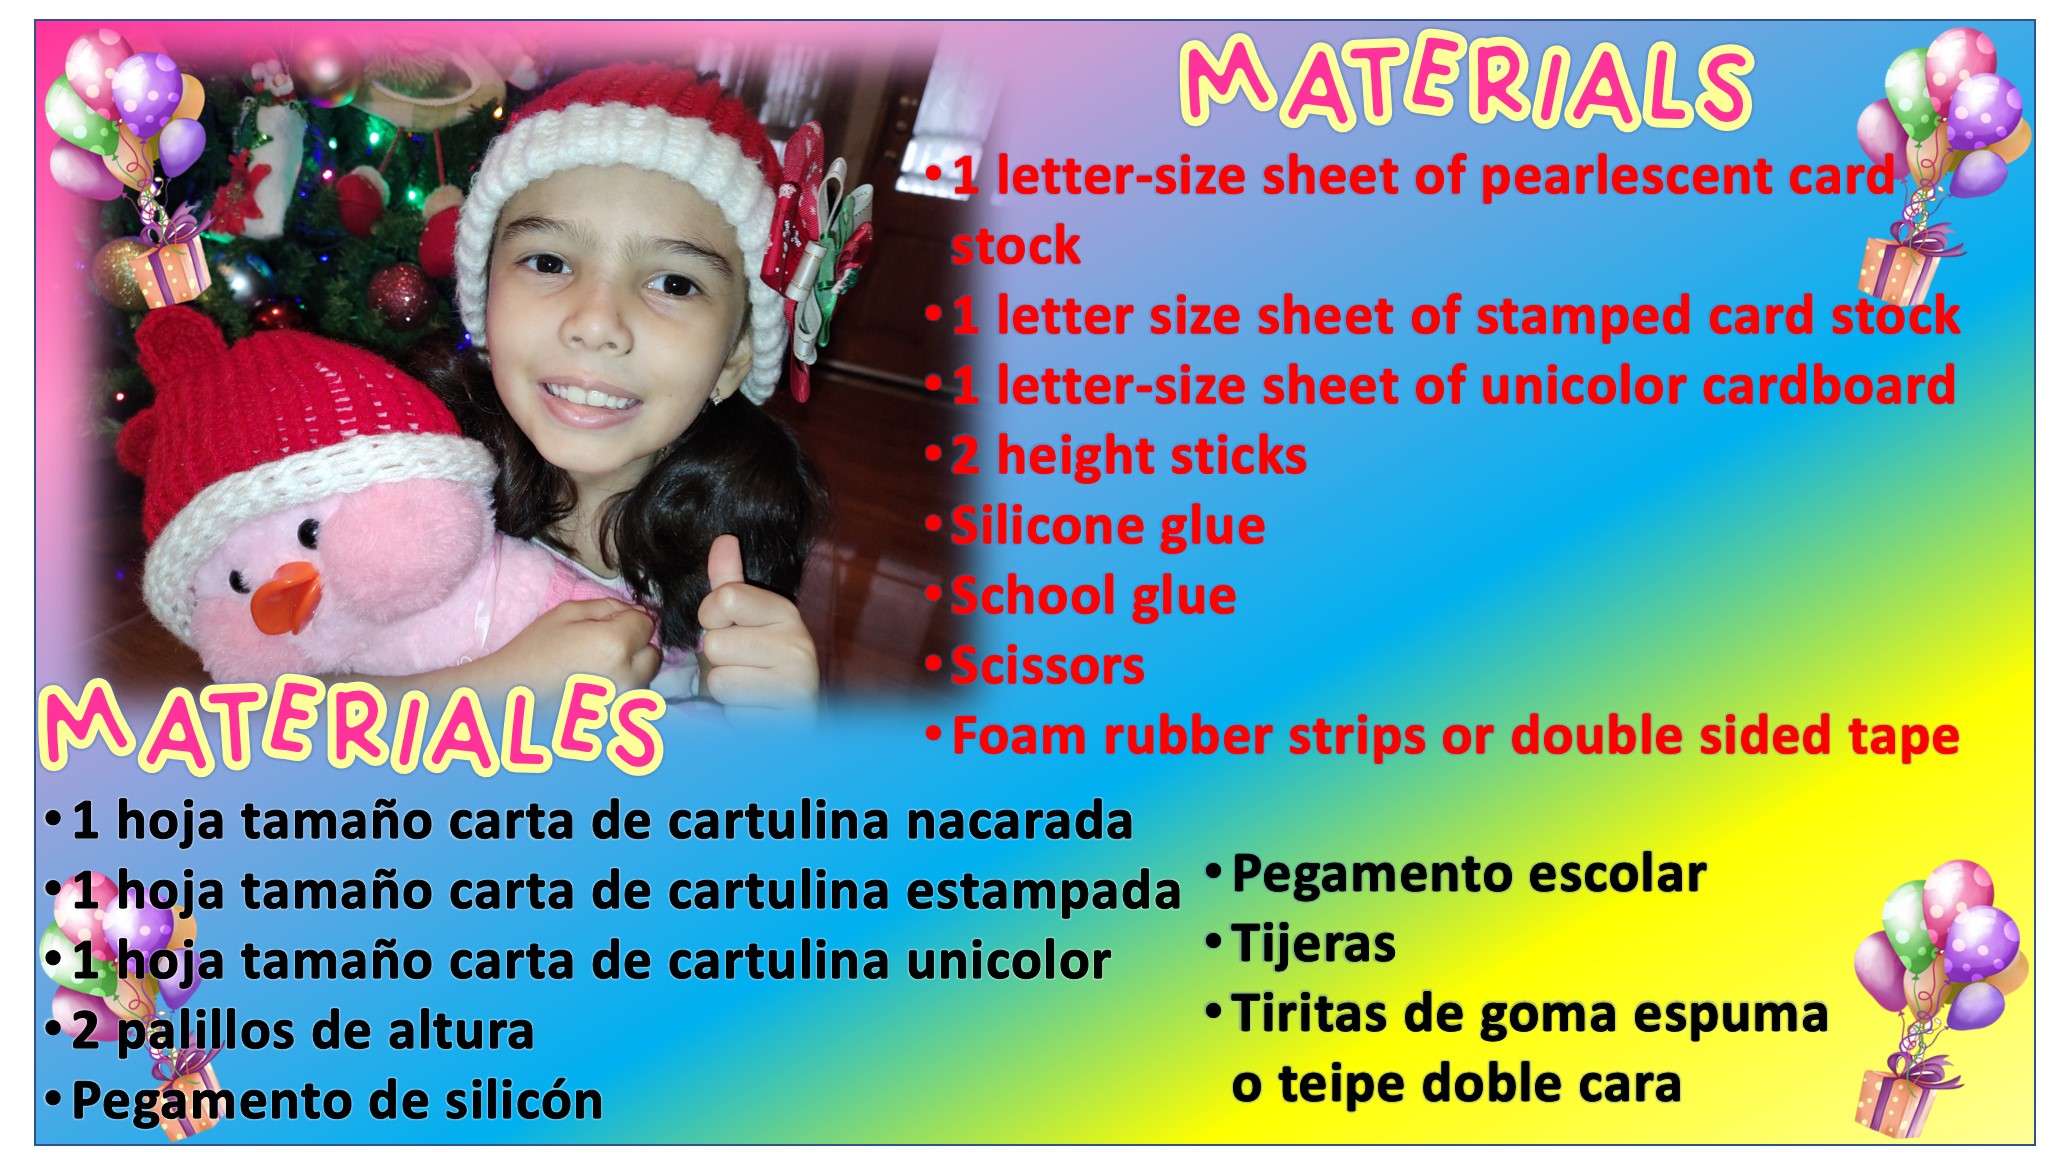
Mi princesa, pidió su patito Lalafanfan como regalo de navidad y desde que lo recibió se convirtió en su amigo inseparable, así que, por supuesto, era inevitable que fuera el motivo de decoración de su cumpleaños número 7. Bueno ya les expliqué un poco sobre este patito, ahora sí, pongamos manos a la obra, empecemos con los materiales, los cuales son realmente muy pocos. Básicamente, utilicé cartulina nacarada, estampada, y unicolor, 2 palillos de altura y pegamento de silicón y escolar.
My princess asked for her Lalafanfan duckling as a Christmas present and since she received it, it became her inseparable friend, so, of course, it was inevitable that it would be the reason to decorate her 7th birthday. Well, I already explained a little bit about this duckling, now let's get down to work, let's start with the materials, which are really very few. Basically, I used pearly, stamped and unicolor cardboard, 2 sticks and silicone and school glue.
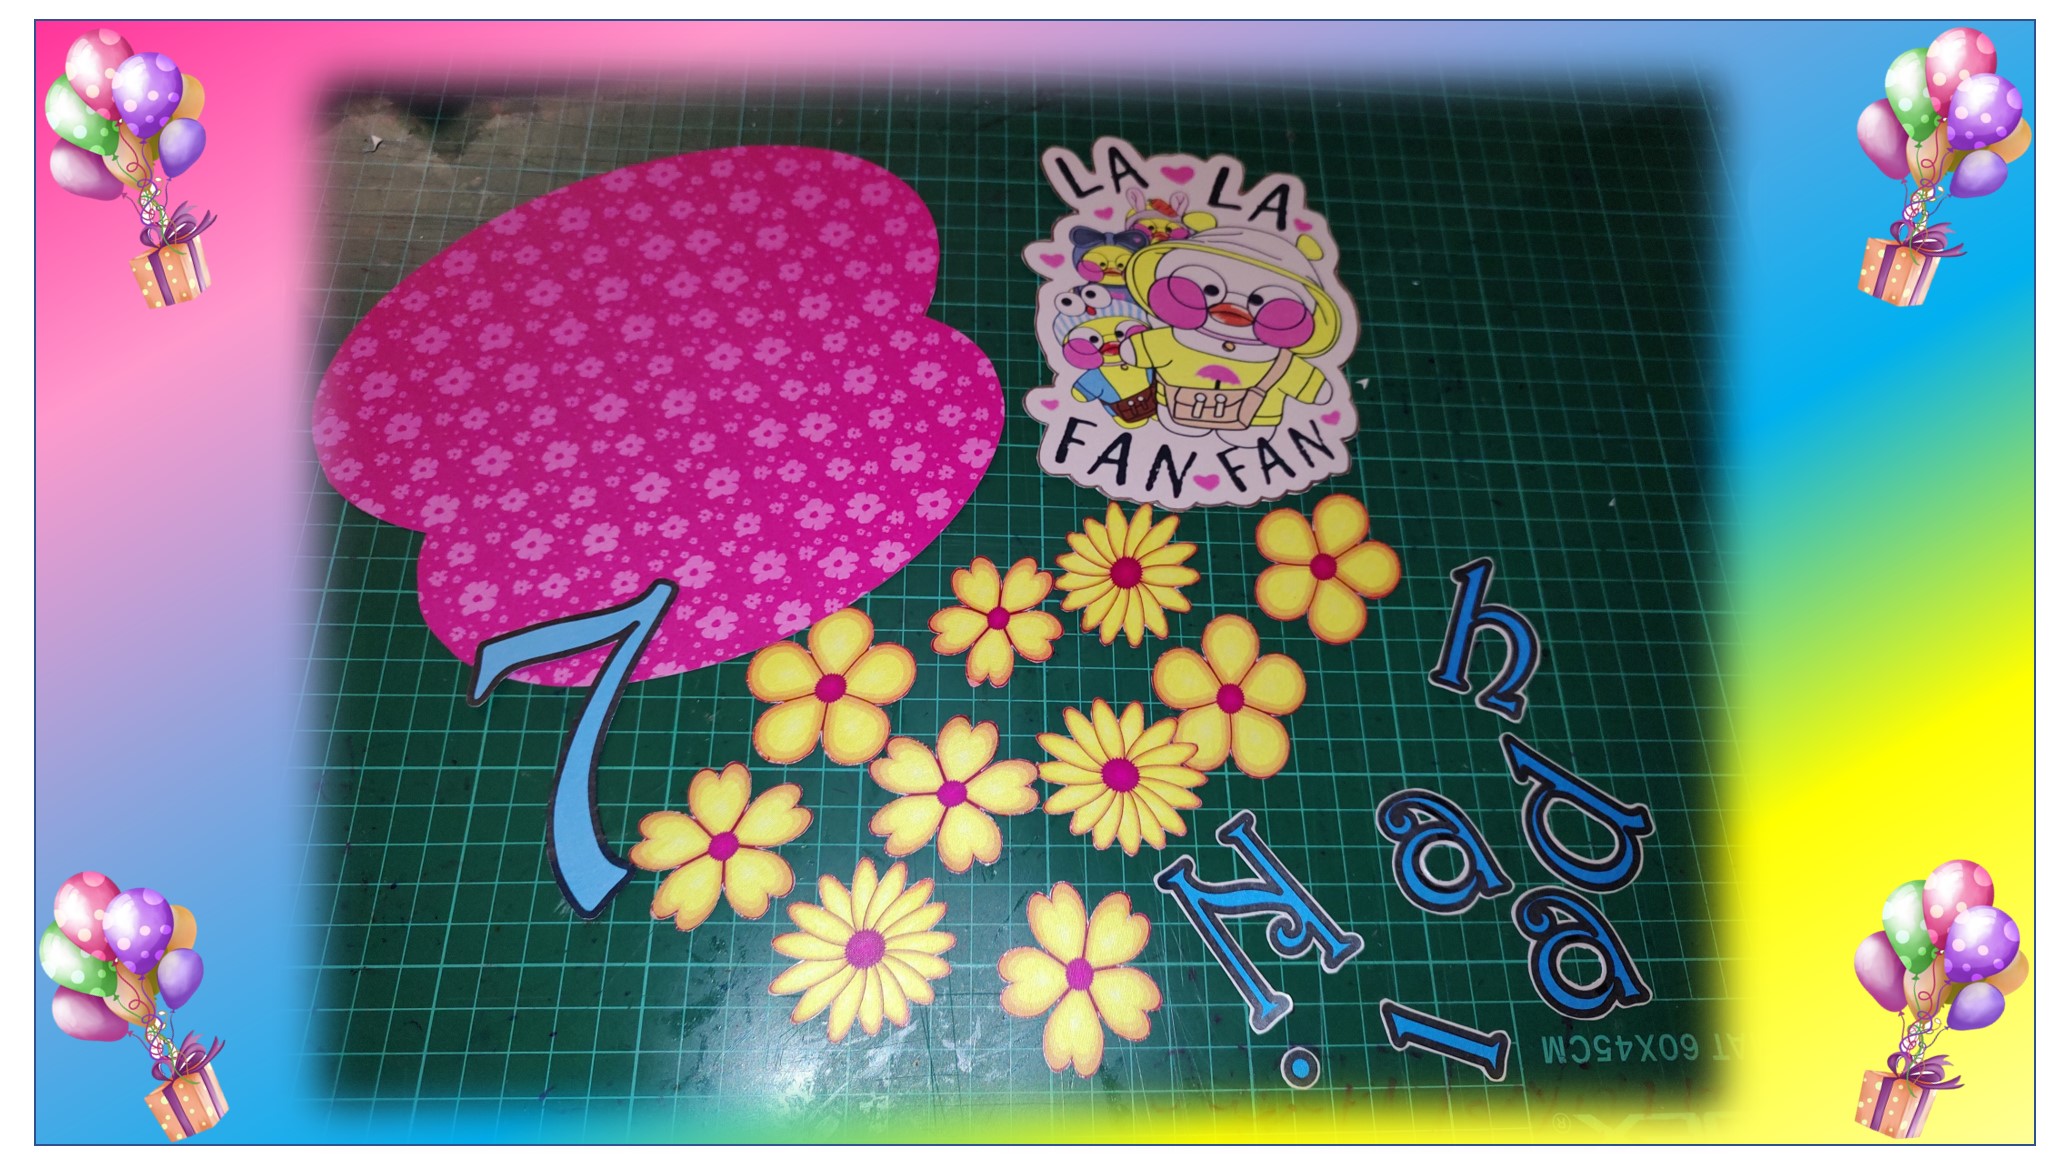
Lo primero que hice fue realizar una búsqueda en internet, para encontrar imágenes del patito Lalafanfan que pudiera imprimir, lo cual resulto un poco difícil. Esto, porque a pesar de ser un personaje muy popular en internet, la mayoría de las imágenes que encontraba eran de dibujos a mano alzada de los distintos usuarios o fotografías de los peluches del patito. Finalmente, encontré dos imágenes que le gustaron a mi pequeña, una de ellas la utilice para que formara parte de la composición del topper de la torta y la otra la reserve para realizar pequeños topper para los porquecitos. También, imprimí los otros elementos que necesitaría para la composición. Todas las imágenes las organice, para solo requerir una hoja tamaño carta de cartulina nacarada.
The first thing I did was to search the internet to find images of the Lalafanfan duckling that I could print, which was a bit difficult. This, because despite being a very popular character on the internet, most of the images I found were freehand drawings of different users or pictures of the duckling's stuffed animals. Finally, I found two images that my little girl liked, one of them I used to be part of the composition of the cake topper and the other one I reserved to make small toppers for the cupcakes. I also printed the other elements that I would need for the composition. I organized all the images so that I only needed a letter size sheet of pearly cardboard.
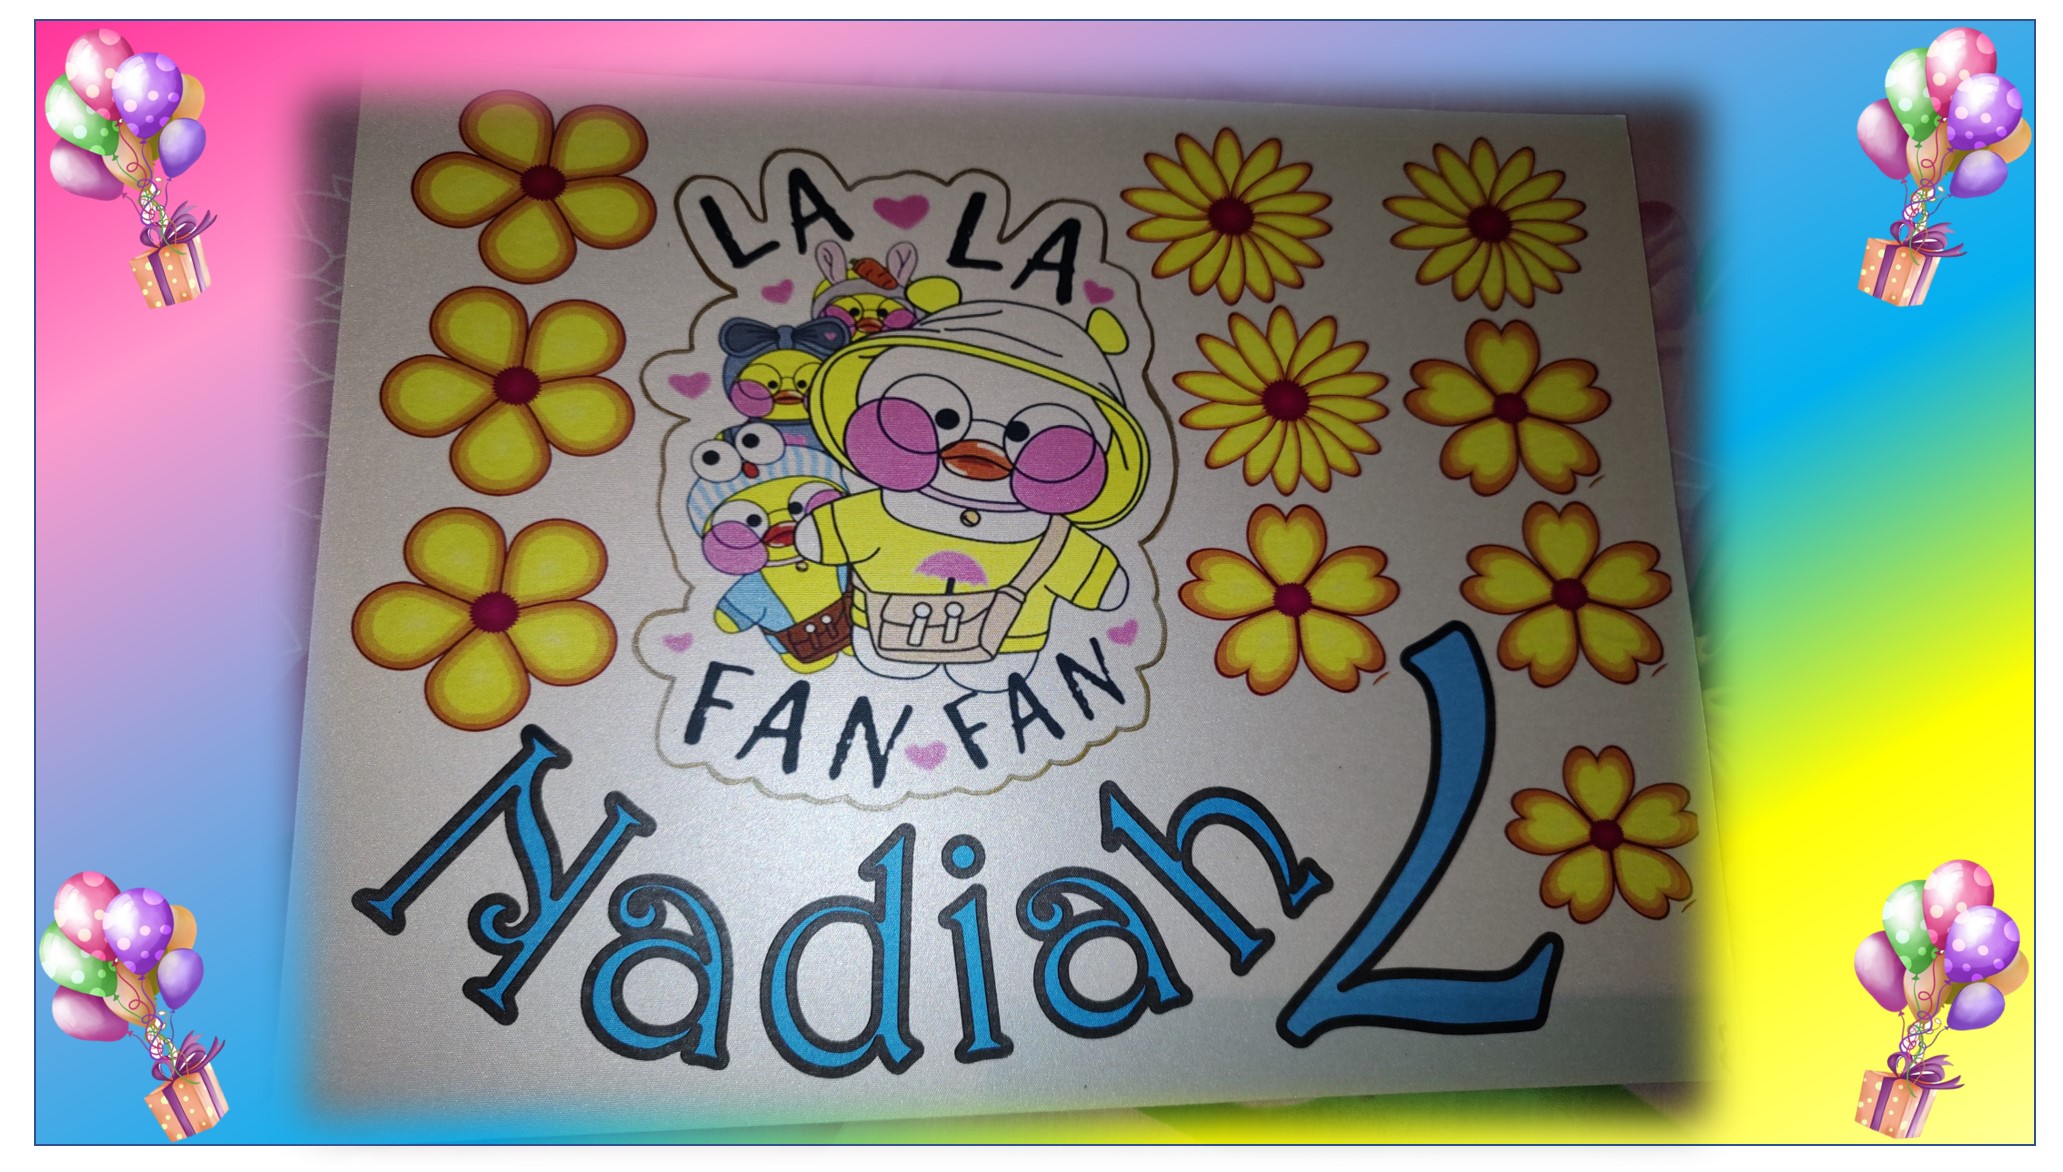
Ya con las imágenes impresas, lo siguiente fue recortar con mucho cuidado cada una de ellas, igualmente corté letra por letra el nombre de mi pequeña. También para usar de fondo de mi composición, utilice una cartulina fucsia estampada con pequeñas florecillas rosado claro, como pueden ver en la imagen.
Once the images were printed, the next step was to carefully cut out each one of them, and I also cut out the name of my little girl letter by letter. Also for the background of my composition, I used a fuchsia cardboard stamped with small light pink flowers, as you can see in the image.

Para hacer resaltar el nombre de mi pequeña, tomé un tozo de cartulina amarilla y pegué las letras sobre ella, seguidamente, recorté dejando un borde. Posteriormente, por la parte de atrás pegue unos trocitos de goma espuma, esto, para que, al pegarlo sobre la base no quedara plano y simular una especie de efecto 3D. Normalmente, se usa teipe doble cara, pero como no tenia, me toco buscar otra opción.
To make my little girl's name stand out, I took a piece of yellow cardboard and glued the letters on it, then I cut it out leaving a border. Then, on the back I glued a few pieces of foam rubber, so that when I glued it on the base it would not be flat and simulate a kind of 3D effect. Normally, double-sided tape is used, but since I didn't have any, I had to look for another option.
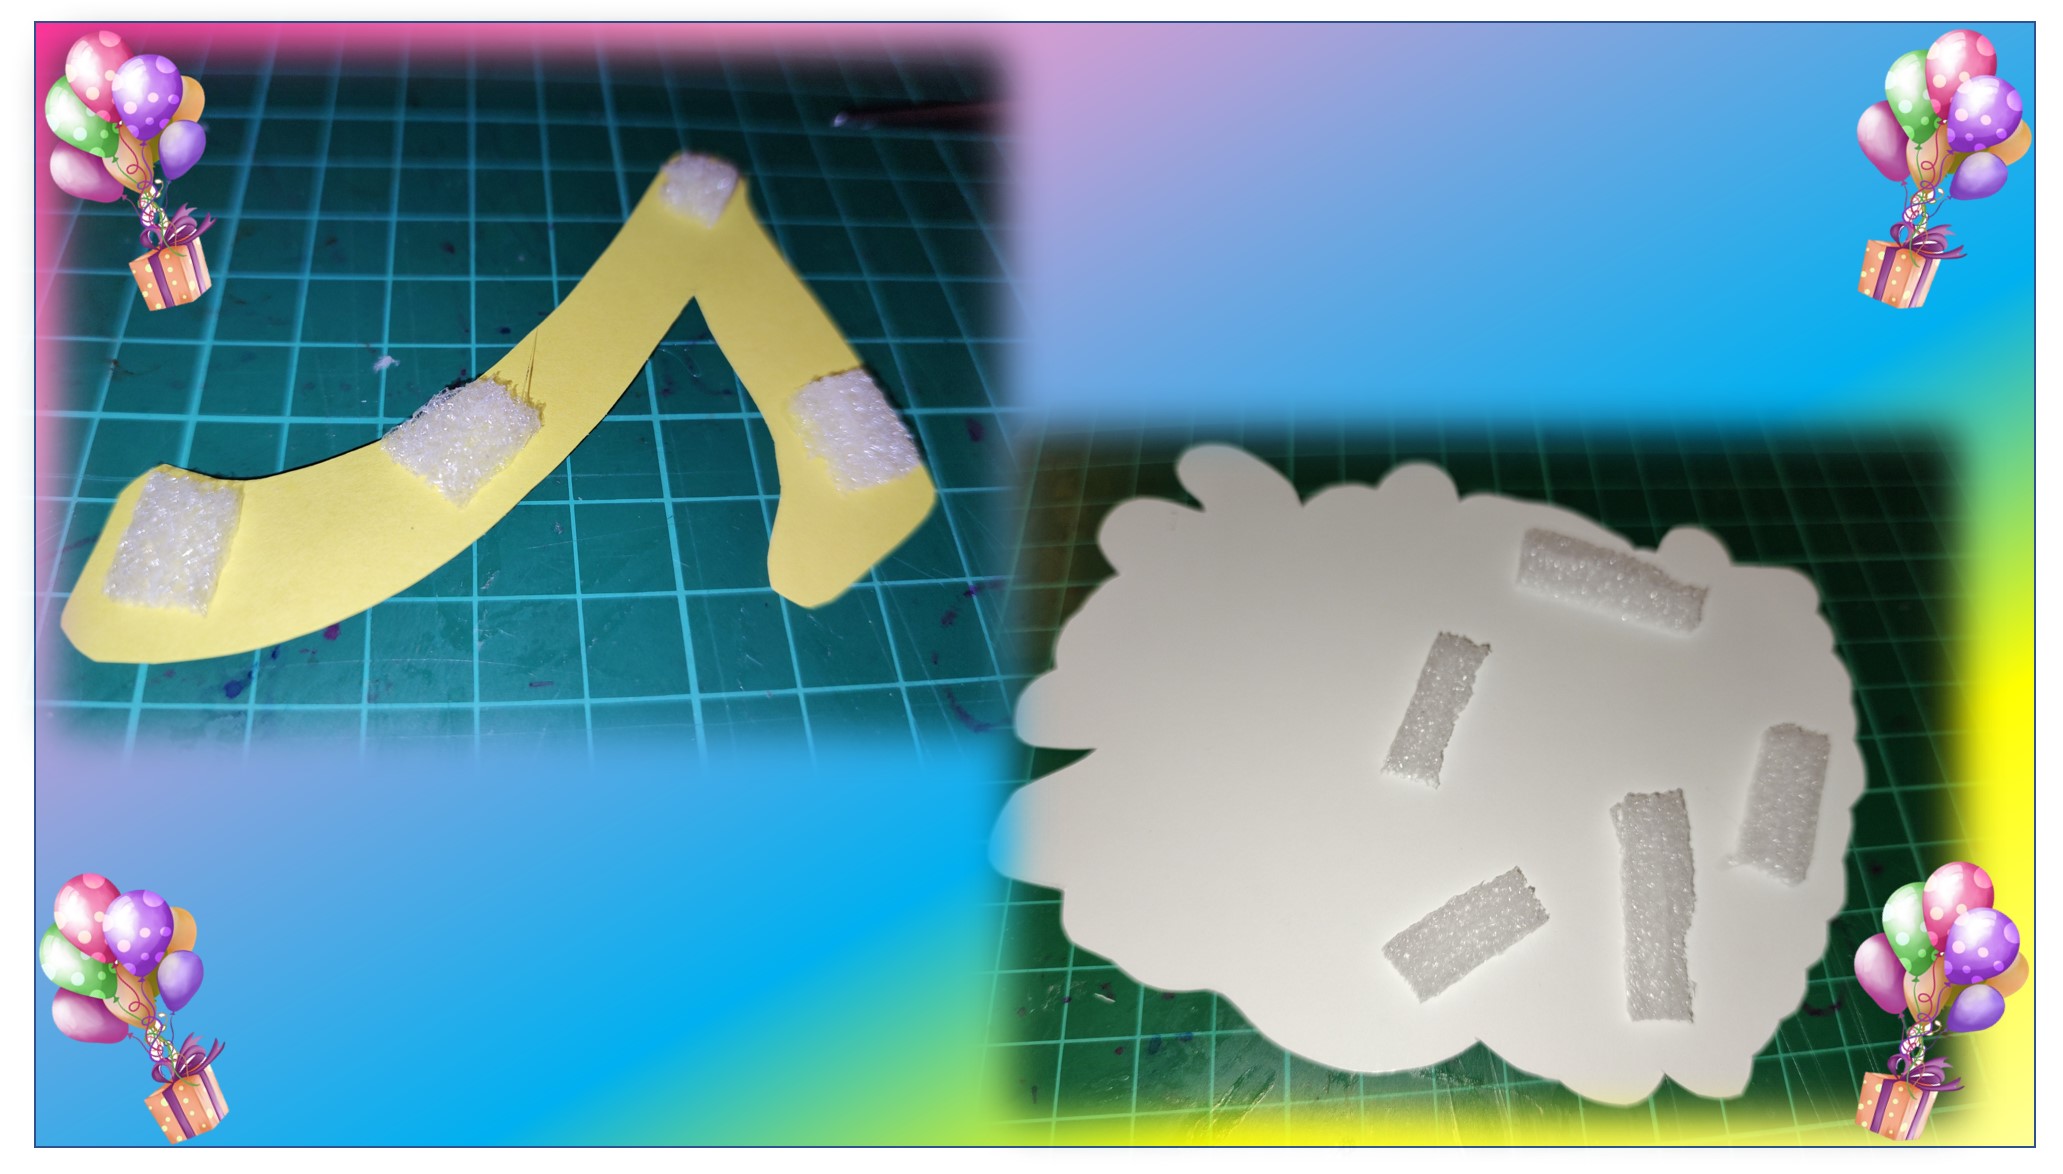
A la imagen del número 7 y a la del patito Lalafanfan también le pegue trocitos de goma espuma, de esta forma quedarían un poco sobresalientes, en comparación con las flores, cuando armara la composición, de esta forma, se logra dar la sensación de profundidad.
To the image of number 7 and the image of the duckling Lalafanfan I also glued pieces of foam rubber, so that they would stand out a little, compared to the flowers, when I put the composition together, thus, giving the sensation of depth.
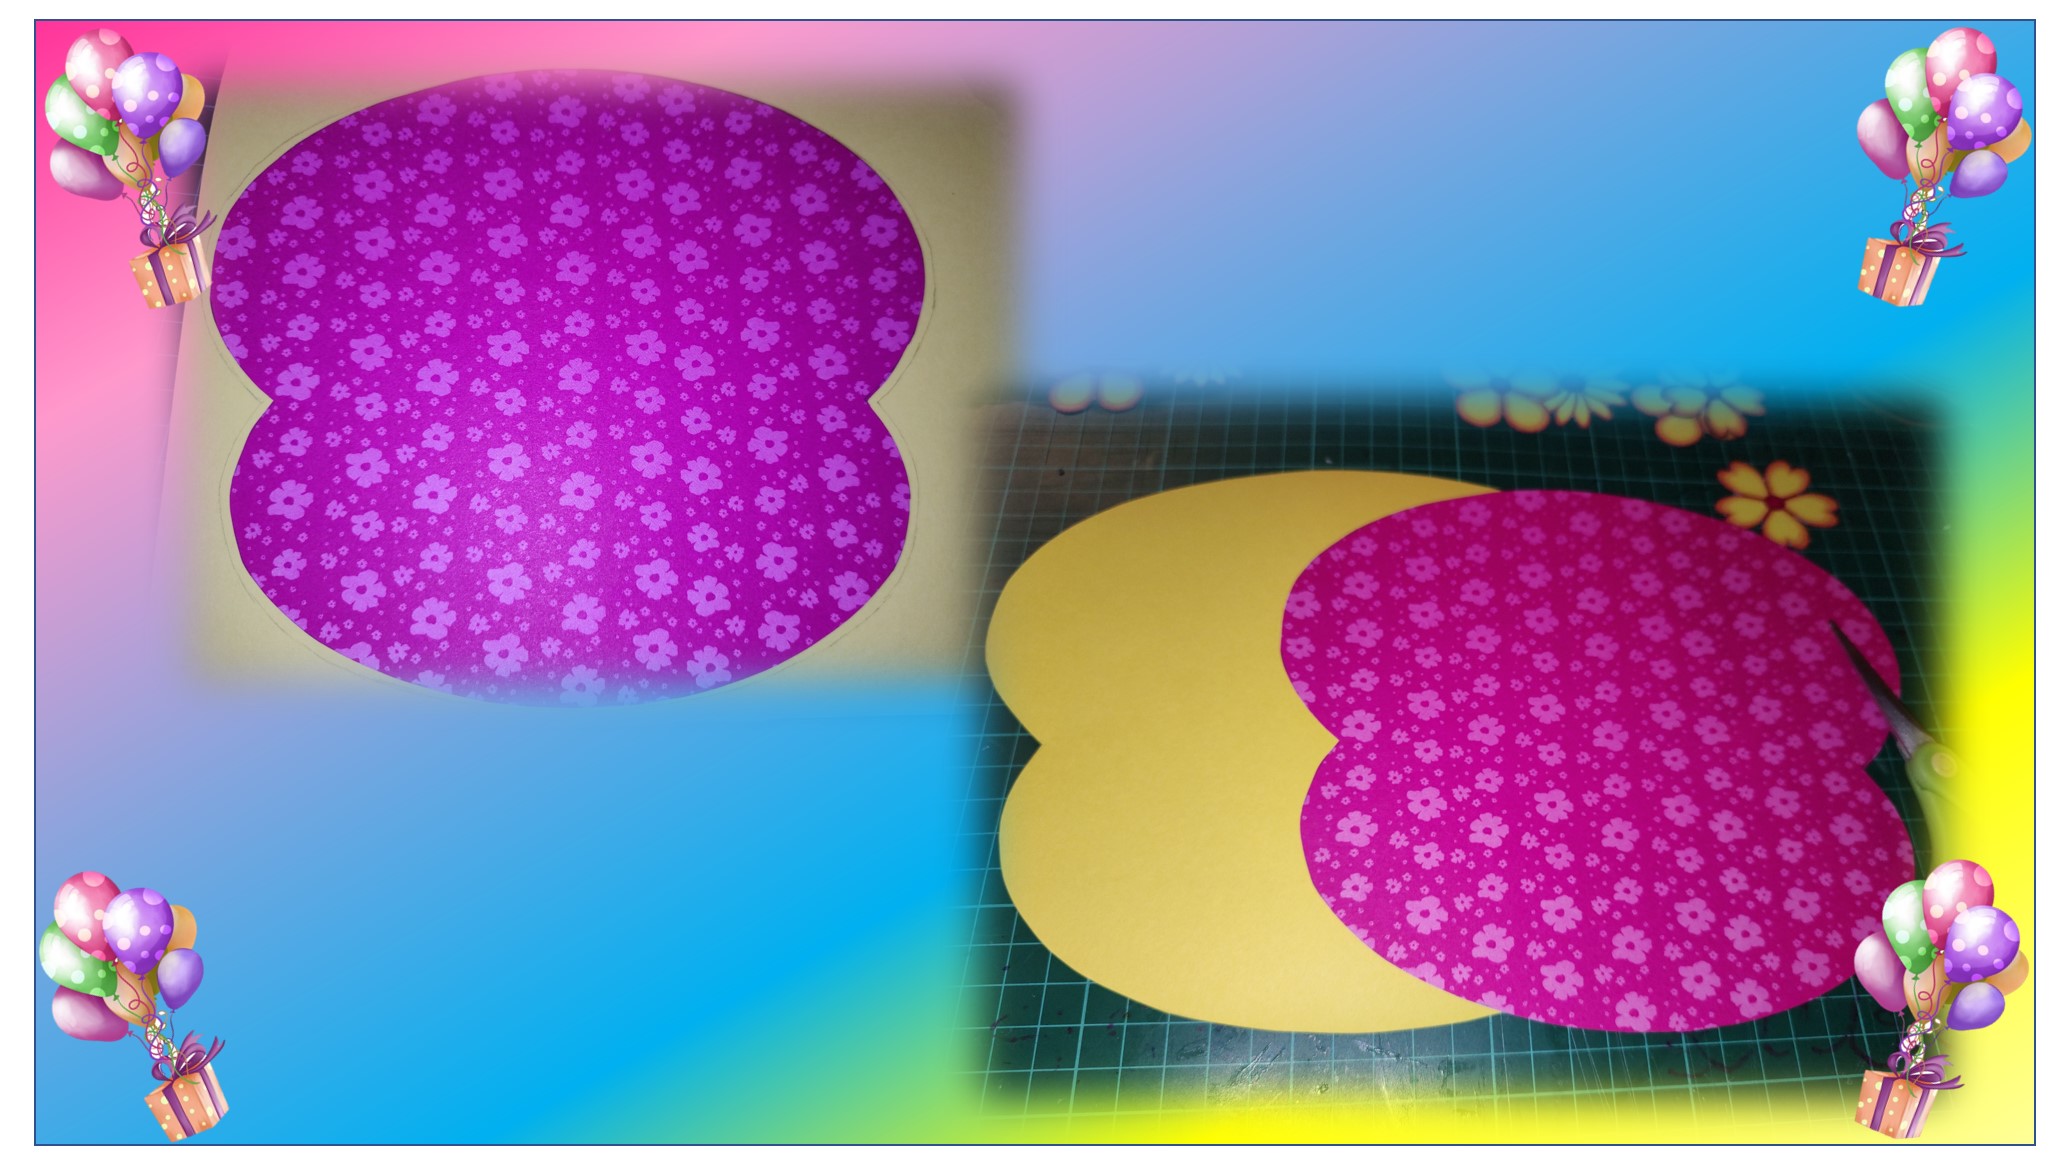
Ya les comenté, que con una cartulina estampada realice el fondo donde organizaría todos los elementos de mi topper, pero, además, corté en cartulina amarilla un segundo fondo, con la misma forma, solo que un poco más grande, de manera, que sobresaliera un borde amarillo.
I already told you that I made the background where I would organize all the elements of my topper with a stamped cardboard, but I also cut a second background in yellow cardboard, with the same shape, only a little bigger, so that a yellow border would stand out.
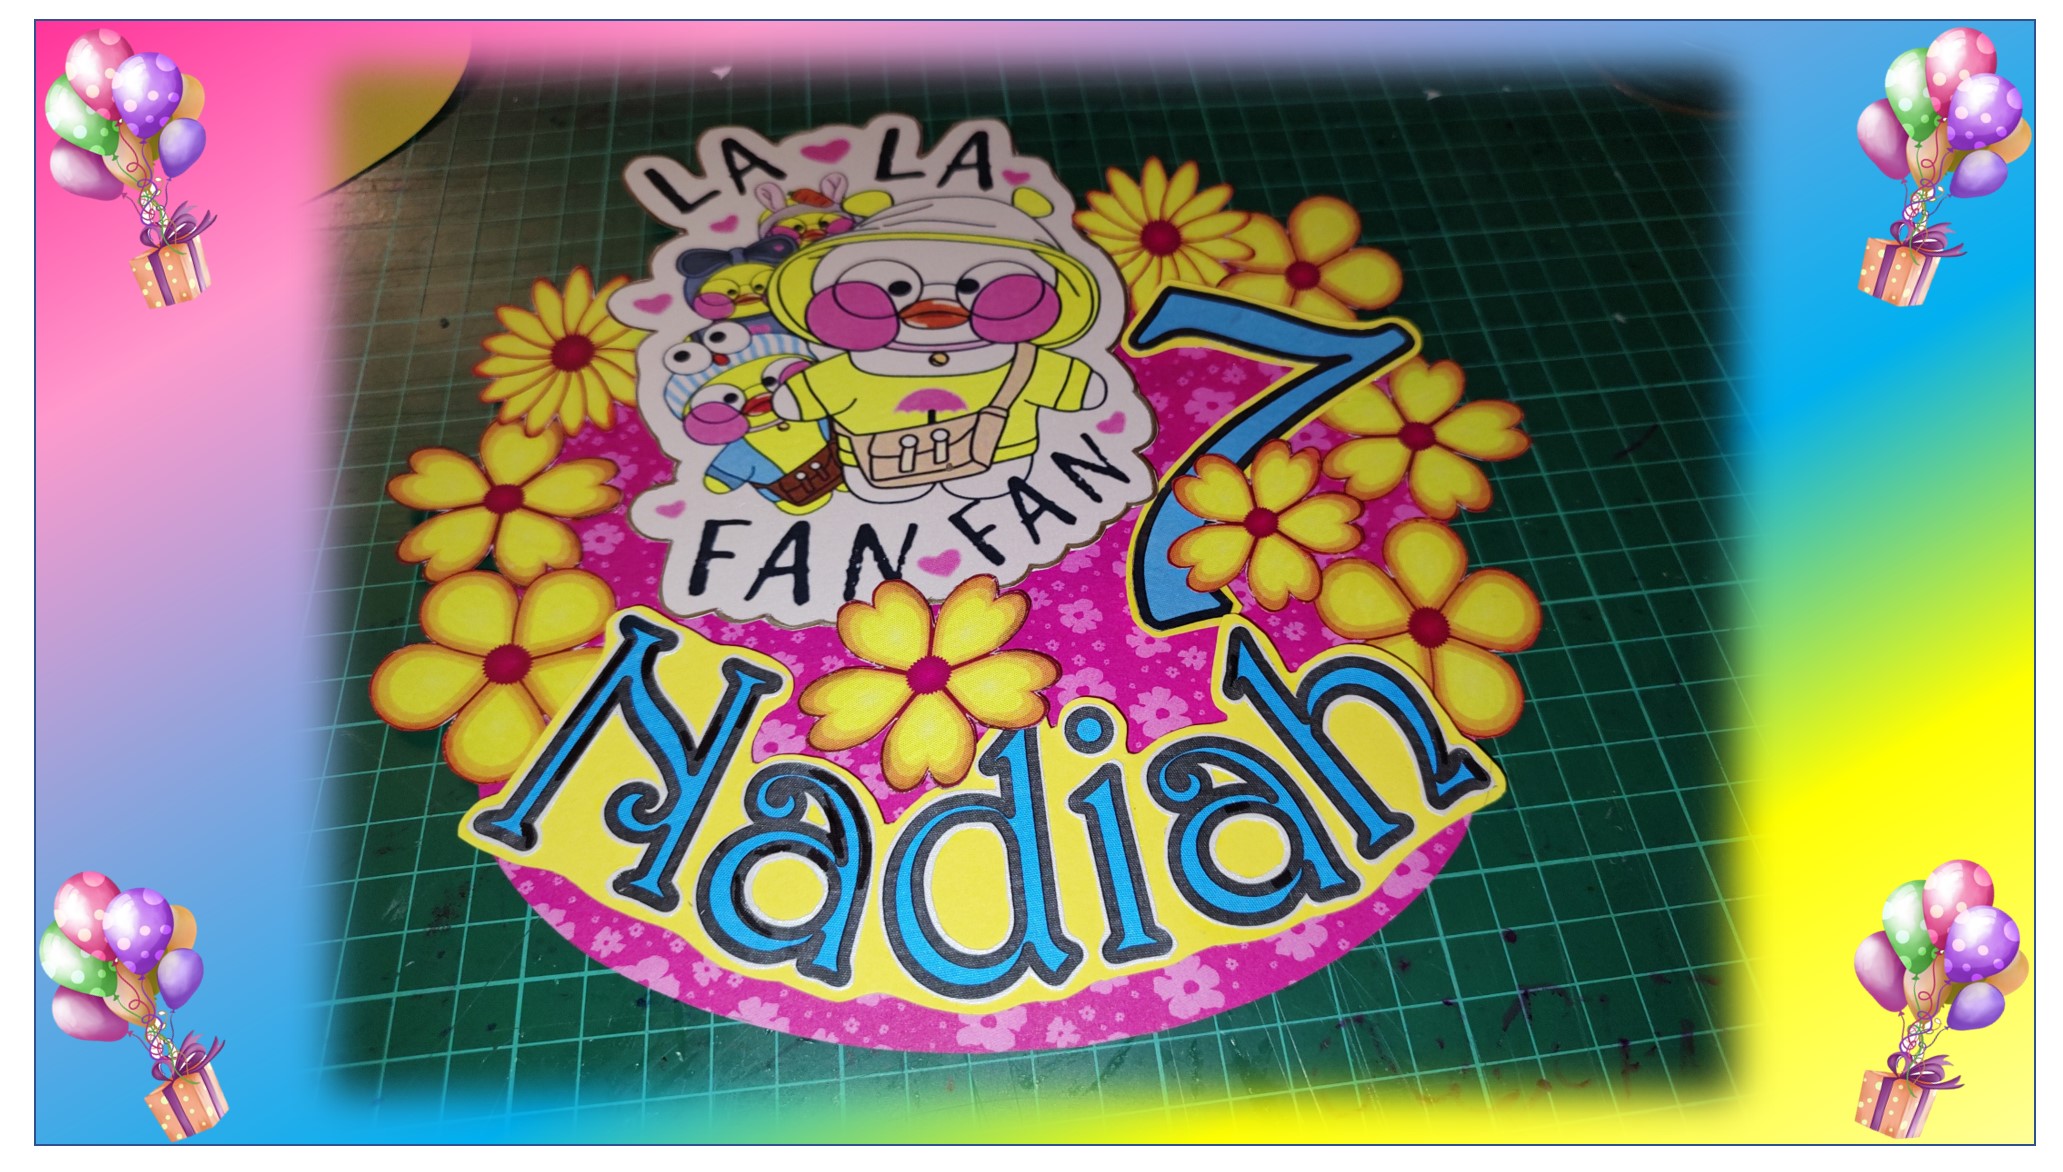
Ya con todo listo, lo siguiente fue organizar mi composición sobre el fondo, peque la imagen del patito el nombre de mi pequeña y el número 7, finalmente, coloque las flores.
With everything ready, the next thing was to organize my composition on the background, I put the image of the duckling, the name of my little girl and the number 7, and finally, I placed the flowers.
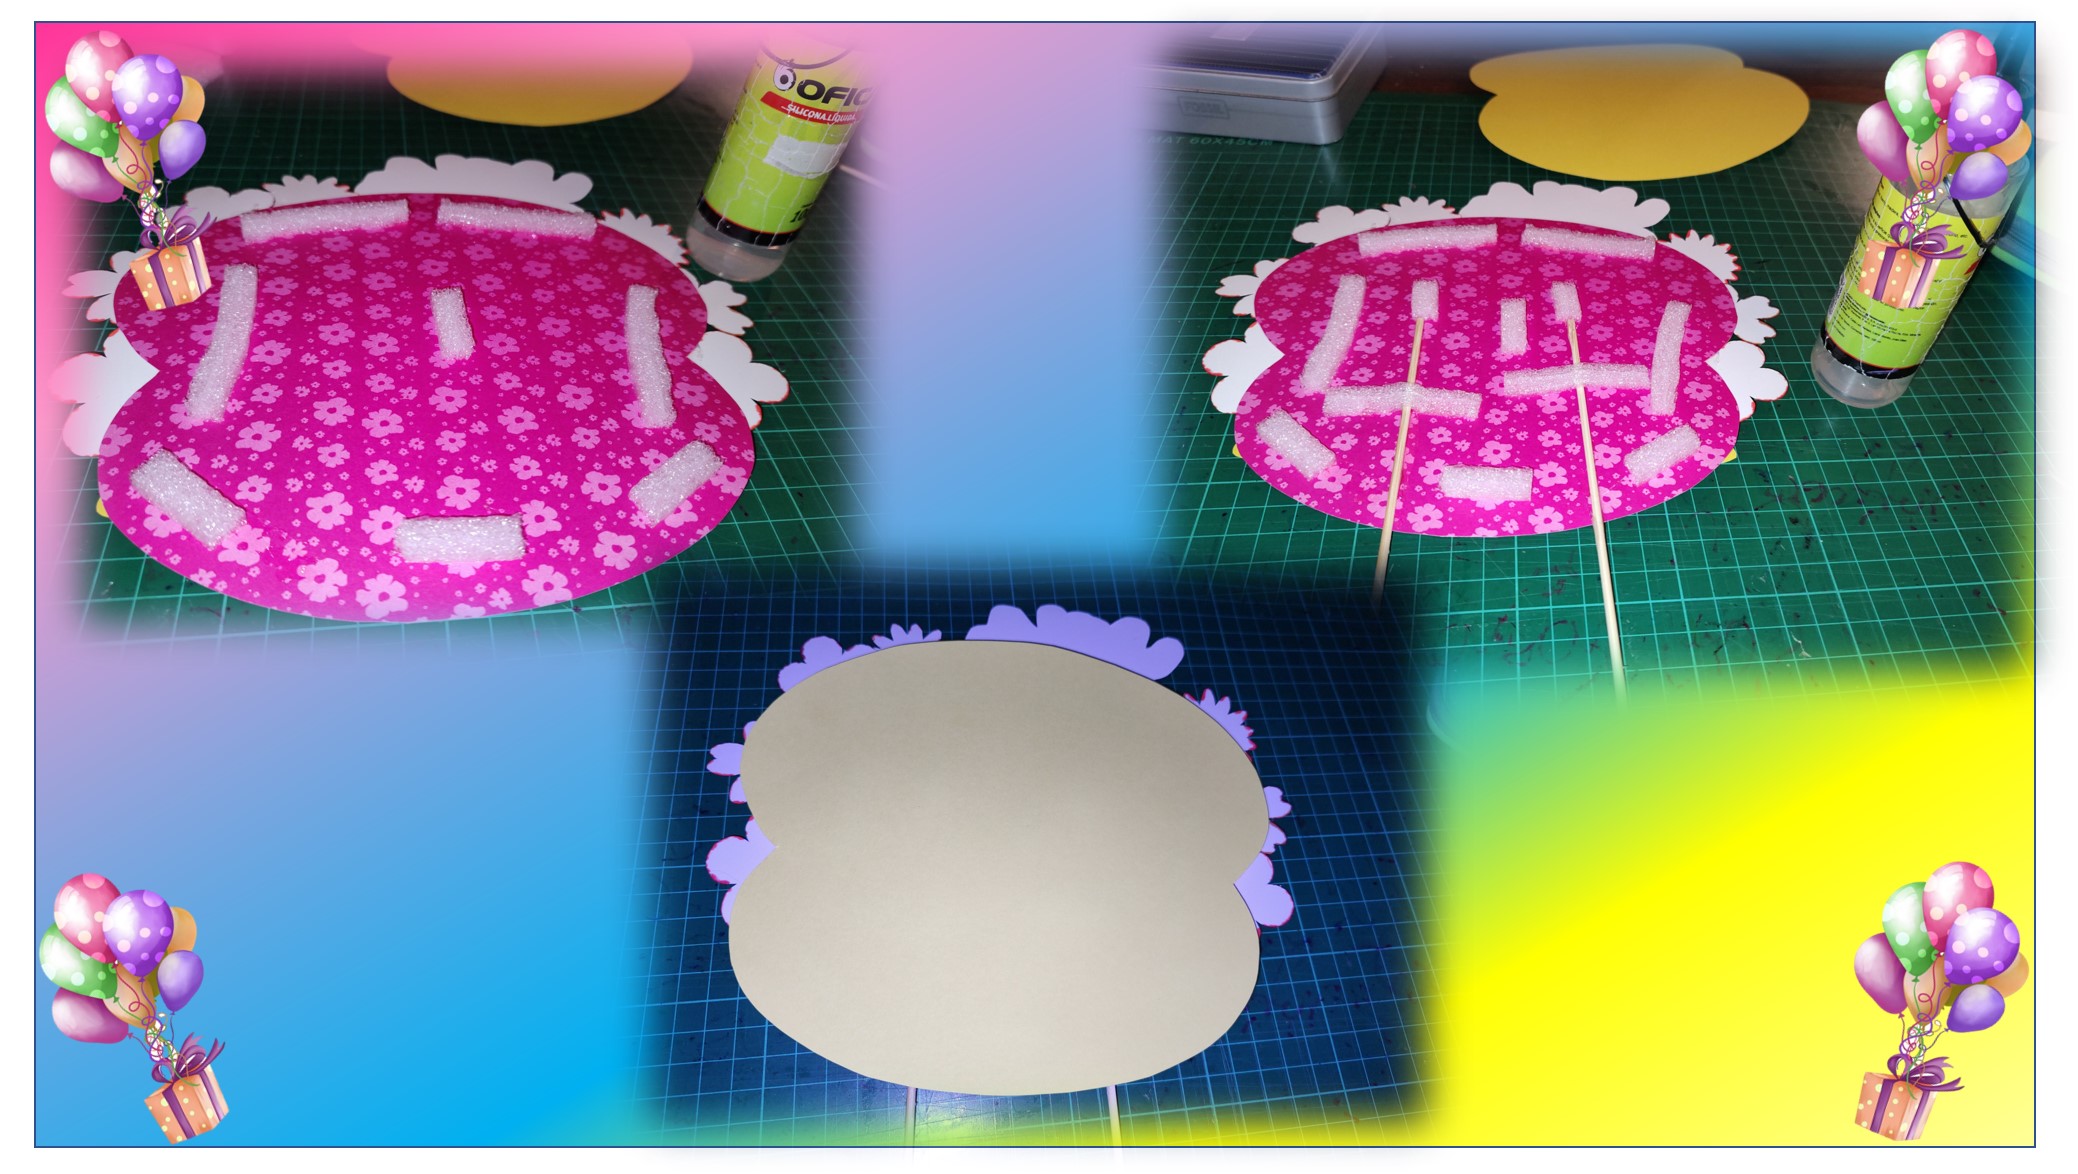
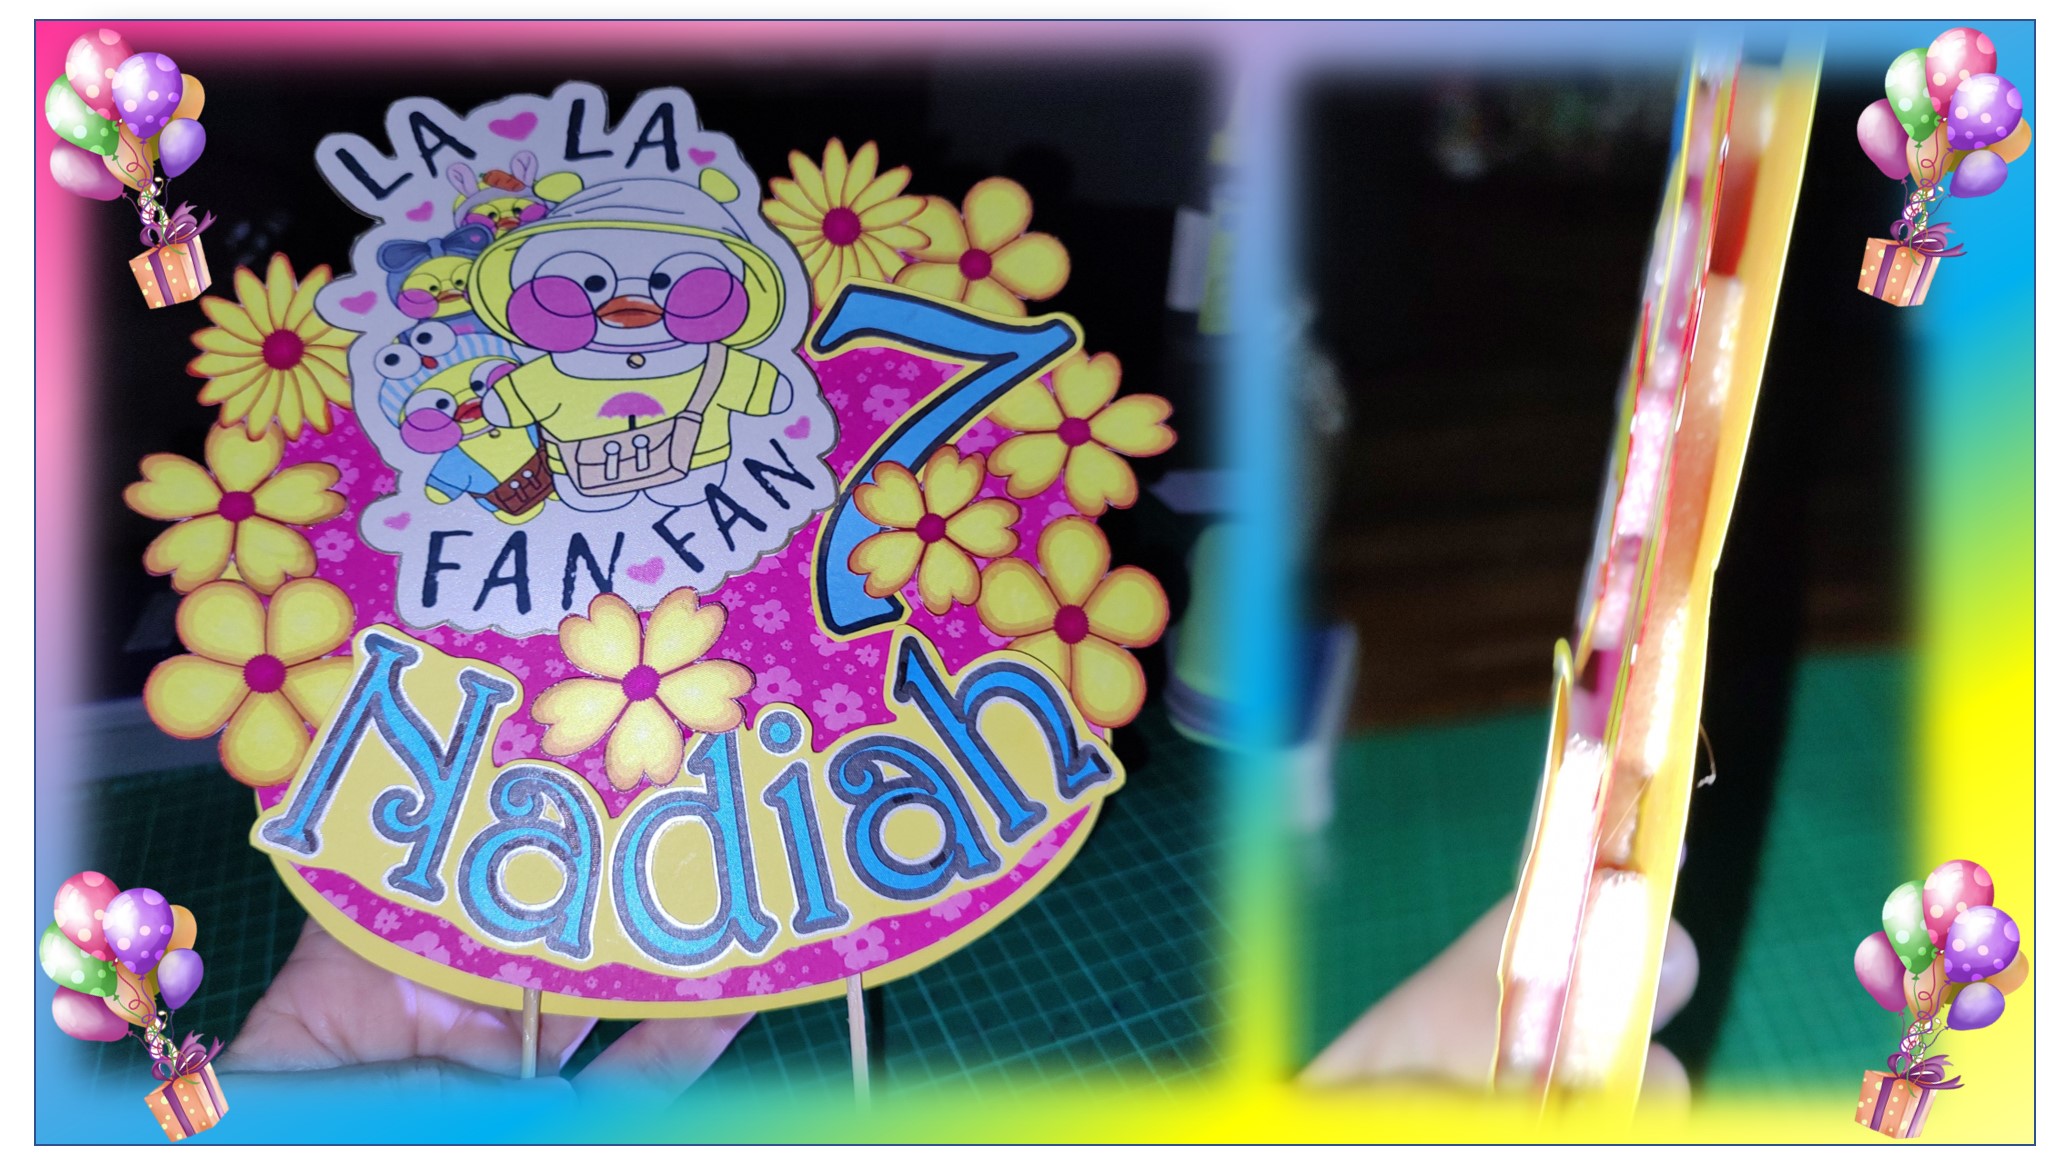
Los elementos de la decoración del topper ya estaban pegadas en su lugar, sobre el fondo, ahora lo siguiente fue pegar los palillos de altura y, además, también pegue trocitos de goma espuma. Como paso final, pegue la tapa de atrás que había cortado en color amarillo, esta tapa permite tapar los palitos de altura para que todo quede prolijo y hermoso. Bueno, queridos lectores con esto, mi topper quedo terminado y en la imagen pueden ver como quedo finalmente.
The elements of the topper decoration were already glued in place, on the background, now the next step was to glue the height sticks and, in addition, I also glued pieces of foam rubber. As a final step, I glued the back cover that I had cut in yellow, this cover allows to cover the height sticks so that everything is neat and beautiful. Well, dear readers, with this, my topper is finished and, in the image, you can see how it finally looks like.
Solo me queda despedirme, esperando que les gustara el proyecto, como pudieron ver es muy sencillo y por supuesto, ustedes pueden utilizar el motivo que prefieran y armar su composición y de seguro le quedara genial. Hasta la próxima, Dios los bendiga.
It only remains for me to say goodbye, hoping that you liked the project, as you could see it is very simple and of course, you can use the motif you prefer and put together your composition and for sure it will look great. Until next time, God bless you.
Contenido y fotografías de mi propiedad intelectual
Información Técnica
| Cámara | Pentax * istDL |
|---|---|
| Lente | * Pentax 18-55 |
| Iluminación | Luz Natural |
| Locación | Barcelona, Estado Anzoátegui, Venezuela |
Content and photographs of my intellectual property
Technical information
| Camera | Pentax * istDL |
|---|---|
| Lens | * Pentax 18-55 |
| Lighting | Natural Light |
| Location | Barcelona, Anzoátegui State, Venezuela |


Que bueno que hayas encontrado un poco de tiempo para traer este trabajo a la comunidad. Has creado algo muy original y estéticamente se ve perfecto, claramente seguramente vos te darás cuenta de algún detalle porque uno es muy critico consigo mismo pero te aseguro que se ve tan bien que parece hecho en una fabrica
Gracias por tus palabras y me alegra mucho que te gustara. Te envío saludos y bendiciones para ti y los tuyos. Gracias por tu visita y apoyo.
The rewards earned on this comment will go directly to the people( @francyrios75 ) sharing the post on Twitter as long as they are registered with @poshtoken. Sign up at https://hiveposh.com.
Te quedo muy bien este topper amiga, lo importante es que a tu niña le gusto, este personaje es nuevo, primera vez que lo veo, pero es tierno jiji, que bueno pudiste tomarte tu tiempo para hacerlo, saludos.
Hola bienvenida y agradecida por tu visita, es muy grato saber que te gustó. Saludos y bendiciones para ti y los tuyos 🙂
Lindo topper para completar una linda decoración. Felicidades por tu trabajo. Saludos.
Gracias 😁 agradecida por tu visita.