Bienvenidos Queridos Amantes de la Artes Manuales
Welcome Dear Manual Arts Lovers


Hello, here I am back with you; the week is almost over and I hope you are having a great time. Lately I've been on the intimate apparel wave, so today I bring you a sewing project, of that style, which at least for me represented a challenge. I had never made a bra, at least in this style, but I decided to venture to make one for my eldest daughter, who is a teenager.

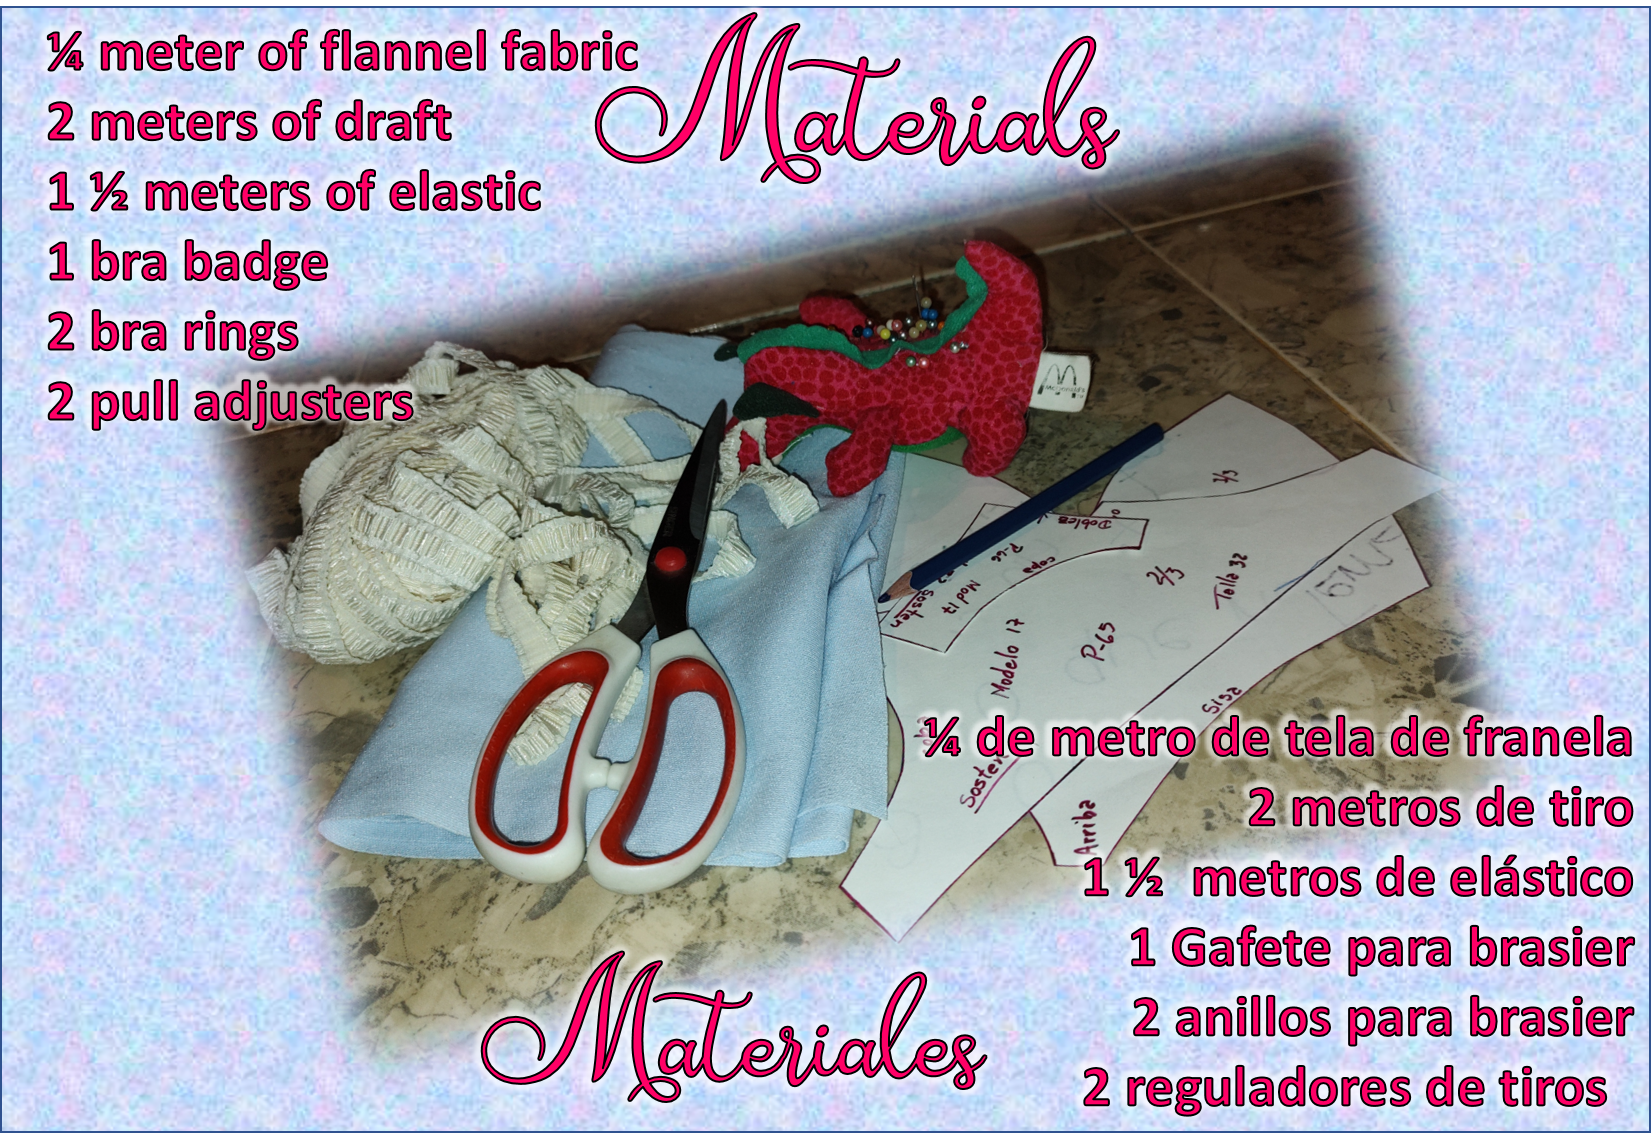

Como siempre, lo primero conseguir un patrón para trabajar, en mi caso conseguí una revista de patrones de ropa íntima. Busque un modelo que se ajustara a lo que necesitaba y por supuesto, que estuviera en la talla que usa mi hija, que es 32. Ya con una idea de lo que tenia que hacer, busqué los materiales que necesitaba, a mi me gusta la ropa interior en algodón, he leído que es más recomendable para la piel. Así que, usé tela de franela, realmente para un brasier no necesita mucha tela, con ¼ de metro es más que suficiente, de hecho, en mi caso tenia unos retazos y eso fue los que usé. El resto de los otros materiales que necesité se los detallo en la imagen que les dejo arriba.
As always, the first thing to do is to get a pattern to work with, in my case I got an intimate apparel pattern magazine. I looked for a pattern that fit what I needed and of course, that was in the size that my daughter wears, which is 32. Once I had an idea of what I had to do, I looked for the materials I needed, I like cotton underwear, I have read that it is more recommended for the skin. So, I used flannel fabric, really for a bra you don't need much fabric, with ¼ of a meter is more than enough, in fact, in my case I had some scraps and that's what I used. The rest of the other materials I needed are detailed in the image above.

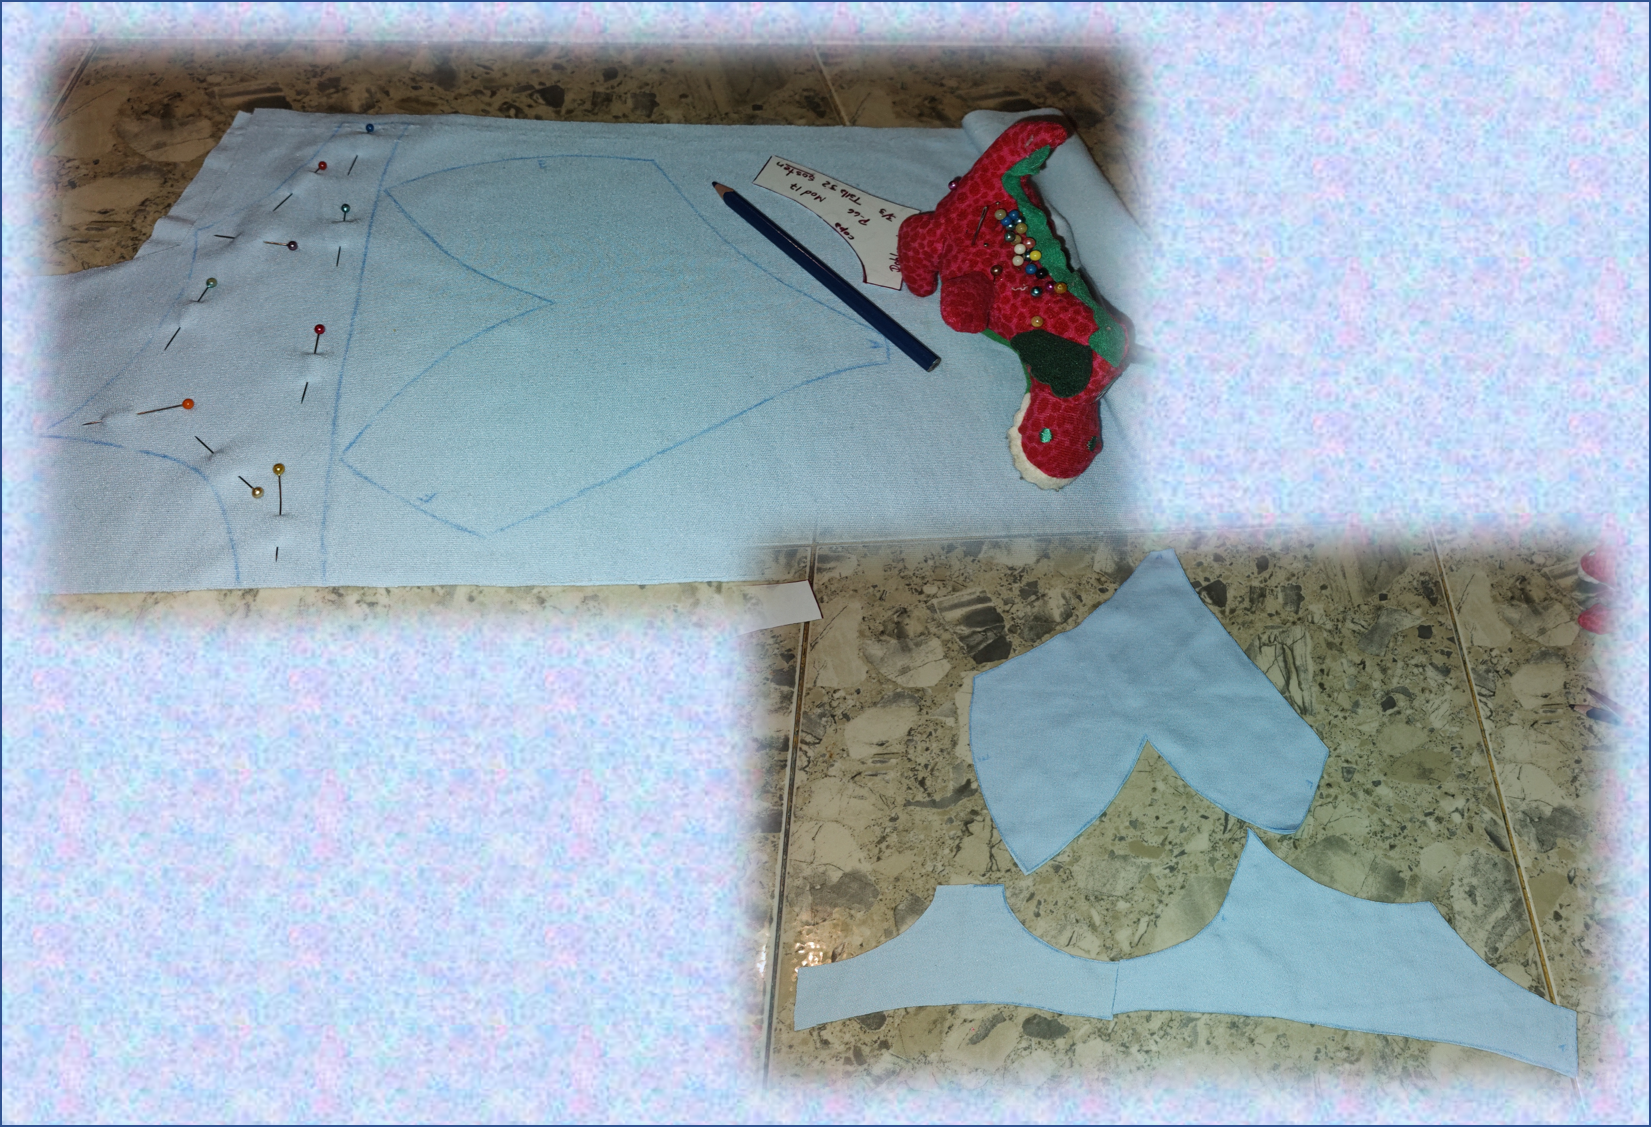

Ya con los materiales a mano, empecé por trazar las piezas del patrón en la tela, teniendo la precaución, de que aquellas partes que necesitaran tener elasticidad las debía ubicar en el sentido de la tela que estira. Después de eso, solo debía cortar y asegurarme de colocar alguna señalización en las piezas, que me indicaran como unirlas, normalmente ya los patrones te indican donde debes colocarlo.
Already with the materials at hand, I started by tracing the pattern pieces on the fabric, taking care that those parts that needed to have elasticity should be placed in the direction of the stretching fabric. After that, I just had to cut and make sure to place some signage on the pieces, indicating how to join them, usually the patterns already tell you where to place it.

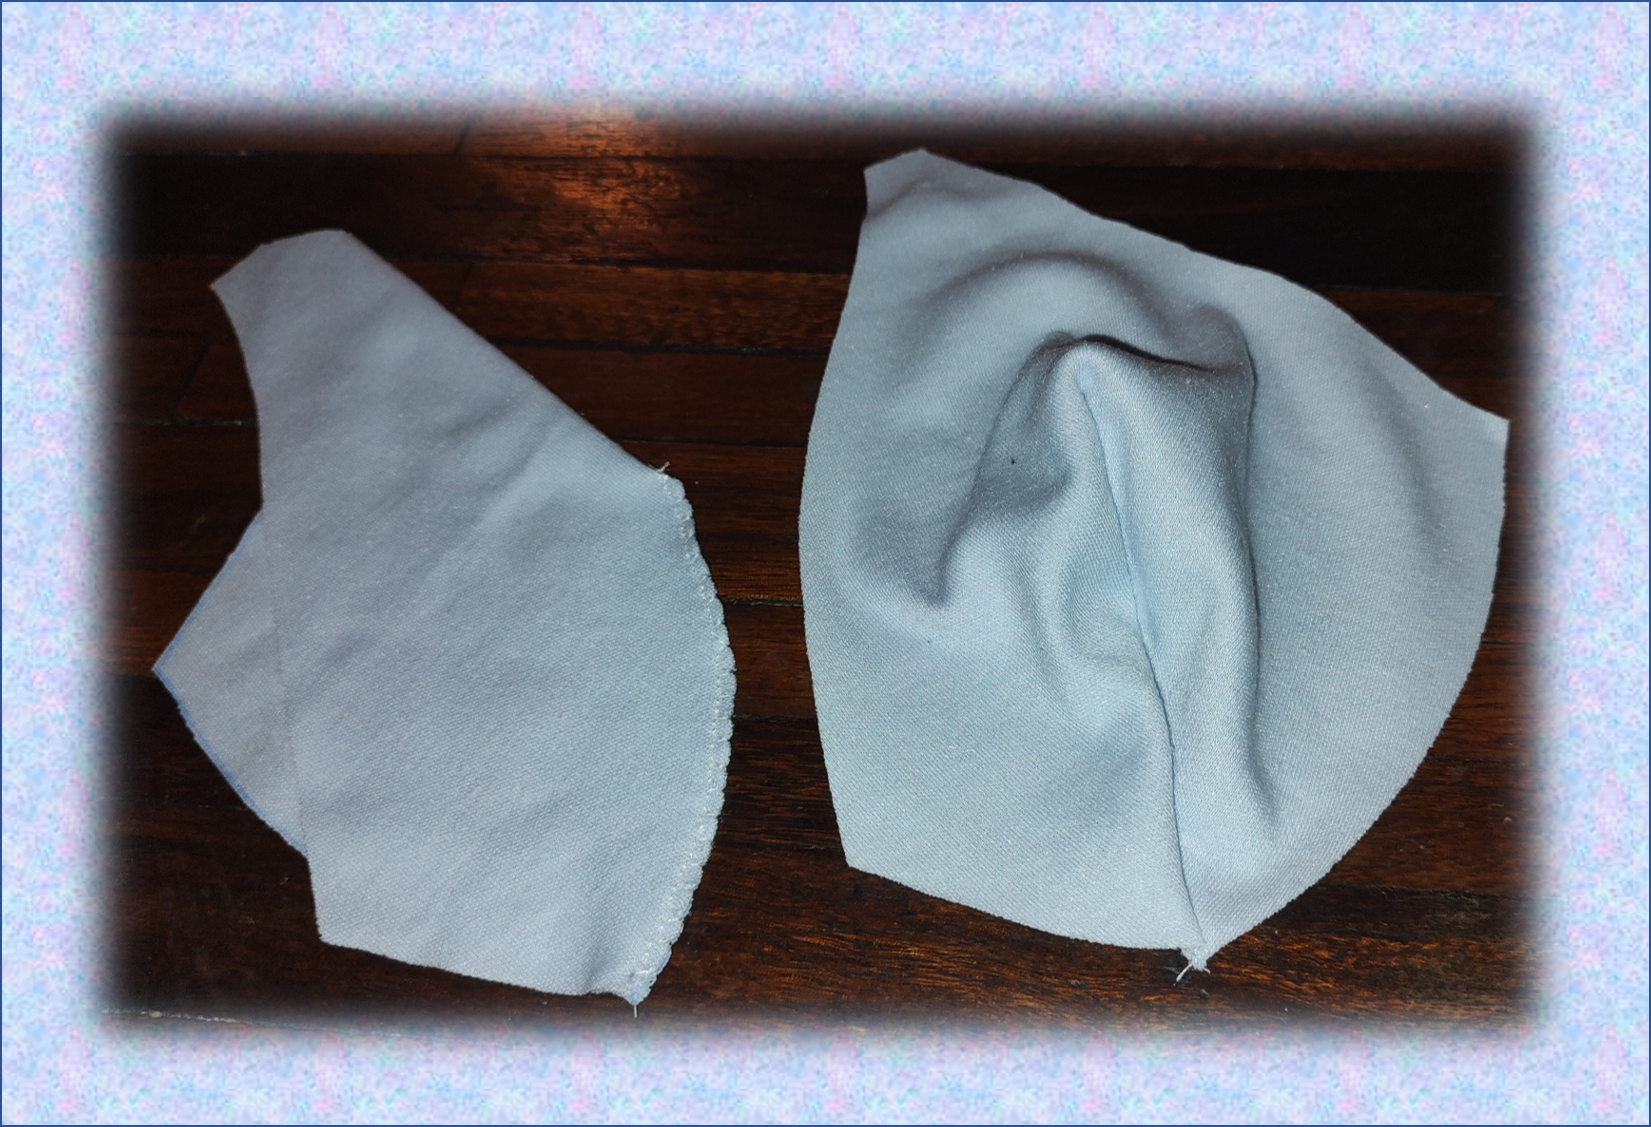

El siguiente paso fue darle forma a la copa del brasier o sostén, para ello, como pueden observar en la imagen pase una costura recta para unir la pinza que vendría a quedar debajo del seno. Seguidamente, por supuesto pase una costura estilo overlock para rematar la orilla de la tela.
The next step was to shape the bra cup, for this, as you can see in the picture, I made a straight seam to join the clamp that would be under the breast. Then, of course, I sewed an overlock seam to finish off the edge of the fabric.

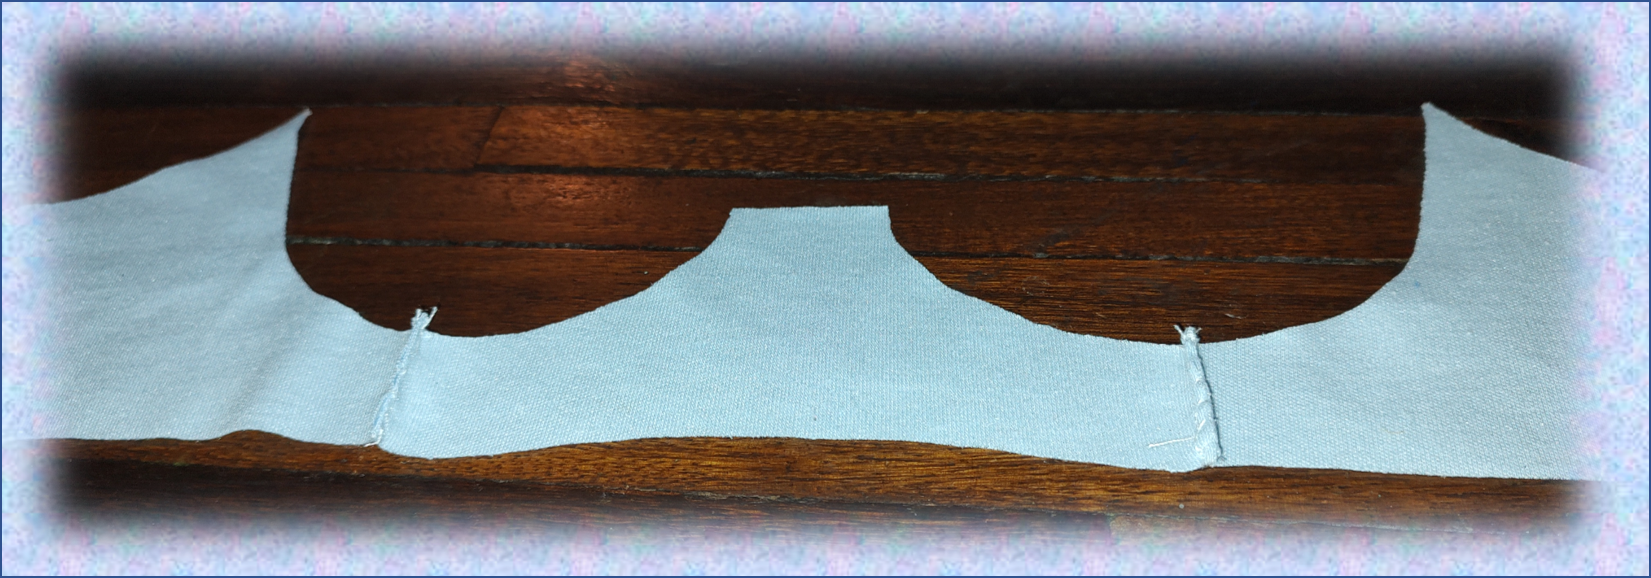

Ya con las dos copas formadas, pase a unir las tres piezas que servirán de soporte para las copas del brasier y que cubrirá la espalda. El como deben unirlas lo pueden apreciar en la imagen que les muestro arriba de este texto.
Once the two cups are formed, join the three pieces that will support the bra cups and cover the back. You can see how to join them in the image above.


Antes de seguir con el armado, decidí colocarle un encaje pasacintas en las copas, en la zona del escote, ustedes pueden colocarle cualquier otro tipo de encaje o incluso pueden usar tira bordada o torchon.
Before proceeding with the assembly, I decided to place a lace lace trim on the cups, in the neckline area, you can place any other type of lace or you can even use an embroidered strip or torchon.

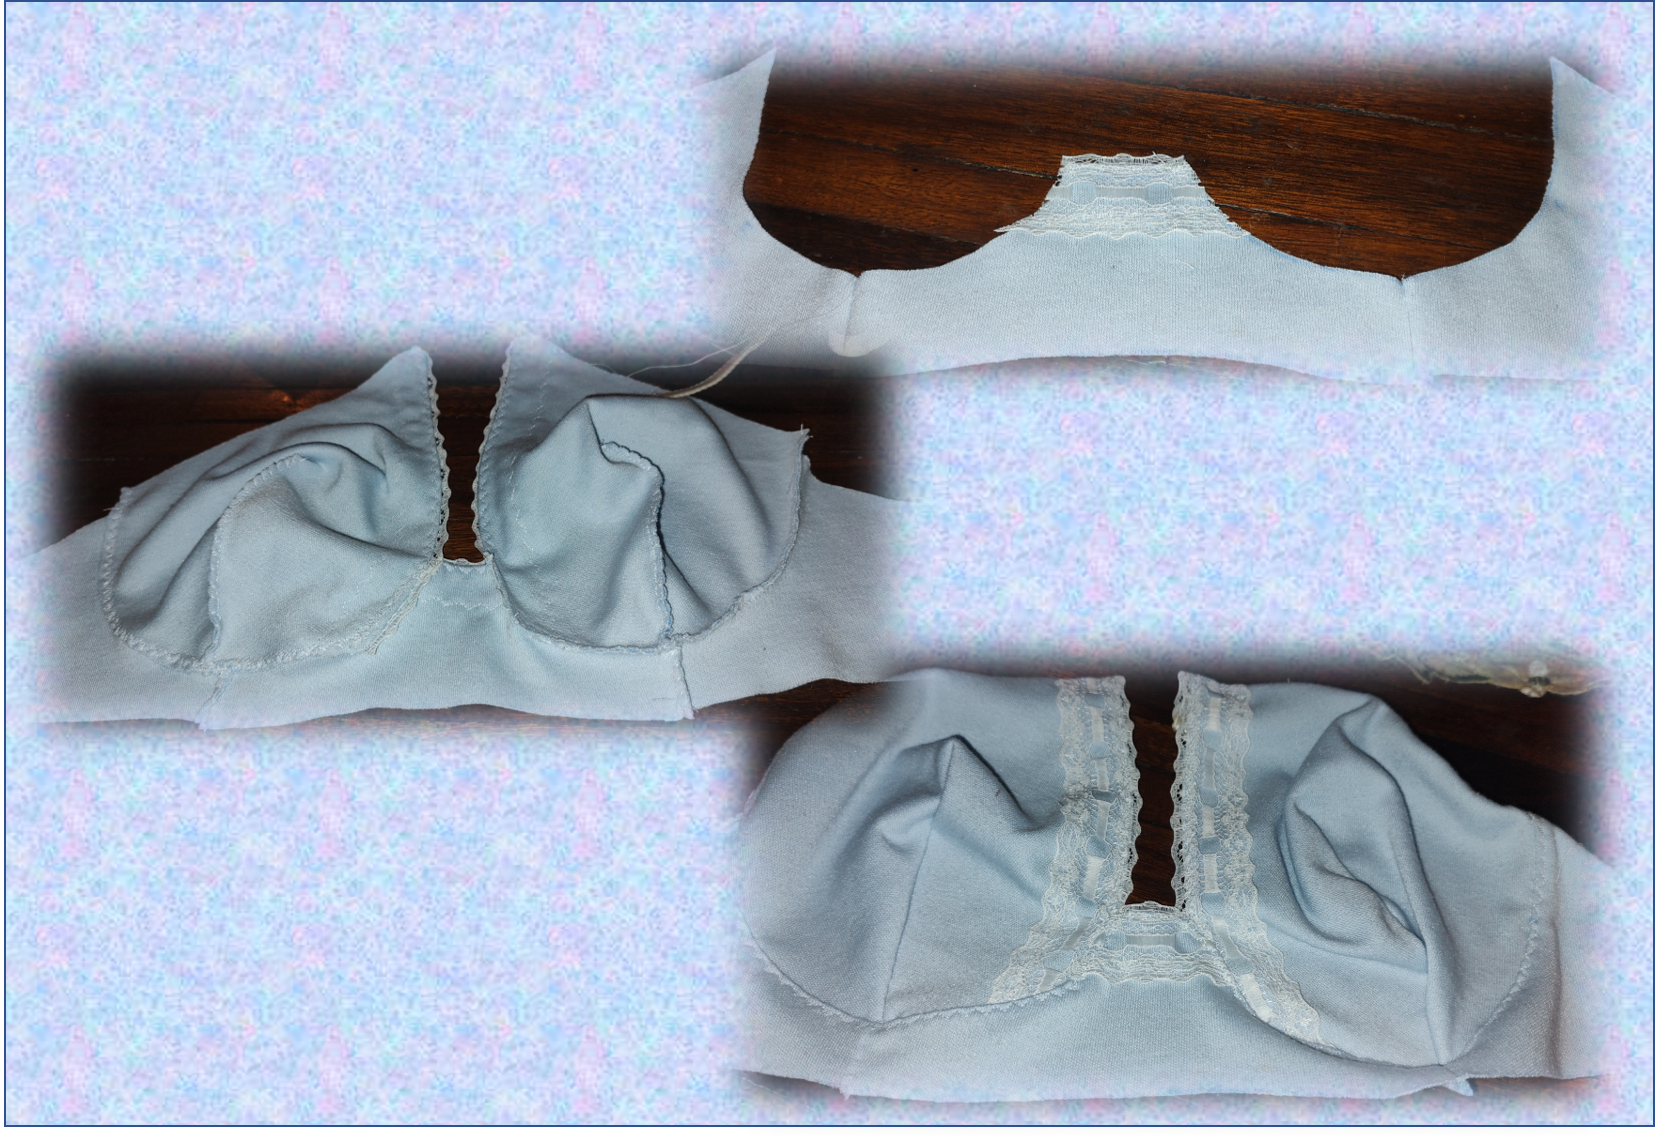

Ahora sí, llego la hora de armar el brasier, con alfileres fijé la copa al lugar de la base que me indicaban en el patrón, recuerden que les dije, que debían recordar, colocar una marca en los lugares que les indique el patrón. Luego, de fijar bien con alfileres procedí a pasar primero una costura recta y seguido una costura para rematar la costura, para finalmente pasar una última costura en zic-zac pero esta por la parte derecha. En las imágenes pueden detallar el proceso.
Now it was time to assemble the bra, with pins I pinned the cup to the place of the base indicated in the pattern, remember that I told you that you should remember to place a mark in the places indicated in the pattern. After pinning, I proceeded to sew first a straight seam and then a seam to finish the seam, and finally a last zic-zac seam, but this time on the right side. In the pictures you can see the process in detail.

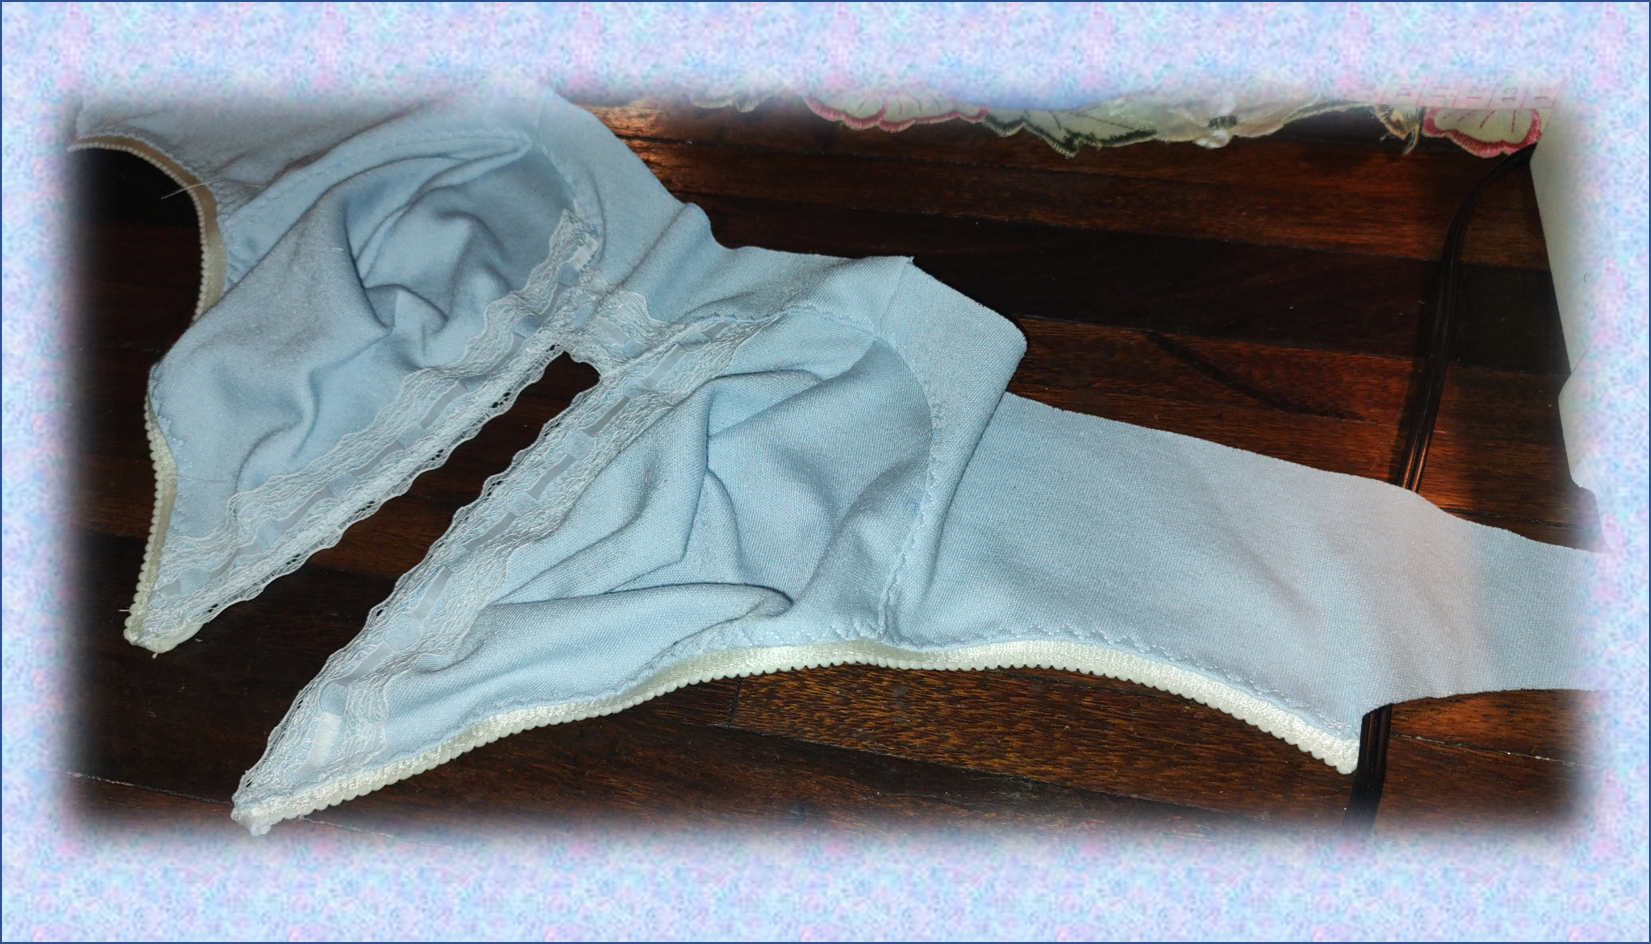

Comencemos el proceso de pegar el elástico, lo primero es pegar, en la zona que barca la copa, debajo de la axila y en la parte trasera hasta el punto donde se colocaran los tiros. Recuerden, que el elástico siempre lo pegamos con un tipo de puntada elástica, en forma de zic-zac.
Let's start the process of gluing the elastic, the first thing to do is to glue it, in the area where the cup is placed, under the armpit and in the back up to the point where the straps will be placed. Remember that the elastic is always glued with a type of elastic stitch, in the form of zic-zac.

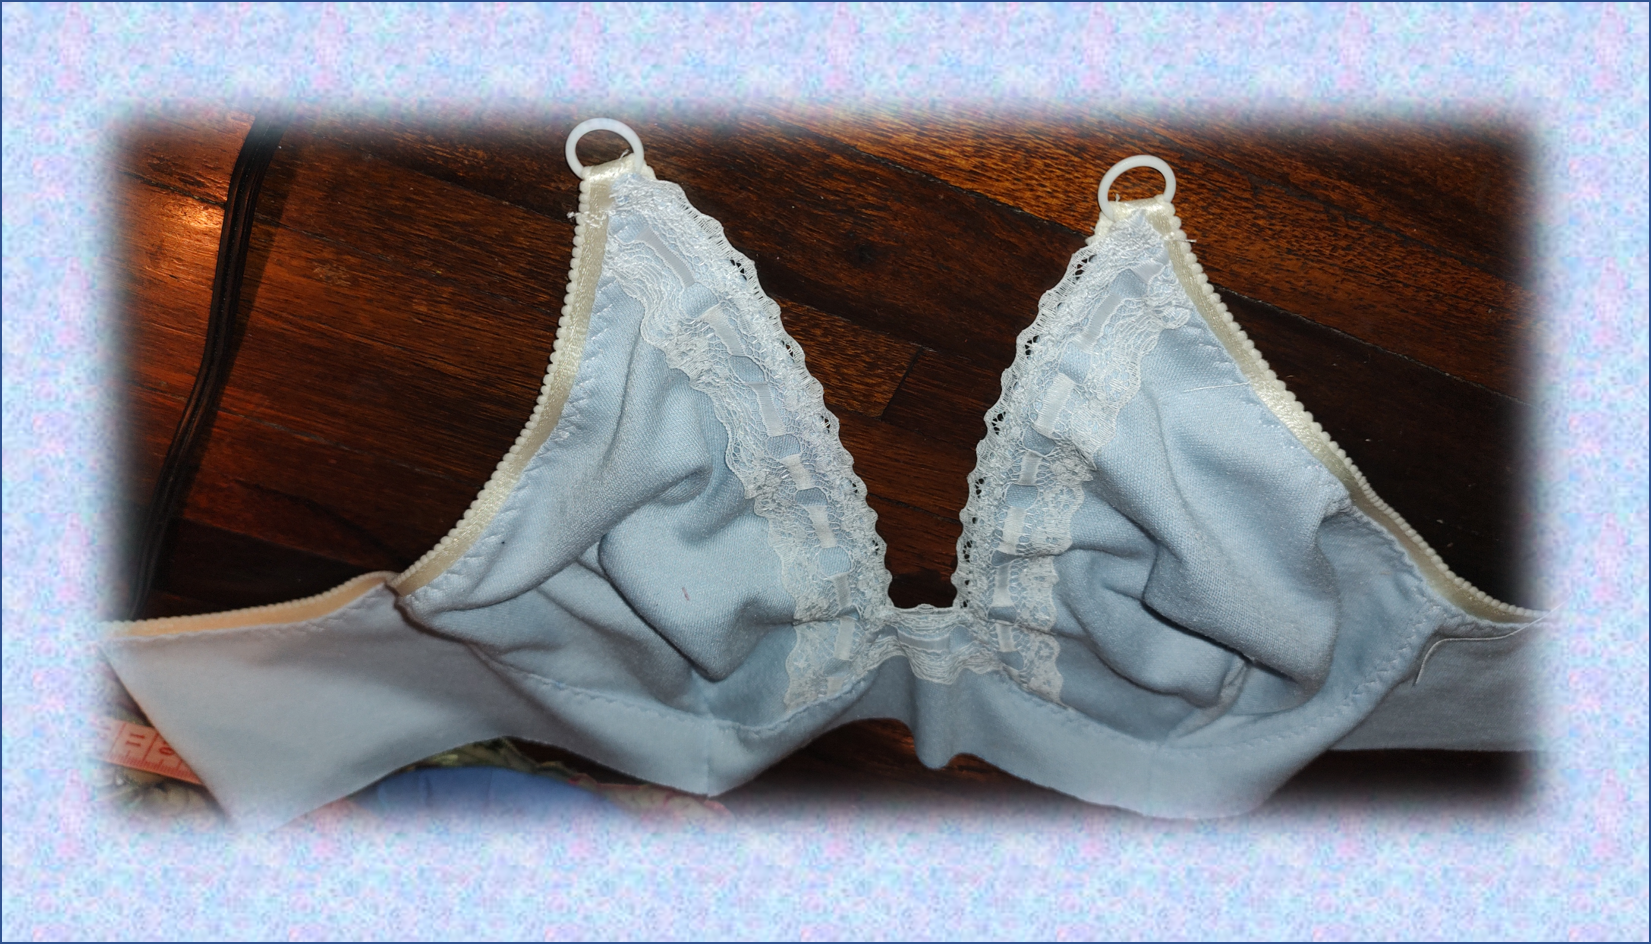

Antes de seguir con el elástico, como pueden ver en la imagen, colocamos en la parte frontal los anillos por donde pasaran los tiros. Seguidamente, armé los tiros, para luego pasarlo por los anillos y con esto esta listo para pegar los tiros y cubrir lo último, de la parte superior del brasier.
Before continuing with the elastic, as you can see in the picture, we put the rings on the front part where the straps will go through. Next, I assembled the straps, and then pass them through the rings and with this I am ready to glue the straps and cover the last part of the upper part of the bra.

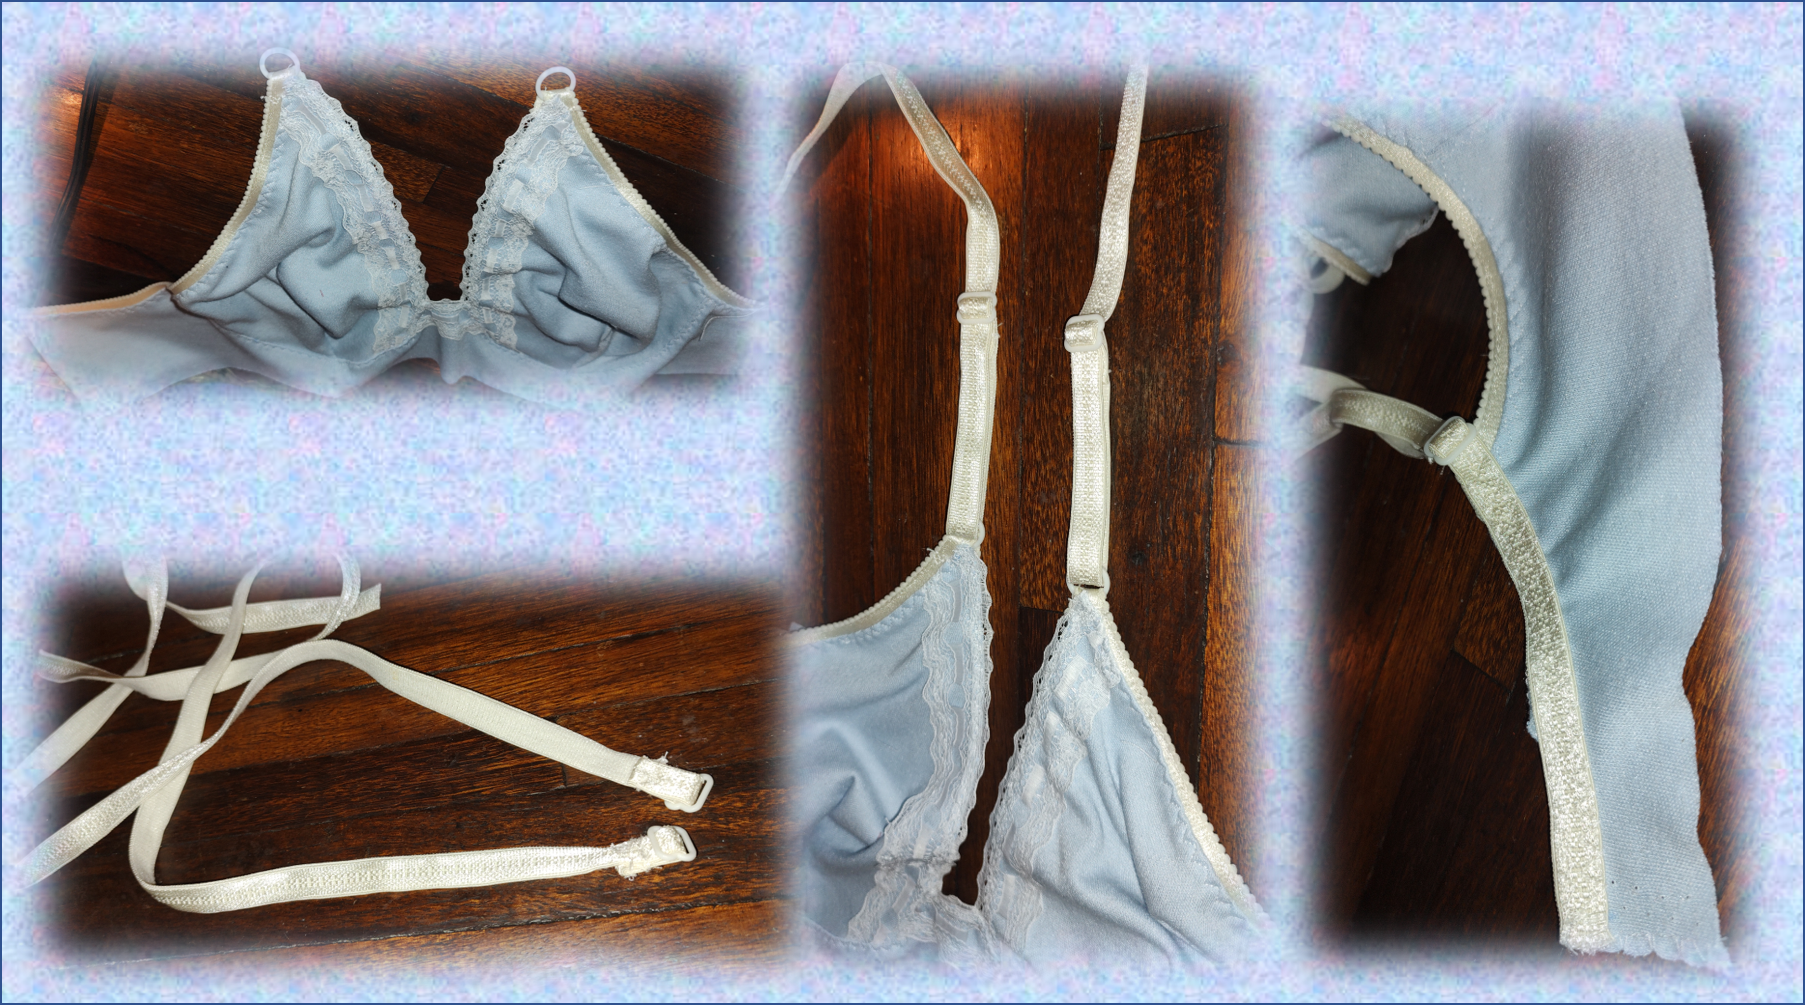

Now we will glue the elastic on the bottom of the garment as shown in the image, as we always must do in the case of underwear, we use a zic-zac elastic stitch.

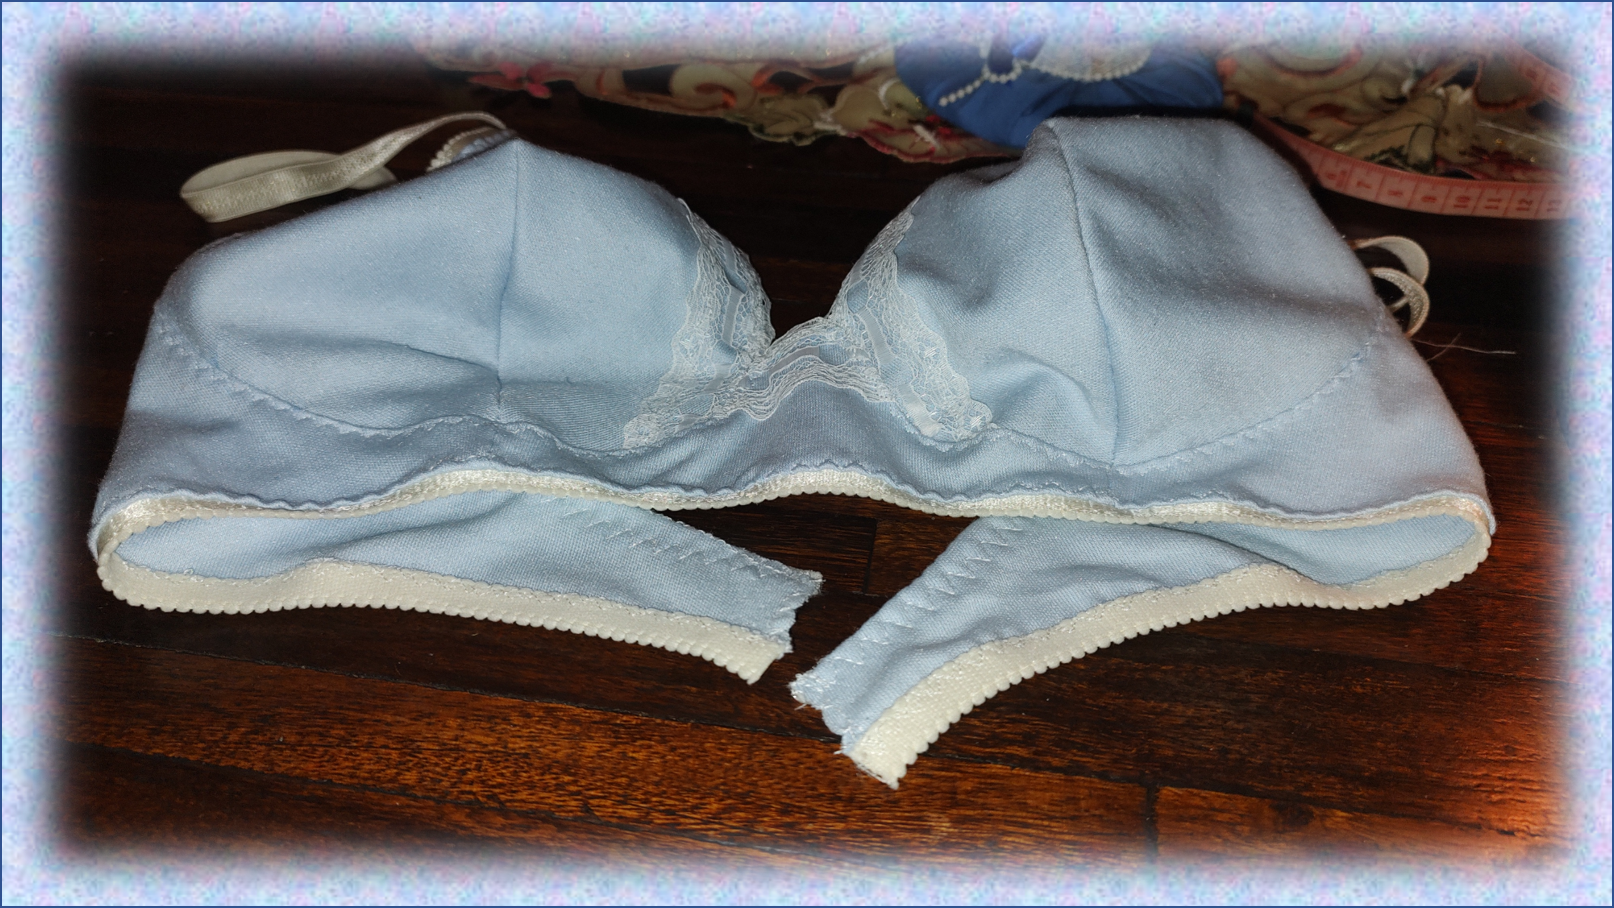

Finally, we come to the last step, we must place the clasps or bra badges, for this we use special ones that are sold in haberdasheries, they come ready. They are very easy to glue, just put the ends of the back of the garment in some kind of little pockets that bring the two pieces and then pass a straight seam, followed by a zic-zac to finish.

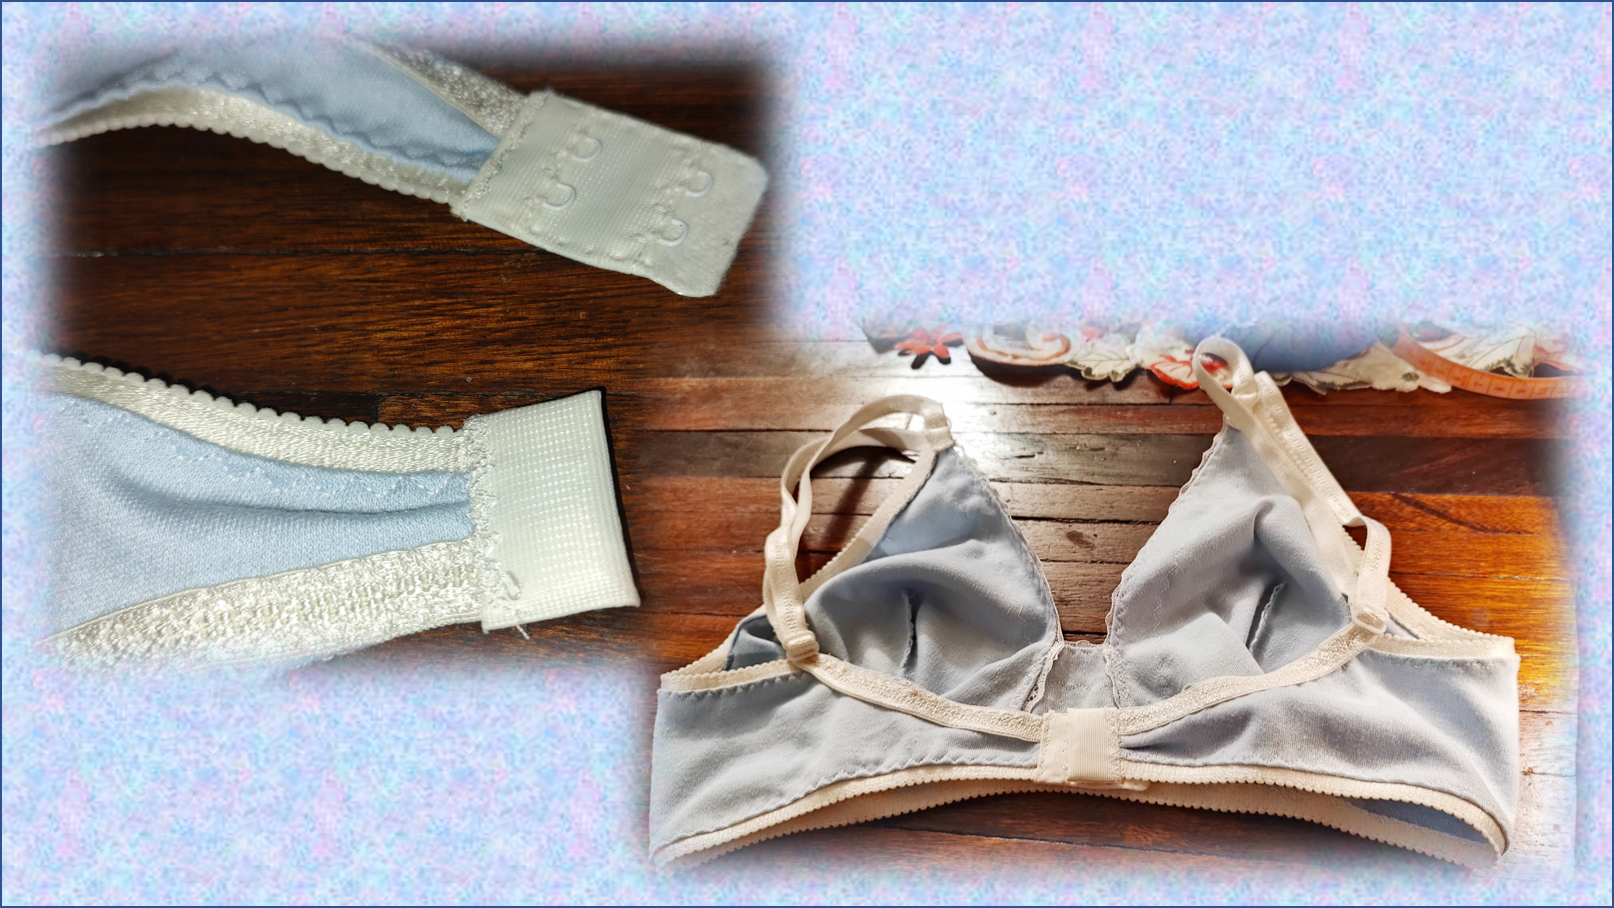

Well, we have reached the end of this project, in the image you can see how it turned out, my first bra, I hope you like it and I encourage you to make it. At first it was a little intimidating, I confess, but, at this point, I must accept that it was not as complicated as I expected. It only remains for me to say goodbye, wishing you a happy weekend, I send you many blessings and see you next time.


Contenido y fotografías de mi propiedad intelectual
Información Técnica
| Cámara | Pentax * istDL |
|---|---|
| Lente | * Pentax 18-55 |
| Iluminación | Luz Natural |
| Locación | Barcelona, Estado Anzoátegui, Venezuela |
Content and photographs of my intellectual property
Technical information
| Camera | Pentax * istDL |
|---|---|
| Lens | * Pentax 18-55 |
| Lighting | Natural Light |
| Location | Barcelona, Anzoátegui State, Venezuela |


The rewards earned on this comment will go directly to the people( @francyrios75 ) sharing the post on Twitter as long as they are registered with @poshtoken. Sign up at https://hiveposh.com.
Siempre agradecida de recibir su apoyo 😃
Thank you for sharing this post on HIVE!
Your content got selected by our fellow curator semarekha & you just received a little thank you upvote from us for your great work! Your post will be featured in one of our recurring compilations which are aiming to offer you a stage to widen your audience within the DIY scene of Hive. Stay creative & HIVE ON!
Please vote for our hive witness <3
The bra is beautiful .nice work
Congratulations, your post has been upvoted by @dsc-r2cornell, which is the curating account for @R2cornell's Discord Community.
Enhorabuena, su "post" ha sido "up-voted" por @dsc-r2cornell, que es la "cuenta curating" de la Comunidad de la Discordia de @R2cornell.
Gracias @blessed-girl por el apoyo, salud y bendiciones para ti, el Sr. @r2cornell y todo el equipo de trabajo de @dsc-r2cornel.
Muy lindo y creativo trabajo. Siempre lo que hacemos y damos por Amor, se refleja ❤️
Gracias por tus palabras y visita, es muy grato saber que le gustara. Salud y bendiciones para usted y los suyos.
es muy bonito. muy creativo. Eres muy talentoso.
Congratulations @francyrios75! You have completed the following achievement on the Hive blockchain And have been rewarded with New badge(s)
Your next target is to reach 44000 upvotes.
You can view your badges on your board and compare yourself to others in the Ranking
If you no longer want to receive notifications, reply to this comment with the word
STOPCheck out our last posts:
Support the HiveBuzz project. Vote for our proposal!
Te quedó bien y lo importante es que le haya quedado bien a tu hija @francyrios75 saludo
Hola y gracias por tu visita 😃
Mi hija quedó súper contenta, con su nuevo brasier, le quedó perfecto.
Es lo mejor y el ahorro que obtenemos más la satisfacción de saber que nuestras manos lo hicieron gracias por compartir tu técnica empleada