Bienvenidos Queridos Amantes de la Artes Manuales
Welcome Dear Manual Arts Lovers
¡Por Dios!, es increíble, mis queridos lectores, pero, ya estamos en febrero, parece mentira, nuevamente yo estoy agradecida de estar de vuelta con ustedes, para compartirles otra de mis creaciones. En esta oportunidad, les traigo un lindo proyecto que realice para mi pequeña princesa a principios de diciembre del año pasado. Resulta, que su maestra le escogió para participar en el nacimiento viviente de su colegio como uno de los angelitos.
My goodness, it's incredible, my dear readers, but it's already February, it seems unbelievable, but once again I am grateful to be back with you, to share with you another of my creations. This time, I bring you a cute project I made for my little princess at the beginning of December last year. It turns out that her teacher chose her to participate in the living nativity of her school as one of the little angels.


Como saben todos los angelitos tienen alitas, así que, de eso trata el proyecto que hoy les compartiré, me acompañaran a realizar unas lindas alas de ángel. Yo use los materiales que en seguida le listaré, pero tengo que aclarar, que para la decoración ustedes pueden agregarle los detalles que ustedes prefieran.
As you know, all angels have wings, so that's what the project I'm going to share with you today is all about, you will join me to make some cute angel wings. I used the materials that I will list below, but I have to clarify that for the decoration you can add the details that you prefer.

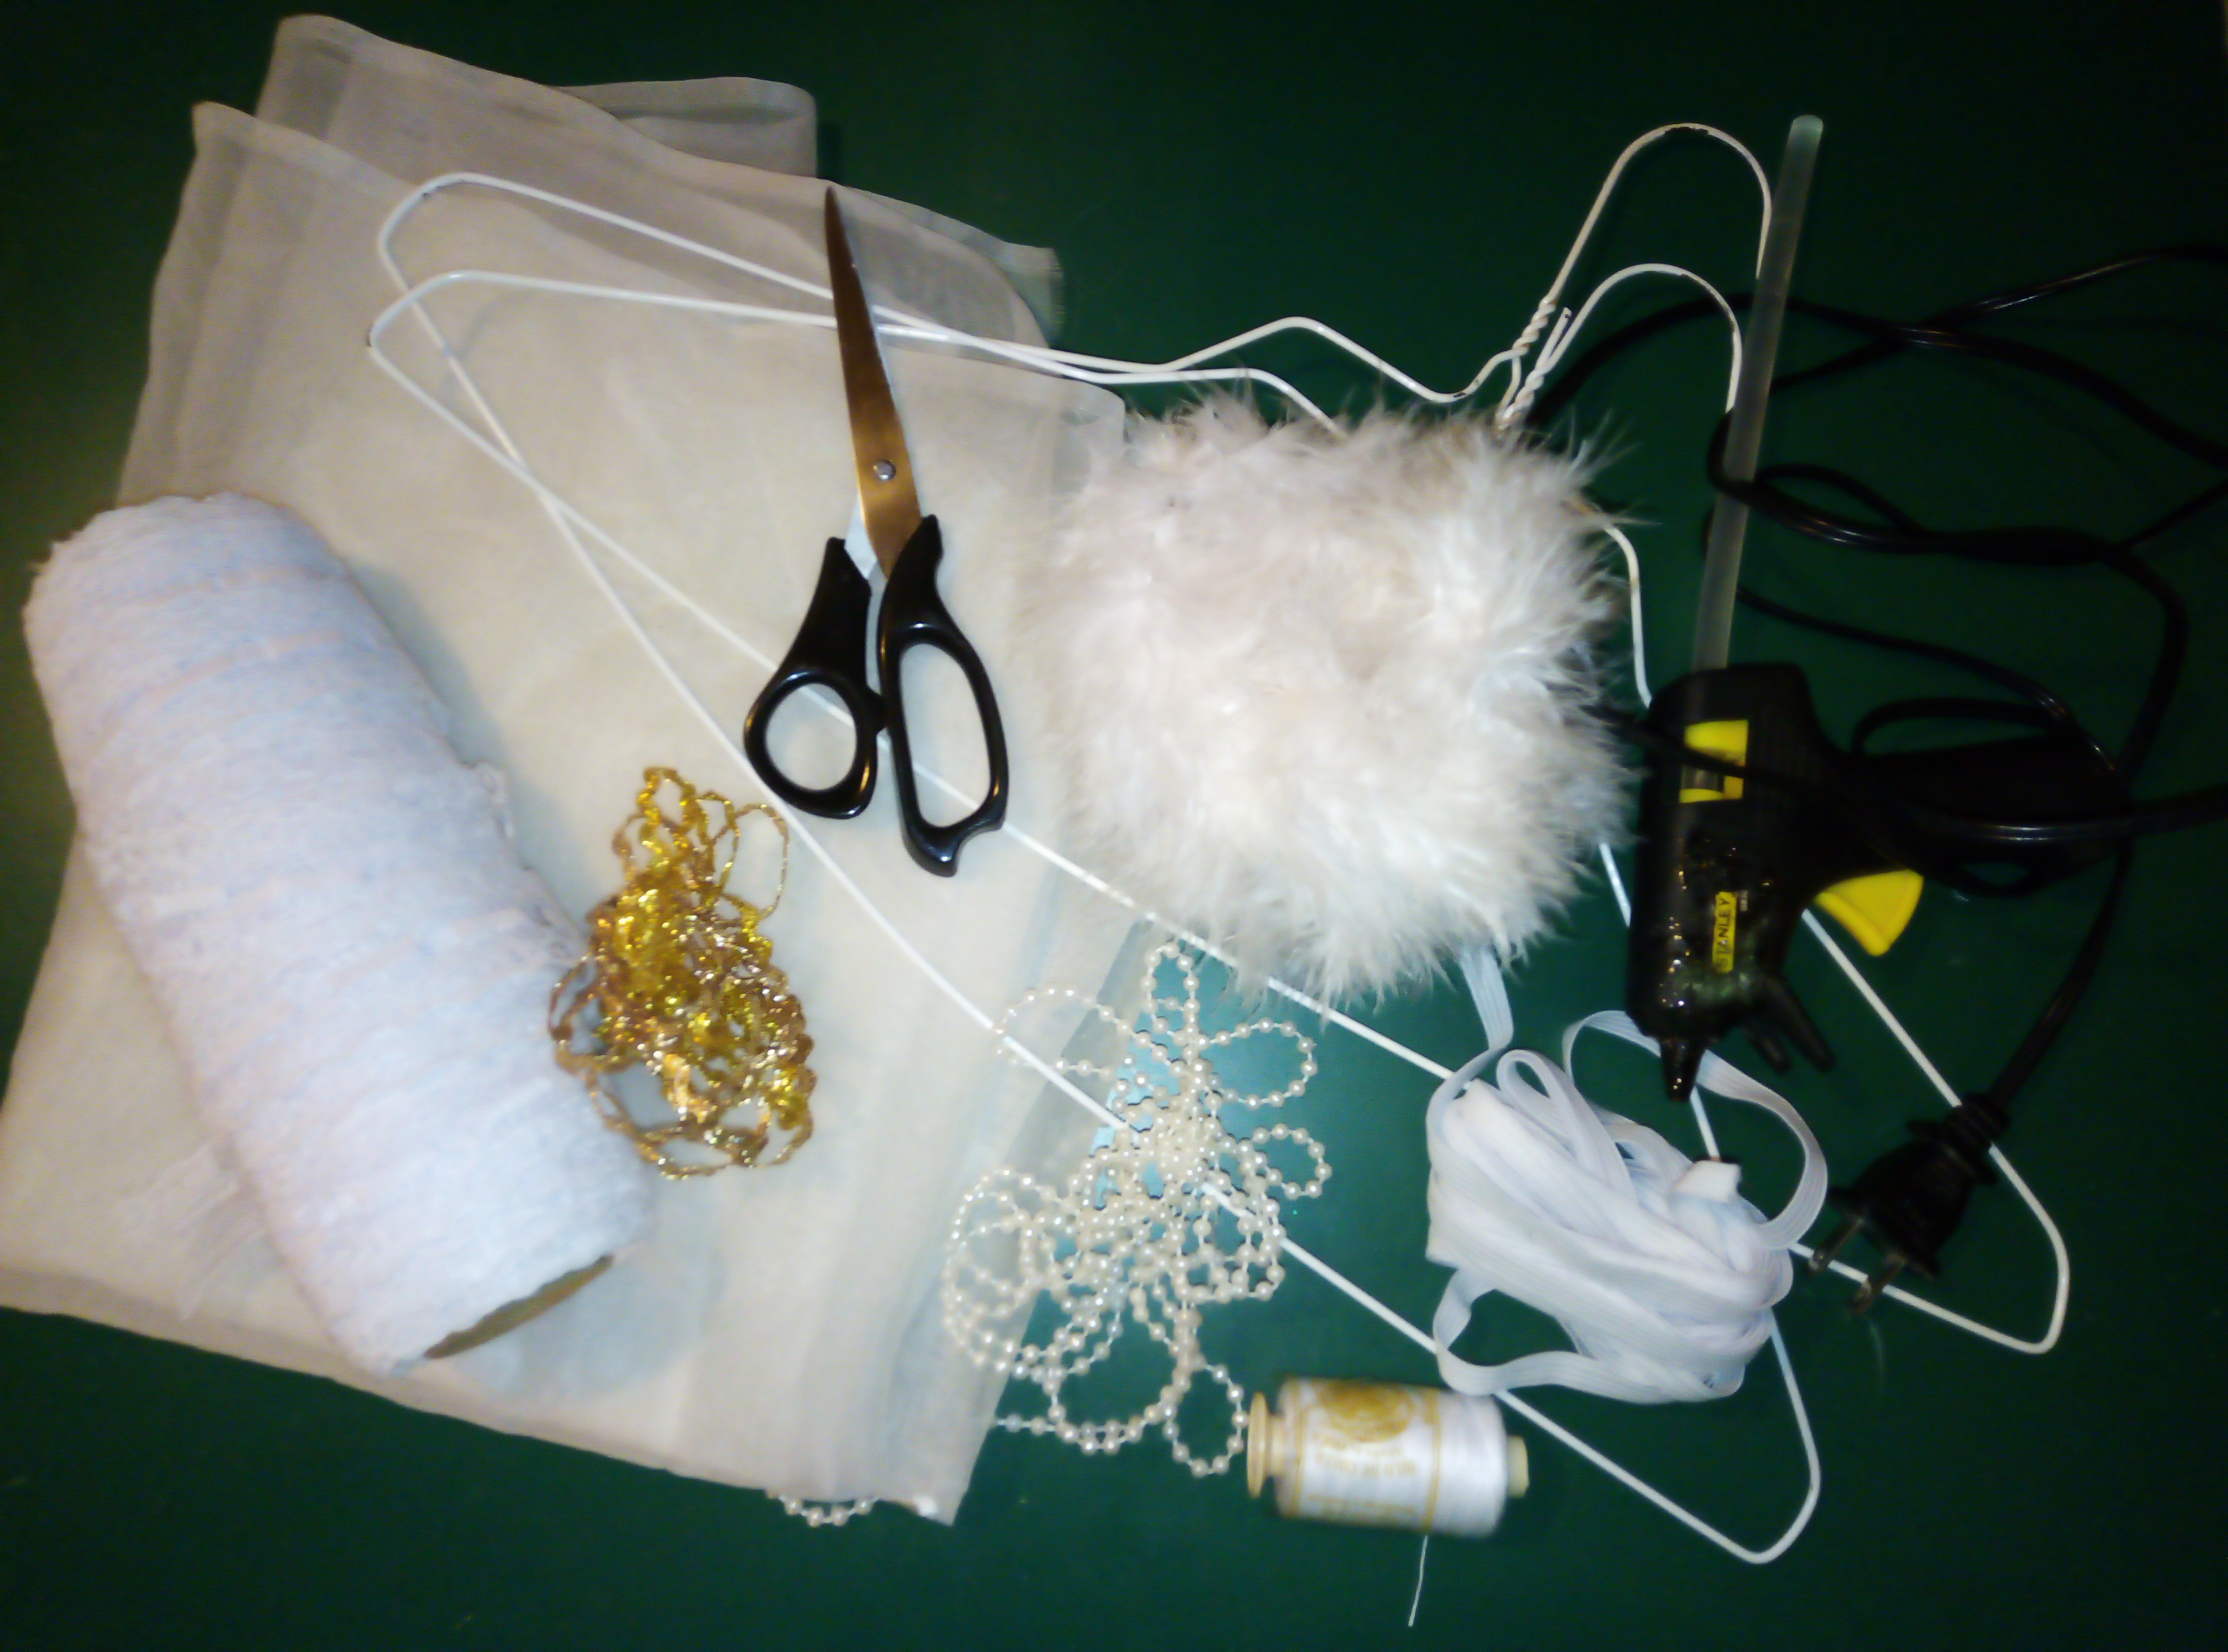

Materiales
• 2 ganchos de ropa de alambre (preferiblemente de color blanco)
• Tela de tul o diapovelo
• Tela de raso blanco
• 1 metro de elástica delgada
• 2 metros de pasacintas
• 2 metros de marabú
• 2 metros de cinta de raso
• Pistola para barras de silicón
• Barras de silicón
• Hilo blanco
• Tijeras, alicate y tenazas
Materials
- 2 wire clothes hangers (preferably white)
- Tulle or diapovelo cloth
- White satin fabric
- 1 meter of thin elastic
- 2 meters of bodkin
- 2 meters of marabou
- 2 meters of satin ribbon
- Silicone rod gun
- Silicone rods
- White thread
- Scissors, pliers and pliers


Lo primero que realice fue el armazón de las alas, para ello, utilicé 2 ganchos de alambre de colgar ropa, uno para cada ala. Desarme uno de los ganchos y el alambre lo usé para darle forma de ala. Hice lo mismo con el otro gancho de ropa, después, con mucho cuidado y la ayuda de alicate y tenazas uní las dos alas. Ahora, llego el momento de forrar el alambre, corte al sesgo, varias tiras en tela de raso blanco, de aproximadamente 3 cm de ancho. Con las tiras en tela de raso, fui cubriendo cuidadosamente todo el alambre.
The first thing I made was the frame of the wings, for this, I used 2 wire hooks for hanging clothes, one for each wing. I disassembled one of the hooks and used the wire to shape the wing. I did the same with the other clothes hanger, then, with great care and the help of pliers and pliers I joined the two wings together. Now, it was time to cover the wire, I cut on the bias, several strips of white satin fabric, about 3 cm wide. With the satin fabric strips, I carefully covered the entire wire.

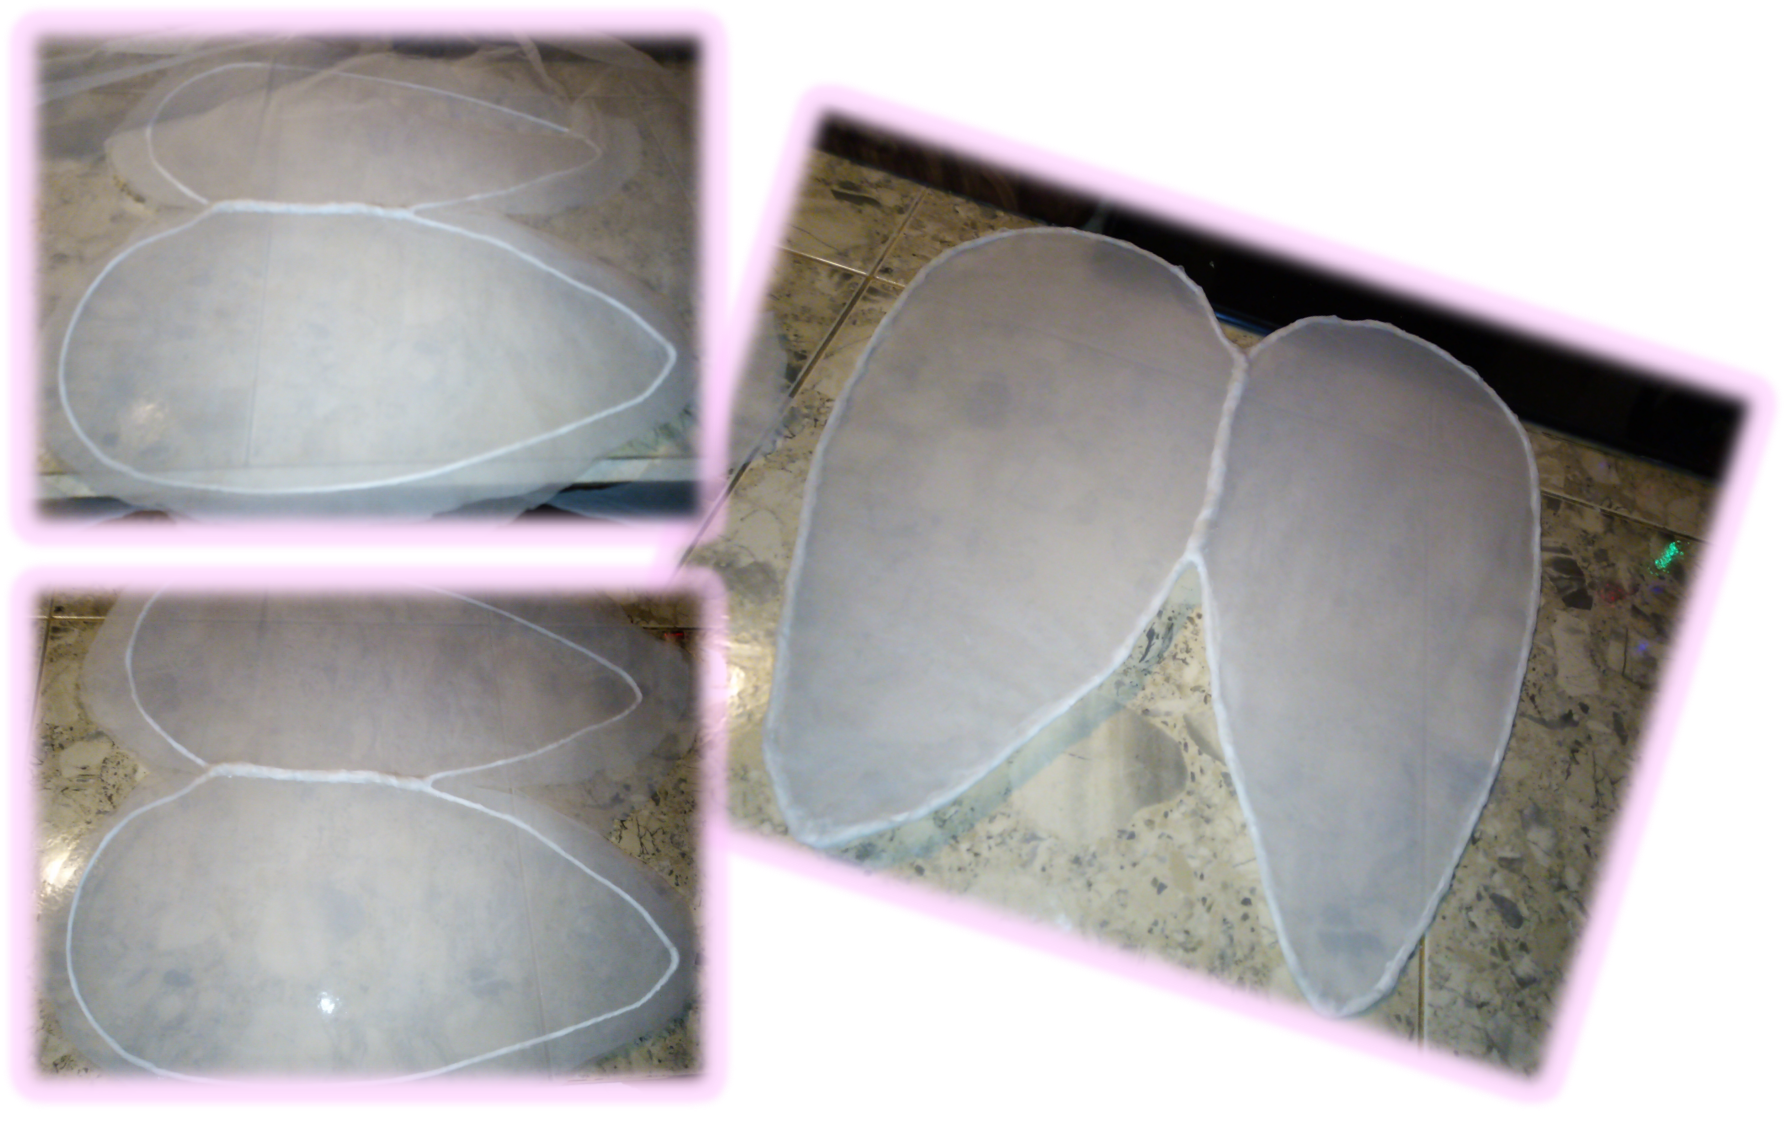

Lo siguiente, fue cubrir las alas, en mi caso utilice una tela llamada diapovelo, pero también pueden utilizar tela de tul o cualquier otra tela, de color blanco, eso sí, preferiblemente que sea delgada. Yo preferí usar ese tipo de tela, porque además de aportar cierta transparencia, también, le da un poco de brillo a las alas. Corte cuatro piezas con la forma de las alas, dos piezas para cada ala, coloque primero 2 piezas cubriendo un lado de las alas, por supuesto, usé pegamento caliente para fijarlas por toda la orilla. Luego voltee las alas y fije también con pegamento caliente las restantes 2 piezas en el otro lado, con ello forre completamente las alas.
The next step was to cover the wings, in my case I used a fabric called diapovelo, but you can also use tulle or any other white fabric, preferably thin. I preferred to use this type of fabric, because in addition to providing some transparency, it also gives a little shine to the wings. Cut four pieces with the shape of the wings, two pieces for each wing, place first 2 pieces covering one side of the wings, of course, I used hot glue to fix them all around the edge. Then flip the wings over and hot glue the remaining 2 pieces on the other side as well, thus completely covering the wings.

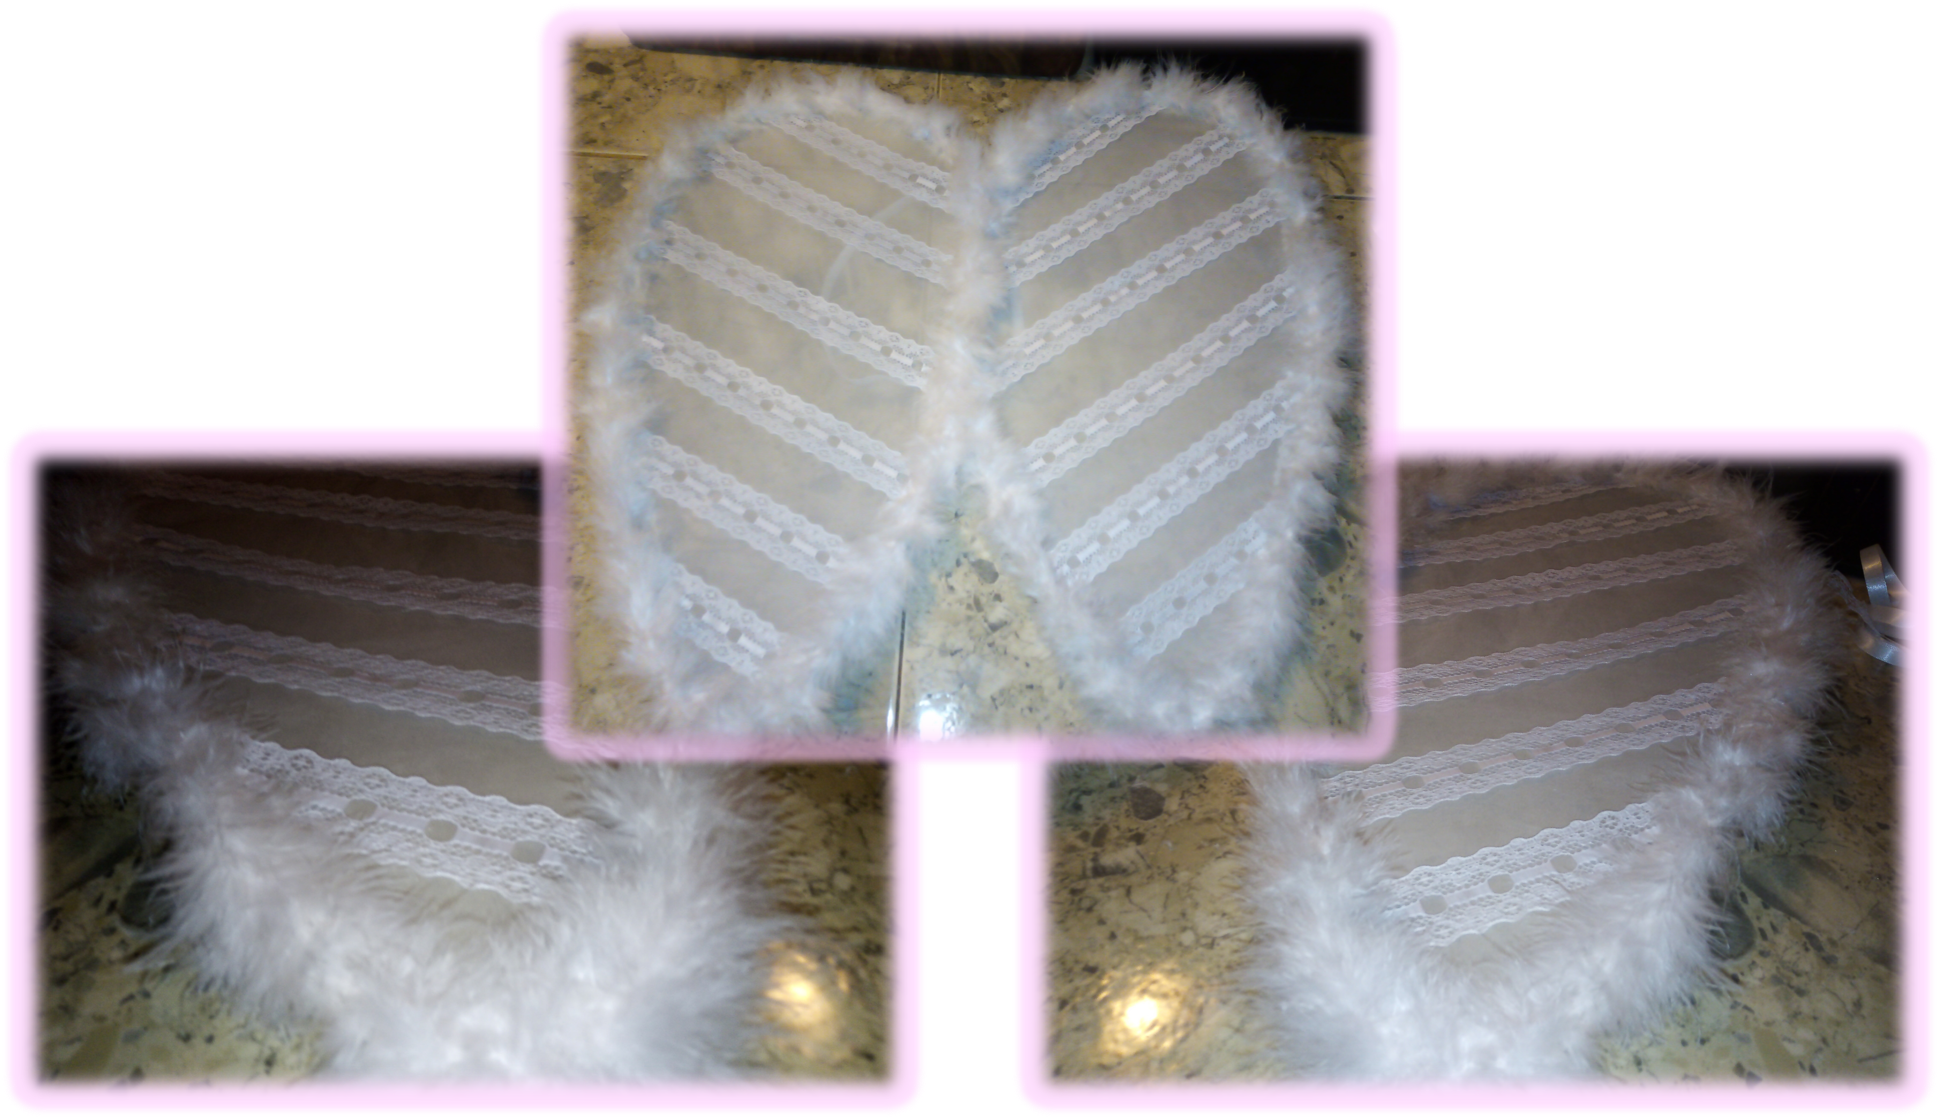

Ya con las alas armadas y forradas, toca decorarlas, primero, le coloque en el lado exterior en forma diagonal el pasacintas, lo pegue, con silicón caliente, teniendo mucho cuidado que no se notara el pegamento. Después, por todo el borde de las alas fui pegando el marabú también con silicón caliente, esto le da un aspecto que me encanta.
Once the wings are assembled and lined, it's time to decorate them, first, I put the ribbon on the outer side diagonally, and glued it with hot silicone, being very careful not to let the glue show. Then, along the entire edge of the wings I glued the marabou also with hot silicone, this gives it a look that I love.

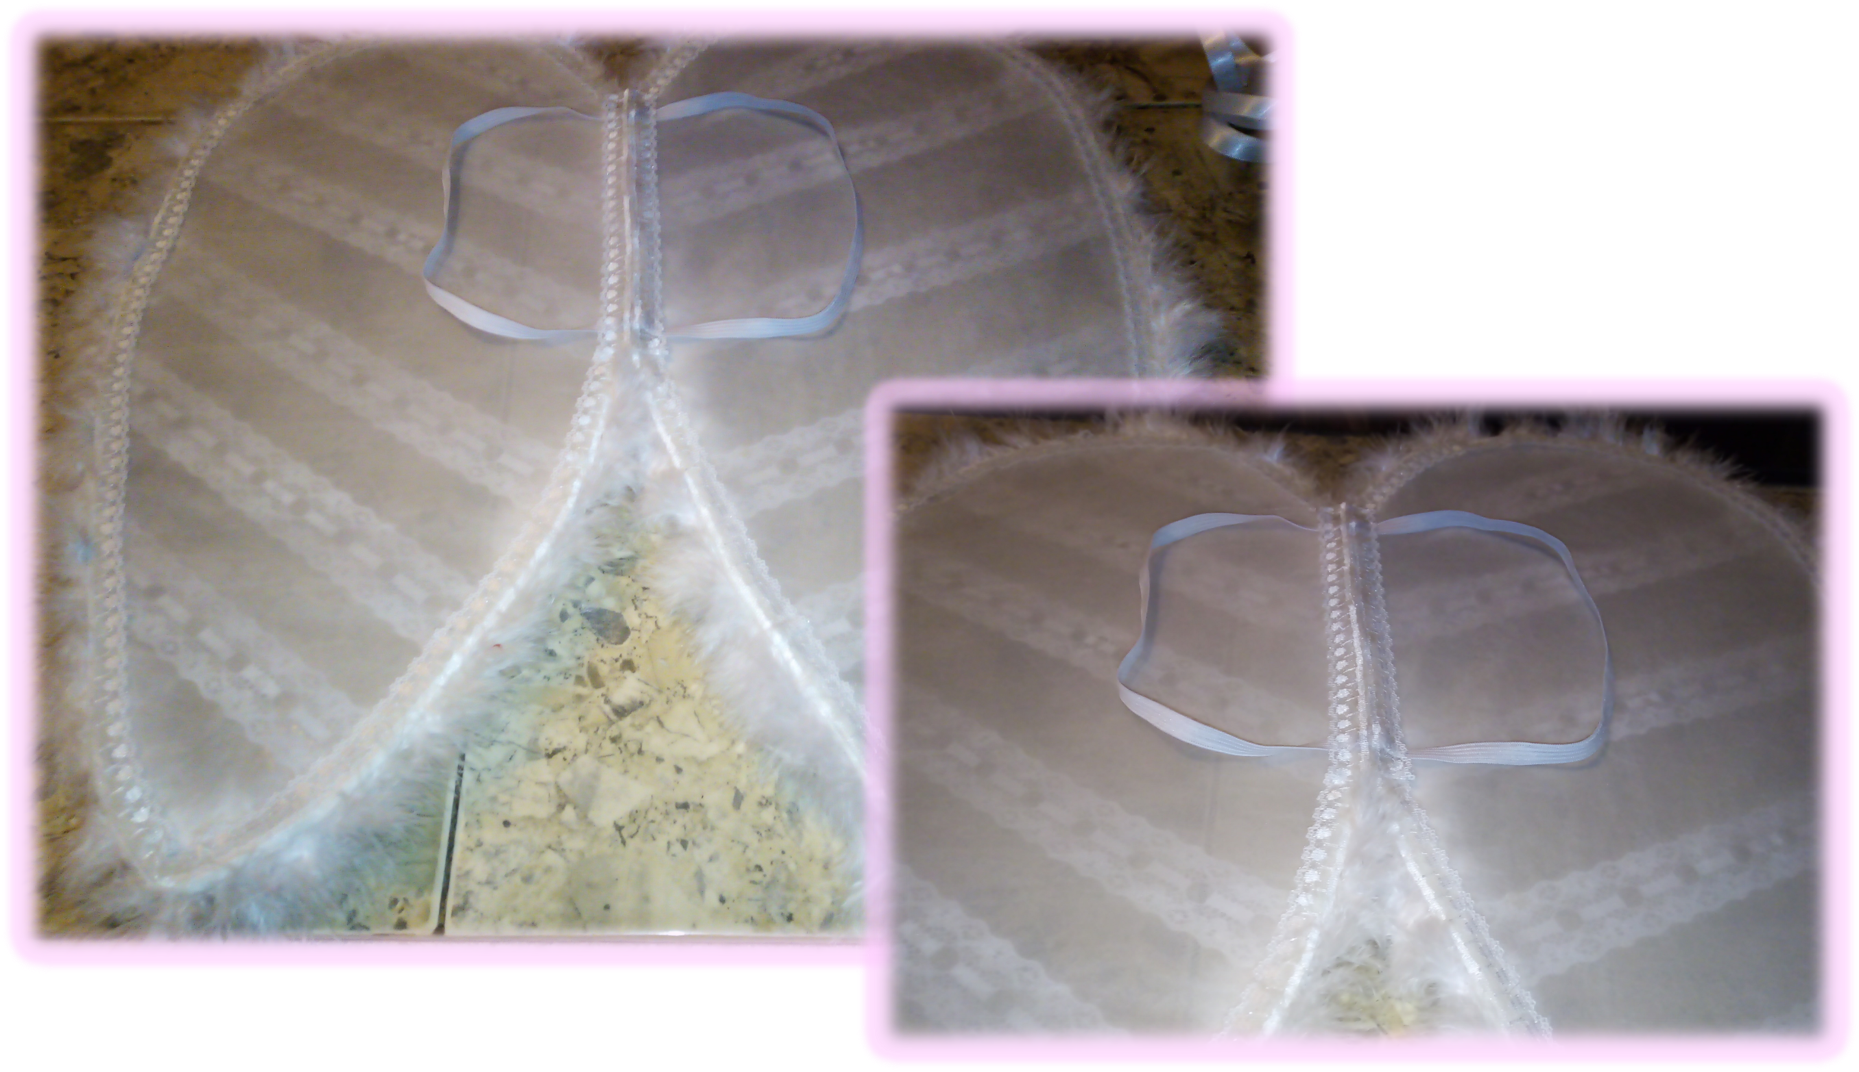

Como paso final, le debía colocar algo con que colgar las alas, a la espaldita de mi princesita, para ello, en la parte central, donde se unen las dos alas, fije una especie de asas usando elástica, así, las alas se podían colocar fácilmente, como una especie de morral.
As a final step, I had to place something to hang the wings on the back of my little princess, for this, in the central part, where the two wings meet, I fixed a kind of handles using elastic, so that the wings could be placed easily, as a kind of backpack.

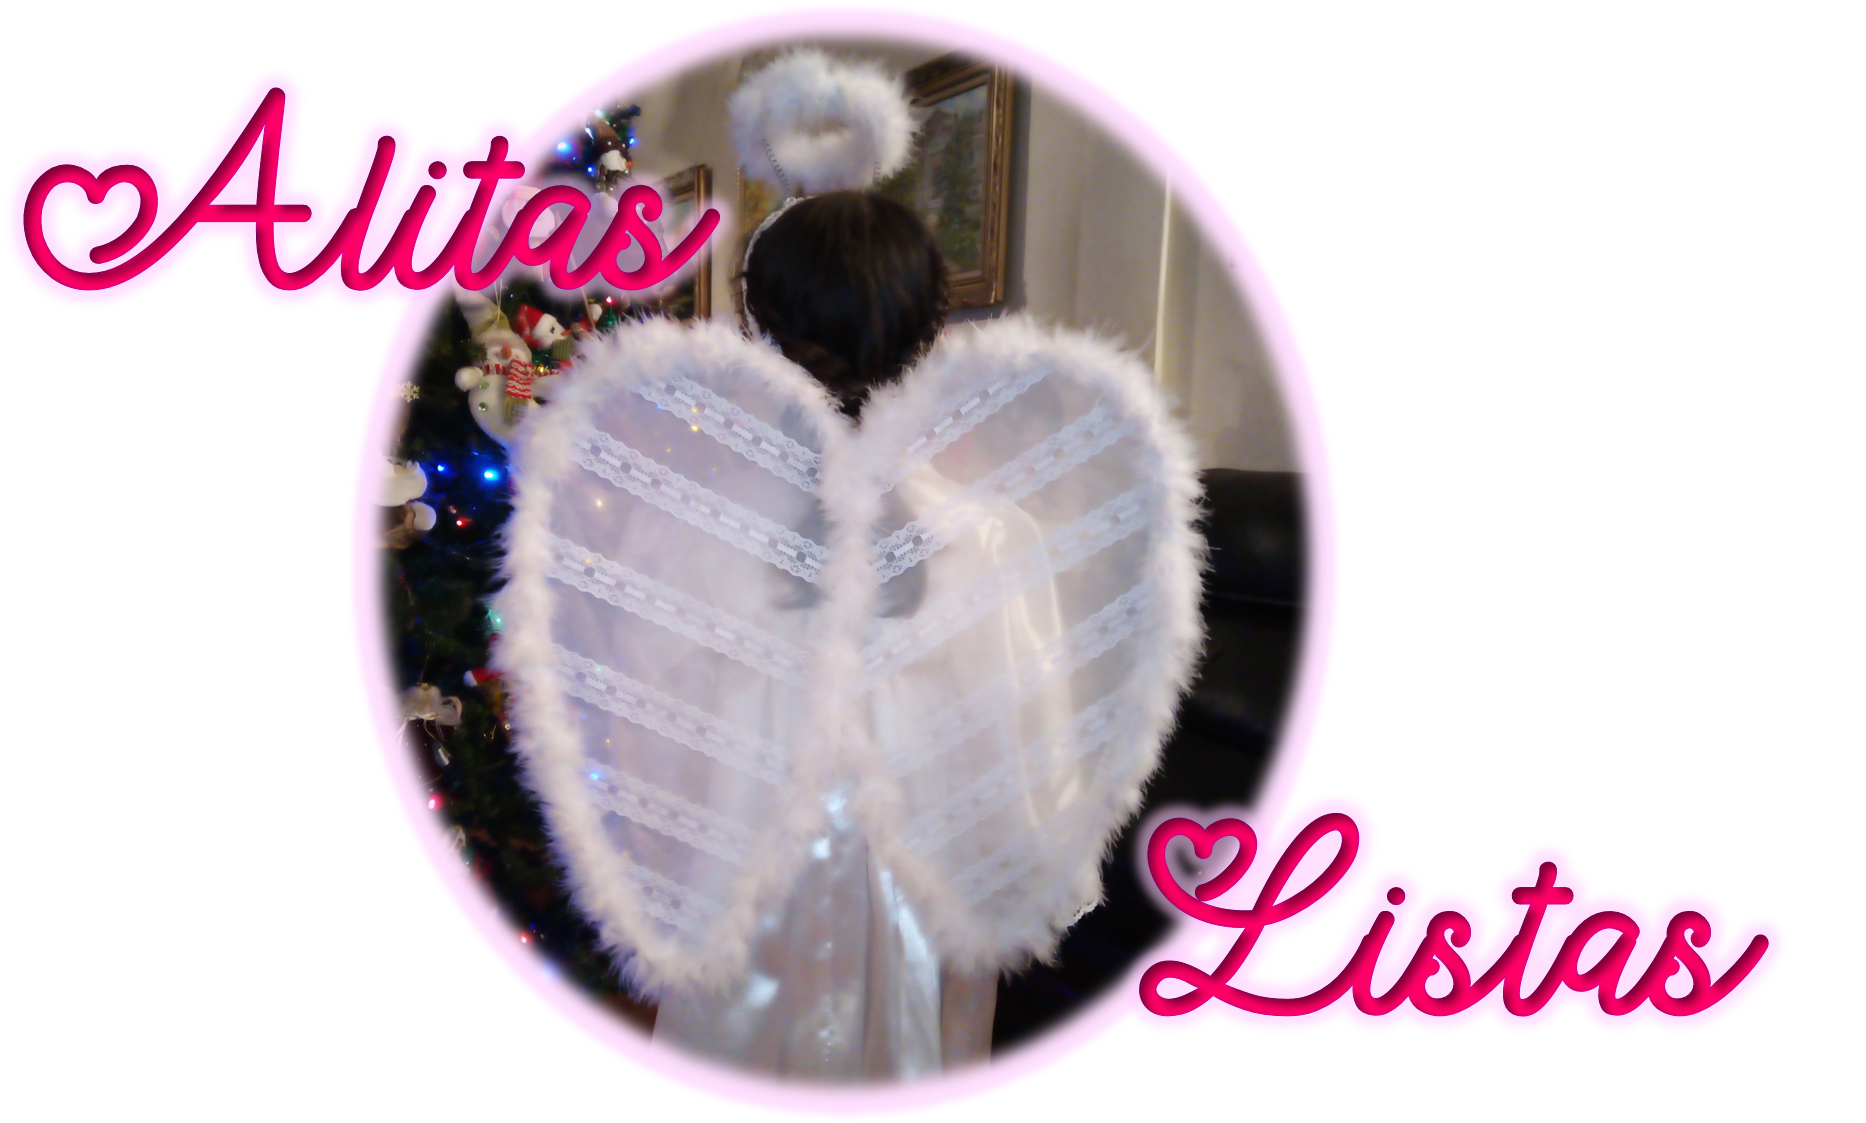

Ahora sí, las alitas de mi angelito estaban listas para que participara en el nacimiento viviente de su colegio. Espero que les gustara este sencillo instructivo para realizar estas lindas alas de angelito y por supuesto, si tienen una linda princesita en casa, se animen a realizar este proyecto. Les aseguro, la harán muy feliz y darán horas y horas de diversión durante sus juegos. Por ahora me despido, recordándoles que deben cuidarse y cuidar a los suyos, poniendo en práctica las medidas de bioseguridad. Dios los bendiga a todos.
Now my little angel's wings were ready for her to participate in her school's live nativity scene. I hope you liked this simple tutorial to make these cute little angel wings and of course, if you have a cute little princess at home, I encourage you to make this project. I assure you, they will make her very happy and will give hours and hours of fun during her games. For now, I say goodbye, reminding you to take care of yourselves and your loved ones, putting into practice the biosecurity measures. God bless you all.

Contenido y fotografías de mi propiedad intelectual
Información Técnica
| Cámara | Pentax * istDL |
|---|---|
| Lente | * Pentax 18-55 |
| Iluminación | Luz Natural |
| Locación | Barcelona, Estado Anzoátegui, Venezuela |
Content and photographs of my intellectual property
Technical information
| Camera | Pentax * istDL |
|---|---|
| Lens | * Pentax 18-55 |
| Lighting | Natural Light |
| Location | Barcelona, Anzoátegui State, Venezuela |


Una hermosa creación y lo más.lindo,.para ti pequeñita, realizado por tus propias manos e ingenio. Estupendo tutorial y como siempre, una linda publicación. Muchas gracias por compartir tu contenido en nuestra comunidad. 🤗
Me alegra que te gustara querida @marybellrg, gracias a ti por tu visita y apoyo. Saludos y bendiciones para ti y los tuyos 😘
The rewards earned on this comment will go directly to the person sharing the post on Twitter as long as they are registered with @poshtoken. Sign up at https://hiveposh.com.
Gracias por su apoyo.
Hermosas las alas amiga, realmente lindas.
Gracias, es muy grato saber que te gustaran, saludos y bendiciones.
Hermoso trabajo amiga, tienes una manos maravillosas, 👏👏👏
Gracias querida amiga, me alegra mucho que te gustara. Saludos y bendiciones para ti y los tuyos 😘
Sin duda un trabajo muy bonito y encantador. Me llama la atención cómo le dio uso a los ganchosde ropa. El alambre de estos ciertsmente es duro y difícil de moldear así que hubo mucho trabajo allí para hacer esta manualidad. Gracias por comparir su trabajo con la comunidad.
Saluditos.
Me alegro que te gustara, en realidad, si costó bastante darle forma al alambre, por suerte, mi esposo me ayudo, porque sola no puede. Cuesta mucho torcerlo una sola persona no puede. El resto del trabajo sí fue más fácil, gracias por tu visita. Saludos y bendiciones.
Enhorabuena, su "post" ha sido "up-voted" por @dsc-r2cornell, que es la "cuenta curating" de la Comunidad de la Discordia de @R2cornell.
Siempre agradecida de recibir tu apoyo @blessed-girl, saludos y bendiciones para ti, el Sr. @r2cornell y todo el equipo de @dsc-r2cornell.
So cute and creative! Your daughter is adorable! She looks so happy in her wings!
Thanks for sharing this lovely project with us. You are a great Mom!
Cheers!
Thank you for your nice words and for your visit.
Yes, my daughter was happy with her wings and super proud to be an angel 😇
Greetings and blessings to you and yours.