Hola a todos, bienvenidos de nuevo a mi blog espero hayan tenido un buen fin de semana y les deseo una maravillosa y exitosa semana.
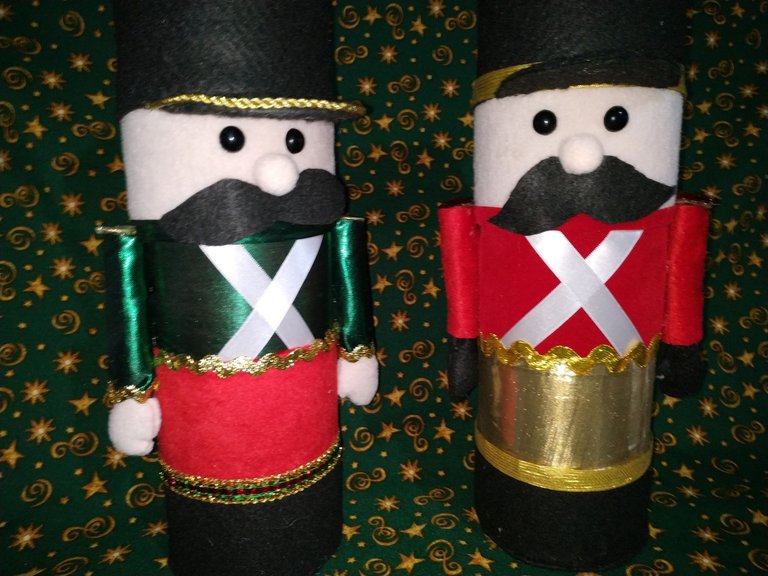
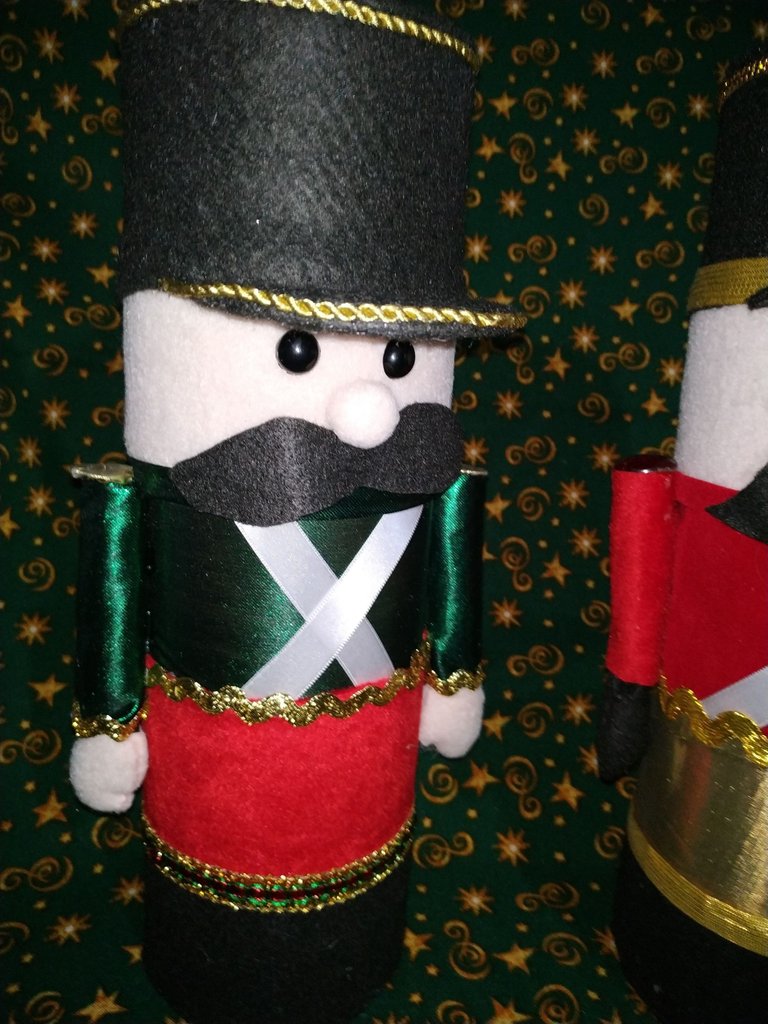
Hoy lunes les traigo el paso a paso de cómo elaborar un hermoso “Cascanueces” o “soldado de plomo” un personaje muy típico de la navidad.
Hello everyone, welcome back to my blog I hope you had a good weekend and I wish you a wonderful and successful week.
Today Monday I bring you the step by step of how to make a beautiful "Nutcracker" or "tin soldier" a very typical Christmas character.
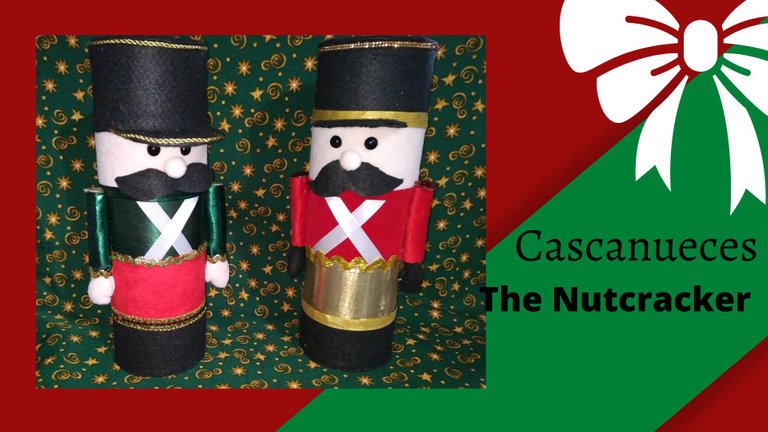
Editado en Canva || Edited in canva
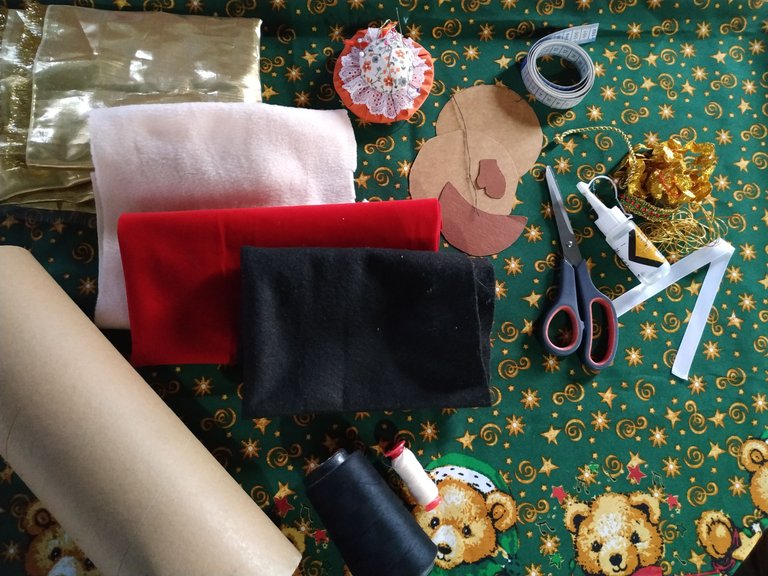
Para hacer este hermoso muñeco utilice como base un tubo de cartón grueso de 10 cm de diámetro por 33 centímetros de alto, este lo pude conseguir en una venta de textiles así que es un material de reciclaje, no obstante también pueden conseguirlo en papelerías.
Para elaborar este cascanueces necesitas:
To make this beautiful doll I used as a base a thick cardboard tube of 10 cm in diameter by 33 centimeters high, this I could get in a sale of textiles so it is a recycled material, however you can also get it in stationery stores.
To make this nutcracker you need:

- Tela elástica o polar color:
Dorado
Negro
Rojo
Piel - Tubo de cartón.
- Aguja e hilo.
- Cinta métrica.
- Lápiz.
- Tijeras.
- Guata.
- Dos círculos de cartón del diámetro del tubo.
- Un semicírculo.
- Cinta blanca de raso.
- Silicón frio.
- Decoraciones doradas.
- Dos perlas negras o botones para los ojos.
- Elastic fabric or colored fleece:
Gold
Black
Red
Leather - Cardboard tube.
- Needle and thread.
- Tape measure.
- Pencil.
- Scissors.
- Wadding.
- Two cardboard circles of the diameter of the tube.
- A semicircle.
- White satin ribbon.
- Cold silicone.
- Gold decorations.
- Two black beads or buttons for the eyes.

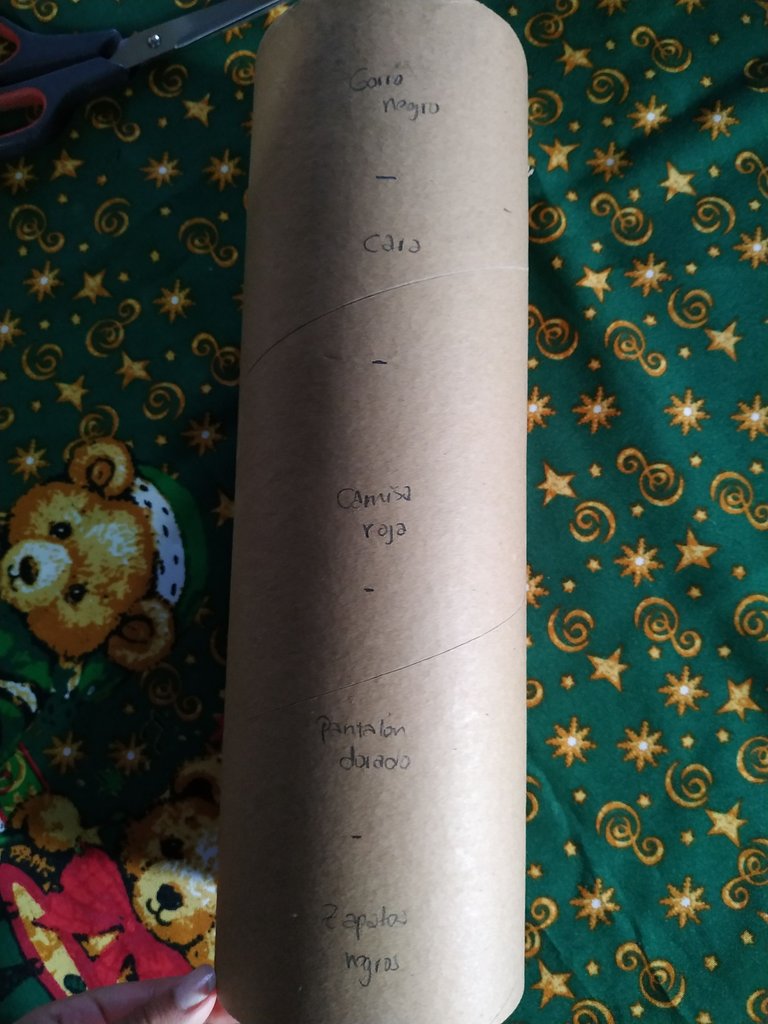
Vamos a hacer unas marcas en el tubo para que nos queden cinco divisiones que serán cada una de las partes del soldado.
We are going to make some marks on the tube so that we have five divisions that will be each one of the parts of the soldier.
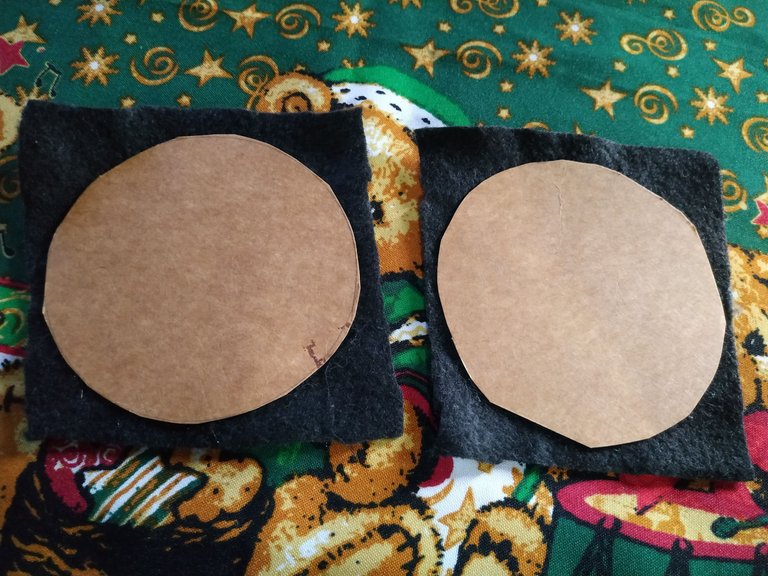
Tomamos los dos círculos de cartón (reciclado de alguna carpeta o caja vieja) y los colocamos sobre tela de color negro, vamos a forrarla con dicha tela ya que estas serán la base y la tapa de la parte superior.
We take the two cardboard circles (recycled from an old folder or box) and place them on black fabric, we are going to line it with this fabric since these will be the base and the lid of the upper part.
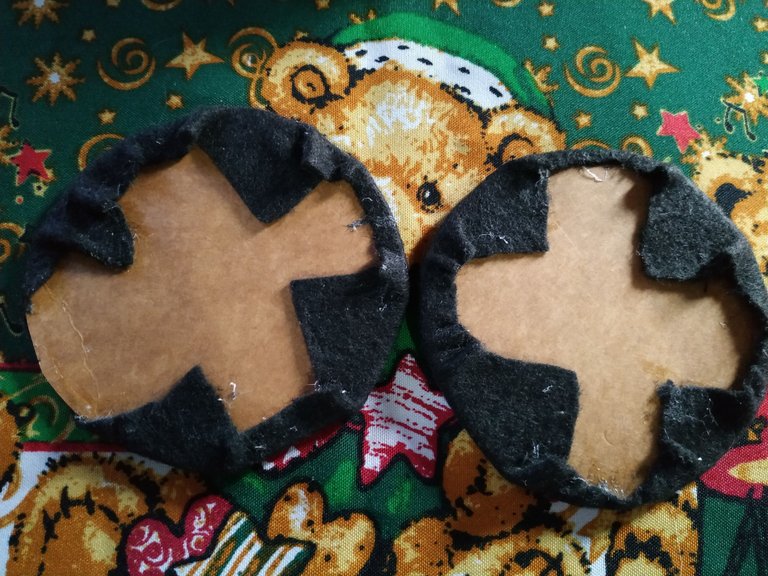
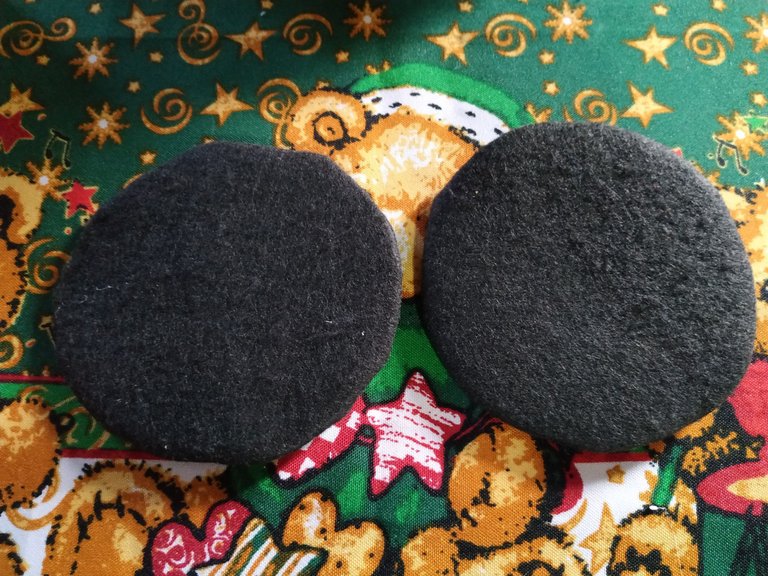
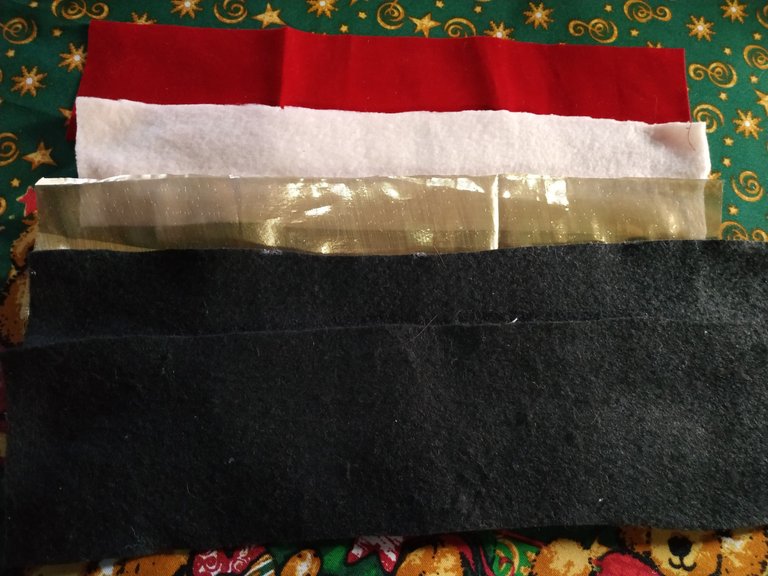
Luego vamos a recortar cinco tiras con nuestras telas y estas serán: dos negras, una roja, una dorada, una de color piel. Las medidas de las mismas serán de acuerdo al tamaño del tubo, en este caso es de 7 cm de ancho por 34 de largo.
Then we are going to cut five strips with our fabrics and these will be: two black, one red, one gold, one skin color. The measurements of these strips will be according to the size of the tube, in this case it is 7 cm wide by 34 cm long.
Empezamos pegando la tira de color negro que serán los zapatos, nos guiamos por las líneas que hicimos al principio.
We start by gluing the black strip that will be the shoes, following the lines we made at the beginning.
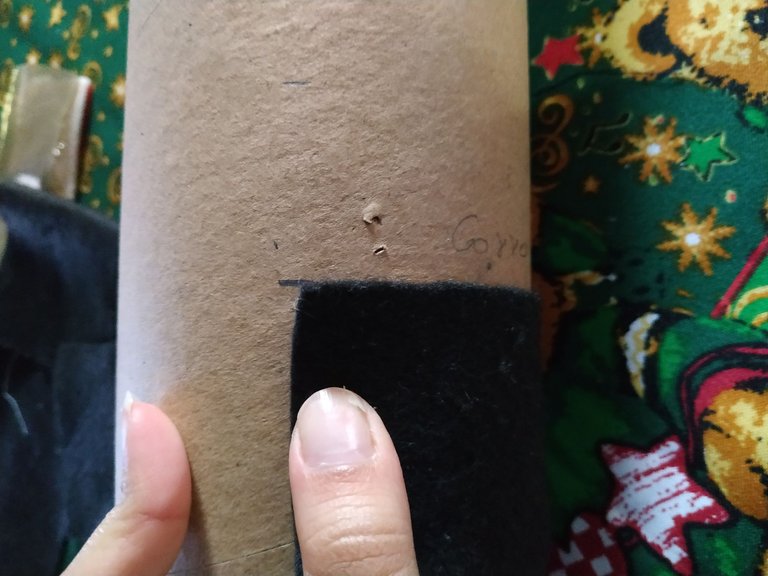
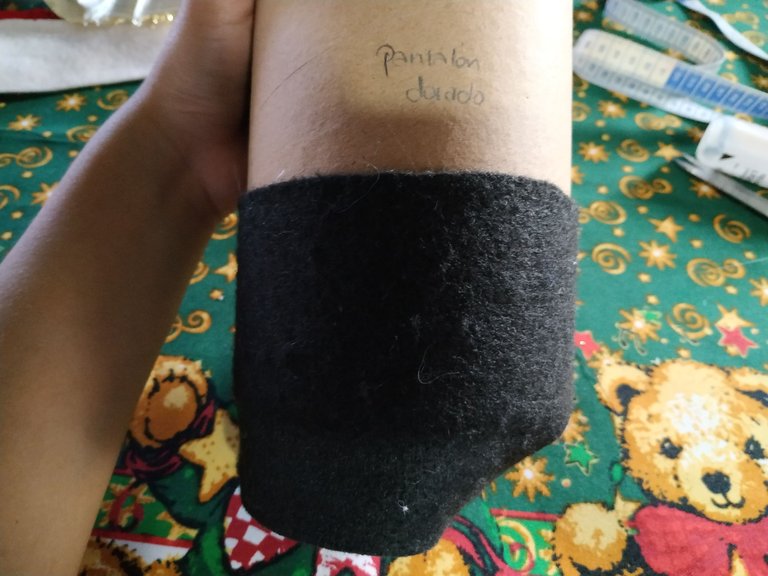
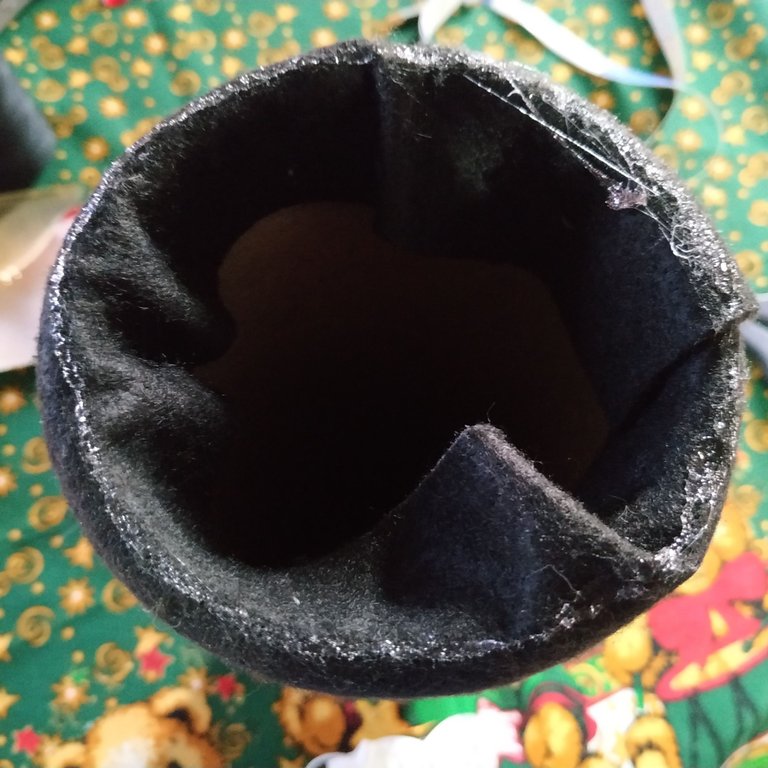
La tela sobrante la colocamos dentro del tubo y colocamos una de las tapas que hicimos.
We place the leftover fabric inside the tube and place one of the caps we made.
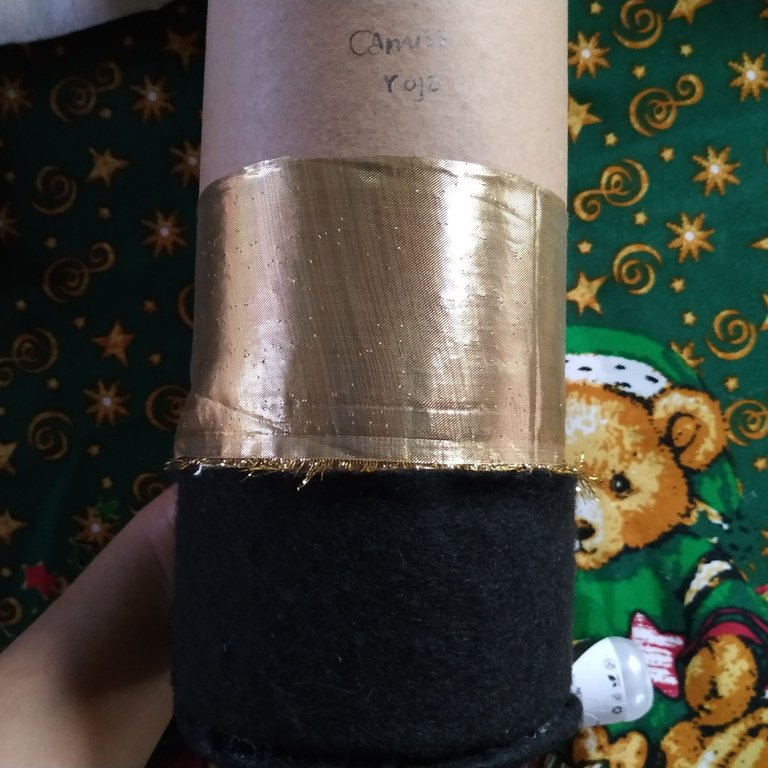
Continuamos con el color dorado que serán los pantalones del soldado.
We continue with the golden color that will be the soldier's pants.
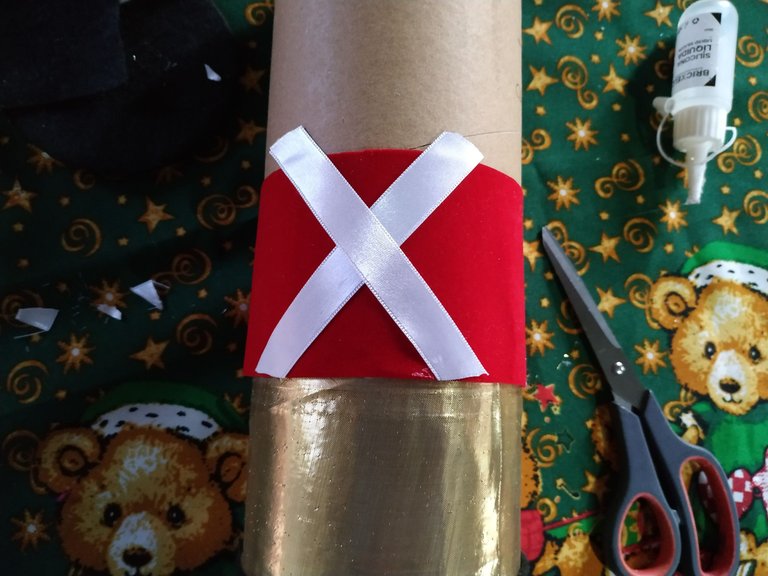
Luego la tela roja y sobre ella colocamos dos tiras blancas cruzadas formando una X y continuamos con la de color piel.
Then the red fabric and on it we place two crossed white strips forming an X and we continue with the skin colored one.
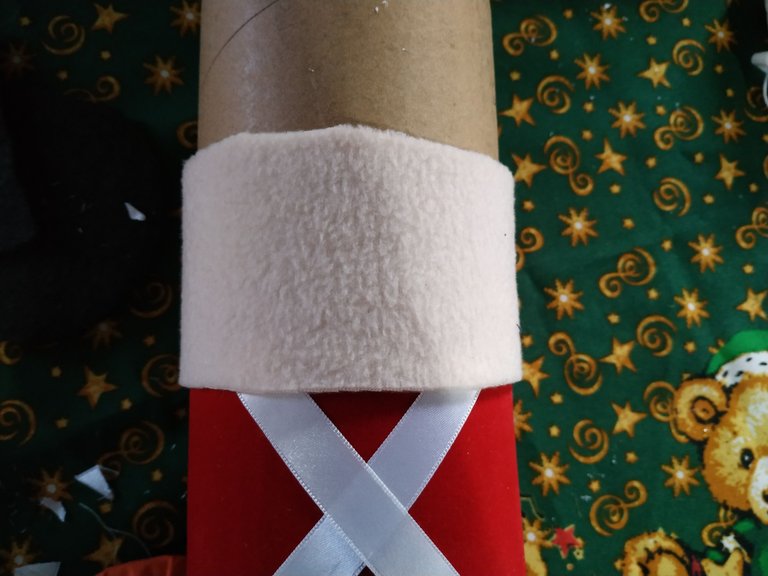
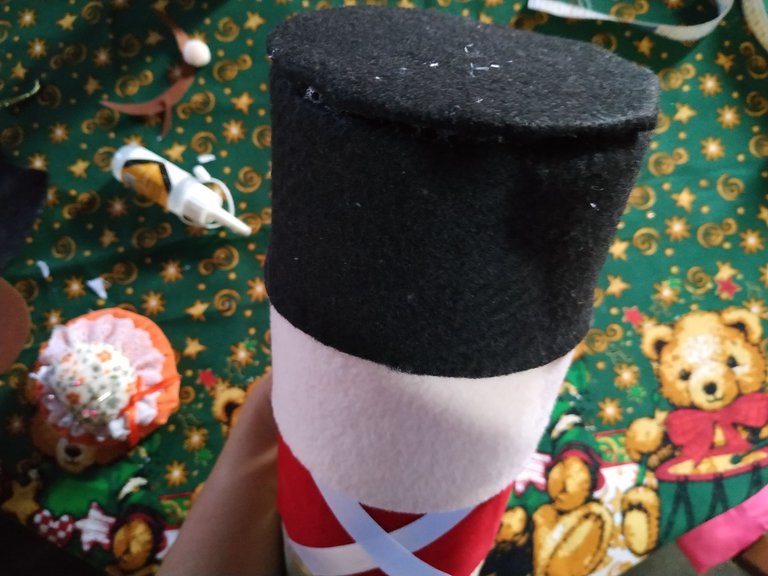
Colocamos la otra tela de color negro e igualmente colocamos la tapa superior.
We place the other black fabric and also place the upper cover.
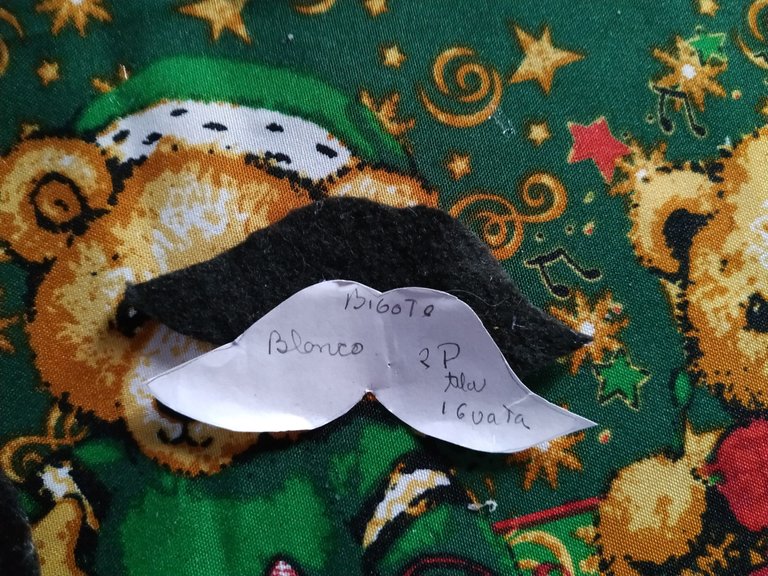
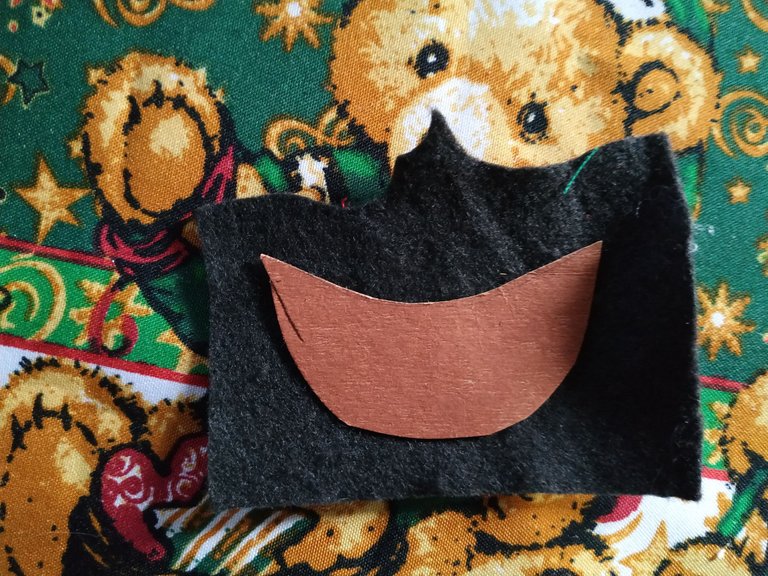
Con tela de color negra también vamos a hacer el bigote el cual utilice un molde que saque a mano. Y con el semicírculo hacemos la visera.
With black fabric we are also going to make the moustache which I used a mold that I made by hand. And with the semicircle we make the visor.
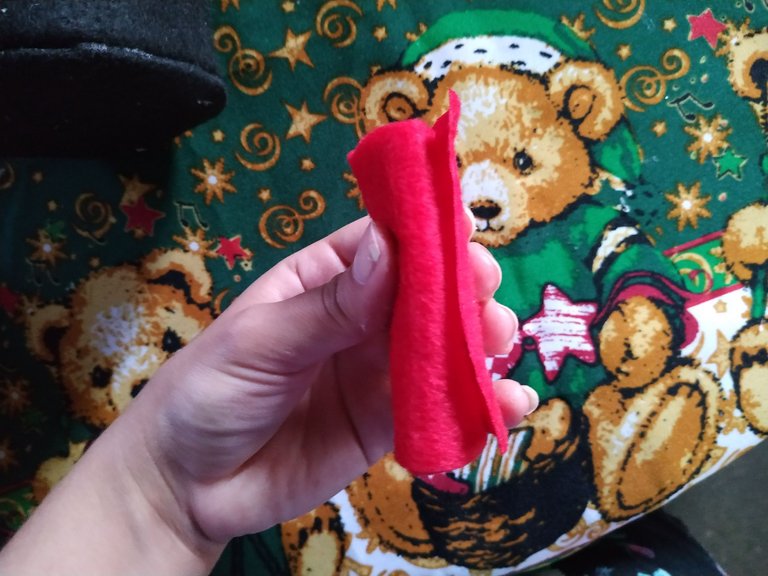
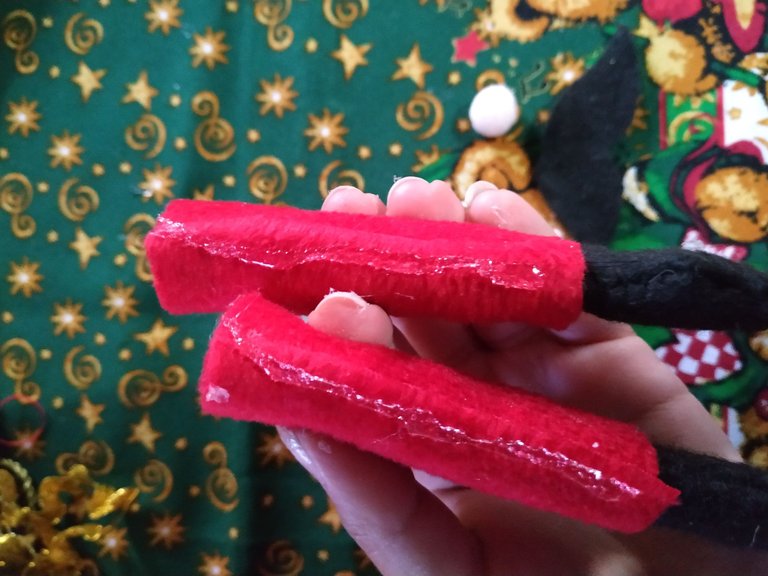
Con la tela de color roja recortamos un rectángulo y lo enrollamos de esta manera y pegamos con silicón.
With the red fabric we cut out a rectangle and roll it in this way and glue it with silicone.
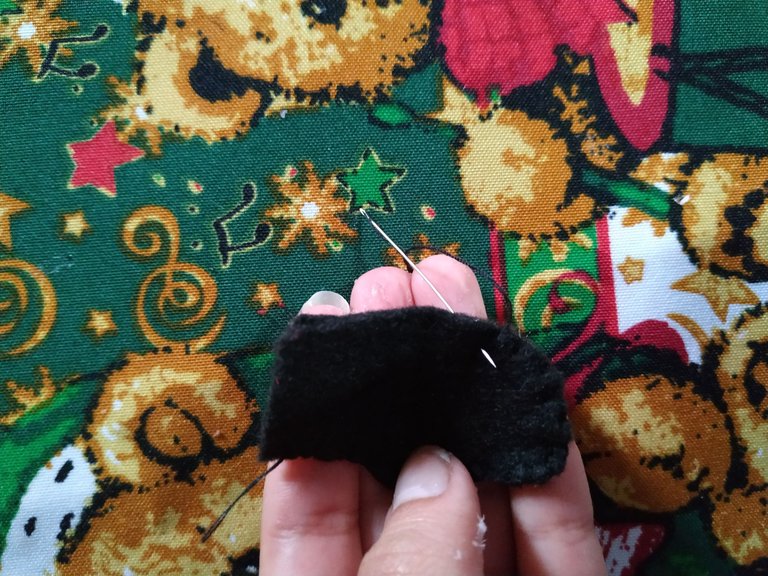
Cosemos los guantes con punto festón y rellenamos con un poquito de guata. Luego estos los pegamos al brazo que acabamos de hacer.
We sew the gloves with scalloped stitch and stuff them with a little bit of wadding. Then we glue them to the arm we just made.
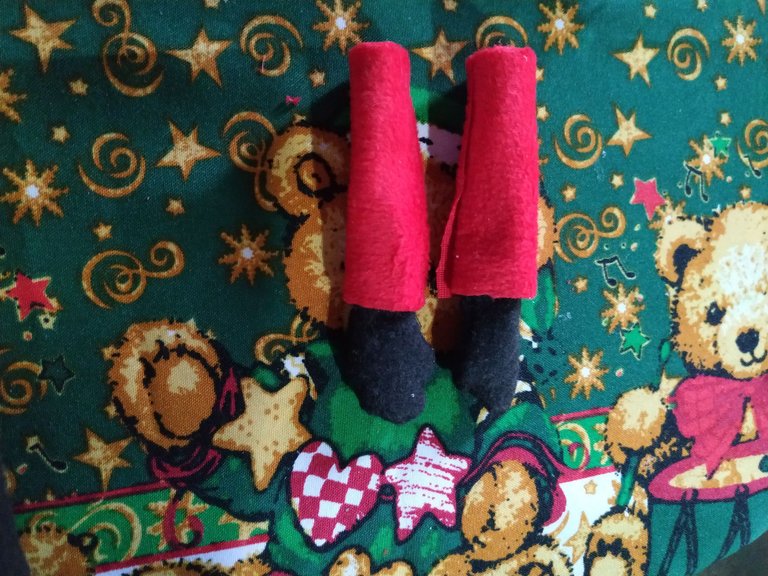
Vamos a colocar una decoración entre cada división de color para que nos quede un mejor acabado bien sea con las mismas telas que utilizamos o con cintas doradas.
We are going to place a decoration between each color division for a better finish, either with the same fabrics we use or with golden ribbons.
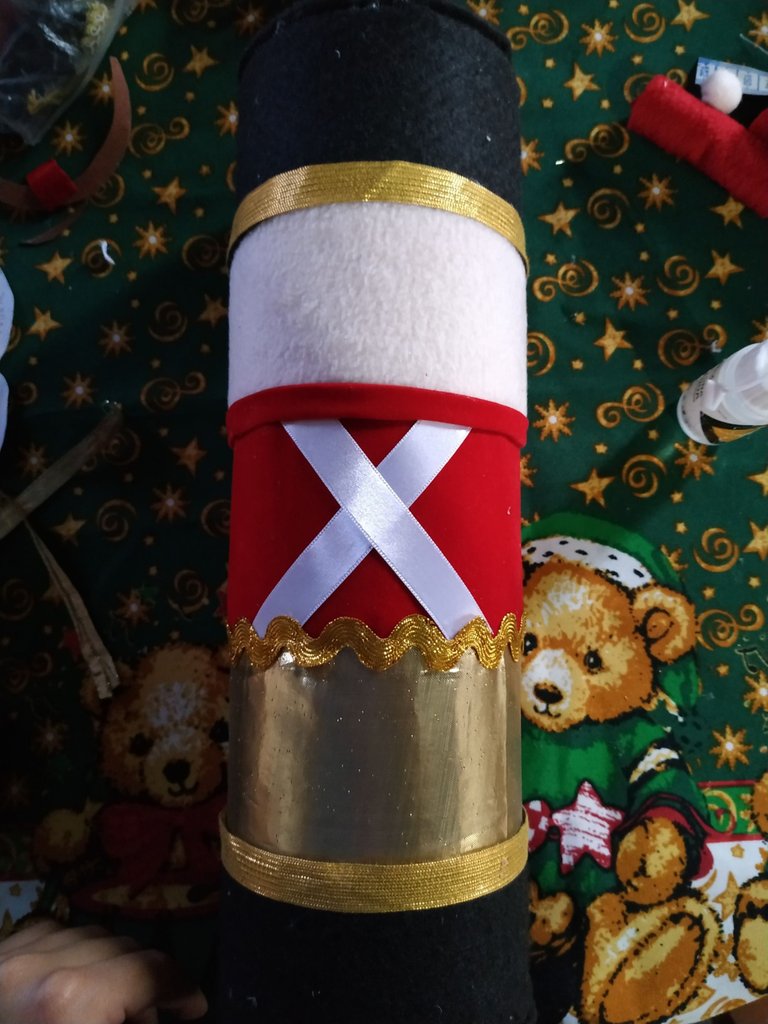
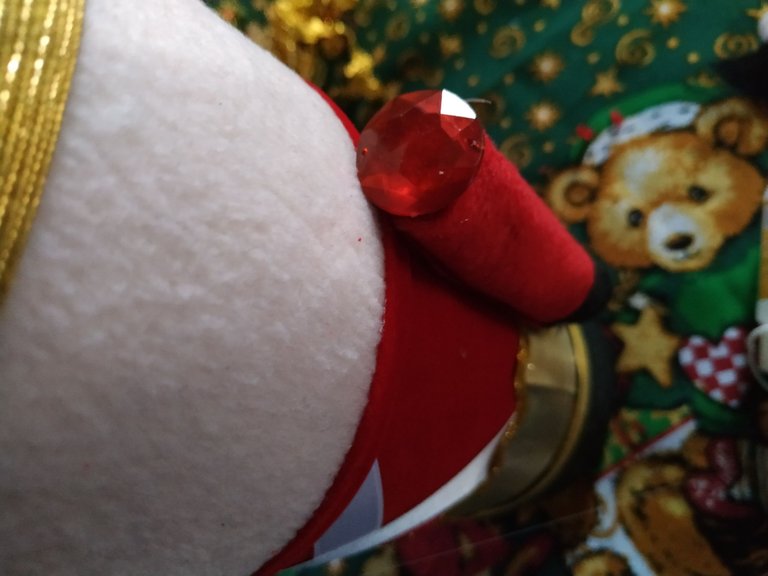
Centramos el muñeco y le pegamos los brazos. En la parte superior colocamos unas decoraciones para que queden como los hombros.
Center the doll and glue the arms. On the upper part we place some decorations so that they look like shoulders.
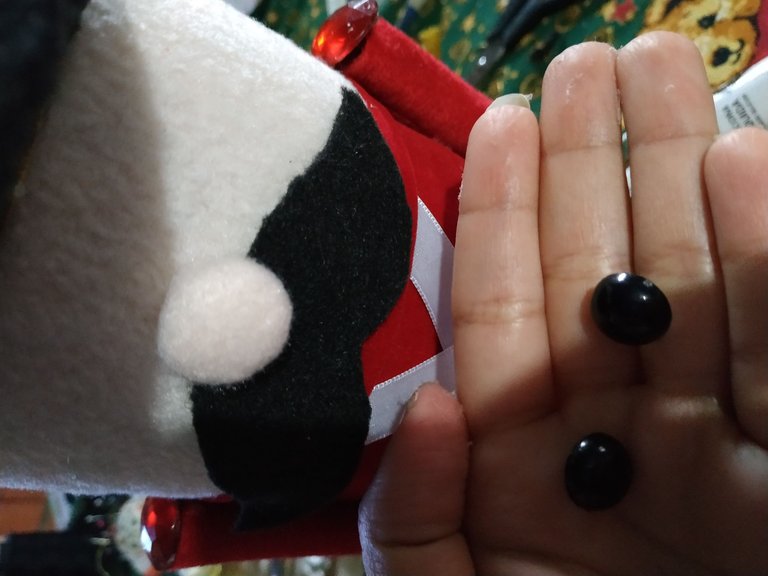
Pegamos la nariz, bigote, visera y los ojos.
We glue the nose, mustache, visor and eyes.
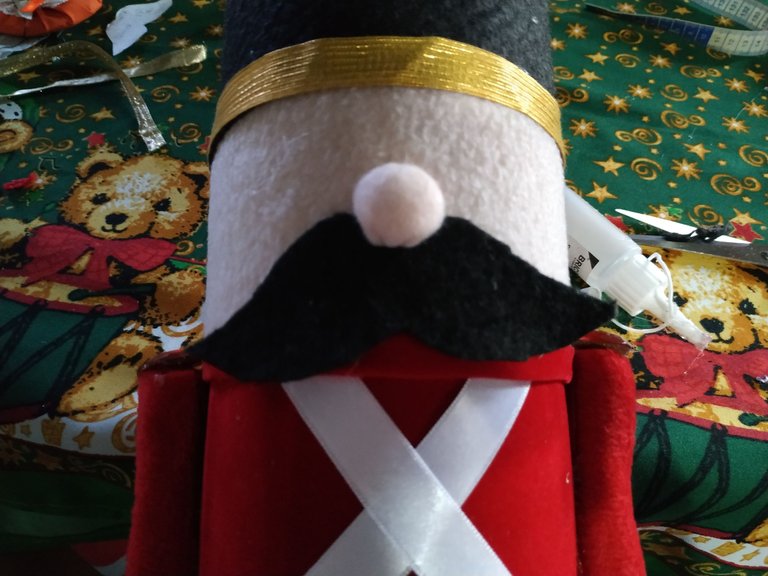
Terminamos de limpiar y revisar imperfecciones y demás detalles y con esto estará listo nuestro bello Cascanueces, una hermosa decoración navideña.
Muchas gracias por leer mi blog y llegar hasta aquí.
We finished cleaning and checking imperfections and other details and with this our beautiful Nutcracker will be ready, a beautiful Christmas decoration.
Thank you very much for reading my blog and getting this far.
Editado en Canva || Edited in canva
Fotos tomadas de mi teléfono Xiaomi Redmi Note 6 Pro || Photos taken from my Xiaomi Redmi Note 6 Pro phone.
Fuente del editor de imágenes || Image editor source
~~~ embed:1589809804515872769 twitter metadata:MTQyMjQxMzkxNTI3NTgxMjg2NHx8aHR0cHM6Ly90d2l0dGVyLmNvbS8xNDIyNDEzOTE1Mjc1ODEyODY0L3N0YXR1cy8xNTg5ODA5ODA0NTE1ODcyNzY5fA== ~~~
The rewards earned on this comment will go directly to the people( @mariajcastro28 ) sharing the post on Twitter as long as they are registered with @poshtoken. Sign up at https://hiveposh.com.
Amiga pero que bellos te quedaron esos cascanueces, yo estoy comenzando a trabajar en uno pero en lugar de tela quiero utilizar foami, aunque veo que la tela le da un mejor aspecto y textura, te quedaron increíbles 😍 Felicidades por tan bonito trabajo! ♥️
Holaa. Creo que con foami igual quedarán muy bien. Esperaré tu publicación con el resultado 😄. Muchas gracias por tu lindo comentario
Espero pronto poder compartir el tutorial, apenas estoy empezando 😃
Bellos cascanueces, lindo trabajo, saludo.
Wow Gabi siempre te superas a ti misma esto está sumamente hermoso, el paso a paso esta explicado a la perfección, me gusta eso de los tutoriales creativos, gracias por compartir.
Congratulations, your post has been upvoted by @dsc-r2cornell, which is a curating account for @R2cornell's Discord Community. We can also be found on our hive community & peakd as well as on my Discord Server
Felicitaciones, su publication ha sido votado por @dsc-r2cornell. También puedo ser encontrado en nuestra comunidad de colmena y Peakd así como en mi servidor de discordia