Greetings friends. The other day I was thinking about the collection of Dragon Ball sculpts I'm making. Although I certainly still have many characters missing, it is not the only thing I want to publish in my blog, so I was thinking about other collections of figures to make.
I came up with one that is quite a challenge for me, because of how difficult it can be to make these figures, the Power Rangers Dinozord
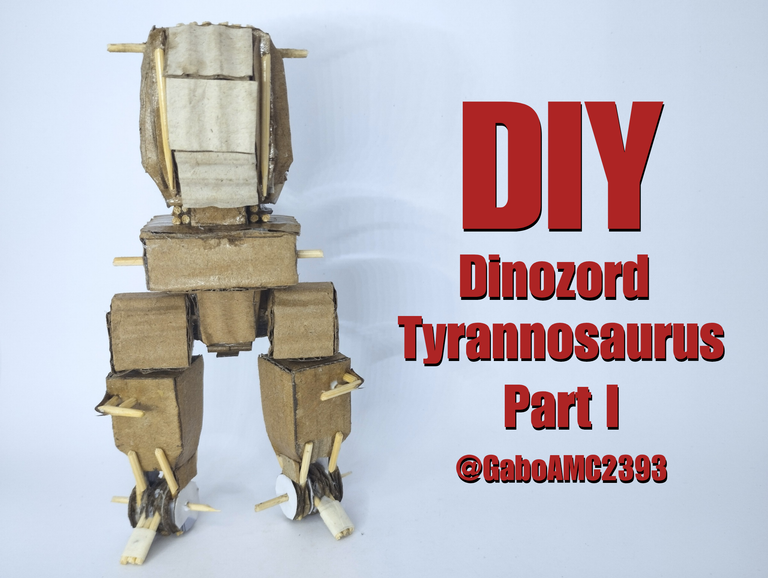
You may have heard of these characters, the Power Rangers. Well, these heroes have huge robots that are known as Dinozord, there are five of them and they all come together to form a Megazord.
My idea is to share the tutorial of how I made them in parts, because they have a lot of pieces (how they have no idea), so this is the first part of the DIY of the Tyrannosaurus, the Red Ranger Megazord.
Español
Saludos amigos. El otro día estuve pensando en la colección de esculturas de Dragón Ball que estoy haciendo. Aunque ciertamente aún me faltan muchos personajes, no es de lo único que quiero publicar en mi blog, así que estuve pensando en otras colección de figuras para hacer.
Se me ocurrió una que para mí resulta todo un reto, por lo difícil que puede llegar a ser la fabricación de estas figuras, los Dinozord de los Power Rangers.
Quizás hayas oído hablar de estos personajes, los Power Rangers. Pues bien, estos héroes tienen unos enormes robots a los que se les conoce como Dinozord, son cinco y todos se unen para formar un Megazord.
Mi idea es compartir el tutorial de cómo los hice por partes, porque tienen un montón de piezas (cómo no tienen idea), así que está es la primera parte del DIY del Tyrannosaurus, el Megazord del Ranger Rojo.
Step by step
Well folks, for this job you first have to start with the basics, the cardboard frame.
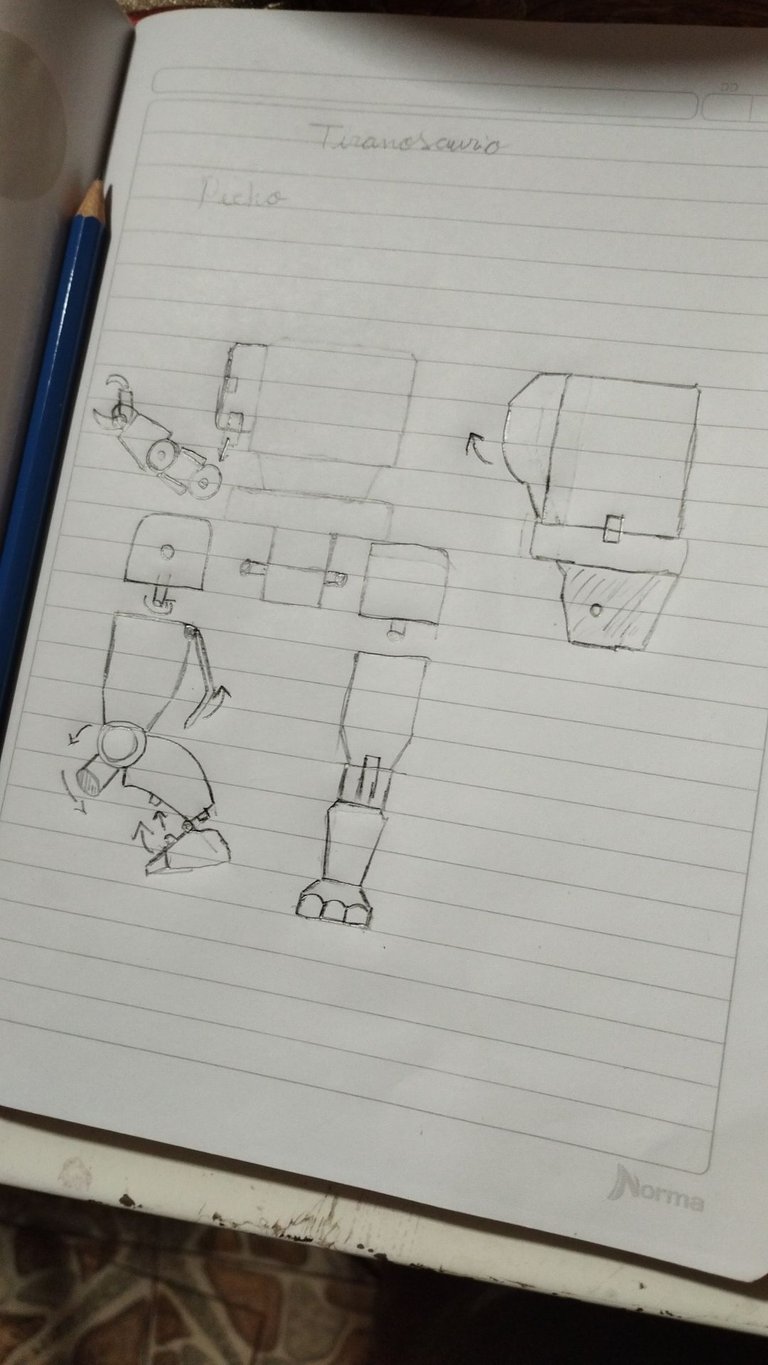
This is especially difficult because all the pieces have to be mobile and functional, plus the design of the robot must be done thinking about how it will work when merged with the other Dinozord.
For this reason I made several designs, being the one I show below the final one.
Paso a paso
Bien amigos, para este trabajo primero hay que comenzar con lo básico, el armazón de cartón.
Esto es especialmente difícil porque toda las piezas tiene que ser móviles y funcionales, además de que el diseño del robot debe hacerse pensando en como funcionará cuando se fusione con los otros Dinozord.
Por este motivo hice varios diseños, siendo el que les muestro a continuación el definitivo.
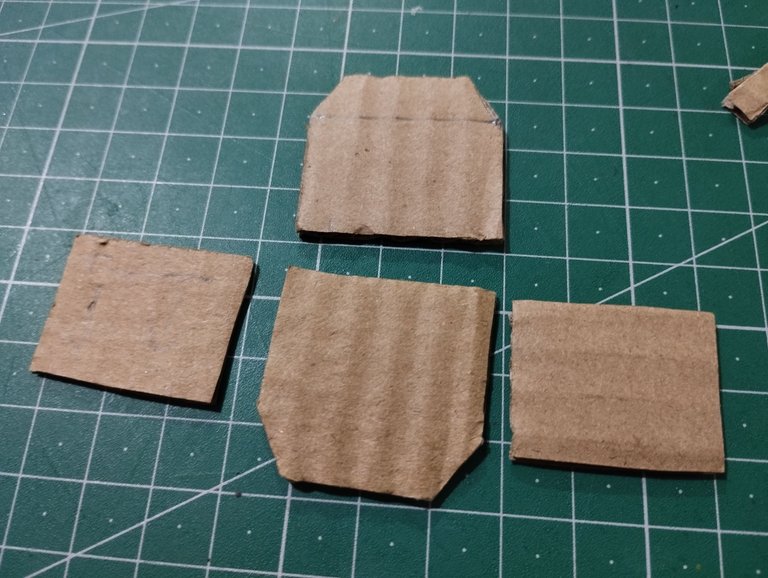
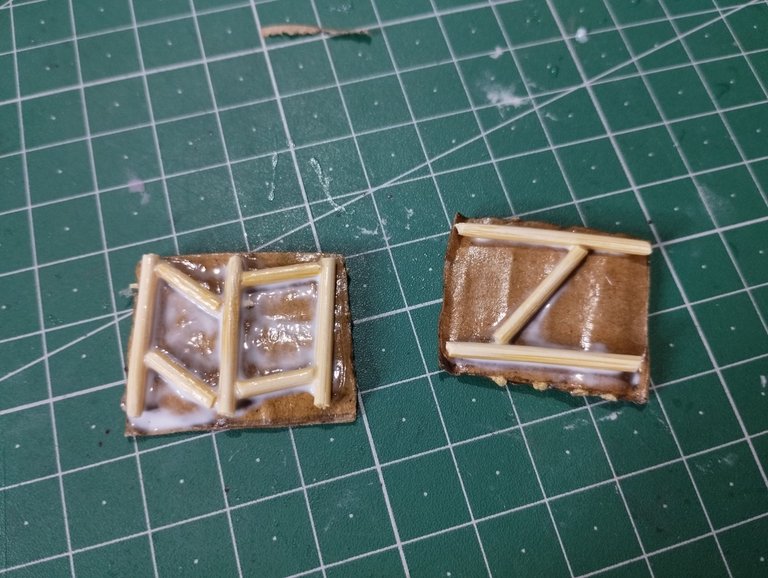
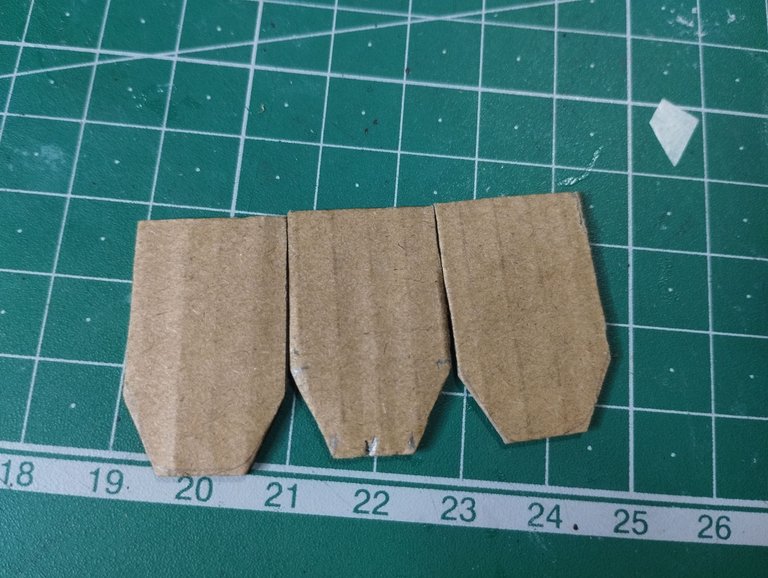
Well, with my first designs defined I started to cut the pieces to a similar size to the plan.
The first pieces I cut were the chest pieces, pieces that were almost square, with some angled parts for the upper part of the chest.
Pues bien, con mis primeros diseños definidos comencé a cortar las piezas a un tamaño similar al del plano.
Las primeras piezas que corté fueron las del pecho, piezas que eran casi cuadradas, con algunas partes con angulos para la parte superior del pecho.
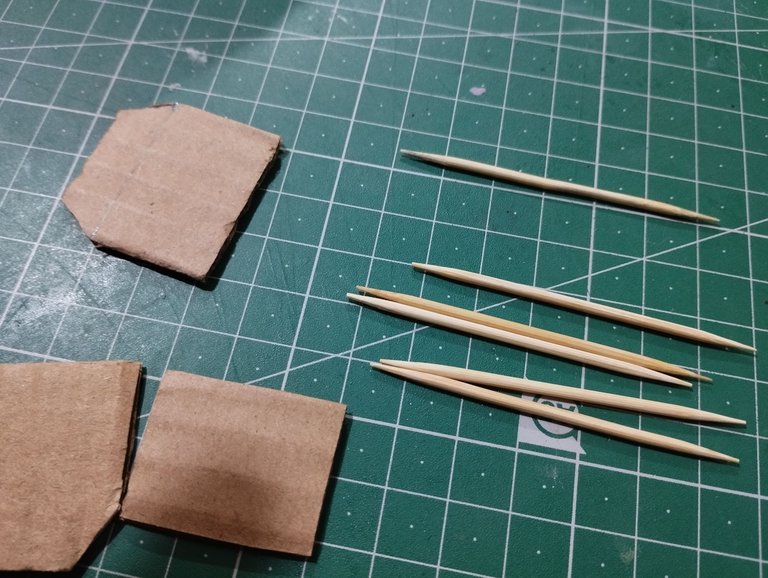
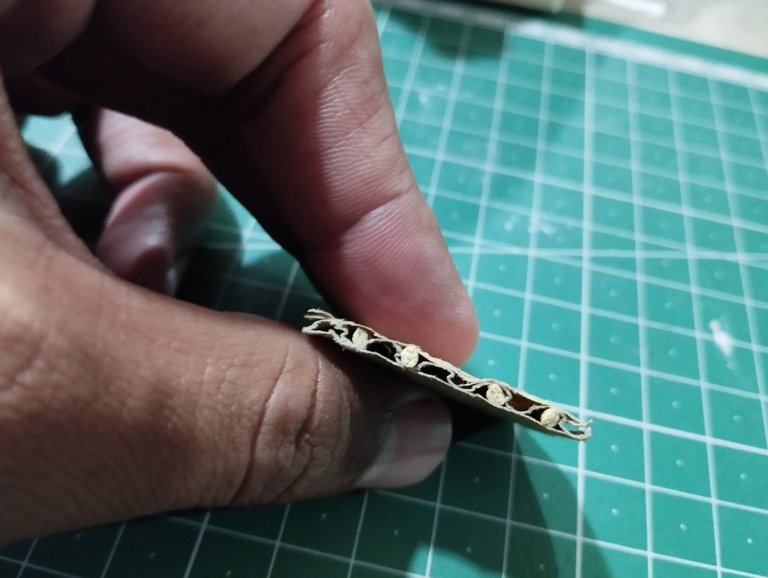
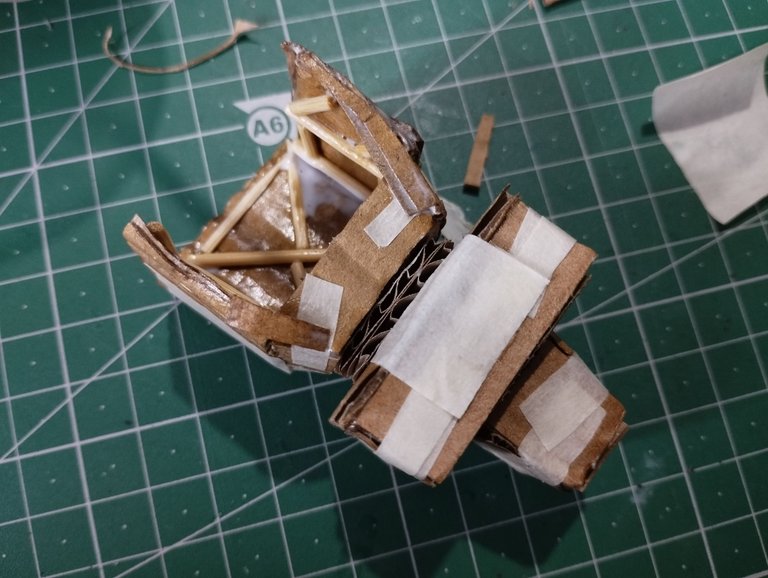
As you will understand, I am using cardboard, a flimsy material that although it is good for making certain shapes, in this case it needs to be reinforced.
For this purpose I used wooden sticks and inserted them into the small holes that the cardboard has between the layers of cardboard. To fix each stick in place, it becomes necessary to use glue to fix it.
Cómo bien entenderán, es cartón lo que estoy usando, un material endeble que a pesar de que sí es bueno para hacer ciertas formas, para este caso hay que reforzarlo.
Para este propósito usé palillos de madera y los introduje en los pequeños agujeritos que tiene el cartón entre las capas del mismo. Para que cada palillo quede fijo en su lugar, se vuelve necesario usar pegamento para fijarlo.
 |  |
|---|
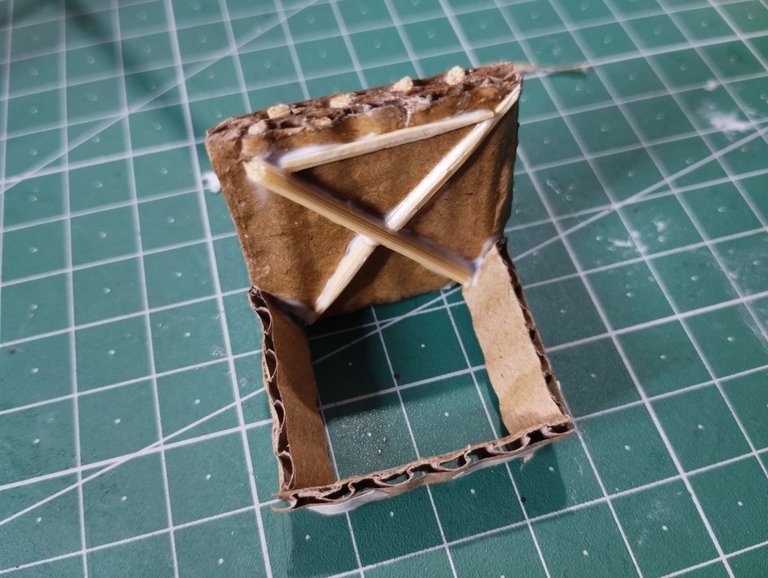
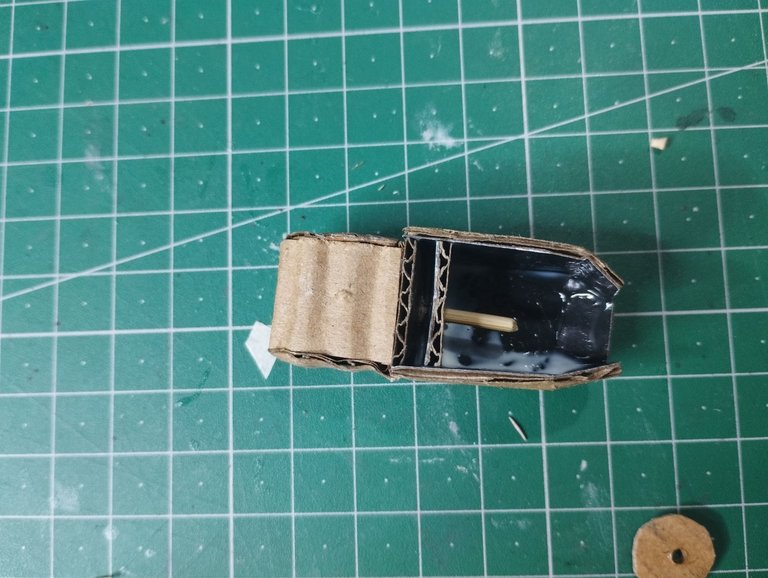
I did the same with the other pieces, I put toothpicks on the inside and more toothpicks on the inside face of each piece to give it more support, because it is an important area, the chest.
Así mismo hice con las otras piezas, les coloque palillos en el interior y más palillos en la cara interior de cada pieza para darle más soporte, pues es un área importante, el pecho.
 |  |
|---|
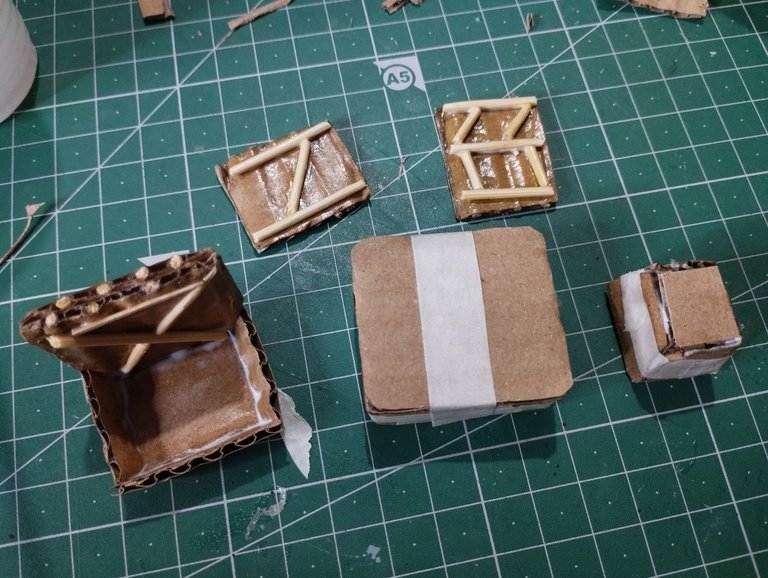
Above you can see all the pieces I was making according to the plan I drew at the beginning. There are the different pieces of the chest and waist pieces.
In the image below you can see how the frame was looking at this point, with these pieces assembled.
Arriba pueden ver todas las piezas que iba fabricando según el plano que dibuje al comienzo. Están las distintas piezas del pecho y las piezas de la cintura.
En la imagen de abajo se observa cómo iba quedando el armazón en este punto, con estas piezas ensambladas.
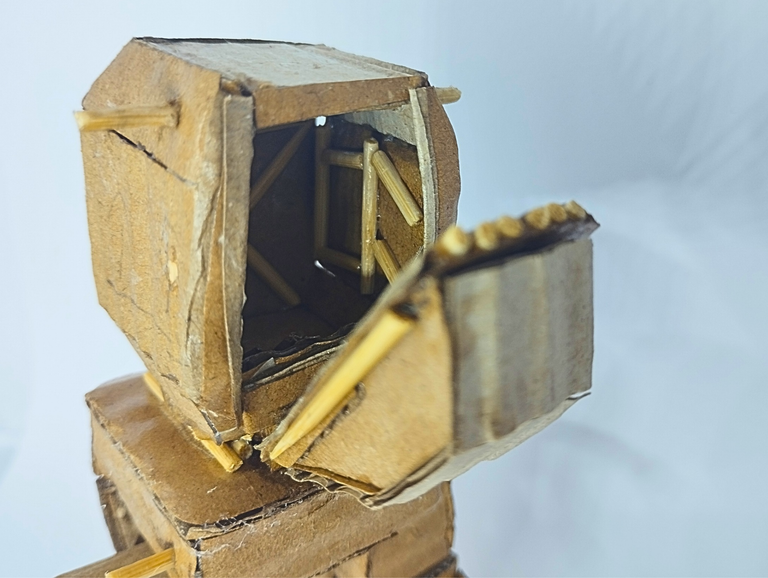
After making a protective part to the chest of the robot, so that there won't be the hole you see in the picture above, I started working on the legs.
As you can see I only made what would be the thighs. This part is composed of three cardboard plates of similar size.
Después de hacerle una parte protectora al pecho del robot, para que no quedará el agujero que ven en la foto de arriba, comencé a trabajar en las piernas.
Cómo pueden ver solo hice lo que serían los muslos. Está parte está compuesta por tres placas de cartón de tamaño similar.
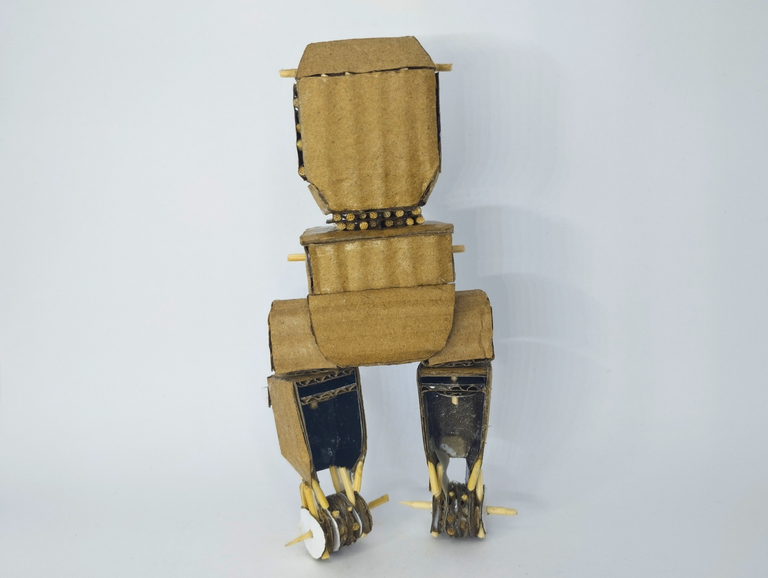
All these pieces are joined together in such a way that they leave an area open at the back, as you can see in the photo below.
Added to this I made a small joint that serves to connect between the leg and the waist.
Todas estas piezas van unidas entre sí de tal manera que dejan abierta un área en la parte de atrás, tal cómo pueden observar en la foto de abajo.
Añadido a esto le hice una pequeña articulación que sirve para conectar entre la pierna y la cintura.
 |  |
|---|
In the animation below you can visualize how the thigh moves up and down, as well as rotating to the left and right.
En la animación de abajo se puede visualizar la manera en que el muslo se mueve hacia arriba y abajo, además de girar hacia la izquierda y la derecha.
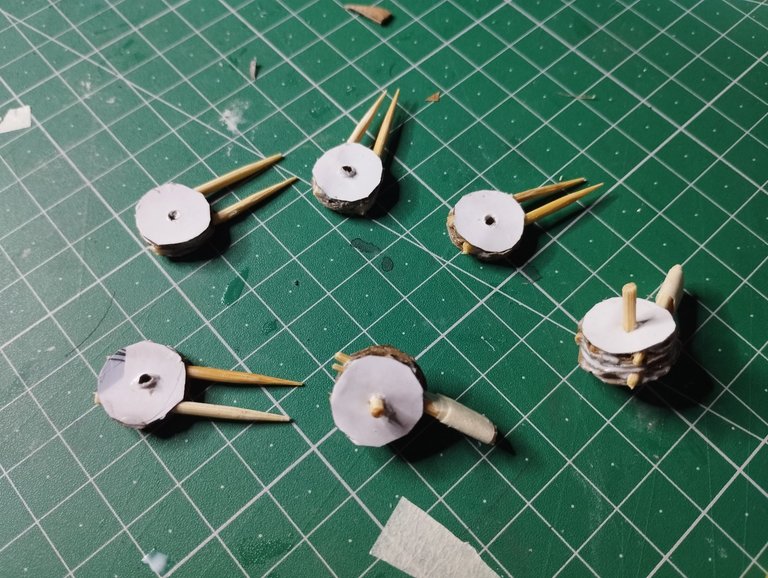
Next I worked on the knee joints. To make these pieces I simply cut several pieces of cardboard in a circular shape and glued them in two circles one against the other, except for one that I glued them in three circles.
For the joint you have to place two pieces of two overlapping circles with a piece of three circles in the middle.
Lo siguiente fue trabajar en las articulaciones de la rodilla. Para hacer estás piezas simplemente corte varios trocitos de cartón en forma circular y los pegué de a dos circulitos uno contra el otro, salvó por una que los pegué de a tres circulitos.
Para la articulación hay que colocar dos piezas de dos circulitos superpuestos que tengan una pieza de tres circulitos en medio.
 |  |
|---|
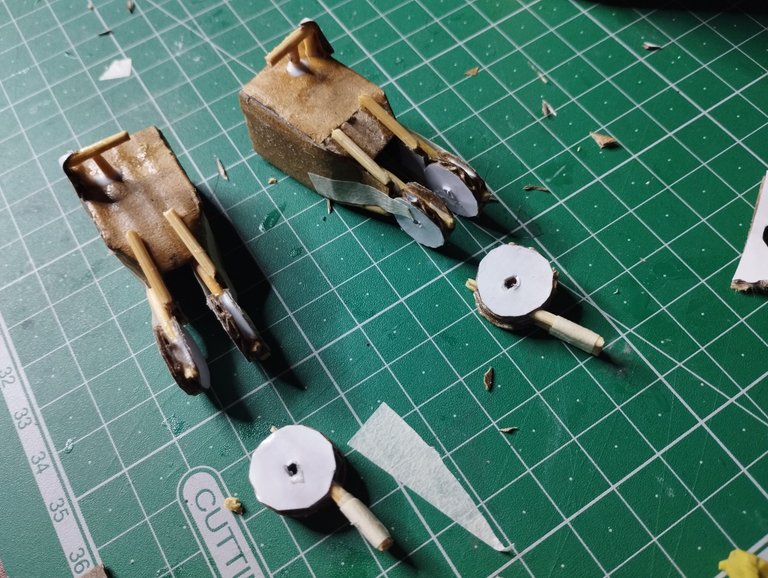
The two-circle pieces are attached to the thigh, while the single-circle piece is the one that will move and connect to the rest of the leg, as you can see in the animation below.
Las piezas de dos circulitos van unidas al muslo, mientras que la pieza de un solo círculo es la que se moverá y conectará con el resto de la pierna, tal cómo pueden ver en la animación de abajo.
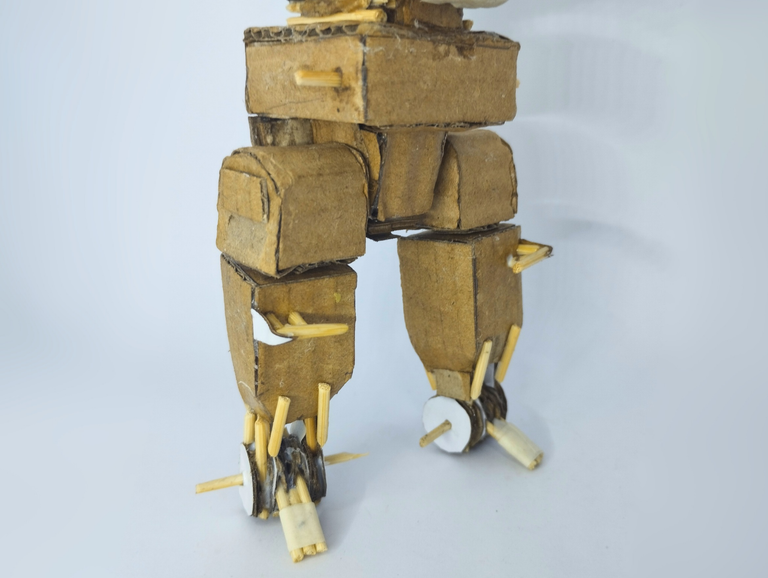
The last thing I did was to place the legs with the joints on the rest of the piece.
Ya lo último que hice fue colocar las piernas con las articulaciones en el resto de la pieza.
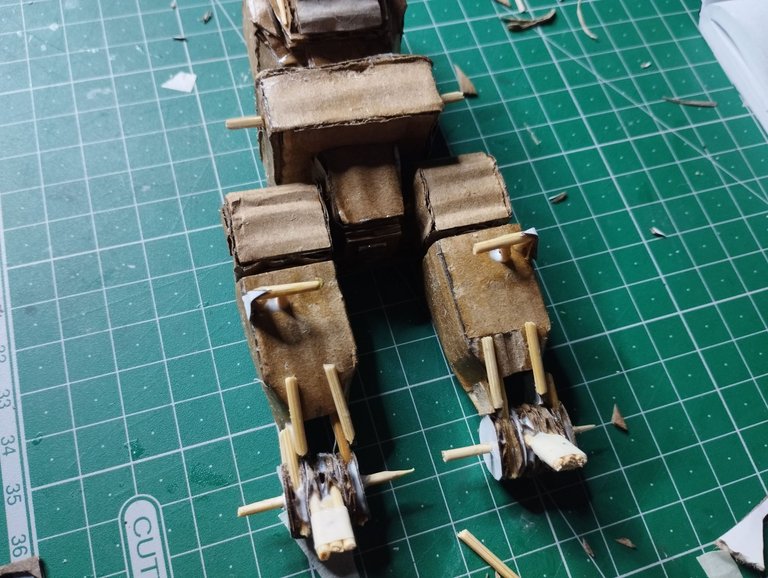
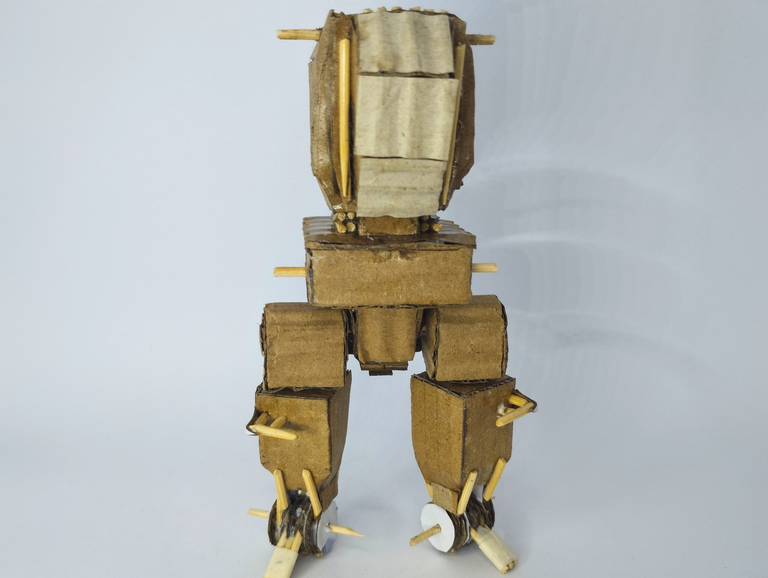
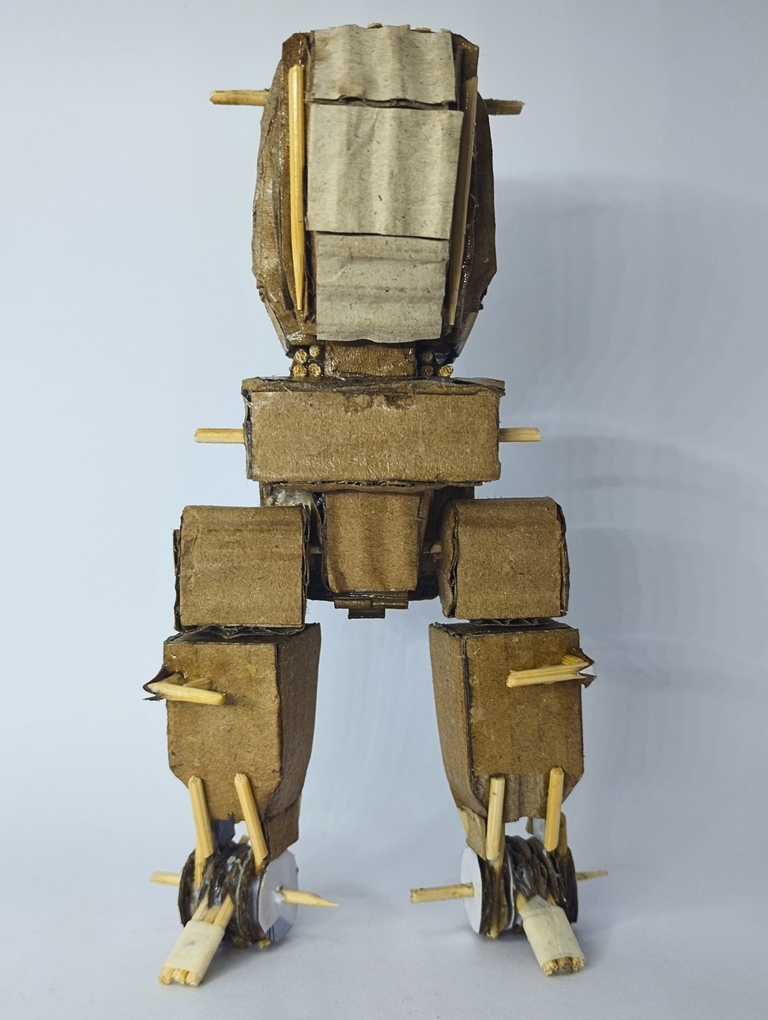
It may not have a shape now, but it is like a house when it is just beginning to be built. This is only a part of the framework, it will take shape and you will witness how this work will evolve.
Below is a series of photographs of what this first part of the framework looks like.
Quizás ahora no tenga forma, pero es como una casa cuando se está comenzando a construir. Este es solo una parte del armazón, ya irá tomando forma y ustedes serán testigo de cómo irá evolucionando este trabajo.
A continuación una serie de fotografías de cómo se ve está primera parte del armazón.

Well friends, that's all for now. I invite you to leave your opinions below in the comments, as always I will be happy to read them. With nothing more to add I'll say goodbye then...
See you next time!
Bien amigos, esto ha sido todo por ahora. Los invito a dejar sus opiniones abajo en los comentarios, cómo siempre estaré encantado de leerlos. Sin más que agregar me despido entonces...
¡Hasta la próxima!

Posted Using INLEO