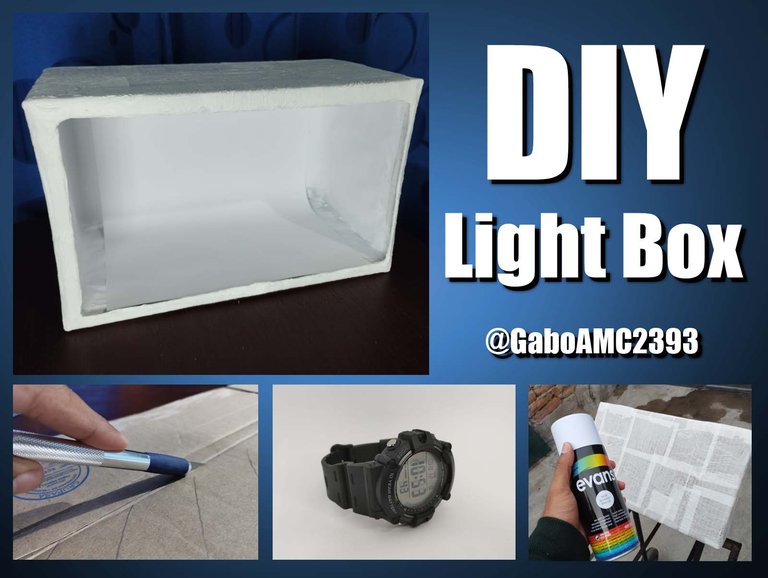
Greetings friends. Some time ago I was thinking about making a homemade light box, with materials that we all have at home and that are easily accessible. For various reasons I never made it, but I had the inspiration/need to do it to take better pictures of the future creations I will make.
Well, this all started with a medium sized cardboard box. You can make it with a box of the size you consider the most appropriate for you. For me, I liked this size so I used this one.
Español
Saludos amigos. Hace un buen tiempo estuve pensando en hacer una caja de luz casera, con materiales que todos tenemos en casa y que son de fácil acceso. Por diversos motivos nunca la hice, pero tuve la inspiración/necesidad de hacerlo para tomar mejores fotografías a las futuras creaciones que haré.
Pues bien, todo esto comenzó con una caja de cartón de mediano tamaño. Pueden hacerla con una caja del tamaño que consideren el más apropiado para ustedes. Para mi, este tamaño me gustó así que usé esta.
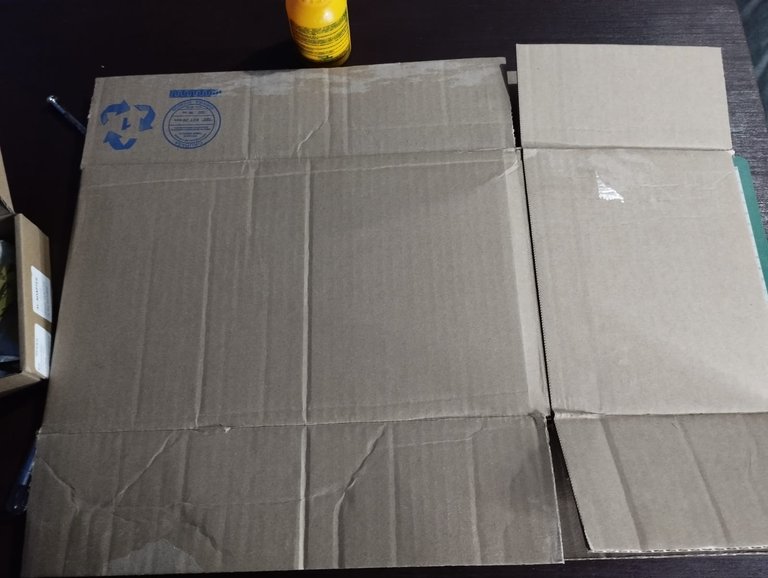
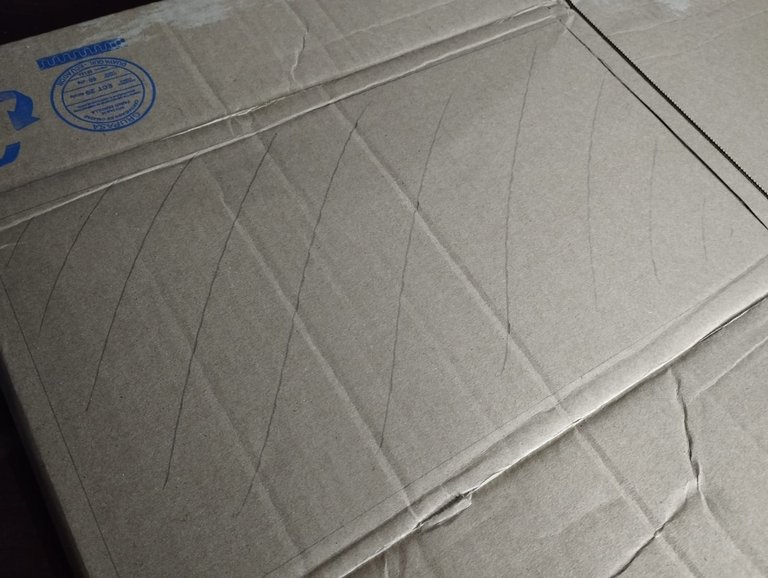
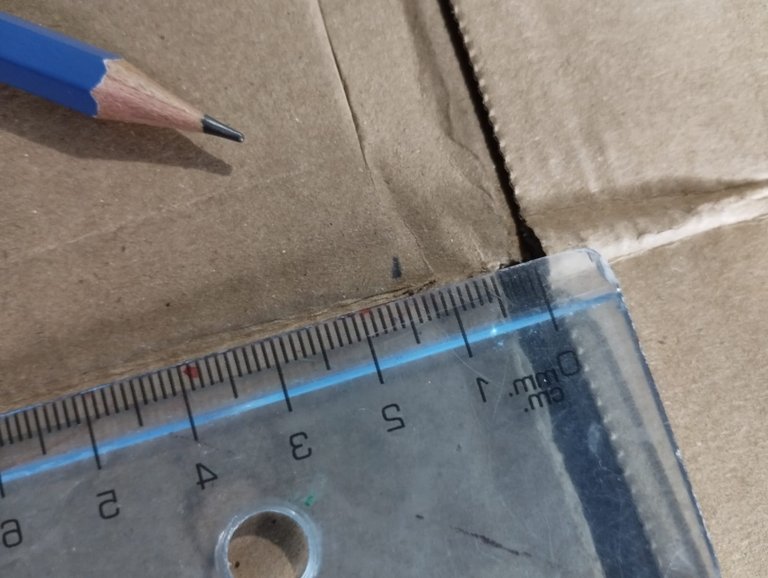
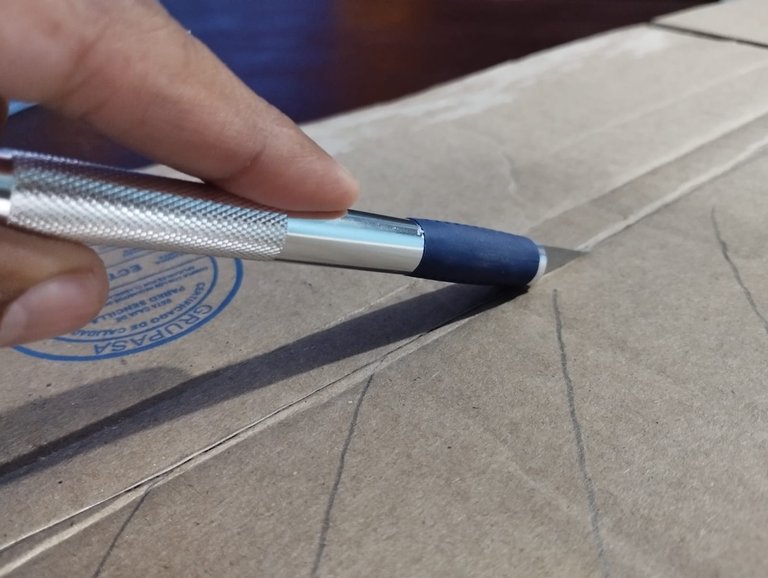
To start I began by measuring the front of the box, that is, the open area of the box. I made some lines with a ruler and pencil to make each edge 1.5 cm long. Then with the cutter I cut all the lines I made.
Para empezar comencé a hacer medidas en la parte frontal de la caja, es decir el área abierta de la caja. Hice unas líneas con regla y lápiz para hacer que cada borde fuese de 1.5 cm. Luego con el cutter corté todas las líneas que hice.
 |  |
|---|
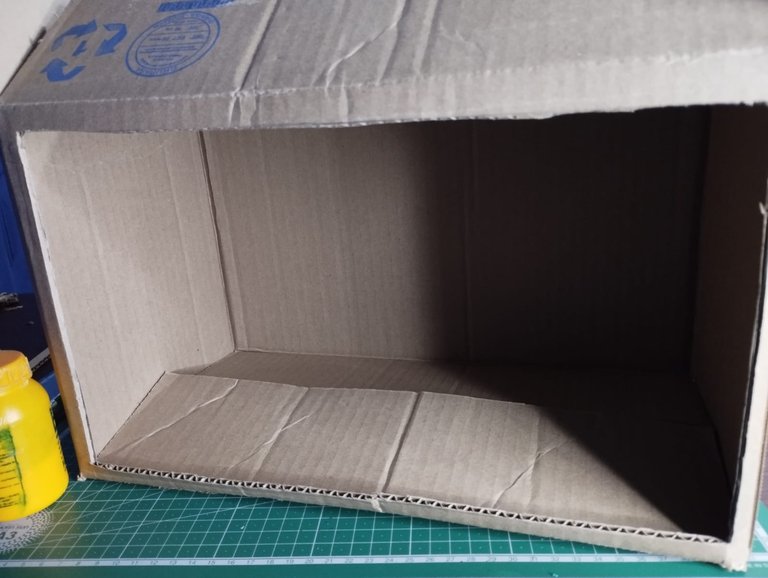
This is what the box looked like once I assembled it, leaving the front completely open to the inside. If you pay attention, the top and bottom openings of the box are loose so I had to glue them before continuing.
Así quedó la caja una vez que la armé, dejando la parte frontal completamente abierta hacia adentro. Si prestan atención, las aperturas superiores e inferiores de la caja están sueltas así que debía pegarlas antes de continuar.
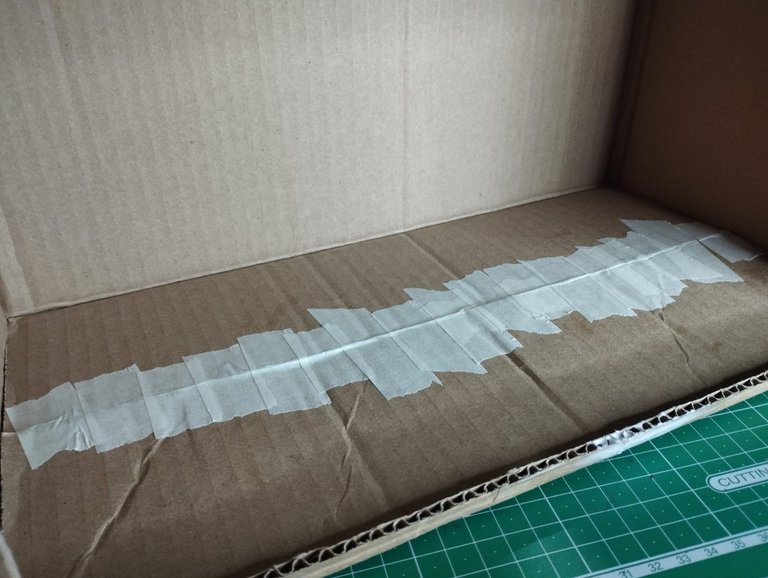
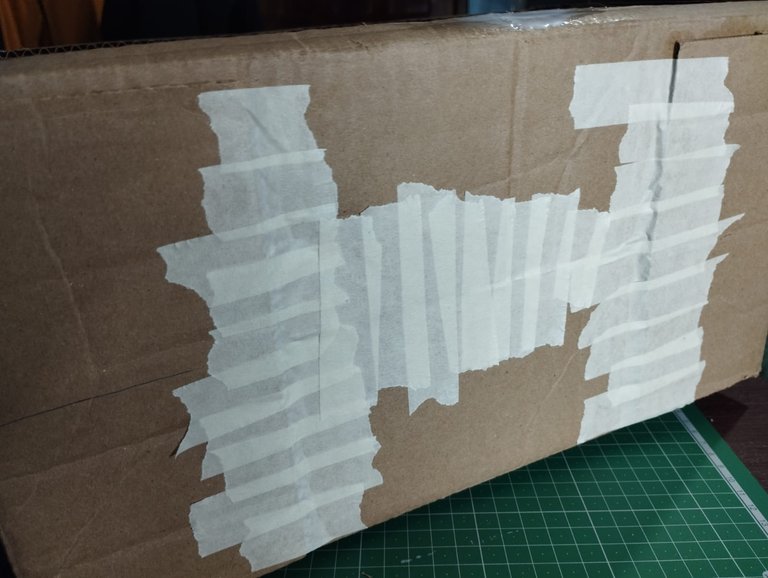
Since it is cardboard, I used glue to join the openings, then used numerous pieces of masking tape to hold these openings together while the glue dried.
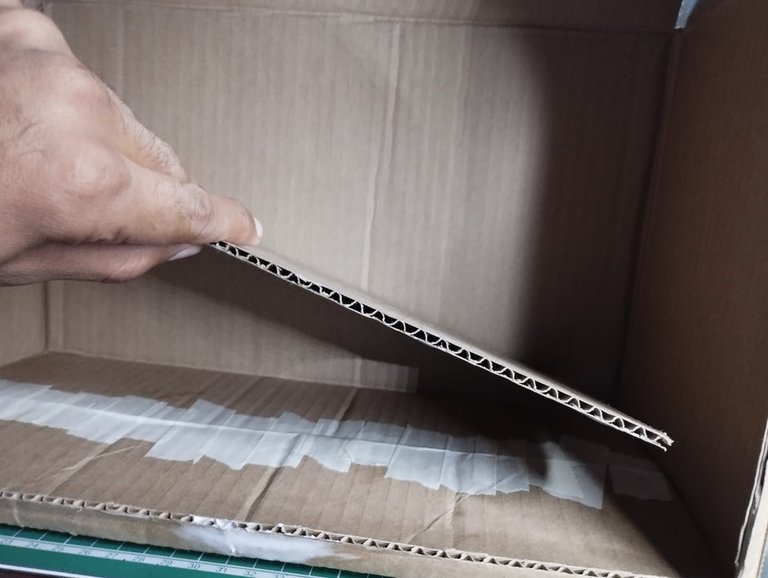
On the bottom of the box I placed another piece of cardboard to cover these joints I mentioned earlier, as you can see in the image on the right.
Como es cartón, usé pegamento para unir las aperturas, luego usé numerosos trozos de cinta adhesiva para mantener unidas estas aperturas mientras secaba el pegamento.
En la parte baja de la caja coloqué otro trozo de cartón para cubrir estas uniones que mencioné antes, tal como pueden ver en la imagen de la derecha.
 |  |
|---|
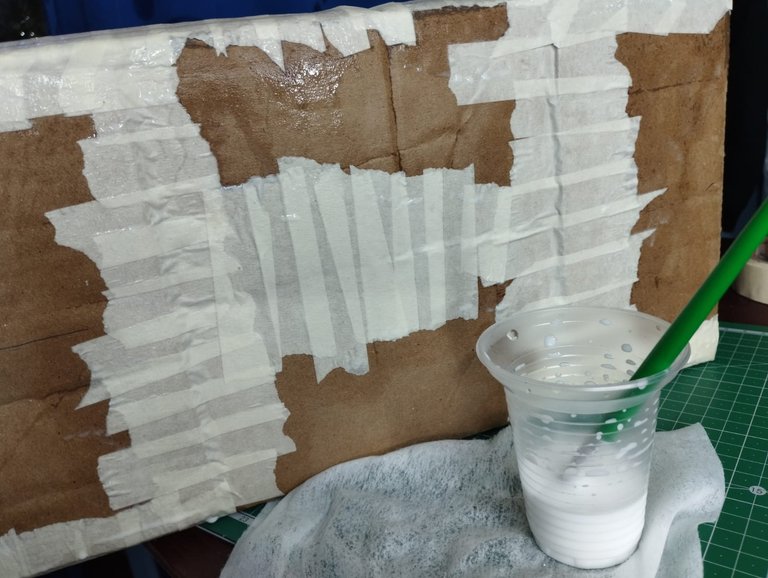
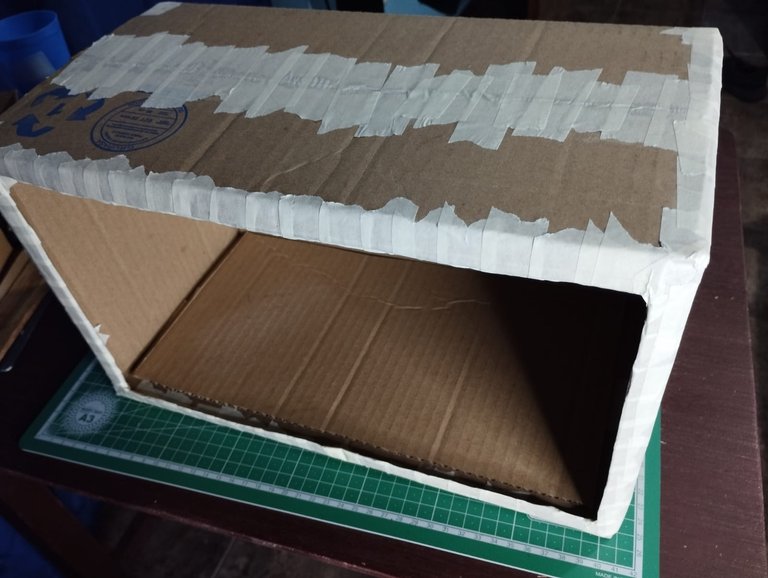
After gluing all the joints, I continued by placing pieces of tape on each of the joints, so that there was no cardboard sticking out on the surface of the box. After this, I used glue to give the tape more firmness so that it would stay in place over time. Of note, I also taped all around the edge of the large opening of the box.
Después de pegar todas las uniones, continué colocando trozos de cinta adhesiva en cada una de las uniones, para que no hubiese ningún tipo de cartón que sobresaliera en la superficie de la caja. Luego de esto, usé pegamento para darle mayor firmeza a la cinta y que esta se mantuviese en su lugar con el pasar del tiempo. Cabe destacar, que también coloqué cinta en todo el borde de la gran apertura de la caja.
 |  |
|---|
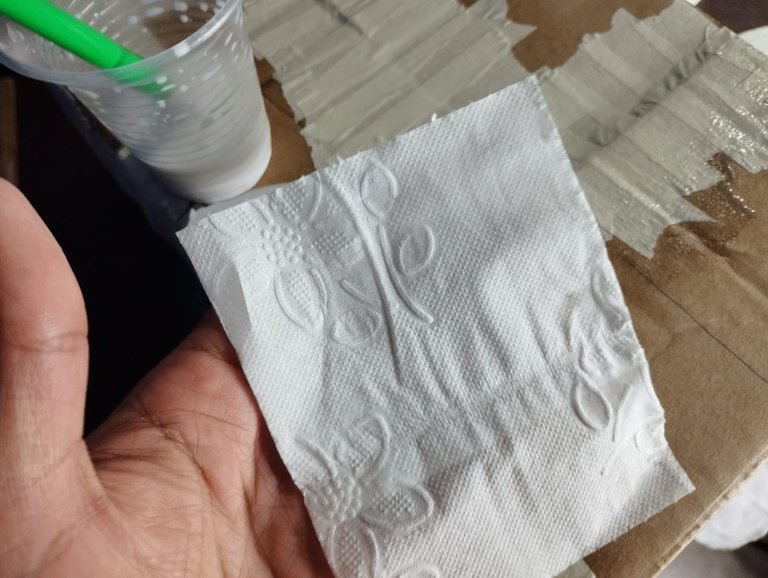
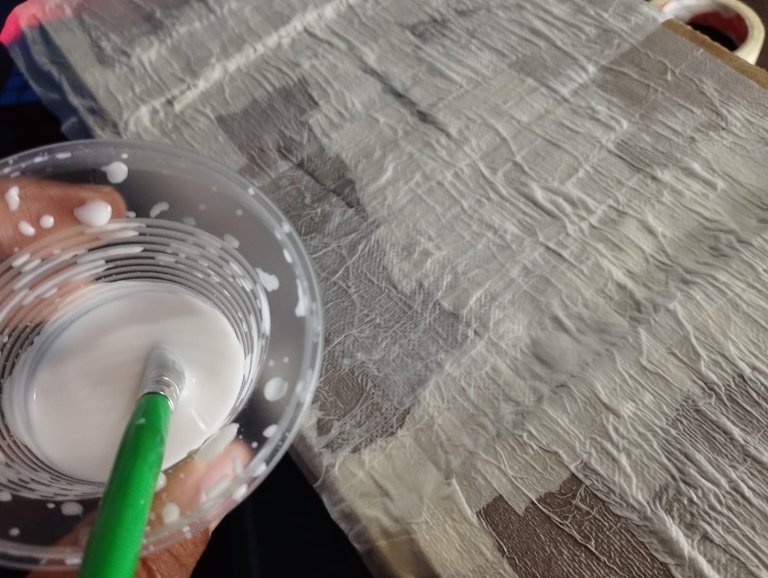
To give more strength and protection to the box, I took pieces of paper and glued them on the surface of the box with glue. I glued piece of paper by piece of paper, the measure of glue I used was half glue and half water in the same measure.
Para darle mayor fuerza y protección a la caja, tomé trozos de papel y lo pegué sobre la superficie de la caja con pegamento. Pegué trozo de papel por trozo de papel, la medida de pegamento que usé fue mitad pegamento y mitad agua en la misma medida.
 |  |
|---|
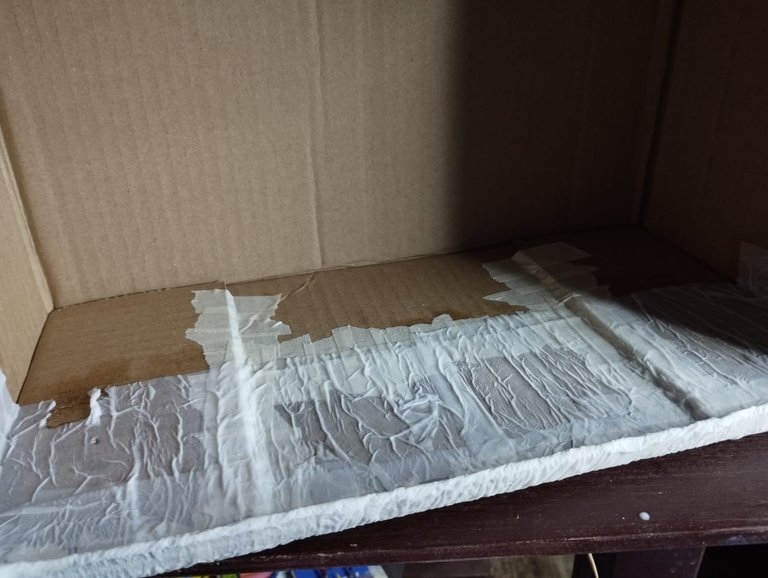
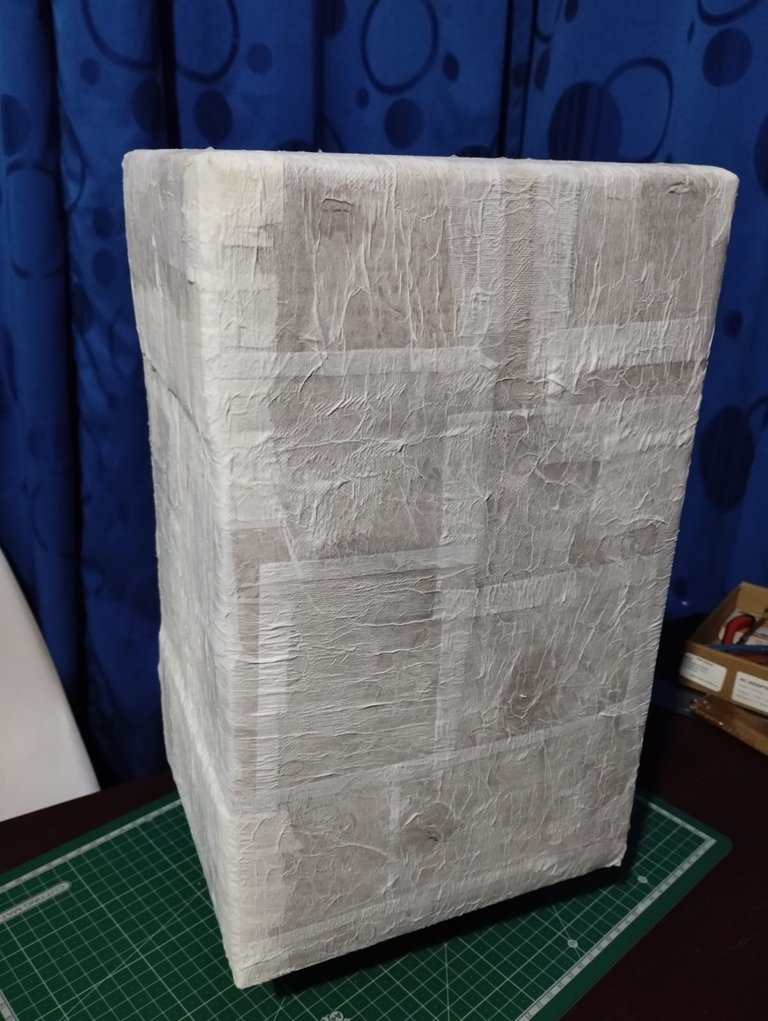
Notice that I glued all the paper on the outside as well as on the inside of the box, to, as I said, make the surface of the cardboard more resistant and to make it last longer.
You can see in the image on the right how the box looked when it was completely covered with paper and glue.
Fíjense que todo el papel lo pegué tanto en el exterior como en el interior de la caja, para, como dije, darle mayor resistencia a la superficie del cartón y que perdure más en el tiempo.
Pueden observar en la imagen de la derecha cómo quedó la caja al cubrirla por completo con papel y pegamento.
 |  |
|---|
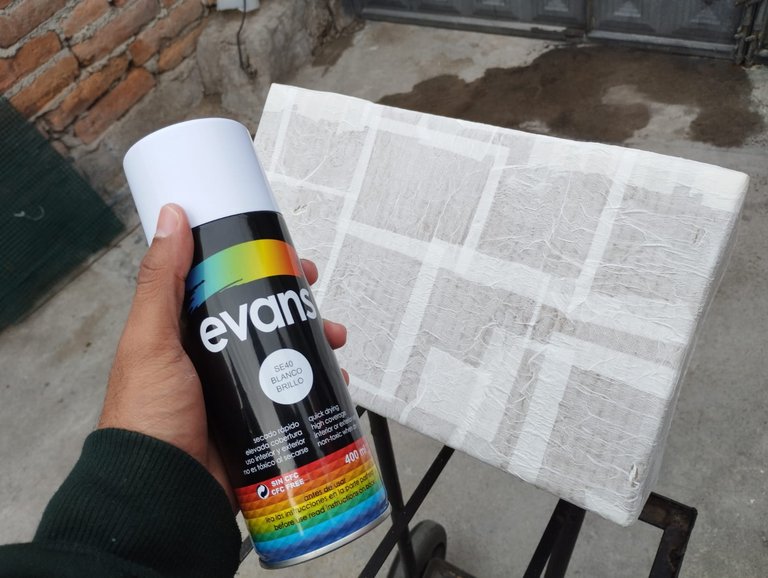
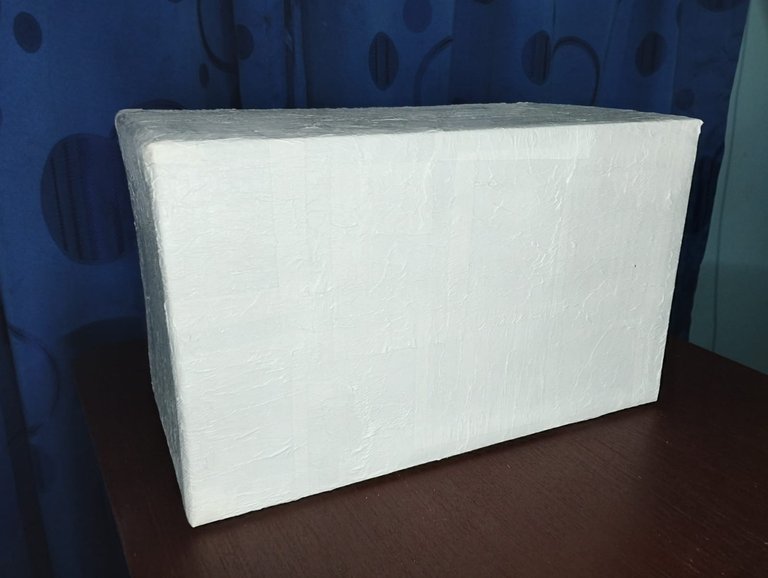
Finally, to further protect the outside of the box, I used spray paint to paint it. It is oil paint, which takes some time to dry, so I painted it at sunset and let it dry overnight. In the image on the right you can see how the box looks like once the paint dried, white as snow.
Finalmente, para proteger aún más el exterior de la caja, usé un spray de pintura para pintarla. Es pintura en aceite, lo cual tarda algo en secar, así que lo pinté al atardecer y lo dejé secar toda la noche. En la imagen de la derecha pueden observar cómo se ve la caja una vez secó la pintura, blanca como la nieve.
 |  |
|---|
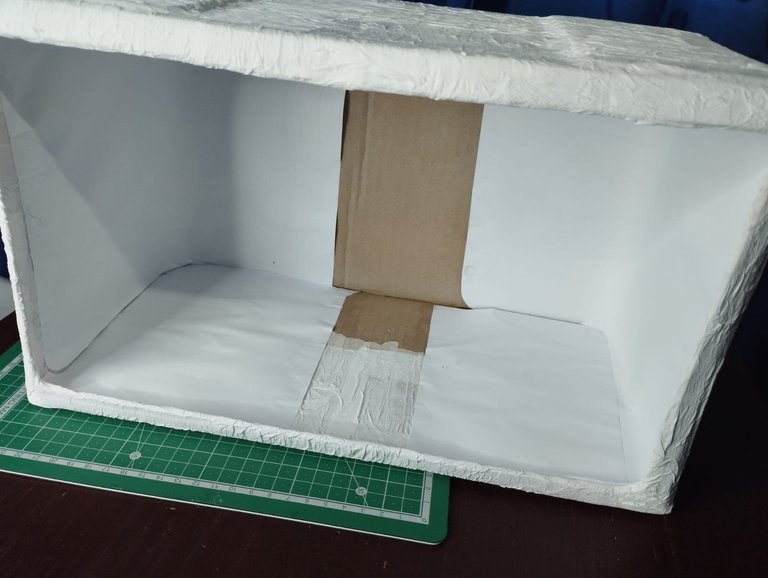
Once I worked on the outside of the box, I started with the inside.
White is important in these light boxes, because white is excellent for reflecting light, which will give even more clarity to the photos we take, even if the light source we use in this box is not so powerful.
Thinking about this, I covered the whole inside of the box with sheets of white cardboard, on the sides, on the bottom and on the top, as I said on all sides of the box.
Una vez que trabajé en el exterior de la caja, comencé con el interior.
El blanco es importante en estas cajas de luz, porque el blanco es excelente para reflejar la luz, lo cual dará aún más claridad a las fotos que tomemos, aunque la fuente de luz que utilicemos en esta caja no sea tan potente.
Pensando en esto, cubrí todo el interior de la caja con hojas de cartulina blanca, en los laterales, en la parte inferior y en la parte superior, como dije en todos los lados de la caja.
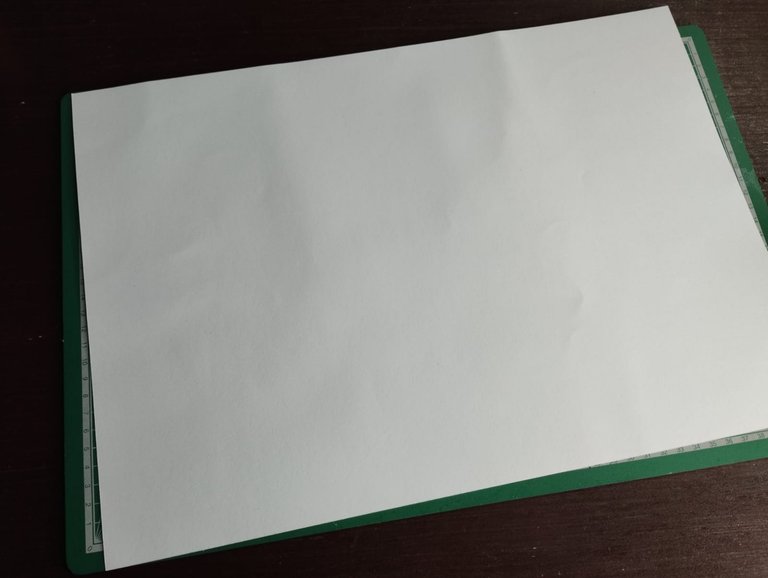
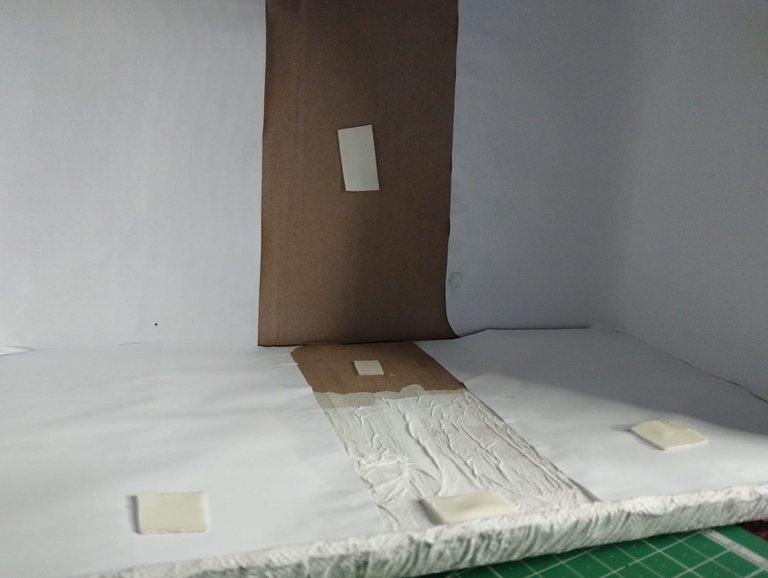
On the other hand, I bought an A3 size cardboard, which would serve as a backdrop for the photos. Since glue can wrinkle the cardboard as it dries, I decided to use double-sided tape so that it would adhere to the entire surface of the box.
Por otro lado, compré una cartulina de tamaño A3, que serviría como escenario para las fotos. Como el pegamento puede llegar a arrugar la cartulina mientras se seca, decidí usar una cinta adhesiva doble faz para que se adhiriera en toda la superficie de la caja.
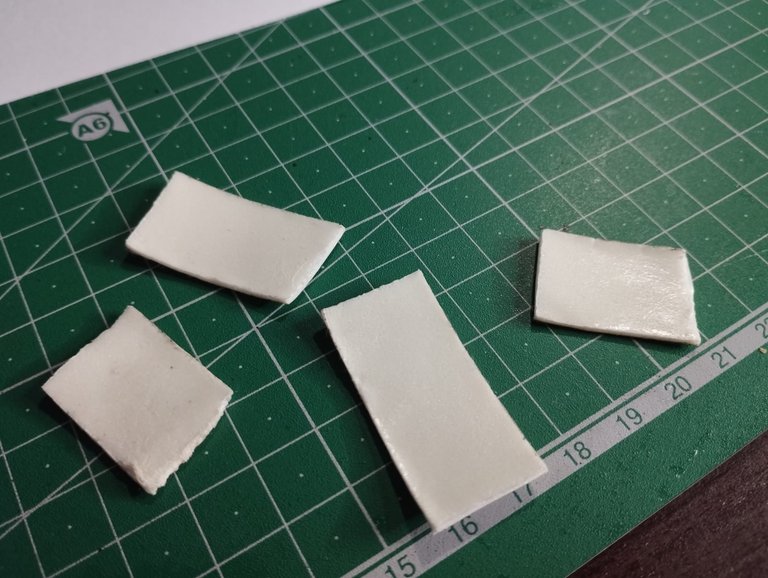
I cut the double-sided tape into small pieces, which I distributed along the entire uncovered part of the box, that is, the part that did not have paper with glue, but was only cardboard.
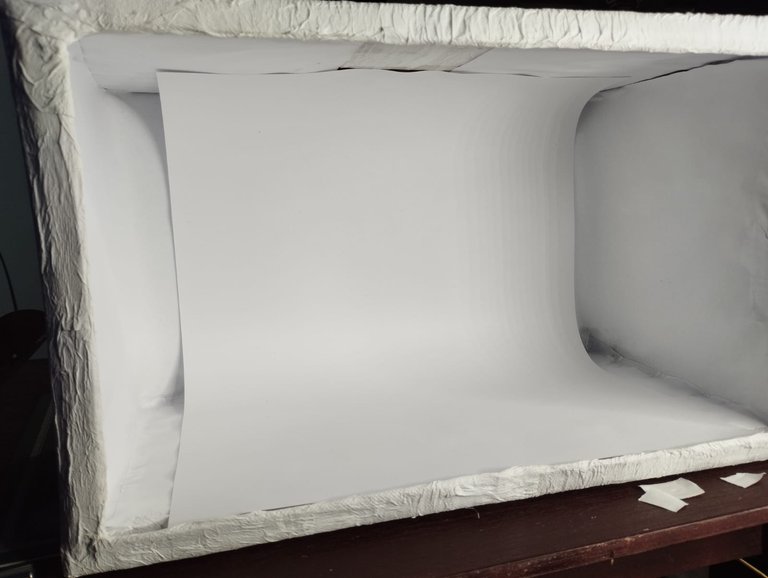
I glued the cardboard vertically on the box, without folding it, so that no folds would be visible when taking the photographs.
La cinta doble faz la corté en pequeños trocitos, los cuales distribuí a lo largo de toda la parte descubierta de la caja, es decir, lo que no tenía papel con pegamento, sino que solo era cartón.
La cartulina la pegué de manera vertical en la caja, sin doblarla, de modo que al tomar las fotografías no se vean dobleces.
 |  |
|---|
 |  |
|---|
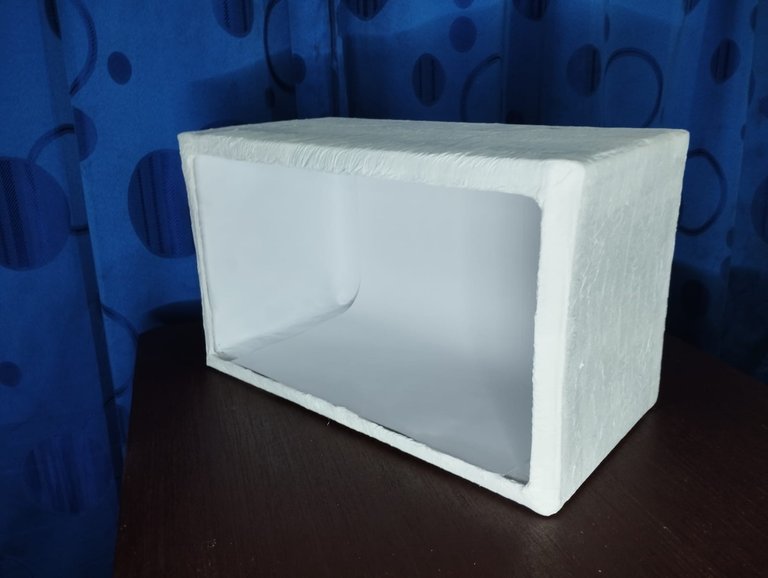
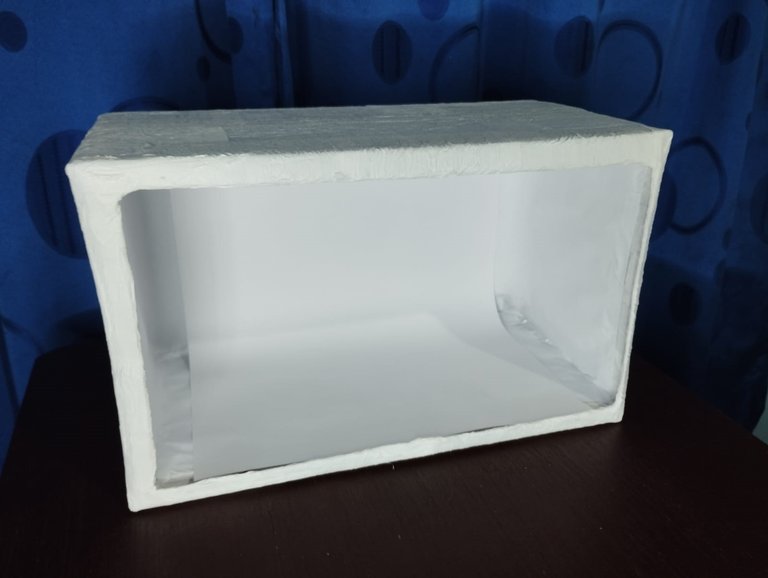
This is the final result of the light box, completely white and totally ideal for reflecting light. Of course, I will use my light ring to illuminate the box and that same light will be reflected by the white cardboard.
Este es el resultado final de la caja de luz, completamente blanca y totalmente ideal para reflejar la luz. Por supuesto, usaré mi aro de luz para iluminar la caja y que esa misma luz sea reflejada por la cartulina blanca.
 |  |
|---|
To give you an idea of how great the photographs look in this light box, here are a series of photographs of various objects.
Para que se hagan una idea de lo genial que se ven las fotografías en esta caja de luz, a continuación dejo una serie de fotografías de diversos objetos.
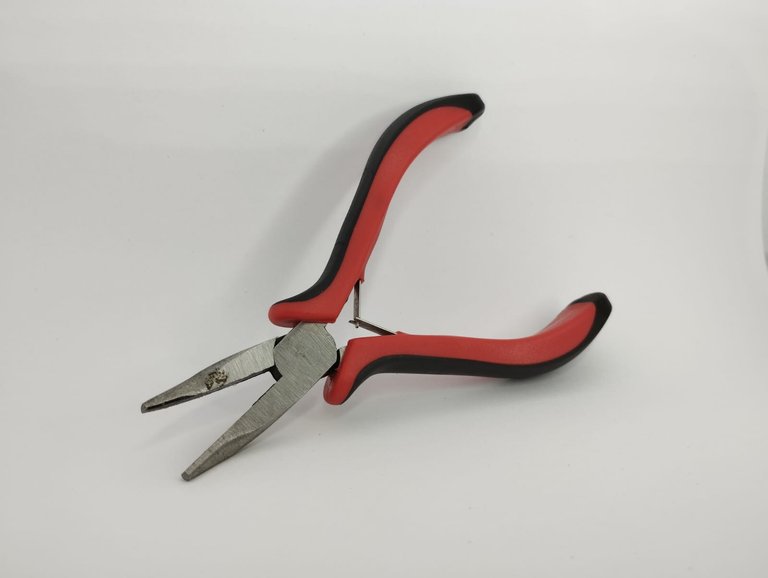
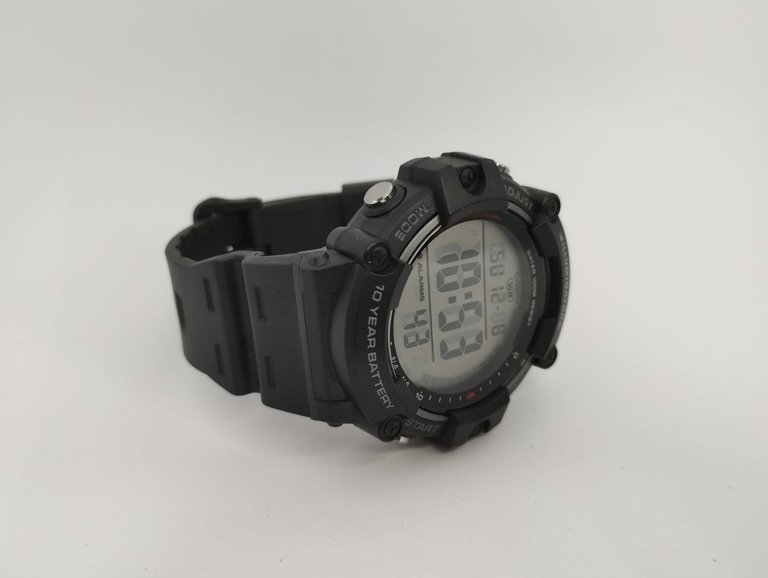
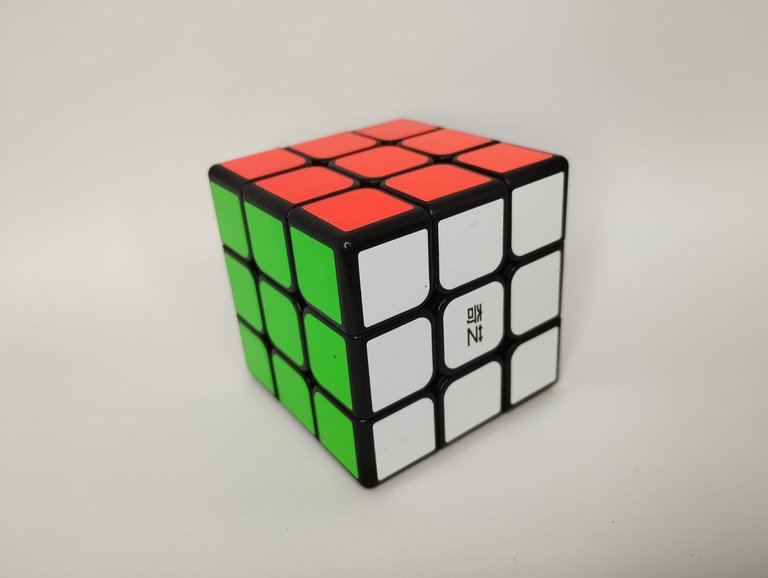
Well friends, that's all for now. I hope you liked this DIY and I encourage you to make it to improve your photos. I invite you to leave your opinions below in the comments, as always I will be happy to read them. Without more to add, I'll say goodbye then...
See you next time!
Bien amigos, esto ha sido todo por ahora. Espero que este DIY les haya gustado y se animen a hacerla para mejorar sus fotografías. Los invito a dejar sus opiniones abajo en los comentarios, como siempre estaré encantado de leerlos. Sin más que agregar, me despido entonces...
¡Hasta la próxima!

@tipu curate
Upvoted 👌 (Mana: 39/59) Liquid rewards.
Woaaaaa que brutal!!! 👀👀👀 Te quedo genial amigo, tanto que creo que lo haré! Siempre es bueno buscar mejorar nuestras fotos, gracias por este tutorial!!
This is an excellent idea made with recycled materials, a perfect job to improve our photographs for all those who make tutorials.I think it's an excellent contribution for content creators in the craft parts.Thank you for leaving us your step by step, quite simple to prepare.