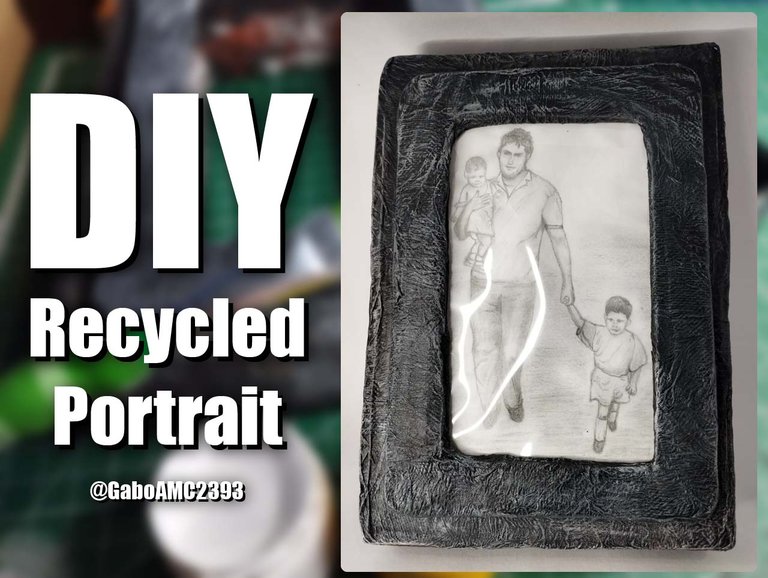
Greetings friends. The other day I shared with you a drawing I did of my dad, my brother and me when we were little. I gave that drawing to my dad as a gift on December 24. But you may wonder how I gave it to him, if in an envelope or wrapped in a folder, because it is a paper where I drew it?
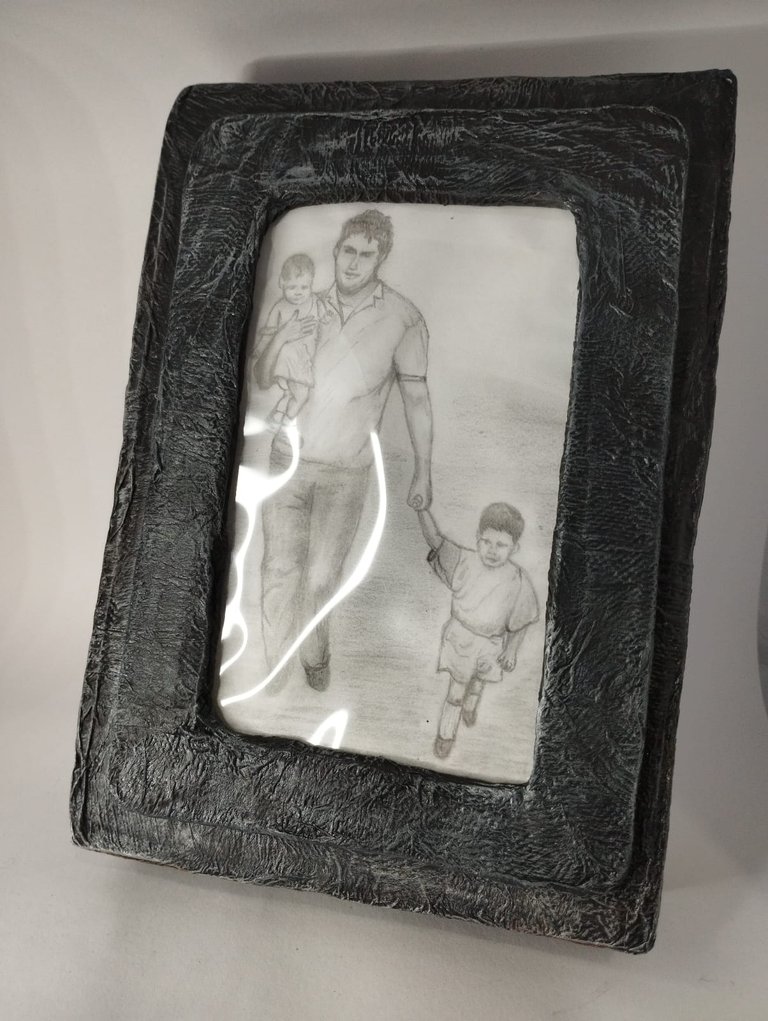
Well, the answer is no, for this drawing I made a picture frame with recycled material and I decorated it in such a way that it looked elegant and simple so that the drawing would last longer in time. Join me in the step-by-step of this beautiful portrait...
Español
Saludos amigos. El otro día compartí con ustedes un dibujo que hice sobre mi papá, mi hermano y yo, cuando estábamos pequeños. Ese dibujo se lo regalé a mi papá el 24 de Diciembre. Pero tal vez se pregunten cómo se lo regalé, si en un sobre o envuelto en alguna carpeta, porque es un papel en donde lo dibujé...
Pues la respuesta es no, para este dibujo hice un portarretrato con material de reciclaje y lo decoré de tal manera que luciera elegante y sencillo para que el dibujo perdurase más en el tiempo. Acompáñenme en el paso a paso de este bonito portarretrato...
Step by step
Well friends, the materials used for this picture frame are recycled, below you can see a list:
- Cardboard (or if you prefer cardboard).
- Adhesive tape.
- Sheets of paper.
- Acetate sheet.
- Glue.
- Paint.
- Tools such as scissors, pencil, ruler, brushes and cutter.
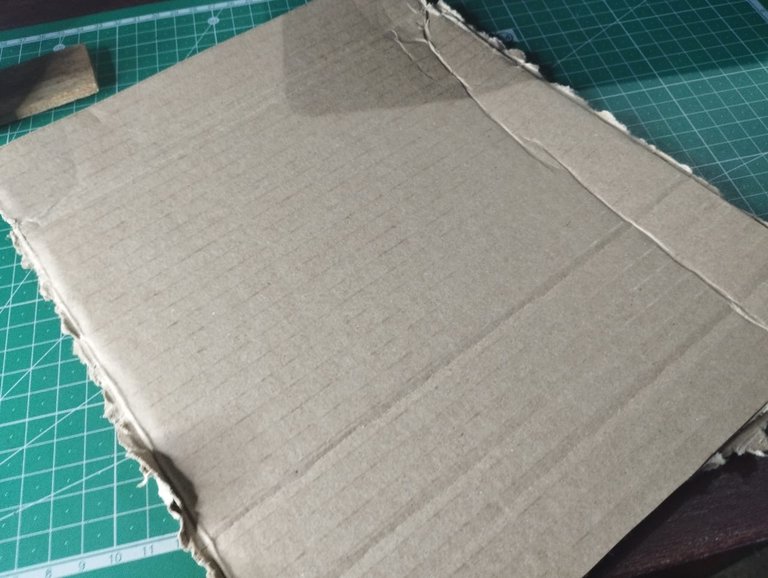
As I said, I used a piece of cardboard as a base for the picture frame. It is a thick cardboard, enough to keep the shape of this craft and thin enough not to be ugly.
Paso a paso
Bien amigos, los materiales utilizados para este portarretrato son reciclados, a continuación pueden ver una lista:
- Cartón (o si prefieres cartulina).
- Cinta Adhesiva.
- Hojas de papel.
- Lámina de acetato.
- Pegamento.
- Pintura.
- Herramientas como tijera, lápiz, regla, pinceles y cutter.
Como dije, utilicé un trozo de cartón como base para el portarretrato. Es un cartón grueso, lo suficiente para mantener la forma de esta manualidad y lo suficientemente delgado para que no sea feo.
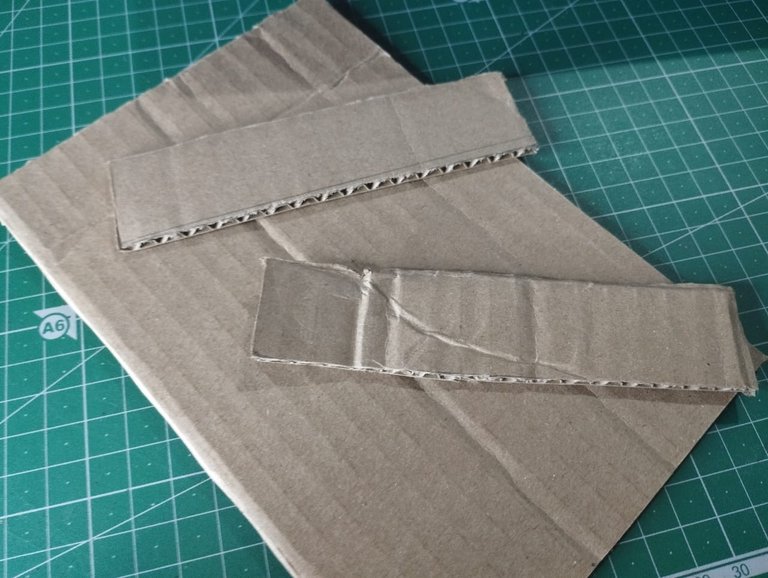
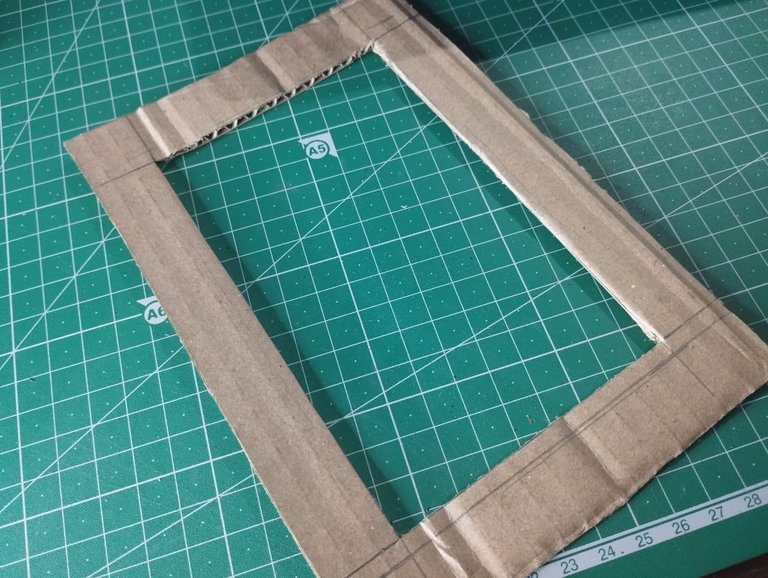
The first thing I did was to cut some strips for the inner and outer areas of the side parts of the picture frame. Then I cut what would be the back and front frame, all the parts needed to make this piece.
Lo primero que hice fue cortar algunas tiras para las áreas internas y externas de las partes laterales del portaretrato. Luego corté lo que sería el marco trasero y frontal, todas las partes necesarias para hacer esta pieza.
 |  |
|---|
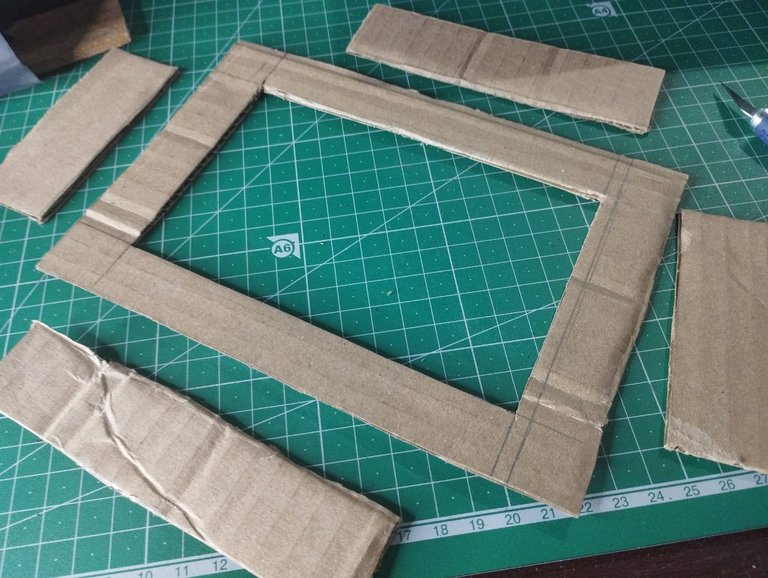
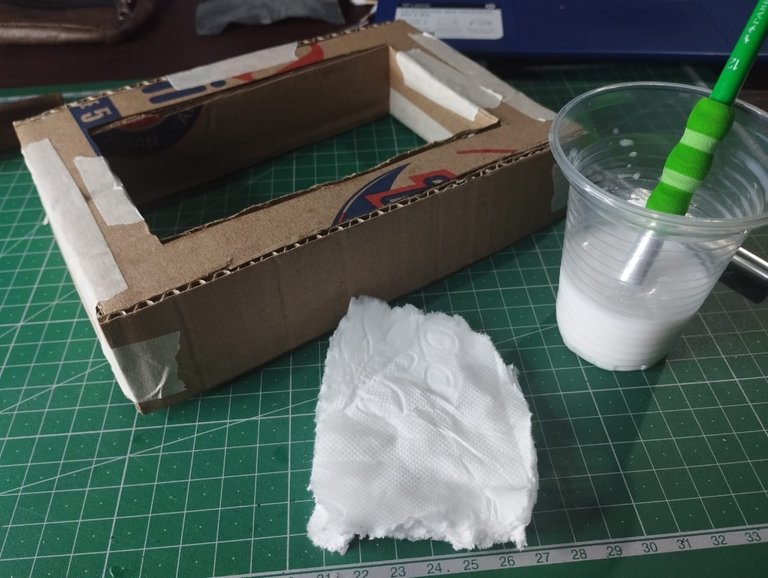
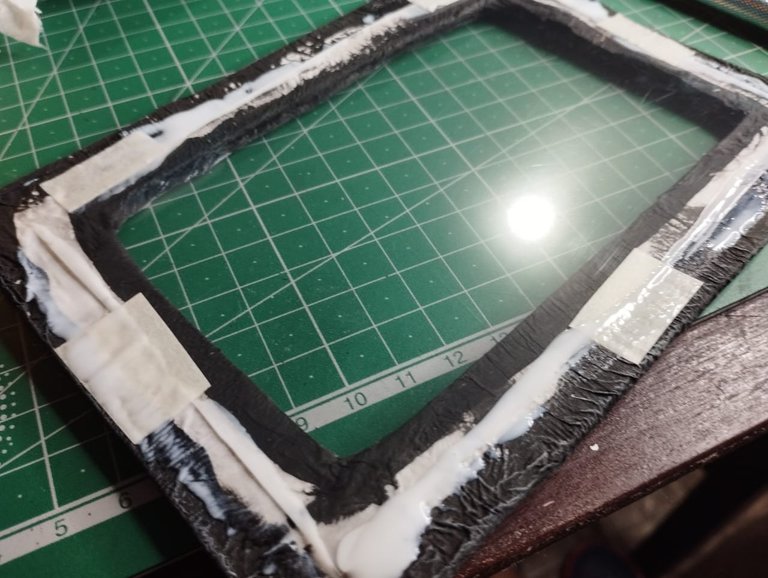
Since there are so many pieces to put together and they are all made of cardboard, white glue is ideal for holding the pieces together; however, the pieces would not hold together with the glue, since it is not fast drying. For this reason, I used masking tape to hold the pieces together while the glue dried.
Al haber tantas piezas para para unir y al ser todas de cartón, el pegamento blanco es ideal para mantener unidas las piezas; sin embargo, estas no lograrían mantenerse quietas con el pegamento, ya que no es de secado rápido. Por tal motivo, usé cinta adhesiva para mantener las piezas unidas mientras el pegamento secaba.
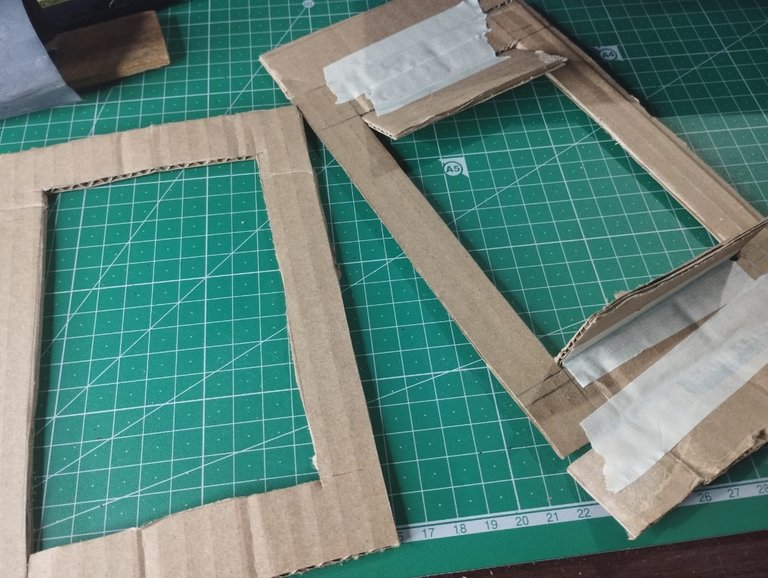
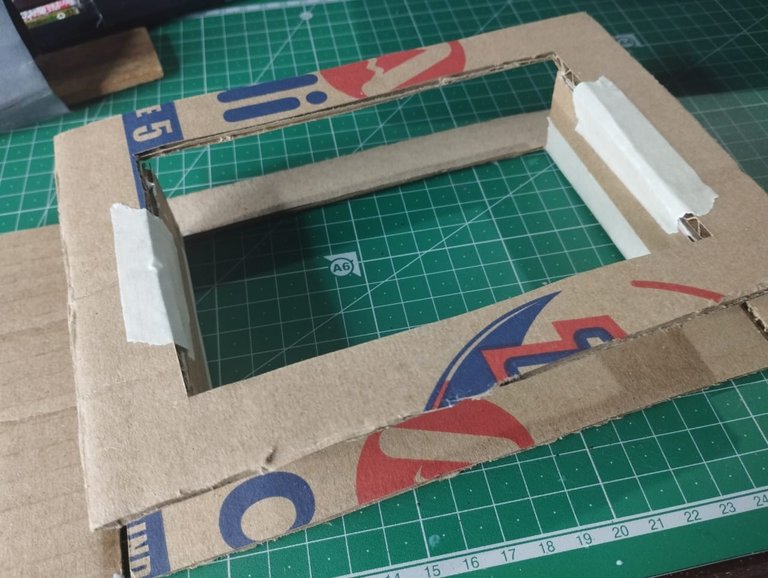
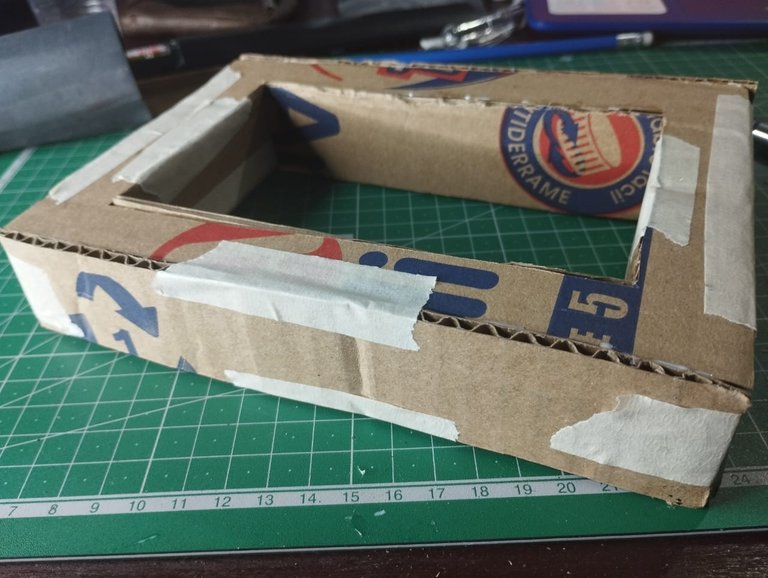
As you can see, this adhesive tape served me during the whole time I was gluing the pieces already mentioned. The idea was to make a sort of complete and thick frame, rectangular in shape and square in each column.
Como pueden observar, esta cinta adhesiva me sirvió durante todo el tiempo en el que estuve pegando las piezas ya mencionadas. La idea era hacer una suerte de marco completo y grueso, rectangular en su forma y cuadrada cada columna.
 |  |
|---|
I should clarify that each time I used the glue, I also put some glue with a brush on each and every piece of tape, so there was no need to remove it after it dried.
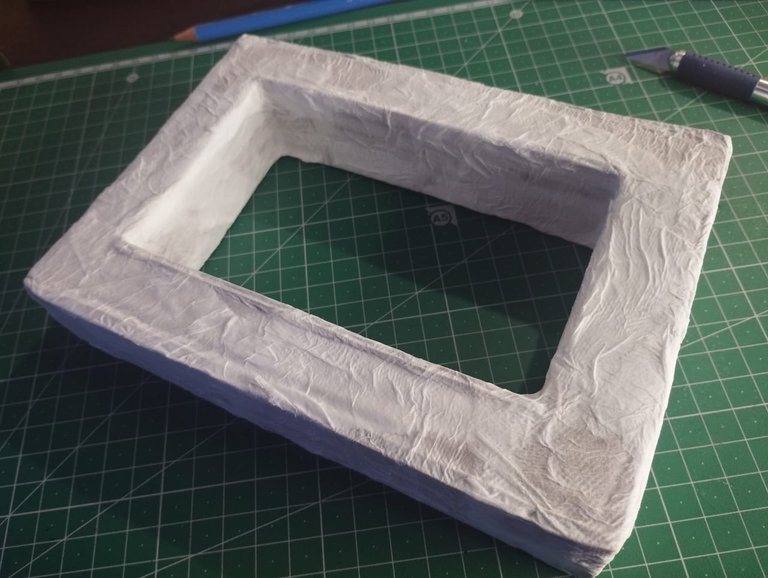
On the other hand, after the picture frame was able to hold its shape, I started to glue little pieces of paper all over the surface. I did this without any pattern or order, I simply covered everything with the paper, until no piece of the original cardboard was exposed.
Debo aclarar que cada mientras usaba el pegamento, también coloqué un poco de pegamento con un pincel en todos y cada uno de los trozos de cinta adhesiva, así que no hubo necesidad de retirarla después de que esta secara.
Por otra parte, después de que el portarretrato pudo mantener su forma, comencé a pegar trocitos de papel con pegamento durante toda la superficie. Esto lo hice sin ningún patrón ni siguiendo un orden, simplemente cubrí todo con el papel, hasta que no quedó expuesto ningún trozo del cartón original.
 |  |
|---|
I also made a sort of cover, which will be what will hold the drawing to the rest of the piece I already made. This cover is almost the same size as the front of the picture frame, just a little smaller.
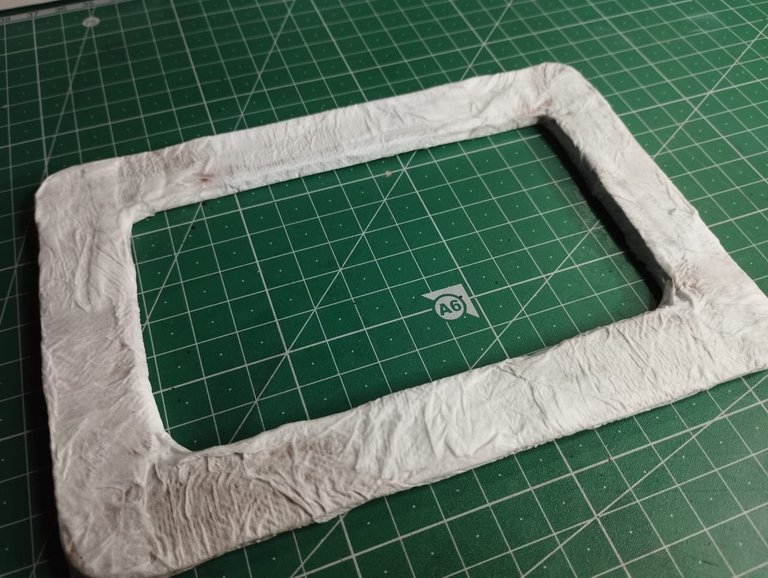
It's a sheet of the same cardboard, so it's not wide at all, it's like the front frame but, as I mentioned, a little smaller and with rounded edges. I also covered this piece with paper and glue.
También hice una suerte de cubierta, que será lo que sostendrá el dibujo al resto de la pieza que ya hice. Esta cubierta es casi del mismo tamaño que la parte frontal del portarretrato, solo que un poco más pequeña.
Es una lámina del mismo cartón, así que no tiene nada de ancho, es como el marco frontal pero, como ya mencioné, un poco más pequeño y con bordes redondeados. Esta pieza también la cubrí con papel y pegamento.
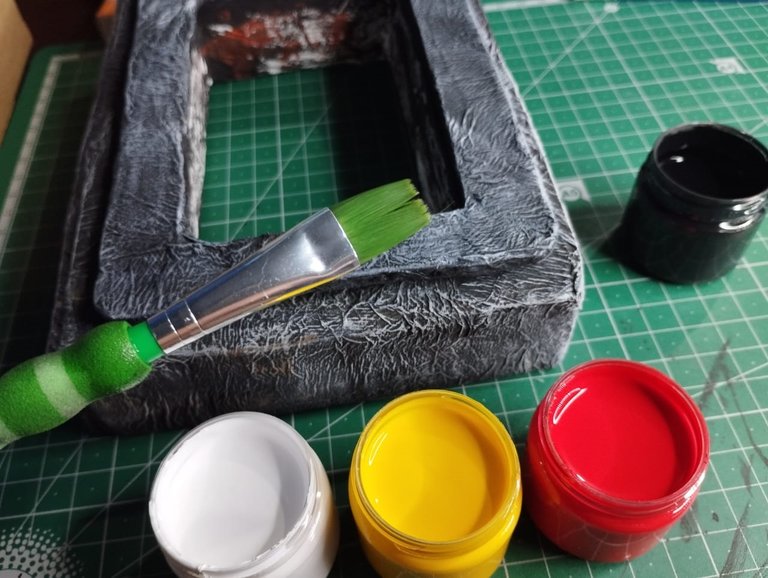
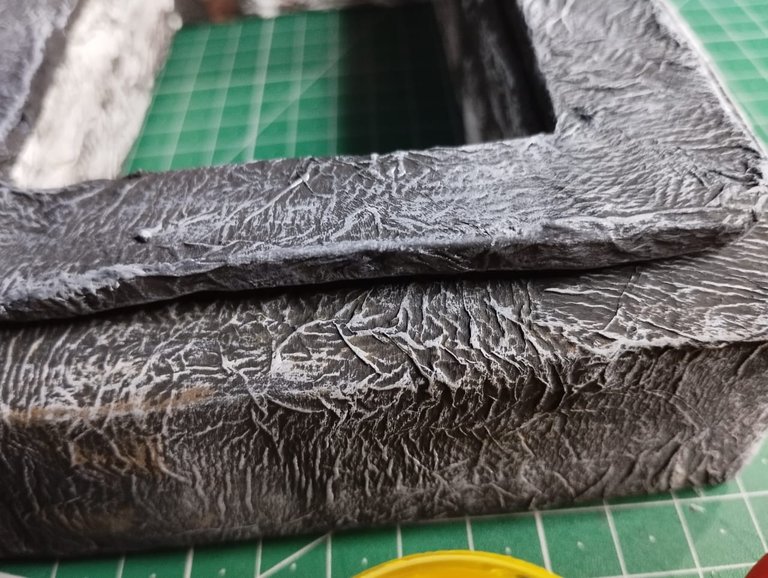
After the paper with which I covered the piece dried, I painted both parts with black paint, then with the dry brush technique I gave numerous shades taking advantage of the relief, yellow, red and white shades, although they are not very noticeable in the photos, being the white the one that stands out, there are the other colors...
Después que el papel con el que cubrí la pieza secó, pinté ambas partes con pintura negra, luego con la técnica del pincel seco le di numerosas tonalidades aprovechando el relieve, tonalidades amarillas, rojas y blancas, aunque no se perciben mucho en las fotos, siendo el blanco el que destaca, ahí están los otros colores...
 |  |
|---|
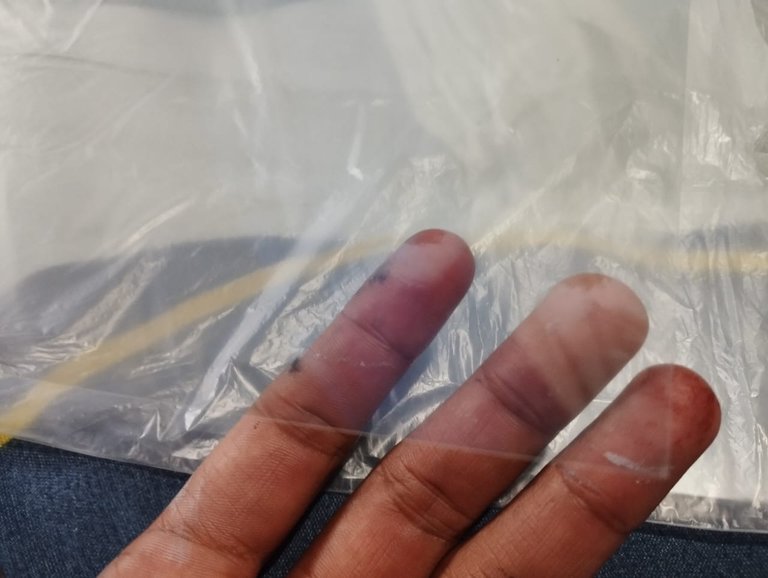
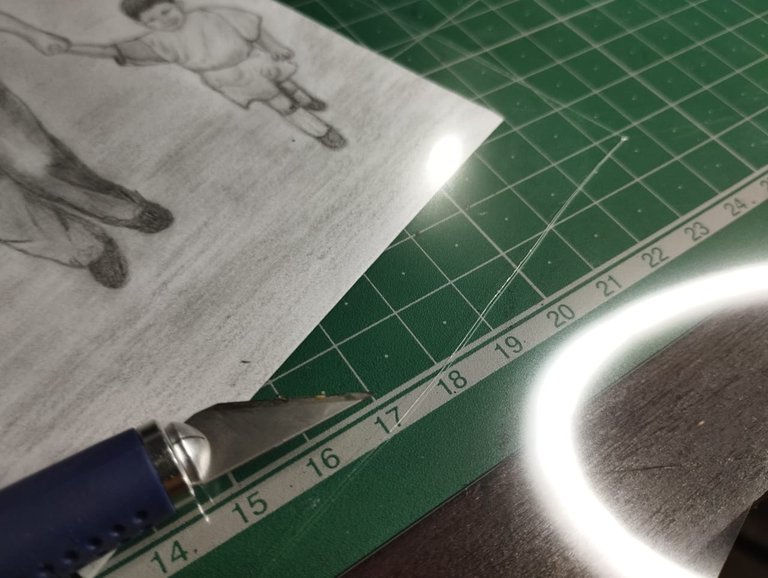
Remember the acetate sheet? Well, these usually come in letter size, so you have to cut it to the size of the drawing, a little larger so that it covers it completely.
¿Recuerda la lámina de acetato? Pues bien, estas normalmente vienen de tamaño carta, así que hay que cortarla del tamaño del dibujo, un poco más grande para que lo cubra por completo.
 |  |
|---|
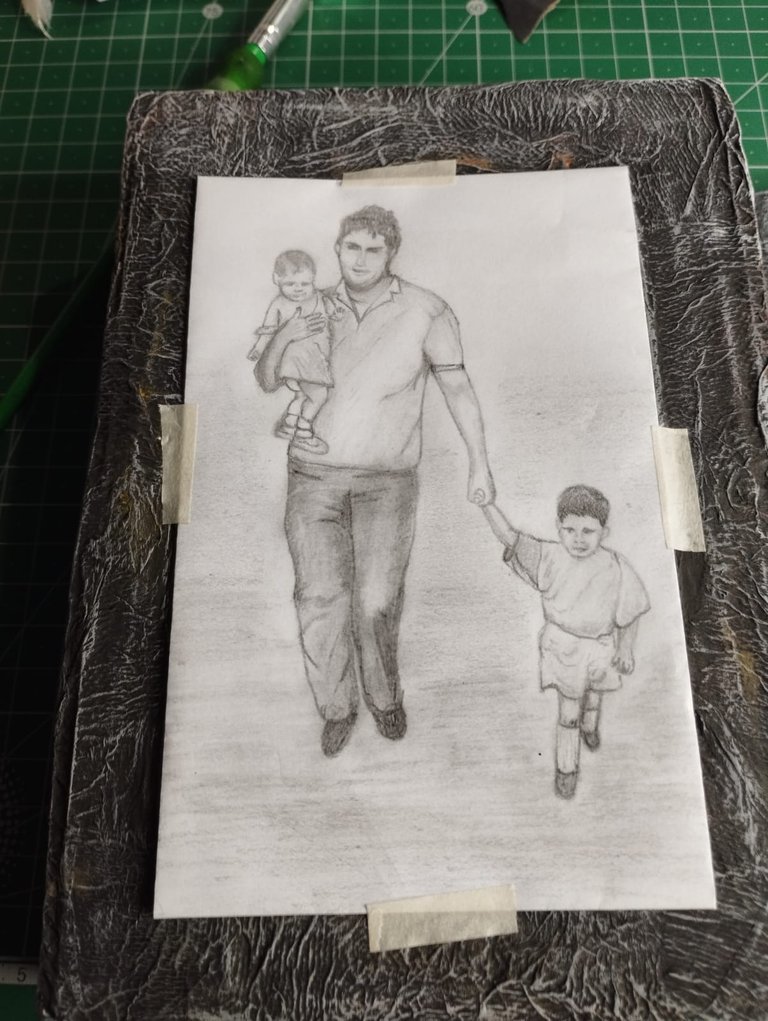
Once the acetate sheet was cut, I placed the drawing in the middle of the thick part of the picture frame. I used ribbons to glue the drawing in place, because if I used glue, there was a risk that the paper of the drawing would wrinkle due to the effect of the glue.
On the protective cover (the thin frame you can see in the image on the right), I glued the acetate sheet, also with adhesive tape. After that I joined the two pieces with glue dots, emphasis on dots, dots where there was no paper, so that only the two pieces of the picture frame would stick without damaging the drawing.
Una vez cortada la lámina de acetato, coloqué el dibujo en medio de la parte gruesa del portarretrato. Me valí de cintas para pegar el dibujo en su lugar, pues si usaba pega, existía el riesgo de que el papel del dibujo se arrugara por efecto del pegamento.
En la cubierta protectora (el marco fino que pueden ver en la imagen de la derecha), pegué la lámina de acetato, también con cinta adhesiva. Luego de esto uní las dos piezas con puntos de pegamento, énfasis en puntos, puntos donde no había papel, de modo que solo las dos piezas del portarretrato pegaran sin dañar el dibujo.
 |  |
|---|
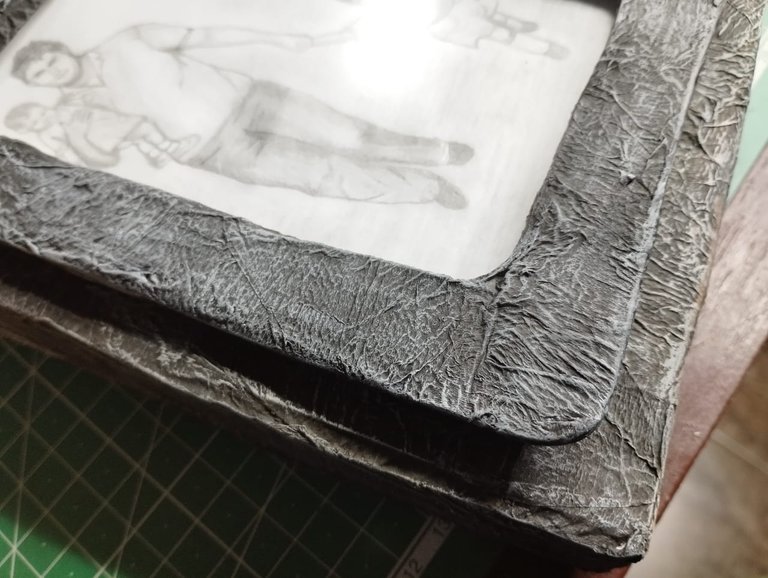
This is how it was finished, below you can see a series of photographs of the final result:
De esta manera quedó terminado, a continuación pueden ver una serie de fotografías del resultado final:
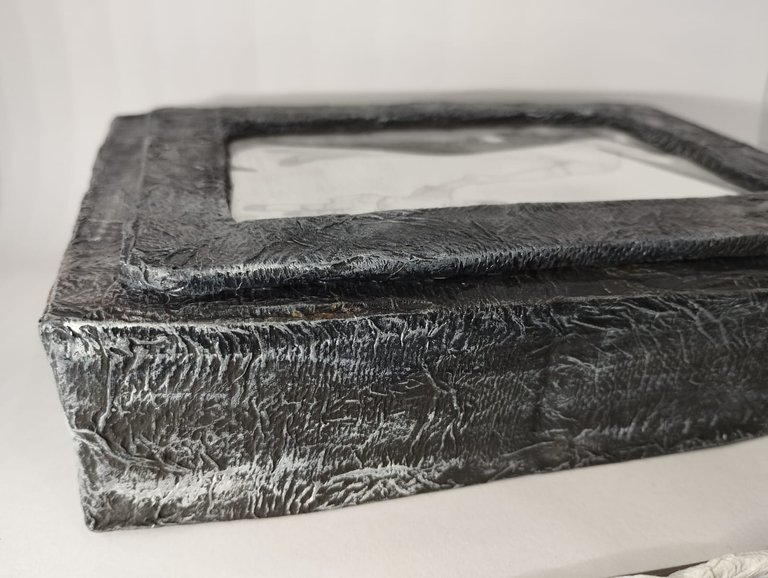
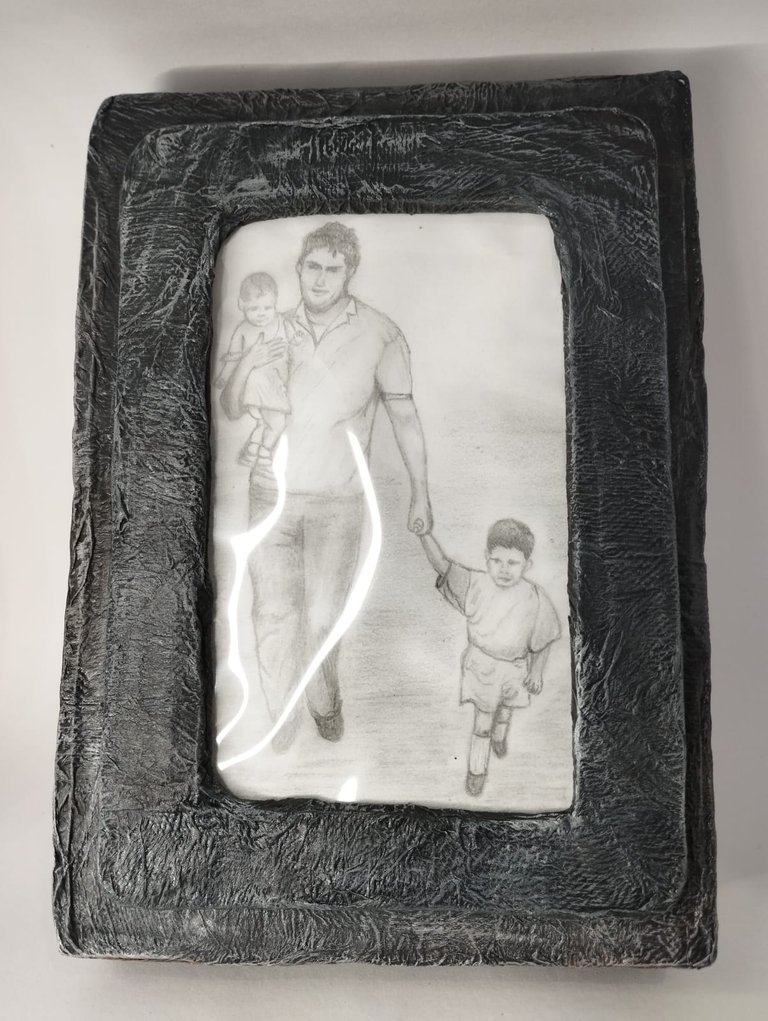
Well friends, that's all for now. I hope you liked my picture frame made with recycled materials. I invite you to leave your opinions below in the comments, as always I will be happy to read them. With nothing more to add, I'll say goodbye then...
See you next time!
Bien amigos, esto ha sido todo por ahora. Espero que mi portarretrato hecho con materiales reciclados les haya gustado. Los invito a dejar sus opiniones abajo en los comentarios, como siempre estaré encantado de leerlos. Sin más que agregar, me despido entonces...
¡Hasta la próxima!
Posted Using INLEO
I love this!
It's so great to see how it's done because I had no idea, and it's something I'd actually like to do:)
Well I think if I have helped you get an idea of how to do something like this, I feel more than satisfied. If you get to do it I would like to see in a post how you did it hehehe it's always good to see the work of other authors. Thanks for stopping by and commenting on my post!
Saludos amigo, te quedo espectacular, es impresionante como se logra trasformar un material simple, en una obra tan creativa y original.💙
Well, that's the great thing about crafts, with just a few materials we can create great things.
There is a special feature, and that is the dedication and love that you put into those few materials, congratulations.🤗
♦️ You got 0.01 FELT for sharing high vibes on Hive.
📋♦️ FELT Info