¡Hola hivers!💜
Espero que se encuentren bien y felices. San valentin fue una fecha movida y tuve algunos encargos de bolsas decoradas con la temática del día del amor y la amistad. Algunos para niños que tenían un intercambio de dulces, al mejor estilo amigo secreto, en su colegio. Así que les comparto un tutorial sencillo para decorar tus bolsas de papel desde cero:

MATERIALES
Papel kraft (también funciona papel blanco o reciclado)
Cinta doble faz (también funciona silicone frío, caliente o pegamento en barra)
Marcadores de pintura acrílica (o marcadores de los que tengas)
PASO A PASO
PASO 1
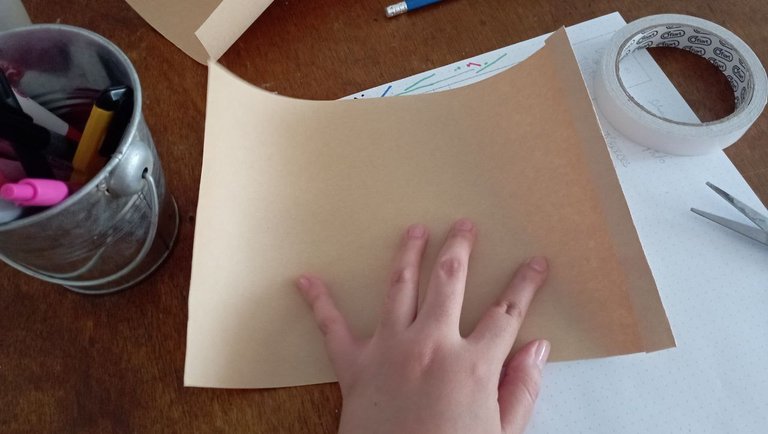
Lo primero es definir el tamaño de mi bolsa. Como las hago personalizadas, pido un aproximado de lo que van a meter para sacar las medidas, al ser una bolsa de 10 cm de ancho x 15 cm de alto y con una profundidad de unos 4 cm, tuve que sacar un rectángulo de papel kraft de unos 29 cm de ancho por 20 cm de alto.
 |  |
|---|
PASO 2
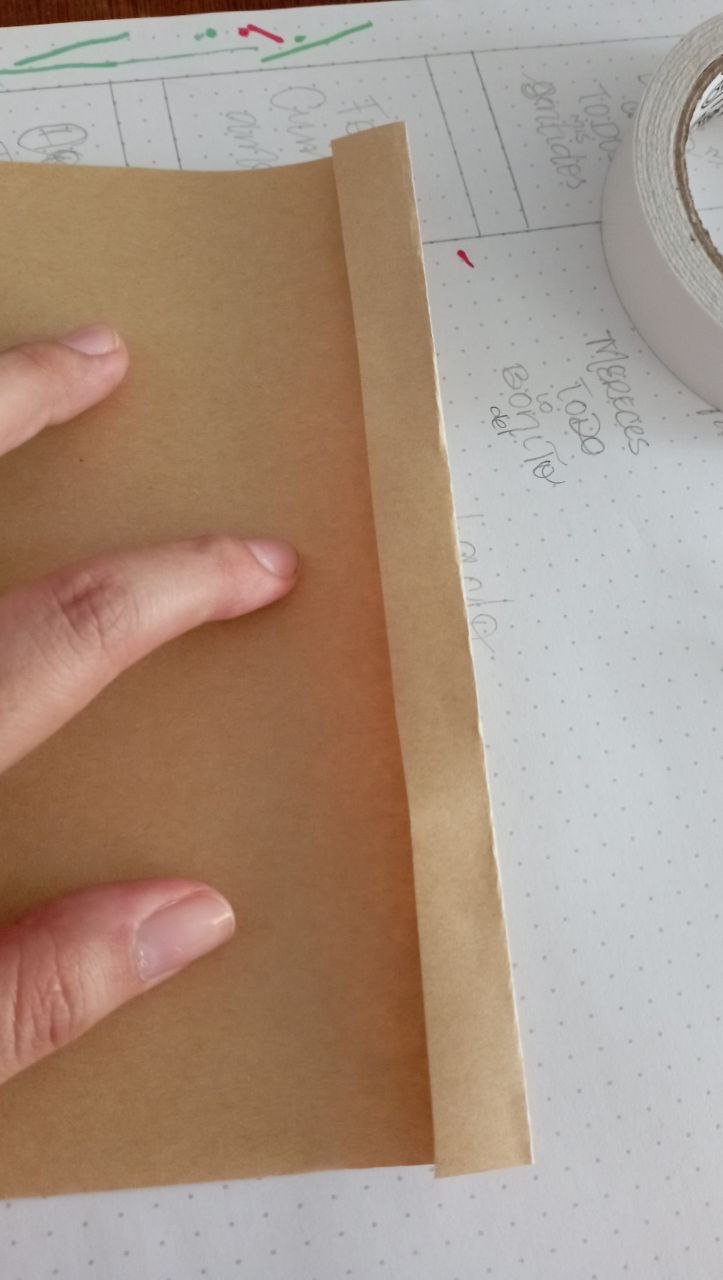
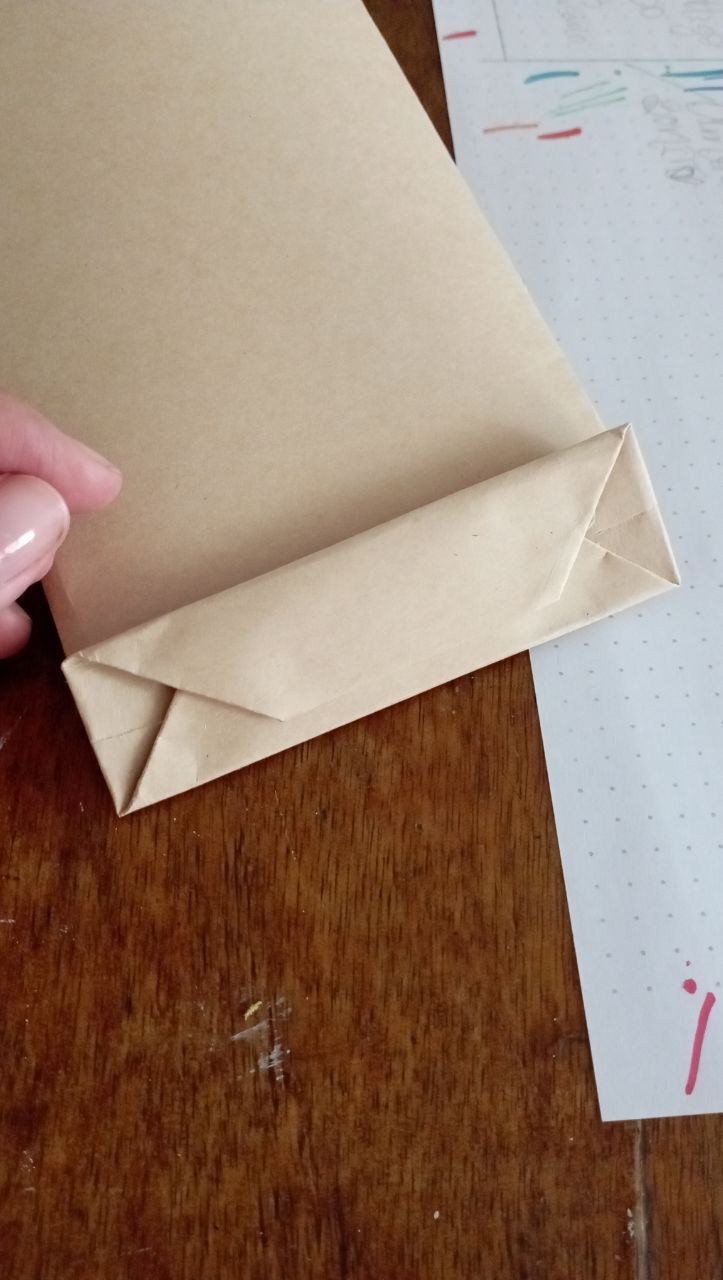
Toca doblar el papel para convertirlo en bolsa. Al principio se siente difícil pero luego de que agarras la vuelta, es muy sencillo. Lo primero es doblar una pestaña de aproximadamente 1 cm de ancho en uno de los extremos. A esta pestaña le puse cinta doble faz y pegue con el otro extremo del papel, así logramos cerrar la bolsa y por el momento parece un sobre.
 |  |
|---|
PASO 3
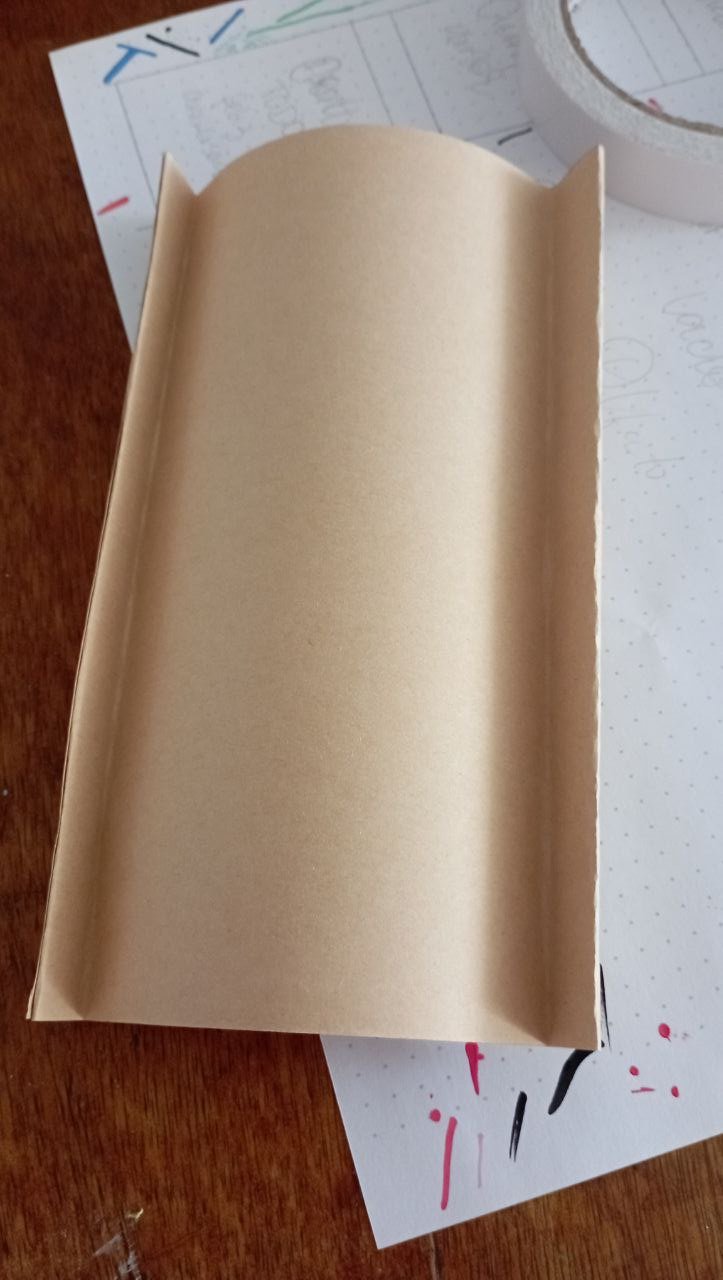
Ahora vamos a darle profundidad a la bolsa (sino quedaría como un simple sobre). Para esto vamos a doblar una pestaña de cada lado de la bolsa de 2 cm aproximadamente. Luego esta pestaña la abriremos y el plique que quedo lo meteremos, así quedará el pliegue usual que tienen las bolsas de regalo y que le da profundidad a la misma.
Tip: en caso de querer hacer una bolsa con mayor profundidad, solo debes jugar con la medida que usarás.
 |  |
|---|
PASO 4
La última parte del armado de la bolsa es hacer la base. Para esto vamos a hacer un doblez en la parte inferior de aproximadamente 2 cm (debe ser de una medida parecida a la que tomamos para la profundidad). Ahora abriremos la bolsa y tomaremos cada una de las puntas para hacerla coincidir con la línea interna del doblez que hicimos previamente, formando una especie de triángulo en cada lado.
Ahora, haremos un doblez hacia arriba y se formará como un pico de pato (una extraña referencia, pero funciona). Con ayuda de la cinta doble faz, cerramos primero con un doblez la parte que está abajo y luego sobre ese pegaremos la parte de arriba.
 |  |
|---|
Así tendremos una bolsa lista.
PASO 5
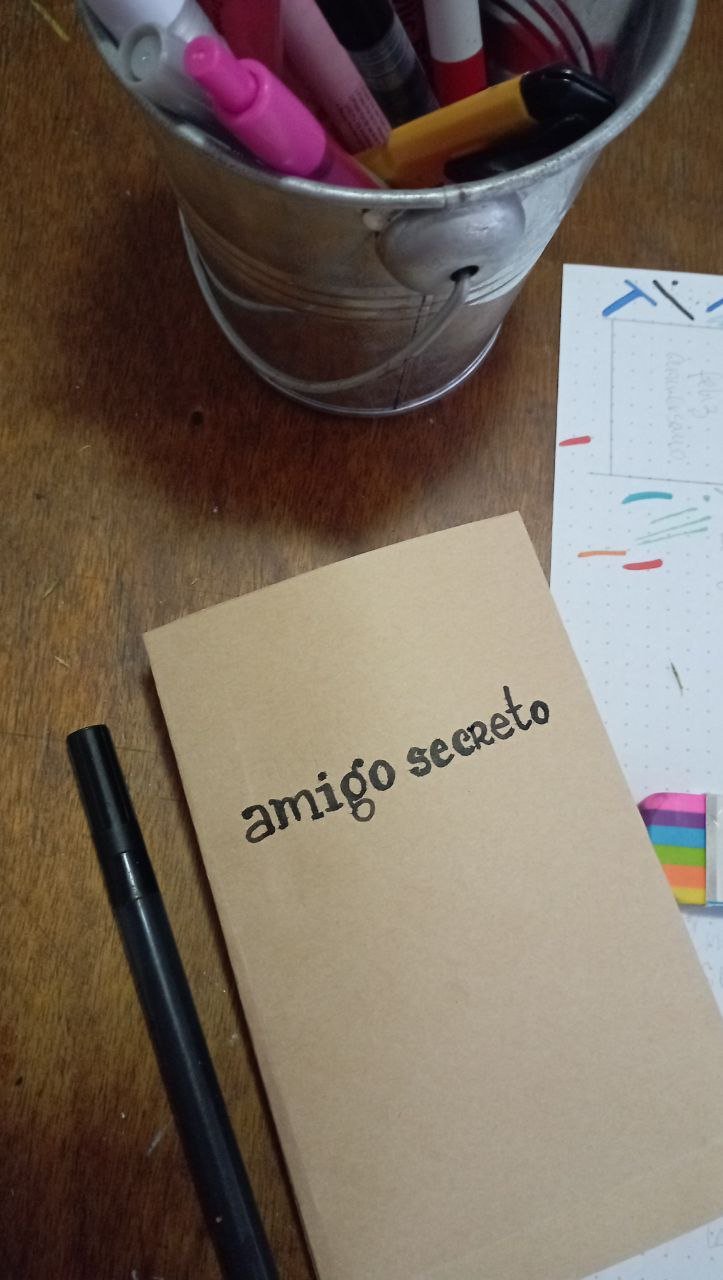
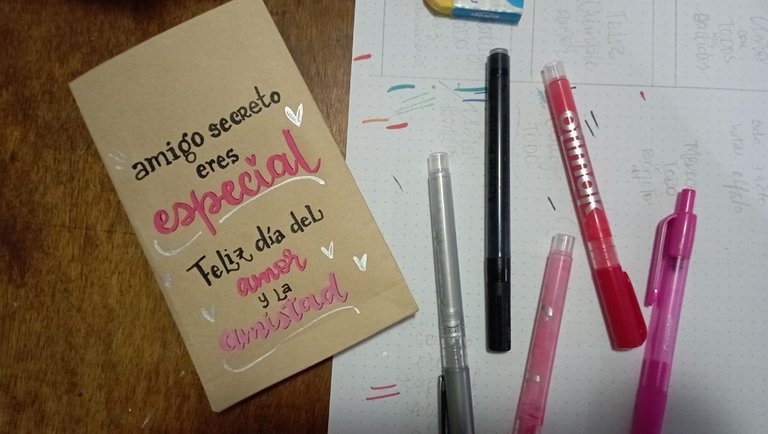
Llegó el momento de decorar. Con ayuda de mis marcadores de pintura acrilica empecé a escribir la frase que me pidieron: “amigo secreto eres especial, feliz dia del amor y la amistad”. Me gusta usar marcadores de pintura acrílica porque sin importar la superficie el color siempre se mantendrá igual, así el fondo sea claro u oscuro. Utilice un estilo serif y cursivo para hacer las letras y una paleta de colores muy romantica: rojo, rosado, negro y plateado.
PASO 6
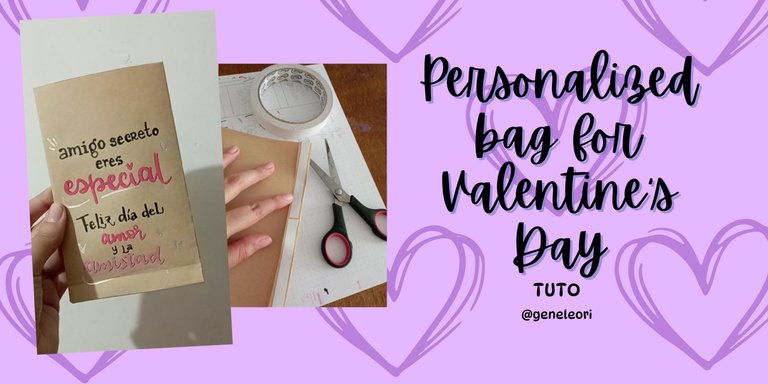
¡Lista bolsa de regalo personalizada!

Me gusta mucho hacer bolsas de regalo personalizadas ya que son bolsas únicas y especiales pensadas para alguien en especifico (me gusta tomar en cuenta el estilo y gustos de la persona). De por sí que hacer un regalo hecho a mano es un bonito detalle. La dueña de la bolsa quedó feliz con el resultado y a su amigo secreto le gustó mucho. Espero que este tutorial te sea útil para tus próximos proyectos.
Gracias por leerme
Con cariño, G.
Hi hivers! 💜
I hope you are well and happy. Valentine's Day was a busy date and I had some orders for bags decorated with the theme of the day of love and friendship. Some of them were for kids who had a candy exchange, secret friend style, at their school. So I share with you a simple tutorial to decorate your paper bags from scratch:
MATERIALS
Kraft paper (white or recycled paper also works)
Double-sided tape (hot or cold silicone or glue stick will also work)
Acrylic paint markers (or whatever markers you have)
STEP BY STEP
STEP 1
The first thing is to define the size of my bag. As I make them personalized, I ask for an approximate of what they will hold to get the measurements, being a bag of 10 cm wide x 15 cm high and with a depth of about 4 cm, I had to get a rectangle of kraft paper about 29 cm wide by 20 cm high.
| |
|---|
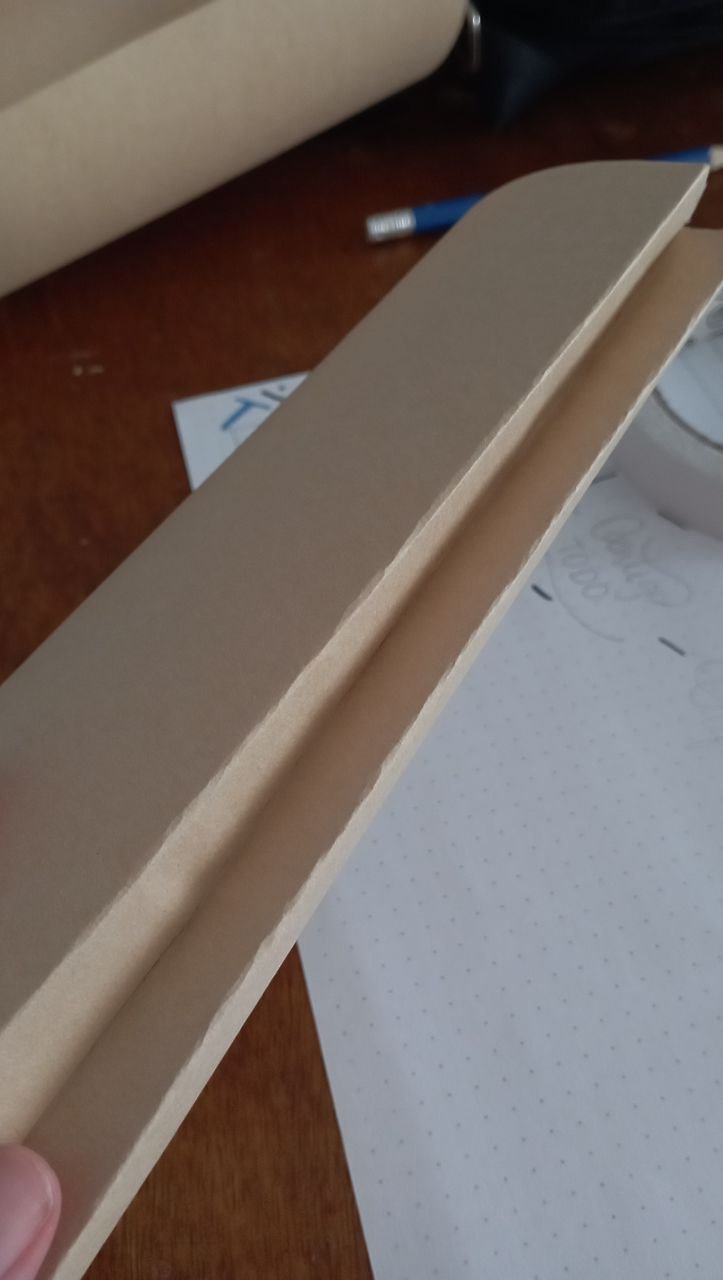
STEP 2
It's time to fold the paper to turn it into a bag. It feels tricky at first but after you get the hang of it, it's very easy. The first thing is to fold a tab about 1 cm wide at one end. To this tab I put double sided tape and glue with the other end of the paper, so we can close the bag and for the moment it looks like an envelope.
| |
|---|
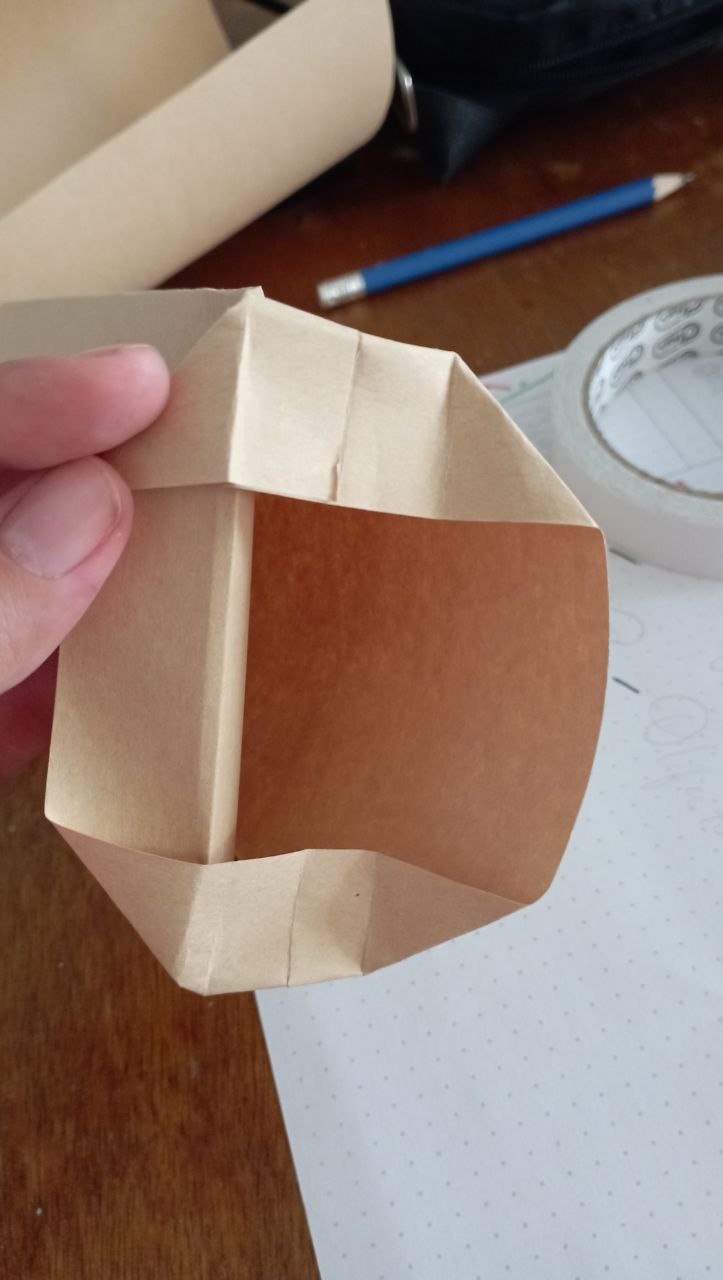
STEP 3
Now we are going to give depth to the bag (otherwise it would look like a simple envelope). For this we are going to fold a flap on each side of the bag of about 2 cm. Then we will open this flap and we will put the fold that is left, so it will be the usual fold that the gift bags have and that gives depth to the bag.
Tip: in case you want to make a bag with more depth, just play with the size you will use.
| |
|---|
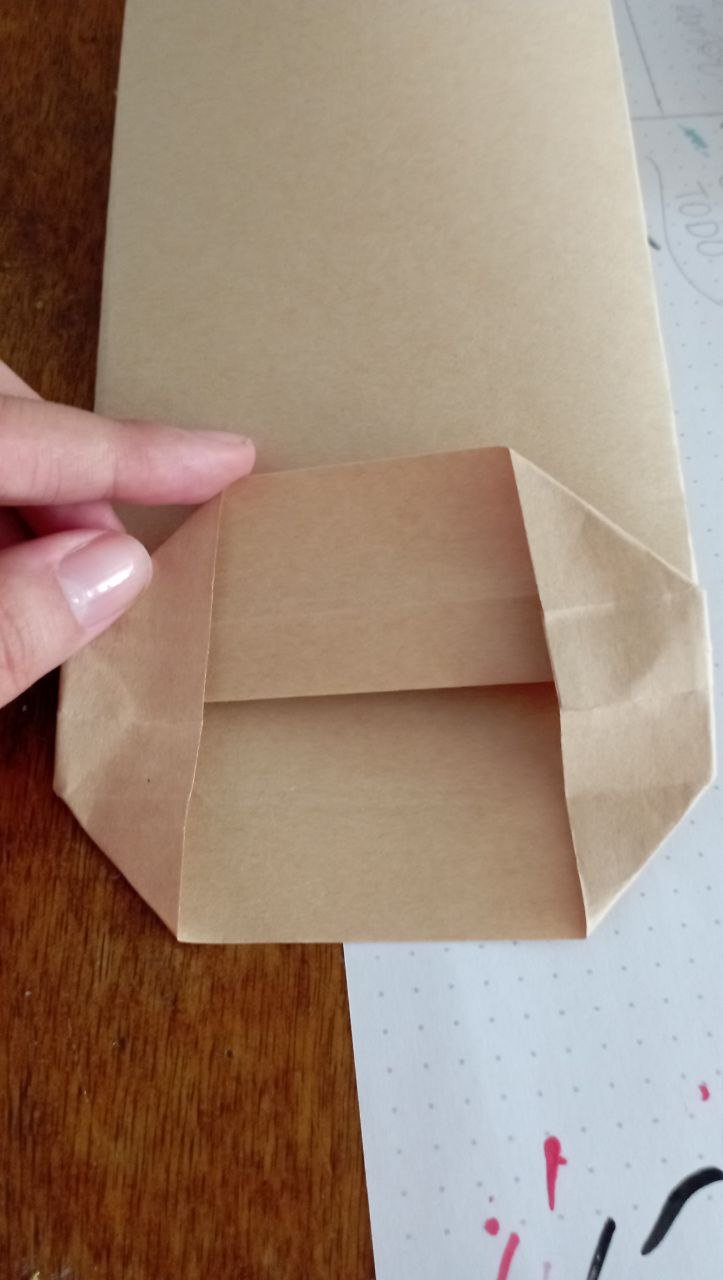
STEP 4
The last part of the assembly of the bag is to make the base. To do this we will make a fold at the bottom of approximately 2 cm (it should be of a similar measure to the one we took for the depth). Now we will open the bag and we will take each of the ends to make it coincide with the internal line of the fold we made previously, forming a kind of triangle on each side.
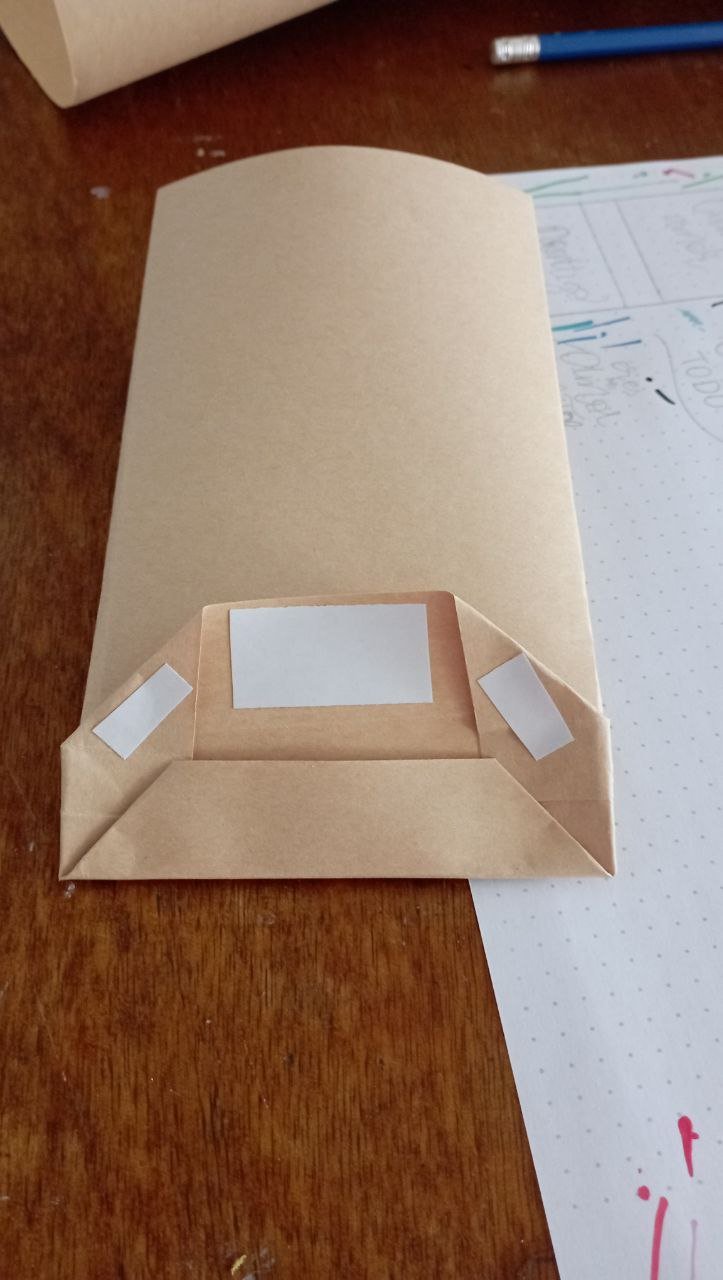
Now, we will make a fold upwards and it will form a sort of duck's beak (a strange reference, but it works). With the help of the double-sided tape, we first close the bottom part with a fold and then we glue the top part on top of it.
| |
|---|
This way we will have a bag ready.
STEP 5
Now it's time to decorate. With the help of my acrylic paint markers I started to write the phrase they asked for: “secret friend you are special, happy love and friendship day”. I like to use acrylic paint markers because no matter the surface the color will always stay the same, whether the background is light or dark. I used a serif and cursive style to make the letters and a very romantic color palette: red, pink, black and silver.
STEP 6
Personalized gift bag ready!
I love making personalized gift bags because they are unique and special bags designed for someone specific (I like to take into account the style and tastes of the person). In itself that making a handmade gift is a nice touch. The owner of the bag was happy with the result and her secret friend liked it very much. I hope this tutorial will be useful for your next projects.
Thank you for reading me
With love, G..
FUENTE
Fotos: tomadas por mi desde mi redmi 10
Traducción: Deepl
SOURCE
Photos: taken by me from my redmi 10
Translation: Deepl

Simple in crafting and well presentable
Nice crafting dear friend @geneleori
Thank you for your comment, I hope it will be useful for your gifts.💜
Que bonita, me gustó como se ven las letras 🥹
Intentalo, seguro te quedan preciosas💜
Excellent way to recycle, with this you managed to make a nice coin to use casually.
Thank you! it's amazing how much can be accomplished with a piece of paper!💜
This post was shared and voted inside the discord by the curators team of discovery-it
Join our Community and follow our Curation Trail
Discovery-it is also a Witness, vote for us here
Delegate to us for passive income. Check our 80% fee-back Program
Buen trabajo supiste cómo aprovechar este trozo de tela, para hacer algo genial...
!discovery 25
Yes, it's amazing what can be done with so little.💜
Genial, yo tenía pensado esa idea, pero aún no me siento del todo preparada, quiero seguir practicando y mejorar mi letra con el lettering, pero quizás para el día de las madres, invente algo jeje, saludos.
Holaaa!💜 si algo he aprendido es que cuando uno se siente menos preparada es cuando más rapido debe lanzarse a hacerlo. Suena loco, pero intentandolo se logra. He visto tus post y haces cosas muy bonitas💜 así que dale, puedes lograr cosas hermosa y en caso de que no sientas que quedo como querias lo mas que puede suceder es que tengas que usar una hoja nueva y aun asi es practica
Te quedo muy bonita, la armonía del color y textura de la bolsa, con las letras, lo hacen diferente y sorprendente.
Gracias💜 me alegra que te haya gustado
😊💞
Congratulations @geneleori! You have completed the following achievement on the Hive blockchain And have been rewarded with New badge(s)
Your next target is to reach 700 replies.
You can view your badges on your board and compare yourself to others in the Ranking
If you no longer want to receive notifications, reply to this comment with the word
STOP