
¡Hola hivers!💜
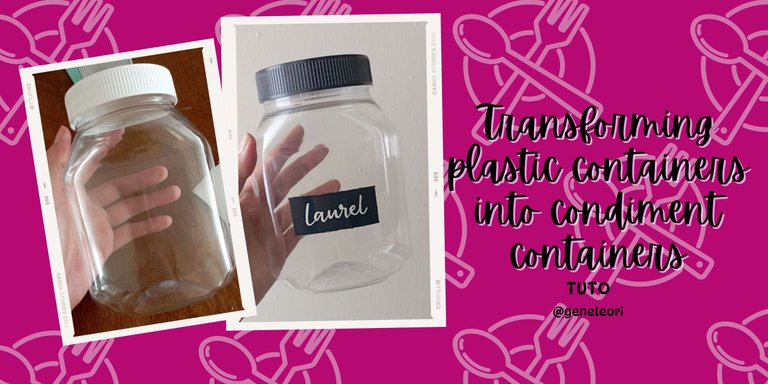
Espero que se encuentren bien y felices, queridos crafters. Mi tía trabaja con repostería y tenía varios envases de plástico de la famosa marca Nutella, así que me los envió para poder convertirlos en envases para especias y condimentos. Me los entregó ya limpios y sin su etiqueta, para que fuera más fácil decorarlos y darles una segunda vida.
Les muestro el proceso:

MATERIALES
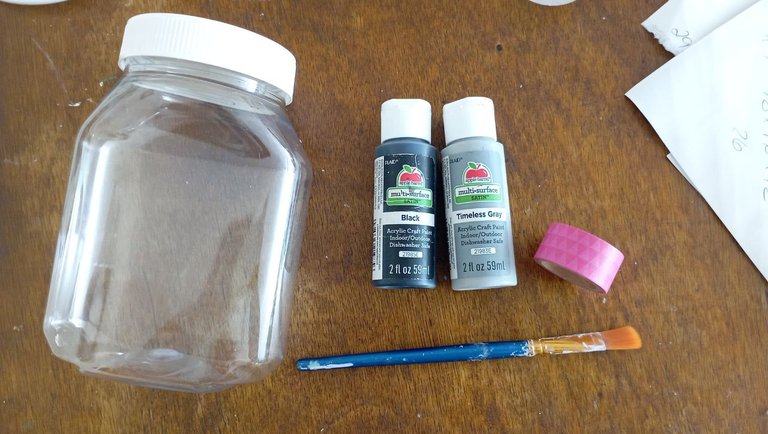
Envases plasticos (tambien funcion para envases de vidrio)
Pintura acrilica (en este caso use negro y gris)
Pincel
Washi tape o cinta de enmascarar
Marcador de pintura acrílica
Sellador en spray (es el que tenía pero puedes usar otro)

PASO A PASO

 |  |
|---|
PASO 1
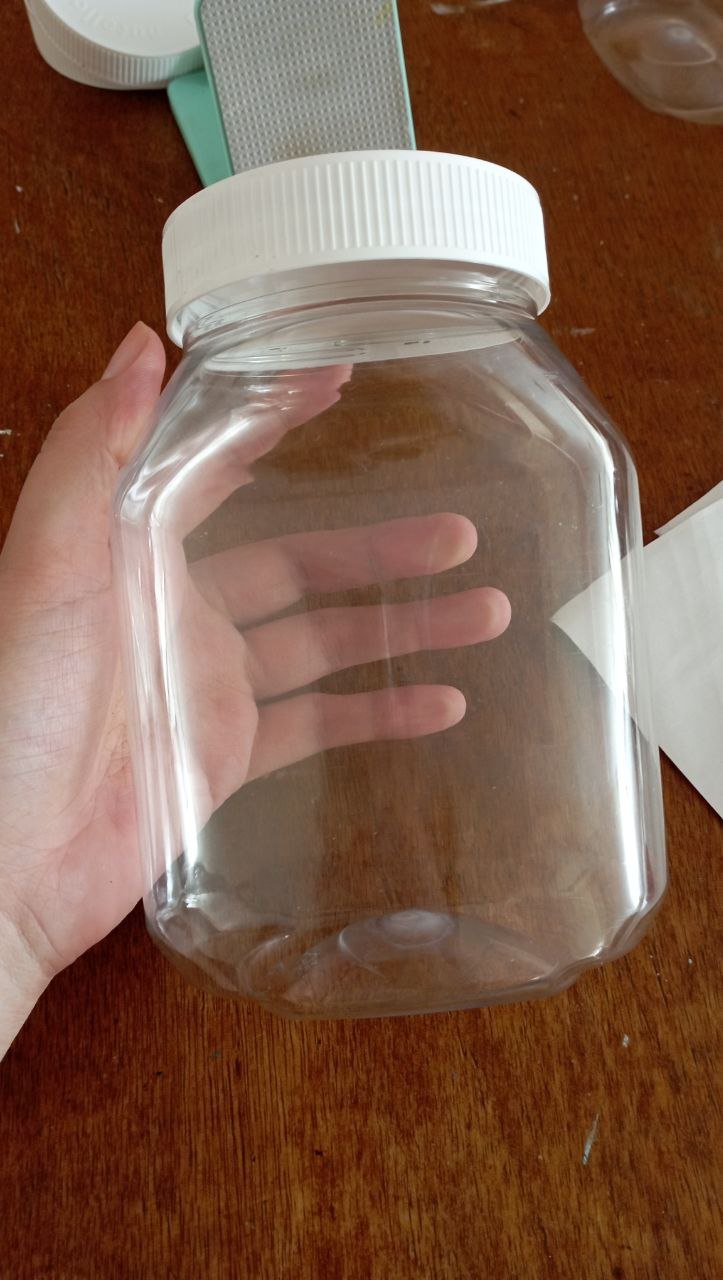
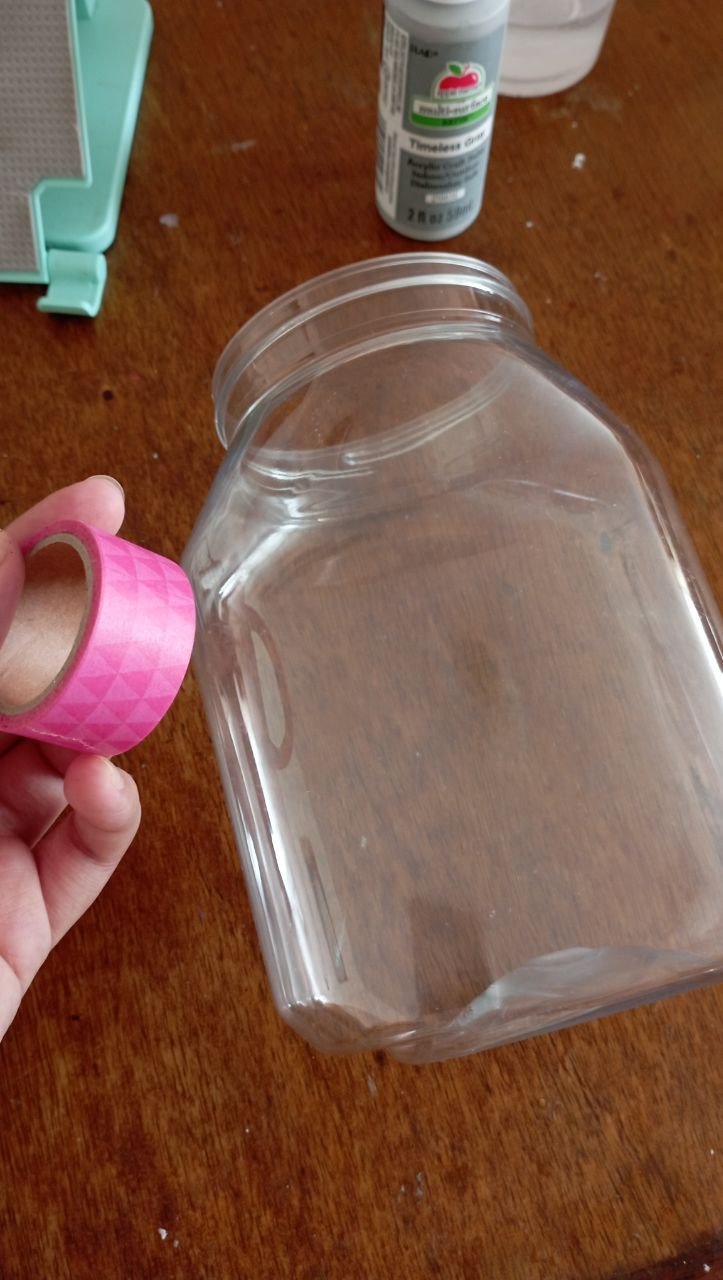
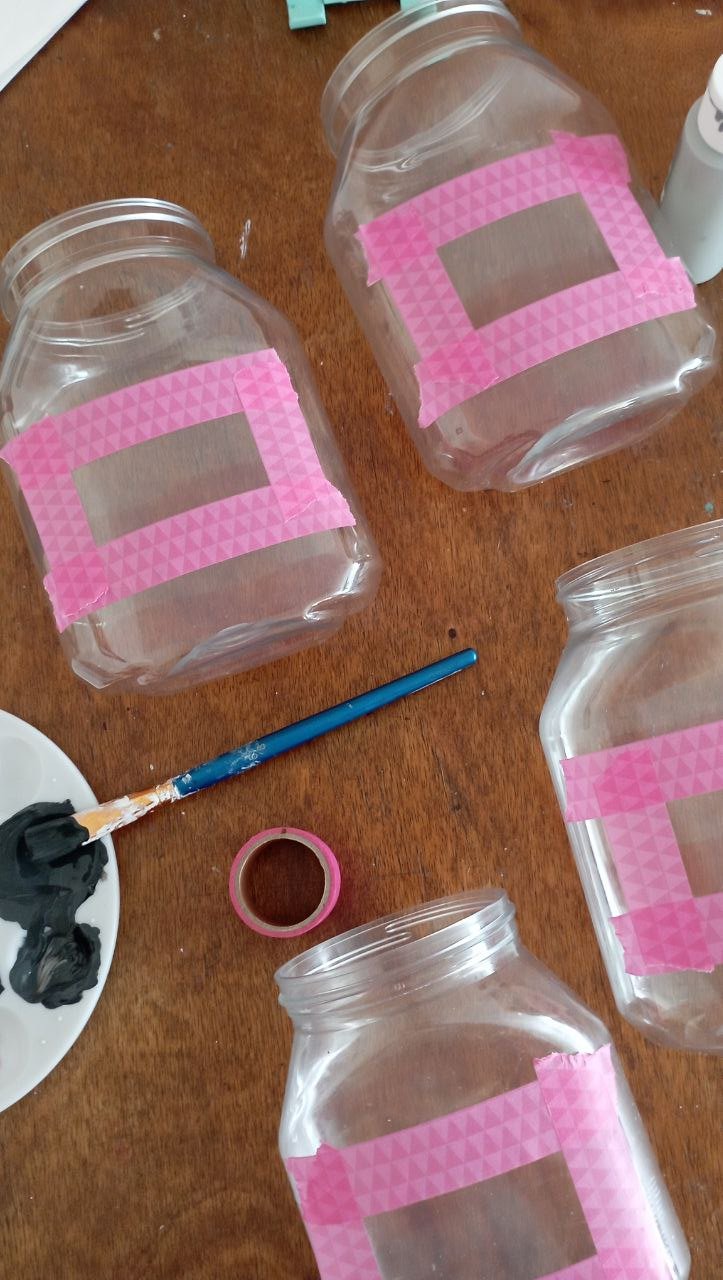
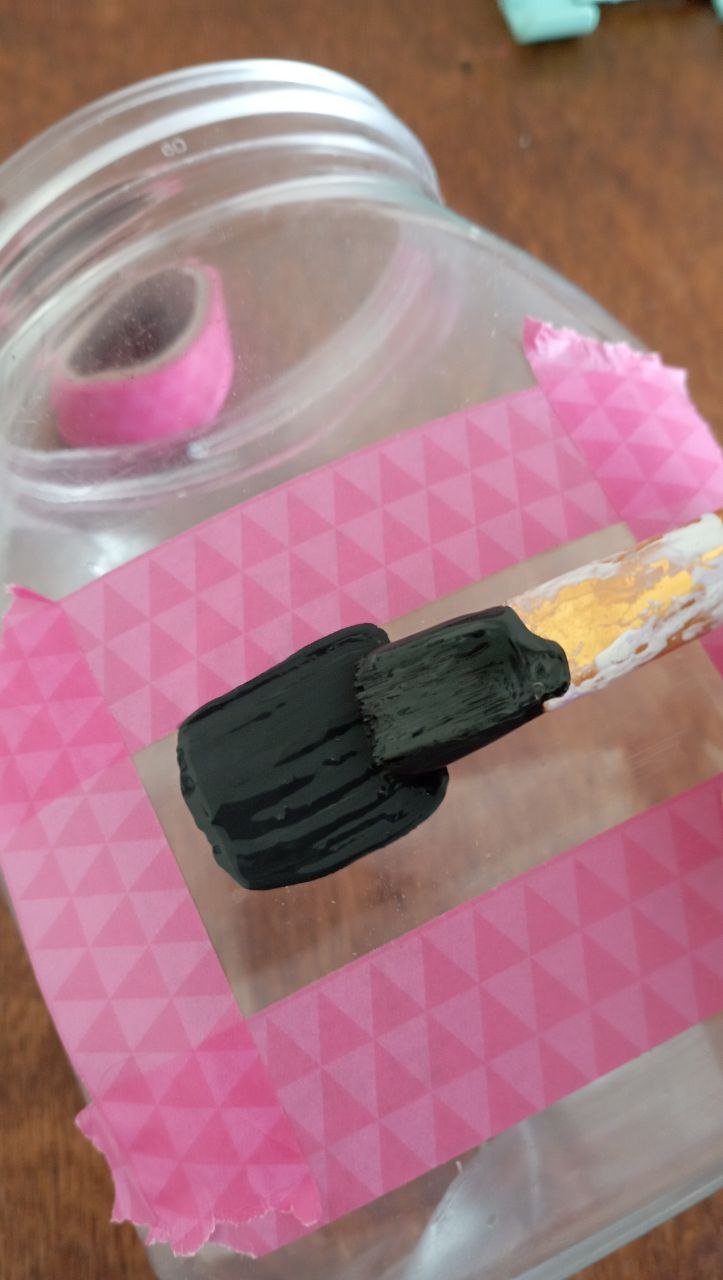
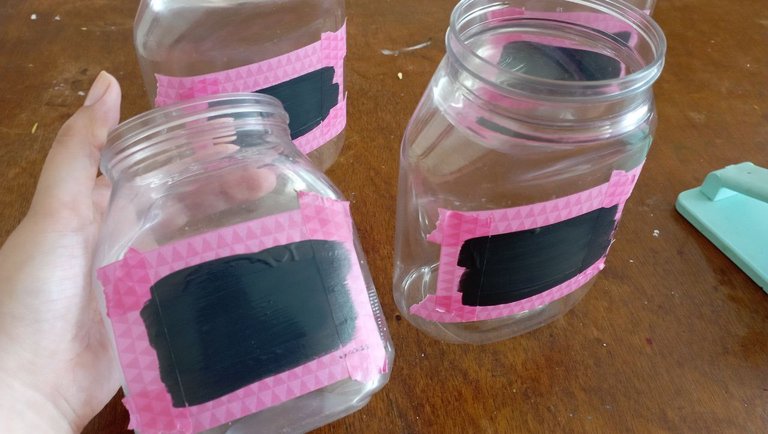
Primero, limpie los envases y con ayuda del washi tape (o bien puede ser cinta para enmascarar) marque los límites del rectángulo que pintaría.
 |  |
|---|
PASO 2
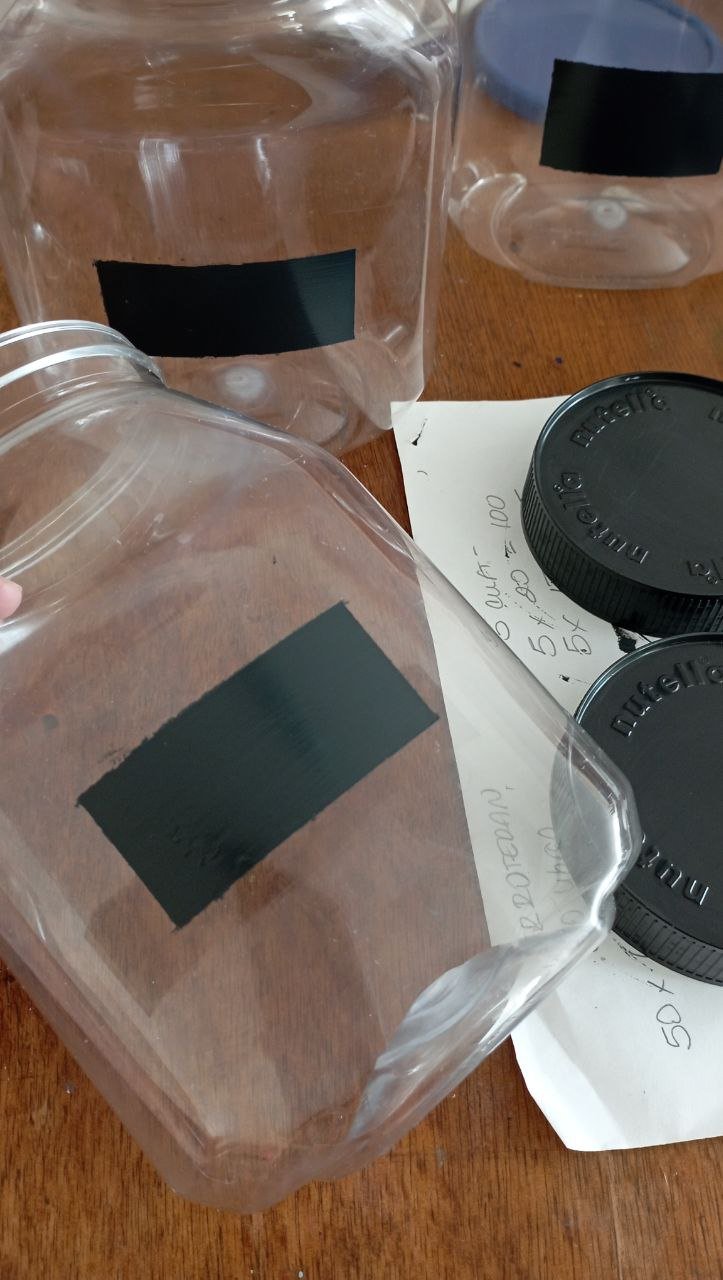
Una vez delimitado el rectángulo, prepare la pintura. No quería que fueran solamente negro. Asi que mezcle mayor proporcion de gris con negro y medio una tonalidad tipo gris plomo. Con ayuda de un pincel procedí a dar una primera capa a los rectángulos.

PASO 3
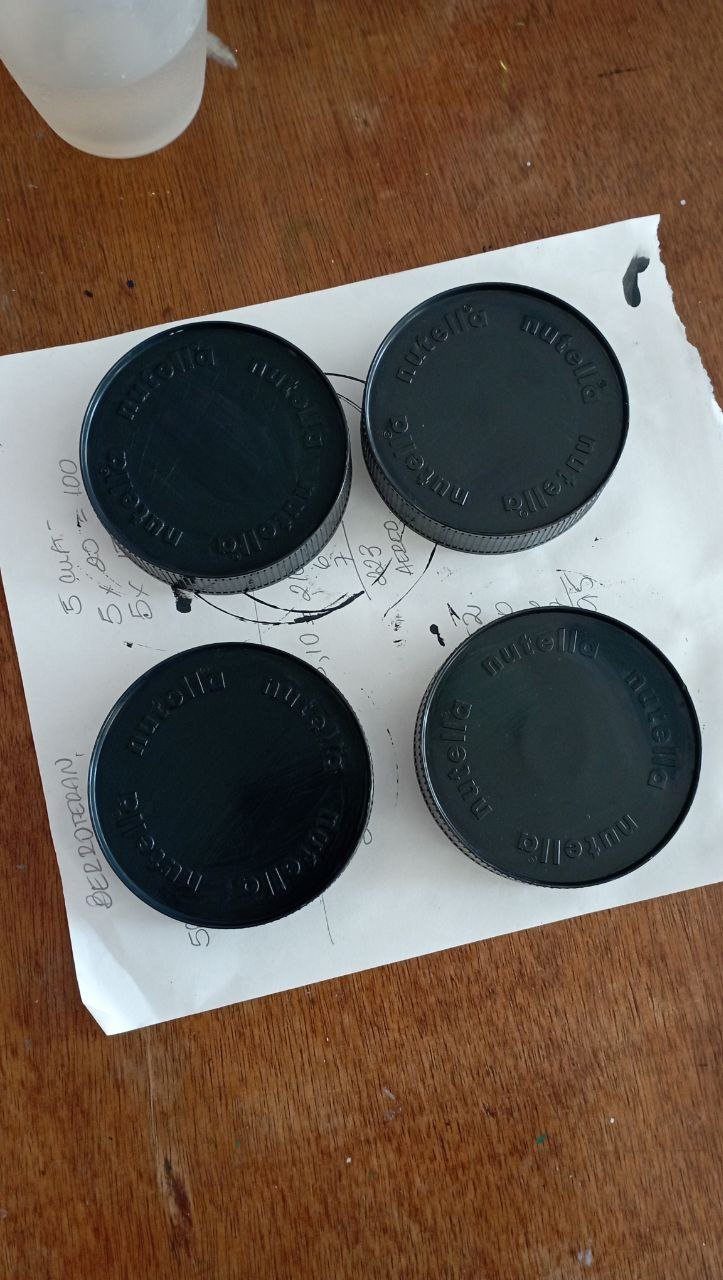
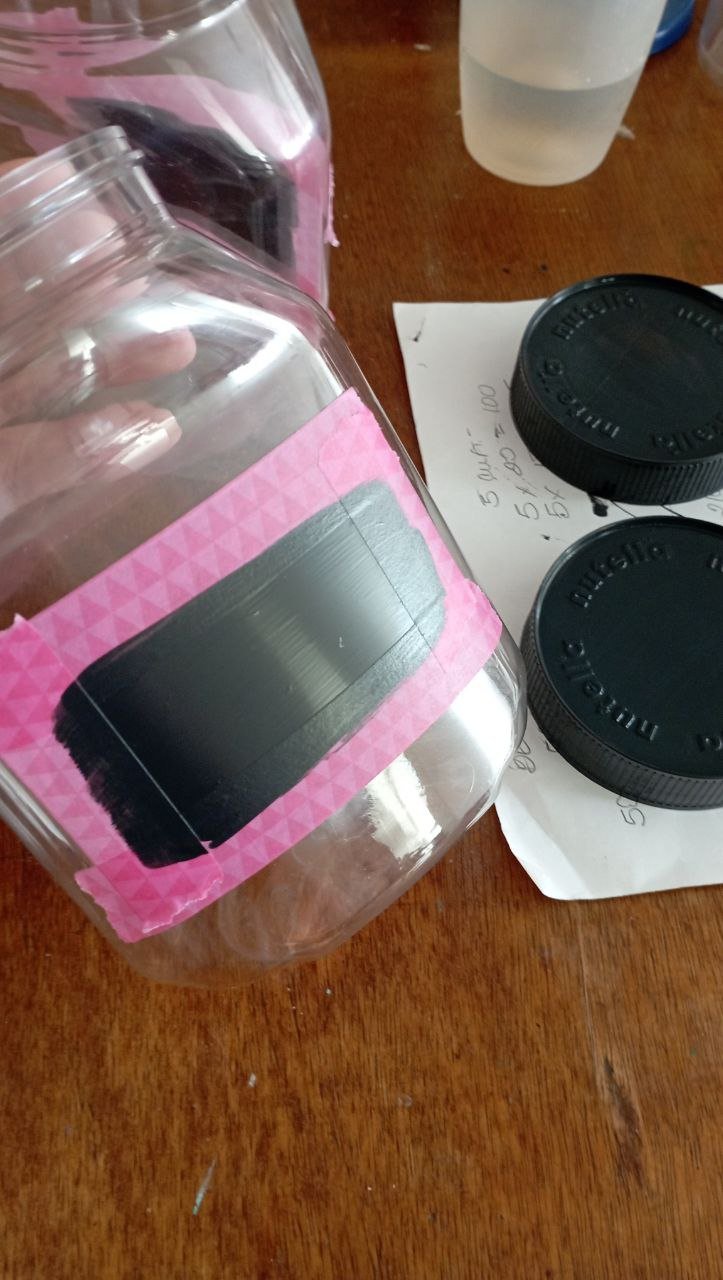
Mientras los rectángulos secaban, fui con las tapas. No quería que quedaran blancas, así que las pinte con la misma pintura para que combinarán y le dieran un toque bonito. Luego le di una segunda capa a los rectángulos y los dejé secar toda la noche.
 |  |
|---|
PASO 4
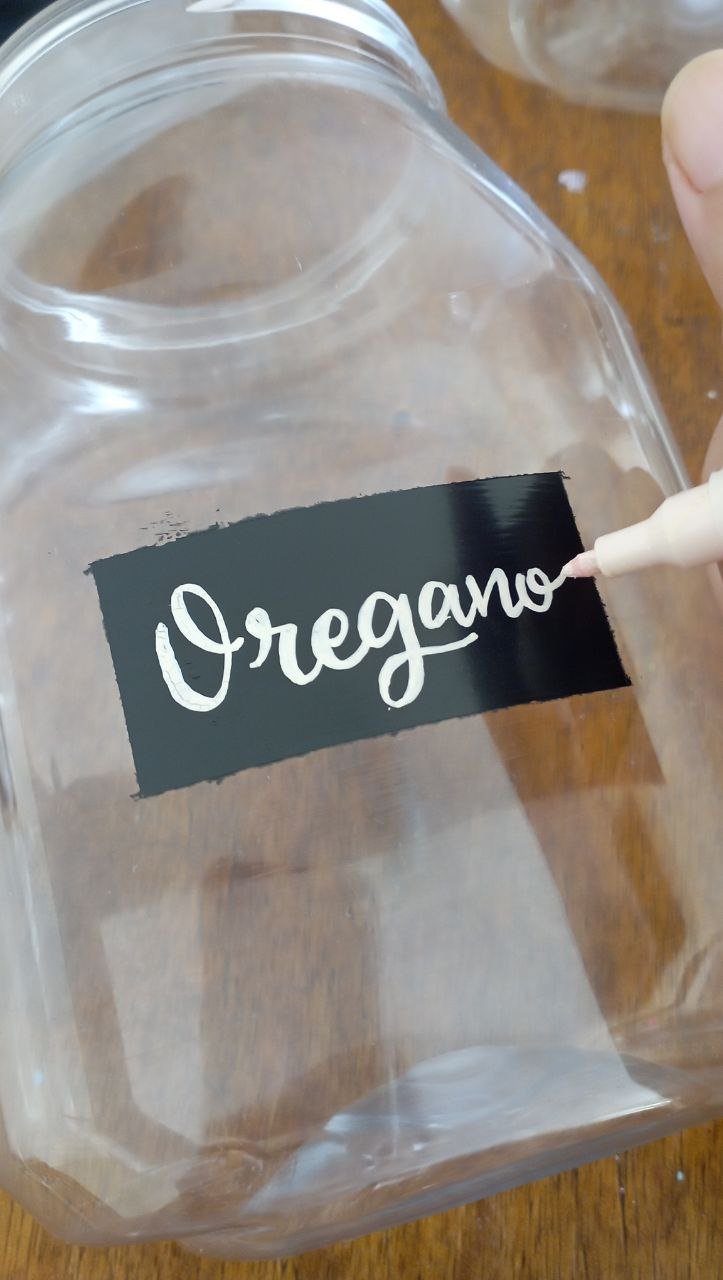
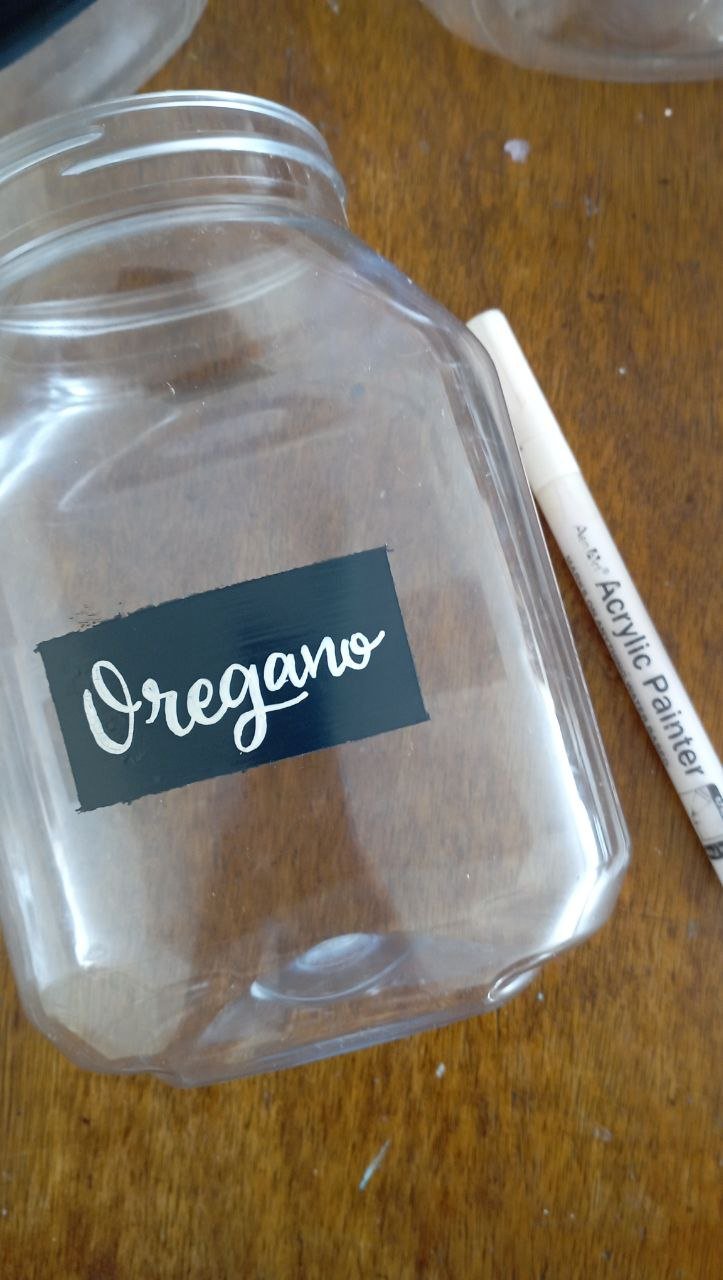
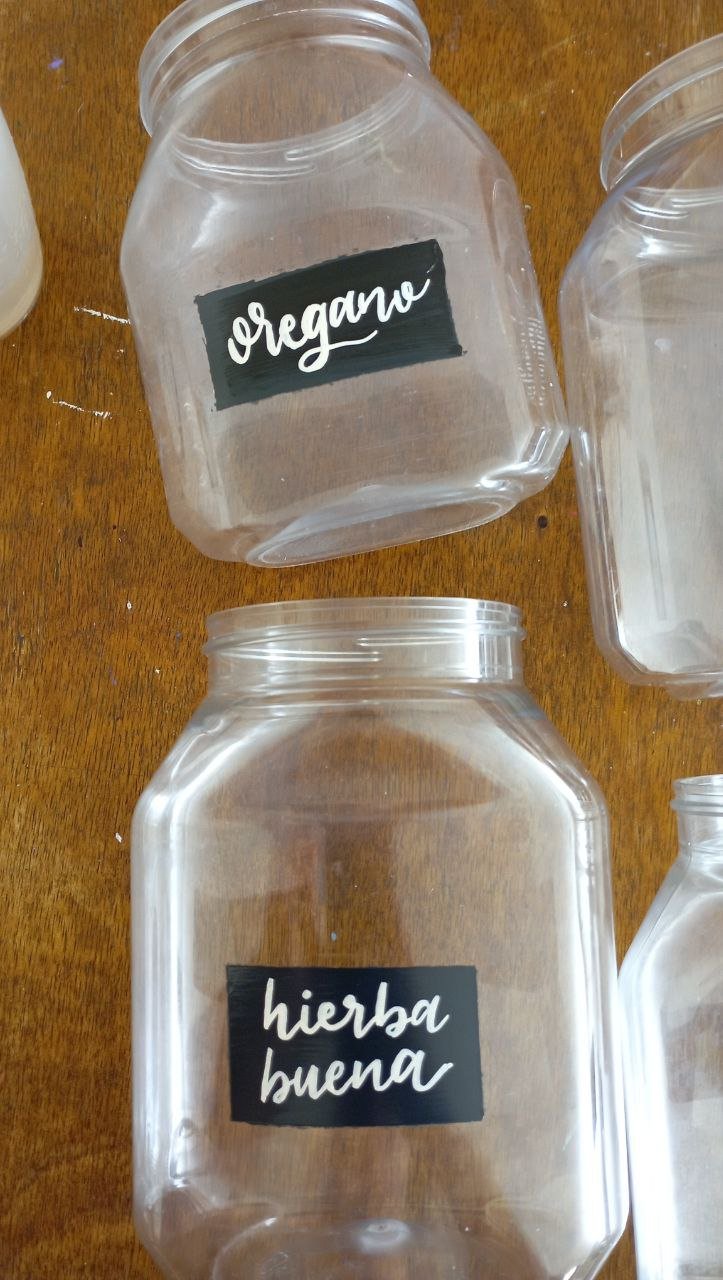
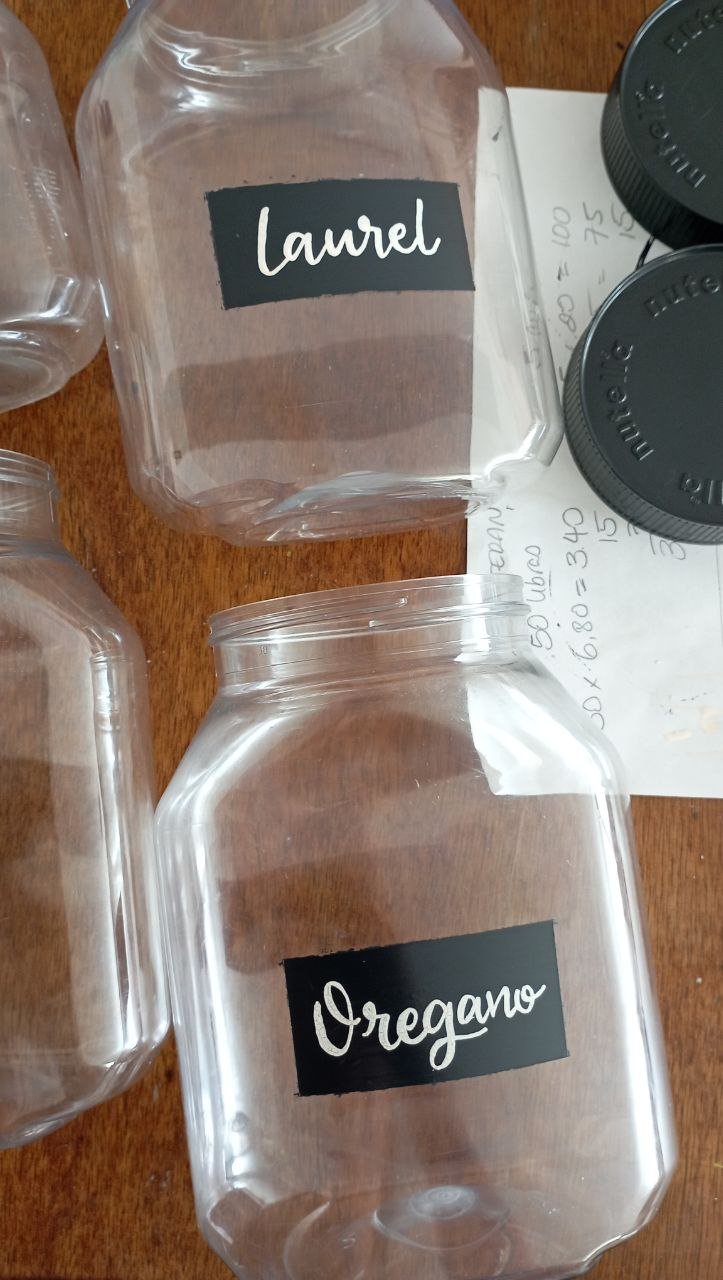
Al día siguiente, retire los washi tape y con ayuda del marcador de pintura acrílica coloque los nombres de las especias. No quise usar blanco, así que use un tono beige para escribir de forma cursiva: laurel, hierba buena y orégano.
 |  |
|---|
 |  |
|---|
PASO 5
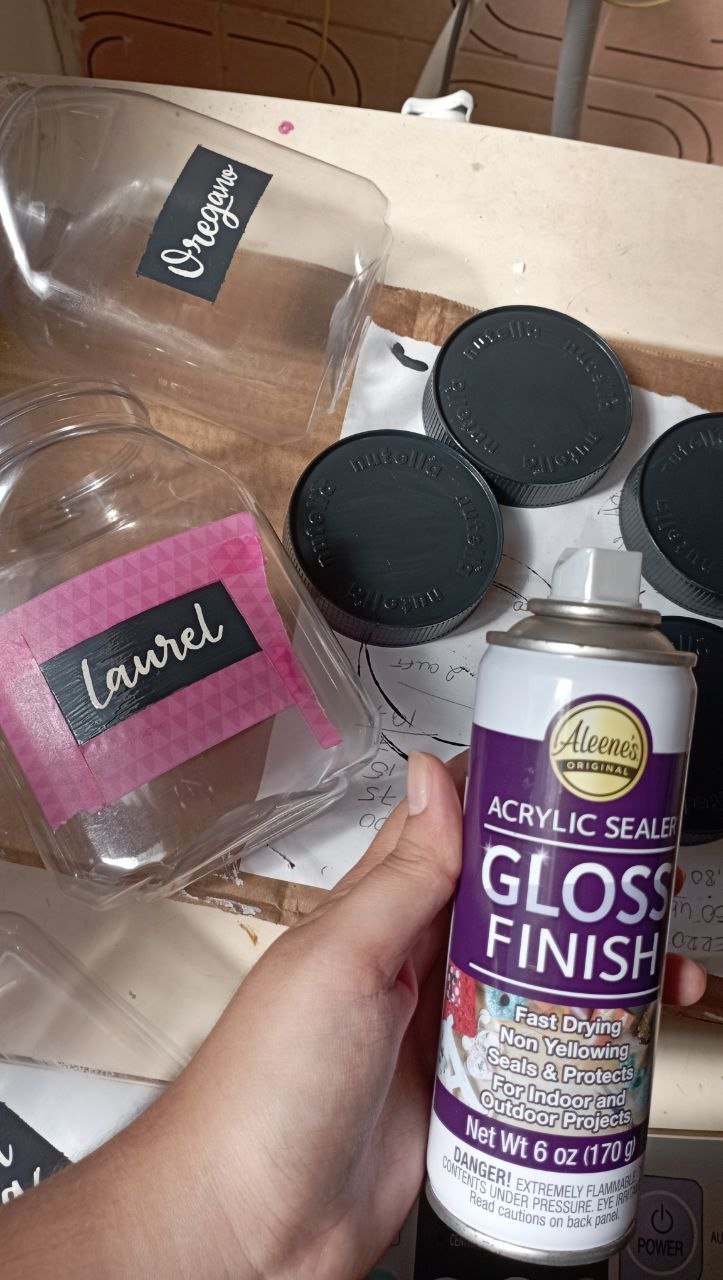
Esperé que secaran los nombres y procedí a aplicar el spray sellador. Este permitirá que puedan ser lavados con tranquilidad, sin miedo a que la pintura se caiga. Lo aplique tanto en las tapas como en los rectángulos.
PASO 6
¡Envases para especias listos!
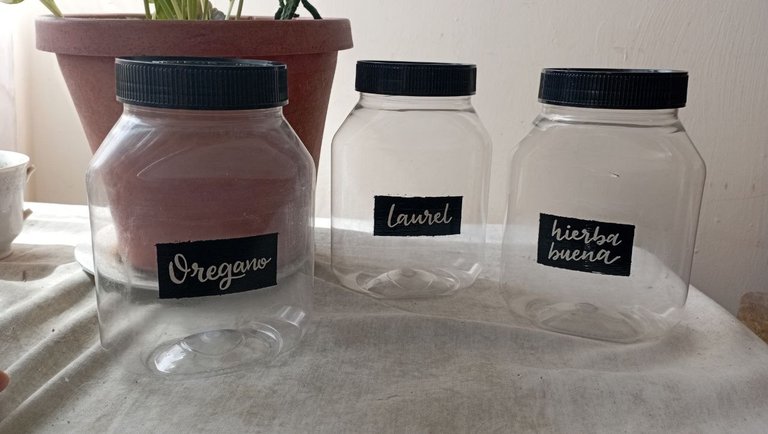

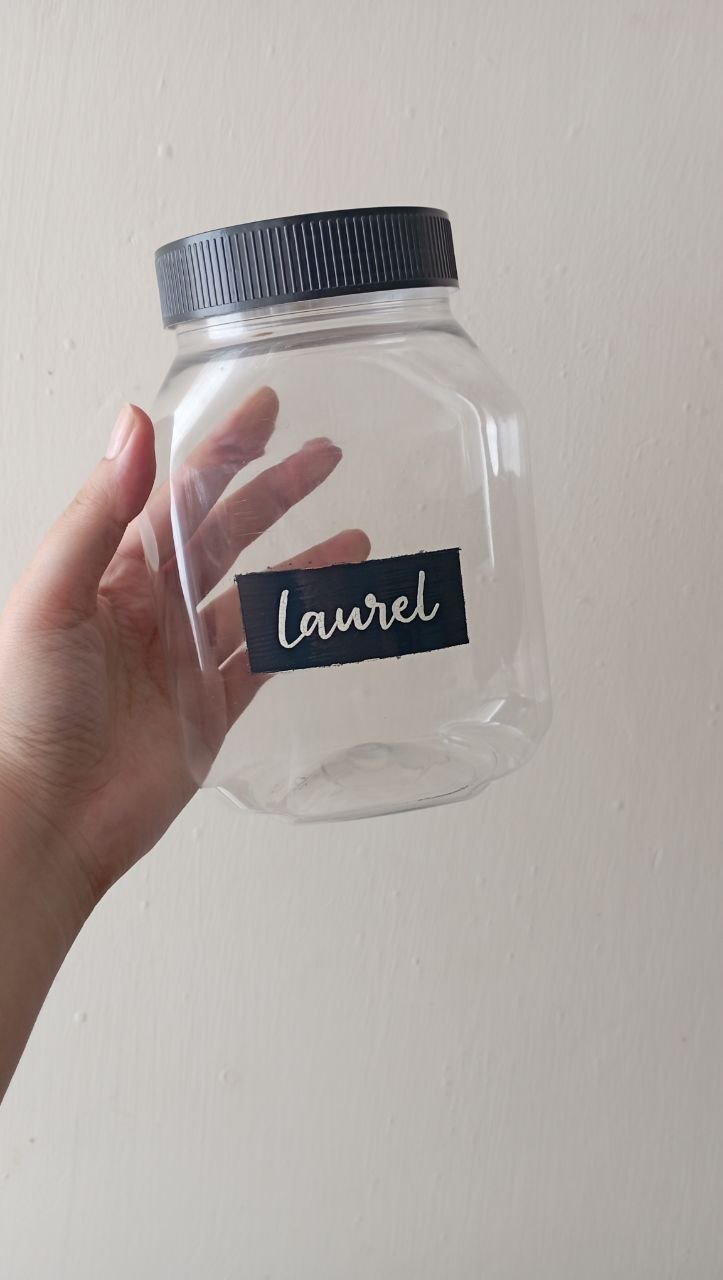
Honestamente es una personalización sencilla, y una forma muy fácil de darle una segunda vida a los envases viejos que se acumulan. La decoración es sencilla y podría decir que hasta minimalista, así que se verán bien en tu cocina. Todavía no se los entrego a mi tía, pero sé que ya encontró otros para que los personalice. Creo que estará bastante contenta con los resultados.
Gracias por leerme
Con cariño, G.

Hi hivers! 💜
I hope you are well and happy, dear crafters. My aunt works with baking and had several plastic containers of the famous brand Nutella, so she sent them to me so I could turn them into containers for spices and condiments. She gave them to me already clean and without their labels, so that it would be easier to decorate them and give them a second life.
I show you the process:

MATERIALS

Plastic containers (also works for glass containers)
Acrylic paint (in this case use black and gray)
Brush
Washi tape or masking tape
Acrylic paint marker
Spray sealant (this is the one I had but you can use another one)

STEP BY STEP

 |  |
|---|
STEP 1
First, clean the containers and with the help of washi tape (or masking tape) mark the boundaries of the rectangle to be painted.

 |  |
|---|
STEP 2
Once the rectangle was delimited, I prepared the paint. I didn't want it to be only black. So I mixed a higher proportion of gray with black and half a shade of lead gray. With the help of a brush I proceeded to give a first coat to the rectangles.

STEP 3
While the rectangles were drying, I went with the lids. I didn't want them to be white, so I painted them with the same paint to match and give them a nice touch. Then I gave the rectangles a second coat and let them dry overnight.
 |  |
|---|

STEP 4
The next day, remove the washi tape and with the help of the acrylic paint marker I placed the names of the spices. I didn't want to use white, so I used a beige tone to write in cursive: laurel, hierba buena and oregano.
 |  |
|---|
 |  |
|---|
STEP 5
I waited for the names to dry and proceeded to apply the sealing spray. This will allow them to be washed with peace of mind, without fear of the paint falling off. I applied it on both the lids and the rectangles.

STEP 6
Spice containers ready!


Honestly it's a simple customization, and a very easy way to give a second life to old containers that accumulate. The decor is simple and I might even say minimalist, so they'll look great in your kitchen. I haven't given them to my aunt yet, but I know she's already found others for me to personalize. I think she'll be quite happy with the results.

Thank you for reading me
With love, G..
FUENTE
Fotos: tomadas por mi desde mi redmi 10
Traducción: Deepl
SOURCE
Photos: taken by me from my redmi 10
Translation: Deepl

Está genial tu idea, yo tengo varios de esos envases en uso, pero no lo he personalizado de esa forma tan bella. Además, tienes una letra Palmer envidiable, yo no podría hacerlo con mi letra. Felicitaciones por este proyecto Diy.
Holaaa💜💜 créeme que sí podrías, solo es cuestión de práctica y una buena guía💜 atrévete, saludos💜