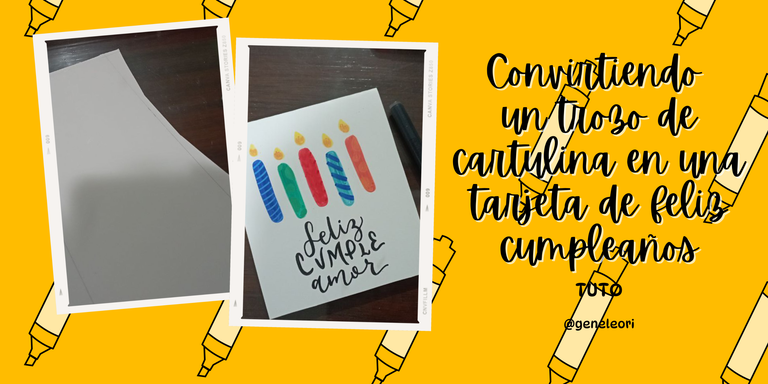
¡Hola hivers!💜
Espero que se encuentren bien y felices, queridos crafters. Desde niña me ha encantado hacer tarjetas de cumpleaños a mano. El hecho de elegir la cartulina, el motivo, diseñarlo, usar colores y marcadores para darle vida es algo que me ha encantado siempre. Es una de mis actividades favoritas y reconozco el valor que tiene una nota o tarjeta hecha a mano. Así que les mostraré el proceso de esta tarjeta de cumpleaños, sencilla y hecha con cualquier pedazo de cartulina:

MATERIALES
Cualquier trozo de cartulina (use blanco porque fue el sobrante de una caja que hacia)
Regla
Tijera
Lápiz
Goma
Colores o marcadores

PASO A PASO

PASO 1
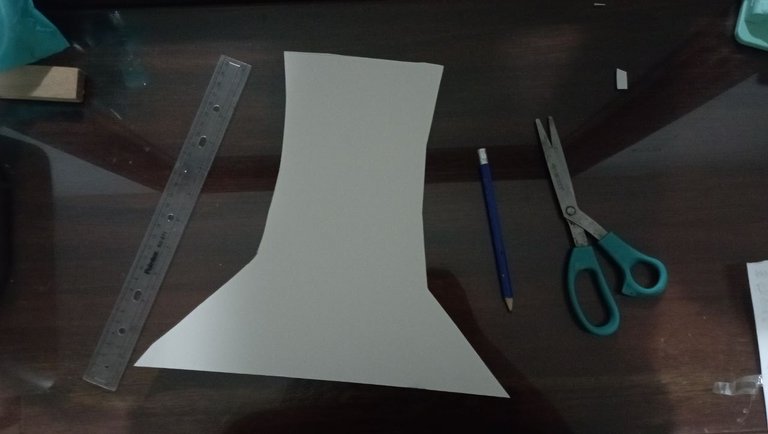
Primero, ubique la cartulina. En este caso use blanca sulfatada. Esta tiene un lado mate y otro que es brillante. Como tenía forma irregular, con ayuda de una regla y lápiz hice las marcas necesarias para que quedara de forma rectangular. Use las tijeras para dejarla del tamaño que consideraba.
PASO 2
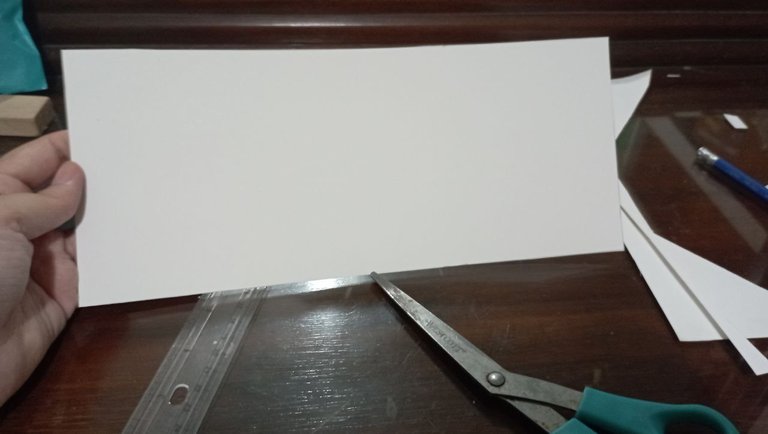
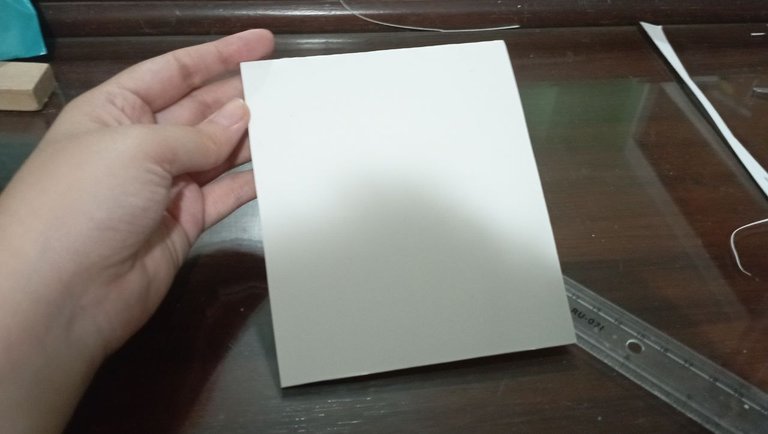
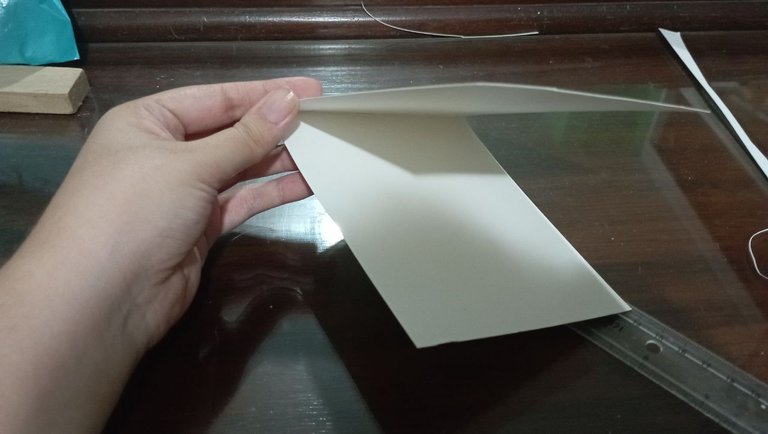
Con la cartulina lista, lo que hice fue doblarla por la mitad para que quedara tipo tarjeta. Deje la parte brillante para la portada y la parte mate para el interior.
 |  |
|---|
PASO 3
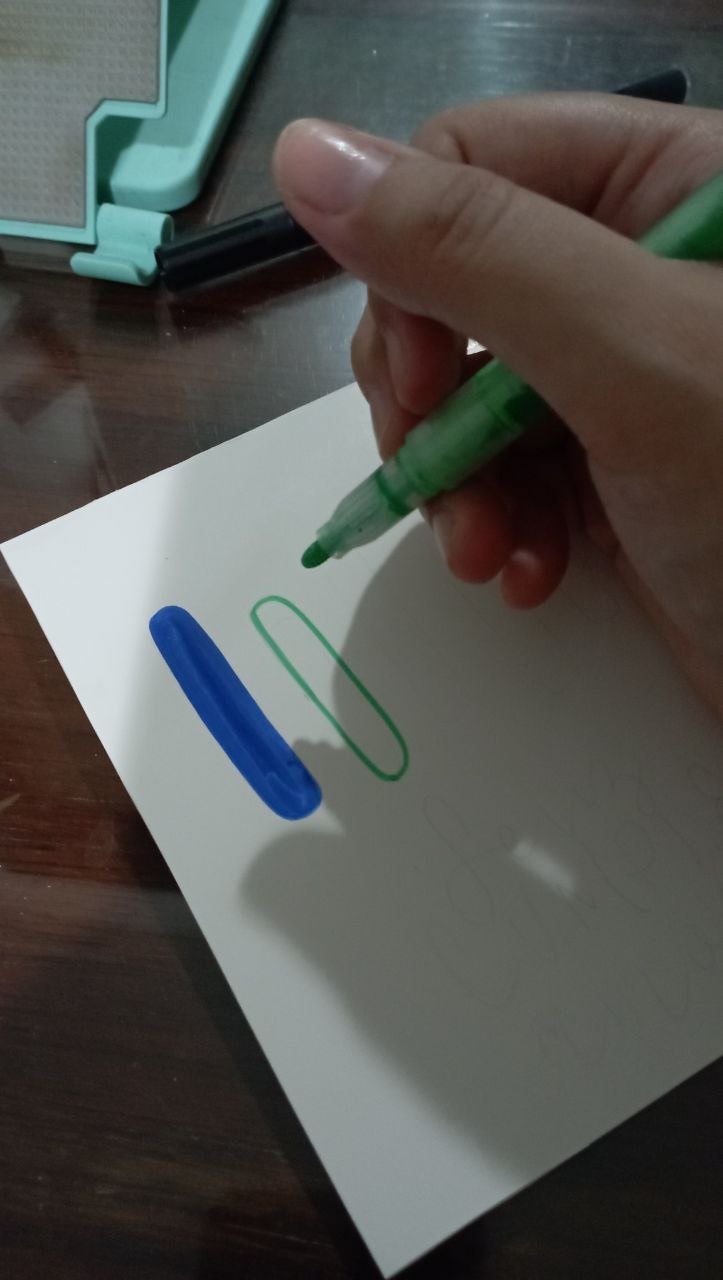
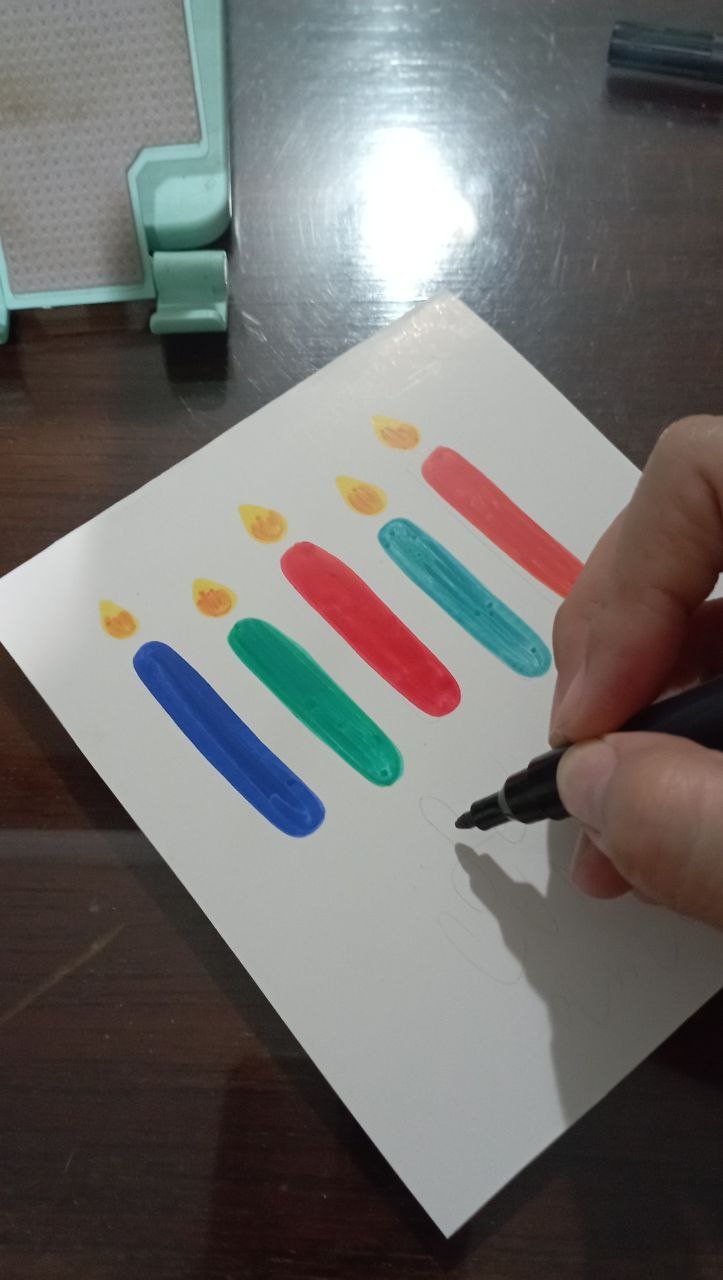
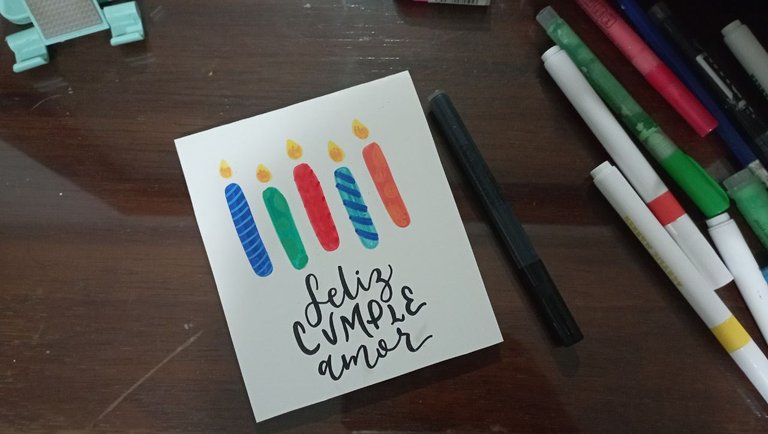
Quería que fuera una tarjeta sencilla. Busqué algunas referencias en pinterest y encontré una que tenía velas de cumpleaños. Así que con mis marcadores de pintura acrílica dibuje 5 velas intercaladas. Use colores azul, naranja, verde, turquesa y amarillo.
 |  |
|---|
PASO 4
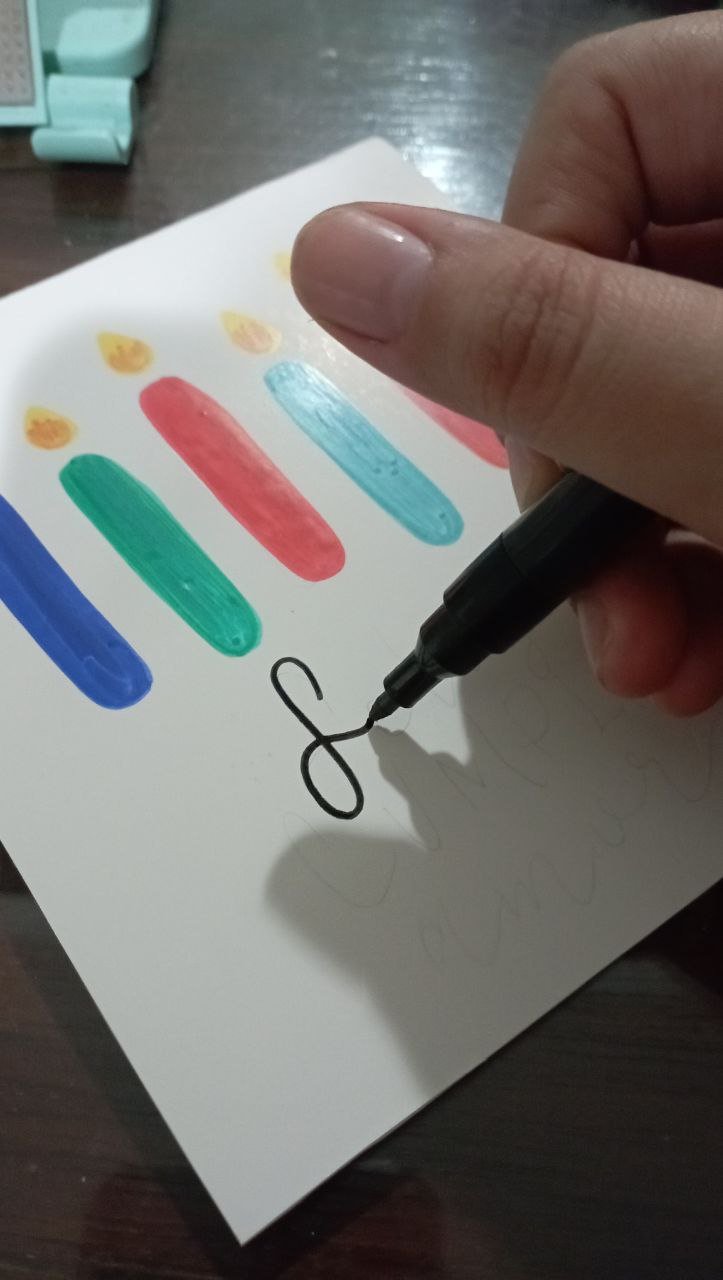
Espere que las velas secaran y con un marcador de pintura acrilica de color negro escribi: “Feliz cumple amor” usando un estilo cursivo y otro sans serif con algunas curvas. No podía dejar el lettering por fuera. Con las velas secas, a cada una le puse rayas y puntos, para darle un toque divertido. Mi idea era que fueran lo suficientemente divertido y colorido.
PASO 5
Una vez seca la portada, escribí adentro el mensaje de cumpleaños y mis buenos deseos y…
PASO 6
¡Tarjeta de cumpleaños lista!

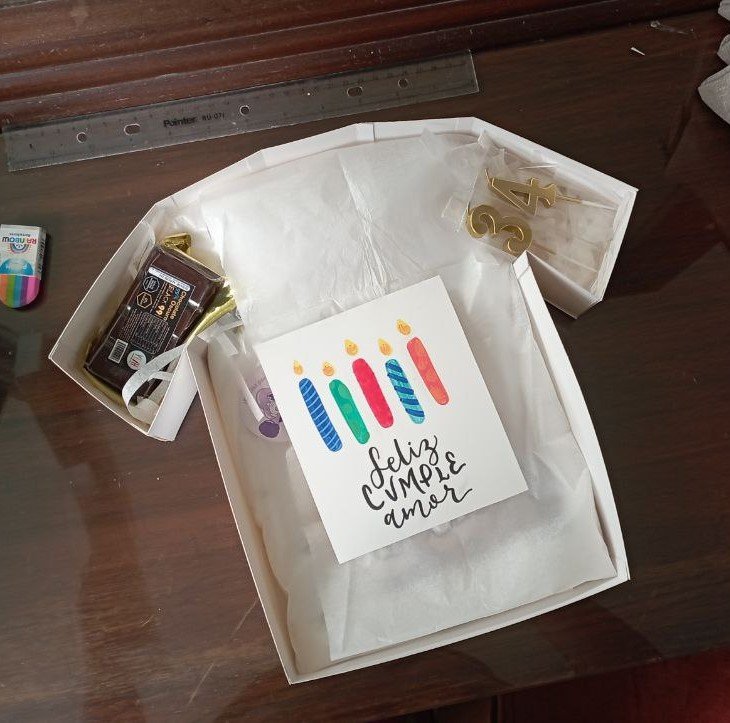
Esta es una tarjeta de cumpleaños sencilla, que puedes hacer con materiales que tengas a mano, pero que es muy vistosa y un buen detalle porque lo hecho a mano por alguien que quieres vale mucho. Yo amé el resultado y la persona que la recibio también. Espero puedas hacer la tuya y compartirla conmigo.
Gracias por leerme
Con cariño, G.

Hi hivers! 💜
I hope you are well and happy, dear crafters. Ever since I was a little girl I have loved making birthday cards by hand. Choosing the cardstock, the motif, designing it, using colors and markers to bring it to life is something I have always loved. It is one of my favorite things to do and I recognize the value of a handmade note or card. So I will show you the process of this birthday card, simple and made with any piece of cardboard:

MATERIALS
Any piece of cardboard (I used white because it was the leftover from a box I made)
Ruler
Scissors
Pencil
Eraser
Colors or markers

STEP BY STEP


STEP 1
First, place the cardboard. In this case, use sulfated white. It has a matte side and a glossy side. As it had an irregular shape, with the help of a ruler and pencil I made the necessary marks to make it rectangular. I used the scissors to make it the size I considered.

STEP 2
With the cardboard ready, what I did was to fold it in half so that it would look like a card. I left the shiny part for the cover and the matte part for the inside.
 |  |
|---|
STEP 3
I wanted it to be a simple card. I looked up some references on pinterest and found one that had birthday candles on it. So with my acrylic paint markers I drew 5 candles interspersed. I used blue, orange, green, turquoise and yellow colors.
 |  |
|---|
STEP 4
I waited for the candles to dry and with a black acrylic paint marker I wrote: “Happy birthday love” using a cursive and a sans serif style with some curves. I couldn't leave the lettering out. With the dried candles, I added stripes and dots to each one, to give it a fun touch. My idea was to make them fun and colorful enough.

STEP 5
Once the cover was dry, I wrote inside the birthday message and my good wishes and...

STEP 6
Birthday card ready!


This is a simple birthday card that you can make with materials you have on hand, but it is very colorful and a nice detail because handmade by someone you love is worth a lot. I loved the result and so did the person who received it. I hope you can make yours and share it with me.
Thank you for reading me
With love, G..
FUENTE
Fotos: tomadas por mi desde mi redmi 10
Traducción: Deepl
SOURCE
Photos: taken by me from my redmi 10
Translation: Deepl
The final look is beautiful and truly handmade cards are unique and well appreciated by people. Thanks for walking us through the creative process.