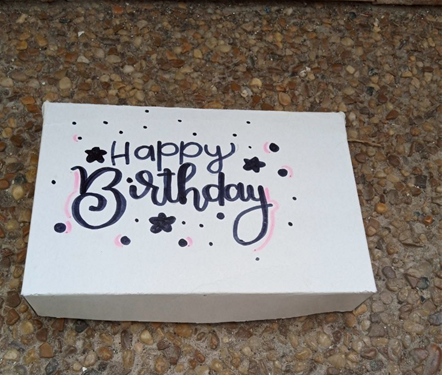
Hola Amigos de Hive DIY, Bienvenidos a un nuevo blog, el día de hoy es mostrare cómo elaborar esta sencilla pero hermosa cajita de regalo, es interesante porque no hay necesidad de las medidas exactas y precisión para hacerla, solo con seguir los dobleces que muestro en las imágenes bastará. ¿Qué fácil no? Bueno, ¡Vamos a ello!
Hello Friends of Hive DIY, Welcome to a new blog, today I will show you how to make this simple but beautiful gift box, it is interesting because there is no need for exact measurements and precision to make it, just follow the folds that I show in the images and it will be enough. How easy isn't it? Well, let's get to it!
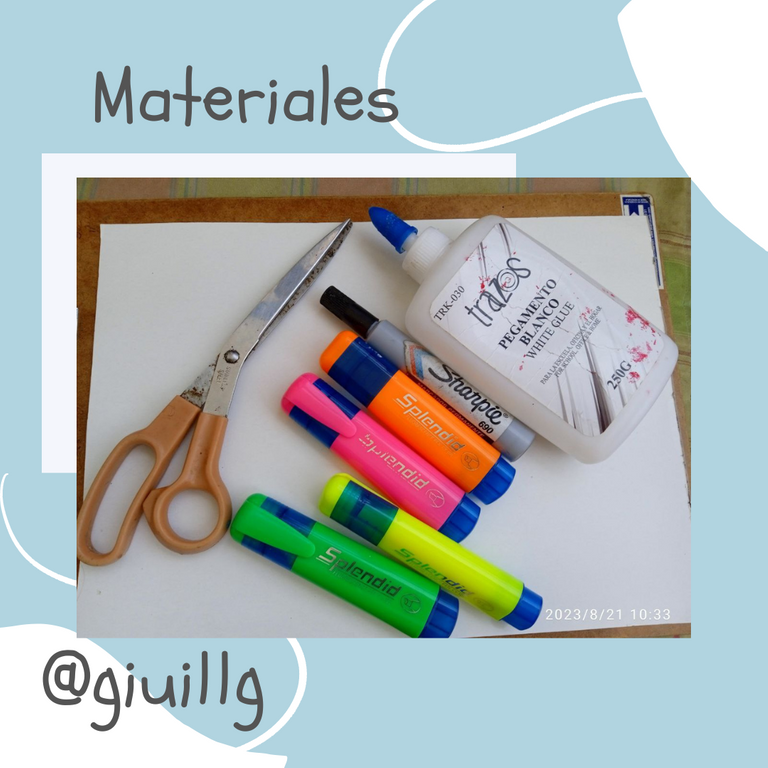
Para esta cajita necesitaremos tan solo:
- Cartulina del color de tu preferencia
- tijeras
- Pegamento blanco (o el que tengas a la mano)
- Marcadores de colores
- Regla
- Y por supuesto, ¡Paciencia y dedicación!
For this box we will need only:
Cardboard in the color of your choice
Scissors
White glue (or whatever you have on hand)
Color markers
Ruler
And of course, patience and dedication!
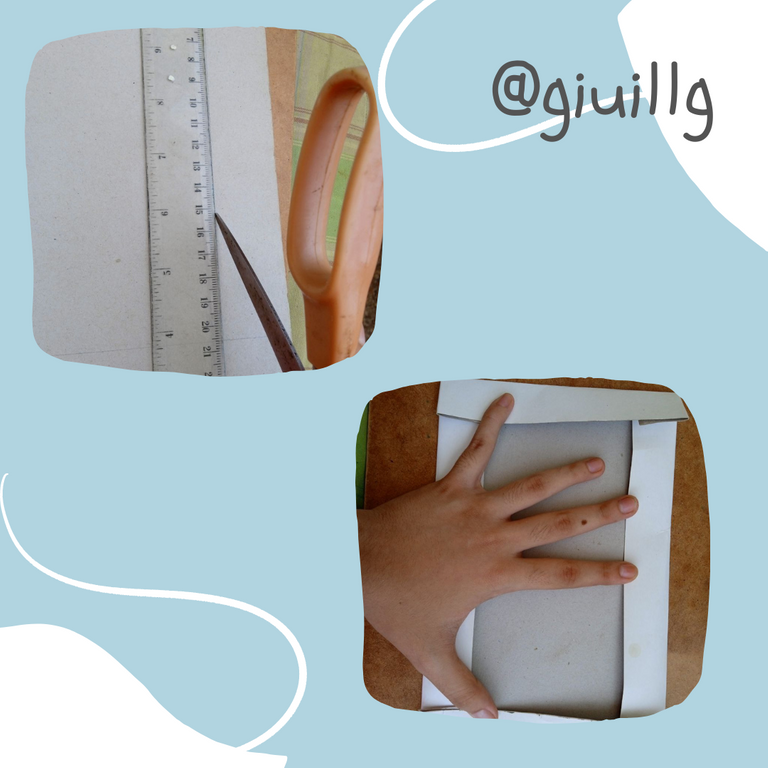
Paso 1
Tomé la cartulina y con el grosor de la regla medí cada borde de la cartulina y marqué con lápiz
Step 1
I took the cardboard and with the thickness of the ruler I measured each edge of the cardboard and marked with a pencil
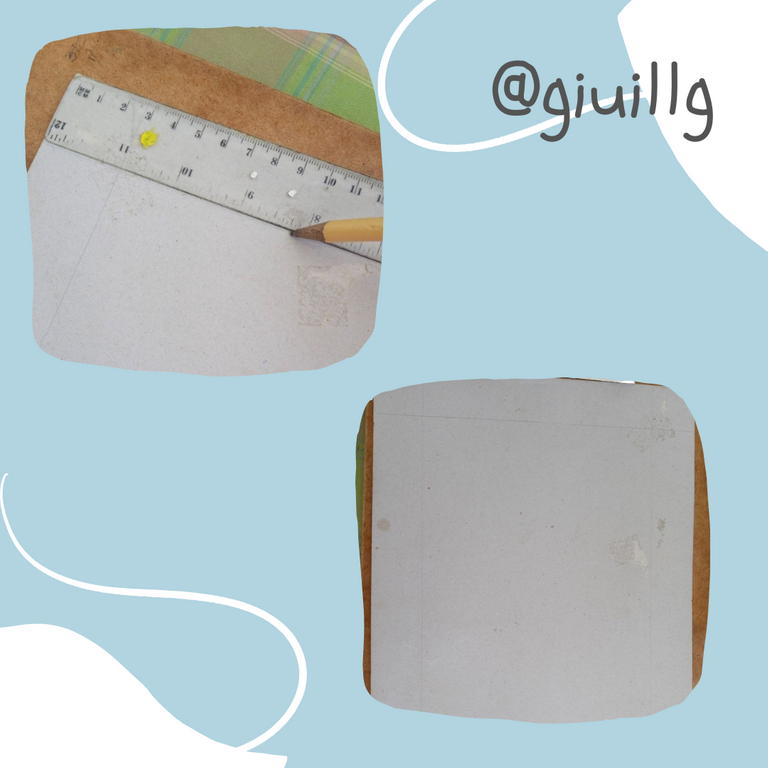
Paso 2
Posteriormente tomé las tijeras y con la punta tracé la marca de lápiz previamente hecha e hice los dobleces de arriba, abajo y los laterales.
Step 2
Then I took the scissors and with the tip I traced the pencil mark previously made and made the folds at the top, bottom and sides.
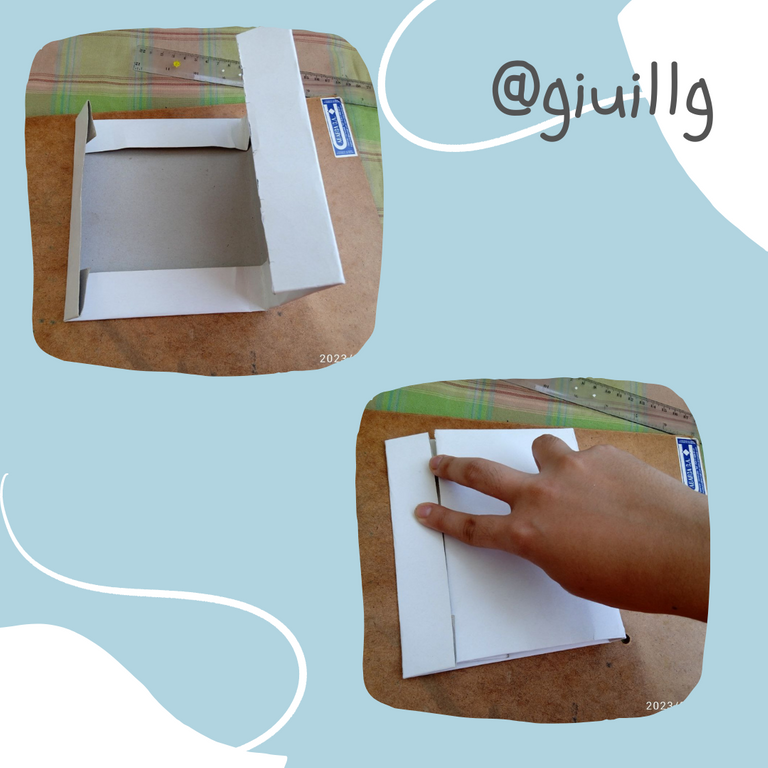
Paso 3
Tomé uno de los lados y lo llevé hacia el otro, e hice lo mismo con el otro lado, esto lo hice para formar la división entre la parte de arriba y debajo de nuestra caja.
Step 3
I took one of the sides and brought it towards the other, and did the same with the other side, this I did to form the division between the top and bottom of our box.
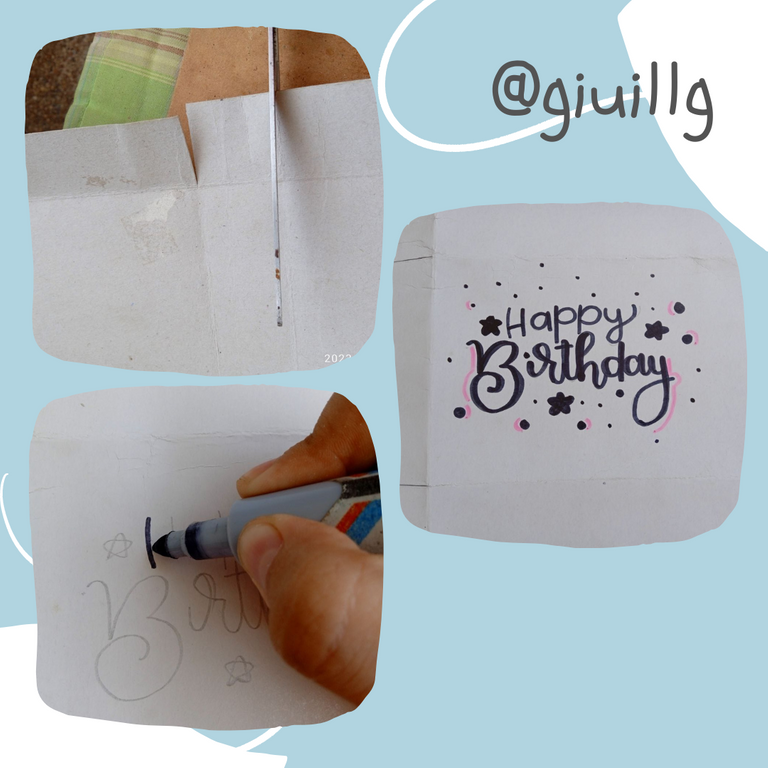
Paso 4
corté las pestañas hechas con el dobles y también la de los laterales,y dibuje en la parte de arriba un diseño de “Happy Birthday” y lo repasé con marcador negro y Rosa.
Step 4
I cut the tabs made with the doubles and also the one on the sides, and drew a "Happy Birthday" design on the top and went over it with black and pink marker.
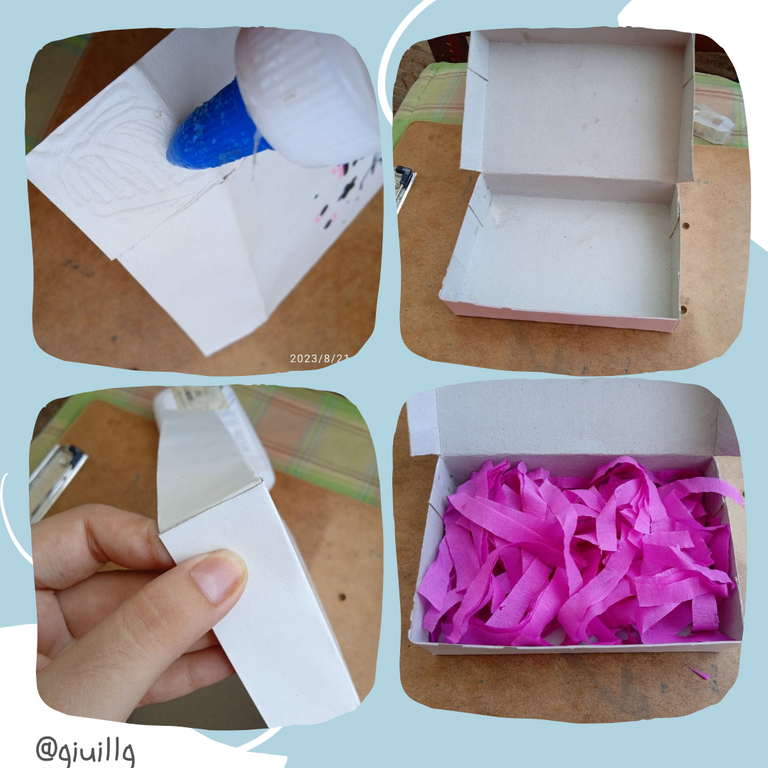
Paso 5
Pegué en la parte de adentro las pestañas para darle mejor acabado y por ultimo rellené la caja con trozos de papel Crepé Rosa y coloqué el regalo que es un llavero hecho de perlas, si quieres saber cómo lo hice aquí te dejo el link de mi anterior publicación.
Step 5
I glued the tabs on the inside to give it a better finish and finally I filled the box with pieces of pink crepe paper and placed the gift which is a keychain made of pearls, if you want to know how I did it here is the link to my previous publication.
Y así damos por terminada esta hermosa Cajita de Regalo, espero te haya gustado y puedas intentar realizarla.
And so we finish this beautiful Gift Box, I hope you liked it and you can try to make it.
Todas las fotos fueron tomadas en el Redmi 9A, Editadas en Canva y traducidas con DeepL.
¡Nos vemos en mi próximo blog!
All photos were taken on the Redmi 9A, Edited in Canva and translated with DeepL.
See you in my next blog!