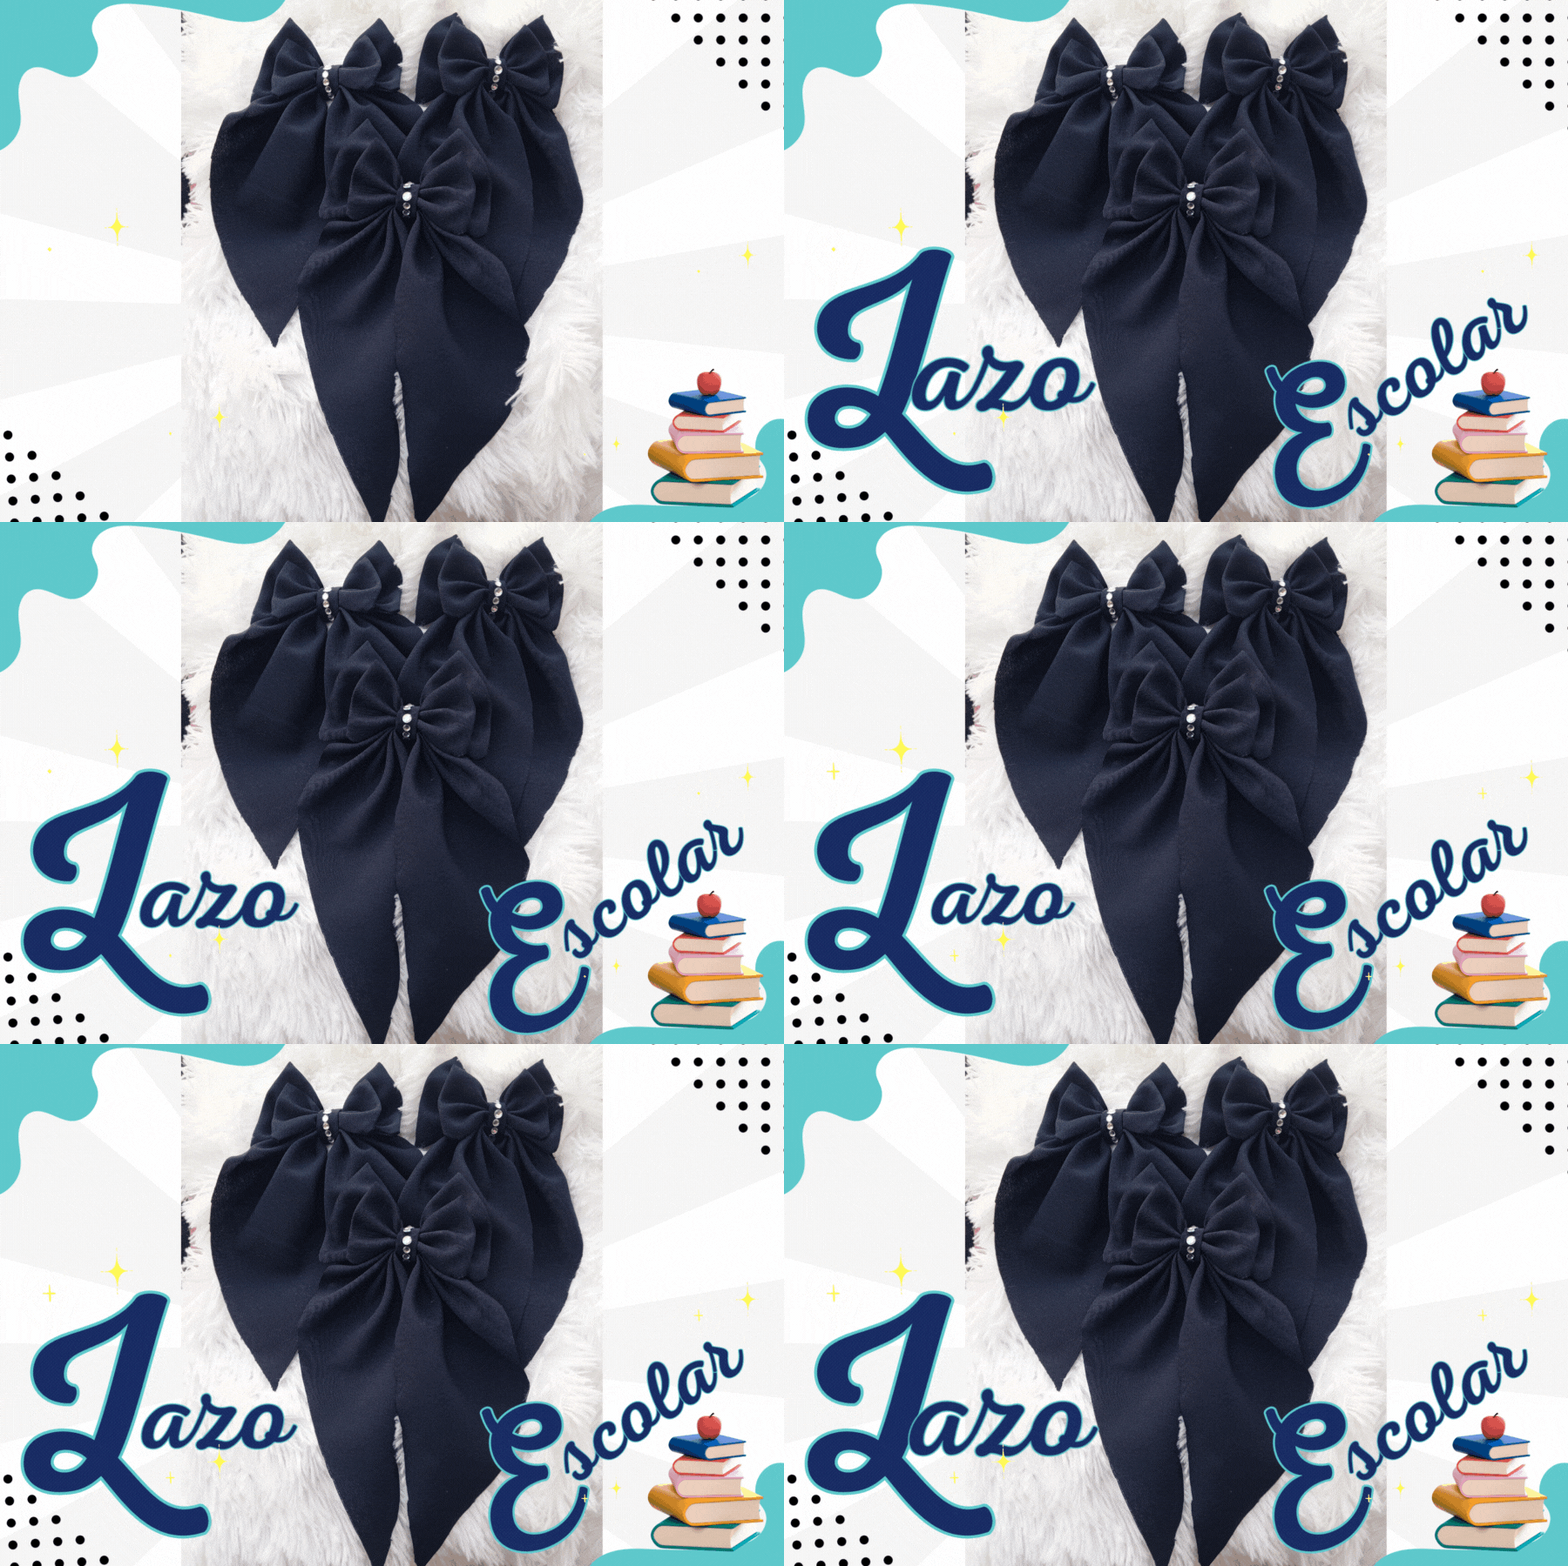
¡Hola gente creativa!, un gusto poder saludarles y compartir con ustedes una de mis nuevas creaciones, estos bellos lazos escolares tipo coquette.
Últimamente, he estado recibiendo este tipo de pedidos, unos lazos que se puedan adaptar al día a día de las niñas en el colegio y taran, este fue el resultado, espero que sea de su agrado.
ENGLISH
Hello creative people, it's a pleasure to greet you and share with you one of my new creations, these beautiful coquette school bows.
Lately, I have been receiving this kind of requests, some bows that can be adapted to the day to day of the girls at school and taran, this was the result, I hope you like it.
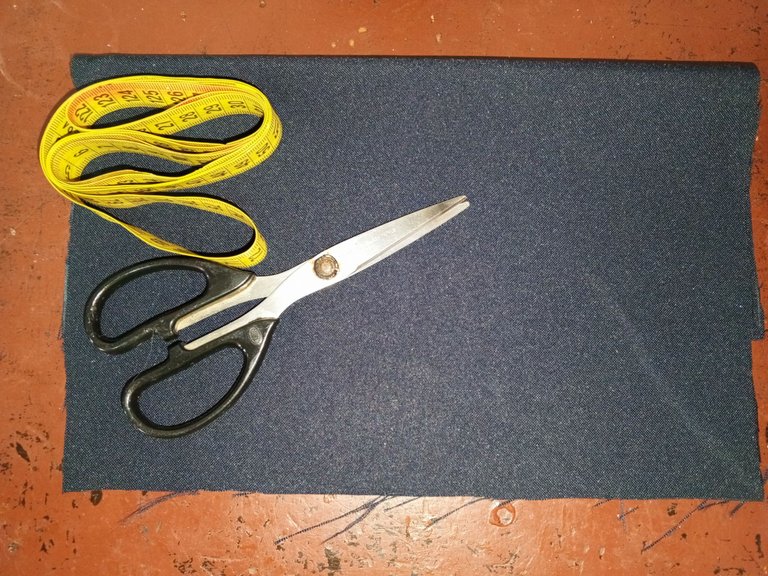
Ahora les comparto los materiales que útilice:
| ¼ | de tela gabardina azul |
|---|---|
| Tijera | |
| Cinta métrica | |
| Silicón | |
| Ganchos |
ENGLISH
Now he shares with you the materials I used: .
| ¼ | of blue gabardine fabric | |
|---|---|---|
| scissors | ||
| Tape measure | ||
| Silicone | ||
| Hooks |
 |  |  |
|---|
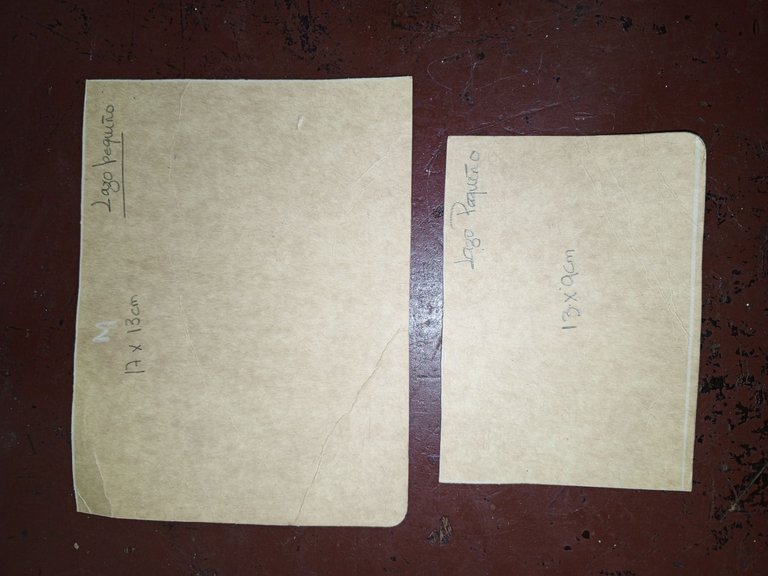
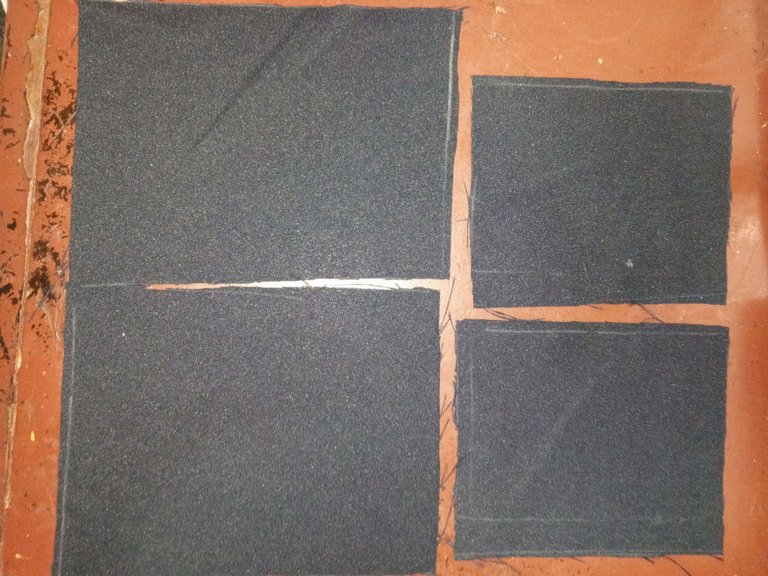
Lo primero que vamos a hacer es colocar el molde de los patrones donde están detallados las medidas de los lazos, esta medida considero que queda muy bien para el colegio, no son nada exuberantes y quedan bien a cualquier niña.
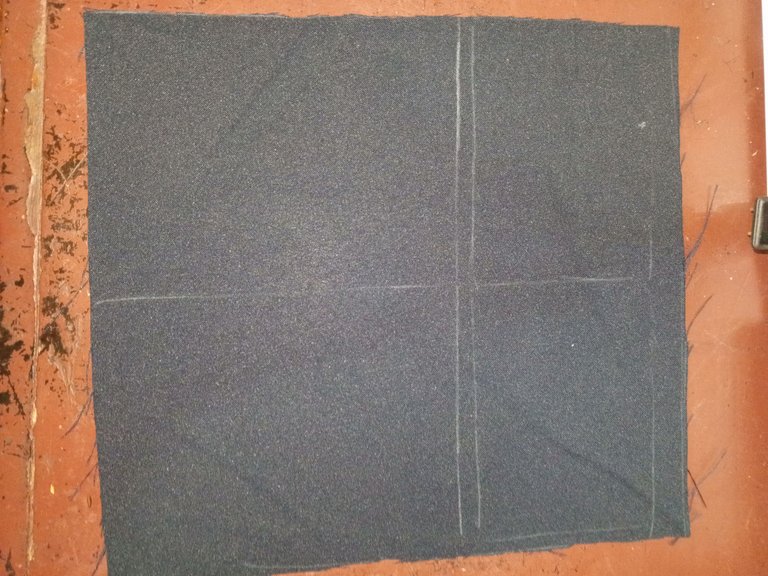
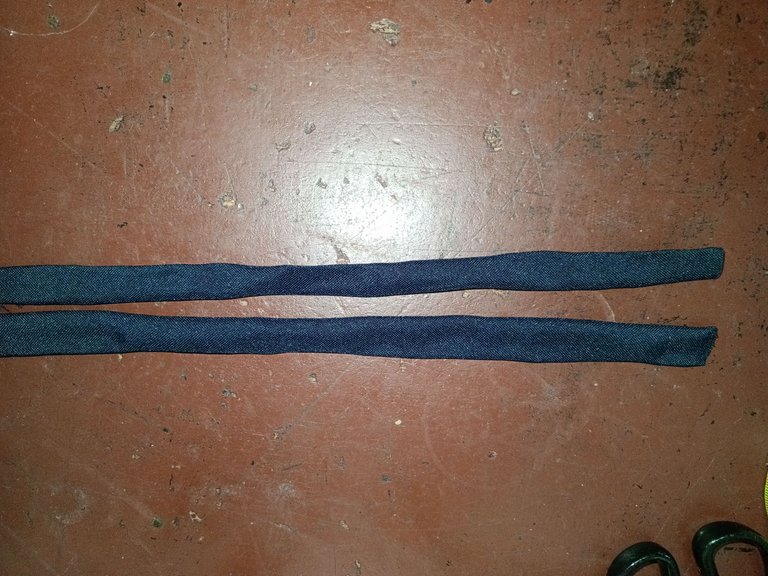
El cuadrado principal mide 17 cm por 13 cm y el cuadrado pequeño que será el lazo del centro mide: 13 cm por 9 cm, aparte de eso medimos un cuadrado de 40 cm por 40 cm de allí sacaremos las dos piezas que será la cola de los lazos, una vez tengan el cuadrado lo que hacen es cortarlo diagonalmente y listo.
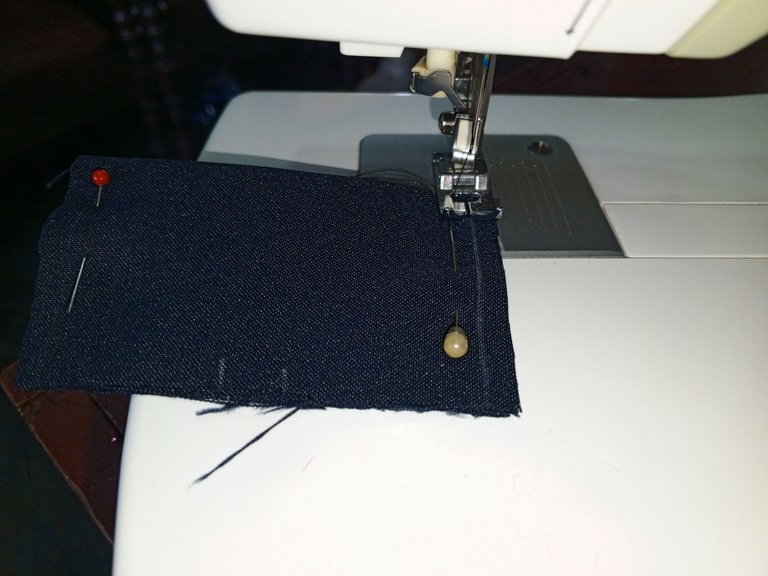
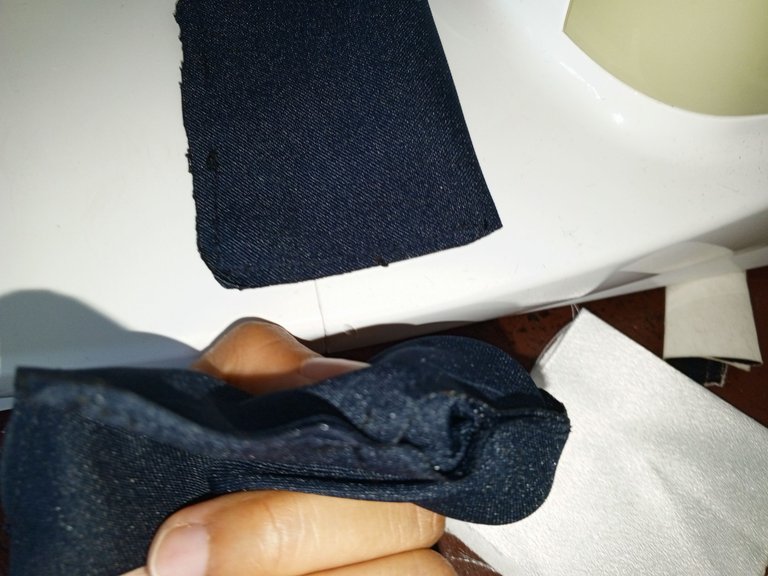
Una vez tengamos listos los pedazos de tela cortados procedemos a coser cuidadosamente, yo dejo un espacio sin coser para facilitarme al momento de dar vuelta a la pieza sea más fácil, además por ese agujero meto un palito y saco los bordes de las esquinas.
ENGLISH
The first thing we are going to do is to place the mold of the patterns where the measures of the bows are detailed, this measure I consider that it fits very well for the school, they are not exuberant at all and look good to any girl.
The main square measures 17 cm by 13 cm and the small square that will be the center bow measures: 13 cm by 9 cm, apart from that we measure a square of 40 cm by 40 cm from there we will get the two pieces that will be the tail of the bows, once you have the square what you do is cut it diagonally and that's it.
Once we have the cut pieces of fabric ready we proceed to sew carefully, I leave a space without sewing to make it easier to turn the piece, also through that hole I put a stick and take out the edges of the corners.
 |  |  |
|---|
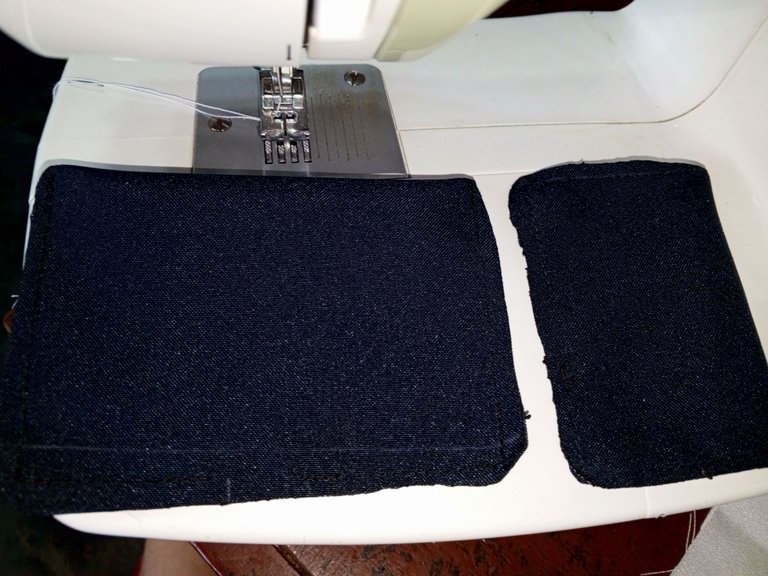
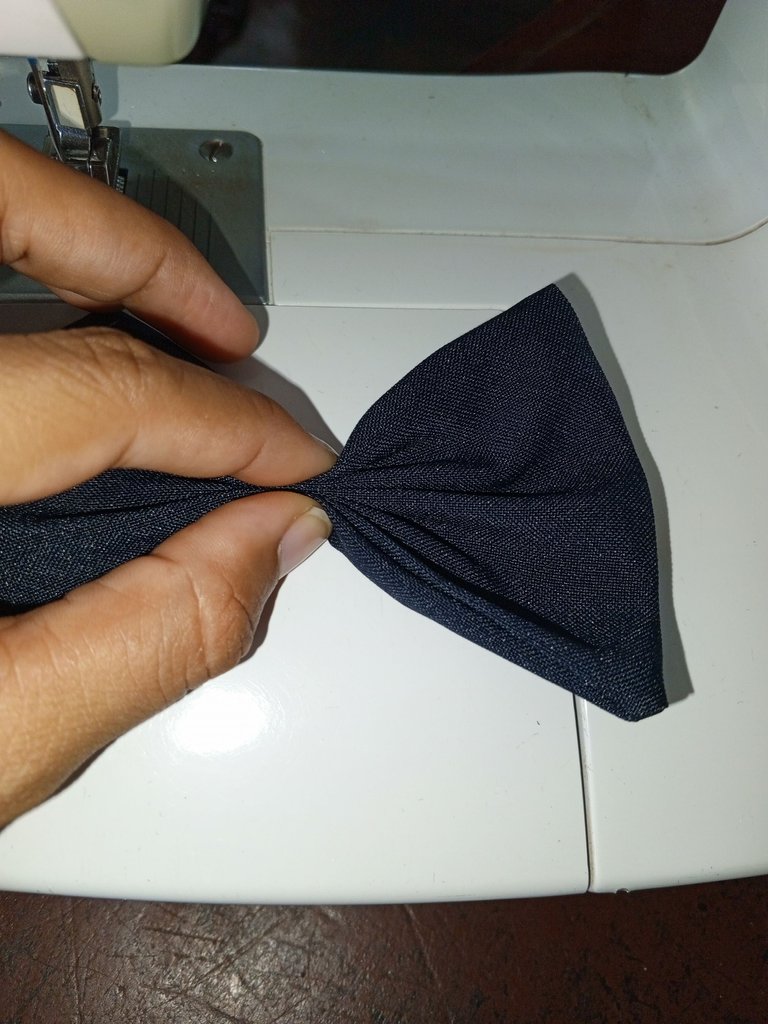
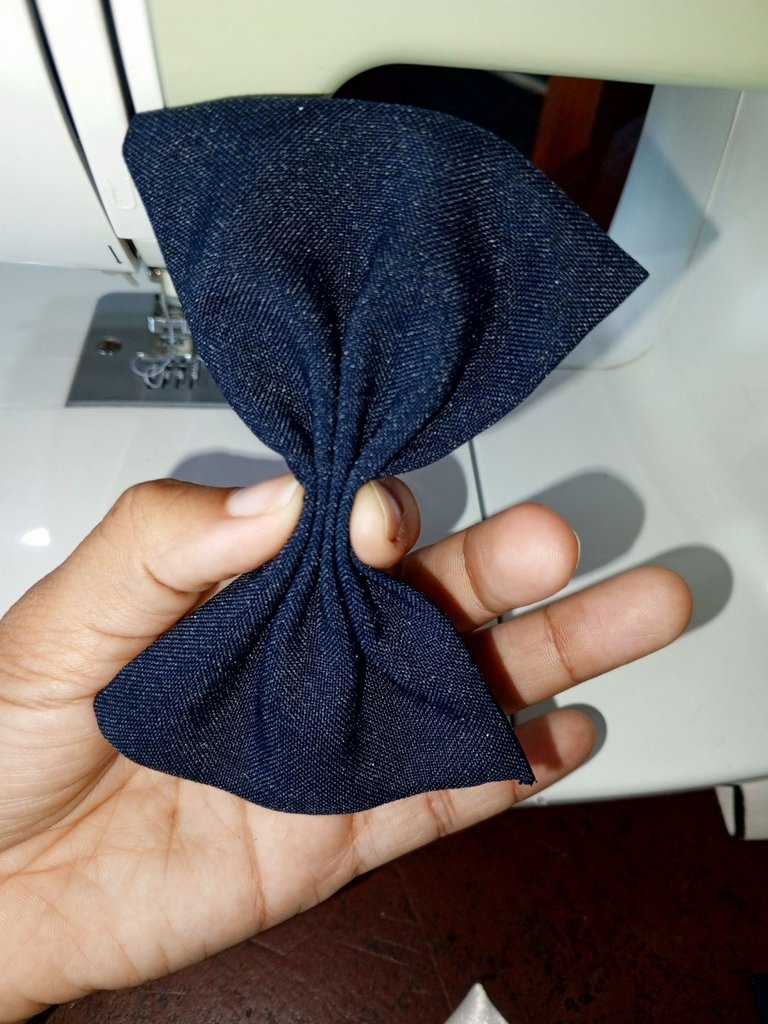
Ya con los cuadrados cosidos, y volteados podemos proceder a plancharlos, este paso es opcional, sin embargo, a mí me gusta realizarlo porque considero que queda el trabajo más bonito y limpio. Tomamos el cuadrado más grande y hacemos unos pequeños pliegos hacia el centro y allí sujetamos con hilo para que no se nos suelte, y hacemos lo mismo con el lazo pequeñito.
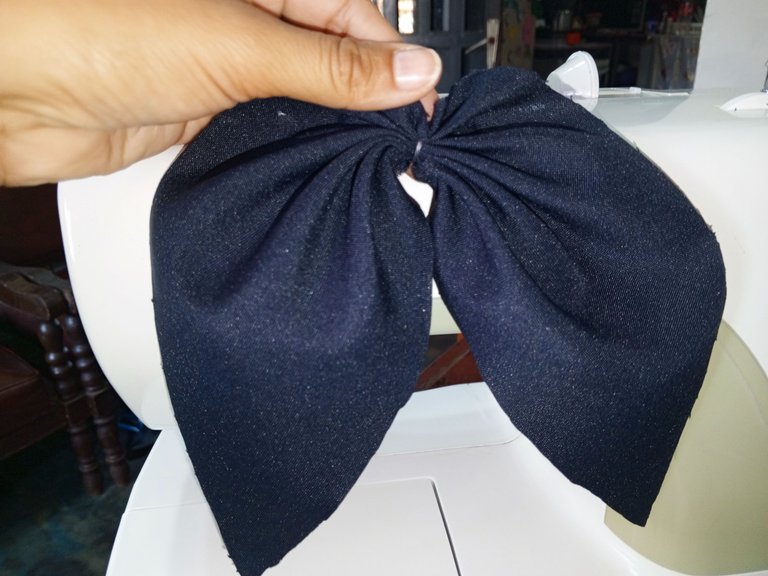
Luego de esto ya es más fácil todo, solo basta con unir los dos lazos posicionando el más grande de fondo y el pequeño en la parte frontal, colocamos una de las colas que será la marca distintiva de estos lazos escolares y unimos todas estas piezas con hilo.
 |  |  |
|---|
 | 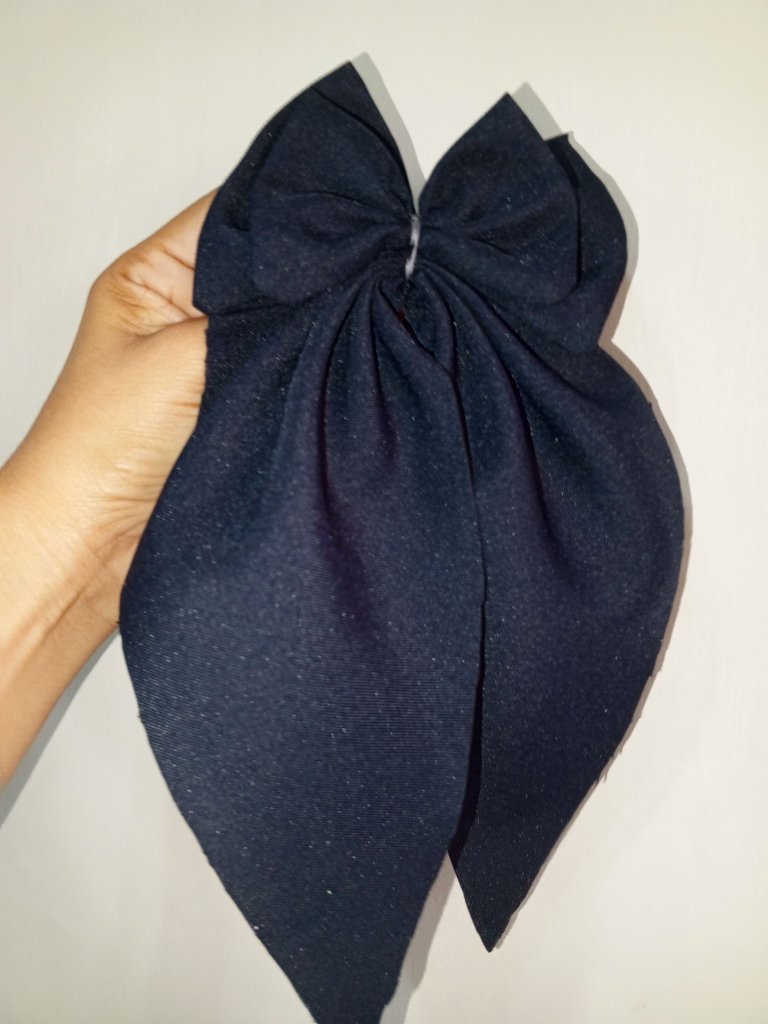 | 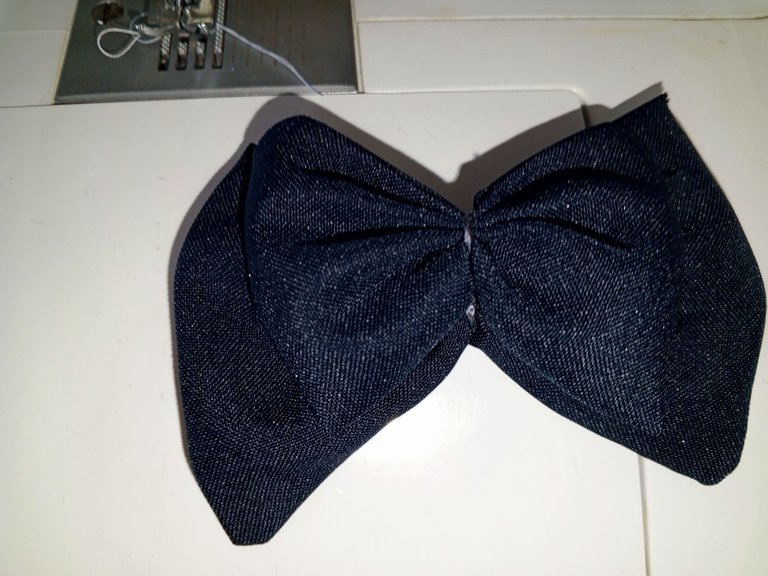 |
|---|
Con una tira de la misma tela de gabardina vamos a forrar el centro, yo tomé una de 5 cm y le hice una costura recta por todo el borde.
Fijamos muy bien con el silicón y por último pegamos el gancho o sujetador de nuestra preferencia.
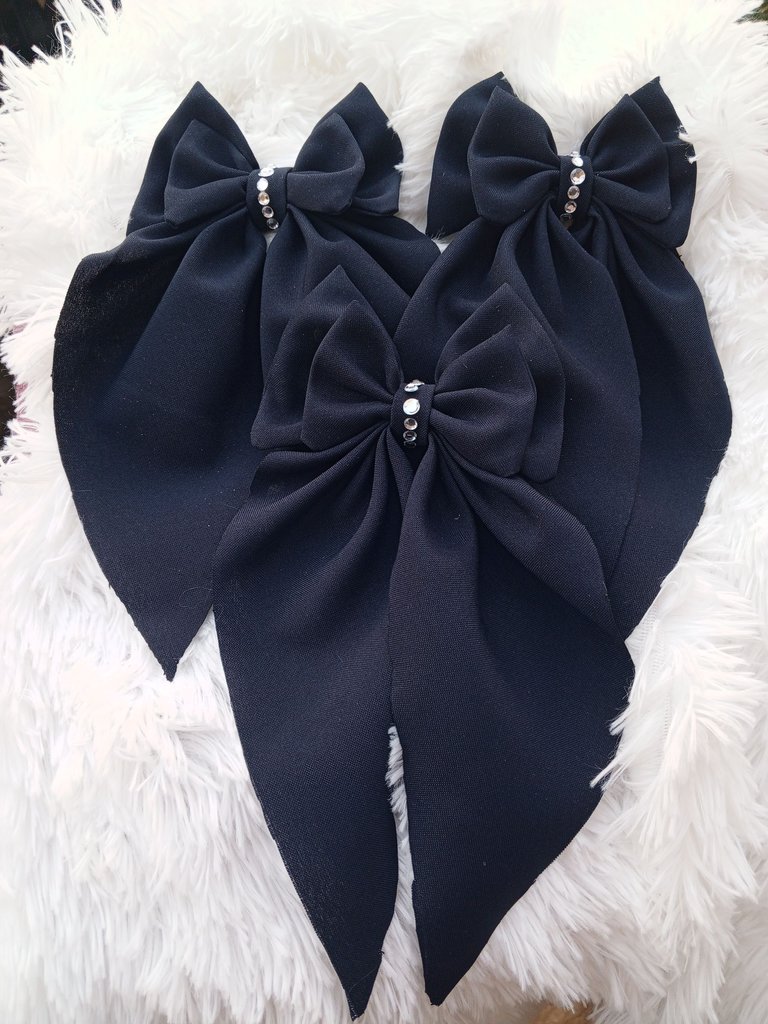
Y así de lindo quedan estos bellos lazos escolares, allí los acompañé con otro modelo bien lindo y elegante, ¿a poco no les gustan estas hermosuras? 😍
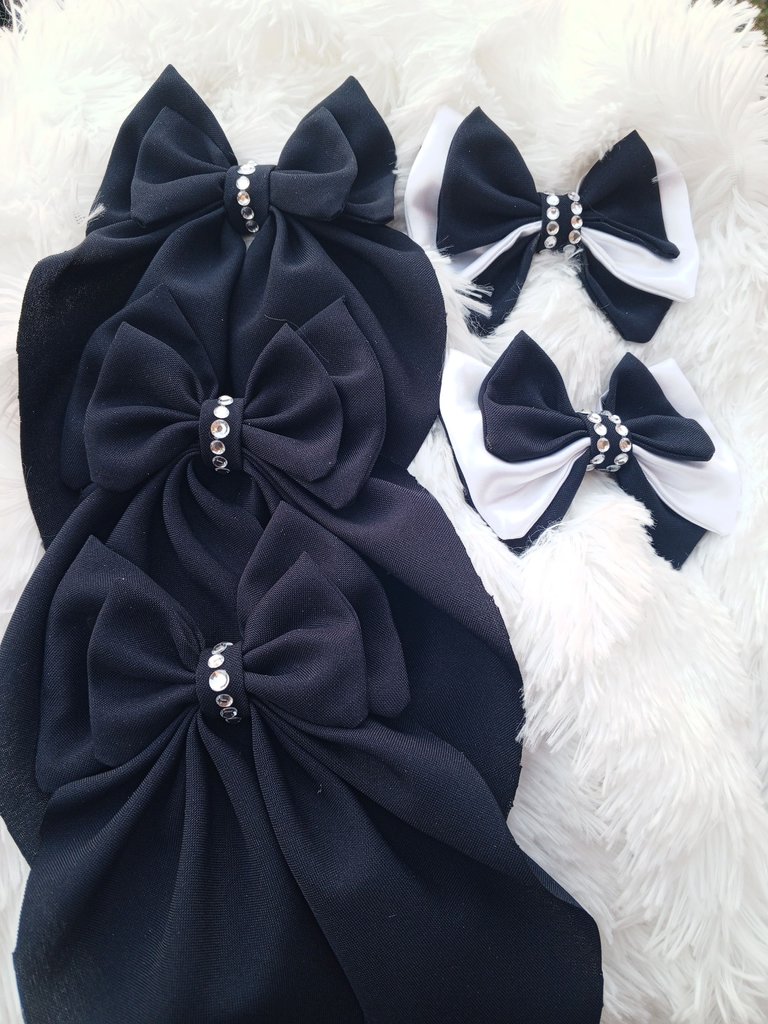
Las niñas lucen preciosas con estos lazos, así que espero que a ustedes les guste y también se puedan sentir motivados para realizar alguno de estos modelos en sus casas, si tienen alguna duda puedes dejármela en los comentarios como siempre es un gusto leerte y ayudarte.
ENGLISH
Once the squares are sewn and turned over, we can proceed to iron them, this step is optional, however, I like to do it because I think it makes the work prettier and cleaner. We take the largest square and make a few small folds towards the center and there we fasten with thread so that it does not come loose, and we do the same with the small bow.
After this, everything is easier, we just have to join the two ribbons, placing the larger one at the back and the smaller one at the front, we place one of the tails that will be the distinctive mark of these school ribbons and we join all these pieces with thread.
With a strip of the same gabardine fabric we are going to line the center, I took a 5 cm strip and made a straight seam all around the edge.
We fix very well with silicone and finally we glue the hook or fastener of our preference.
And this is how cute these beautiful school bows are, there I accompanied them with another very nice and elegant model, don't you love these beautiful bows?
The girls look beautiful with these bows, so I hope you like it and you can also feel motivated to make some of these models at home, if you have any questions you can leave it in the comments as always is a pleasure to read you and help you.

✨Imagen principal editada utilizando Canva
⚠️Todas las fotografías son propias capturadas con mi teléfono Tecno Spark 10 pro
✨Main image edited using Canva.
⚠️Todas photos are my own captured with my Tecno Spark 10 pro phone.
Muchas gracias ☺️
Has sido votado por
PROYECTO ENLACE
'Conectando Ideas y Comunidades'
PROYECTO ENLACE es un proyecto de curación de habla hispana enfocado en recompensar contenido de calidad y apoyar autores en su proceso de crecimiento en HIVE.
Creemos y apostamos por el futuro de esta gran plataforma, y estamos muy emocionados de poder hacerla crecer junto a esta comunidad. Así que te invitamos a publicar en nuestra COMUNIDAD y estar atento a todas las actividades que tenemos preparadas y que estaremos publicando en breve.
¿QUIERES AUTOMATIZAR TUS GANANCIAS DE CURACIÓN? SE PARTE DEL PROYECTO ENLACE APOYANDO A NUESTRO TRAIL EN HIVE.VOTE INGRESA AQUÍ PARA CONOCER LOS DETALLES.
¿QUIERES INVERTIR ENLACE? DESCUBRE COMO HACERLO Y GENERAR INGRESOS DE FORMA SEMANAL MEDIANTE TU DELEGACIÓN DE HP AQUÍ TE EXPLICAMOS COMO.
Te invitamos a participar en nuestro servidor de Discord: https://discord.gg/3S9y7BbWfS
Atentamente
EQUIPO ENLACE 2024
Muchas gracias ☺️
Saludos @gledys19, quedaron hermosos los lazos, me gustó adorno del centro los brillantes le dan elegancia y estilo.
Feliz sábado!
Hola si amiga los brillos le dan un estilo diferente 😇
hola @gledys19 estan muy lindos tus lazos, me encantaron, su color los hace muy practicos convinan con todo. felicidades. gracias por compartir el paso a paso.
Espero que te sirva y lo puedas hacer. Muchas gracias por tu comentario 👍🏻😇
Están hermosos!!
Muchas gracias 🙂
¡¡¡Buen trabajo!!! Gracias por publicar tu excelente contenido en Hive Diy, qué hermosos lazos nos has compartido, las princesas del hogar de seguro les encanto con tan hermosa mezcla de colores.
Tu comunidad artesana ahora es testigo

Muchas gracias por el apoyo, la niña quedó súper alegre con estos lacitos