Buenos días familia, feliz y bendecido domingo a todos, bienvenidos de nuevo, hoy les quiero enseñar ¿cómo hacer un pingüino navideño? En unos pocos pasos aquí está el paso a paso de este material.
Good morning family, happy and blessed Sunday everyone, welcome back, today I want to teach you how to make a Christmas penguin? In a few steps here is the step by step of this material.
Materiales:
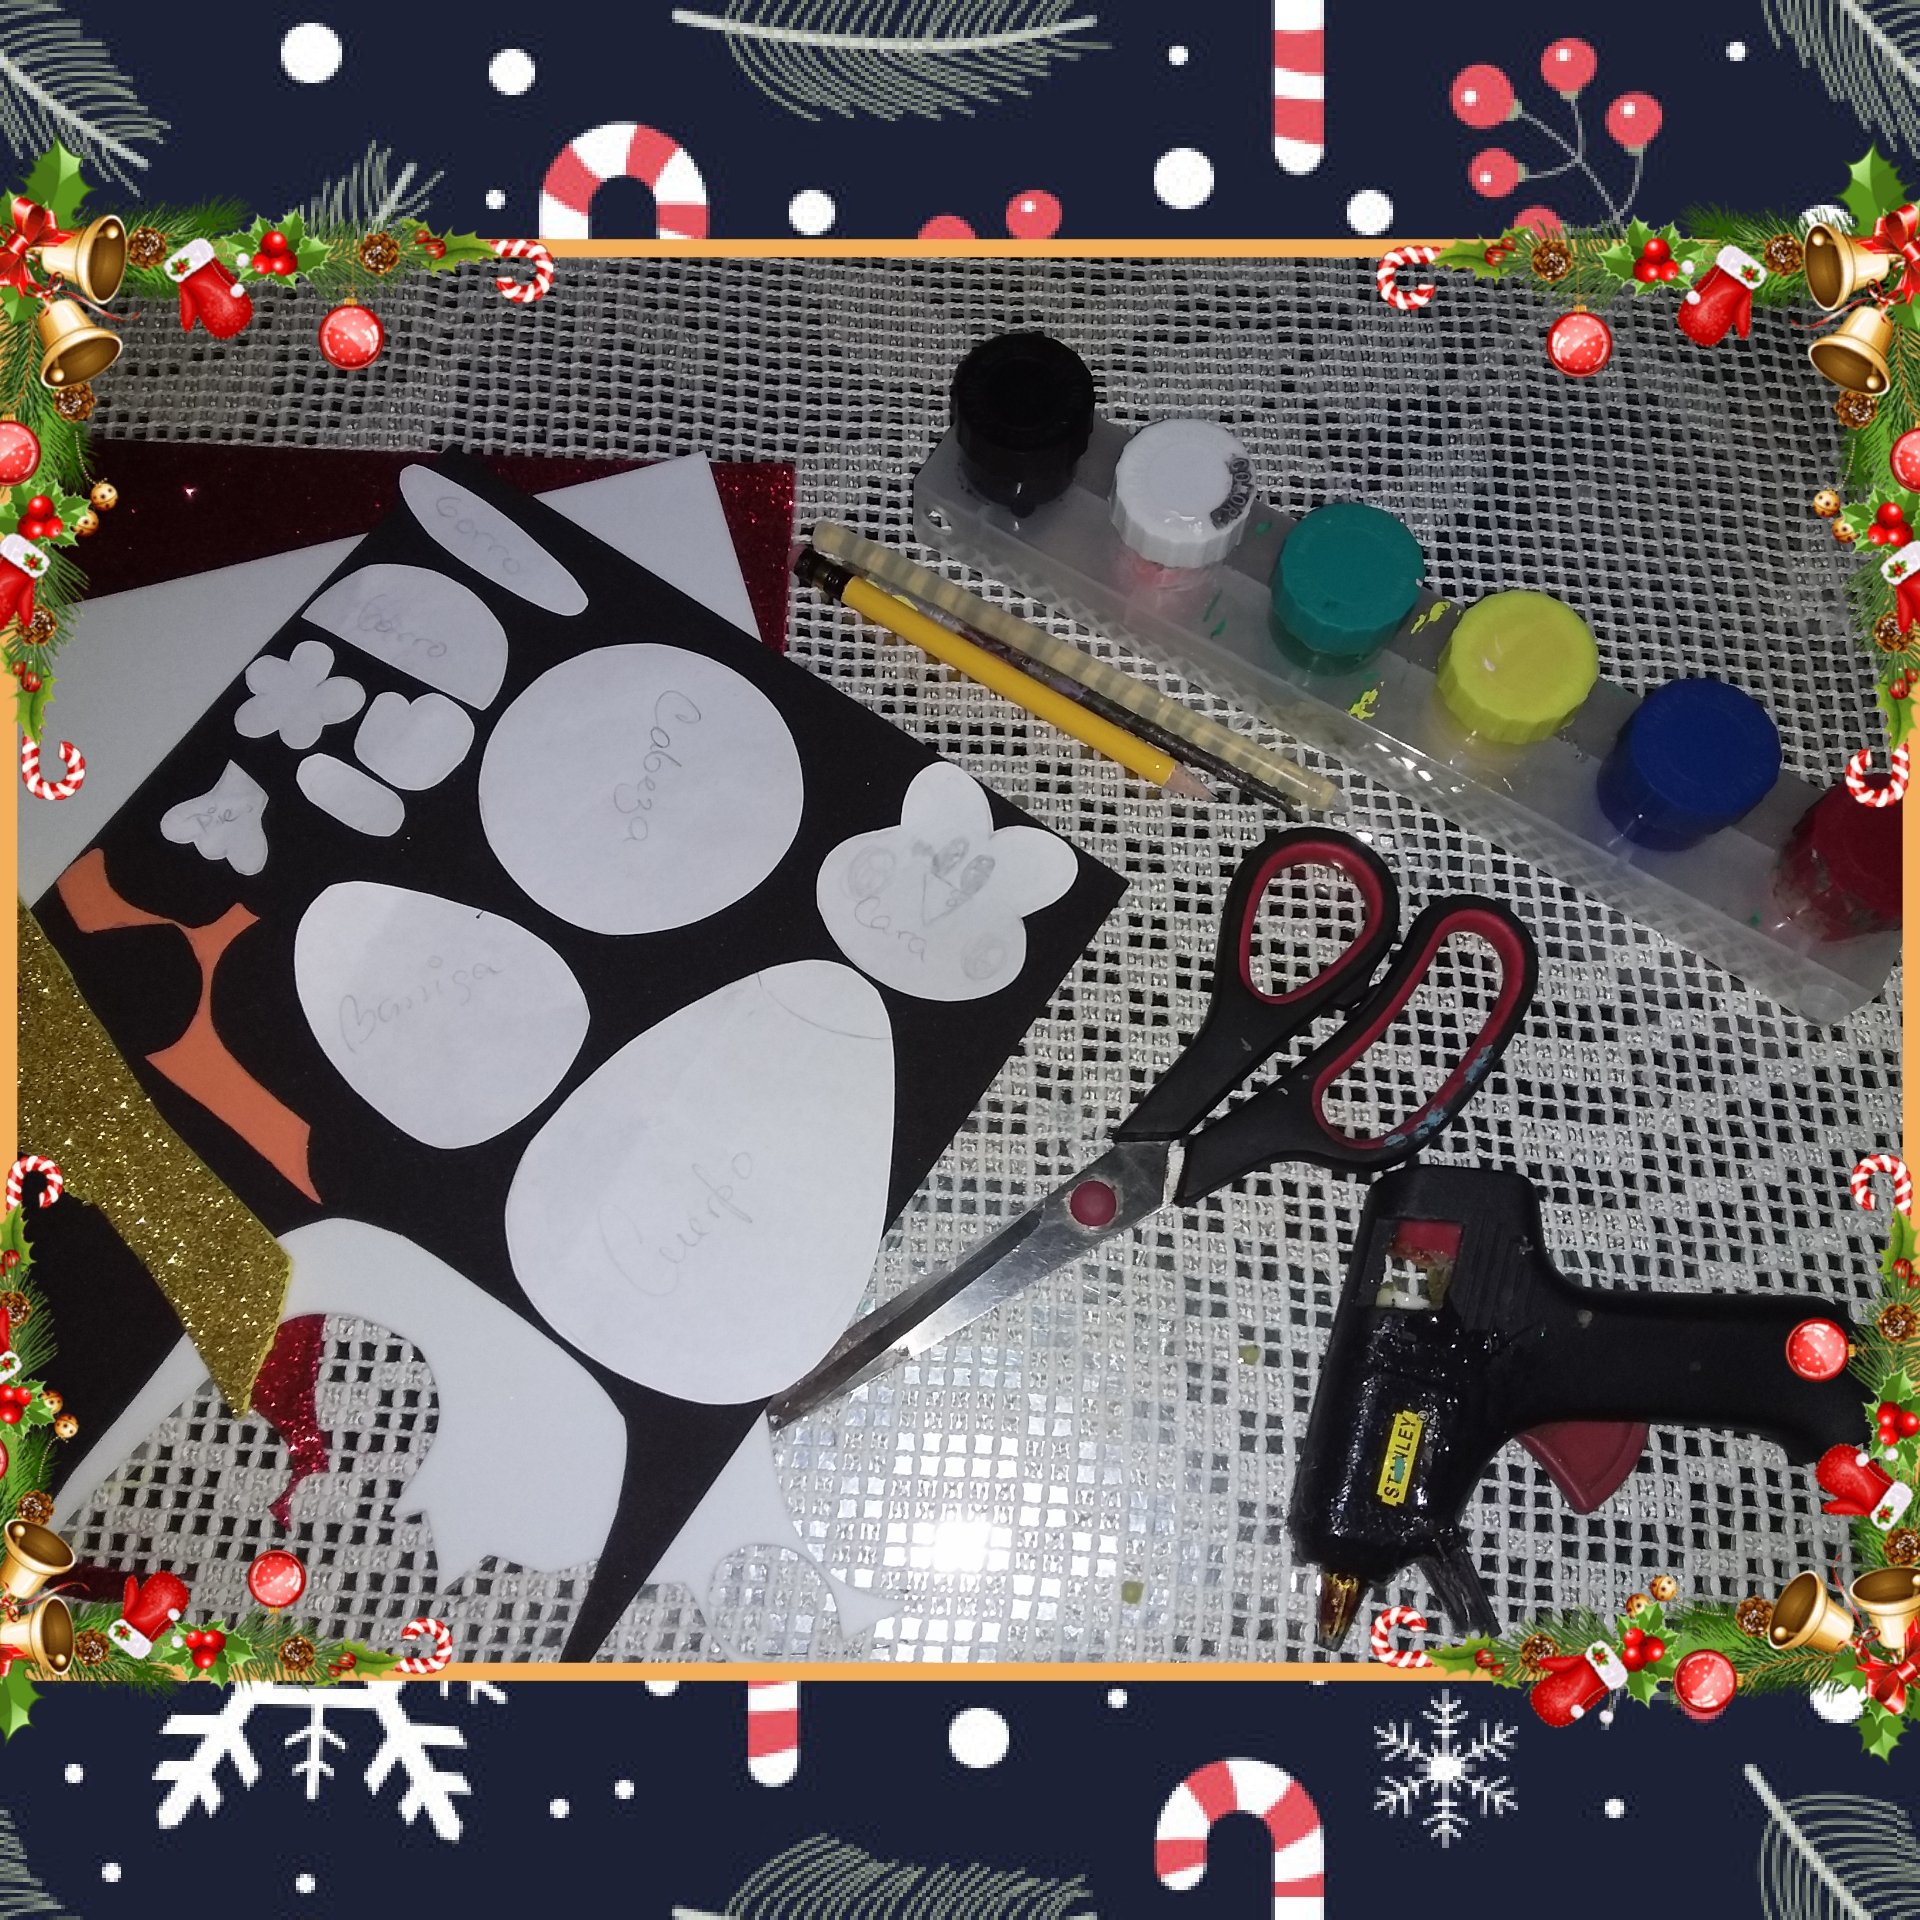
- Espuma: negro, blanco, rojo escarchado, naranja escarchado y amarillo escarchado.
- Pincel y pinturas.
- Patrones.
- Tijera.
- Lápiz.
- Pistola y barra de silicona.
Materials:
- Foam: black, white, frosty red, frosty orange and frosty yellow.
- Brush and paints.
- Patterns.
- Scissor.
- Pencil.
- Gun and silicone bar.
PASOS A SEGUIR
Primer paso
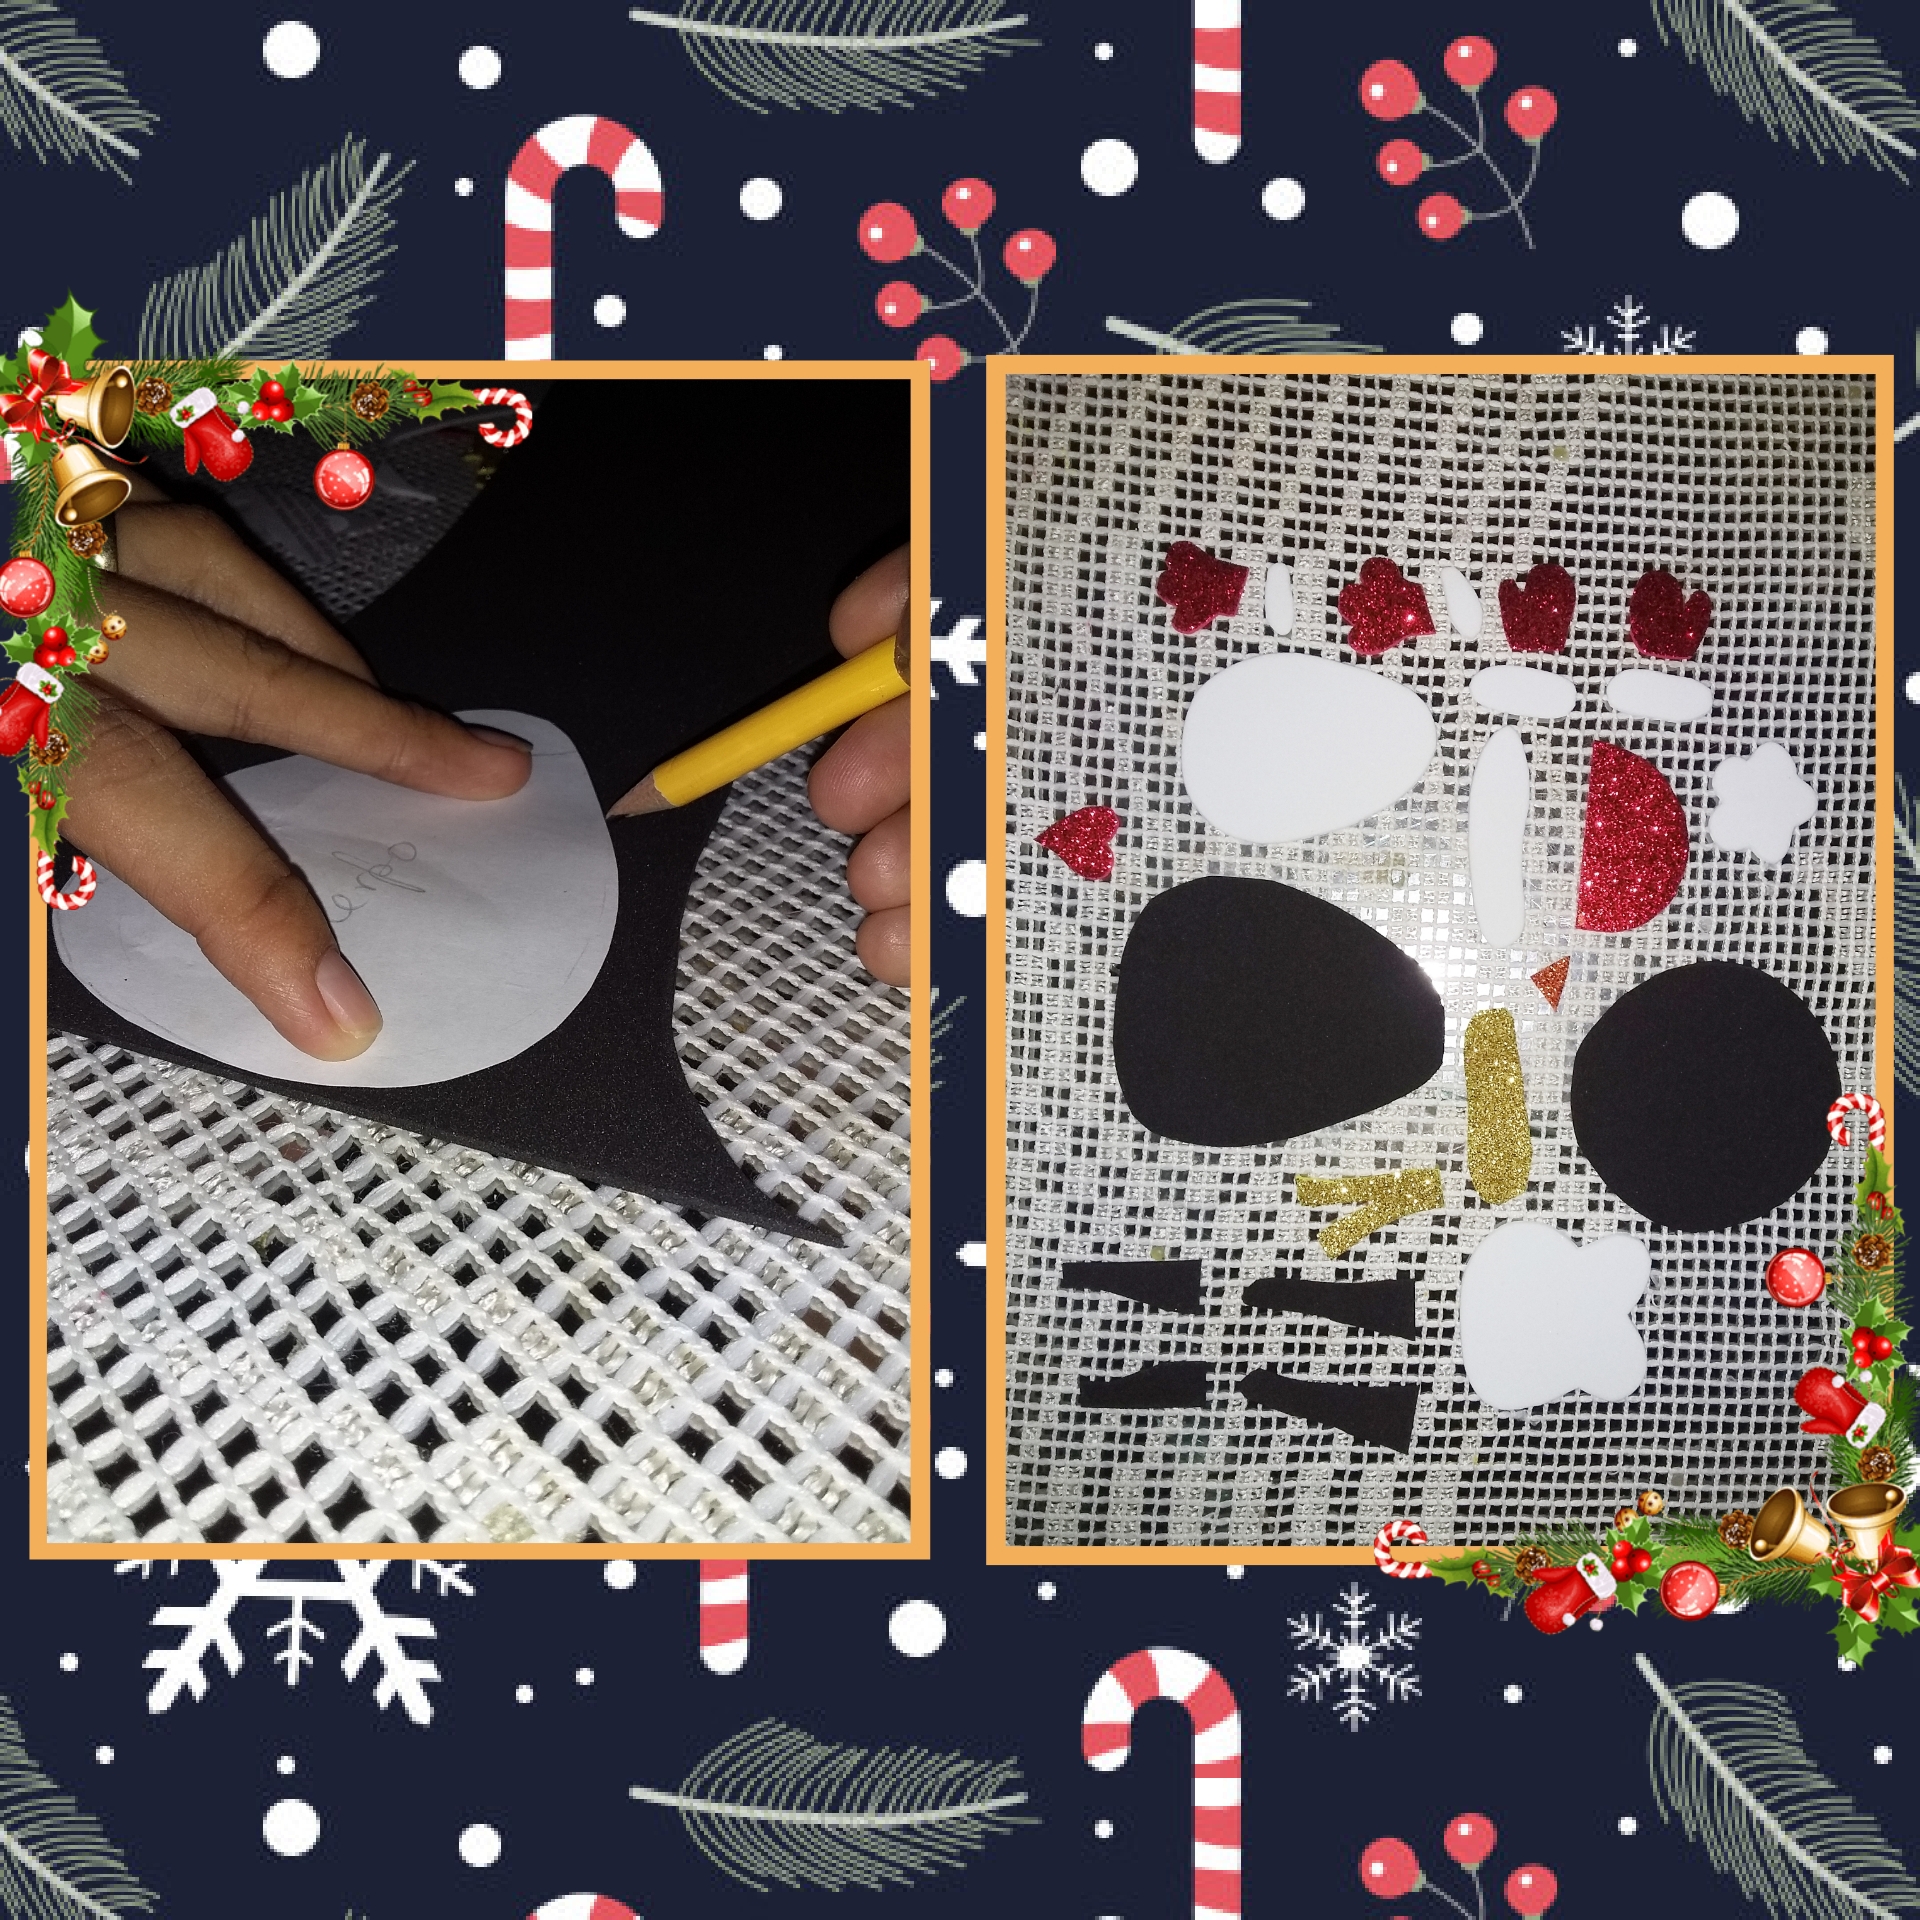
Marque los patrones y recorte las formas:
- Espuma negra (cabeza y cuerpo)
- Espuma roja escarchada (gorro, guantes y pies)
- Espuma blanca (vientre, cara, bandas para guantes, bandas para los pies, banda para sombrero y decoración para sombrero una flor)
- Espuma de color amarillo brillante (bufanda)
- Espuma de naranja escarchada (pico de pingüino)
Ahora harás un corazón con la espuma roja brillante como complemento y unas tiras no tan gruesas con espuma negra para brazos y piernas.
First step
Mark the patterns and cut out the shapes:
- Black foam (head and body)
- Frosty red foam (hat, gloves and feet)
- White foam (belly, face, glove bands, foot bands, hat band and hat decoration a flower)
- Bright yellow foam (scarf)
- Frosty orange foam (penguin's beak)
Now you will make a heart with the bright red foam as a complement and some not so thick strips with black foam for arms and legs.
Segundo paso
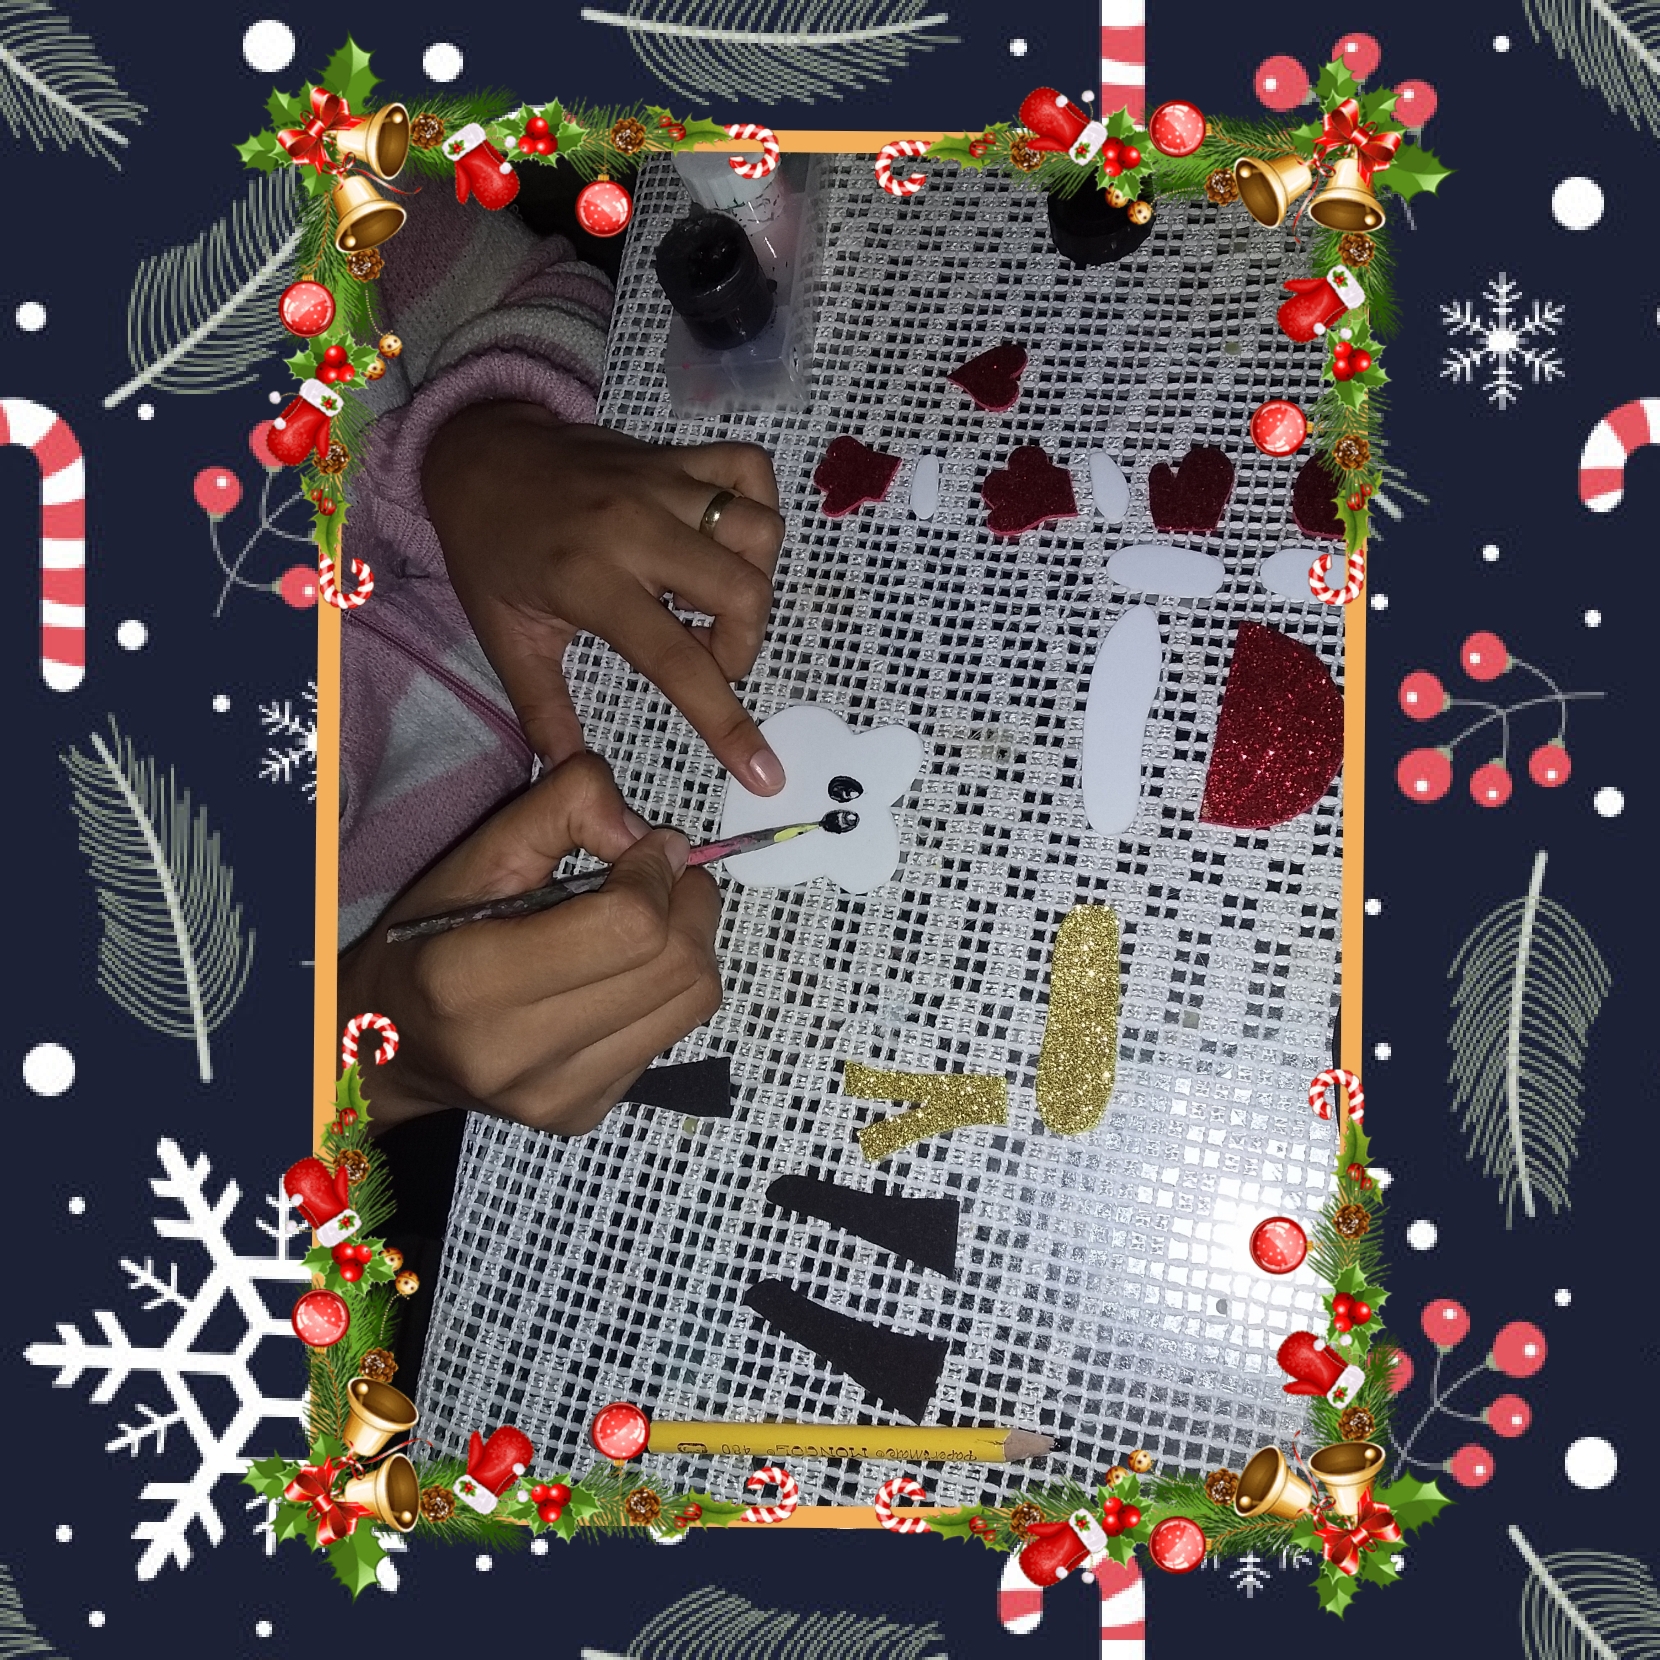
Antes de empezar a pegar las piezas, pinta los ojos.
Second step
Before you start gluing the pieces, paint the eyes.
Tercer paso
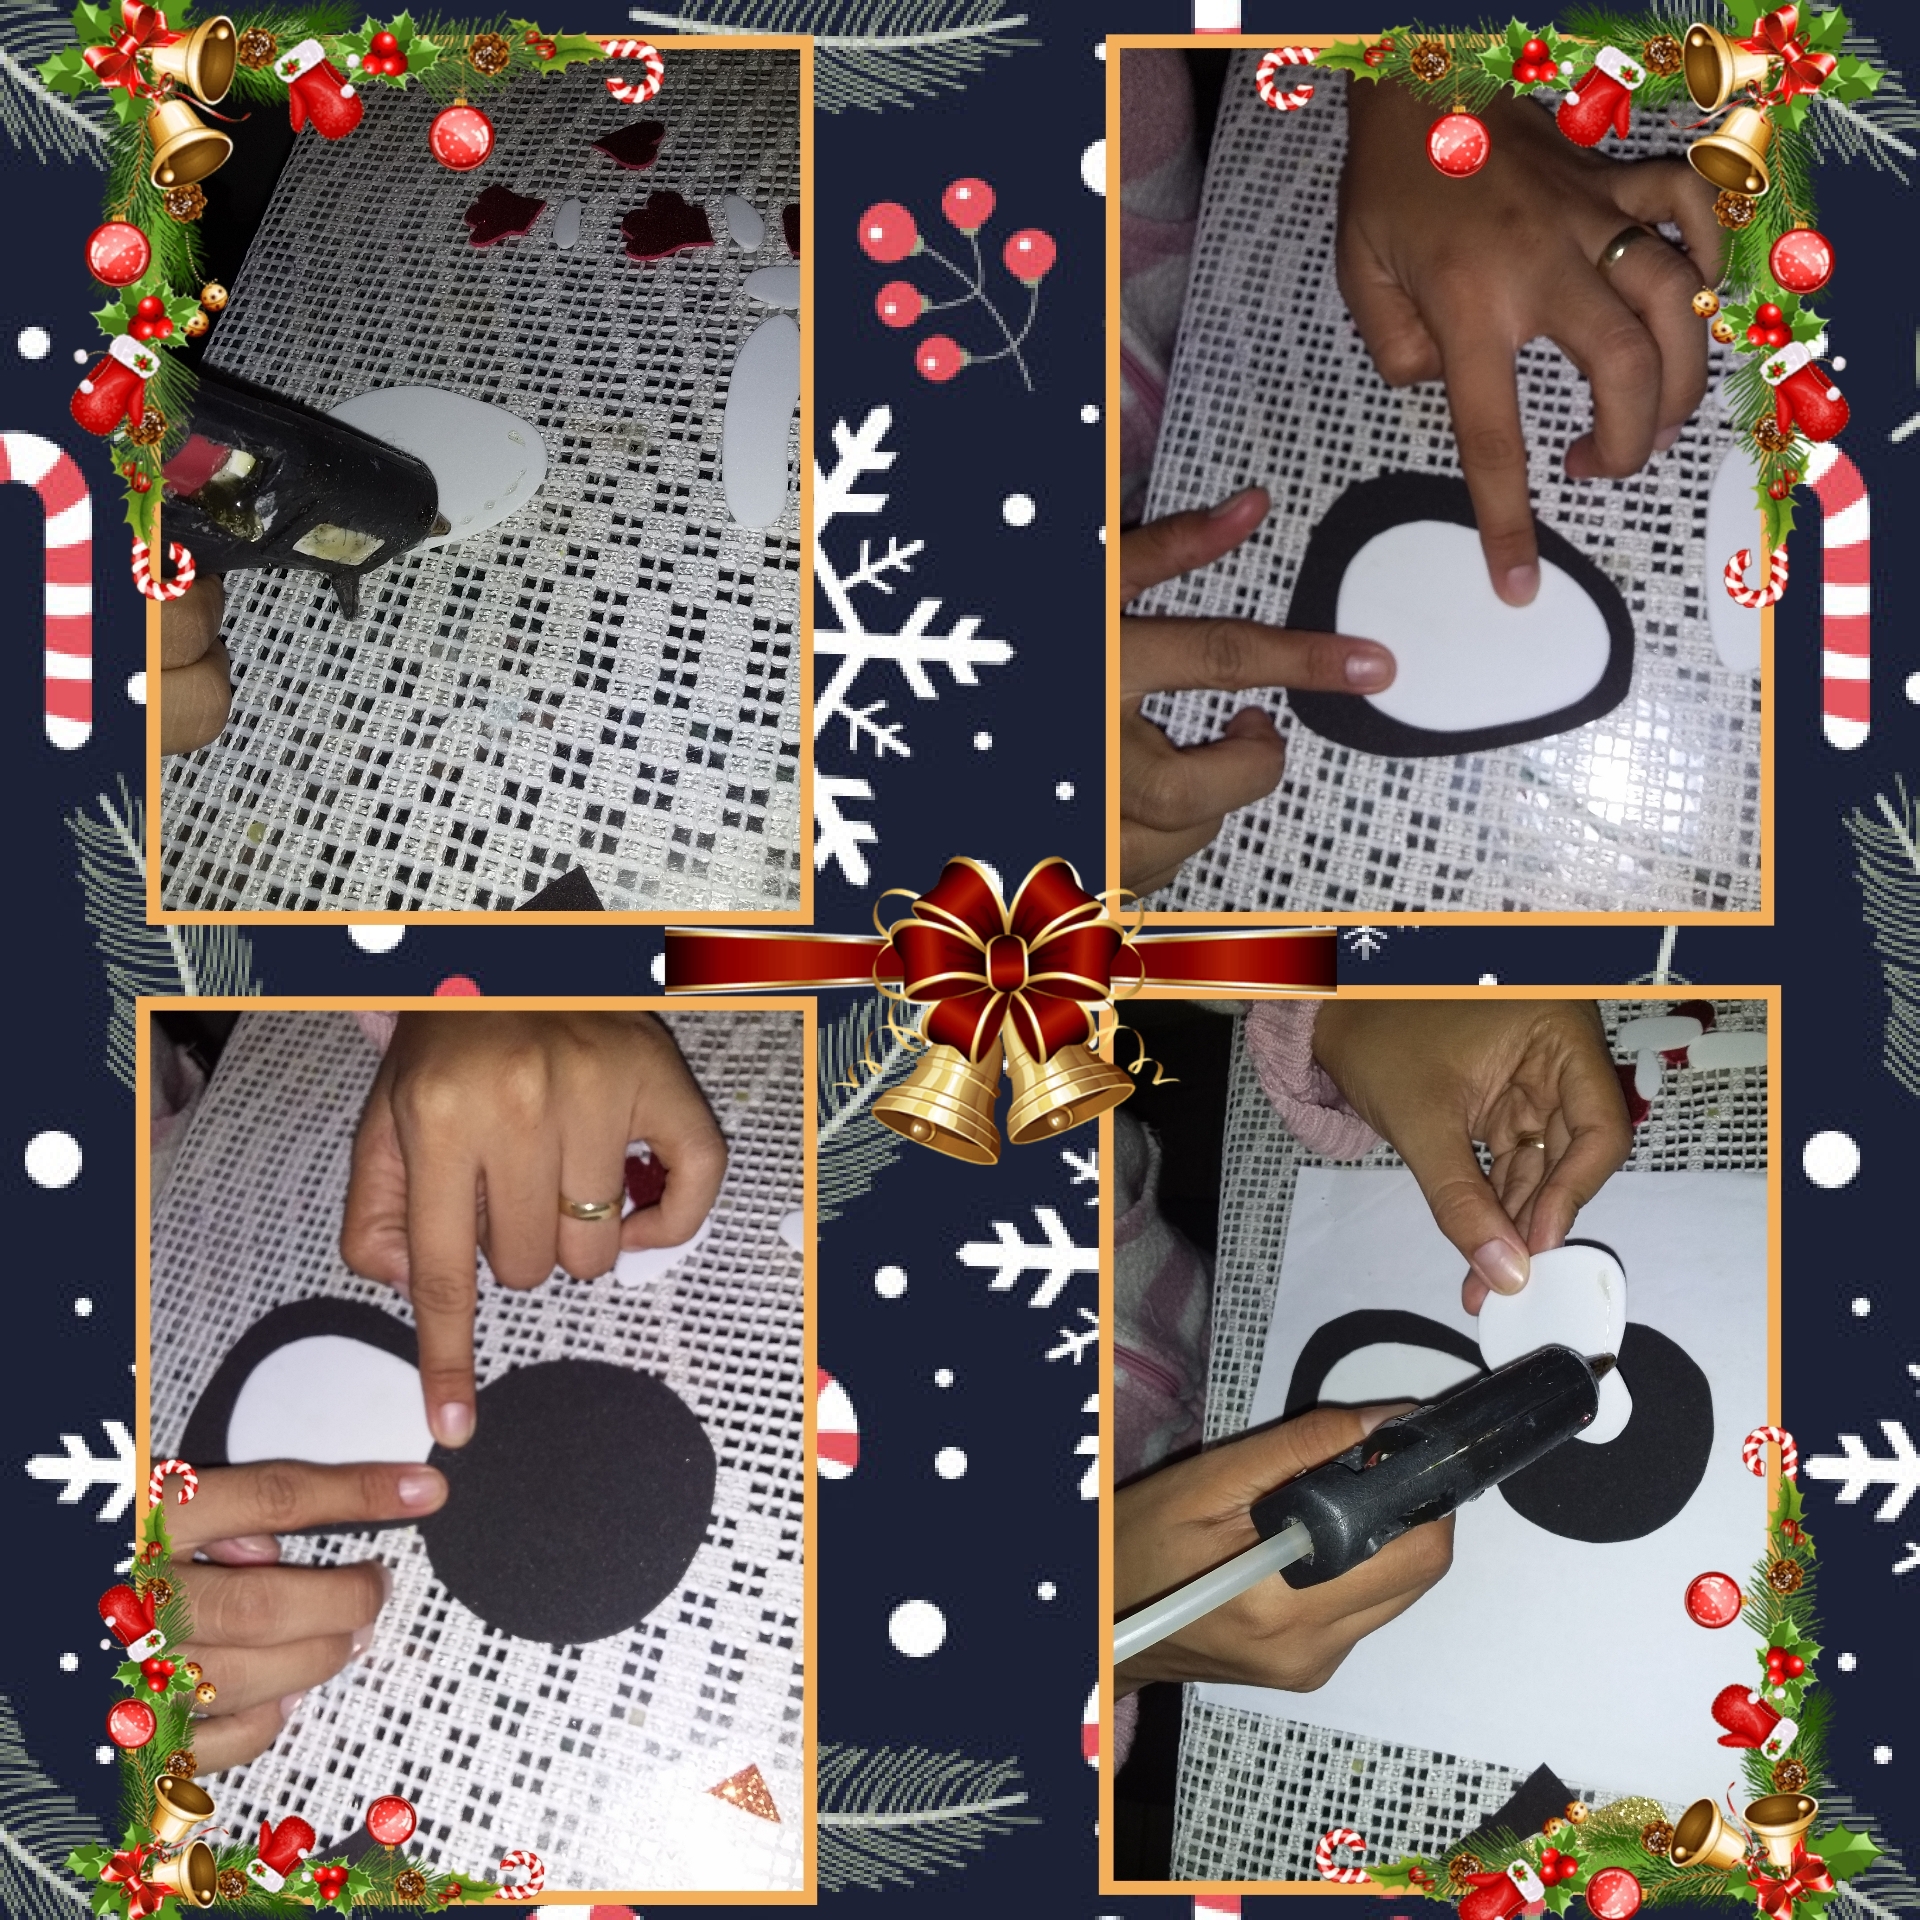
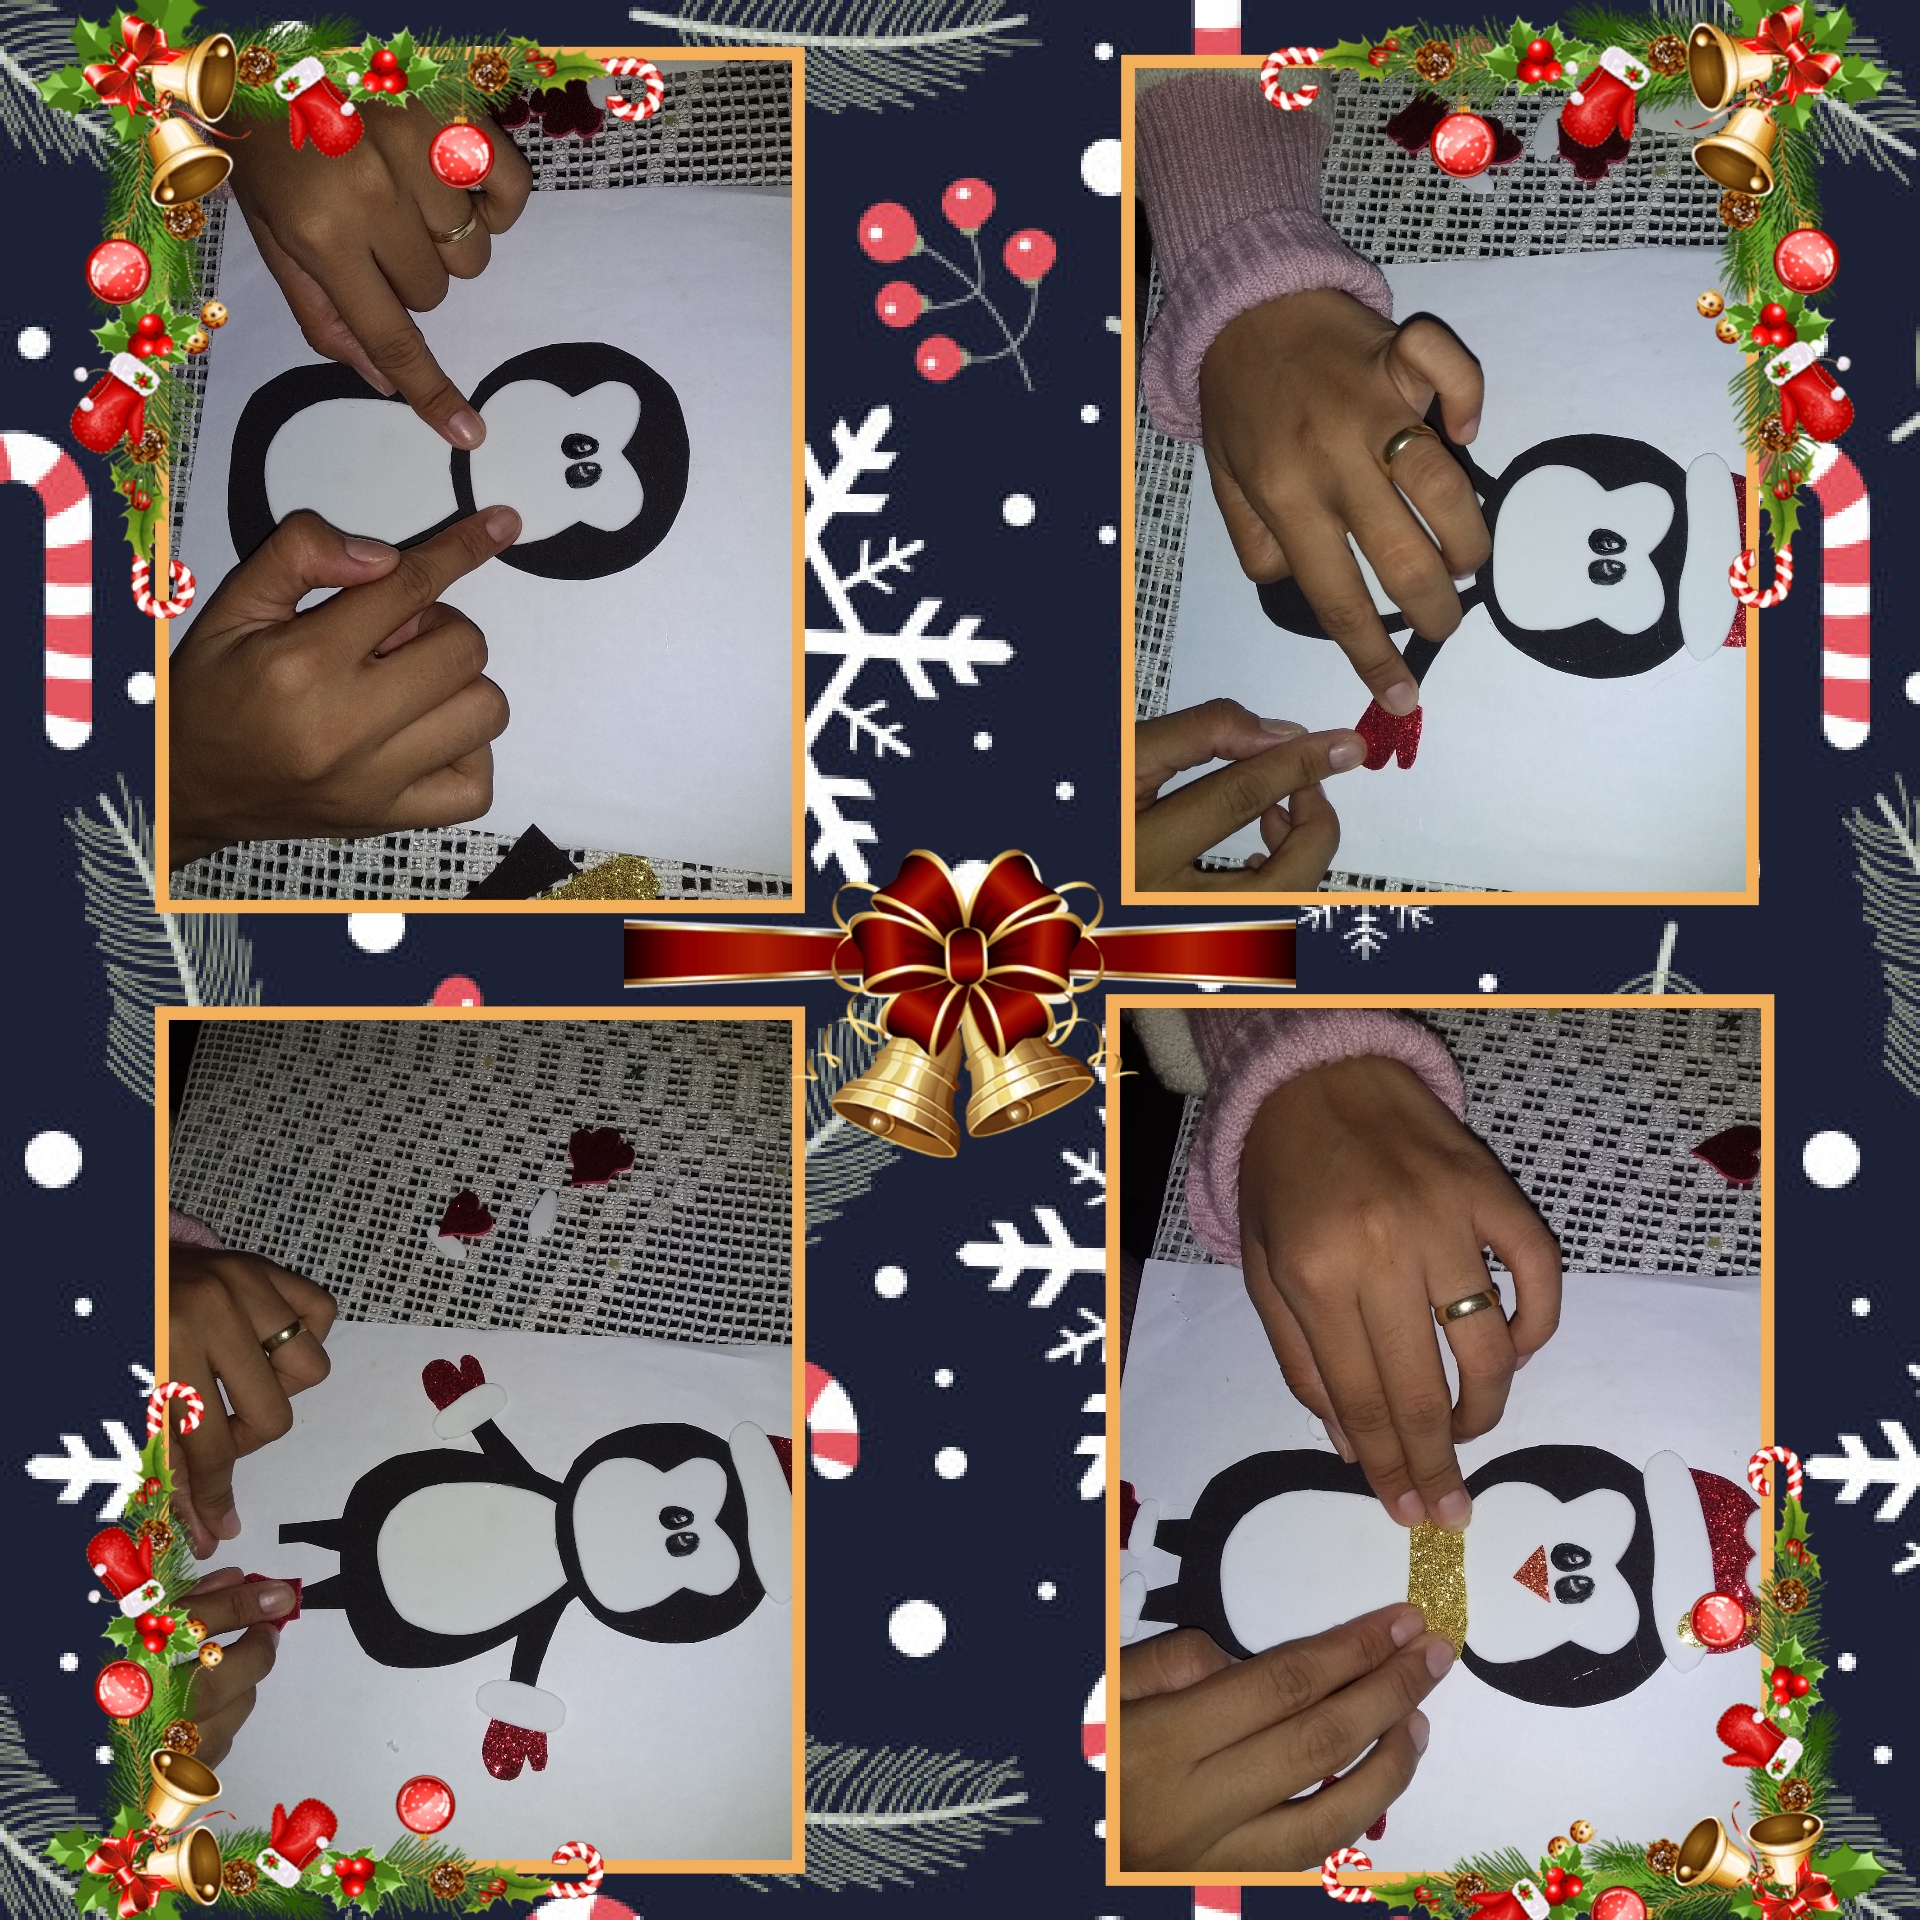
Mientras se secan los ojos, pegamos todas las partes empezando por la barriga, pegándola al cuerpo, luego la cabeza y la cara, así sucesivamente pegamos todas las piezas.
Third step
While the eyes are drying, we glue all the parts starting with the belly, gluing it to the body, then the head and face, so successively we glue all the pieces.
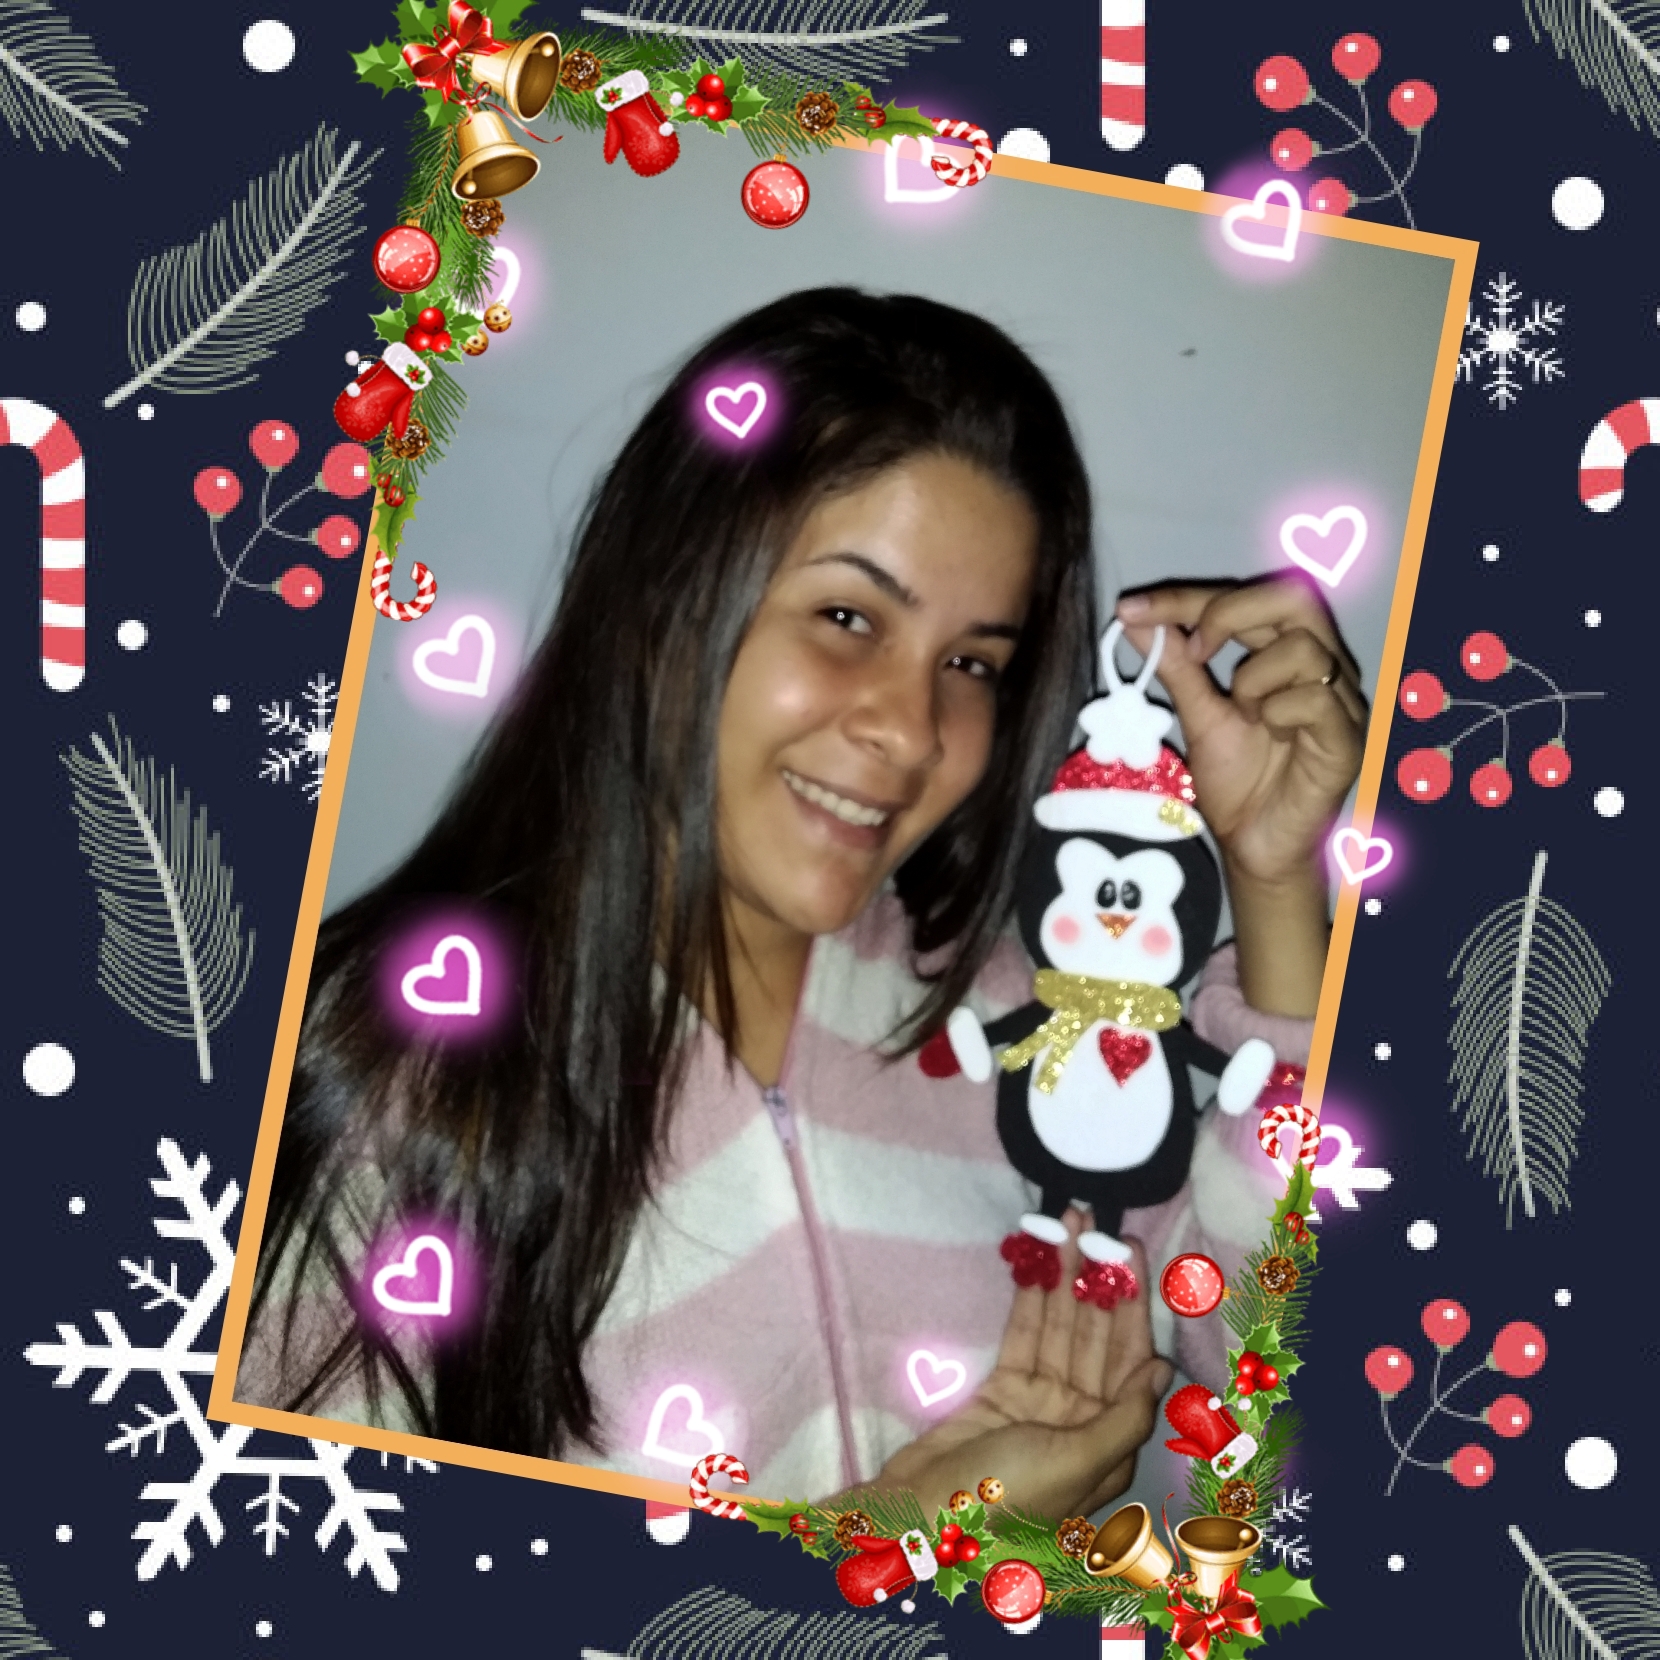
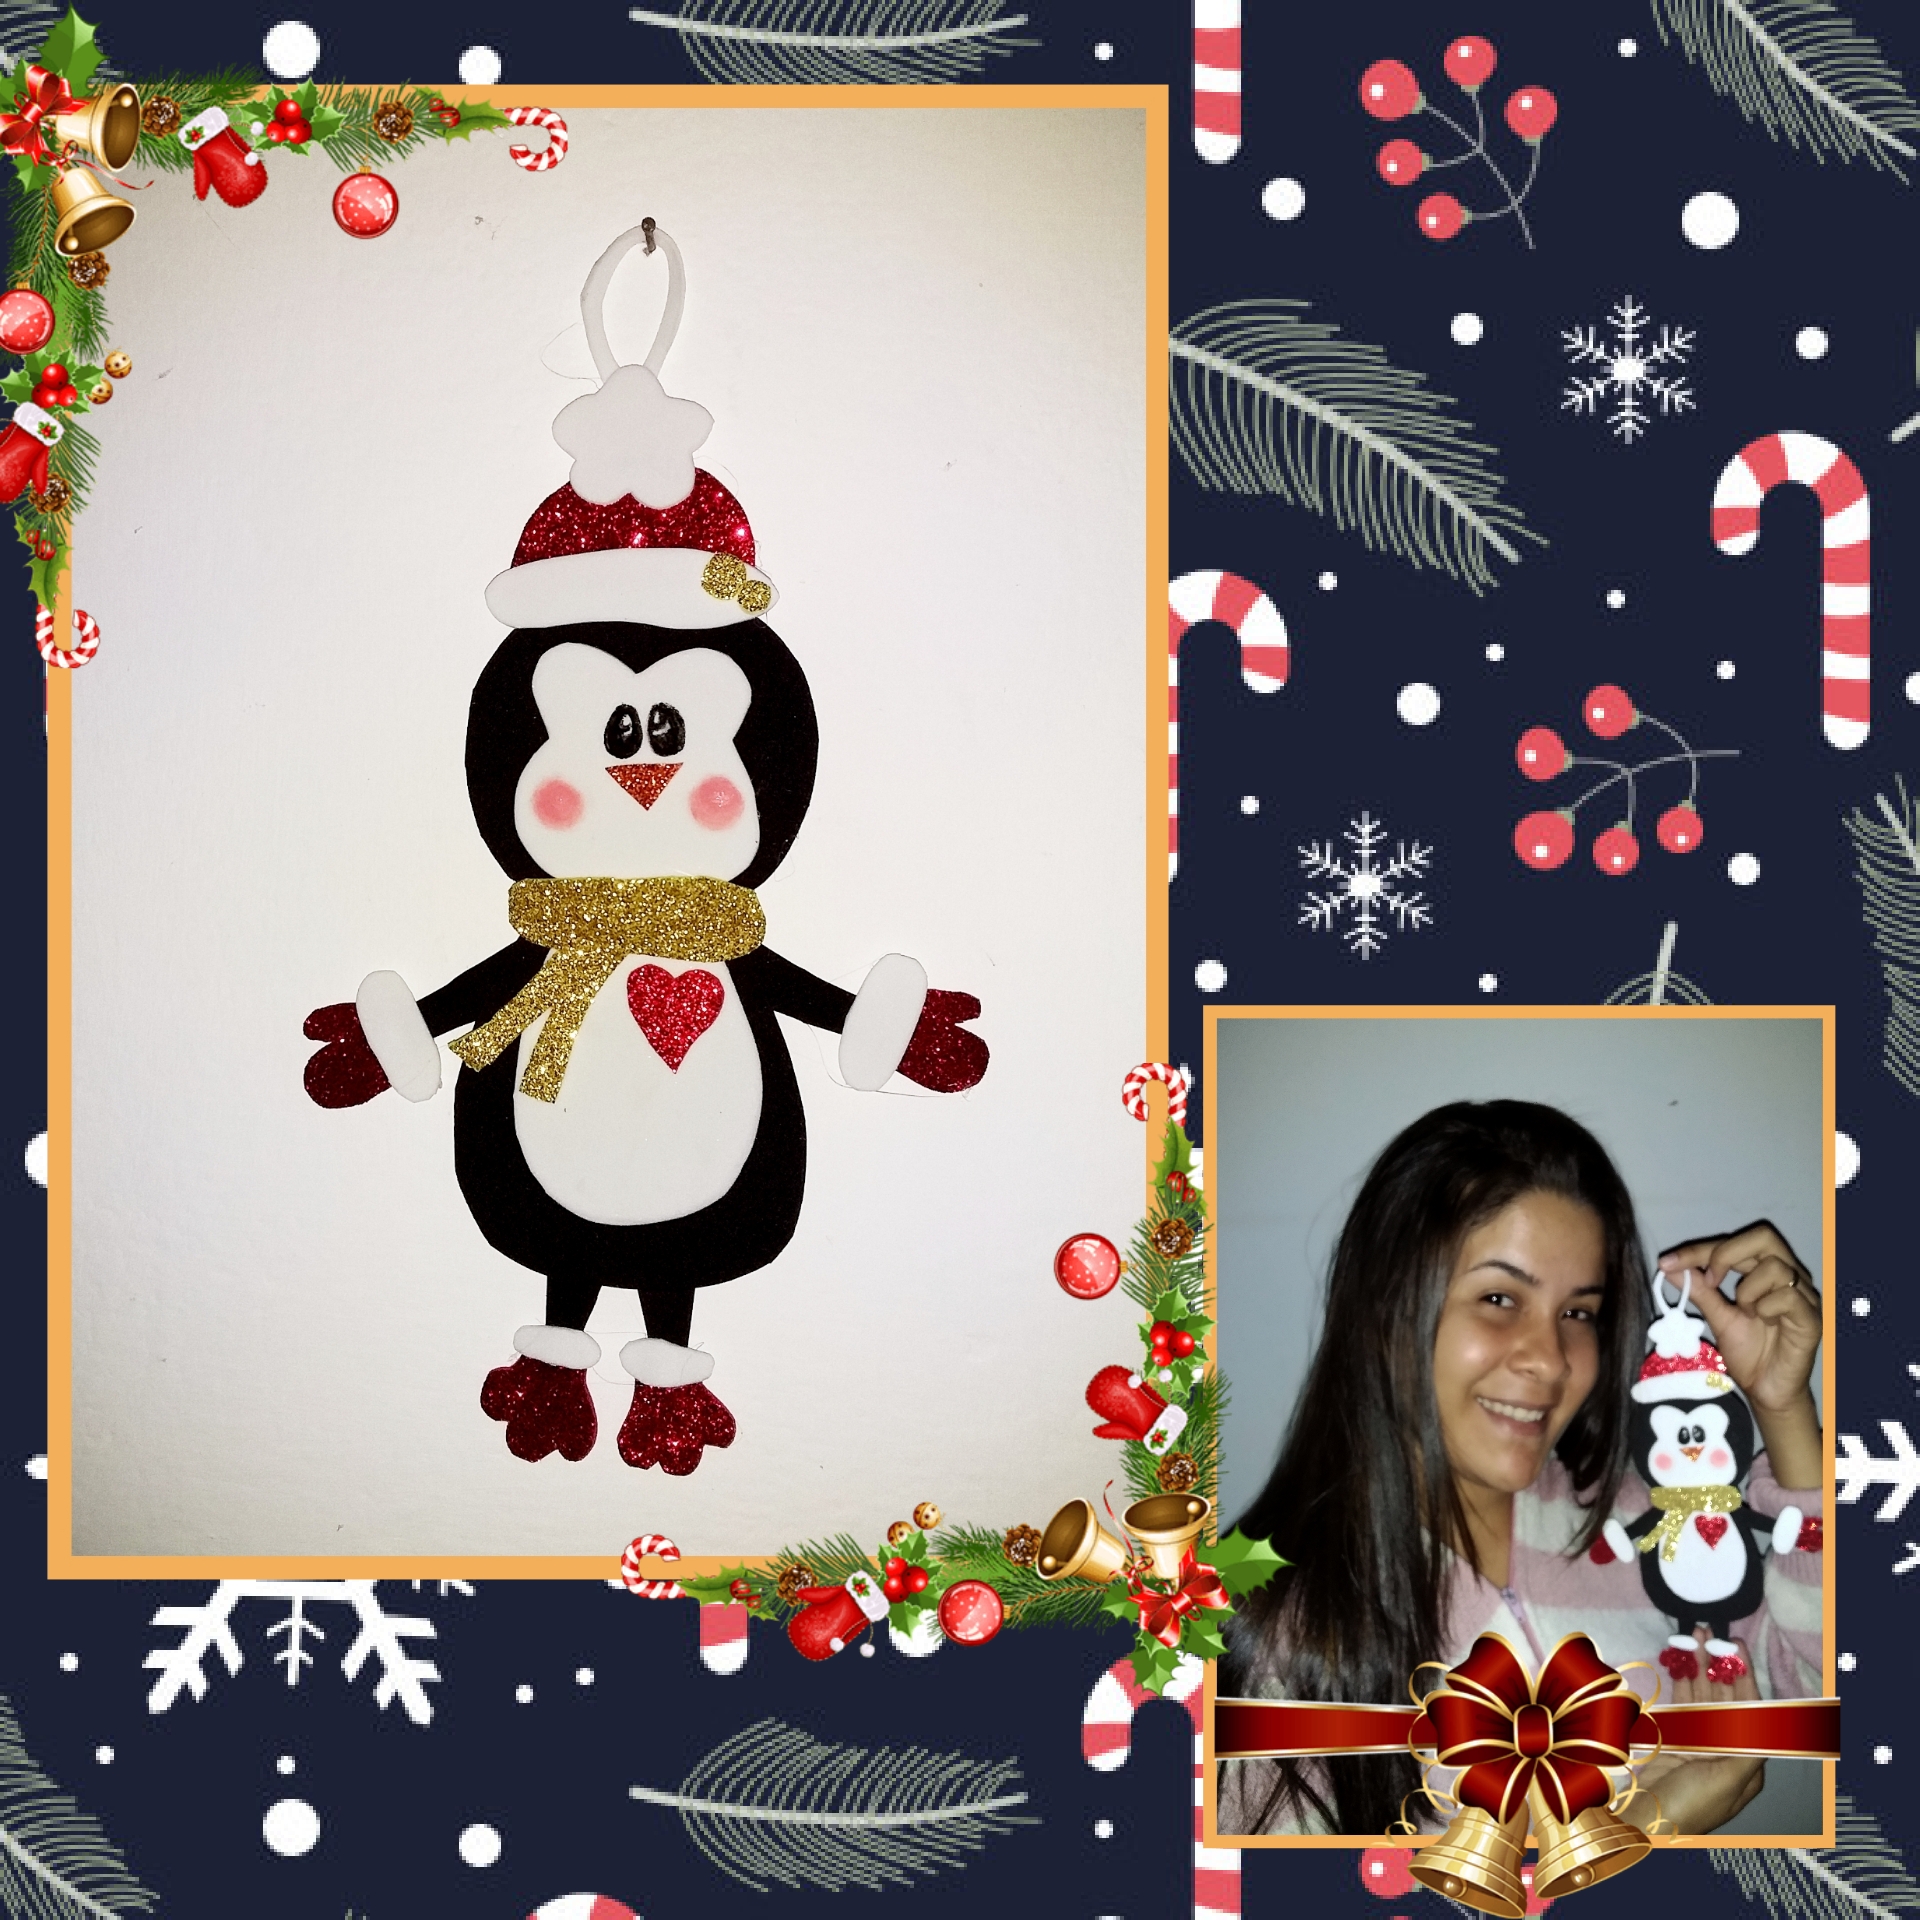
Una vez realizados todos los pasos, el resultado es el siguiente, como puedes ver en la imagen un lindo pingüino para la decoración de nuestro arbolito o cualquier espacio.
Muchas gracias mis queridos amigos por visitar mi blog, ¡hasta la próxima!
Once all the steps have been carried out, the result is the following, as you can see in the image a cute penguin for the decoration of our little tree or any space.
Thank you very much my dear friends for visiting my blog, see you next time!
Congratulations @gness! You have completed the following achievement on the Hive blockchain and have been rewarded with new badge(s):
Your next target is to reach 2000 upvotes.
You can view your badges on your board and compare yourself to others in the Ranking
If you no longer want to receive notifications, reply to this comment with the word
STOPCheck out the last post from @hivebuzz:
Support the HiveBuzz project. Vote for our proposal!