Buenos días mis queridos amigos, feliz martes y bienvenidos. Seguimos trabajando en este maravilloso mes de la temporada navideña, por eso hoy les traigo este hermoso material un*** Maravilloso adorno navideño inspirado en Santa Claus***.
Good morning my dear friends, happy Tuesday and welcome. We continue to work on this wonderful month of the Christmas season, so today I bring you this beautiful material a Wonderful Christmas ornament inspired by Santa Claus.
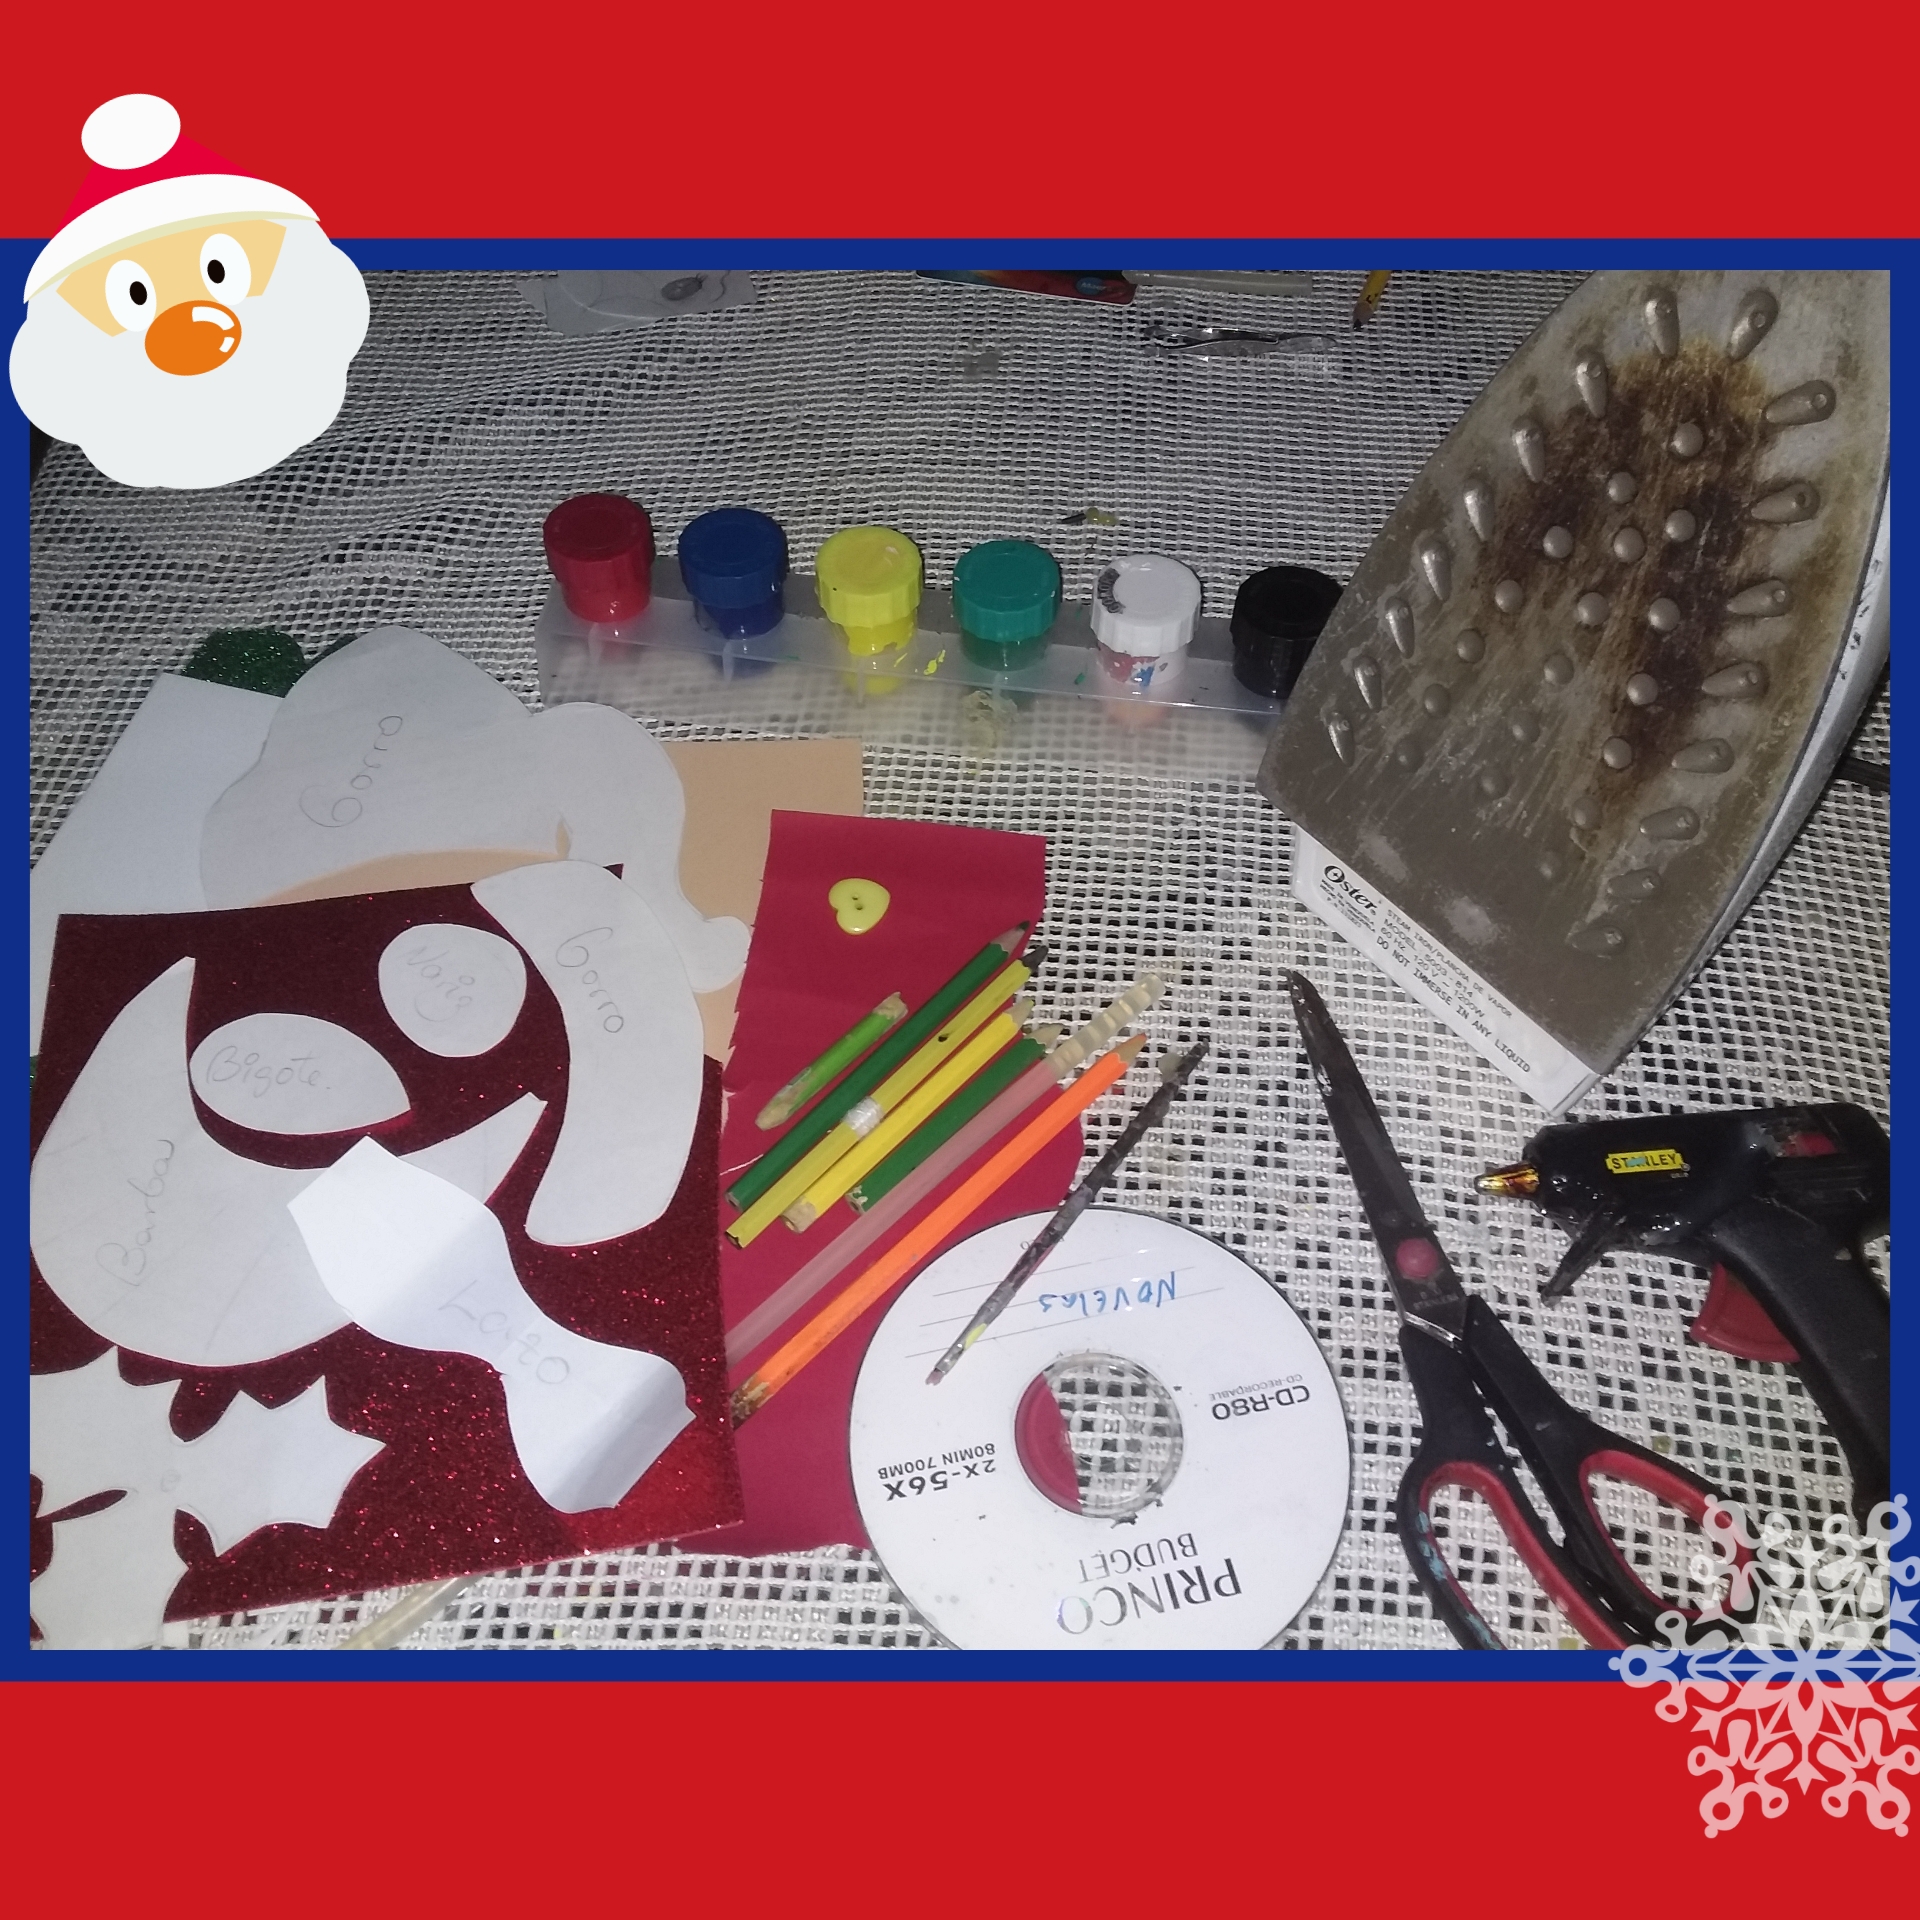
Materiales y herramientas a utilizar:
- Un CD.
- Espuma: color blanco y piel.
- Espuma brillante: rojo y verde.
- Un botón en forma de corazón.
- Cartulina roja.
- Patrones.
- Tijera.
- Pincel y pinturas.
- Colores y lápiz.
- Pistola y barra de silicona.
- Plancha de ropa.
Materials and tools to use:
- A CD.
- Foam: white and skin color.
- Glossy foam: red and green.
- A button in the shape of a heart.
- Red cardstock paper.
- Patterns.
- Scissor.
- Brush and paints.
- Colors and pencil.
- Gun and silicone bar.
- Clothes iron.
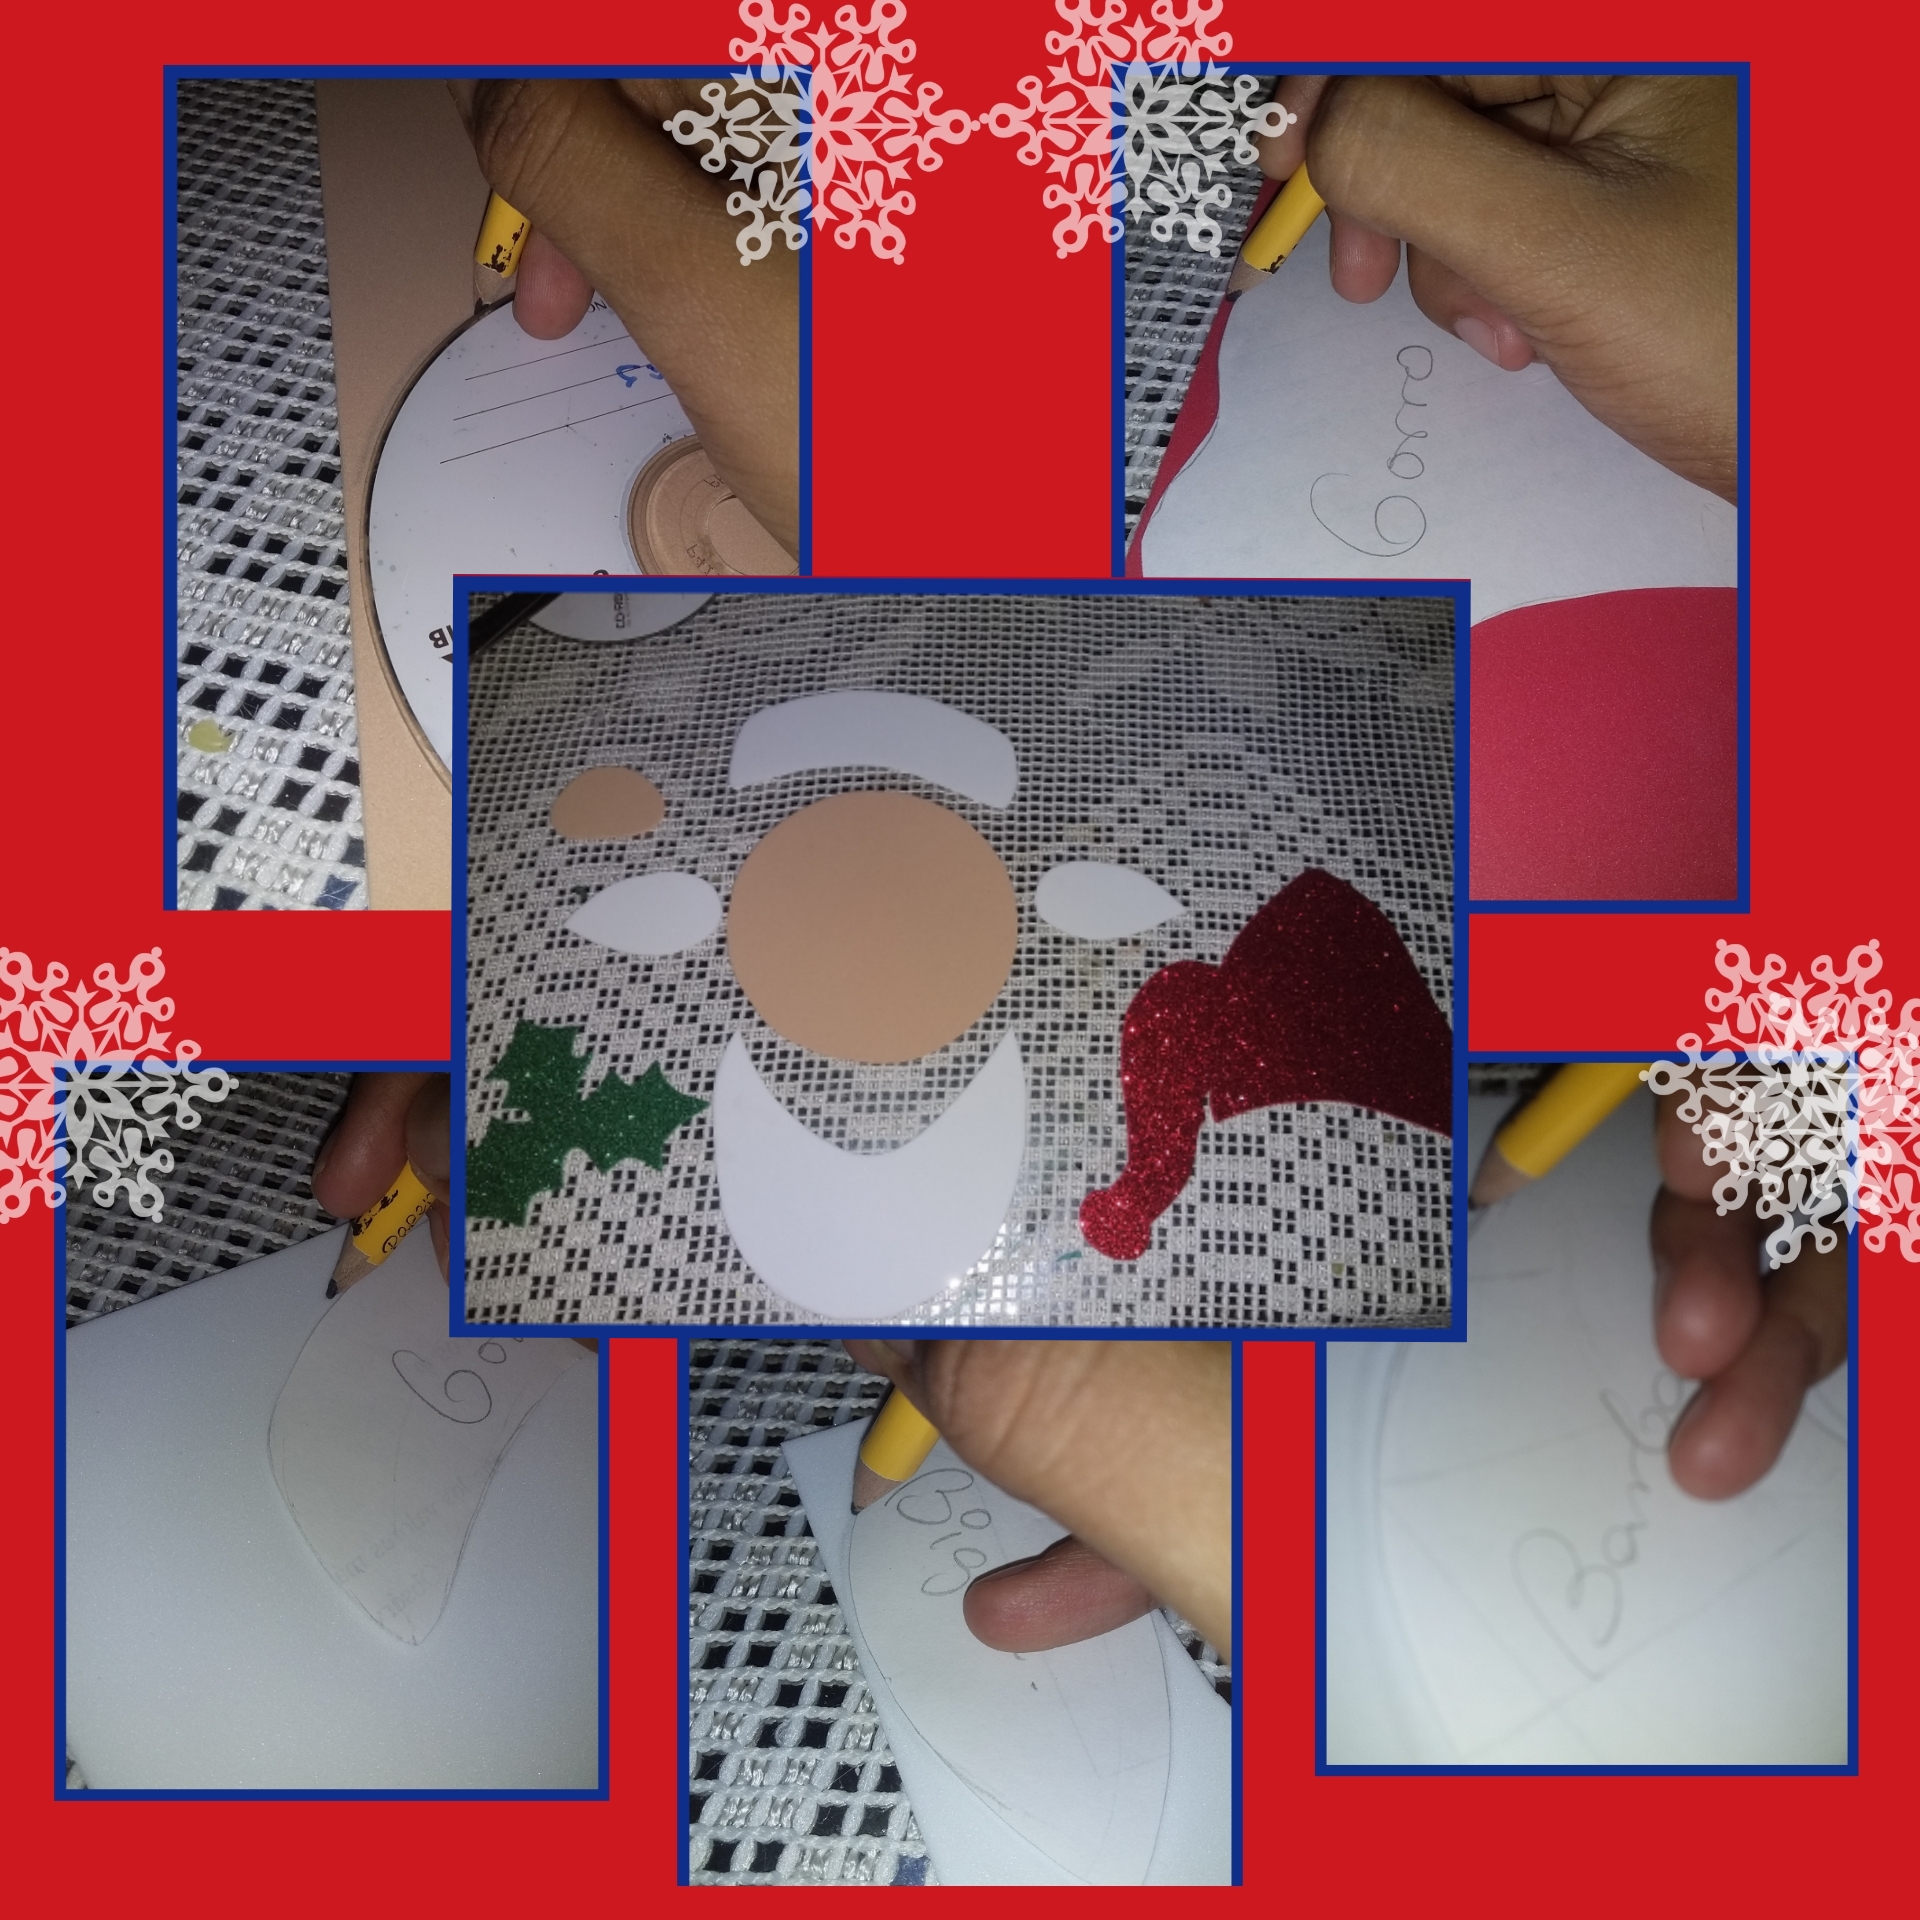
PASOS A SEGUIR
Paso 1
Marque todos los patrones y recorte las piezas:
- Cinta para la cabeza, bigotes y barba (espuma blanca).
- Cara y nariz (espuma del color de la piel)
- Gorra (espuma de color rojo brillante)
- Hojas (espuma verde brillante).
STEPS TO FOLLOW
Step 1
Mark all the patterns and cut out the pieces:
- Headband, mustaches and beard tape (white foam).
- Face and nose (skin-colored foam)
- Cap (bright red foam)
- Leaves (bright green foam).
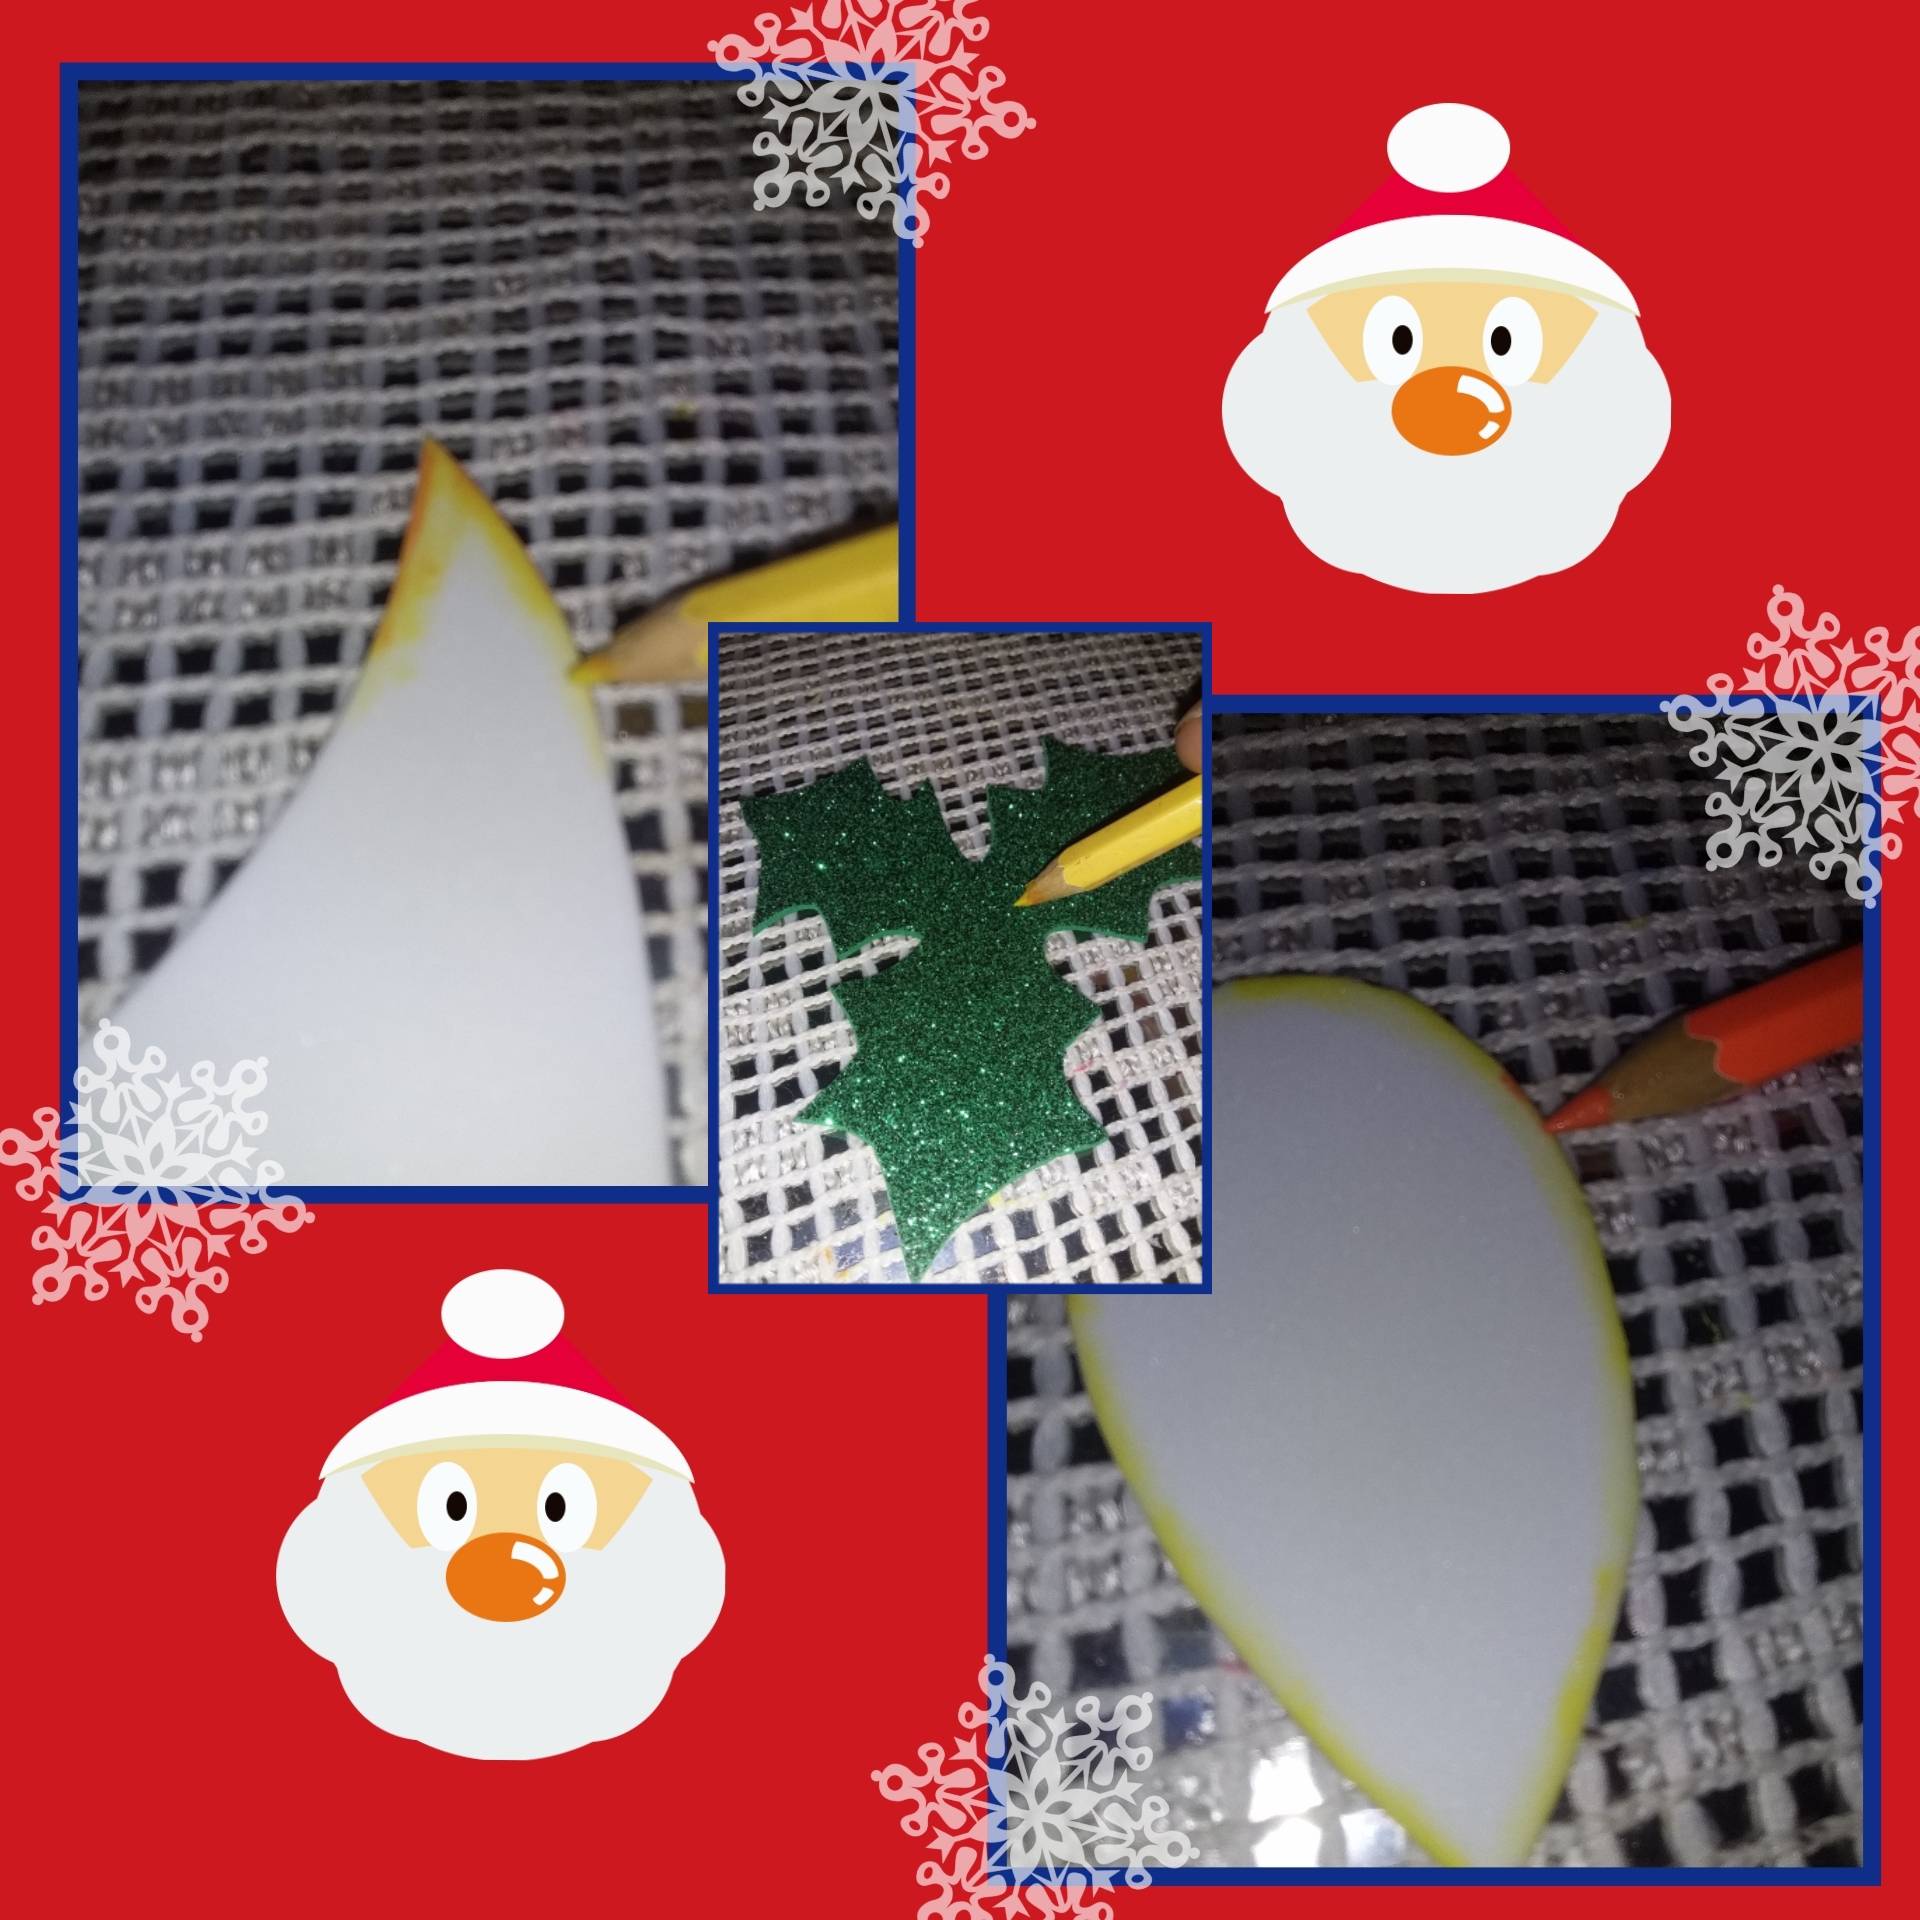
Paso 2
Difuminamos los bordes de los bigotes y la barba con el color amarillo y naranja humedeciendo un poco la punta con agua. Y las hojas con el color amarillo.
Step 2
We blur the edges of the mustaches and the beard with the yellow and orange color by moistening the tip a little with water. And the leaves with the yellow color.
Paso 3
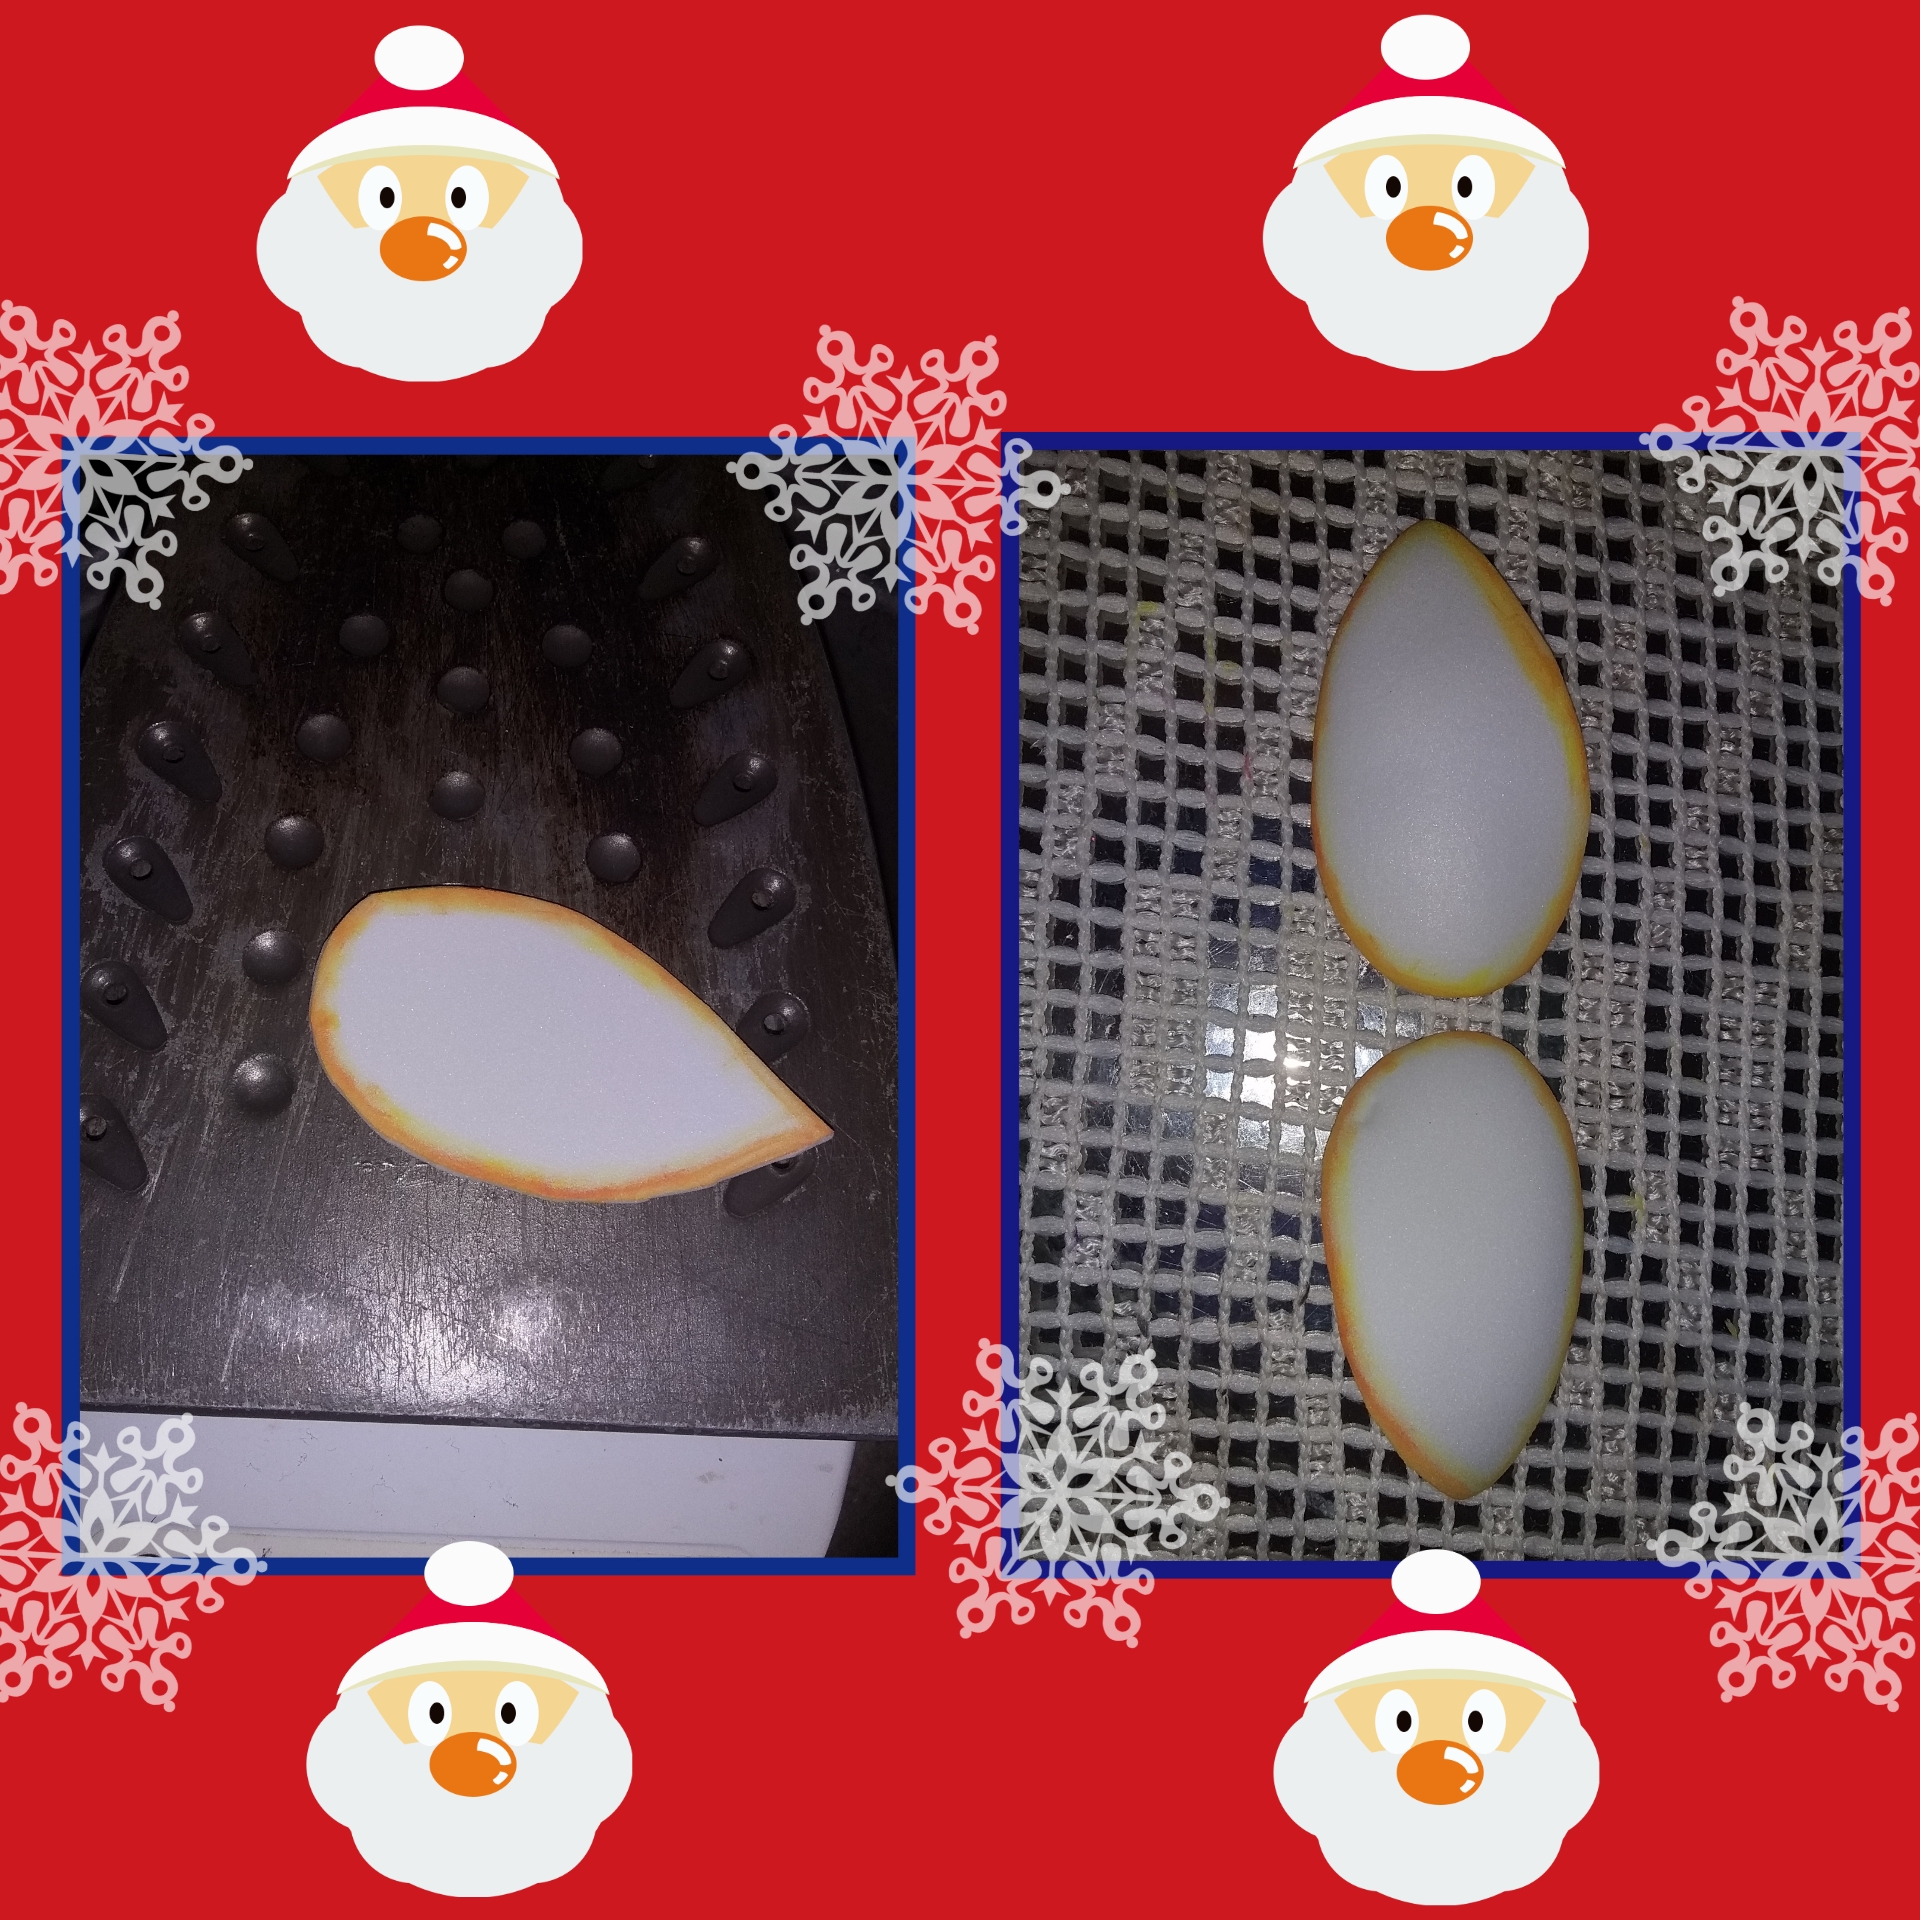
Después de difuminar, colocamos las piezas (barba, bigotes, nariz, sombrero, cinta de sombrero y hojas) sobre la plancha de esta manera quedará moldeada y abultada.
Step 3
After blurring, we place the pieces (beard, mustaches, nose, hat, hat tape and leaves) on the iron in this way it will be shaped and bulged.
Paso 4
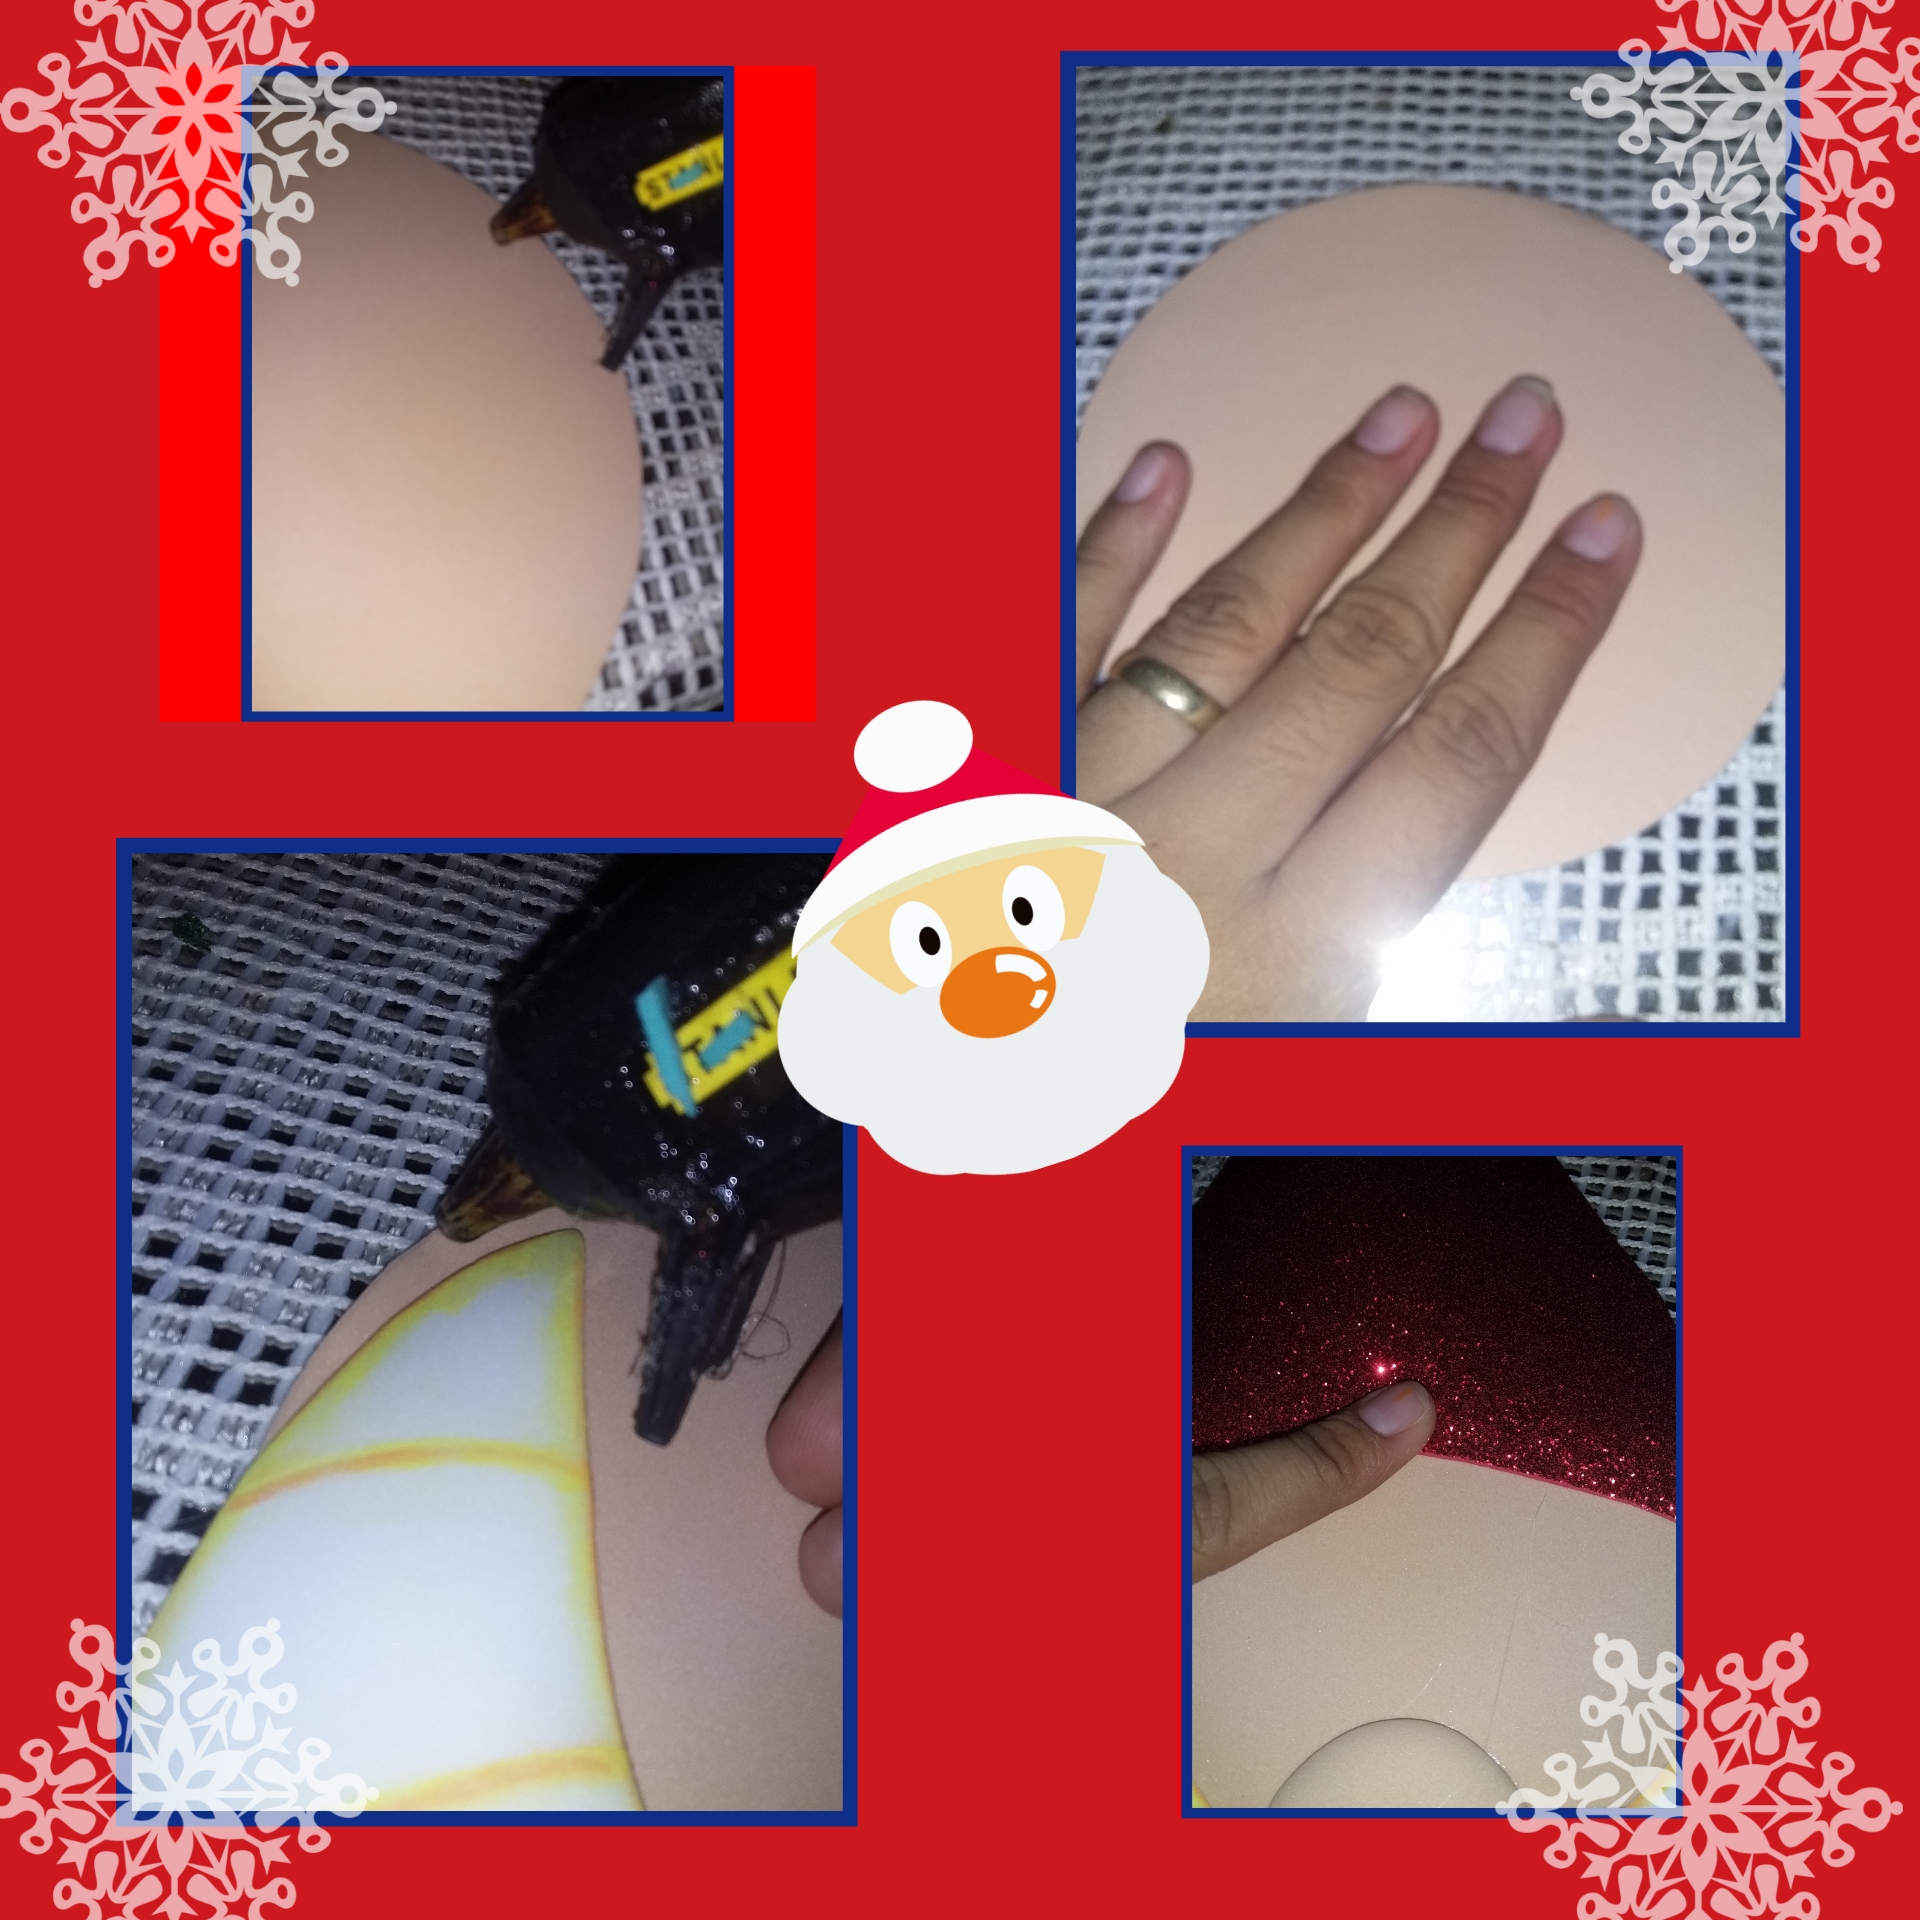
Comenzamos a pegar las piezas, comenzando por la cara en el CD, luego la barba, nariz y bigotes, seguido de esto pegamos el sombrero y la cinta del sombrero, en un lado del sombrero pegamos las hojas y en las hojas las botón con forma de corazón.
Step 4
We begin to glue the pieces, starting with the face on the CD, then the beard, nose and mustaches, followed by this we glue the hat and the hat tape, on one side of the hat we paste the leaves and on the leaves the button with a heart shape.
Paso 5
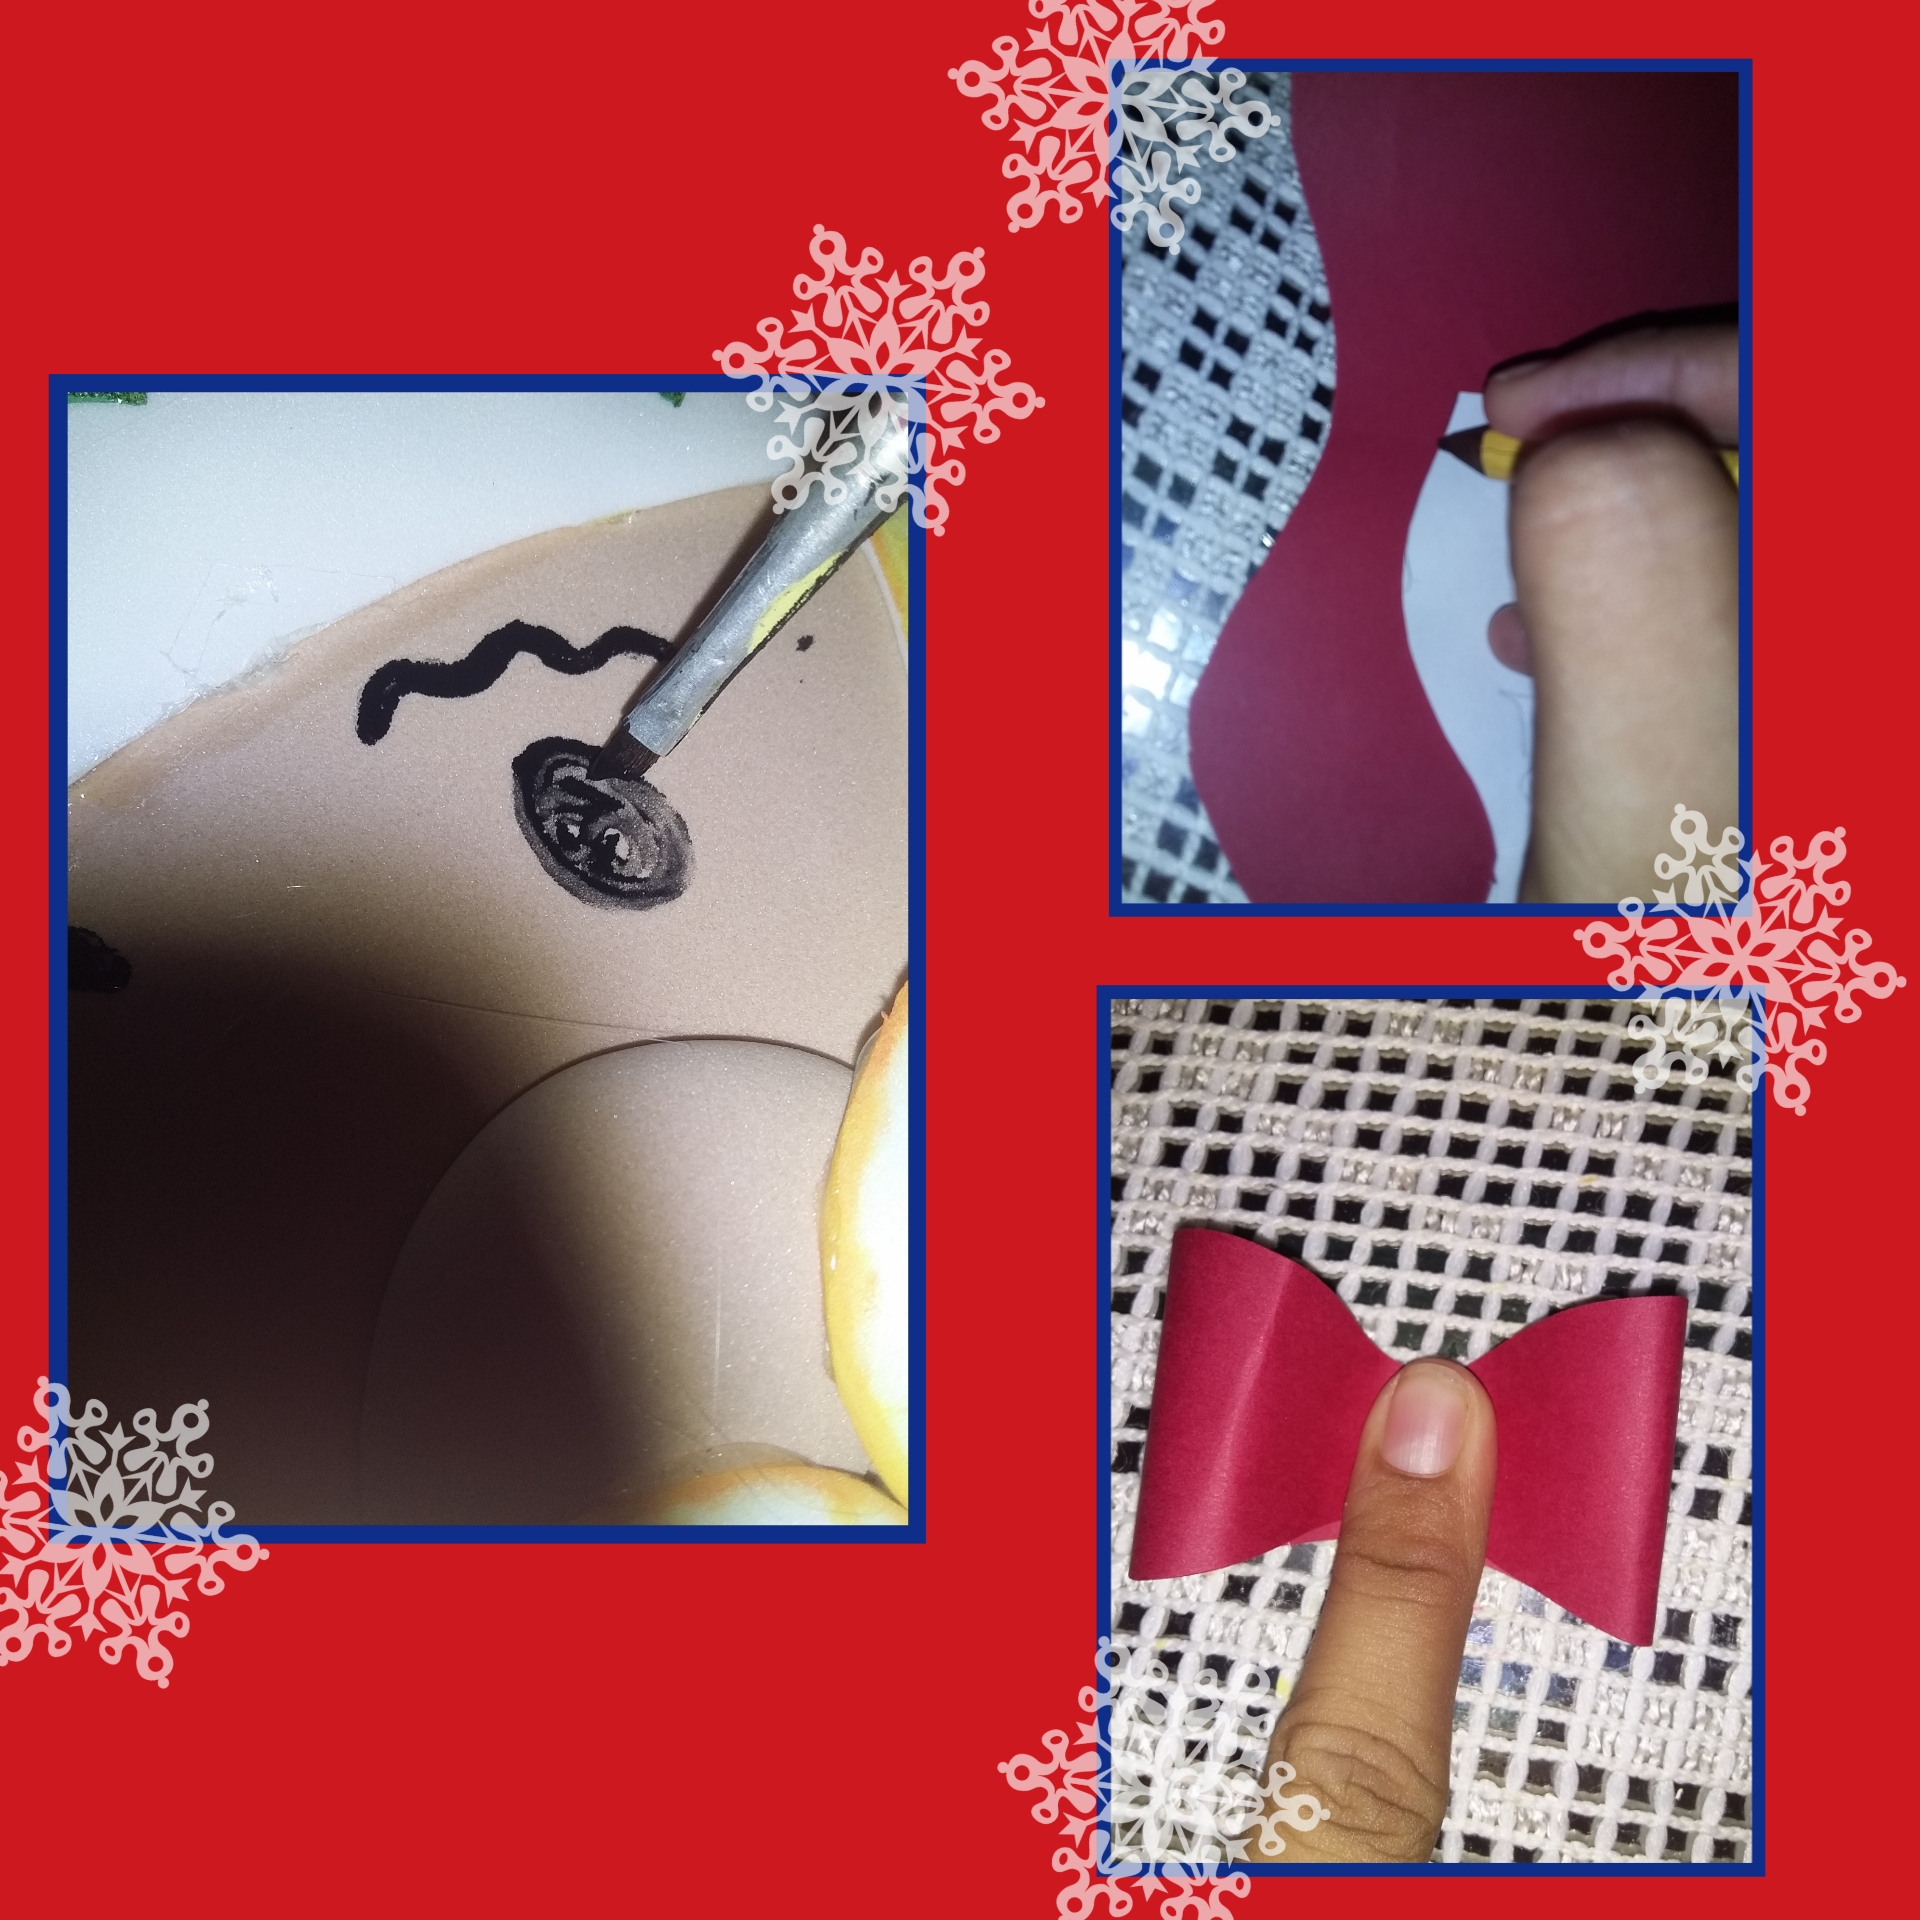
Pintamos la cara, y finalmente haremos un moño y lo pegaremos en la parte inferior de la barba.
Step 5
We paint the face, and finally we will make a bow and glue it in the lower part of the beard.
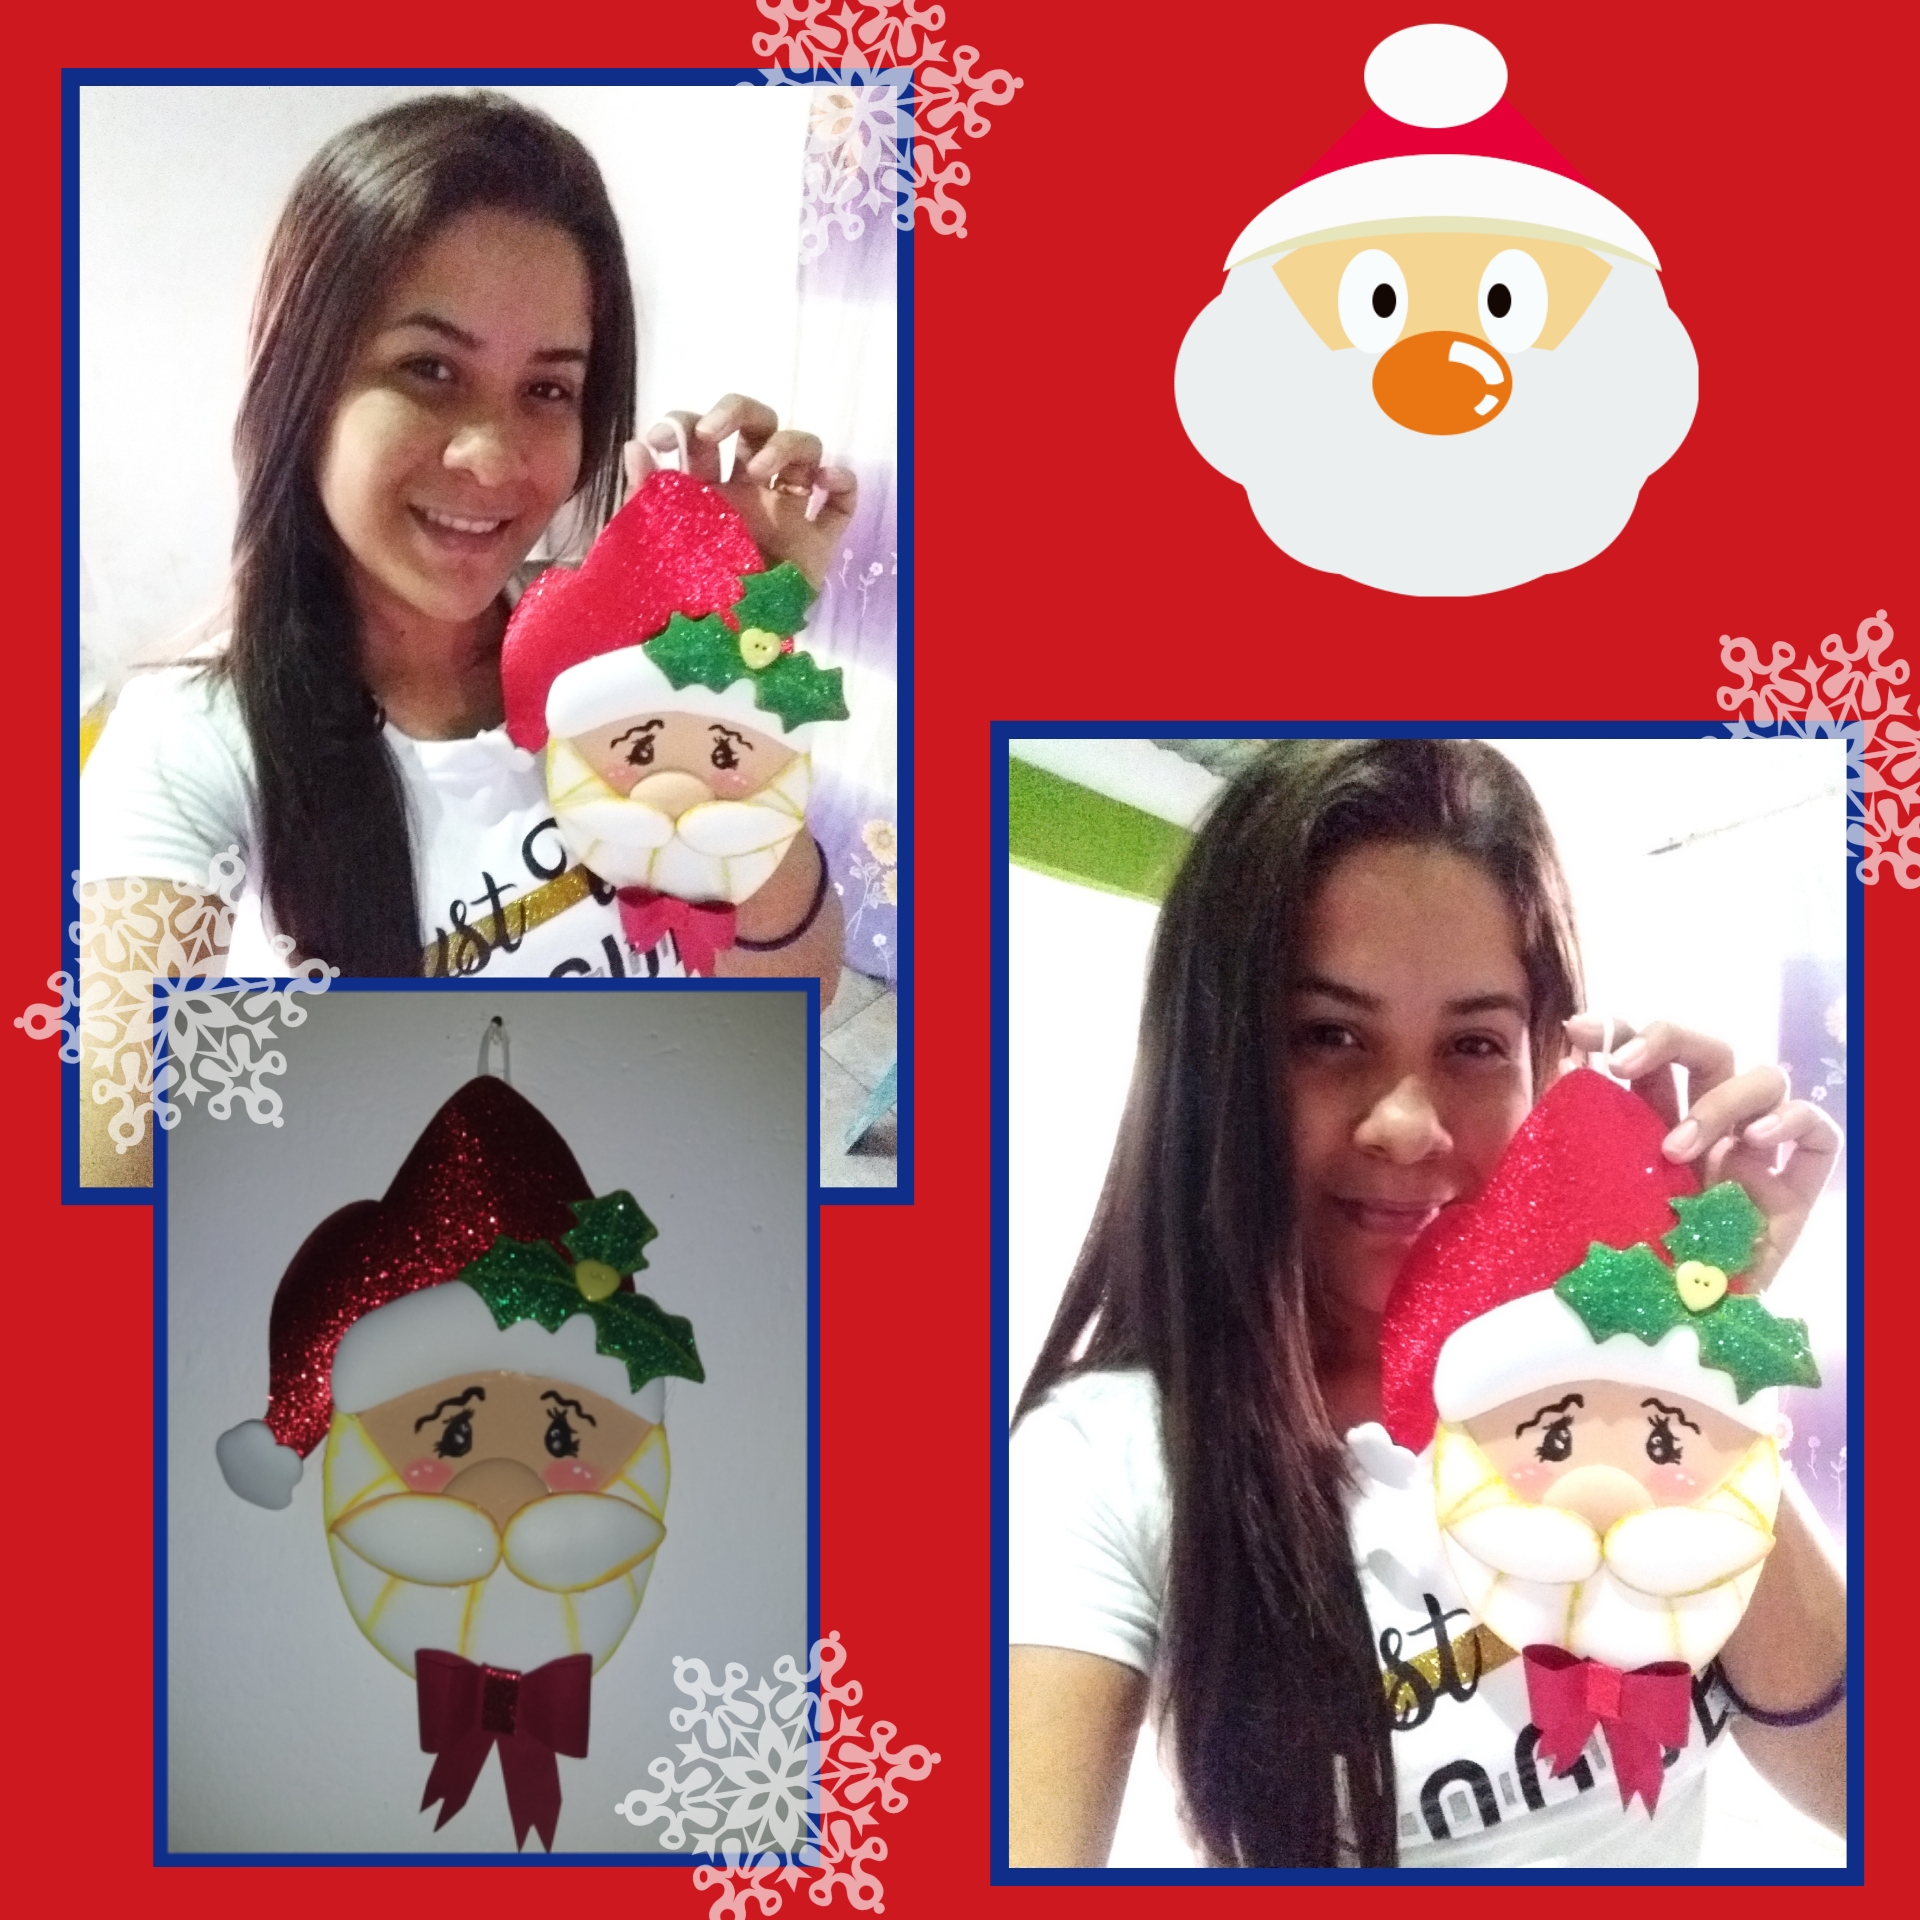
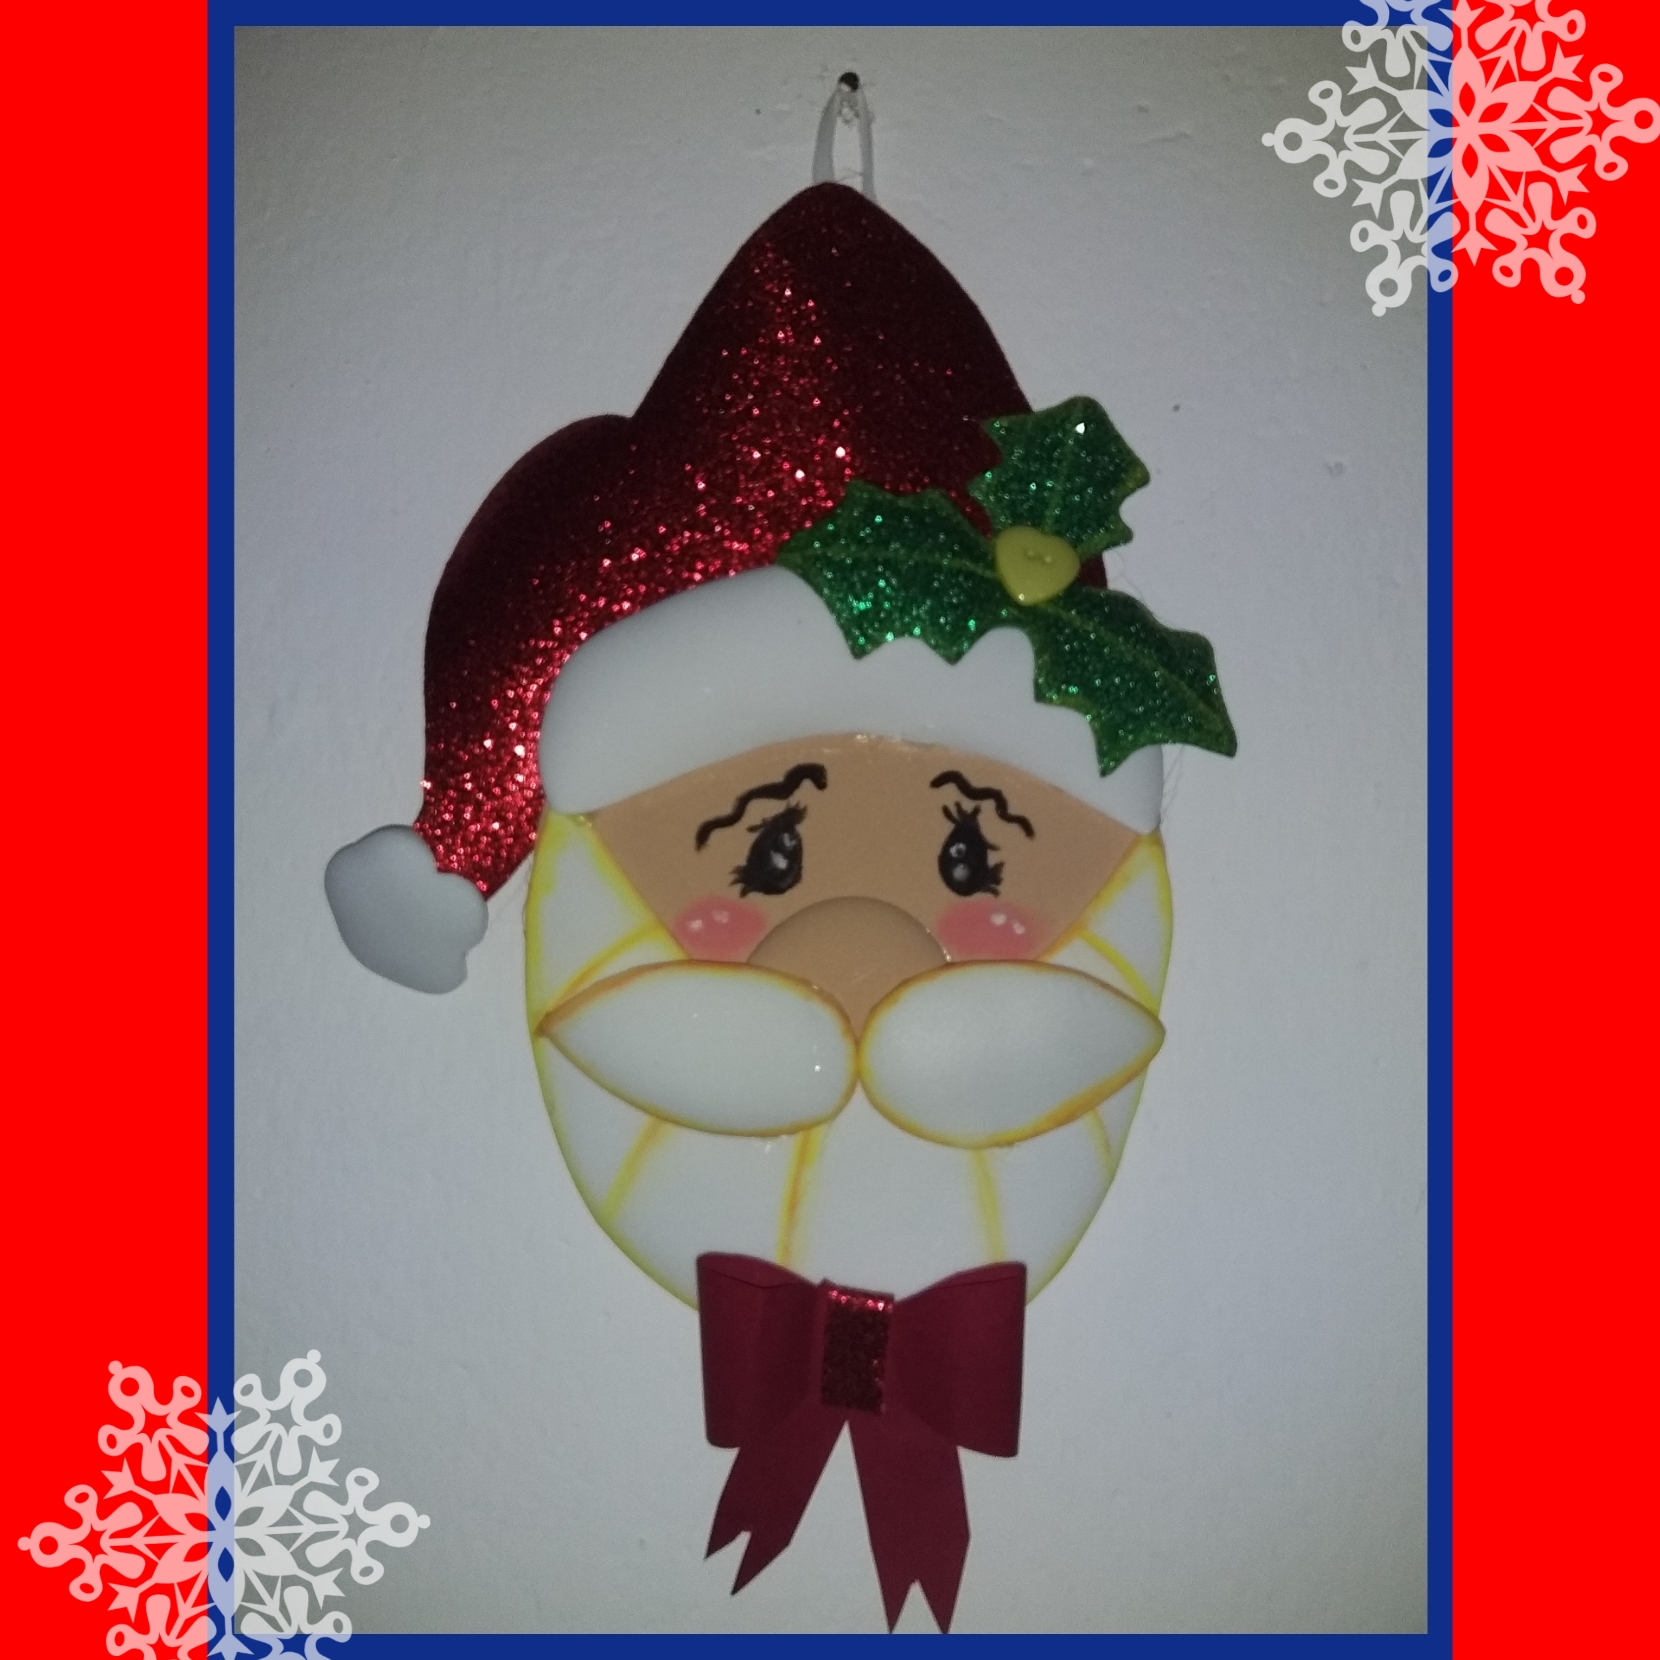
Una vez realizados todos los pasos anteriores, este es el resultado. Espero que les haya gustado este material, ¡gracias por visitar mi blog!
After all the above steps have been done, this is the result. I hope you liked this material, thanks for visiting my blog!
Nota: las fotos son de mi propiedad tomadas con la camara de mi telefono samsung core 2020 y editadas por la aplicacion Polish
Note: the photos are my property taken with the camera of my samsung core 2020 phone and edited by the Polish application
Congratulations @gness! You have completed the following achievement on the Hive blockchain and have been rewarded with new badge(s):
Your next target is to reach 100 upvotes.
You can view your badges on your board and compare yourself to others in the Ranking
If you no longer want to receive notifications, reply to this comment with the word
STOPTo support your work, I also upvoted your post!
Support the HiveBuzz project. Vote for our proposal!