Hello everyone!
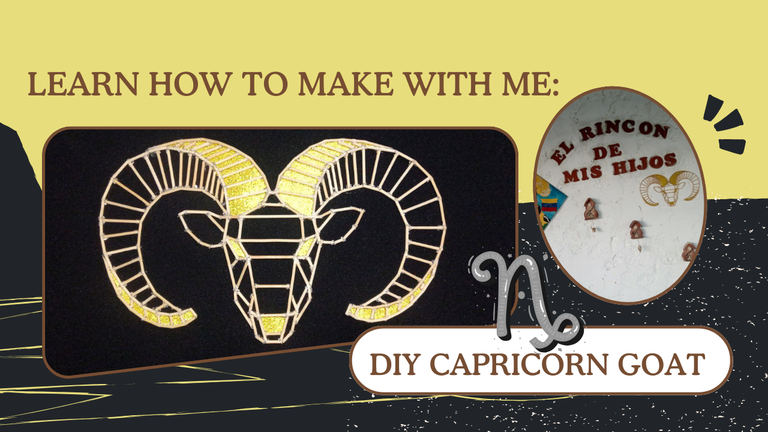
This is my first post in the Hive Diy community and I want to take the opportunity to join an initiative that caught my attention a lot, as it happens to be about the zodiac sign that represents me, and this follow is Capricorn. I'm a proud Capricorn, and if I add to that my fascination with complex crafts, then there's a good match here. To show that you can make a pretty nice ornament with simple materials, I have decided to make the symbol of this zodiac sign, which is represented by a goat.
This ornament serves to set a space in our home, and thus give it a different touch, especially if you are one of those who love to place ornaments on the walls. Next, I will show you how I made this design; it is worth mentioning that I was inspired by a geometric figure of a goat, which you can see on Pinterest.
Without further ado, let's get to work!
¡Hola a todos!
Esta es mi primera publicación en la comunidad de Hive Diy y quiero aprovechar la oportunidad para unirme a una iniciativa que llamó mucho mi atención, ya que casualmente se trata del signo zodiacal que me representa, y este sigo es Capricornio. Soy un orgulloso capricorniano, y si a eso le agrego mi fascinación por las manualidades complejas, entonces hay una buena pareja aquí. Para demostrar que se pueden realizar un adorno bastante bonito con simples materiales, he decidido confeccionar el símbolo de este signo zodiacal, el cual está representando por una cabra.
Este adorno sirve para ambientar un espacio de nuestro hogar, y así darle un toque diferente, sobre todo si eres de los que ama colocar adornos en las paredes. A continuación, te mostraré como realicé este diseño; cabe resaltar, que me inspiré de una figura geométrica de una cabra, la cual puedes ver en Pinterest.
Sin más que agregar, ¡manos a la obra!
What do we need?
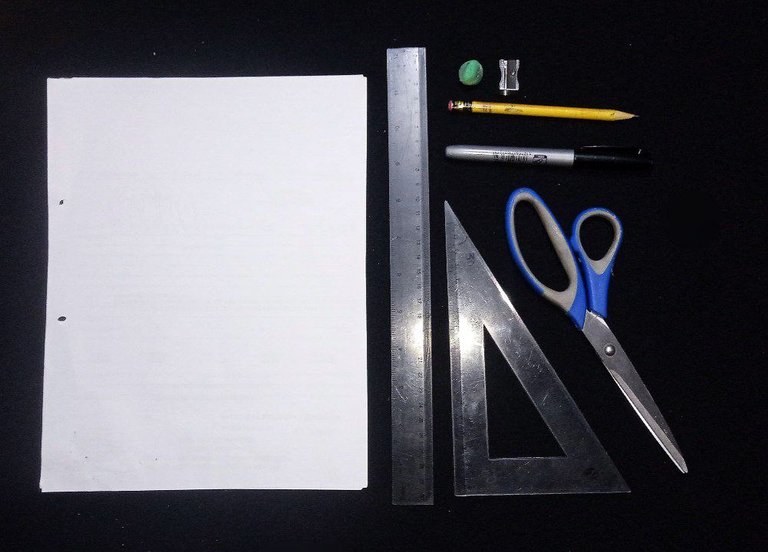
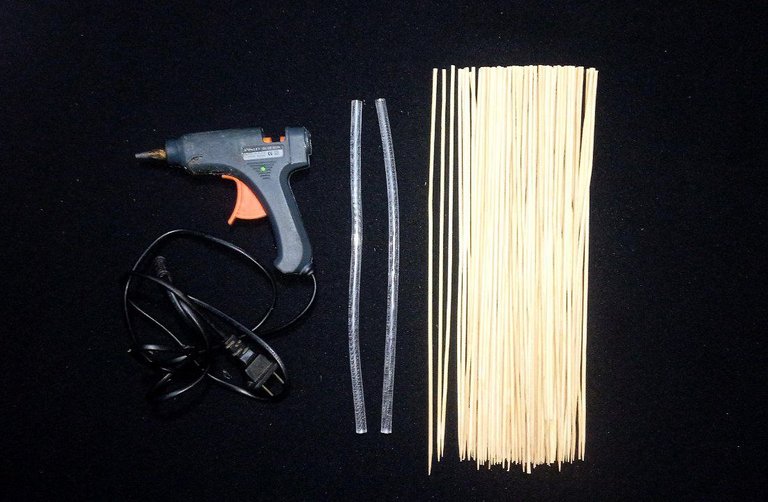
The materials to be used are the following:
Pencil.
Pencil sharpener.
Eraser.
Black fine tip marker.
Rulers.
Letter type sheets of paper (reusable in this case).
Scissors.
Silicone gun.
A piece of cardboard in the color of your choice.
Wooden toothpicks (skewers).
And a lot of creativity.
¿Qué necesitamos?
Los materiales a emplear son los siguientes:
Lápiz.
Sacapuntas.
Borrador.
Marcador negro punta fina.
Reglas.
Hojas de máquina tipo carta (reutilizables en este caso).
Tijera.
Pistola de silicona.
Un trozo de cartulina de su color de preferencia.
Palillos de madera (brochetas).
Y mucha creatividad.
 |  |
|---|
Procedure
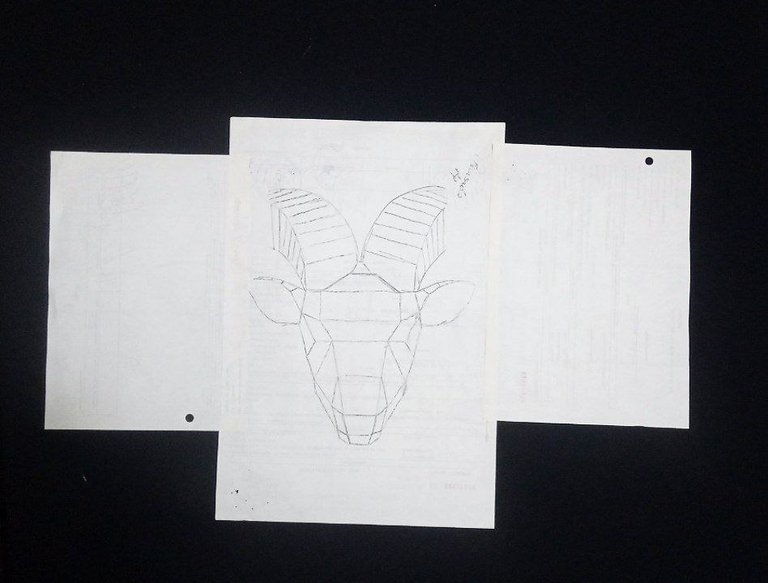
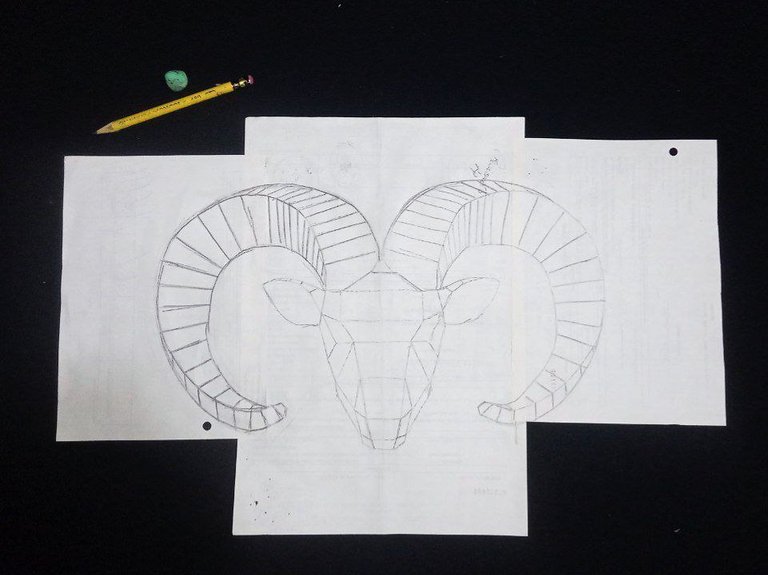
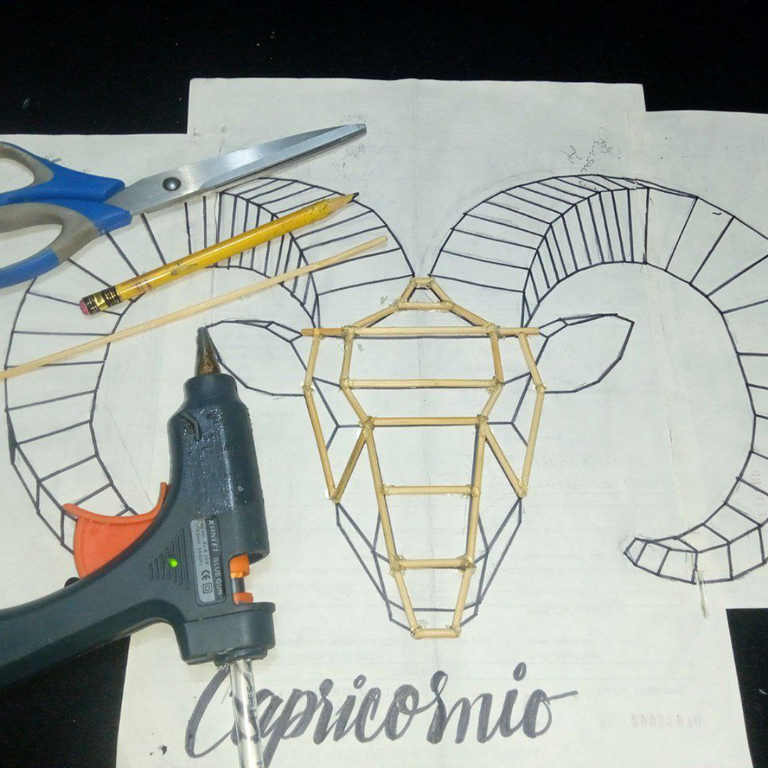
Take sheets of paper that you have already used and join them together to create the size you need. In this case, the ornament measures about thirty-four centimeters wide and twenty centimeters high. Although this can vary depending on your preference and the number of skewers you have.
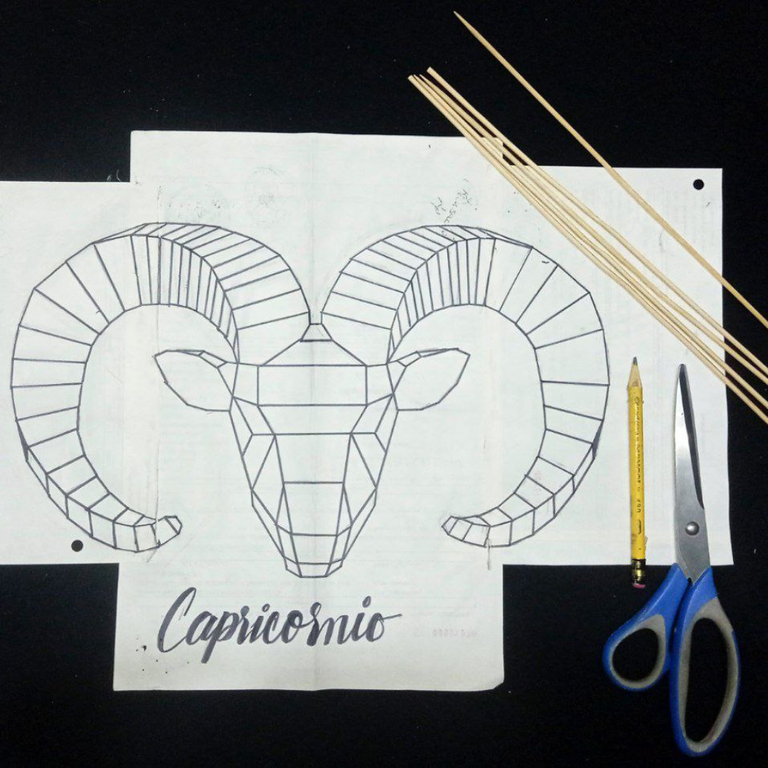
We take the pencil and start drawing a simple sketch, in this case the zodiac sign of Capricorn, which we all know as a goat. We will take a reference image, the drawing of a goat in geometric figures, this will serve as a guide.
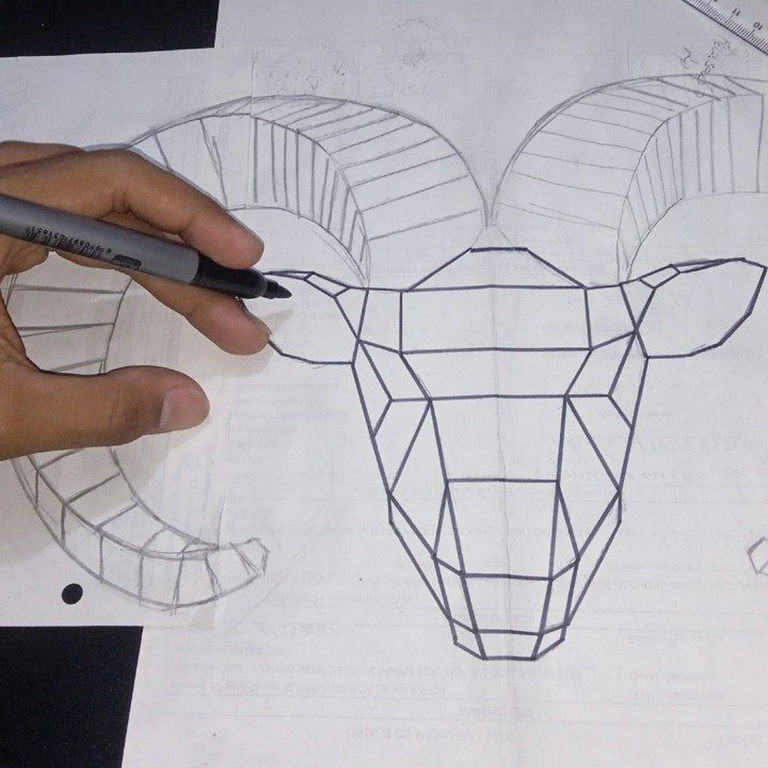
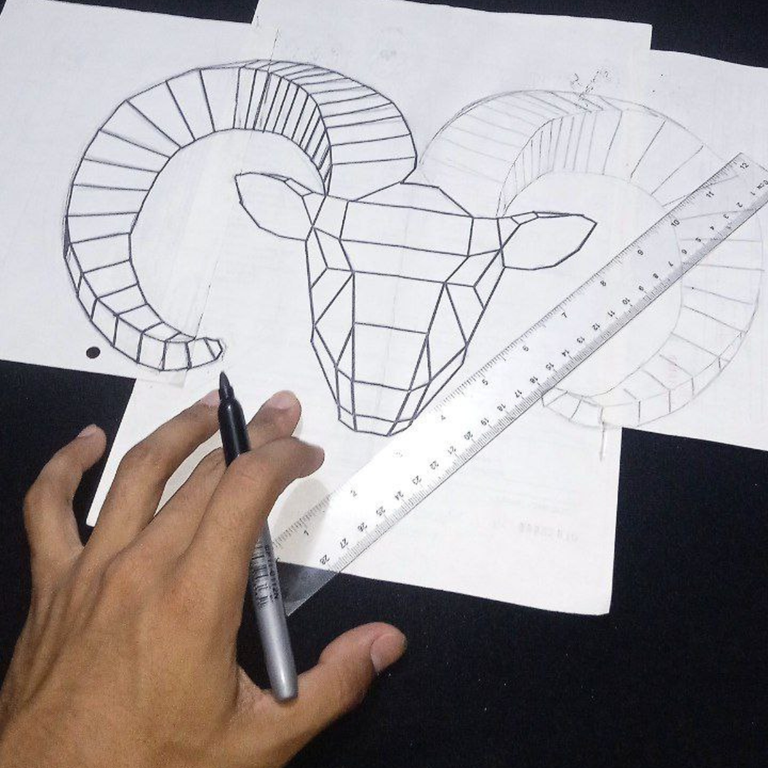
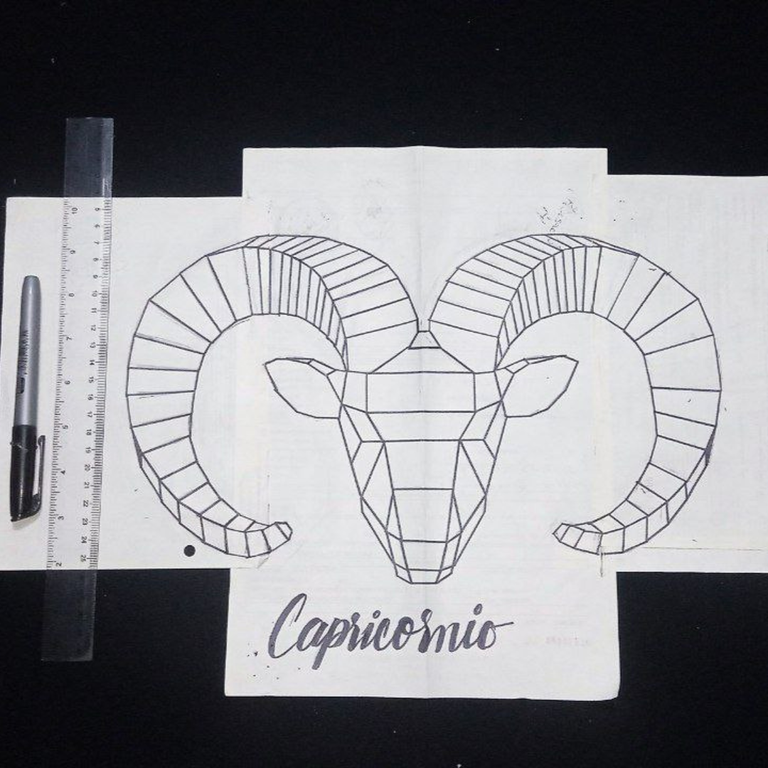
If it is difficult to draw, you can print the image in the size you want. This is up to you and your facilities. Once the sketch is finished, with the help of the black marker we are going to outline it, to give us a better visualization at the moment of gluing the skewers.
Procedimiento
Toma hojas de papel que ya hayas usado y únelas para crear el tamaño que necesitas. En este caso, el adorno mide unos treinta y cuatro centímetros de ancho y veinte centímetros de alto. Aunque esto puede variar según tu preferencia y la cantidad de brochetas que tengas.
Tomamos el lápiz y comenzamos a dibujar un boceto sencillo, en este caso el signo zodiacal de Capricornio, que todos conocemos como una cabra. Tomaremos una imagen de referencia, el dibujo de una cabrita en figuras geométricas, esto te servirá como guía.
Si se nos dificulta el dibujar, se puede imprimir la imagen del tamaño que desees. Esto ya depende de ti y tus facilidades. Ya terminado el boceto, con la ayuda del marcador negro vamos a delinearlo, para darnos una mejor visualización al momento de pegar las brochetas.
 |  |
|---|
 |  |  |
|---|
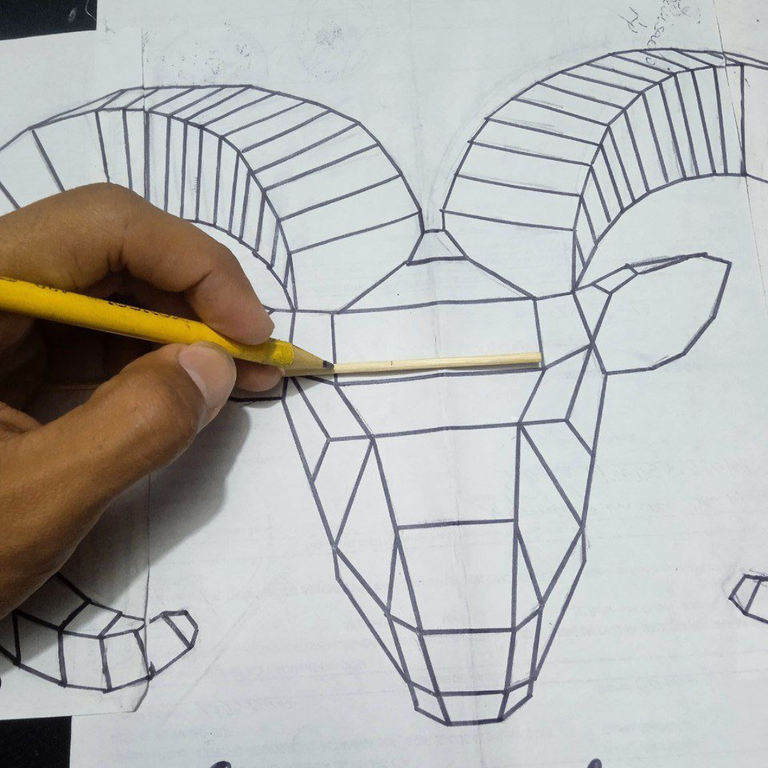
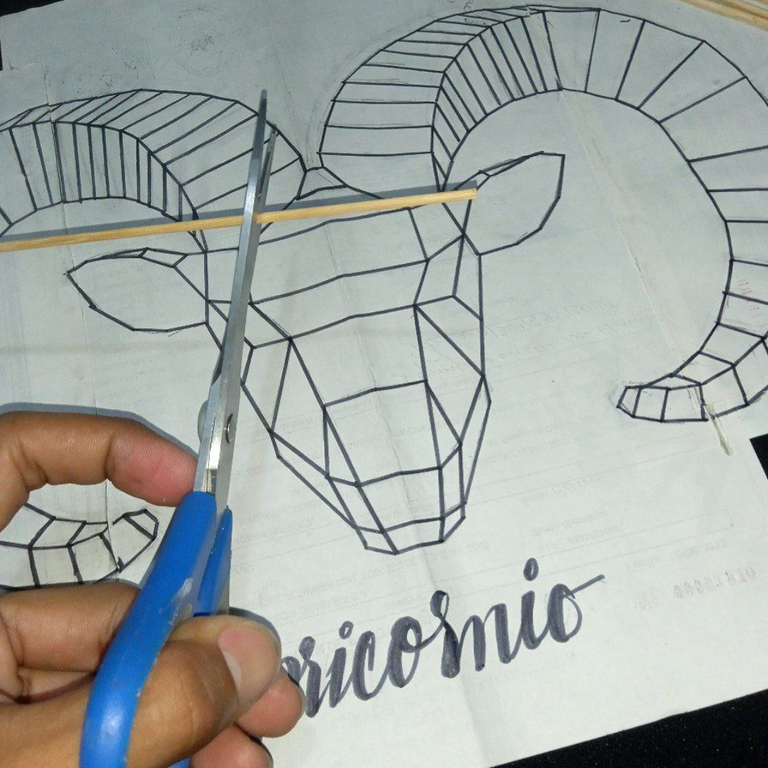
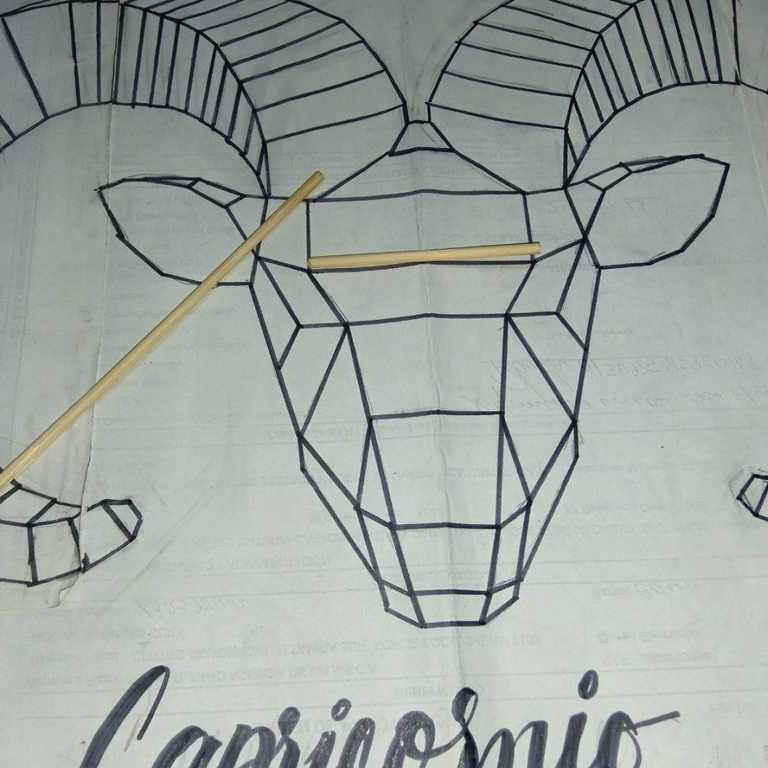
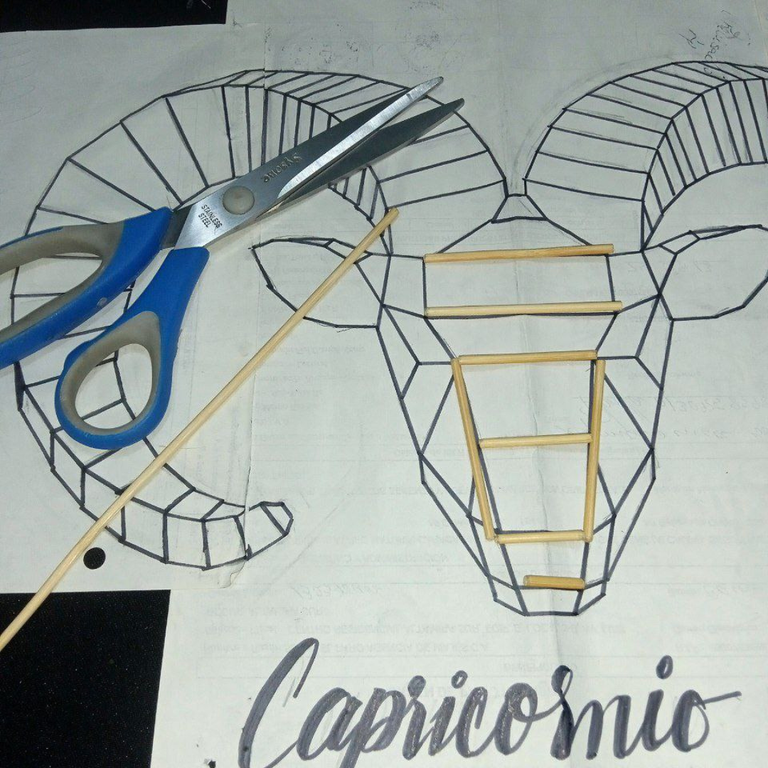
Once the sketch is finished we take our package of skewers and start measuring and with the scissors we cut the toothpicks according to the measures taken from the pattern we drew or printed. This process takes time and patience, so I recommend you to relax with music, in my case, I also relax with a cup of coffee.
Ya con el boceto terminado tomamos nuestro paquete de brochetas y empezamos a medir y con la tijera cortamos los palillos según las medidas tomadas del patrón que dibujamos o imprimimos. Este proceso lleva tiempo y paciencia, por lo que te recomiendo que te relajes con música, en mi caso, también me relajo con una taza de café.
 |  |
|---|
 |  |  |
|---|
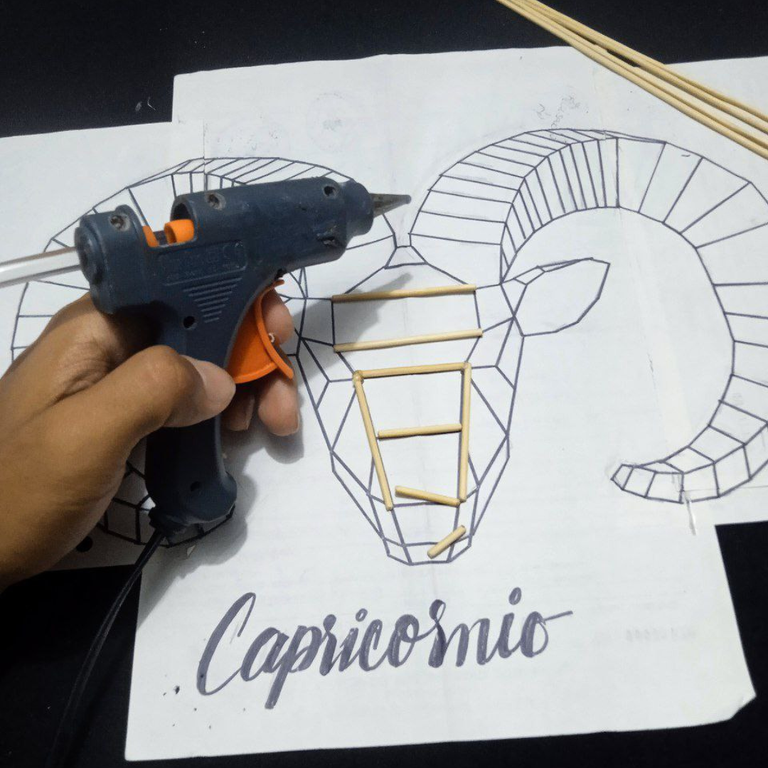
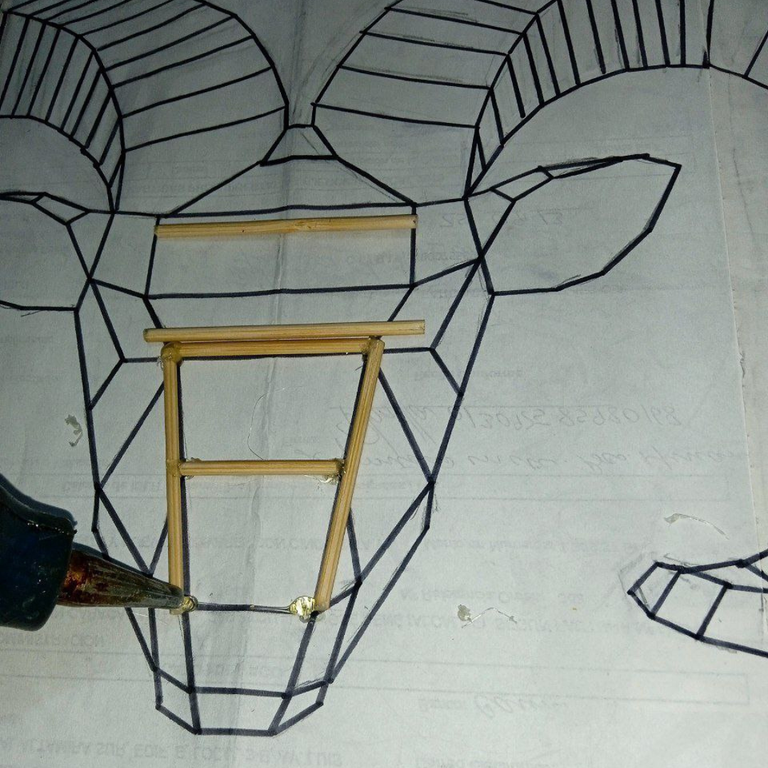
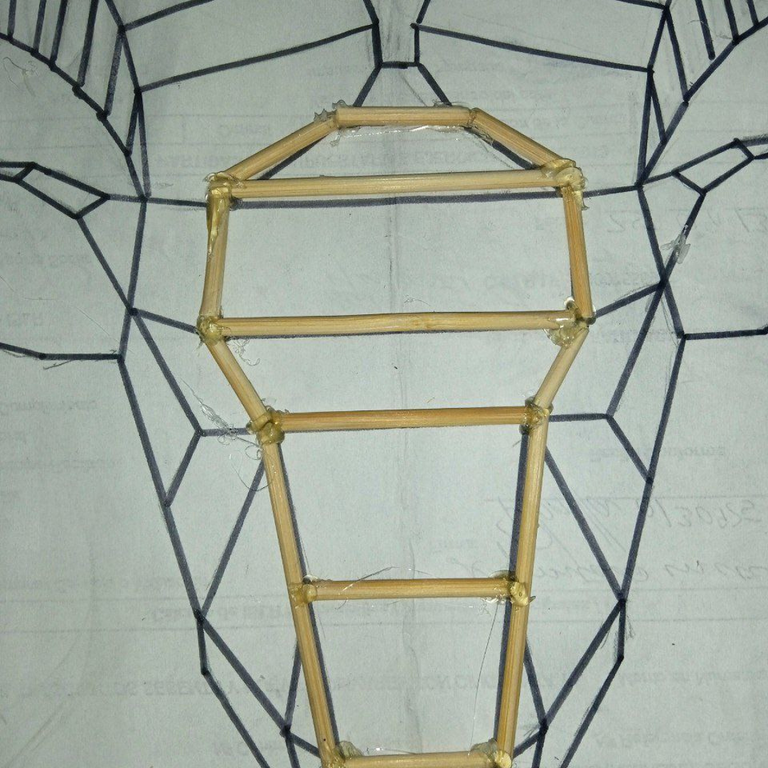
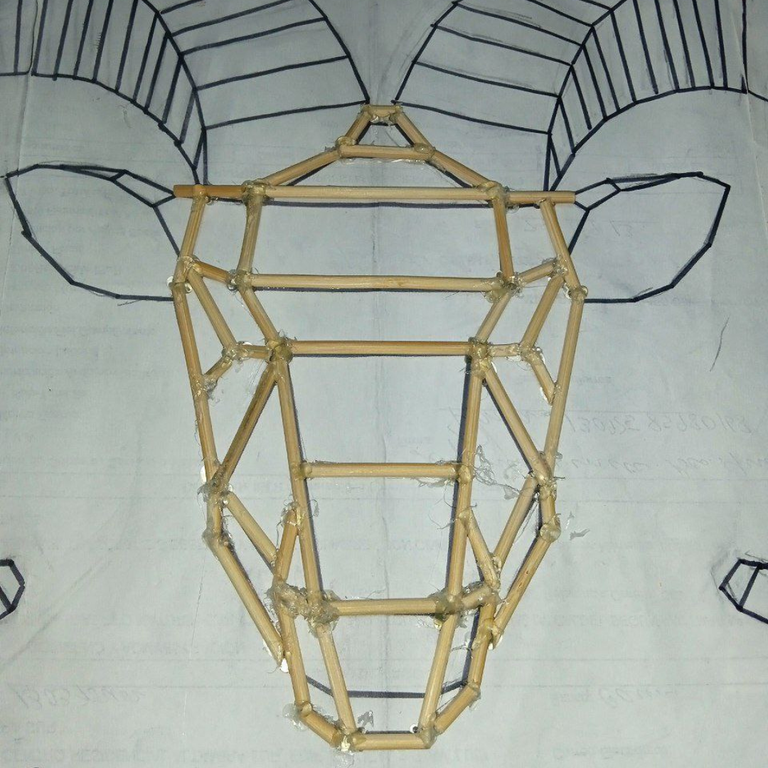
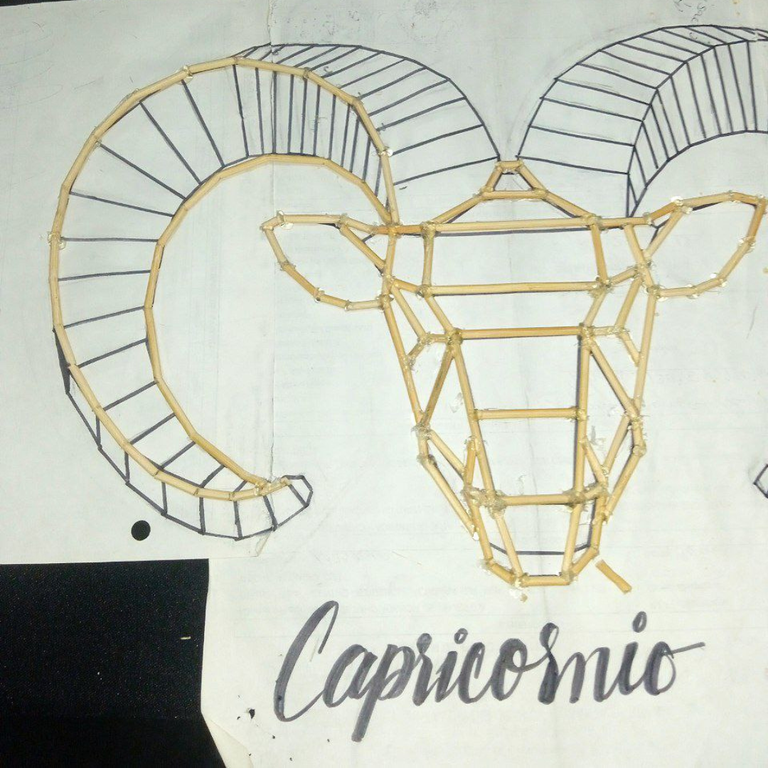
With the previously heated silicone gun, we glue the cuts of the skewer sticks according to each of the measures taken until the figure is completed. It should be noted that you should only join the ends of the toothpicks, since you must take into account that the ornament of the template must be unmolded later.
Con la pistola de silicona previamente calentada, pegamos los cortes de los palillos de brochetas según cada una de las medidas tomadas hasta completar la figura. Cabe resaltar que solo debes unir las puntas de los palillos, pues debes tomar en cuenta que luego debe desmoldarse el adorno de la plantilla.
 |  |  |
|---|---|---|
 |  |  |
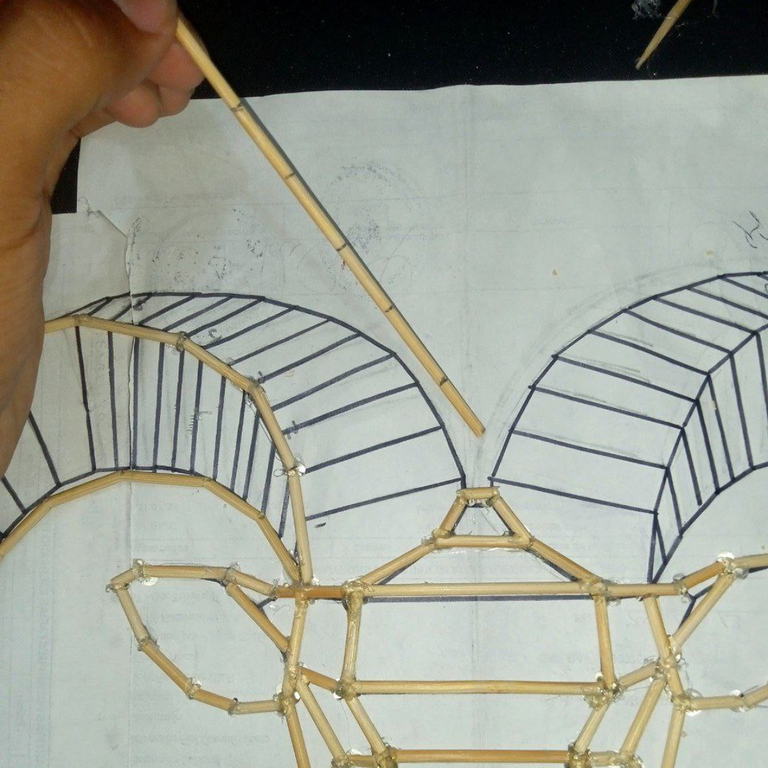
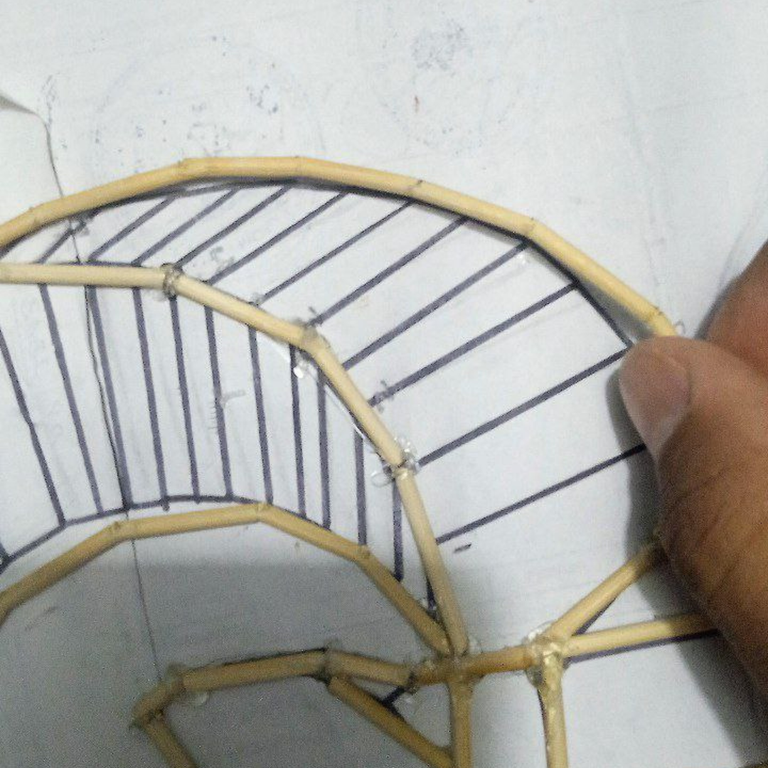
To make the curvature of the horns, I took a toothpick and marked lines about 1.5 cm apart along the length of the toothpick. Then, I made small cuts at each mark with the scissors with the idea of fracturing, so that these cuts would allow me to bend the stick easily and give it the curved shape.
Para realizar la curvatura de los cuernos, tomé un palillo y marqué líneas a 1.5 cm aproximadamente de distancia a lo largo del palillo. Luego, hice pequeños cortes en cada marca con la tijera con la idea de fracturar, y así estos cortes me permitieran doblar el palillo fácilmente y darle la forma curva.
 |  |  |
|---|
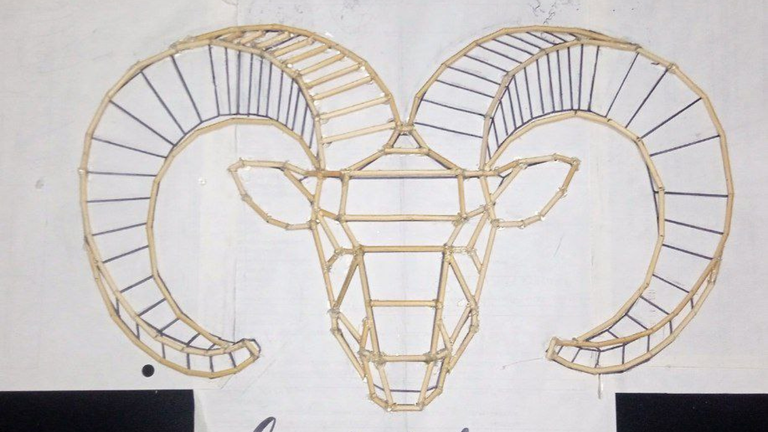
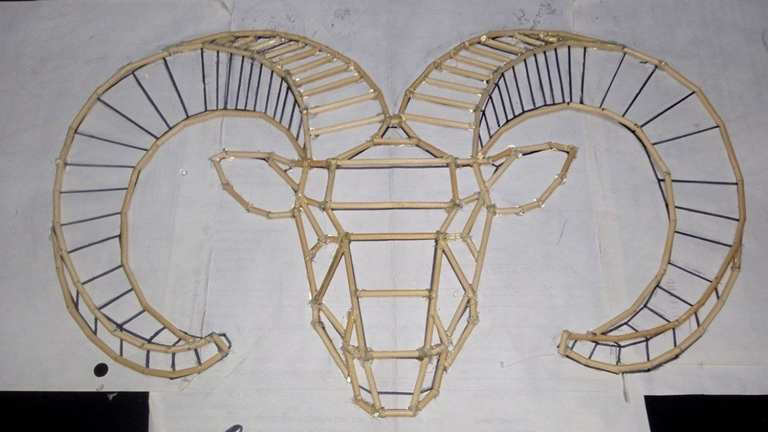
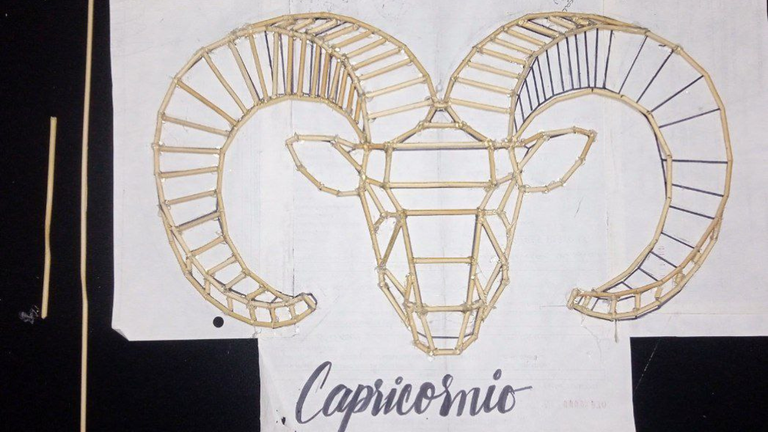
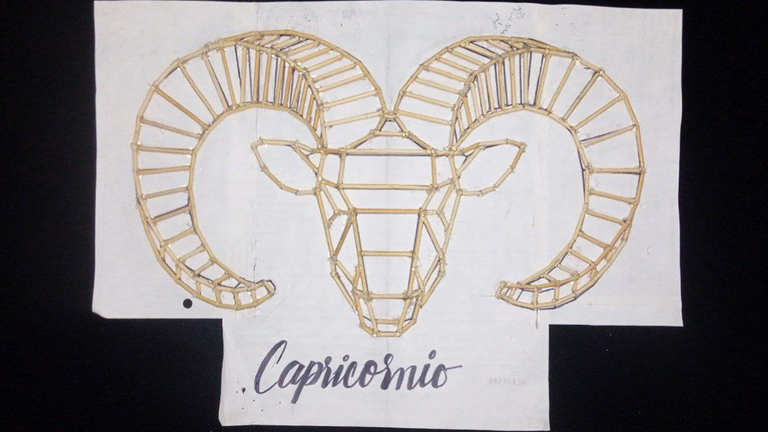
Once the edges of the horns were done, I continued placing the toothpicks to finish the modeling, as you will see below:
Ya realizado los bordes de los cuernos, continué colocando los palillos para así culminar el modelado, como verás acontinuación:
 |  |
|---|---|
 |  |
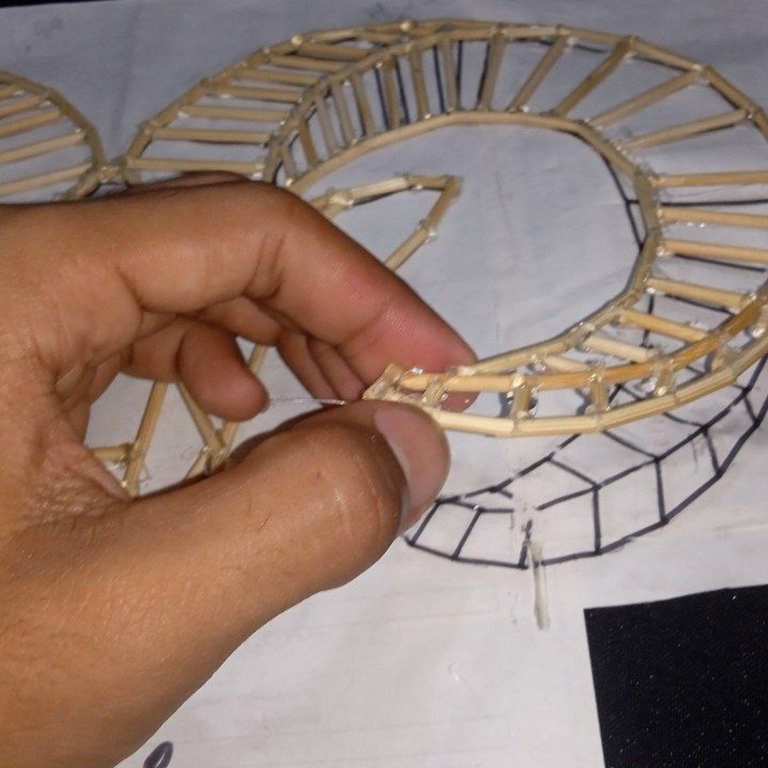
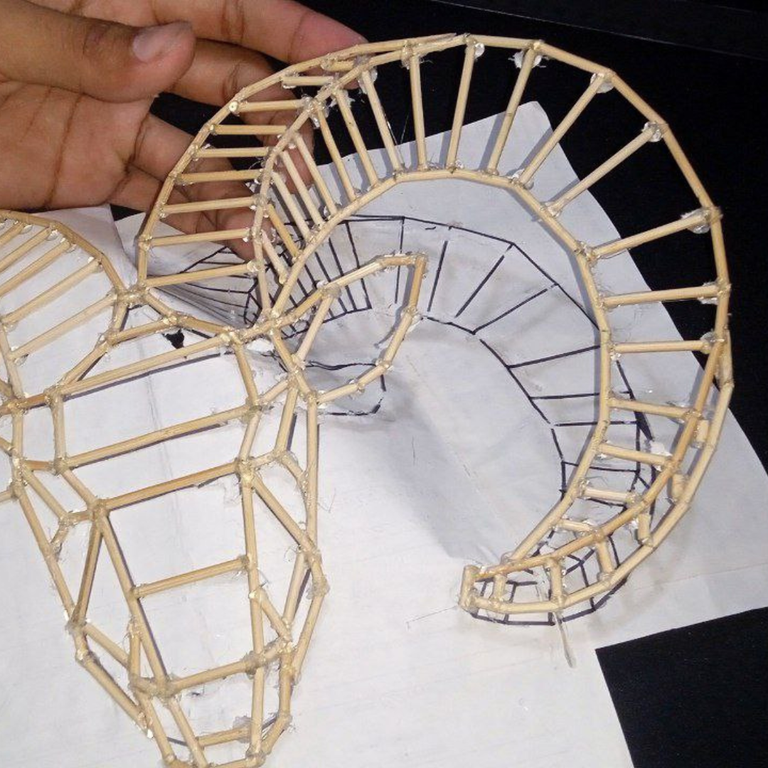
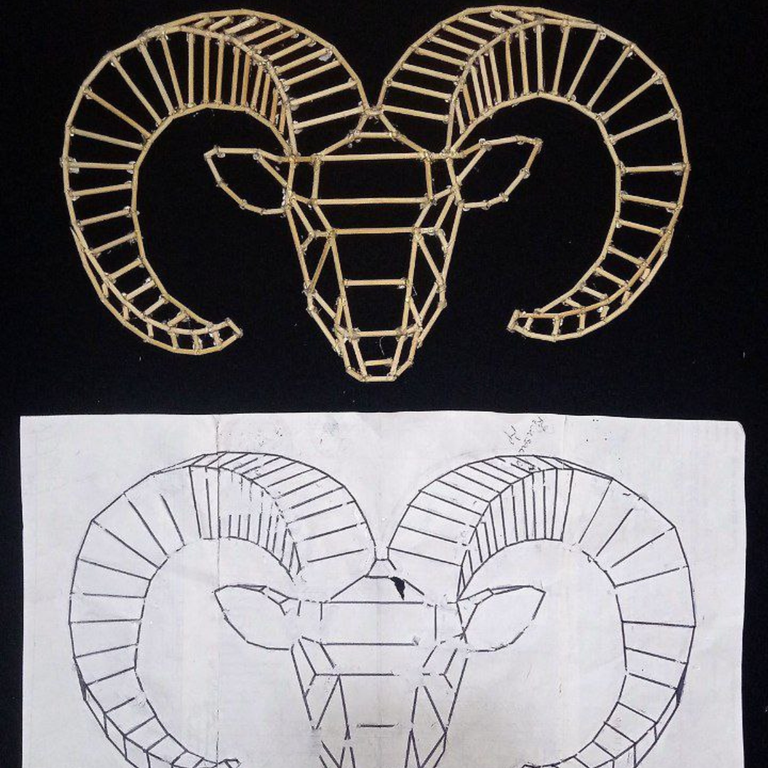
Carefully and delicately peel off the finished figure from the stencil.
Con mucho cuidado y delicadeza despegamos la figura ya terminada de la plantilla.
 |  |  |
|---|
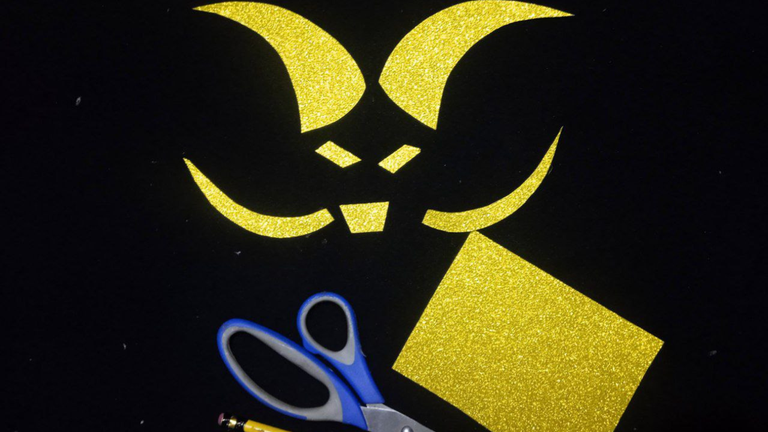
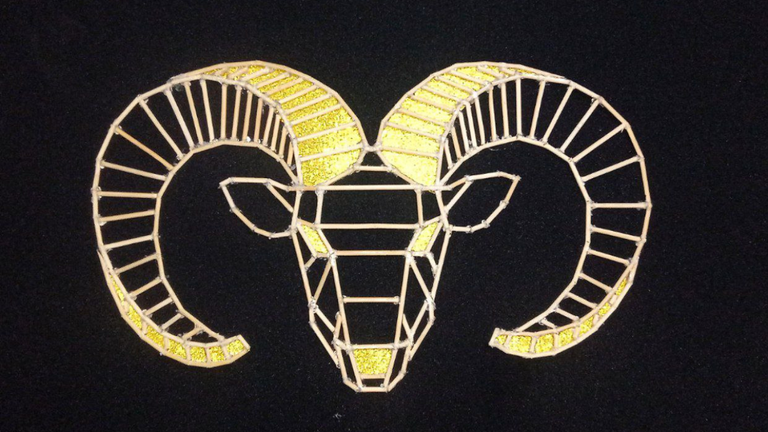
We take small pieces of cardboard in the color of your choice, in this case I used a frosted gold, in order to highlight some features of the design, such as the eyes, nose and horns.
Tomamos pequeños trozos de cartulina del color que ustedes deseen, en este caso usé un dorado escarchado, para así resaltar algunas facciones del diseño, como lo son los ojos, nariz y los cuernos.
 |  |
|---|
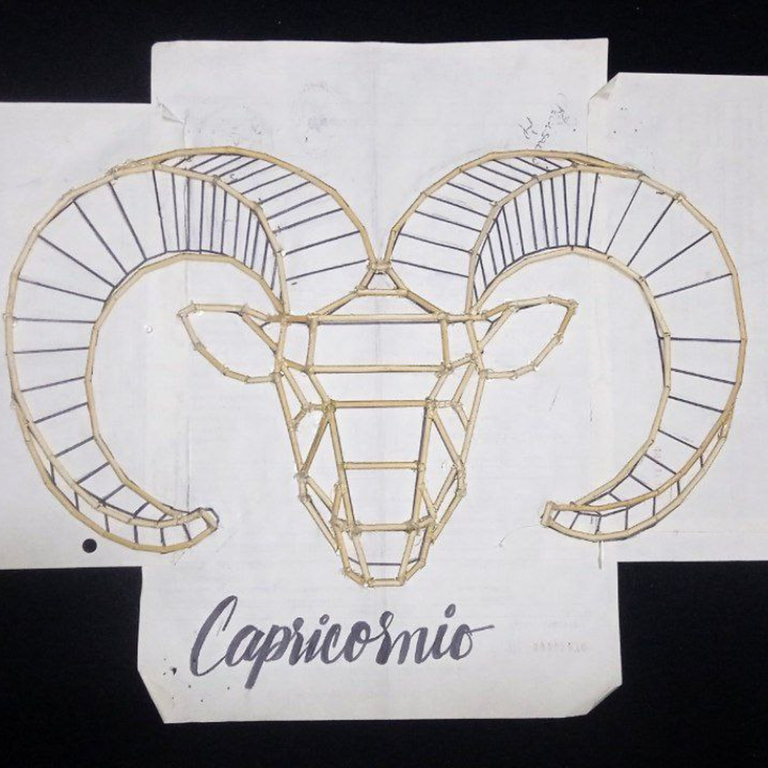
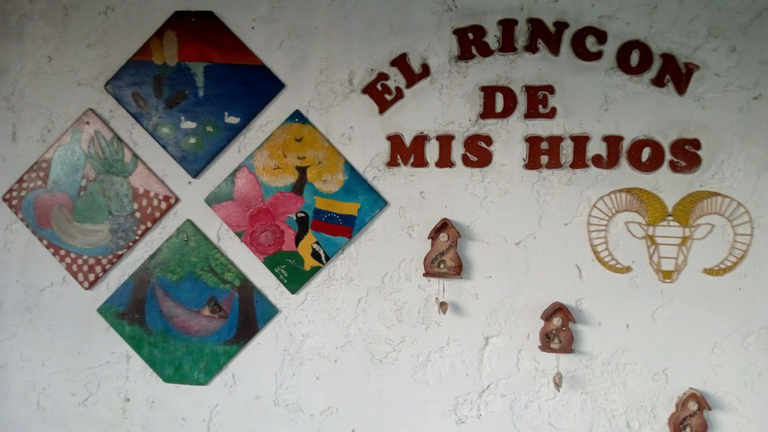
And this way you can get a nice ornament for your home inspired by the sign of Capricorn. In my case I put it on the wall of a churuata that is in the backyard of my house, and where it is always usual to hang ornaments of all kinds. I had a lot of fun making this art with chopsticks, and I was very happy with the result. I invite you to join this initiative.
Y de esta forma puedes obtener un lindo adorno para tu hogar inspirado en el signo de capricornio. En mi caso yo lo coloqué en la pared de una churuata que está en el patio de mi casa, y donde siempre es habitual colgar adornos de todo tipo. Me divertí mucho haciendo este arte con palillos, y quedé muy contento con el resultado. Los invito a sumarse a esta iniciativa.
See you in the next post!
- The thumbnail was created in the Canva app.
- I'm new to Hive and I really like art. You can learn more about me in Presentation.
¡Nos vemos en el próximo post!
- La miniatura fue creada en la app de Canva.
- Soy nuevo en Hive y me gusta mucho el arte. Puede conocer más de mí en post de Presentación.
Posted Using INLEO
From Venezuela, our witness drives decentralization and the adoption of Web3 technology, creating opportunities for the local community and contributing to the global ecosystem. // Desde Venezuela, nuestro testigo impulsa la descentralización y la adopción de la tecnología Web3, generando oportunidades para la comunidad local y contribuyendo al ecosistema global.
Sigue, contacta y se parte del testigo en: // Follow, contact and be part of the witness in:
Guao! Bienvenido. Has hecho un estupendo trabajo! No solo la manualidad sino también la presentación impecable.
Gracias por participar en nuestra iniciativa y compartir tus proyectos de calidad con nosotros.
Muchas gracias por la bienvenida, me encantó participar en esta iniciativa, espero seguir compartiendo parte de mi creaciones en esta comunidad. Saludos! 🎨🖌️
Congratulations @gsusart! You have completed the following achievement on the Hive blockchain And have been rewarded with New badge(s)
Your next target is to reach 400 upvotes.
Your next target is to reach 50 replies.
You can view your badges on your board and compare yourself to others in the Ranking
If you no longer want to receive notifications, reply to this comment with the word
STOPWow, you are so creative, you did a nice work, I love it, thanks for sharing.
I'm glad you liked it!