Como Elaborar Y Decorar Una Bolsa De Regalo Con Materiales De Provecho // How to make and decorate a gift bag with useful materials (ESP//ENG) @hectorher

in Hive Diy2 years ago


galletas y bolsaaaaaaaaaaaaaaa 084.JPG

Hola que tal amigos de la colmena, mi trabajo creativo de hoy para todos ustedes consiste en la elaboración de una linda bolsa de reglo hecha y adornada con materiales de provecho .

Hello friends of the hive, my creative work today for all of you consists of making a beautiful gift bag made and decorated with useful materials.

MATERIALES
Foami sencillo y escarchado.
Silicón.
Tijera.
Hojas blancas.
Pintura al frio roja.

MATERIALS

Simple and frosty foami.

silicone.

Scissor.

White sheets.

Red cold paint.

PASO A PASO
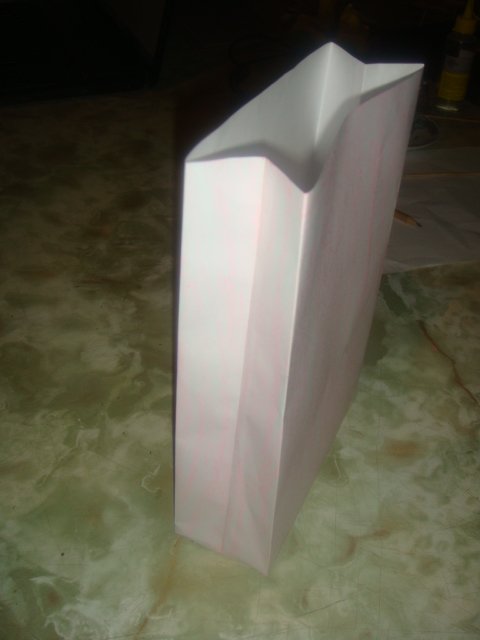
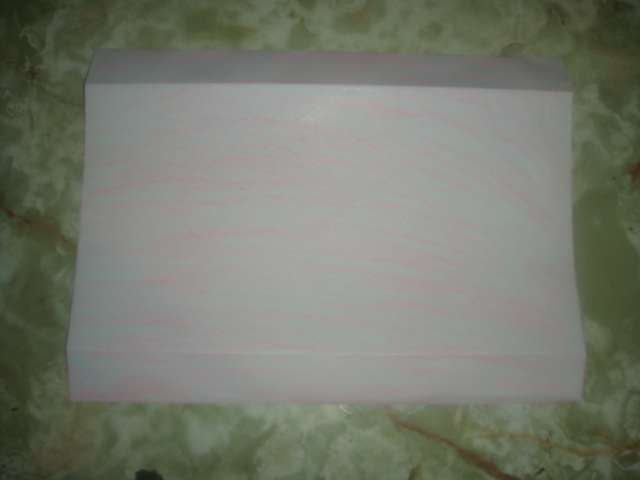
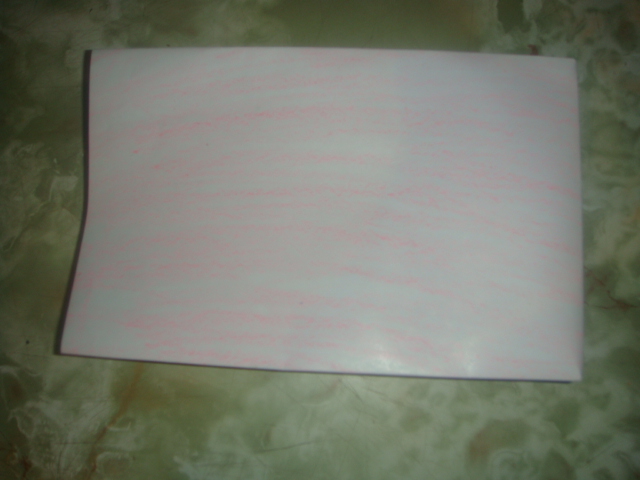
Para fabricar la bolsa de regalo, utilizamos dos hojas blancas tipo carta, las pintaremos de color rosado y uniendo ambas caras por el lado más largo, le daremos la forma deseada.
STEP BY STEP

To make the gift bag, we use two white letter-type sheets, we will paint them pink and joining both sides by the longest side, we will give it the desired shape.


galletas y bolsaaaaaaaaaaaaaaa 056.JPG


galletas y bolsaaaaaaaaaaaaaaa 059.JPG


galletas y bolsaaaaaaaaaaaaaaa 061.JPG

Lista la bolsa, procedemos a decorarla y para ello utilizaremos una hoja de 10 x10 cm para armar una mariposa grande y cinco hojas de 5 x 5cm para hacer las amariposas pequeñas, estas hojas las pintaremos de distintos colores.
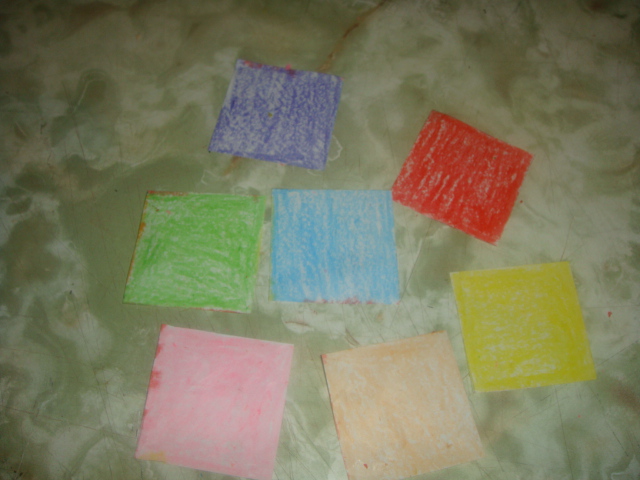
Ready the bag, we proceed to decorate it and for this we will use a 10 x 10 cm sheet to make a large butterfly and six 5 x 5 cm sheets to make small butterflies, we will paint these sheets in different colors.


galletas y bolsaaaaaaaaaaaaaaa 057.JPG

Utilizando el método origami le daremos vida a las coloridas mariposas.
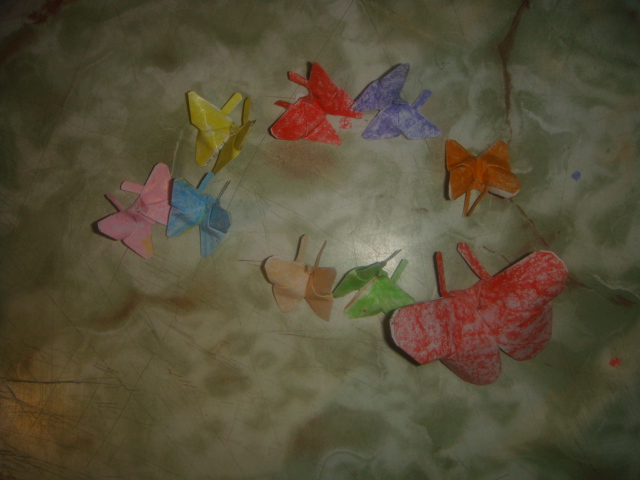
Using the origami method we will give life to the colorful butterflies.


galletas y bolsaaaaaaaaaaaaaaa 058.JPG

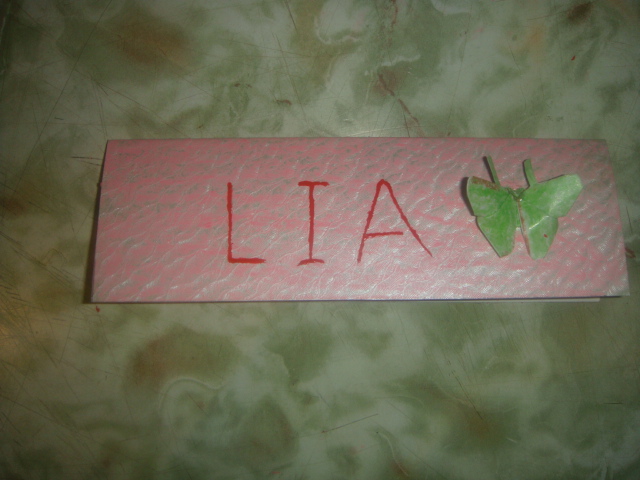
Utilizaremos una cartulina de 17 x 8 cm, la pintaremos de color rosado, doblaremos a la mitad por el lado más largo, pondremos el nombre de la persona que va recibir el regalo y decoraremos con una mariposa pequeña en un extremo.
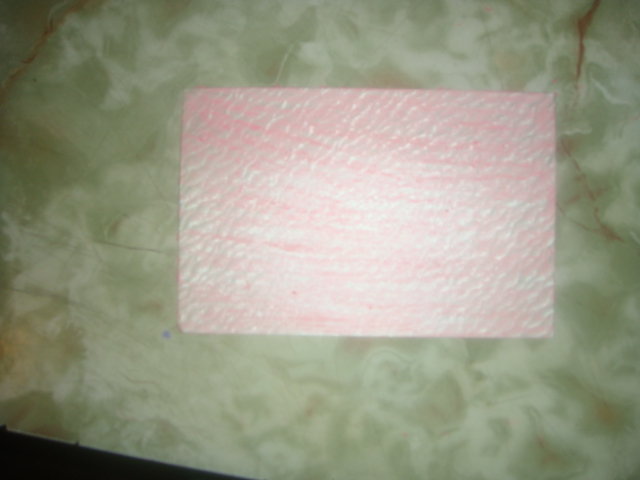
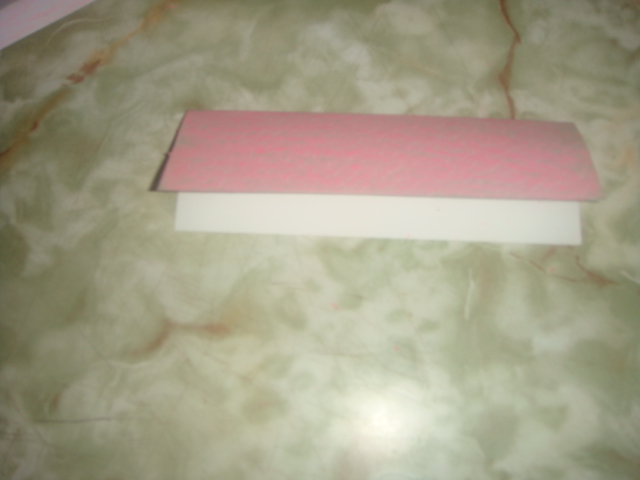
We will use a 17 x 8 cm cardboard, we will paint it pink, we will fold it in half on the longest side, we will put the name of the person who is going to receive the gift and we will decorate with a small butterfly at one end.


galletas y bolsaaaaaaaaaaaaaaa 063.JPG


galletas y bolsaaaaaaaaaaaaaaa 065.JPG


galletas y bolsaaaaaaaaaaaaaaa 071.JPG

Al tener todas las piezas listas, comenzamos a decorar la bolsa y lo primer qué haremos será pegar la mariposa mas grande, seguida de las pequeñas, metemos el obsequio en la bolsa y lo sellamos poniéndole la cartulina previamente decorada.
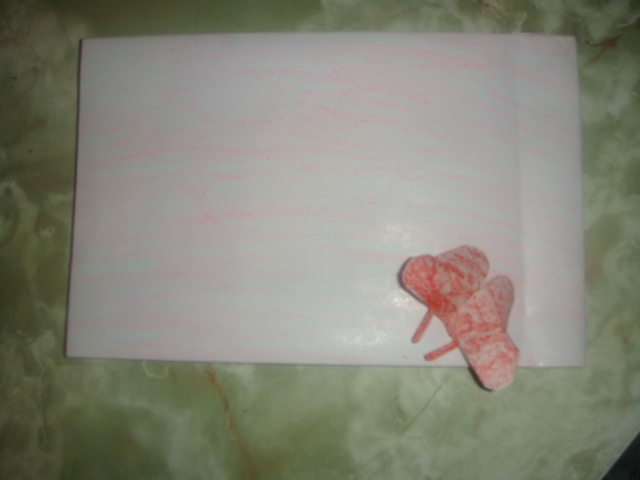
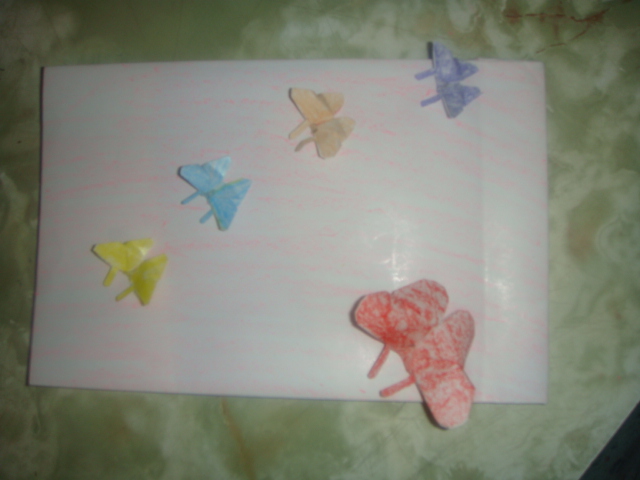
Having all the pieces ready, we begin to decorate the bag and the first thing we will do is glue the largest butterfly, followed by the small ones, we put the gift in the bag and seal it by putting the previously decorated cardboard on it


galletas y bolsaaaaaaaaaaaaaaa 068.JPG


galletas y bolsaaaaaaaaaaaaaaa 069.JPG


galletas y bolsaaaaaaaaaaaaaaa 072.JPG


galletas y bolsaaaaaaaaaaaaaaa 074.JPG


galletas y bolsaaaaaaaaaaaaaaa 080.JPG


galletas y bolsaaaaaaaaaaaaaaa 081.JPG

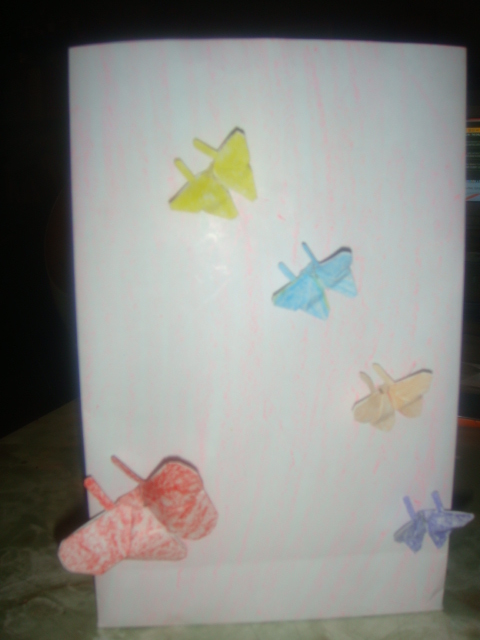
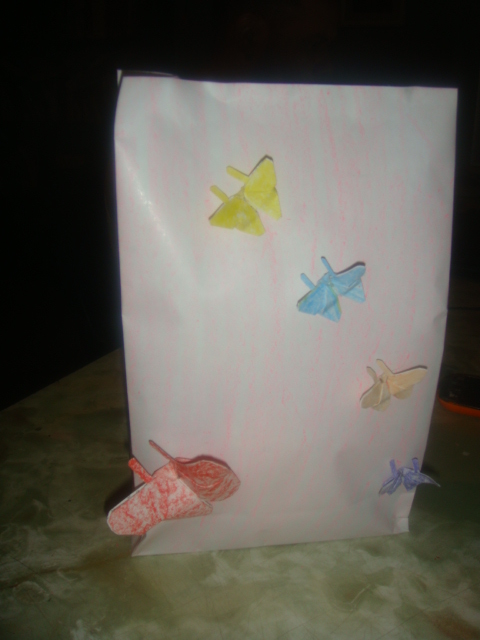
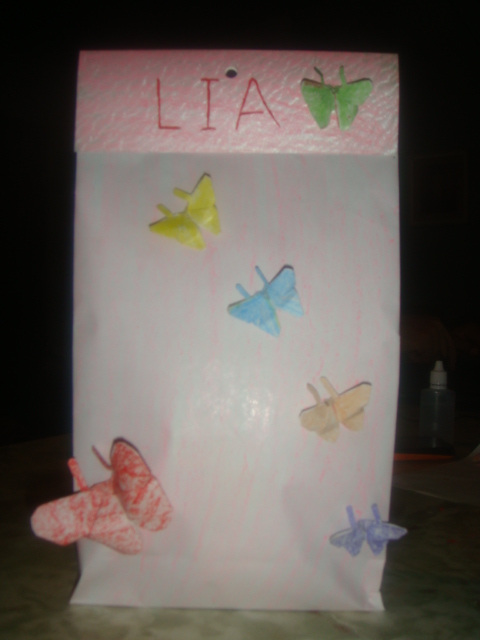
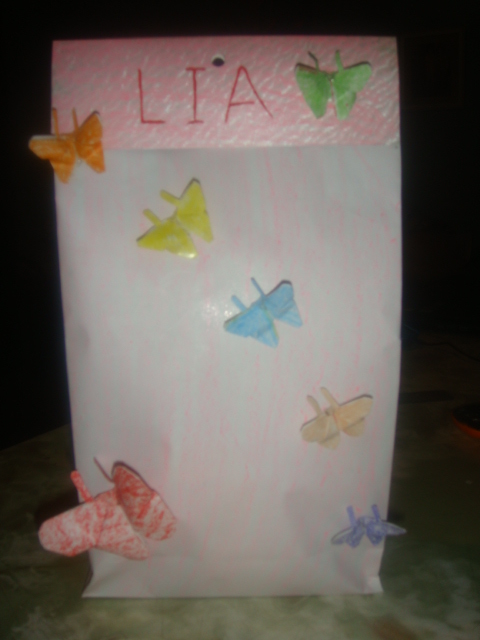
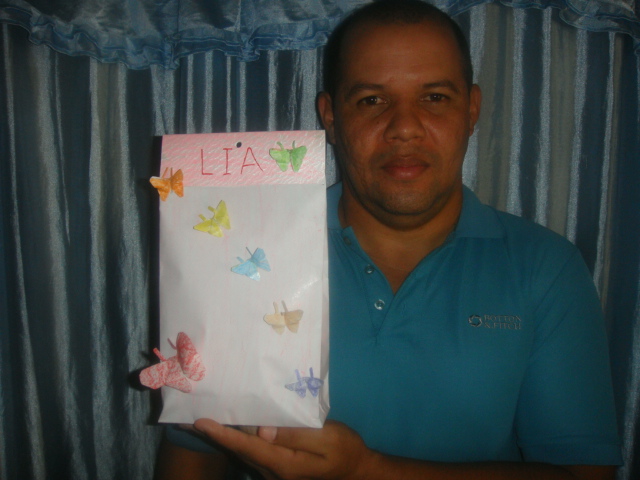
Como resultado final tenemos una linda bolsa de regalo decorada con mariposas en tres d, espero les haya gustado.
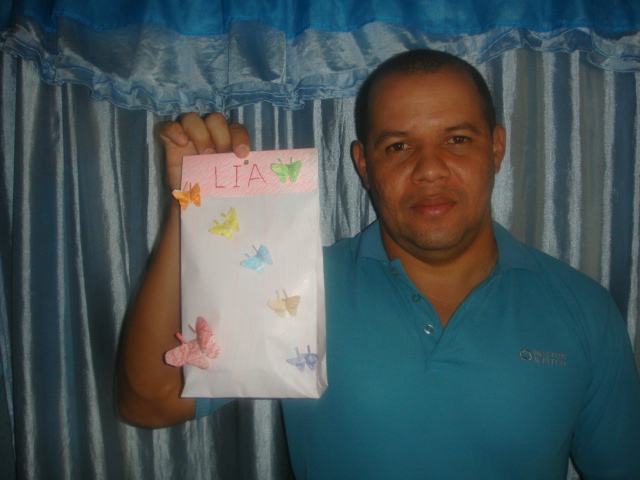
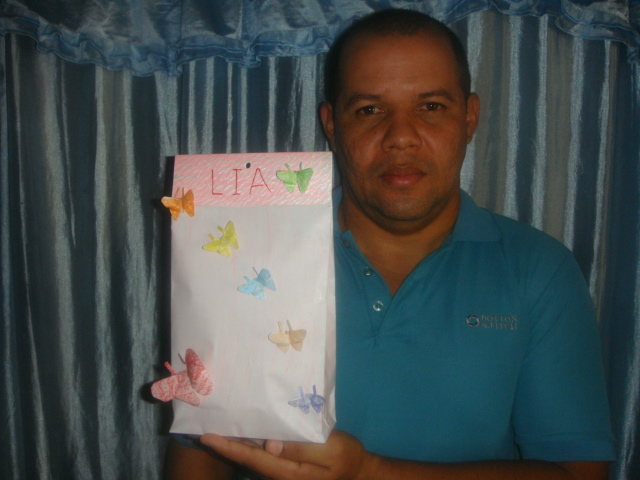
As a final result we have a nice gift bag decorated with butterflies in three d, I hope you liked it.


galletas y bolsaaaaaaaaaaaaaaa 083.JPG


galletas y bolsaaaaaaaaaaaaaaa 085.JPG