English
Materials
- Felt: white, black, green, pink and magenta.
- Beige fleece blanket
- 13 yellow beads
- 50 cm of fuchsia thread
- 1 stick of 30 cm
- Threads
- Needle
- Silicone gun
Procedure
Cut all the pieces of the cow: 2 for the body, 2 for the head, 4 for the legs, the spots will be to your liking, cut 2 white ears, 2 smaller light pink ears, 1 small pink oval, 1 larger pink oval, a beige circle in polar fleece to simulate the cow's udder, cut in polar fleece the snout, you can use beige felt, 2 horns in black, 2 small circles in light pink for the nose.
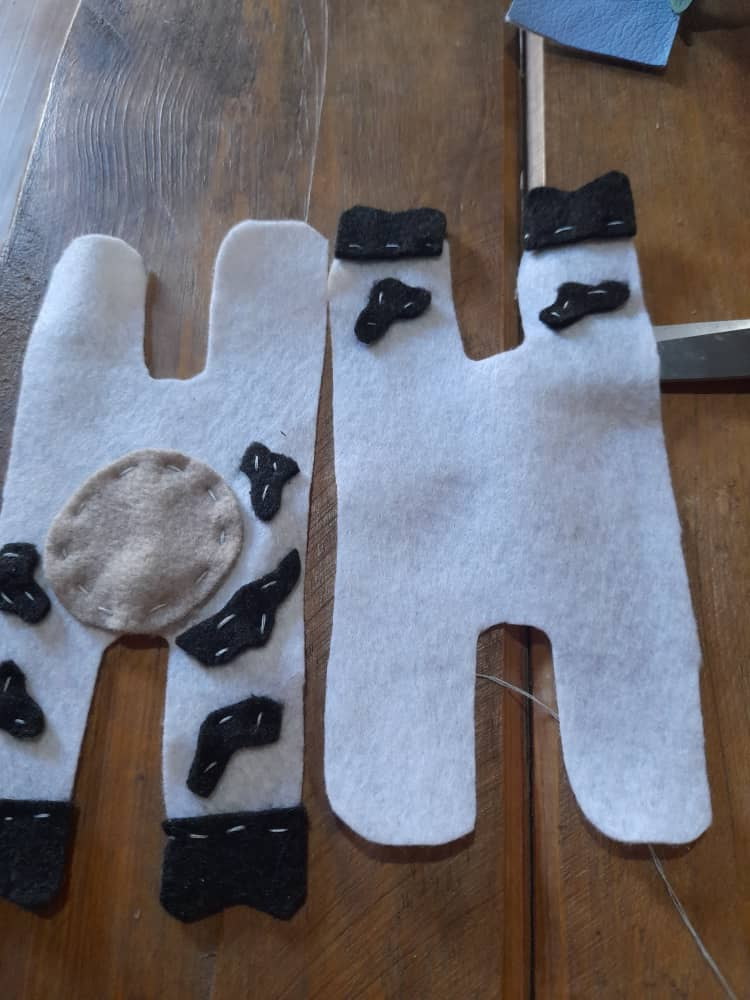
With all the parts cut out proceed to sew the legs on the body. sew 2 on the bottom.

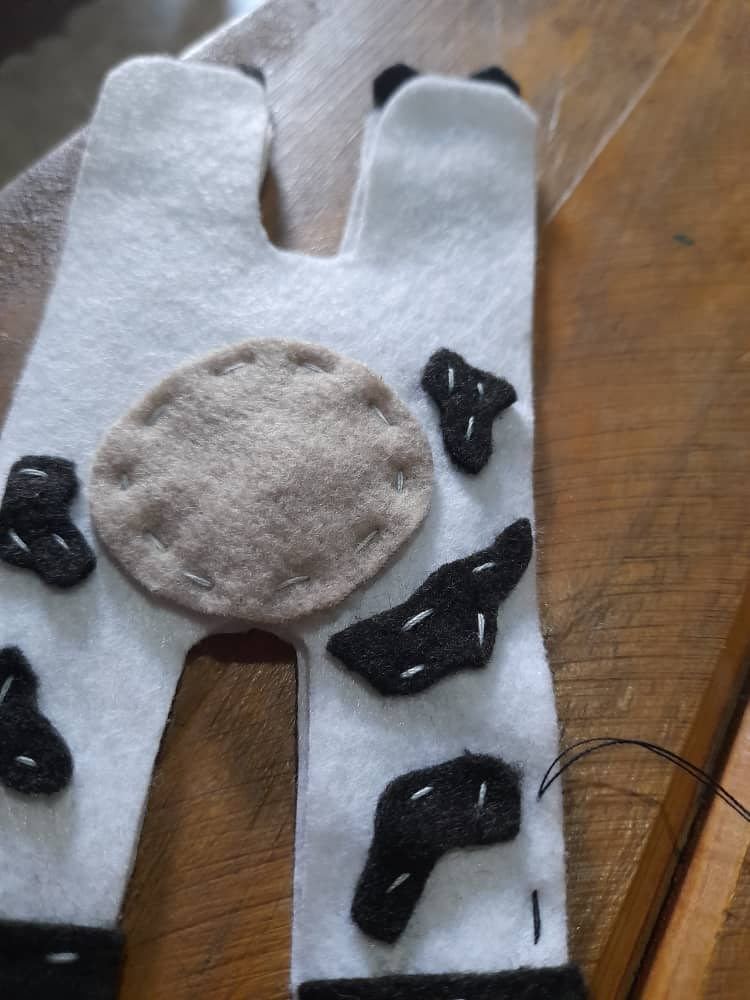
On the same side sew the spots and the udder.
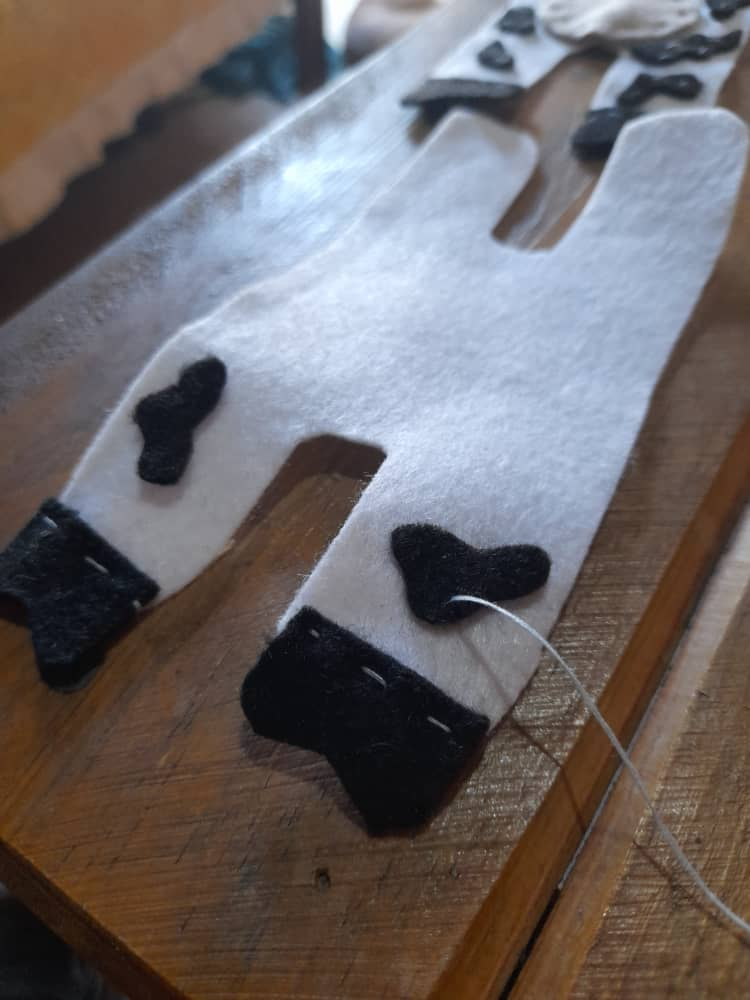
On the other side of the body sew the spots and the legs.
The 2 pieces will look like this:
Then join the 2 pieces together by sewing with black thread.
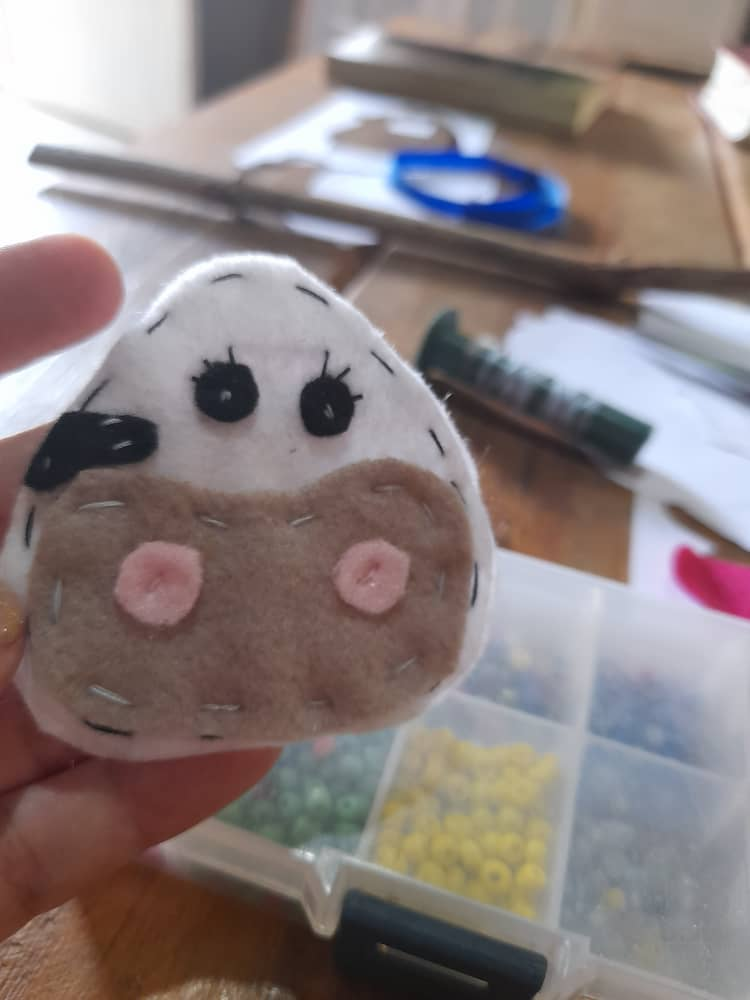
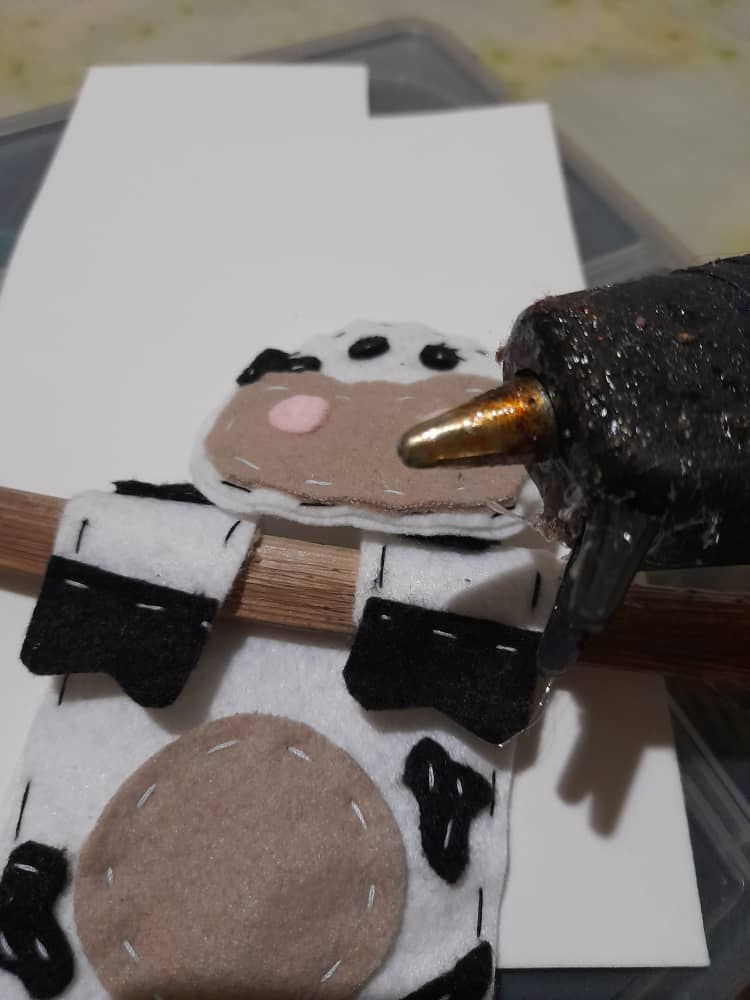
Glue to one piece of the head, the snout, a spot and the eyes, so that all the seams are hidden.
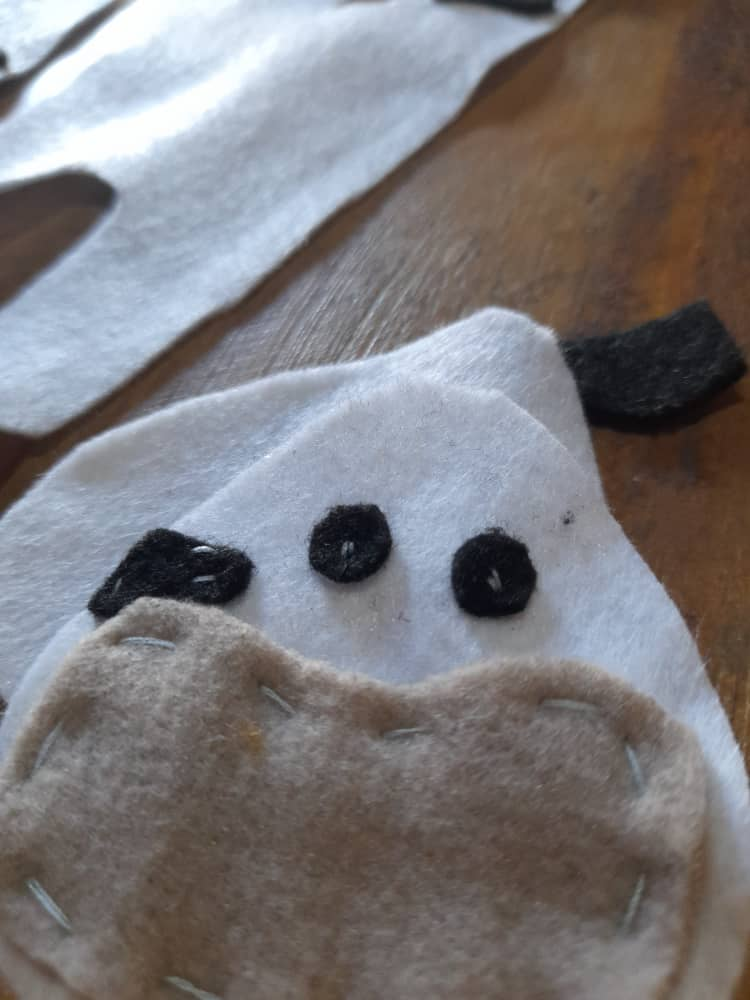
Once you have placed all the parts of the face, proceed to sew the 2 pieces together using black thread. I particularly like to use a different color thread to make it look more artisanal and handmade.
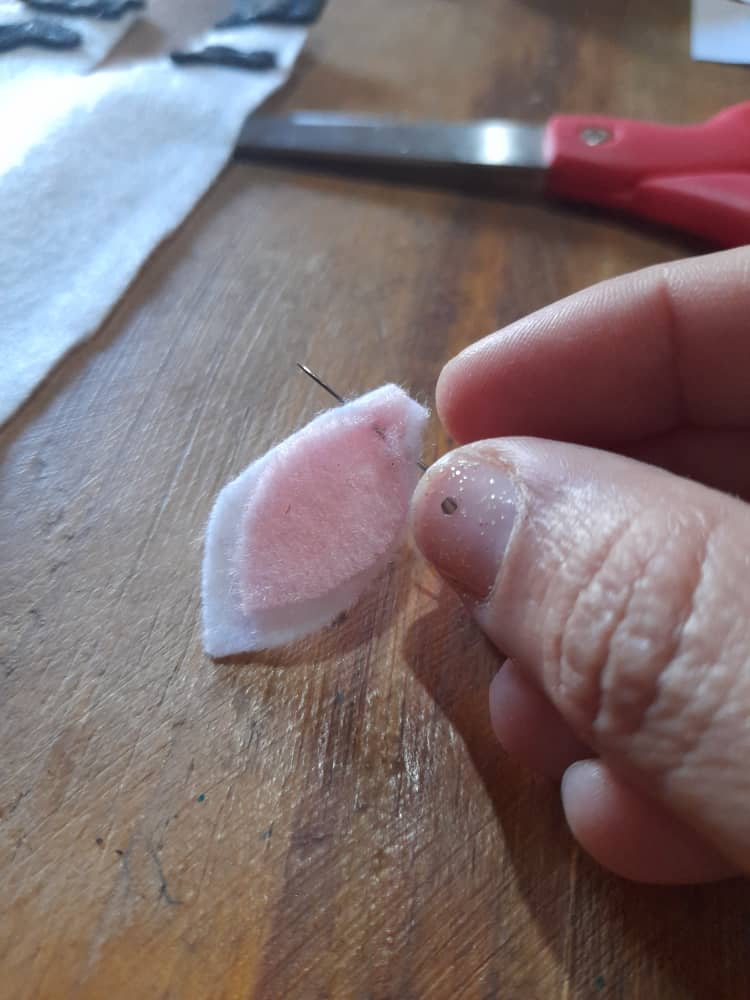
Join the 2 ear pieces together.
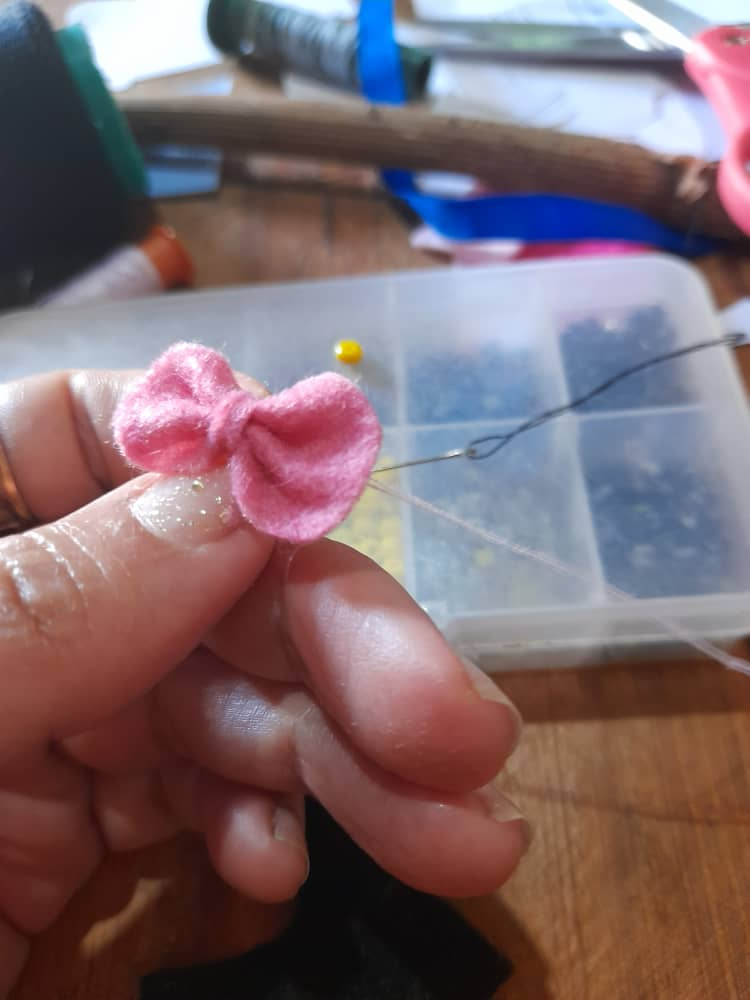
Sew the loops in the middle with the pink ovals you cut out.

Now all the pieces are ready to assemble the naughty cowgirl.
Join all the pieces with the silicone gun, starting with the central piece (body) which you will attach to the 30 cm stick.
Continue with the head, the ears, the horns, the bows.
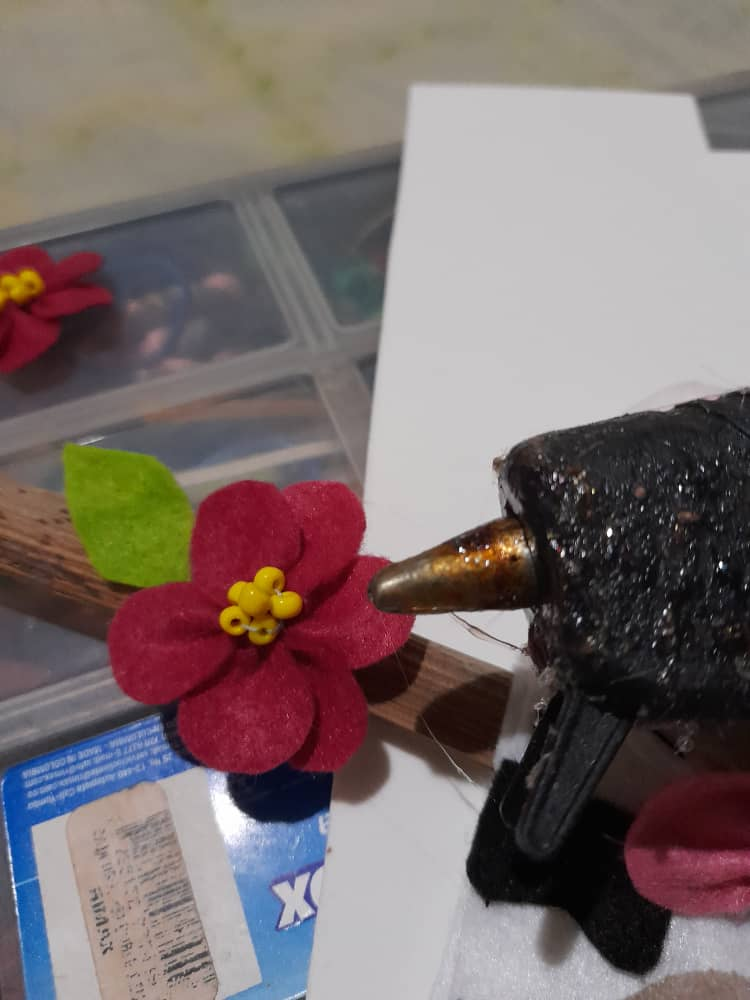
Finally incorporate some flowers on the stick, they are made by joining 6 small circles and placing the beads in the center.
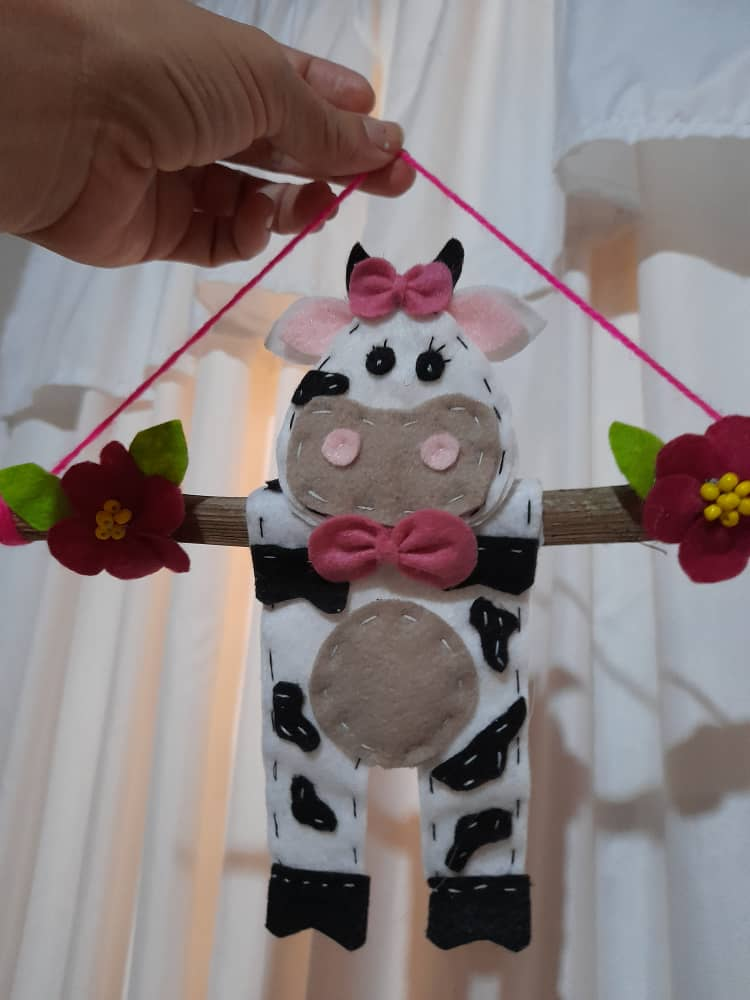
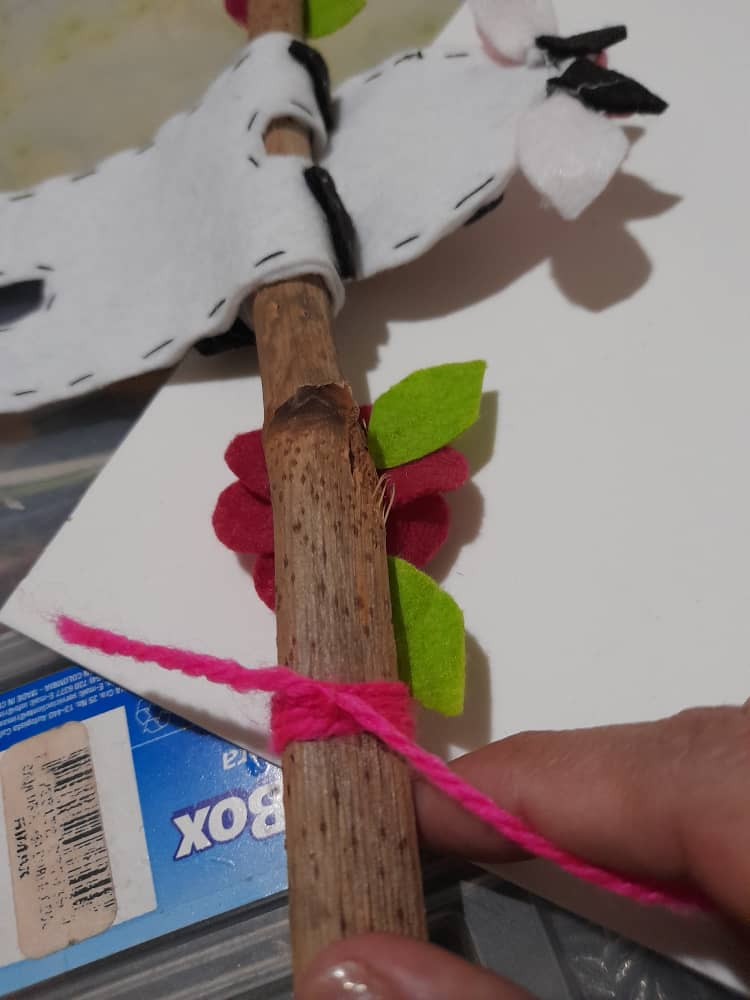
Tie the yarn on both sides and the naughty cow is ready.
I hope you liked my project today.
Thanks for reading my post.
Translated with www.DeepL.com/Translator (free version)
Photos by @hetyg
Español
Hola amigos!
Que bueno saludarles una vez mas, vengo muy entusiasmada a mostrarles una vaquita que realice hace poco, la misma la puedes usar para dar un hermoso detalle en el dia de la amistad, o que tal si la usas para darle un toque country a tu cocina, les mostrare como la hice y los materiales que emplee.
Materiales
- Fieltro: blanco, negro, verde, rosa y magenta
- Manta polar beige
- 13 mostacillas amarillo
- 50 cm de estambre fucsia
- 1 palito de 30 cm
- Hilos
- Aguja
- Pistola de silicon
Procedimiento
Cortar todas piezas de la vaca: 2 para el cuerpo, 2 para la cabeza, 4 para las patas, las manchas serán a tu gusto,Corta 2 orejas blanco, 2 orejas rosa claro mas pequeñas, 1 ovalo pequeño rosado, 1 ovalo mas grande rosado, un circulo beige en manta polar para simular la ubre de la vaca, corta en manta polar el hocico, puedes usar fieltro beige, 2 cuernos en negro, 2 círculos pequeños en rosa claro para la nariz.
Con todas las partes cortadas procede a coser las patas sobre el cuerpo, cose 2 en la parte inferior.
De ese mismo lado cose las manchas y la ubre.
En la otra parte del cuerpo cose manchas y las patas.
Las 2 piezas quedaran así:
Luego une las 2 piezas cosiendo con hilo negro.
Pega a una pieza de la cabeza, el hocico, una manchita y los ojos, esto con el fin de que todas las costuras queden ocultas.
Una vez que hayas colocado todas las partes de la cara procede a coser las 2 piezas usando hilo negro. En lo particular me gusta usar hilos de otro color para que se vea mas artesanal y hecho a mano.
Une las 2 piezas de las orejas.
Cose los lazos en el medio estos los harás con los óvalos rosados que cortaste.
Ahora ya están listas todas las piezas para armar a la vaquita traviesa.
Une todas las piezas con la pistola de silicon, iniciando con la pieza central (cuerpo) la cual vas a unir al palito de 30 cm.
Continua con la cabeza, las orejas, los cuernos, los lazos.
Por ultimo incorpore unas flores en el palito, las misma se hacen uniendo 6 círculos pequeños y colocando las mostacillas en el centro.
Amarre el estambre a ambos lados y ya esta lista la vaca traviesa.
Espero les haya gustado mi proyecto de hoy.
Gracias por leer mi post.
Fotos de @hetyg
The rewards earned on this comment will go directly to the person sharing the post on Twitter as long as they are registered with @poshtoken. Sign up at https://hiveposh.com.
Thank you for sharing this amazing post on HIVE!
non-profit curation initiative!Your content got selected by our fellow curator @priyanarc & you just received a little thank you via an upvote from our
You will be featured in one of our recurring curation compilations and on our pinterest boards! Both are aiming to offer you a stage to widen your audience within and outside of the DIY scene of hive.
Join the official DIYHub community on HIVE and show us more of your amazing work and feel free to connect with us and other DIYers via our discord server: https://discord.gg/mY5uCfQ !
If you want to support our goal to motivate other DIY/art/music/homesteading/... creators just delegate to us and earn 100% of your curation rewards!
Stay creative & hive on!
How beautiful!
Thank you I am very happy!
¡Felicitaciones!
1. Invierte en el PROYECTO ENTROPÍA y recibe ganancias semanalmente. Entra aquí para más información.
3. Suscríbete a nuestra COMUNIDADEntra aquí para más información sobre nuestro trail., apoya al trail de @Entropia y así podrás ganar recompensas de curación de forma automática.
4. Creación de cuentas nuevas de Hive aquí.
5. Visita nuestro canal de Youtube.
Atentamente
El equipo de curación del PROYECTO ENTROPÍA
Gracias por el apoyo!
Saludos!
Quedó muy bonito! ✨
Gracias amiga!
Saludos!