Amigos de Hivediy, como lo prometí, aquí estoy de nuevo, con otro diseño, otro modelo, aplicando esta maravillosa técnica que es el Quilling o Filigrana, no cabe duda que es bastante ingeniosa, te anima a crear algo nuevo, distinto, cada día.
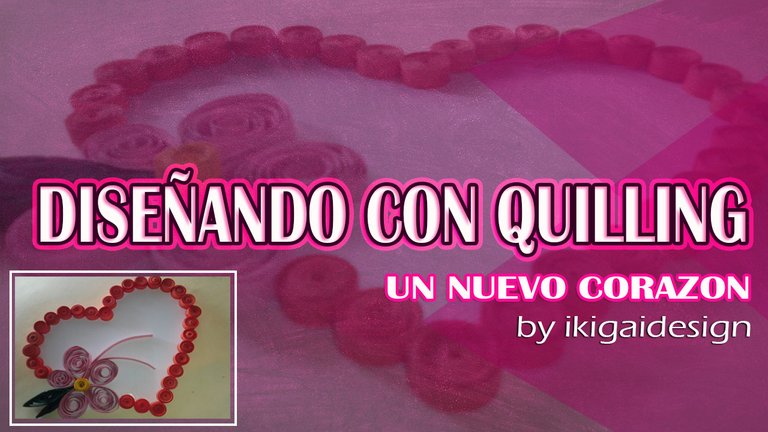
Como les mencione anteriormente, quiero seguir aprendiendo y mejorando con esta técnica, es un proceso que requiere de mucho tiempo, y dedicación, pero que vale la pena, tan solo al mirar el resultado, uno queda satisfecho, con la obra que creas.
Me sorprende la cantidad de diseños que se forman con esto pequeños círculos, o tiras de papel, es un hermoso y creativo trabajo, entre modelos de animales, letras, figuras creativas, es todo un universo para mí, y para todo aquel que decida o esté incursionando con este arte y esta técnica.
Es debido a esto que, en esta oportunidad, como lo prometido es deuda, me encuentro aquí compartiéndoles otro modelo, de Corazón; les confieso que me tomo más del tiempo del necesario, ya que no cuento con las herramientas adecuadas para poder generar estos círculos de una forma rápida y efectiva, igual esto no es motivo para no intentarlo, para eso tenemos las manos, para apoyarnos.
Los materiales a utilizar, fueron los siguientes:
🖍️ Tiras de cartulina de colores
🖍️ Pega blanca
🖍️ Tijera
🖍️ Regla
🖍️ Cartulina blanca
🖍️ Marcadores
Como lo hice:
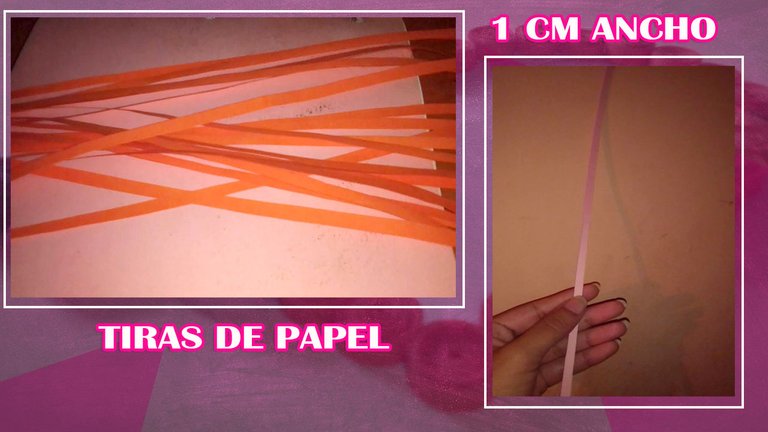
Pues bien, ahora vallamos al procedimiento, como ya les indiqué, tenemos nuestras tiras, con un palito de altura, el cual tomé como guía para enrollar e ir armando estos círculos, con un tamaño de 1 cm de ancho.
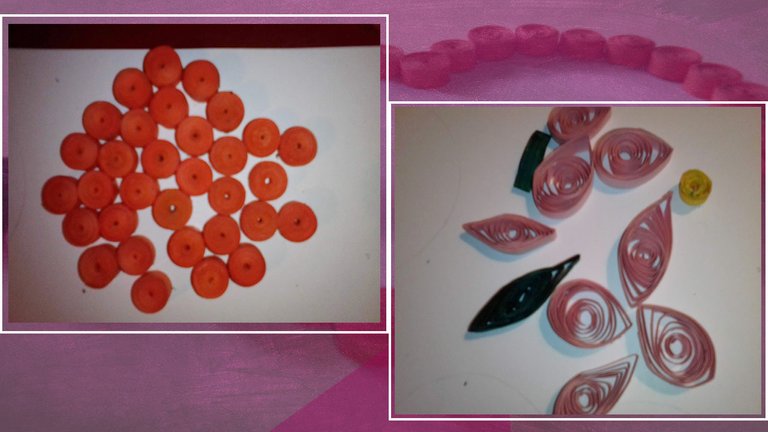
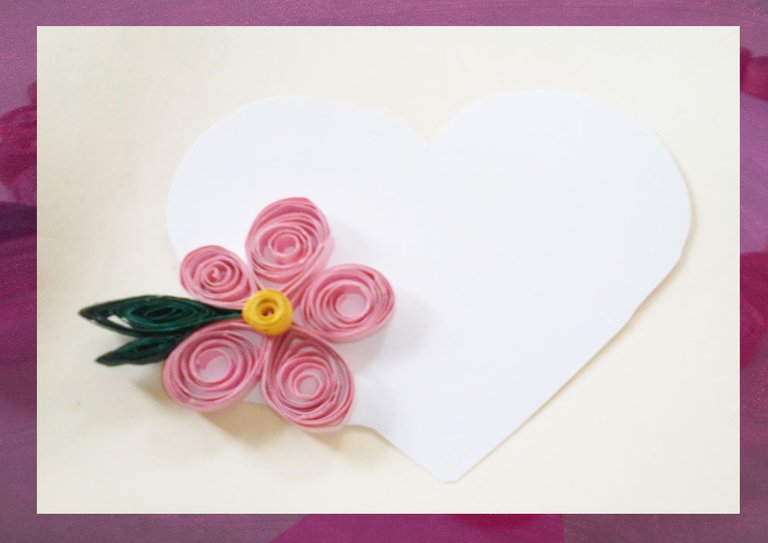
Seguidamente, procedemos a formar otros círculos, pero un poco más grande, esto lo tomaremos para dar formar a una flor, que va ligado al corazón, cabe señalar que aquí haremos uso de otros colores, entre ellos el rosado y amarillo, y para las hojas de la flor sería verde, pero como no tenía, tome unas tiras con un verde muy claro, y las dibuje con marcador, y de esta forma lograr que resaltara un poco más.
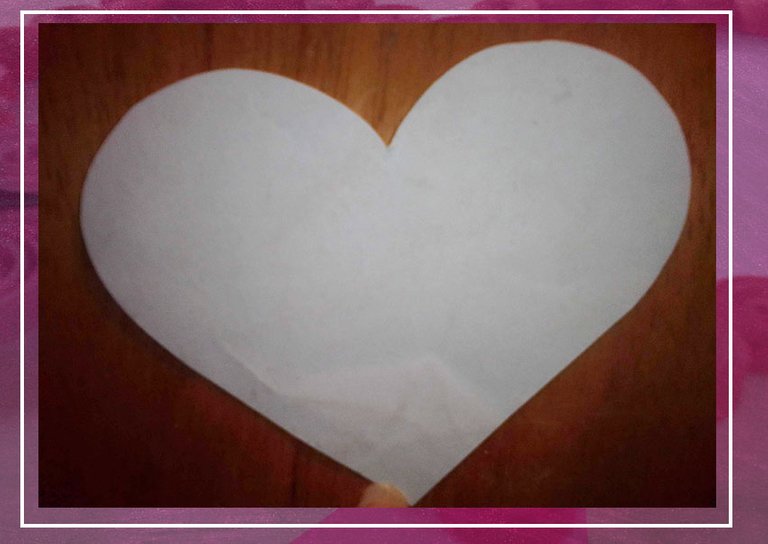
Con esto ya hecho, solo me quedo armar mi corazón, pero primero saque el modelo, para ello tome la cartulina blanca, y la recorte con dicha forma; luego empecé pegando las formas para hacer la flor, por una parte.
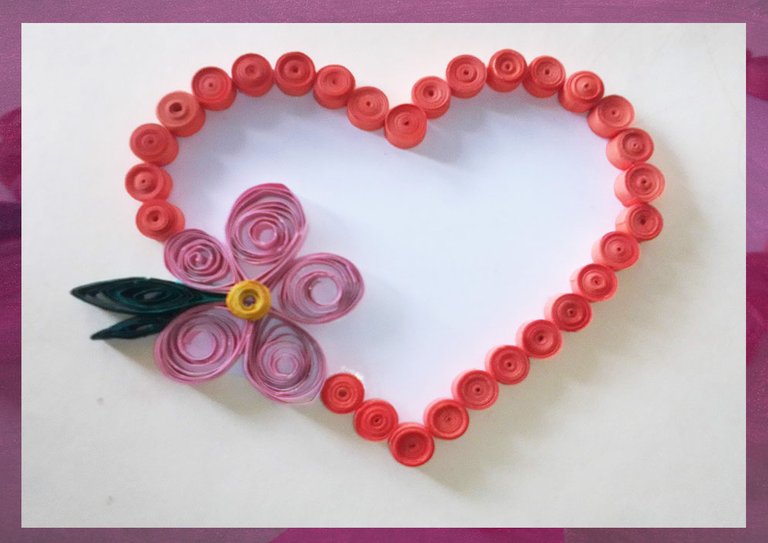
En el otro lado, fue pegando los círculos, guiándome por la línea, para ir armando el corazón con estos, cabe señalar, que para este proceso tome una pinza como apoyo.

Quedando nuestro corazón de esta forma, con un pequeño detalle, para decorar, e incluso para regalar, la verdad estoy practicando para crear diseños más elaborados, y así poder ofrecerlos como regalos para una ocasión especial, ustedes que opinan, quedaría bien.
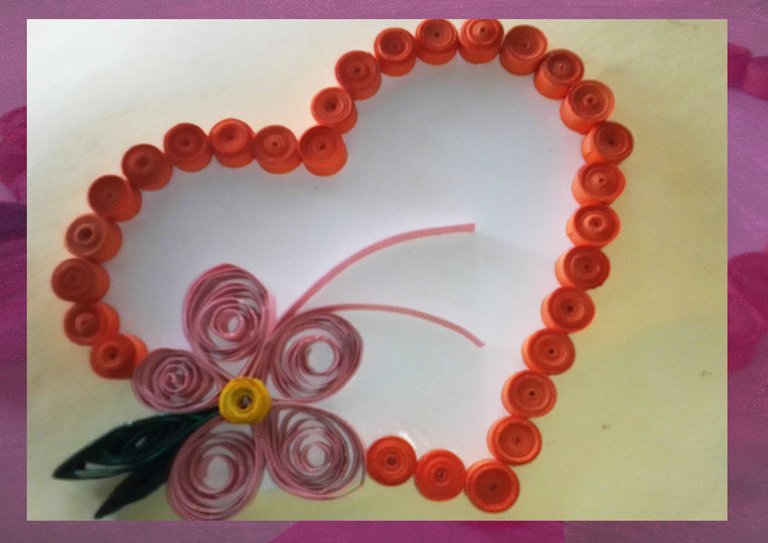
Esto es un trabajo que requiere mucho tiempo y dedicación, pero que, sin dudar, vale la pena, tan solo mirar el resultado final, no lo creen.
Bueno, amigos, un placer compartir esto con ustedes, seguimos creando, seguimos aprendiendo, seguimos dando lo mejor, hasta la próxima.

Friends of Hivediy, as I promised, here I am again, with another design, another model, applying this wonderful technique that is the Quilling or Filigree, there is no doubt that it is quite ingenious, it encourages you to create something new, different, every day.
As I mentioned before, I want to continue learning and improving with this technique, it is a process that requires a lot of time and dedication, but it is worth it, just looking at the result, one is satisfied with the work you create.
I am surprised by the amount of designs that are formed with this small circles, or strips of paper, is a beautiful and creative work, between models of animals, letters, creative figures, is a whole universe for me, and for anyone who decides or is dabbling with this art and this technique.
It is because of this that, in this opportunity, as what is promised is debt, I am here sharing with you another model, of Heart; I confess that I take more time than necessary, since I do not count with the suitable tools to be able to generate these circles in a fast and effective way, but this is not a reason not to try it, for that we have the hands, to support us.
The materials to be used were the following:
🖍️ Strips of coloured cardboard.
🖍️ White glue
🖍️ Scissors
🖍️ Ruler
🖍️ White cardboard
🖍️ Markers
How I did it:
Well, now let's go to the procedure, as I already indicated, we have our strips, with a stick of height, which I took as a guide to roll and go assembling these circles, with a size of 1 cm wide.

Next, we proceed to form other circles, but a little bigger, this we will take to form a flower, which is linked to the heart, it should be noted that here we will use other colours, including pink and yellow, and for the leaves of the flower would be green, but as I did not have, I took some strips with a very light green, and drew them with marker, and in this way to make it stand out a little more.


With this done, I only had to assemble my heart, but first I made the model, for this I took the white cardboard, and cut it into the shape; then I started gluing the shapes to make the flower, on one side.
On the other side, I was gluing the circles, guiding me by the line, to go assembling the heart with these, it should be noted, that for this process I took a clamp as a support.

I am practising to create more elaborate designs, so that I can offer them as gifts for a special occasion, what do you think, it would look good.
This is a job that requires a lot of time and dedication, but it is definitely worth it, just look at the final result, don't you think?
Well, friends, a pleasure to share this with you, we keep creating, we keep learning, and we keep giving our best, until next time.
Cover and Banner edited with Photoshop
Photos my Property, edited with Photoshop
Video edited with giphy
The rewards earned on this comment will go directly to the people( @ikigaidesign ) sharing the post on Twitter as long as they are registered with @poshtoken. Sign up at https://hiveposh.com.
Wow, Nohe, te quedó demasiado bello 😍
Yo había visto cosas parecidas antes, pero no sabía cómo se hacían, me parece increíble que se hagan con papel, se ve tan bonito. Aunque la verdad no se si yo tenga la paciencia de hacer algo así, jajajaja. Es que soy algo desesperada y torpe para las manualidades, así que seguramente me cansaría pronto 😅
Muchas gracias por compartir este bonito diseño, ojalá que vengan muchos más. Un abrazo 🤗
Muchas gracias, amiga, la verdad es todo un arte, y si hay que tener mucha paciencia, sobre todo el ir armando cada círculo, darle la forma, estresa un poco jeje, pero bueno el resultado es satisfactorio, y claro que sí seguiré compartiendo, y creando, porque ya me está gustando jiji, gracias por comentar bella, un abrazo, saludos.
Ay Nohe que hermoso este aplique, me lo imagino como la base para una cajita de regalo del día de la madre, o un topper, o incluso una bolsita de regalo. Una creatividad hermosisima mi bella Nohe, maravilloso trabajo. Saludos :)
Si estoy pensando en hacerlo como topper, pero bueno allí estamos viendo jiji, de verdad sería un lindo detalle, gracias, amiga bella, me alegro de que te guste, un abrazo, saludos. 🤗
Precioso @ikigaidesign el color rosa y el corazón combinación perfecta!❤️
Si es así, quedo muy lindo y delicado, me alegro de que te guste amiga, un abrazo, saludos.😍
Siempre, además esta muy fino! 😀❤️
Pero que hermoso debes tener súper enamorado ❤️ a tu pareja con tantas cosas lindas que sabes hacer se ve muy bello. Ami me gustan esas cositas 😻 soy romantica jajaj
jajaja no sabría decirte, si sabes en donde está, le dices que lo estoy buscando jaja, me alegro de que te guste, esos detallitos enamoran, es verdad jiji, gracias por comentar, saludos.
Woooow amiga te quedó incrriblee, uno de los que más me ha gustado 🤘🏻
Muchas gracias, amigo, si supieras que a mí también, me gusto más este jiji, gracias por comentar, saludos.😍
te quedo hermoso amiga @ikigaidesign
Muchas gracias amiga, me alegro de que te guste, saludos.
🤗
Congratulations @ikigaidesign! You have completed the following achievement on the Hive blockchain And have been rewarded with New badge(s)
Your next target is to reach 3750 replies.
You can view your badges on your board and compare yourself to others in the Ranking
If you no longer want to receive notifications, reply to this comment with the word
STOPCheck out our last posts:
Support the HiveBuzz project. Vote for our proposal!