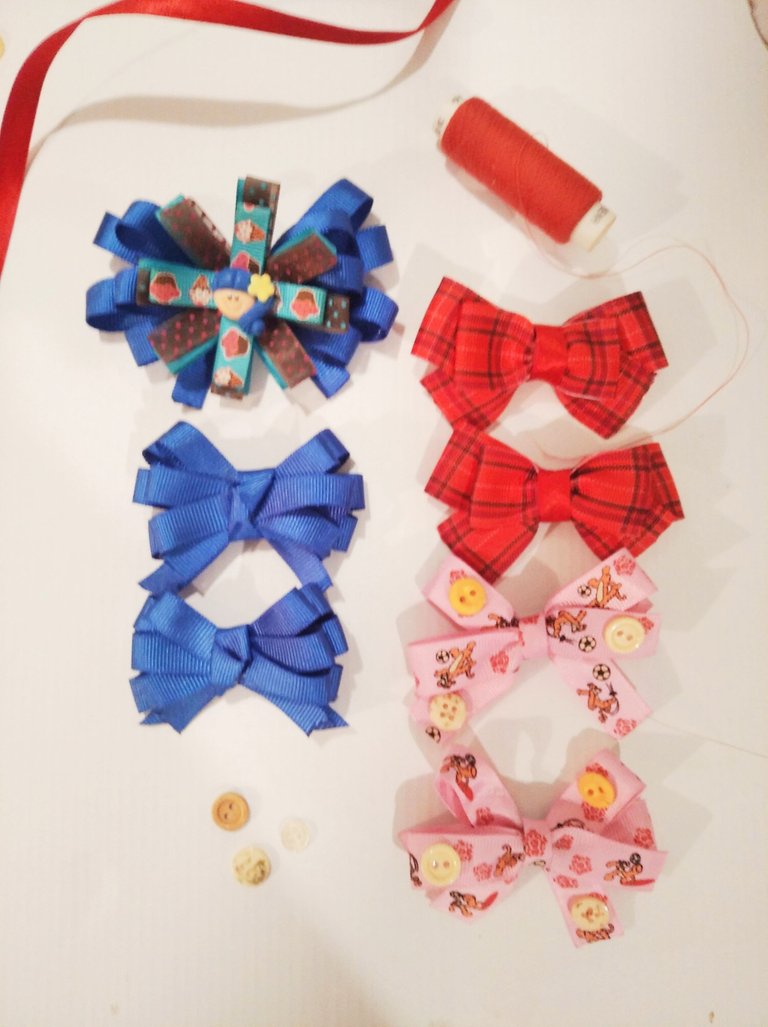
De niña no era de colocarme mucho lazo, prefería cargar el cabello suelto, y odiaba que me peinaran porque tenía mucho cabello y se me hacían muchos nudos. Luego fui creciendo y empezaron a gustarme mucho los cintillos o diademas como le llaman en algunos países. Recuerdo que a los 11 años o 12 si mal no recuerdo, hacía mis propios cintillos con mostacilla, nylon y cinta elástica, el modelo era muy distinto a los habituales de hecho eran tejidos, yo los amaba estaban de moda en ese momento.
Mi primer hijo fue varón, así que nada que ver yo con querer hacer lazos, pero cuando quedé embarazada de mi Sarita empezó el deseo de aprender a hacer lazos y cintillos de bebé.
Sinceramente prefiero los que son sencillos, pero con detalles que los hacen únicos y originales.
En esta oportunidad les voy a mostrar cómo hacer parejas de lazos, pequeños y sencillos que puedes hacer para el cole o para cualquier otra ocasión informal. Solo debes escoger el color y diseño de cinta y ornamentos acorde para la ocasión requerida. Son muy sencillos de hacer y ocupan poco material. Comencemos!!!
Materiales:Me encantan las manualidades y en esta oportunidad les mostraré cómo hacer unos lindos lazos, en nuestra comunidad #hivediy, para tus princesas: hijas, sobrinas, nietas en fin…
When I was a girl I didn't wear a lot of bows, I preferred to wear my hair down, and I hated being combed because I had a lot of hair and it got a lot of knots. Then I grew up and I began to really like headbands or headbands as they are called in some countries. I remember that at age 11 or 12 if I remember correctly, I made my own headbands with beads, nylon and elastic tape, the model was very different from the usual ones, in fact they were fabrics, I loved them, they were in fashion at that time.
My first child was a boy, so I had nothing to do with wanting to make bows, but when I got pregnant with my Sarita, the desire to learn how to make baby bows and headbands began.
I honestly prefer those that are simple, but with details that make them unique and original.
This time I am going to show you how to make pairs of bows, small and simple that you can do for school or for any other informal occasion. You just have to choose the color and design of the ribbon and ornaments according to the required occasion. They are very simple to make and take up little material. Let's start!!!
Materials: I love crafts and this time I will show you how to make cute bows, in our #hivediy community, for your princesses: daughters, nieces, granddaughters...
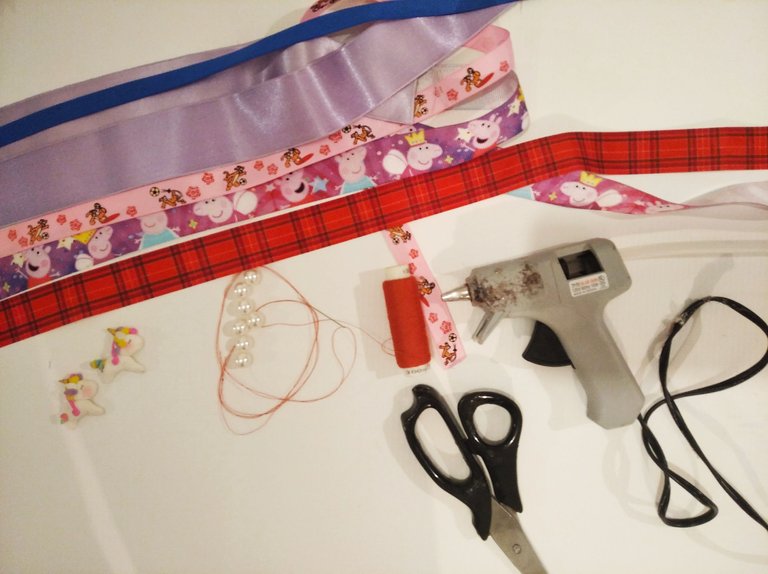
En esta oportunidad trabajaremos con los lazos rosados y rojo.
Vas a necesitar:
-Cintas con los diseños de tu preferencia utilizaremos:
Para el primer modelo (par de lazos rosados) 1 metro y 10 cm de cinta cross de 1,5cm de ancho.
Para el segundo modelo (par de lazos rojos) 83 cm de cinta cross de 2,5cm de anchos.
- 4 ganchos para lazos medianos es decir de 4,5cm de largo
- Hilo y aguja
- Pistola de silicona y 1 barra de silicona
- Botones, figuras en masa flexible etc. Cualquier adorno de tu preferencia o si no le quieres colocar adorno está bien, en mi caso solo usé botones para el modelo rosado.
- Cinta métrica.
- Tijera.
Modelo # 1 “ Lazo rosado con botones”
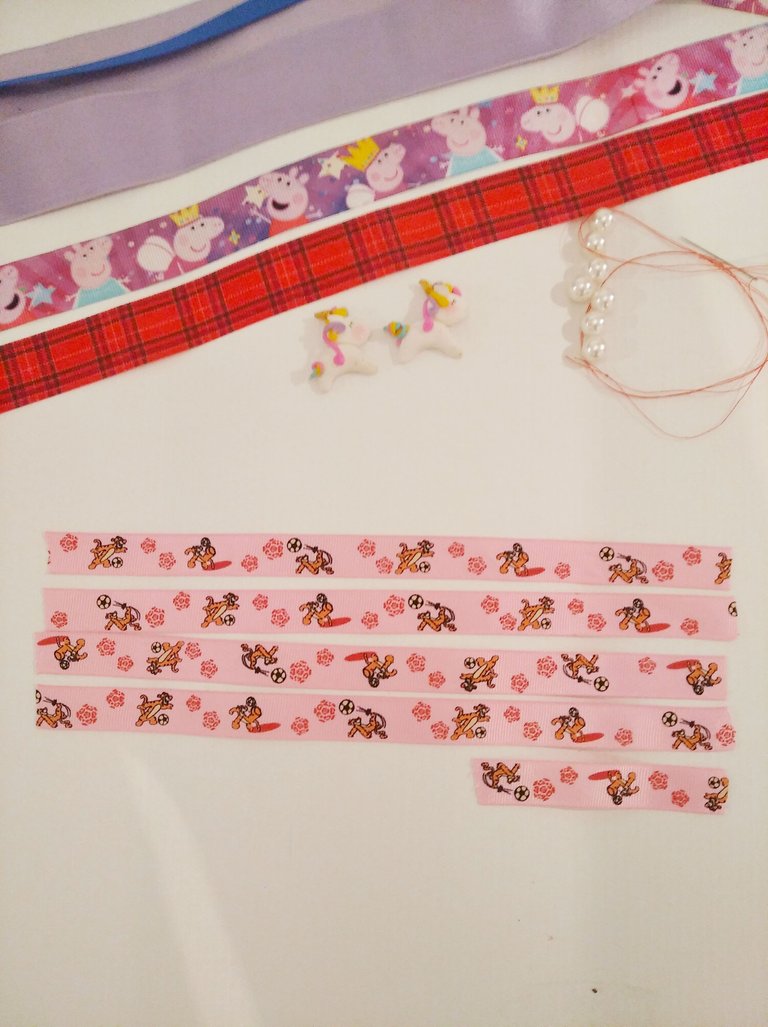
Tomaremos nuestra cinta y cortaremos 4 listones de 25cm y 1 listón de 10cm.
This time we will work with the pink and red bows.
You'll need:
-Ribbons with the designs of your preference we will use:
For the first model (pair of pink bows) 1 meter and 10 cm of 1.5 cm wide cross ribbon.
For the second model (pair of red bows) 83 cm of 2.5 cm wide cross ribbon.
- 4 hooks for medium bows, that is, 4.5cm long.
- Thread and needle.
- Silicone gun and 1 silicone bar.
- Buttons, figures in flexible mass etc. Any embellishment of your choice or if you don't want to add an embellishment is fine, in my case I only used buttons for the pink model.
- Measuring tape.
- Scissor.
Model # 1 “Pink bow with buttons”.**
We will take our tape and cut 4 strips of 25cm and 1 strip of 10cm.
Tomamos una de las cintas de 25cm y doblamos a la mitad marcando con la uña.
We take one of the 25cm tapes and fold it in half marking with the nail.
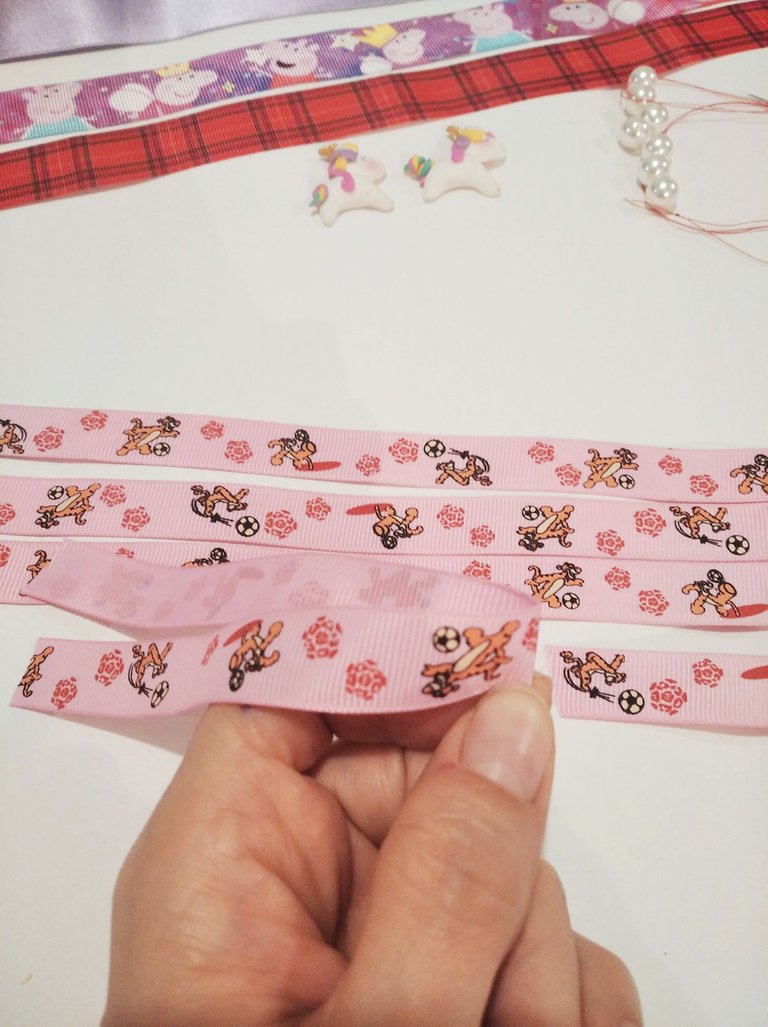
Llevamos el extremo derecho hacia adelante procurando que sea sobre la parte media de la cinta donde hicimos la marca.
We bring the right end forward, making sure that it is on the middle part of the tape where we made the mark
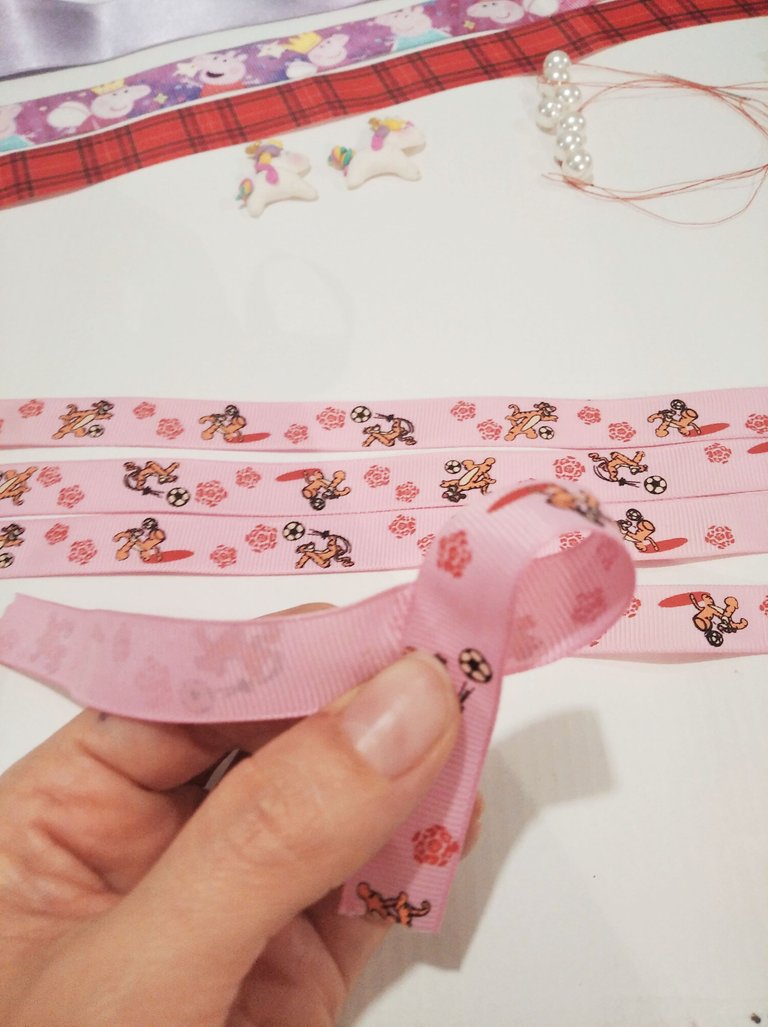
Hacemos lo mismo con el otro extremo de la cinta, la llevamos hacia el medio.
We do the same with the other end of the tape, we bring it to the middle.
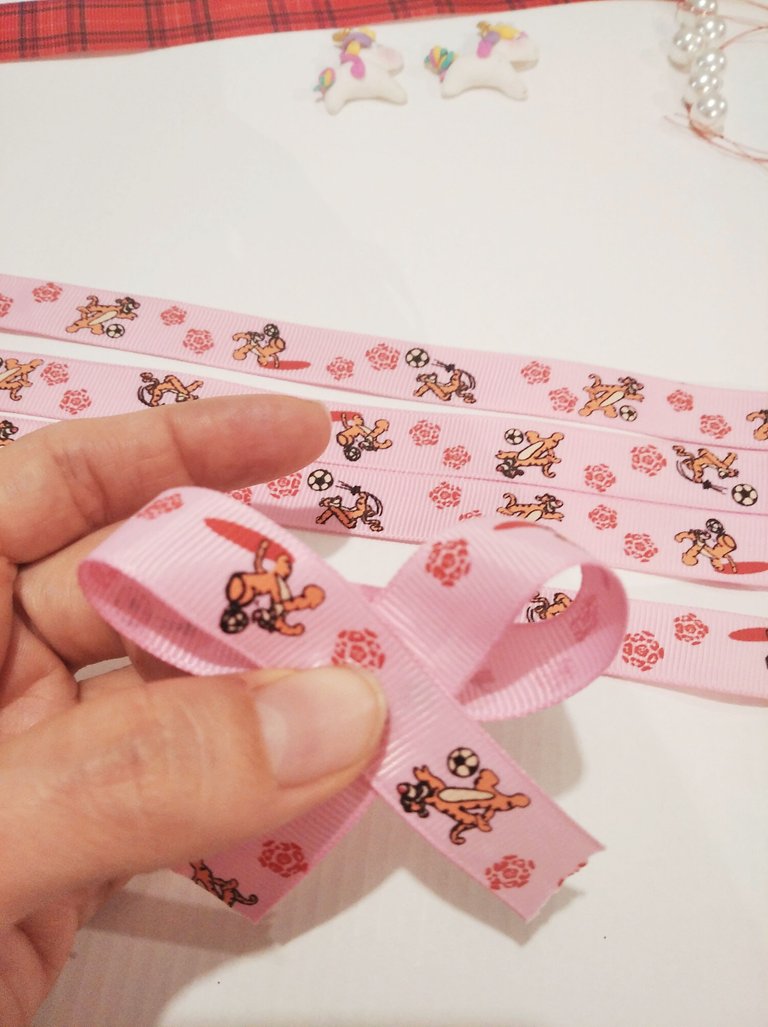
Tomamos hilo y aguja e introducimos por el medio haciendo un basteo.
We take a needle and thread and introduce it through the middle making a basting.
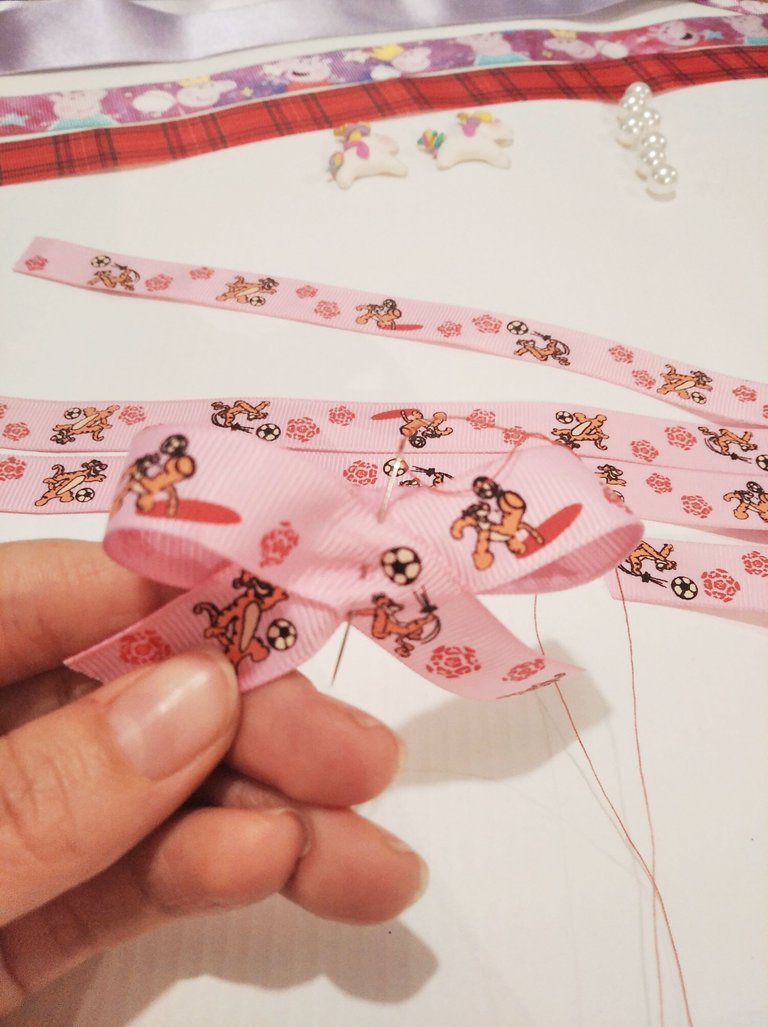
Luego de terminar el basteo, halamos el hilo y damos vuelta con el mismo en el centro del lazo, finalmente aseguramos con una última costura en la parte de atrás para que no se termine descosiendo.
After finishing the basting, we pull the thread and turn with it in the center of the loop, finally we secure with a last seam in the back so that it does not end up unraveling.
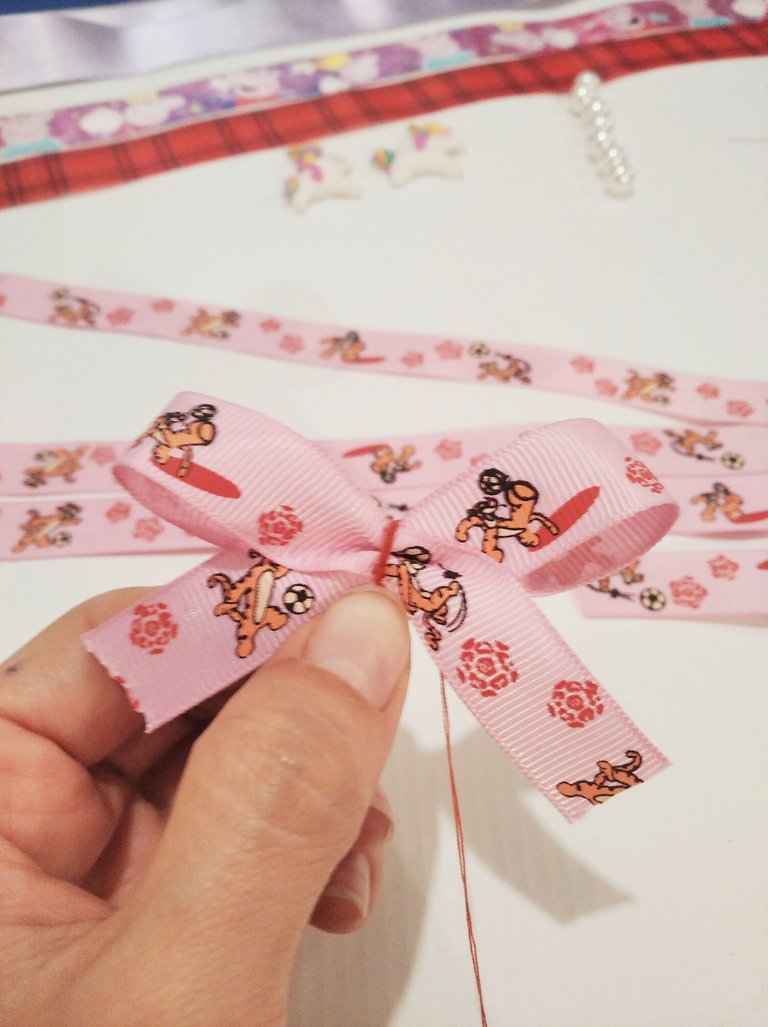
Repetimos el procedimiento 3 veces más.
We repeat the procedure 3 more times.
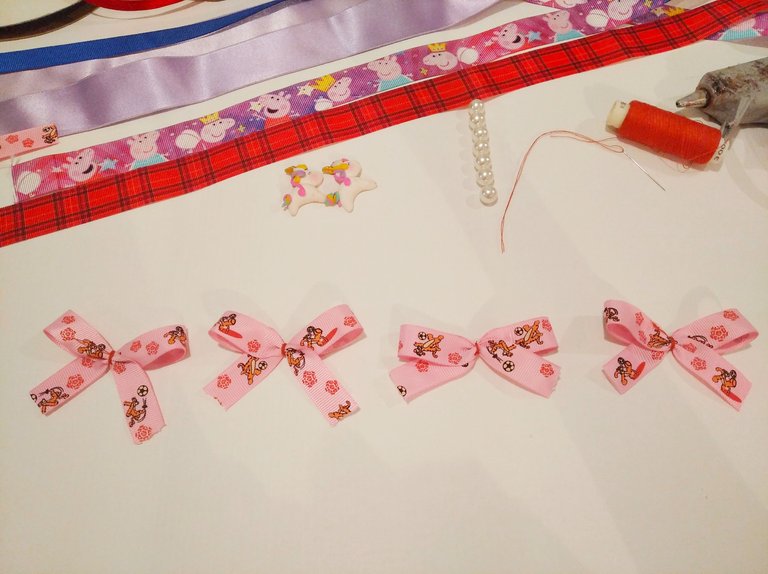
Pegamos un lazo encima de otro de manera diagonal.
We glue one bow on top of another diagonally.
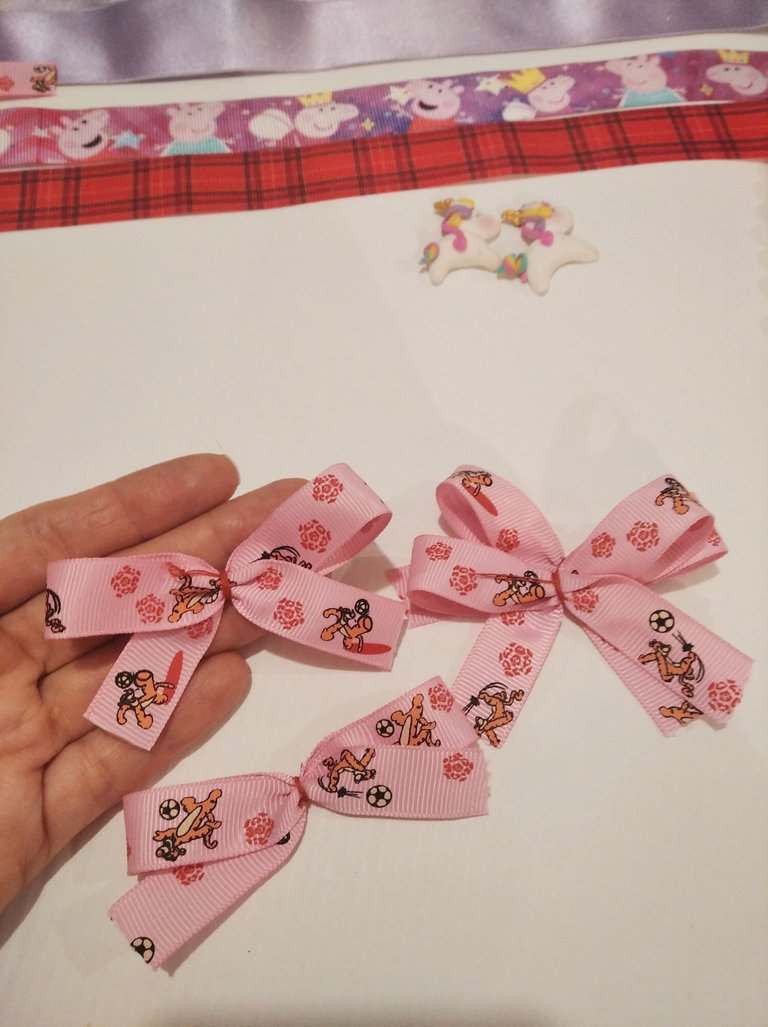
Tomamos la cinta de 10cm y la cortamos en dos partes iguales, luego la doblamos a la mitad en sentido vertical y pegamos. Las usaremos para colocar en el centro de cada lazo, en lo que sería la parte delantera.
We take the 10cm tape and cut it into two equal parts, then fold it in half vertically and glue. We will use them to place in the center of each bow, in what would be the front part.
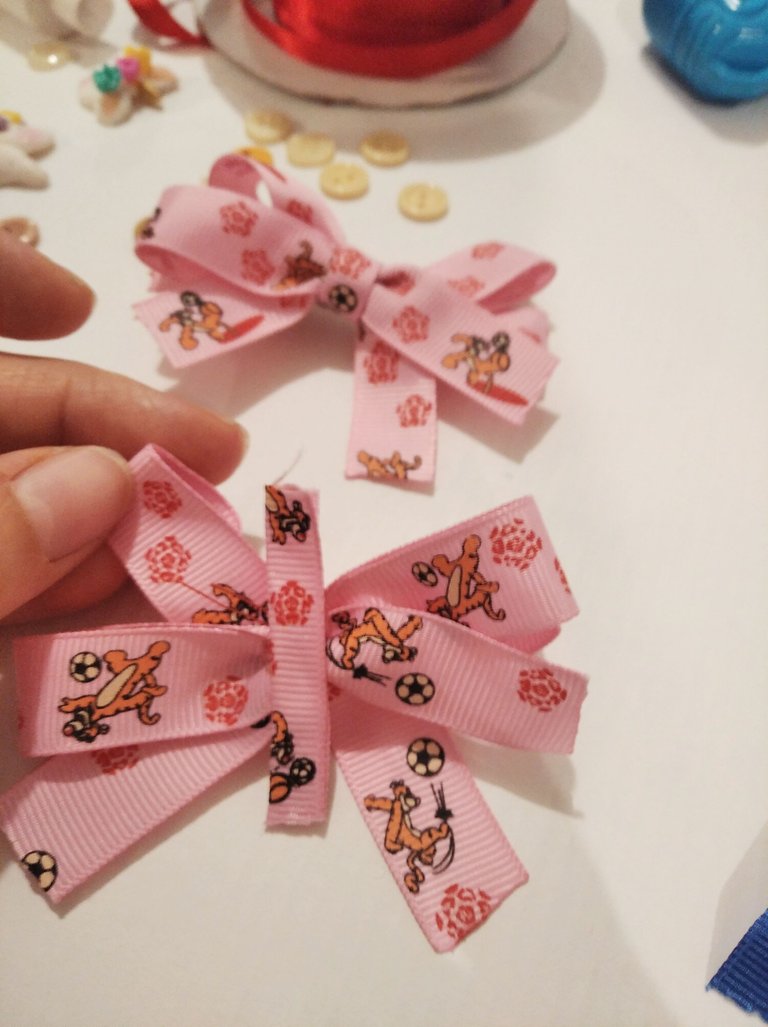
Tomamos el extremo inferior de la cinta y la pegamos hacia atrás.
We take the lower end of the tape and glue it back.
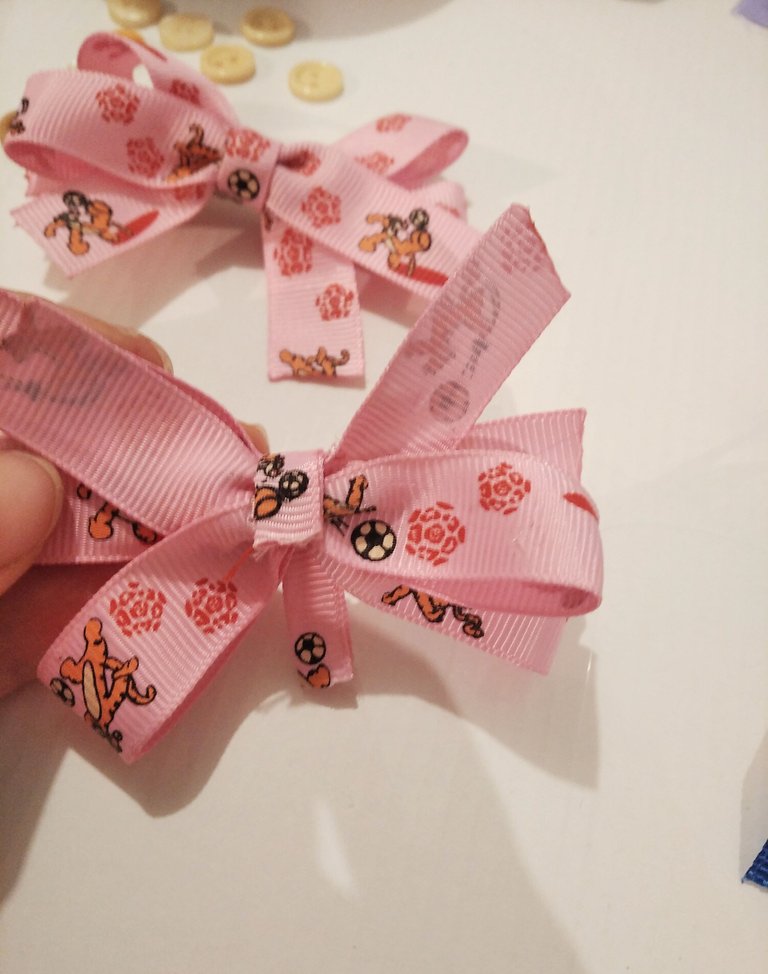
Luego pegaremos el gancho de manera centrada. Llevamos el otro extremo de la cinta hacia atrás y pegamos encima de la parte interior del gancho, para asegurarlo.
Then we will stick the hook in a centered way. We bring the other end of the ribbon to the back and glue it on top of the inside of the hook, to secure it.
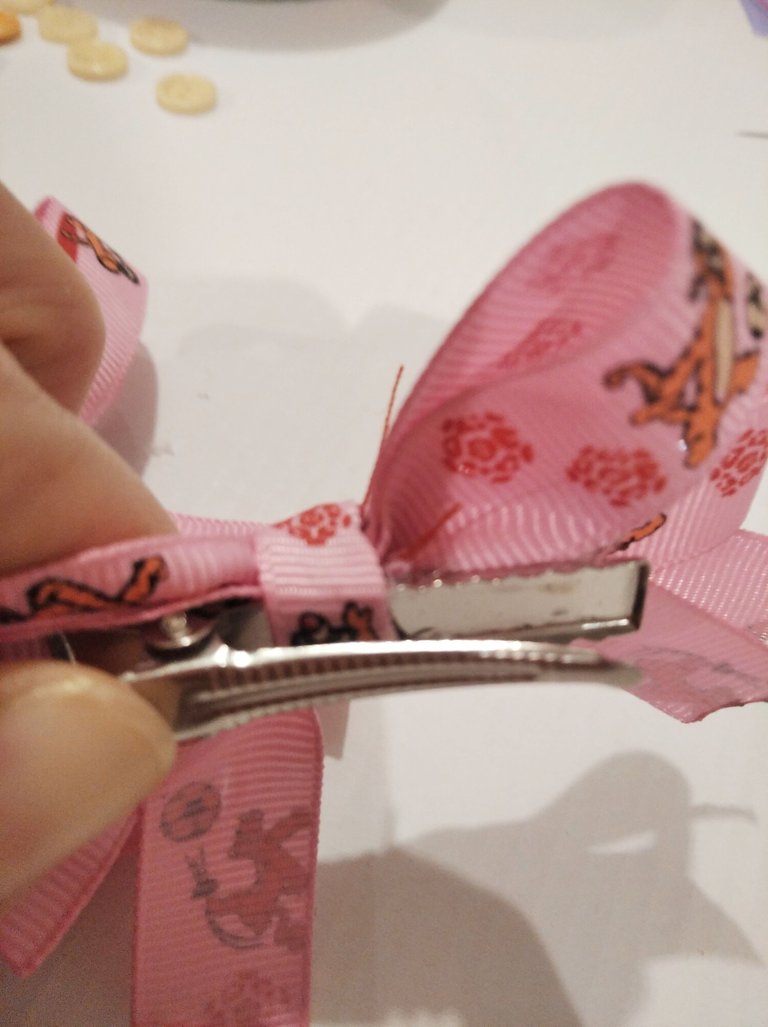
Con un yesquero quemamos los extremos de las cintas y cualquier hilito que sobresalga.
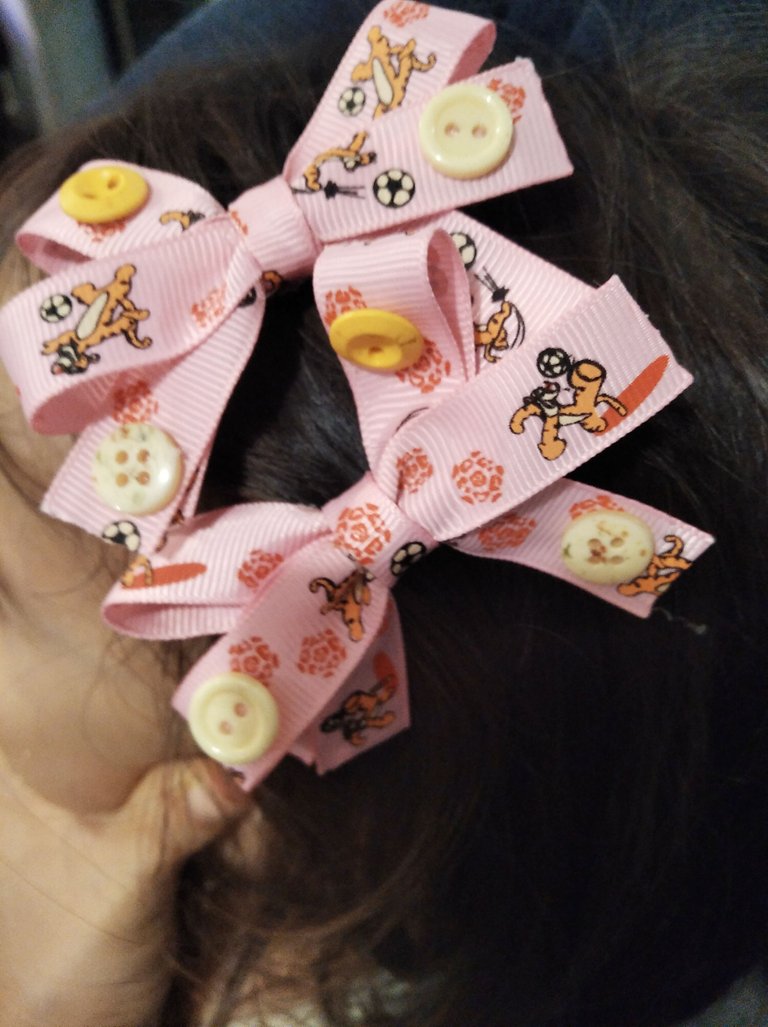
Finalmente quise decorar con botones, por acá pueden ver el resultado. Me gusto mucho! Es sencillo y original.
With a tinderbox we burn the ends of the ribbons and any thread that stands out.
Finally I wanted to decorate with buttons, here you can see the result. I loved it! It is simple and original.
Modelo #2: “Lazo rojo”
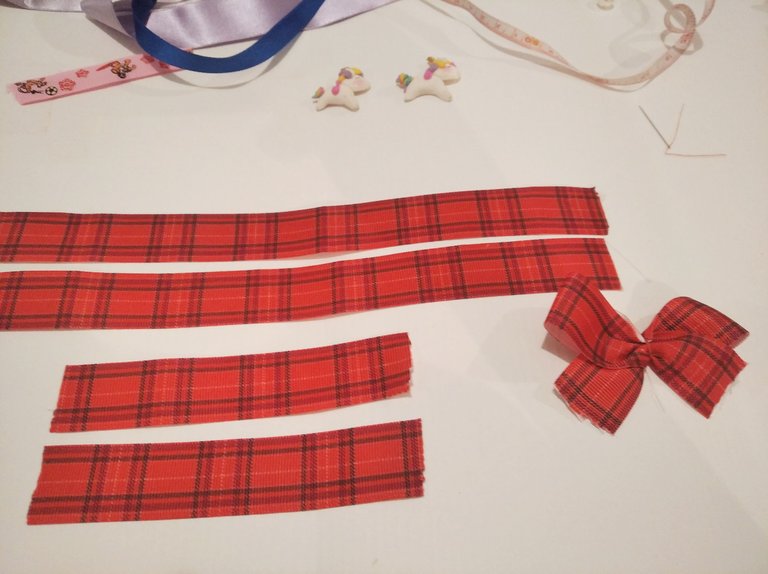
Tomaremos nuestra cinta y cortaremos 2 listones de 25cm, 2 listones de 12,5cm y 2 listones de 4cm. (En la foto no aparecen los dos listones de 4 cm sin embargo lo verán más adelante.)
Primero tomamos el listón de 25cm y hacemos un lazo sencillo como el que hicimos en el primer paso del modelo anterior.
Pattern #2: “Red Ribbon”
We will take our tape and cut 2 25cm strips, 2 12.5cm strips and 2 4cm strips. (The two 4 cm strips do not appear in the photo, however you will see it later.)
First we take the 25cm ribbon and we make a simple bow like the one we did in the first step of the previous model.
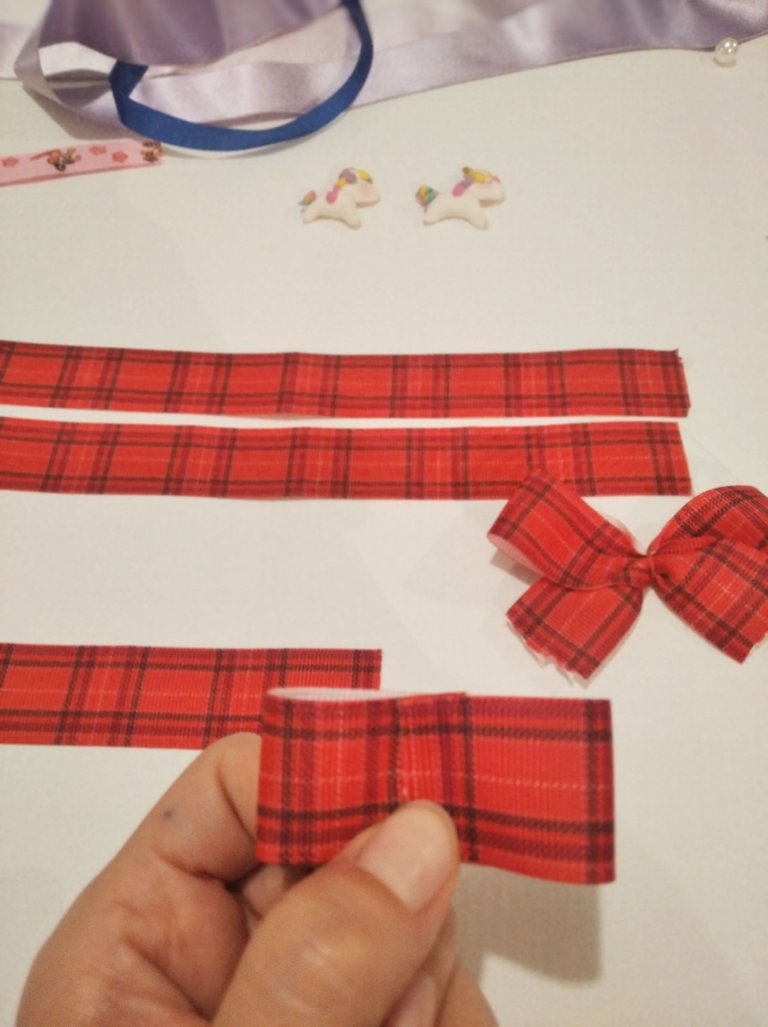
Tomamos uno de los listones de 12,5cm marcamos la mitad con la uña.
We take one of the 12.5cm strips and mark the middle with the nail.
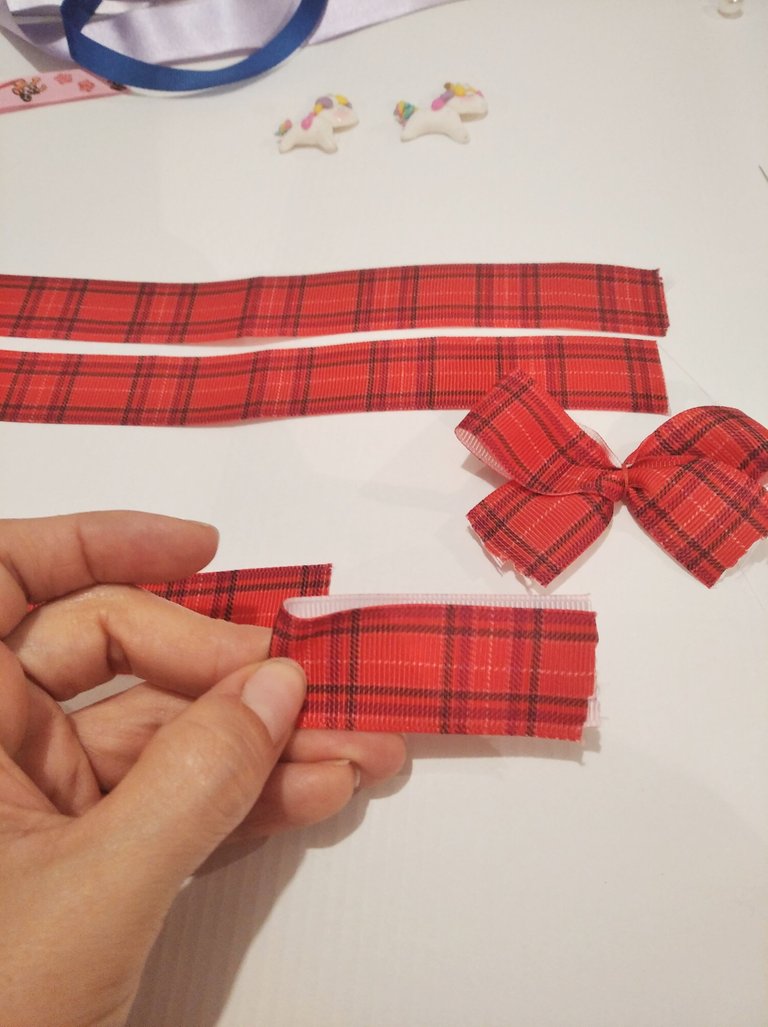
Llevamos ambos extremos hacia el centro.
We bring both ends to the center.
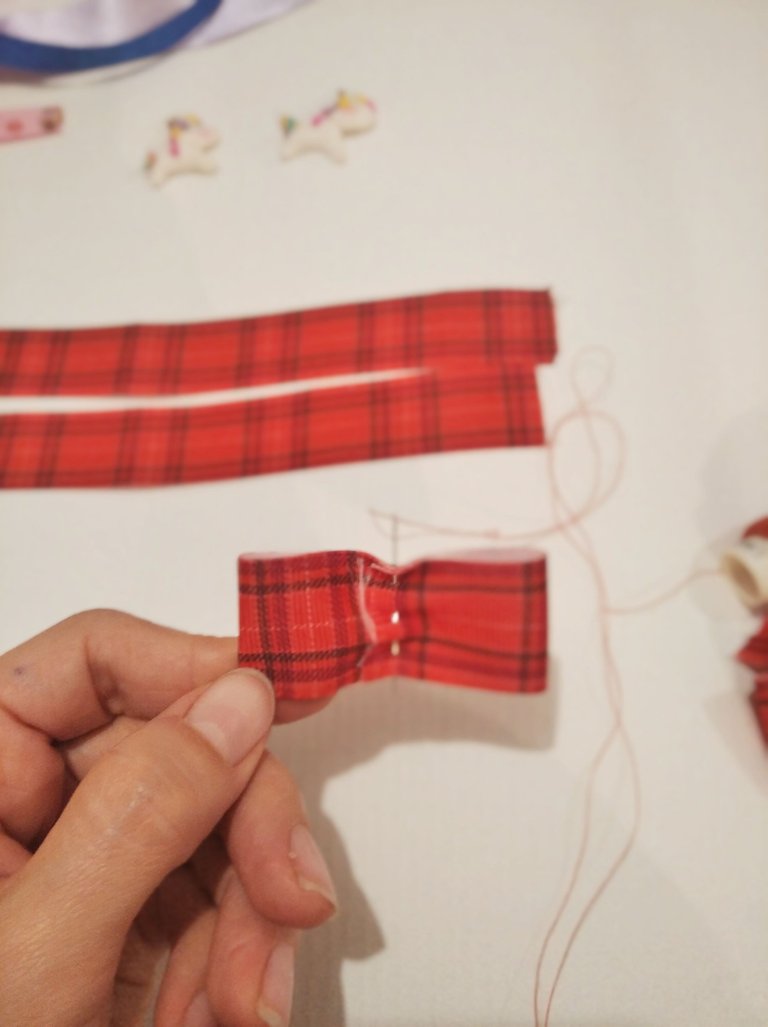
Basteamos en el centro.
We baste in the center.
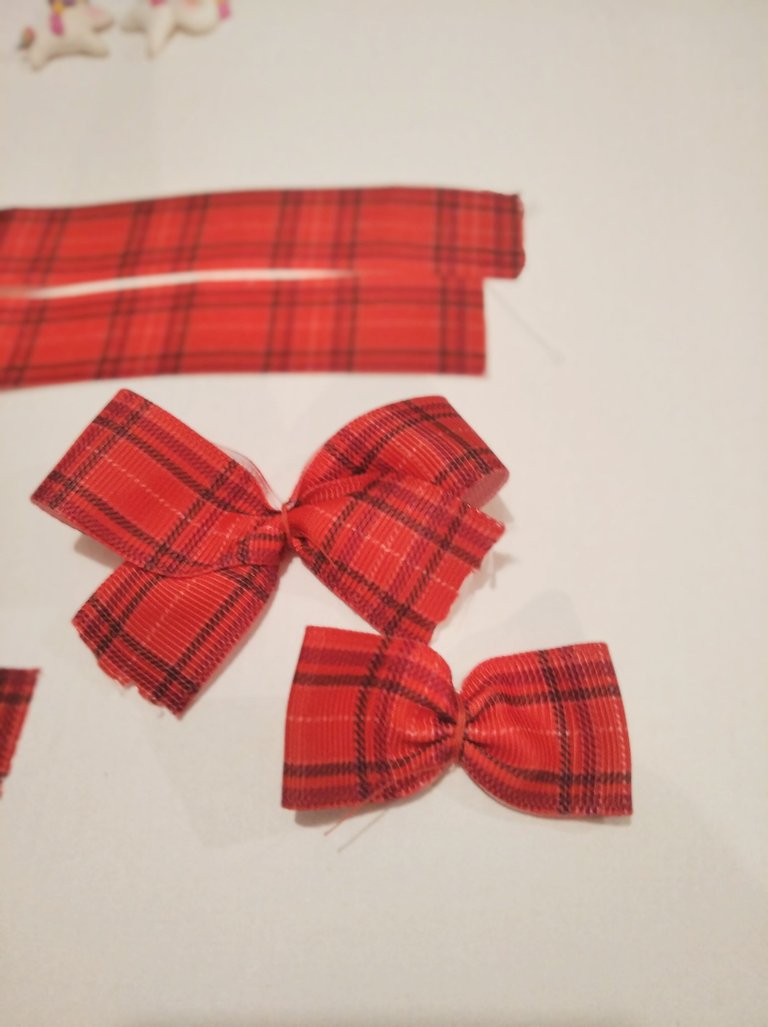
Así nos quedan ambos lazos listos.
So we have both loops ready.
Repetimos el procedimiento.
We repeat the procedure.
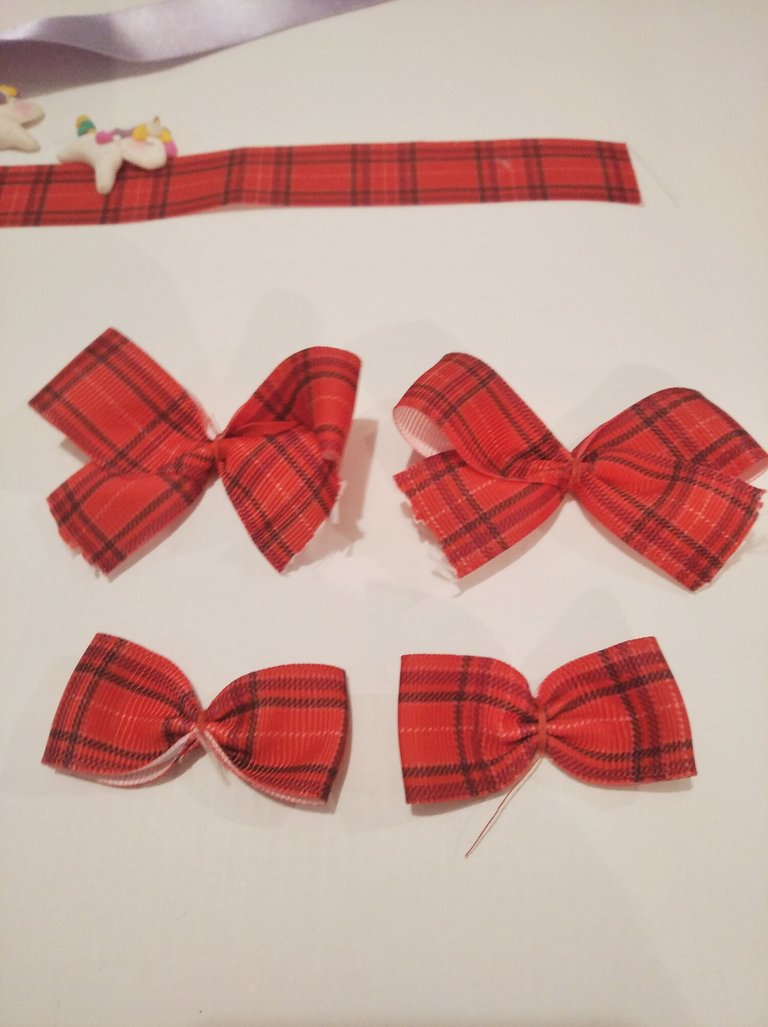
Pegamos el lazo más pequeño encima del modelo más grande (el que hicimos primero).
We glued the smaller loop on top of the larger model (the one we made first).
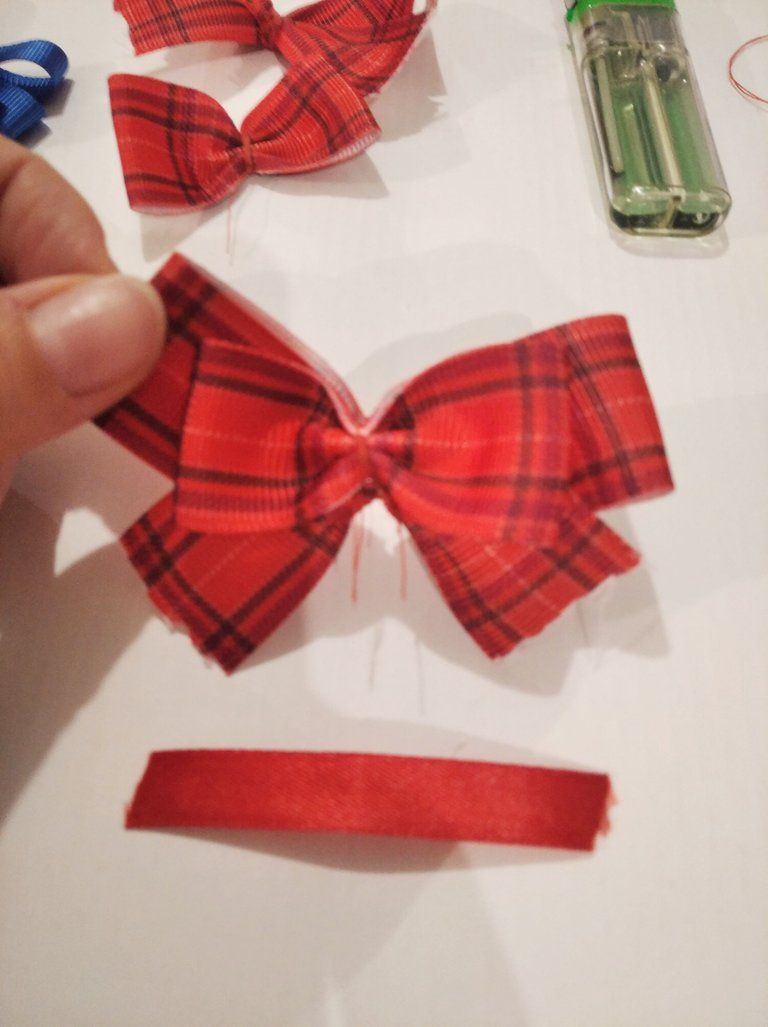
Tomamos la cinta de 4 cm y la pegamos en el centro de la parte delantera. Llevamos el extremo inferior hacia atrás y pegamos. Pegamos el gancho en la parte posterior de manera centrada, finalmente aseguramos el gancho pegando el otro extremo de la cinta encima de la parte interior del gancho.
Así de bellos y coquetos quedan!
We take the 4 cm tape and glue it to the center of the front. We bring the lower end back and glue. We glue the hook on the back in a centered way, finally we secure the hook by sticking the other end of the tape on top of the inside of the hook.
That's how beautiful and flirty they are!
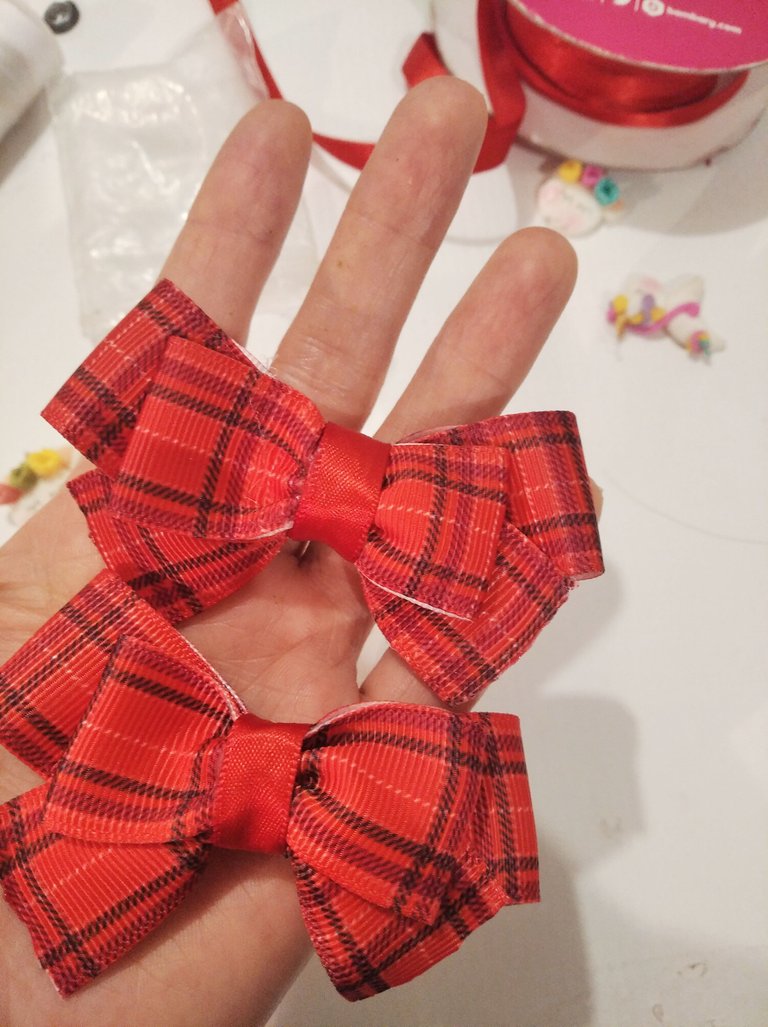
De verdad que disfrute mucho hacer esta manualidad para ustedes! Mis princesas están muy contentas con el resultado, y yo feliz.
Para que este post no se hiciera tan largo les mostré dos modelos de lazos. En una próxima oportunidad les mostraré mas …
Espero que les haya gustado y les sirva de inspiración para hacer sus propios lazos. Un fuerte abrazo se despide con cariño Inés.
Todas las fotos son propias, tomadas desde mi teléfono Redmi7A.
I really enjoyed doing this craft for you! My princesses are very happy with the result, and I am happy.
So that this post would not become so long, I showed you two models of bows. In a next opportunity I will show you more...
I hope you liked it and it inspires you to make your own bows. A big hug says goodbye with affection Inés.
All photos are my own, taken from my Redmi7A phone.
Mi tambien... siempre odiado eso :)
!discovery 20
jajaja creo que es muy común en la niñez...
This post was shared and voted inside the discord by the curators team of discovery-it
Join our community! hive-193212
Discovery-it is also a Witness, vote for us here
Delegate to us for passive income. Check our 80% fee-back Program
Congratulations @inesencasa! You have completed the following achievement on the Hive blockchain and have been rewarded with new badge(s):
Your next target is to reach 1000 upvotes.
You can view your badges on your board and compare yourself to others in the Ranking
If you no longer want to receive notifications, reply to this comment with the word
STOPCheck out the last post from @hivebuzz:
Support the HiveBuzz project. Vote for our proposal!