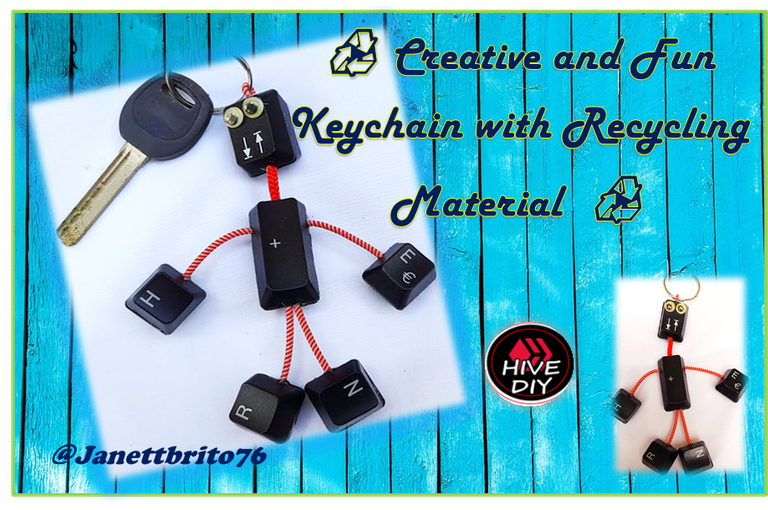


Hola a todos mis amigos creativos de Hive. Tengan todos una bonita noche y espero hayan pasado un estupendo y productivo día. Bienvenidos una vez mas a mi blog. En esta oportunidad les voy a compartir el paso a paso de como realizar un creativo y divertido llavero con material de reciclaje. Les cuento que mi teclado se me había dañado y no quise tirarlo a la basura, porque siempre estoy pensando que cuando las cosas se dañan se le debe ver el lado bueno porque siempre se le puede dar una segunda oportunidad y convertirlo en algo útil. Como mi esposo trabaja en el área de informática y siempre tiene perdida las llaves, entonces es por eso que tome las teclas del teclado dañado y le realice este creativo llavero formando un divertido muñeco. Esta es una manualidad fácil y económica de realizar,solo necesitas tener un poco de creatividad para crear un hermoso objeto. No te pierdas el paso a paso para hacer este creativo llavero. Vamos manos a la obra !!

Hello to all my creative friends at Hive. Have a nice night everyone and I hope you had a great and productive day. Welcome once again to my blog. In this opportunity I am going to share with you the step by step of how to make a creative and fun keychain with recycling material. I tell you that my keyboard had been damaged and I didn't want to throw it away, because I always think that when things are damaged, you should see the bright side because you can always give it a second chance and turn it into something useful. Since my husband works in the IT area and always has his keys lost, that's why I took the keys from the damaged keyboard and made him this creative key chain forming a funny doll. This is an easy and cheap craft to make, you just need to have a little creativity to create a beautiful object. Do not miss the step by step to make this creative keychain. Let's get to work!!


- Teclas de teclado en desuso
- Pinza para cortar
- Cordón rojo
- Argolla para llavero
- Ojos móvil
- Silicon

- Deprecated keyboard keys
- Cutting pliers
- red cord
- Ring for key chain
- Moving eyes
- Silicon
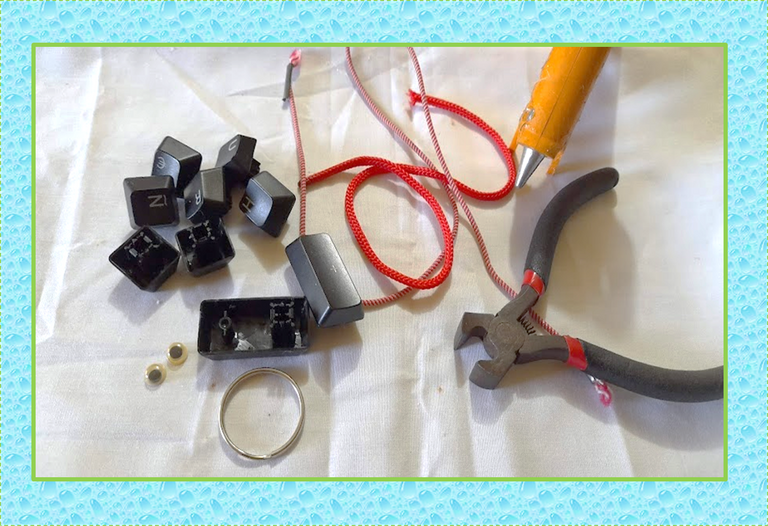


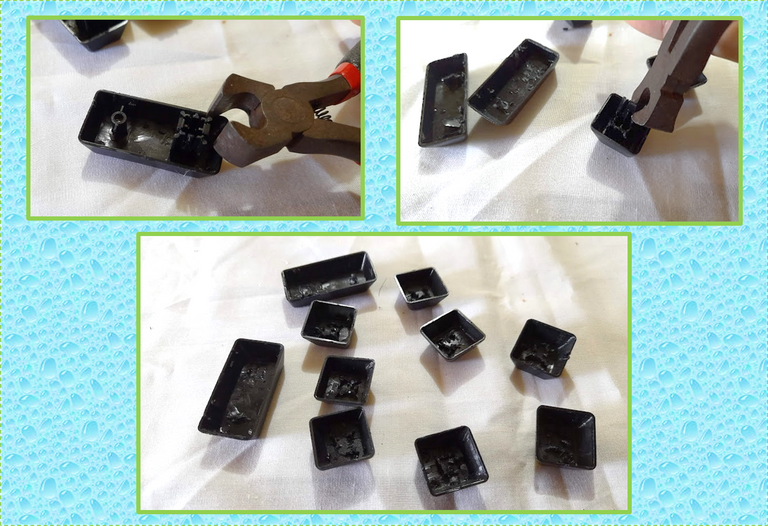
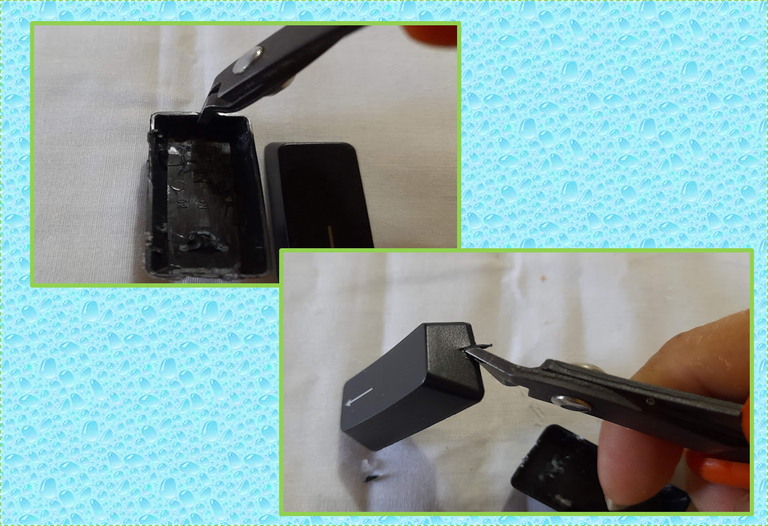
1: Para la elaboración de nuestro muñeco utilizaremos 12 teclas. Iniciamos cortando con la pinza los excedentes que tienen por dentro cada una de las teclas.

1: For the elaboration of our doll we will use 12 keys. We start by cutting with the pliers the surpluses that each of the keys have inside.


2: Una vez listas cada tecla procedemos a presentar como vamos armar nuestro muñeco, luego cortamos 4 tiras de cordón de aproximadamente 5 cm de largo, seguidamente les realizamos unos pequeños cortes a cada tecla por donde vamos a pegar el cordón, esto es para que el cordón se pegue bien a ellas.

2: Once each key is ready, we proceed to present how we are going to assemble our doll, then we cut 4 strips of cord approximately 5 cm long, then we make some small cuts on each key where we are going to glue the cord, this is so that the cord stick well to them.
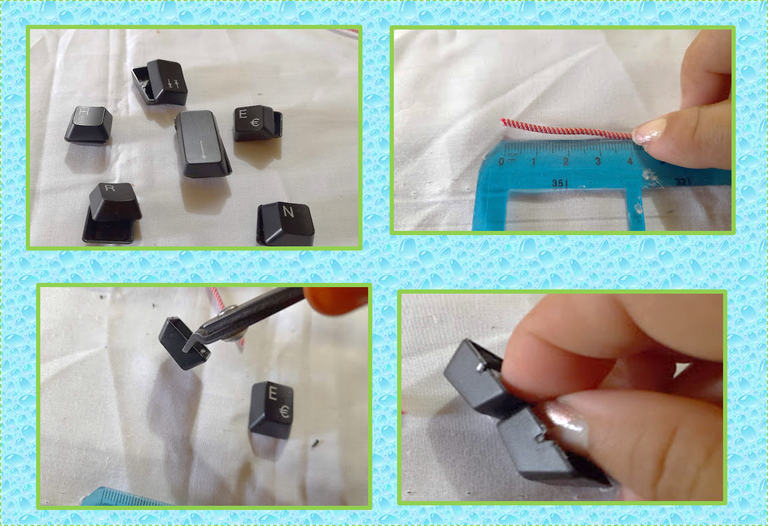


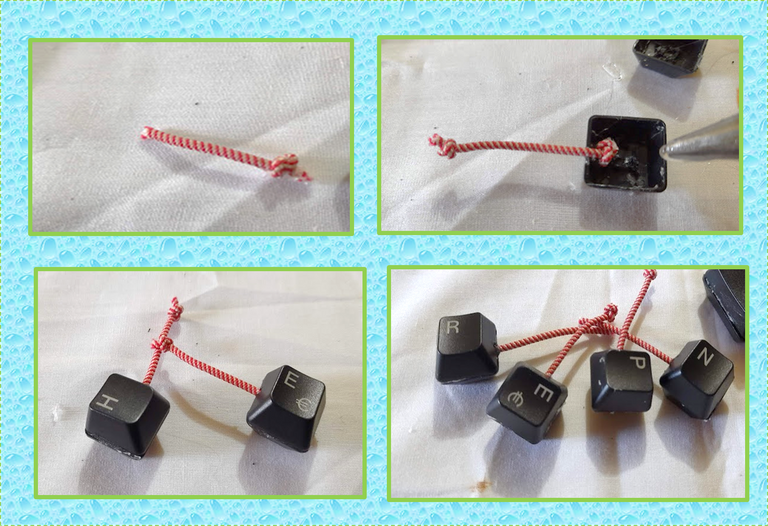
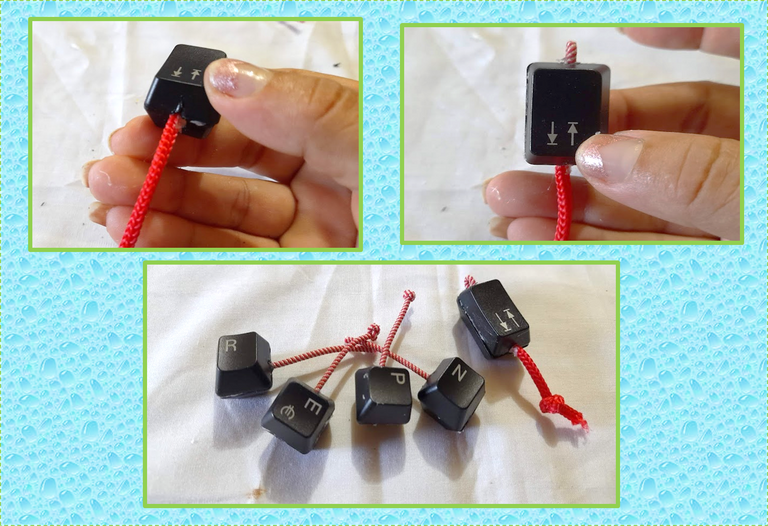
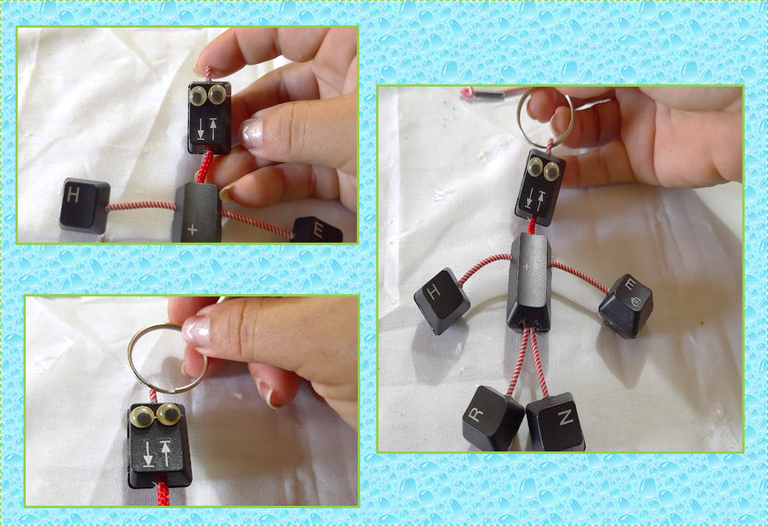
3: Ahora procedemos a pegar el cordón en cada pieza realizando un pequeño nudo en cada punta para que se adhiera mejor a las teclas, seguidamente le pegamos la otra tecla encima formando los brazos y piernas. Luego para la cabeza le colocamos un cordón mas grueso y realizamos un pequeño ojal elaborado con el otro cordón y lo pegamos en la parte superior de la cabeza.

3: Now we proceed to glue the cord on each piece, making a small knot at each end so that it adheres better to the keys, then we glue the other key on top, forming the arms and legs. Then for the head we put a thicker cord and make a small buttonhole made with the other cord and glue it to the top of the head.


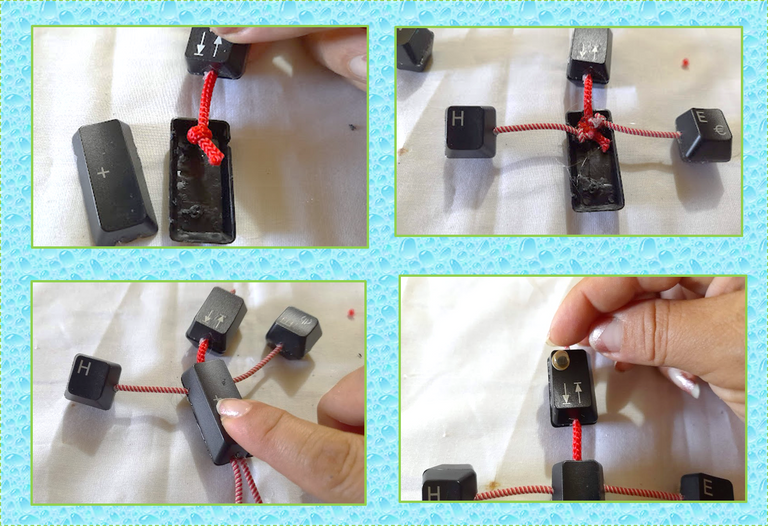
4: Luego para la barriga de nuestro muñeco le realizamos unos pequeños cortes a ambas teclas por donde vamos a pegar los brazo, piernas y cabeza, seguidamente procedemos a pegar los ojitos y para finalizar insertamos la argolla para las llaves.

4:Then for the belly of our doll we make some small cuts to both keys where we are going to glue the arms, legs and head, then we proceed to glue the eyes and to finish we insert the ring for the keys.


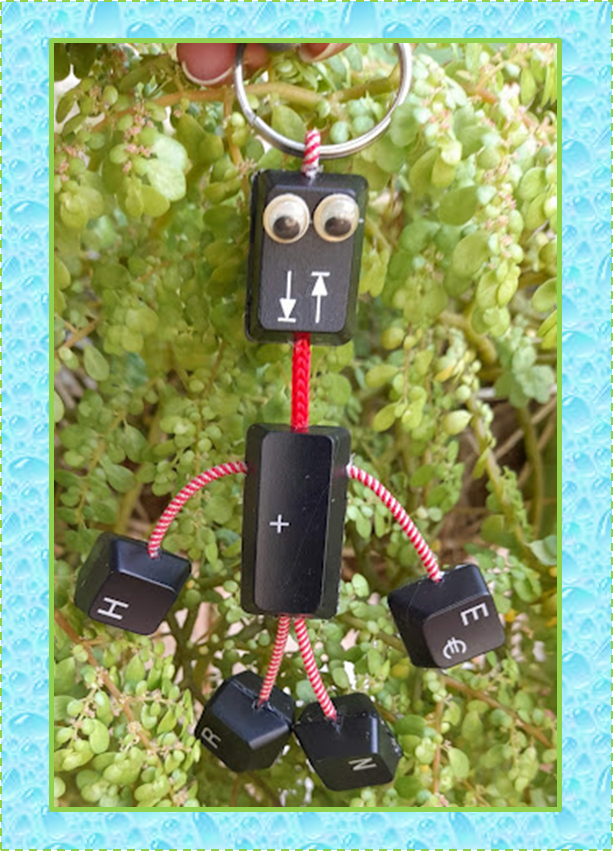
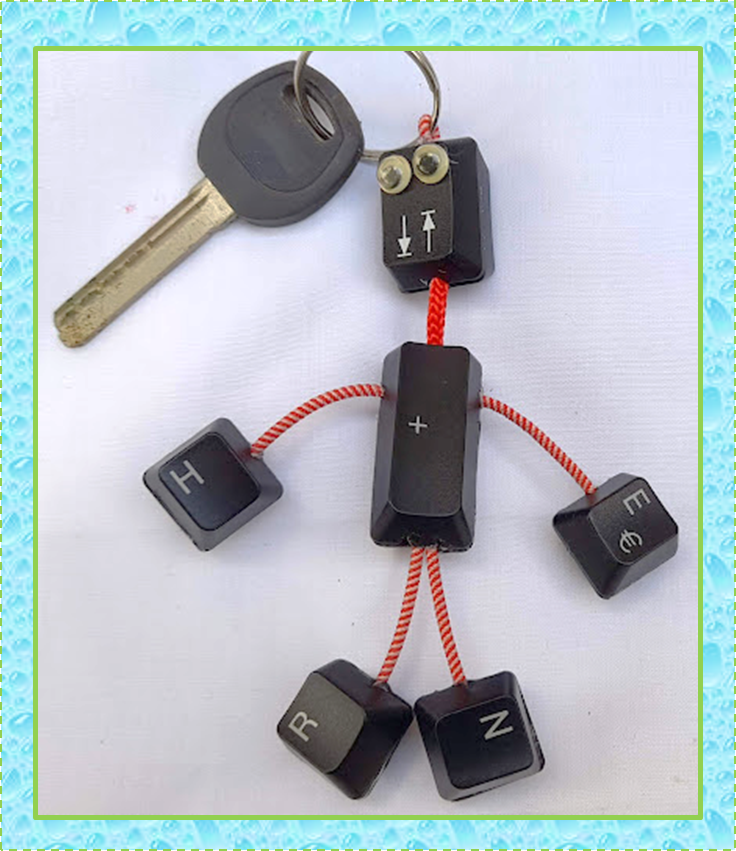
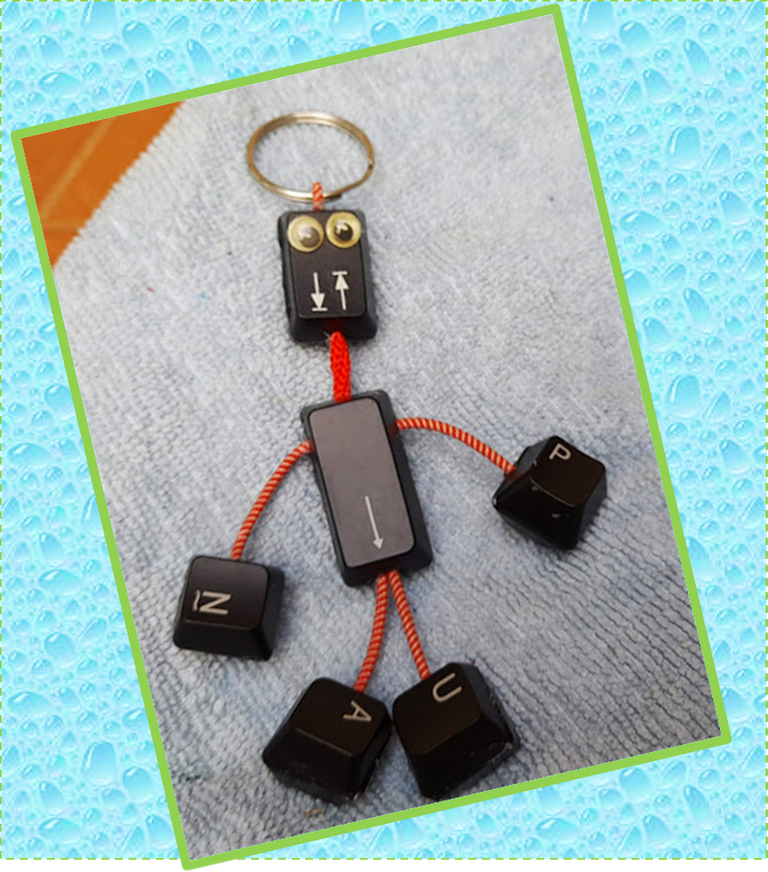
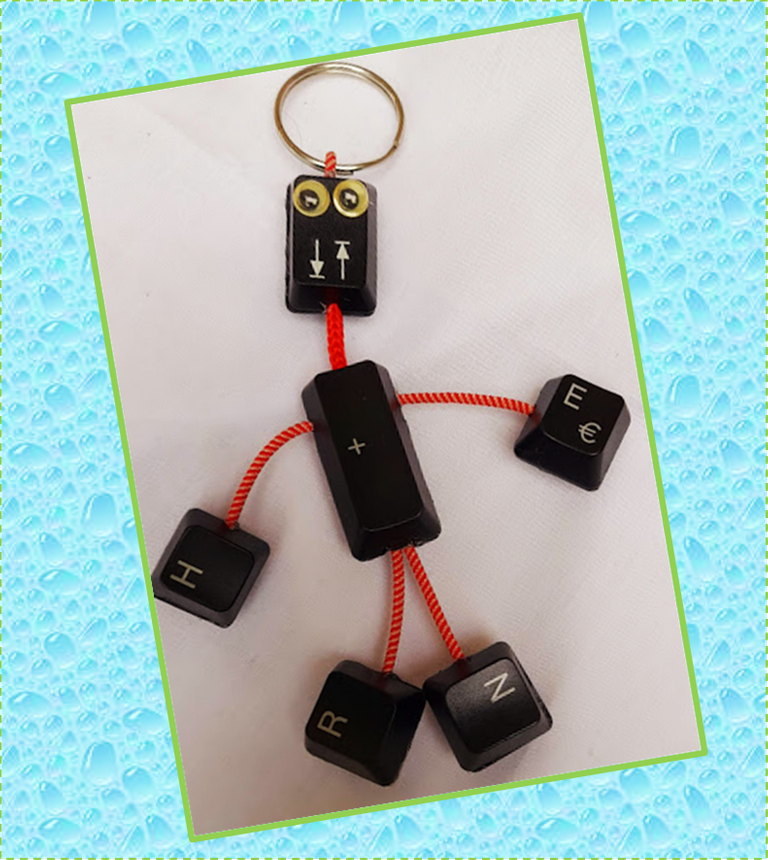
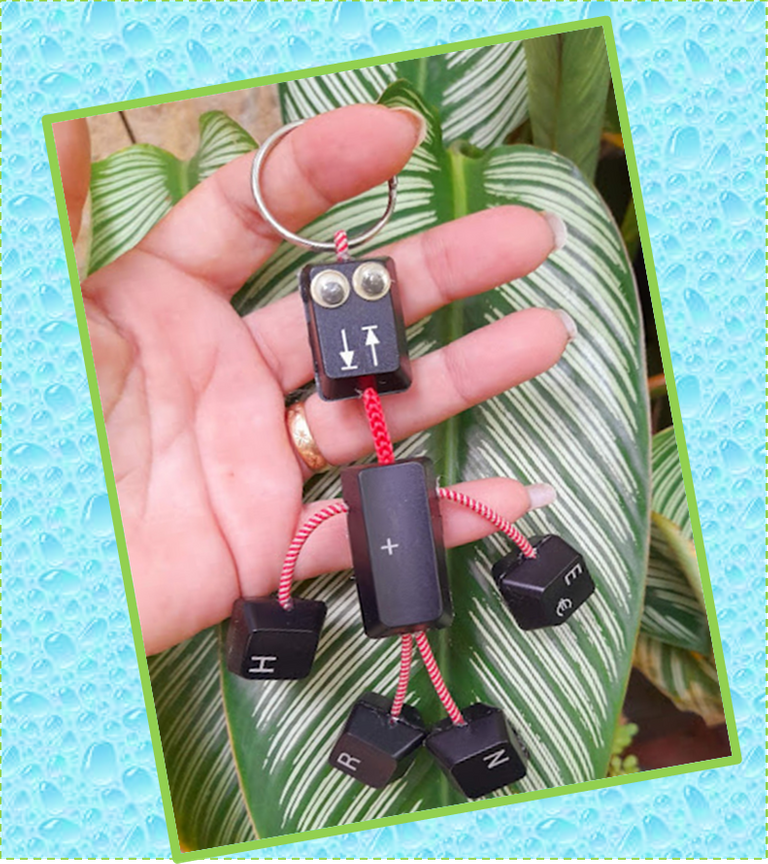
Listo, este es el resultado final de mi creativo y divertido llavero para obsequiarle a mi Esposo.¡Espero les haya gustado mi proyecto de hoy!!
¡Hasta una próxima publicación!

Done, this is the final result of my creative and fun keychain to give to my Husband. I hope you liked my project today!!
Until a next publication!
Fuente portada
Fuente Separador

Las fotografías fueron tomadas con un teléfono inteligente Samsung A12, el texto fue traducido al ingles con el traductor de Google.
El banner fue diseñado en canvas

The photographs were taken with a Samsung A12 smartphone, the text was translated into English with the Google translator.
The banner was designed on canvas


Congratulations @janettbrito76! You have completed the following achievement on the Hive blockchain and have been rewarded with new badge(s):
Your next target is to reach 28000 upvotes.
You can view your badges on your board and compare yourself to others in the Ranking
If you no longer want to receive notifications, reply to this comment with the word
STOPTo support your work, I also upvoted your post!
Check out the last post from @hivebuzz:
Support the HiveBuzz project. Vote for our proposal!
Que lindo el resultado de tu trabajo; con poco materiales queda un lindo llavero👍☺