Hola querida y apreciadas amigas Hive Diy, esperando que hayan pasdo un bello y hermosos día, Hoy les traigo algo mucho más facil de hacer como lo es una bolsa de regalo de papel y me gustaria que aprendieran, ya que es importante que aprendan algo nuevo cada día, espero que les guste, por aquí le dejo los materiales y como se elabora.
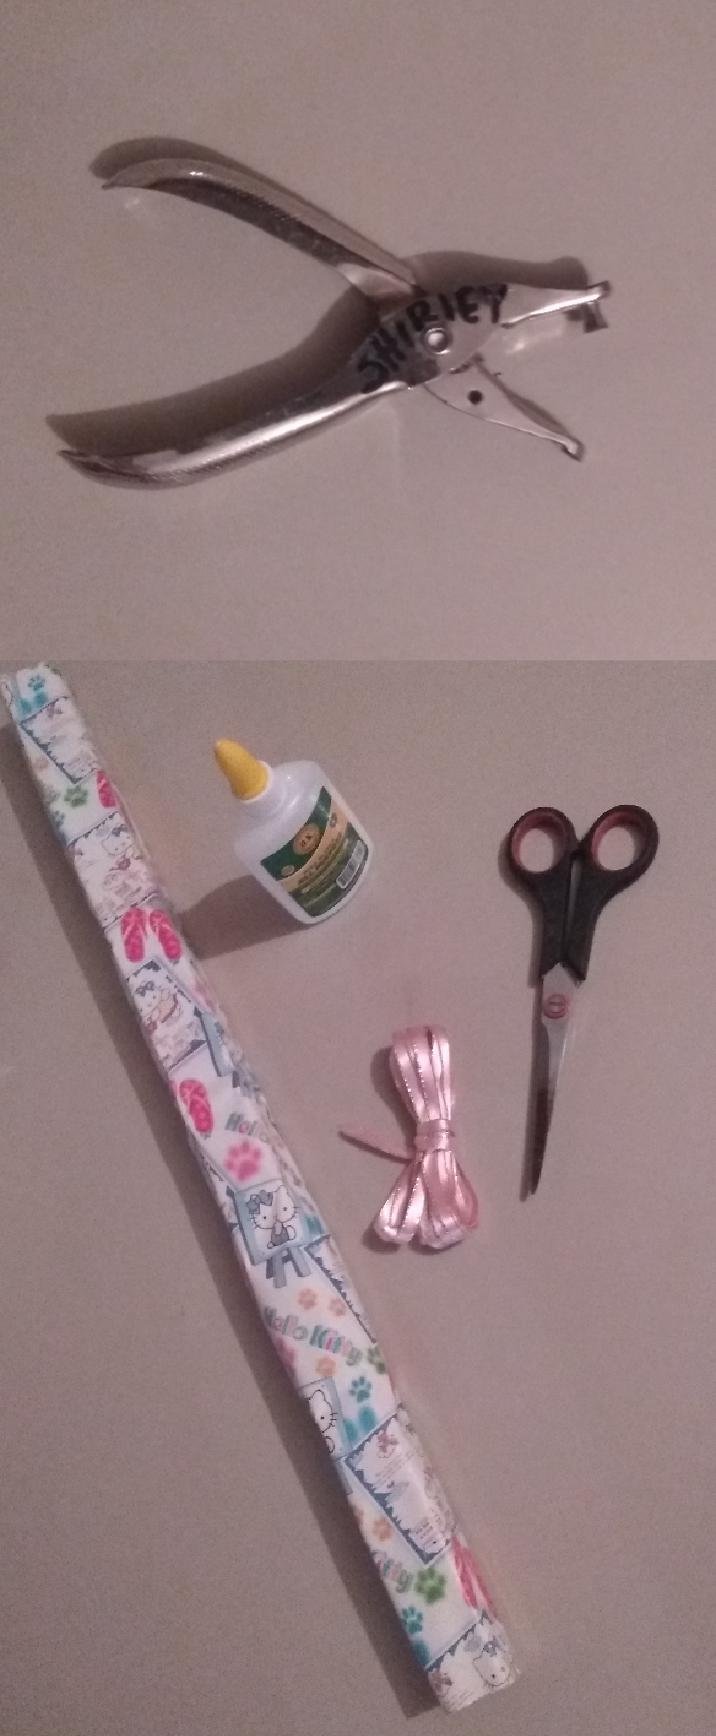
Materiales:
1 Metro de Papel de Regalo.
1 Metro de Cinta de Razo delgada.
1 tijera.
1 Pega Blanca.
1 Perforadora de mano.
Paso 1:
Primero se recorta el papel de regalo al tamaño que se va a hacer la bolsa de regalo.
Paso 2:
Luego se pega de un lado con pega blanca escolar.
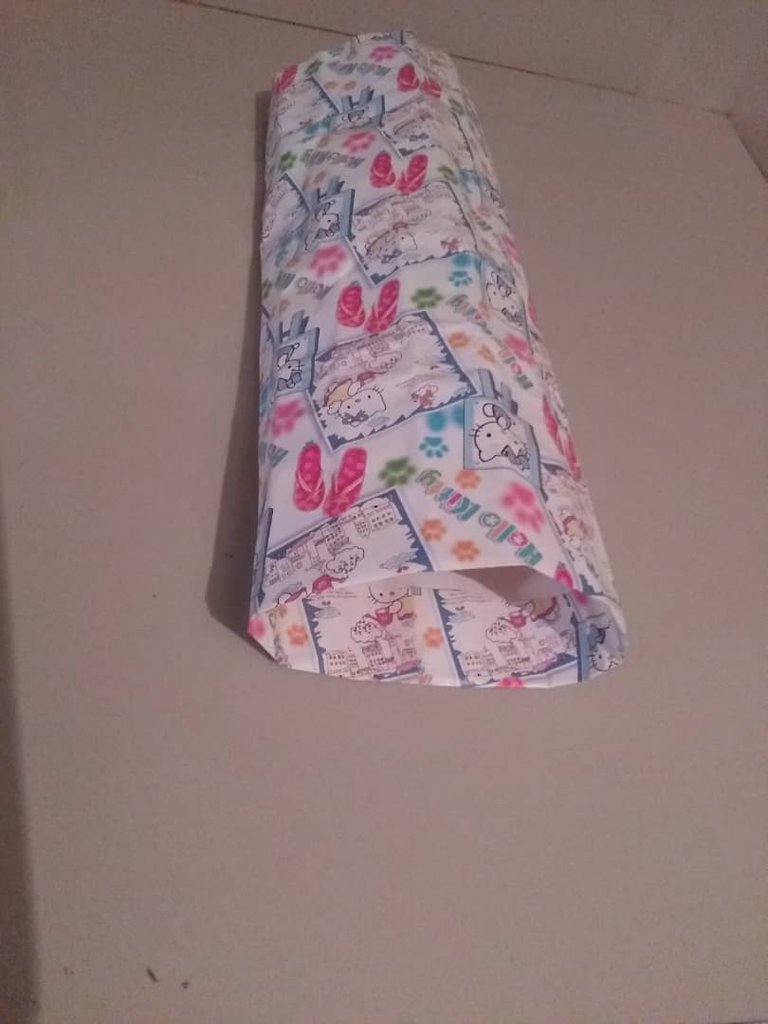
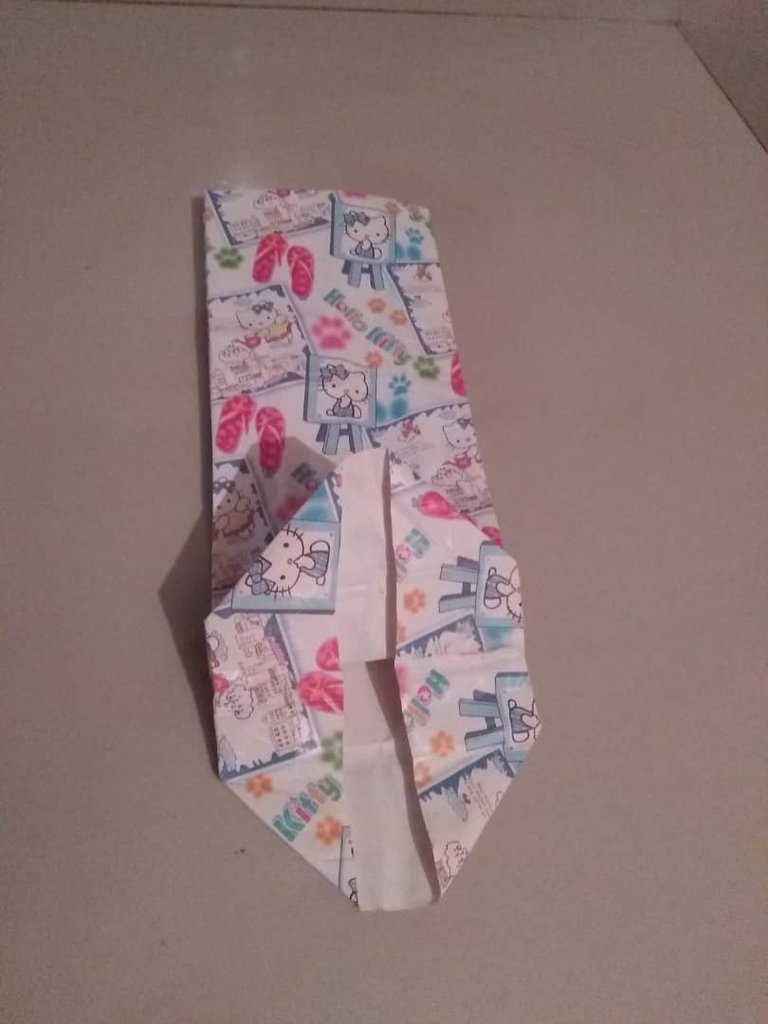
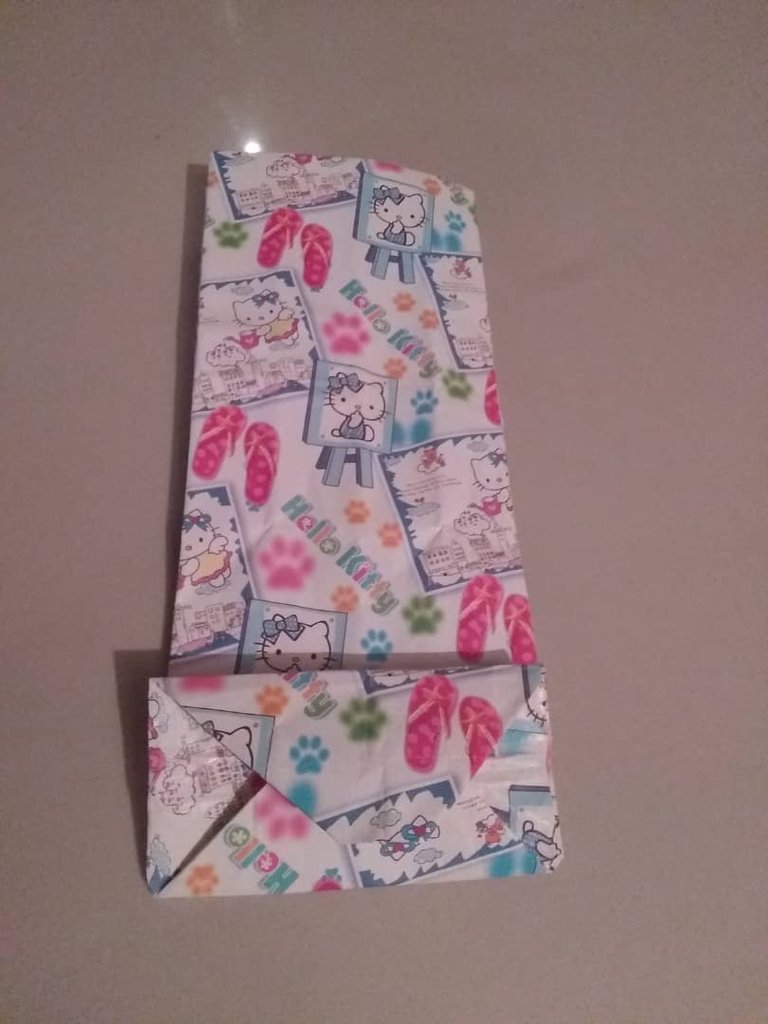
Paso 3:
Luego se dobla de los lados y en la parte de abajo de la bolsa.
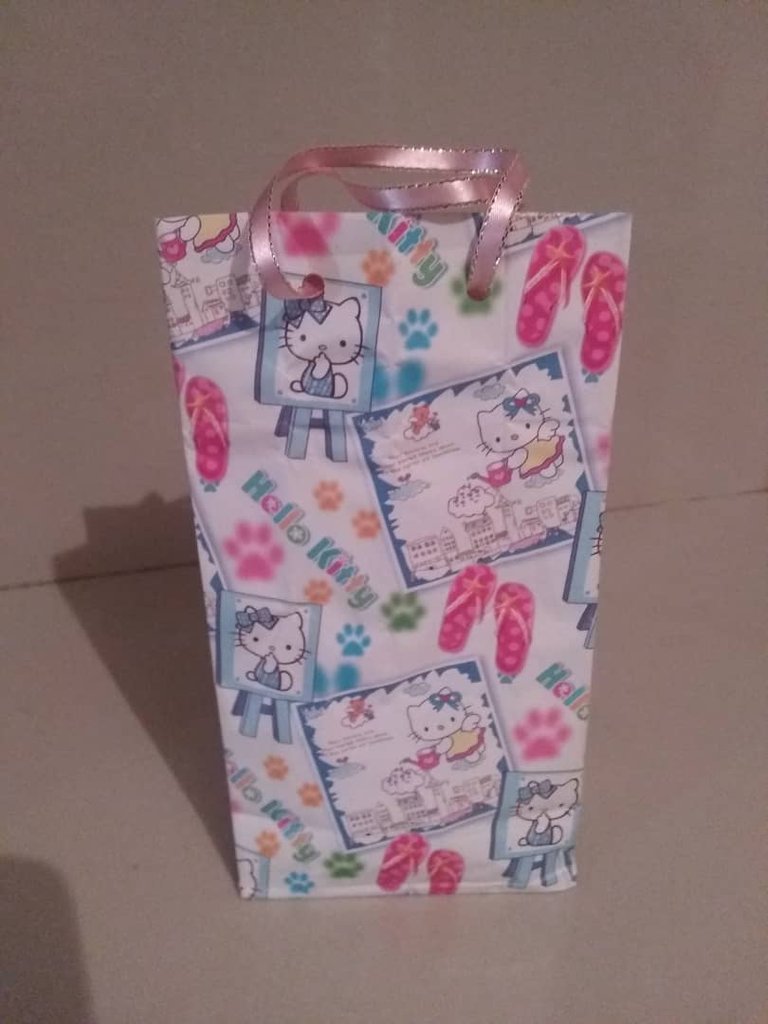
Paso 4:
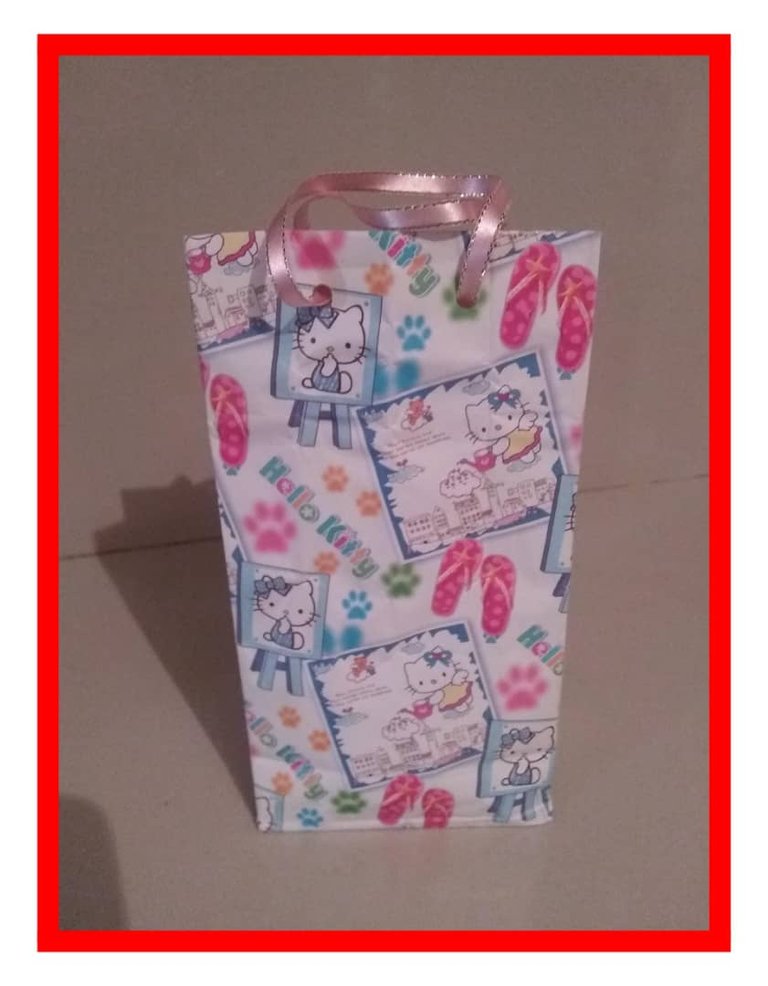
Después se le hace los huecos en la parte de arriba y se le coloca la cinta de razo.
Nota: Fotografías tomadas de mi celular MotorolaE5play y con ayuda del programa Foto Collage Grid-Art
INGLES
Hello dear and appreciated friends Hive Diy, hoping you have spent a beautiful and beautiful day, Today I bring you something much easier to do as it is a paper gift bag and I would like you to learn, because it is important to learn something new every day, I hope you like it, here I leave the materials and how it is made.
Materials:
1 metre of wrapping paper.
1 metre of thin ribbon.
1 pair of scissors.
1 white glue.
1 hand punch.
Step 1:
First cut out the wrapping paper to the size you are going to make the gift bag.
Step 2:
Then glue on one side with white school glue.
Step 3:
Then fold it on the sides and on the bottom of the bag.
c568b682-b373-49cc-ba3d-6d2fd3718d16.jpg]()
Step 4:
Then you make the holes in the top and attach the ribbon.
! 7e443a84-b2bf-47c4-9c93-1ad42decd53a.jpg
Note: Pictures taken from my MotorolaE5play mobile phone and with the help of the Foto Collage Grid-Art program.