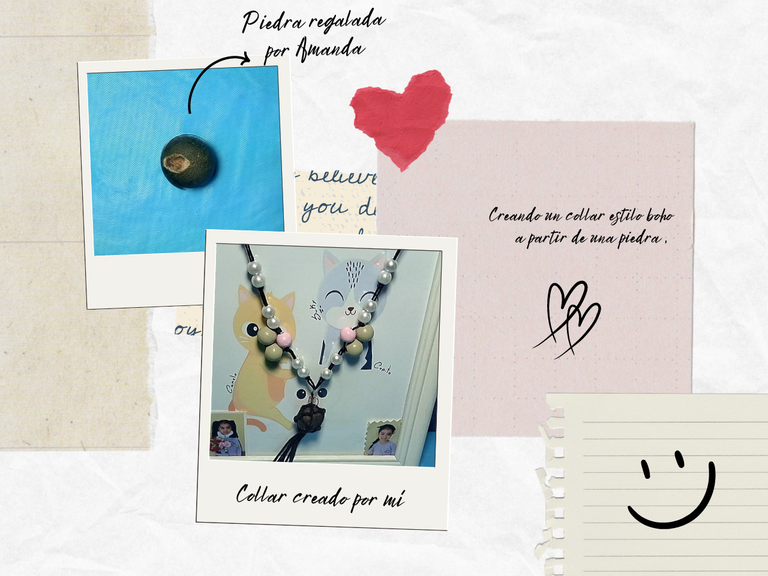
¡Saludos artesanos de Hive Diy! Espero que estén teniendo un día fabuloso.
Hoy quiero compartir con ustedes cómo creé un collar estilo boho que, desde hace tiempo, tenía en mente. Este estilo, con toques bohemios y relajados, me atrae por su sencillez y autenticidad. Utilicé muy pocos materiales, lo cual lo hace perfecto para quienes buscan algo fácil de hacer.
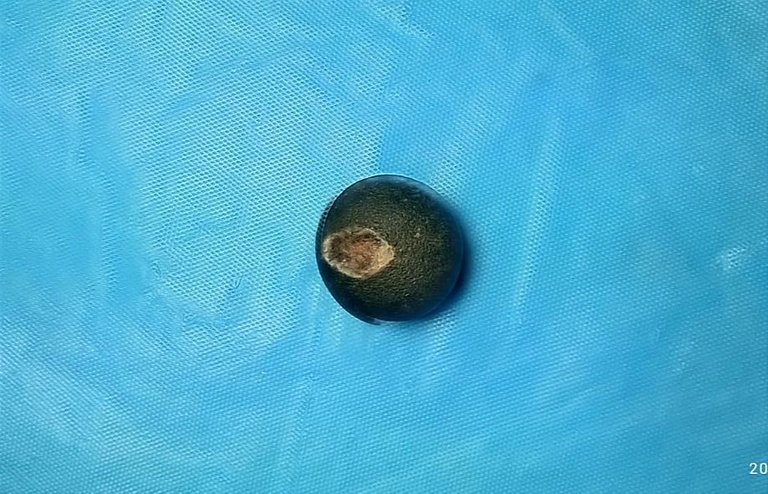
La idea surgió porque quería conservar de manera especial una piedra que me regaló mi sobrina, la cual encontró durante un paseo por los cerros. Aunque no es una piedra preciosa, tiene un valor sentimental enorme, y quise incorporarla en este proyecto. Usando nudos sencillos y algunas perlas, logré un diseño que me encantó, ¡y ahora puedo llevar conmigo ese recuerdo tan especial!
Espero que mi experiencia los inspire a crear algo hermoso con elementos que también tengan significado para ustedes.
Greetings, Hive Diy artisans! I hope you're having a fabulous day.
Today, I want to share with you how I created a boho-style necklace that I had been thinking about for some time. This style, with its bohemian and relaxed touches, attracts me for its simplicity and authenticity. I used very few materials, making it perfect for those looking for an easy project.
The idea came to me because I wanted to preserve a special stone my niece gave me, which she found during a walk in the hills. Although it's not a precious stone, it holds great sentimental value, and I wanted to incorporate it into this project. Using simple knots and a few beads, I crafted a design that I loved, and now I can carry that special memory with me!
I hope my experience inspires you to create something beautiful with items that also hold meaning for you.
Materiales / Materials
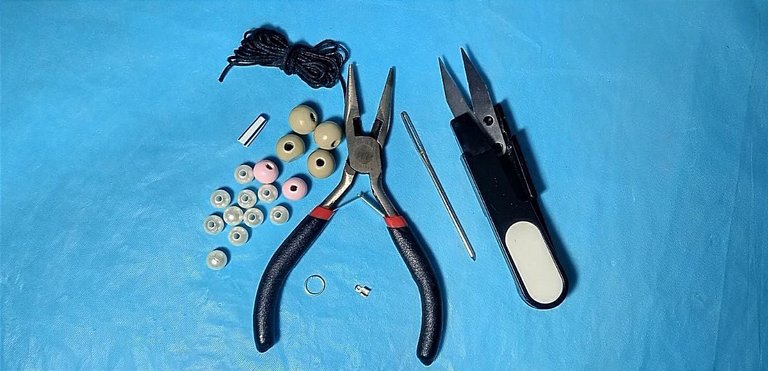
- perlas de fantasía blancas
- cuentas de madera
- 1 argolla de unión grande
- 1 alicate para bisutería
- Tijeras
- aguja lanera
- cordón de cuero sintético
- 1 pedazo de pajita o bombilla
- White faux pearls
- Wooden beads
- 1 large jump ring
- 1 jewelry plier
- Scissors
- Tapestry needle
- Synthetic leather cord
- 1 piece of straw
Elaboración / Elaboration
|
|
|
|
|
|
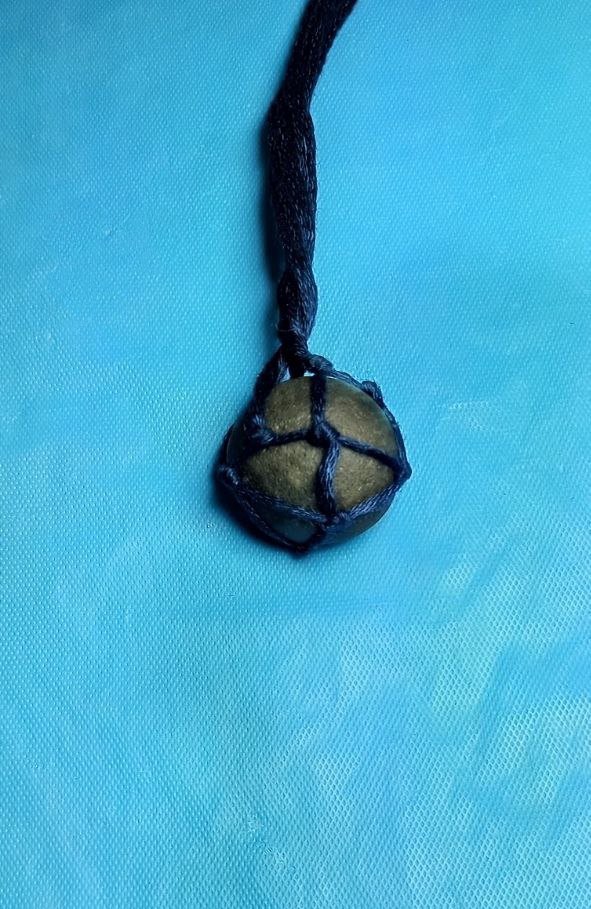
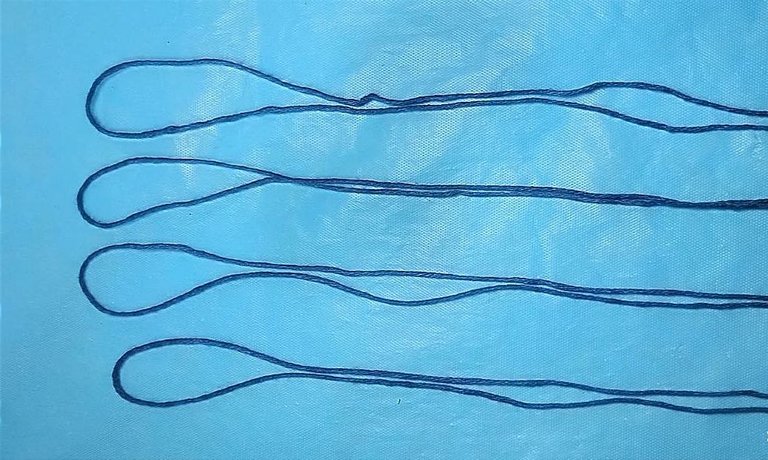
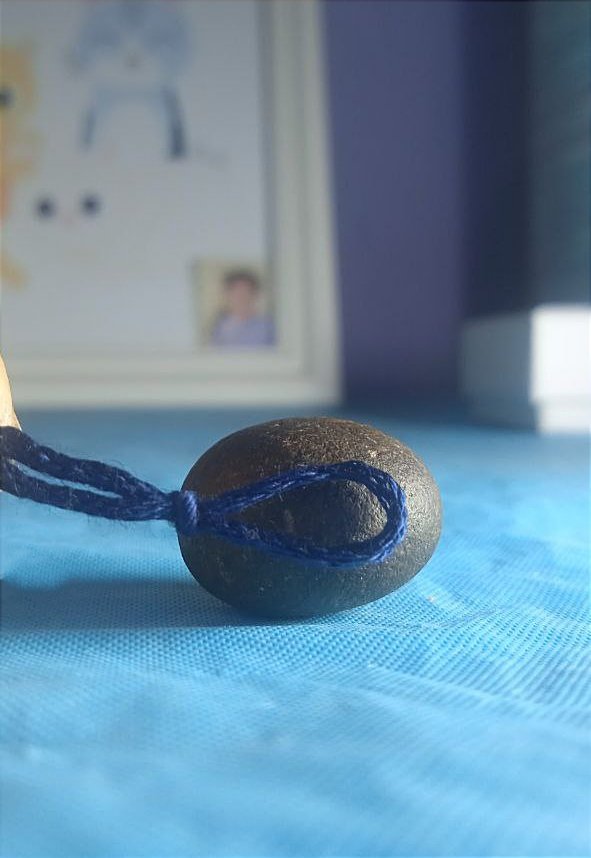
Lo primero que hice fue crear una especie de malla para sostener la piedra, utilizando nudos. Tomé el cordón de cuero sintético y lo corté en 4 partes iguales, doblándolas por la mitad. Con uno de los cordones, hice un nudo básico, midiendo su tamaño con la base de la piedra para asegurar que quedara bien ajustado.
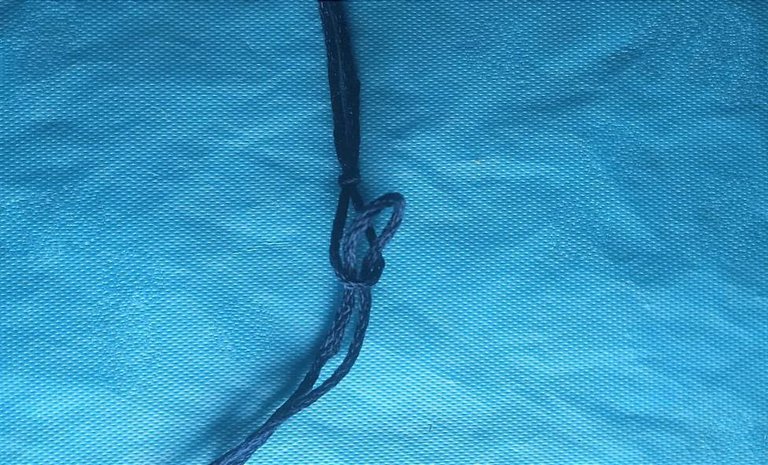
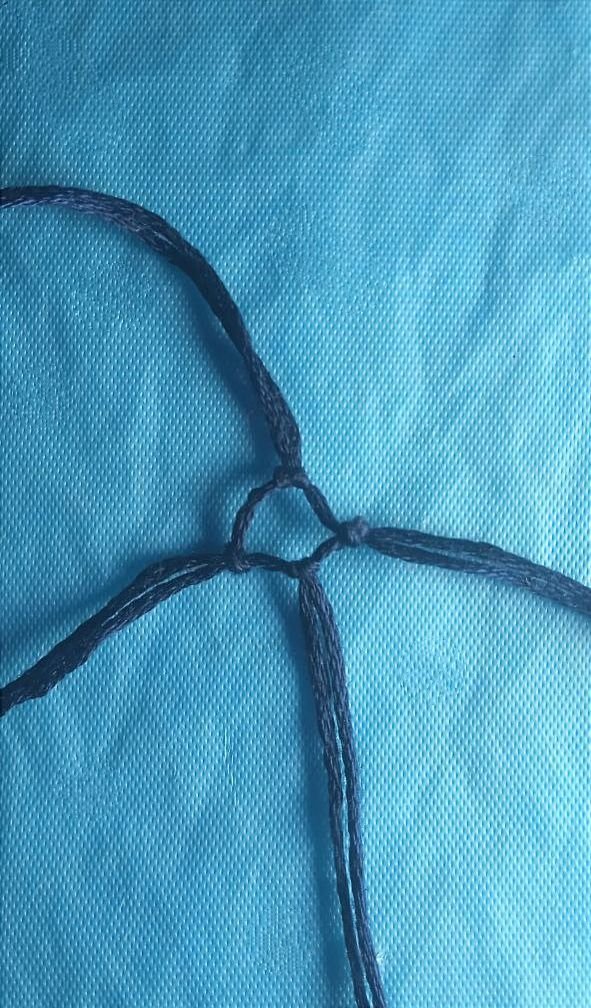
Luego, tomé otro cordón y lo pasé por el nudo que ya había hecho en la base. Esto formó un pequeño círculo, en el cual metí las puntas del cordón para asegurar el nudo. Repetí este mismo proceso con los demás cordones.
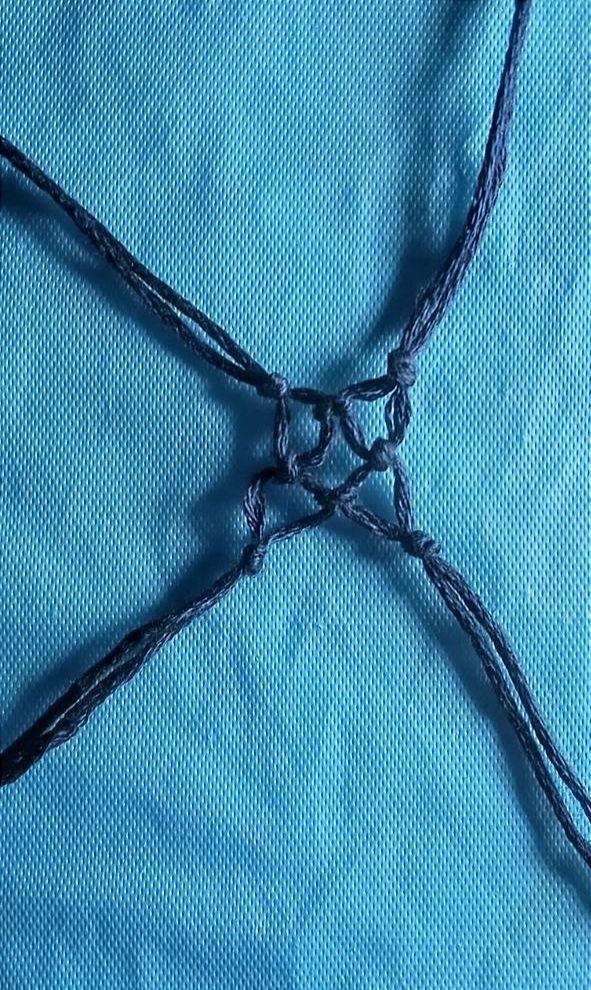
Para tejer la red, simplemente fui tomando cada par de cordones y atándolos con nudos simples, uno tras otro, hasta que la malla fuera lo suficientemente grande para envolver y sujetar la piedra de manera segura.
The first thing I did was create a type of mesh to hold the stone, using knots. I took the synthetic leather cord and cut it into 4 equal parts, folding them in half. With one of the cords, I made a basic knot, measuring its size against the base of the stone to ensure it fit snugly.
Then, I took another cord and threaded it through the knot I had already made at the base. This formed a small circle, through which I inserted the cord’s ends to secure the knot. I repeated this process with the other cords.
To weave the net, I simply took each pair of cords and tied them with simple knots, one after another, until the mesh was large enough to wrap and hold the stone securely.
|

|
|
|
|
|
|
|
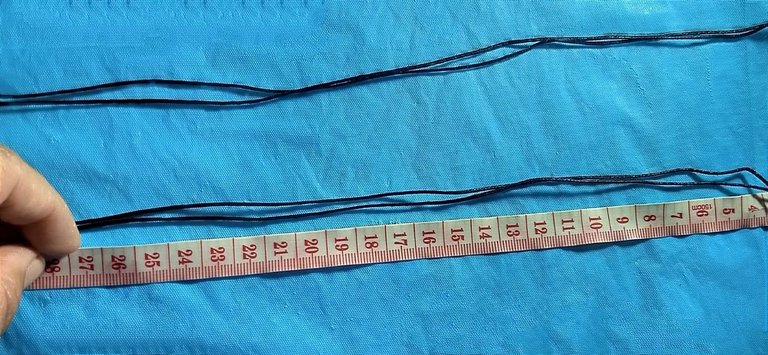
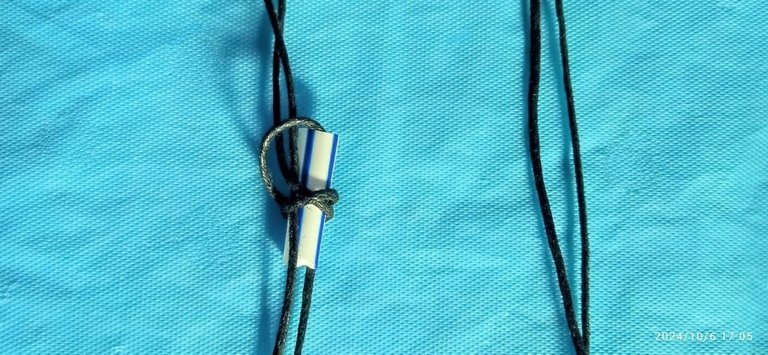
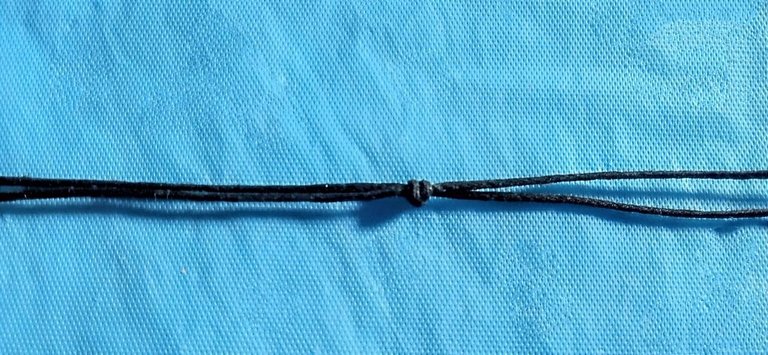
Ahora es el turno de crear el collar. Para ello, corté 1 metro de cordón, el cual doblé 4 veces, dejando cada extremo doble. Medí 27 centímetros en uno de los extremos y coloqué la pajita. Envolví el cordón alrededor de la pajita dos veces, luego pasé la punta del cordón dentro de la pajita, tiré, y de esa manera creé un nudo franciscano.
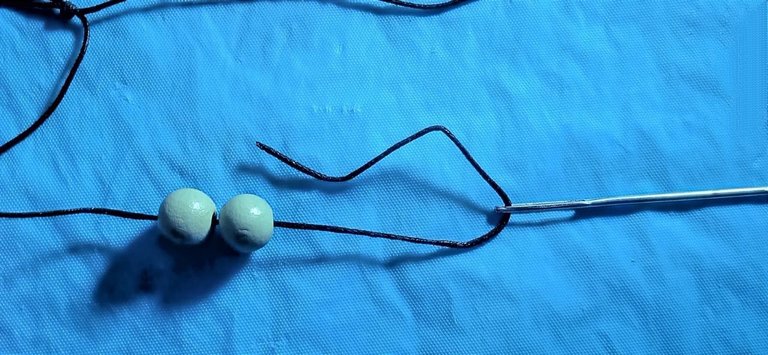
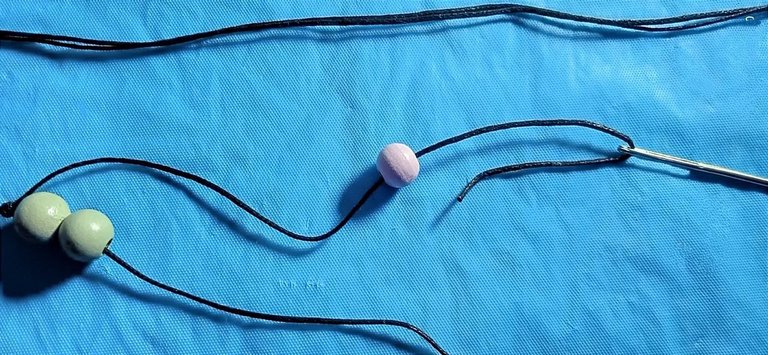
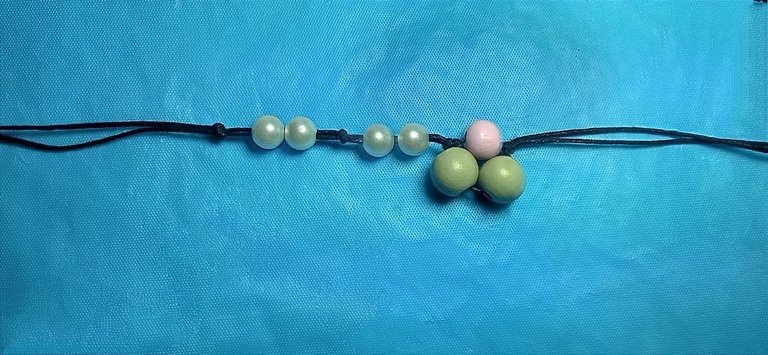
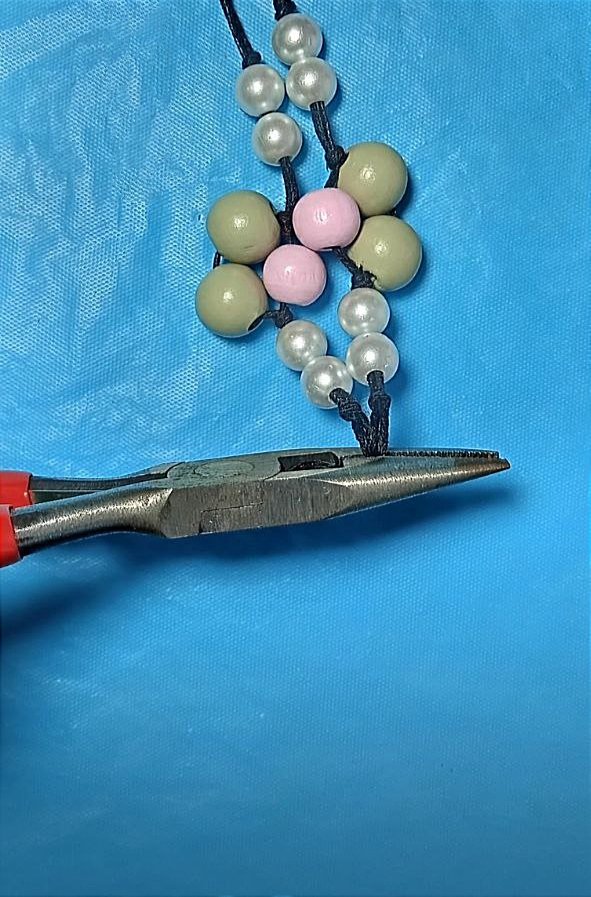
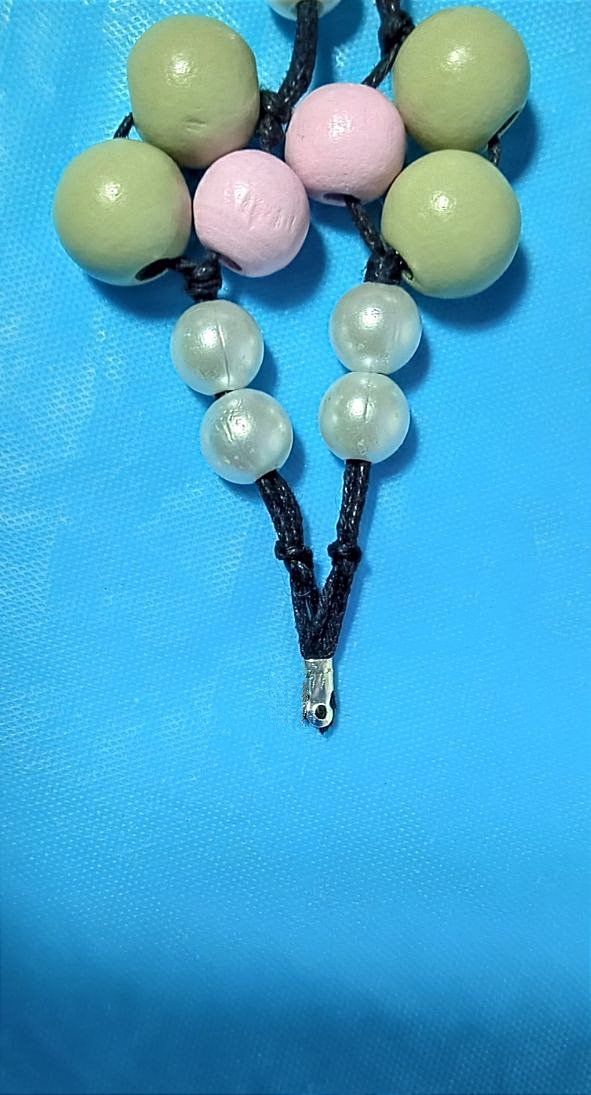
Después, tomé un extremo del cordón y le coloqué dos cuentas de madera, en mi caso elegí cuentas de color verde. En la otra punta de ese mismo extremo, coloqué una cuenta rosada, ayudándome con una aguja lanera. Hice otro nudo franciscano y luego agregué dos perlas blancas, seguido por otro nudo franciscano. Así fui intercalando perlas y nudos hasta que estuve conforme con el diseño.
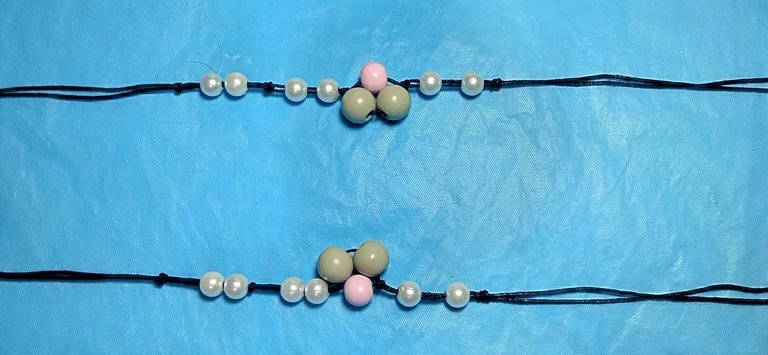
Repetí este proceso con el otro extremo del collar, para darle un acabado simétrico y equilibrado.
Now it's time to create the necklace. For this, I cut 1 meter of cord and folded it 4 times, leaving each end doubled. I measured 27 centimeters on one of the ends and placed the straw. I wrapped the cord around the straw twice, then passed the tip of the cord through the straw, pulled it, and that’s how I created a Franciscan knot.
Next, I took one end of the cord and added two wooden beads, in this case, I used green ones. On the other tip of that same end, I placed a pink bead, using a tapestry needle to help. I made another Franciscan knot, then added two white pearls, followed by another Franciscan knot. I continued this process, alternating pearls and knots until I was happy with the design.
I repeated the same process on the other end of the necklace to give it a symmetrical and balanced finish.
|
|
|
|
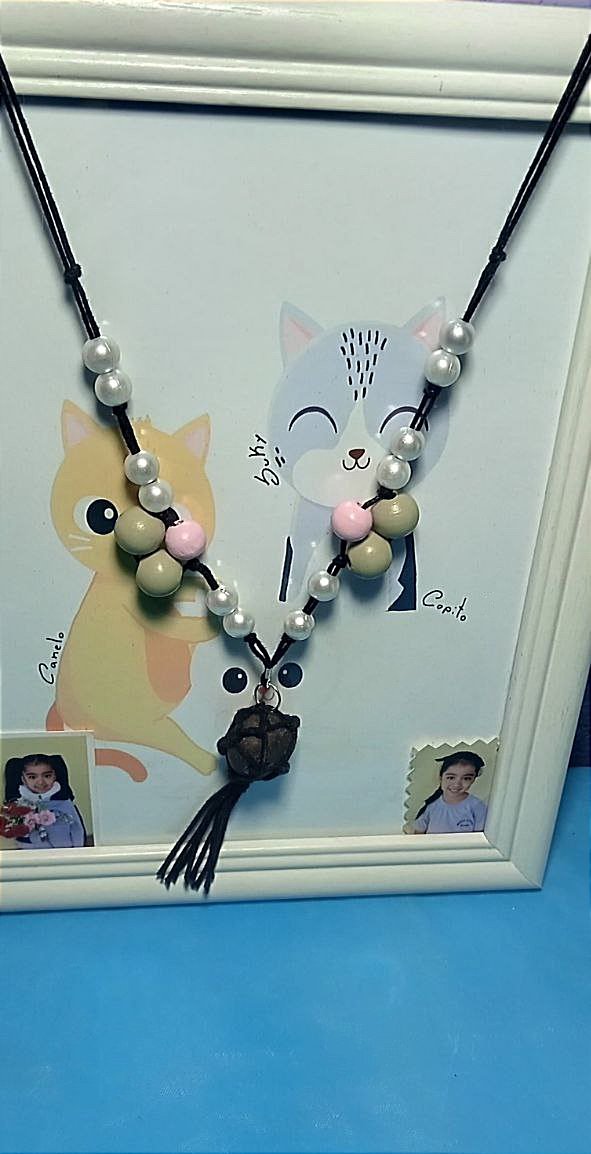
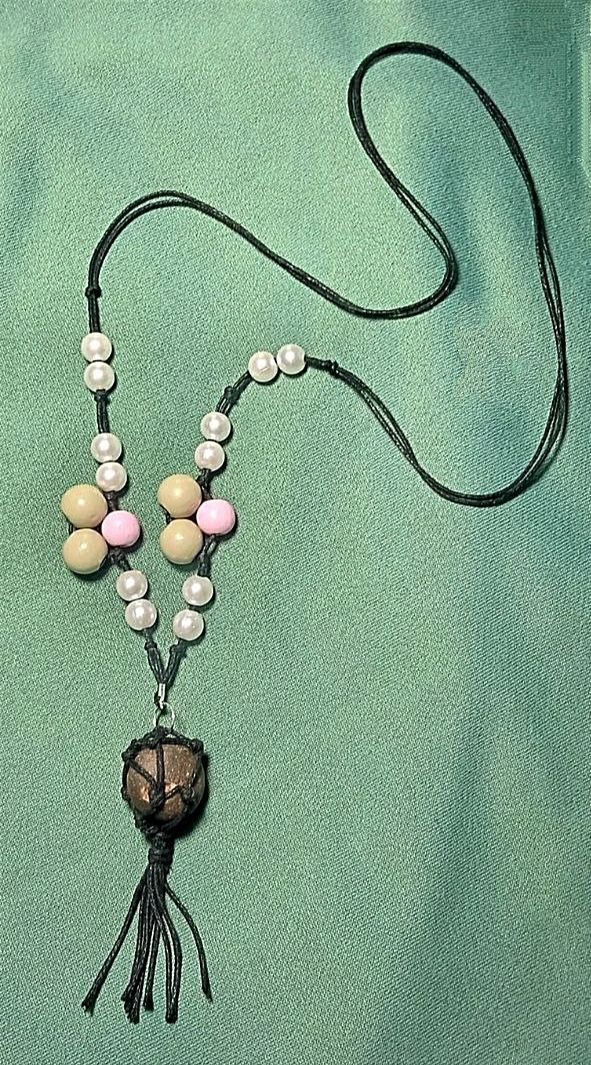
Finalmente, llegó el momento de darle el toque final. Coloqué el terminal y añadí la argolla, conectando la piedra cuidadosamente a través de una de las partes de la red. Al hacerlo, el collar cobró vida, fusionando todos los detalles en una pieza única y especial. El resultado fue más que satisfactorio: un diseño que no solo es bonito, sino que también tiene un valor sentimental profundo.
Finally, it was time to add the finishing touch. I placed the clasp and added the jump ring, carefully connecting the stone through one of the parts of the net. In doing so, the necklace came to life, blending all the details into a unique and special piece. The result was more than satisfying: a design that is not only beautiful but also holds deep sentimental value.
Amiga @jcchelme que bueno que inspiraste a partir de esta piedra de amaranta para hacer este collar hermoso. Te felicio me encanta.
¡Enhorabuena!
✅ Has hecho un buen trabajo, por lo cual tu publicación ha sido valorada y ha recibido el apoyo de parte de CHESS BROTHERS ♔ 💪
♟ Te invitamos a usar nuestra etiqueta #chessbrothers y a que aprendas más sobre nosotros.
♟♟ También puedes contactarnos en nuestro servidor de Discord y promocionar allí tus publicaciones.
♟♟♟ Considera unirte a nuestro trail de curación para que trabajemos en equipo y recibas recompensas automáticamente.
♞♟ Echa un vistazo a nuestra cuenta @chessbrotherspro para que te informes sobre el proceso de curación llevado a diario por nuestro equipo.
🏅 Si quieres obtener ganancias con tu delegacion de HP y apoyar a nuestro proyecto, te invitamos a unirte al plan Master Investor. Aquí puedes aprender cómo hacerlo.
Cordialmente
El equipo de CHESS BROTHERS
From Venezuela, our witness drives decentralization and the adoption of Web3 technology, creating opportunities for the local community and contributing to the global ecosystem. // Desde Venezuela, nuestro testigo impulsa la descentralización y la adopción de la tecnología Web3, generando oportunidades para la comunidad local y contribuyendo al ecosistema global.
Sigue, contacta y se parte del testigo en: // Follow, contact and be part of the witness in:
So beautiful 😍
You did amazing 😍