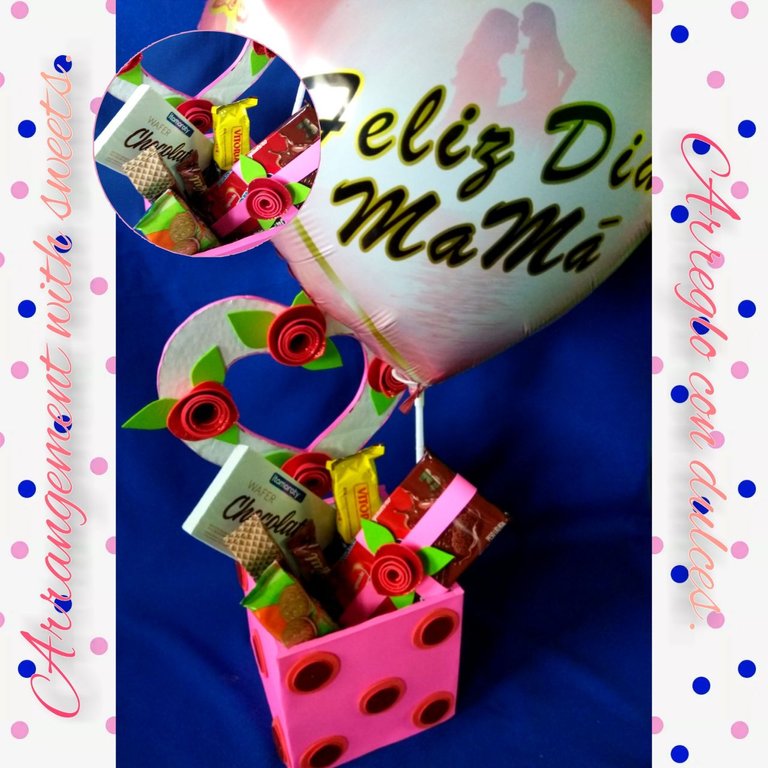

Happy Mother's Day!


Primer paso: || First step:
▪️ Recorté en cartón varias piezas, primero un cuadrado de 16 cm x 16 cm, luego 4 rectángulos de 15 cm x 16 cm, seguido de ello recorté un corazón de cartón el diámetro puede ser de 16 cm o más.
I cut out of cardboard several pieces, first a square of 16 cm x 16 cm, then 4 rectangles of 15 cm x 16 cm, followed by a cardboard heart, the diameter can be 16 cm or more.

Segundo paso: || Second step:
▪️ Como base para el arreglo usé el cuadrado, a los laterales pegué cada rectángulo usando silicón líquido.
As a base for the arrangement I used the square, to the sides I glued each rectangle using liquid silicone.
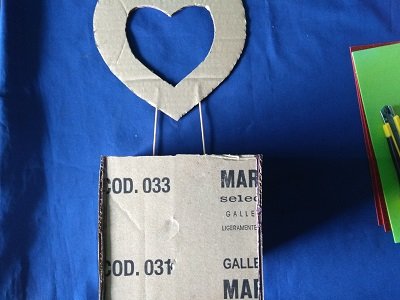
Tercer paso: || Third step:
▪️ Después usando dos palillos de madera uní a la caja el corazón de madera, aseguren la unión con silicón.
Then, using two wooden sticks, attach the wooden heart to the box and secure it with silicone.
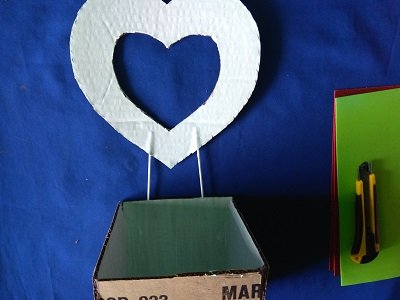
Cuarto paso: || Fourth step:
▪️ Pinté el corazón y el interior del arreglo en color blanco, apliqué alrededor de tres capas.
I painted the heart and the inside of the arrangement in white, I applied about three coats.
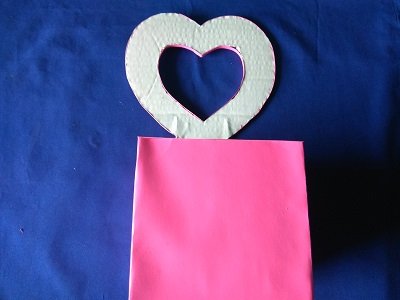
Quinto paso: || Fifth step:
▪️ Luego envolví la caja del arreglo en cartulina escolar fucsia, tomen las medidas de la caja luego corten la tira de cartulina, y peguen al arreglo, además corregí ciertas imperfecciones del corazón de cartón.
Then I wrapped the arrangement box in fuchsia school cardboard, took the measurements of the box then cut the cardboard strip, and glued it to the arrangement, I also corrected certain imperfections of the cardboard heart.
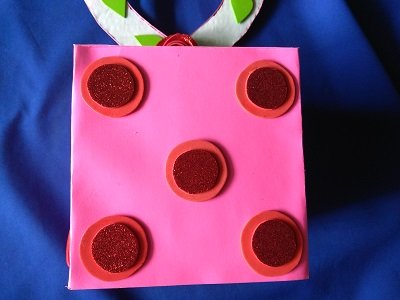
Sexto paso: || Sixth step:
▪️ Decoré la caja del arreglo con círculos de foami, los pegué alrededor de todo el arreglo.
I decorated the arrangement box with foami circles, glued them around the whole arrangement.

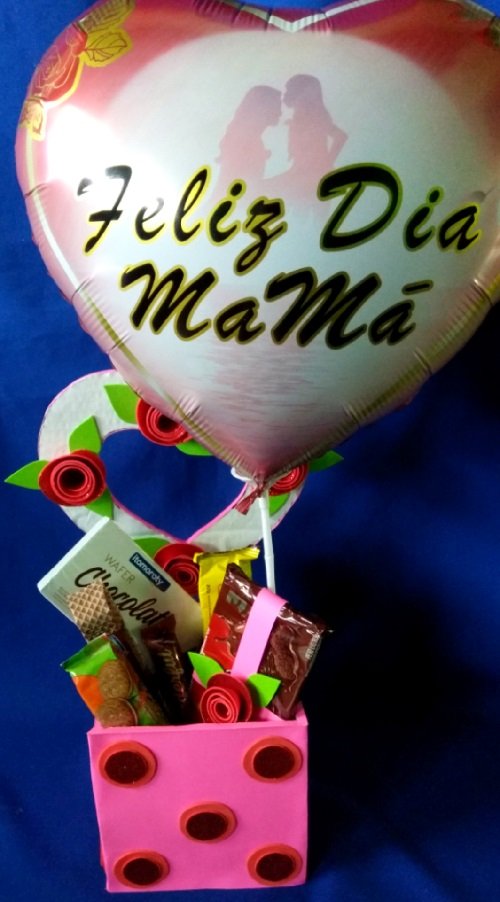
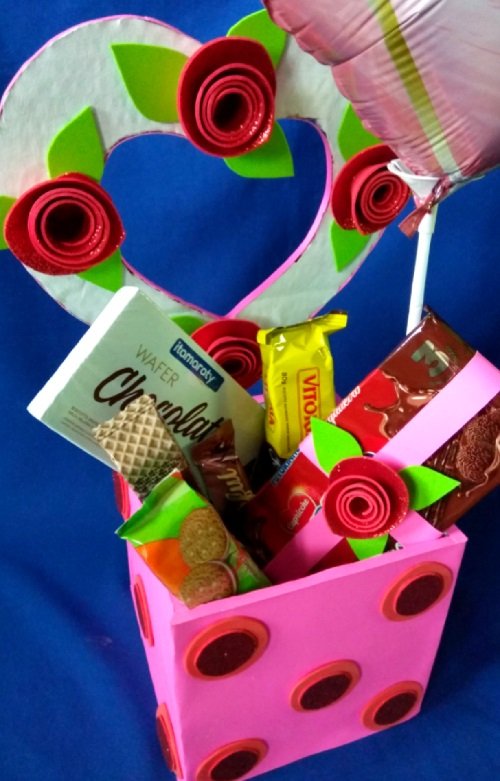
Séptimo paso: || Seventh step:
▪️ Además hice rosas de foami para decorar el corazón de cartón, las rosas se hacen recortando un círculo de foami, luego se recorta en espiral y se enrolla, pueden agregar un globo como se muestra en las fotos finales.
I started with the decorations after I had the base of the arrangement ready, for the box I simply cut out foami circles and glued them around the box.
¡Gracias por leer esta publicación!
Thank you for reading this publication!
Imágenes tomadas desde mi Alcatel One Touch Idol 4. || Images taken from my Alcatel One Touch Idol 4.
Separadores hechos en PhotoScape. || Dividers made in PhotoScape.
Ediciones hechas en Photoscape. || Editions made in Photoscape.
Translator Deepl.
The rewards earned on this comment will go directly to the person sharing the post on Twitter as long as they are registered with @poshtoken. Sign up at https://hiveposh.com.
Que hermoso te quedó ♥️
Gracias por tu comentario amiga.
Hola @jennyzer te quedó hermosa la caja de dulces.
Saludos!
Gracias a mi mamá le encantó, también te agradezco el comentario.
Excelente trabajo 👍🏼 me gustó mucho la caja.
Gracias por compartir ☺️☺️😊🤗☺️😉
🌈💮🌱🏵️🌻🌺🍁💋♥️🍄💜💐🎊🌸💖🌼🌷🌹🎉🥀💙
Gracias a ti por ser tan amable en comentar.
Thank you for sharing this amazing post on HIVE!
non-profit curation initiative!Your content got selected by our fellow curator @rezoanulvibes & you just received a little thank you via an upvote from our
You will be featured in one of our recurring curation compilations and on our pinterest boards! Both are aiming to offer you a stage to widen your audience within and outside of the DIY scene of hive.
Join the official DIYHub community on HIVE and show us more of your amazing work and feel free to connect with us and other DIYers via our discord server: https://discord.gg/mY5uCfQ !
If you want to support our goal to motivate other DIY/art/music/homesteading/... creators just delegate to us and earn 100% of your curation rewards!
Stay creative & hive on!
Thank you for your support.