



Primer paso: || First step:
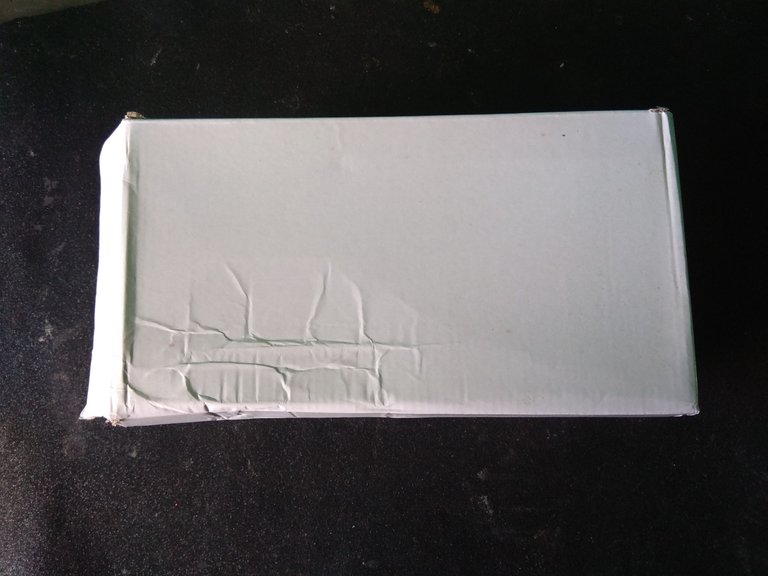
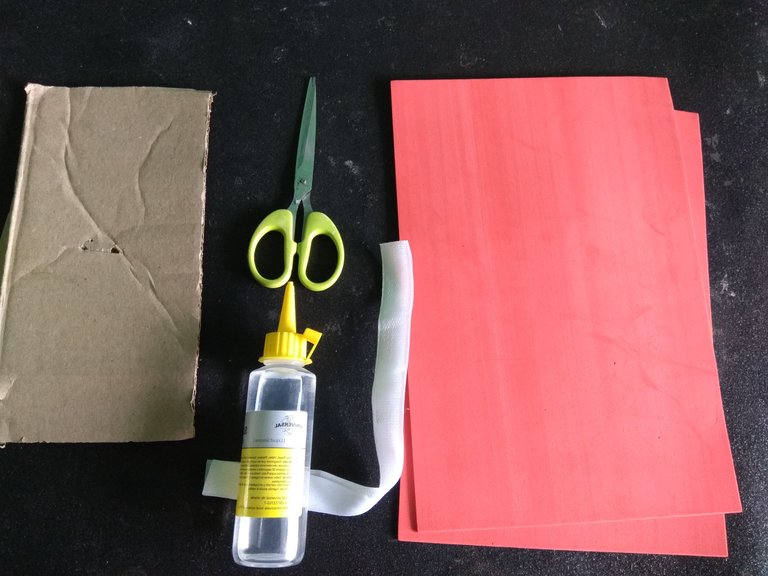
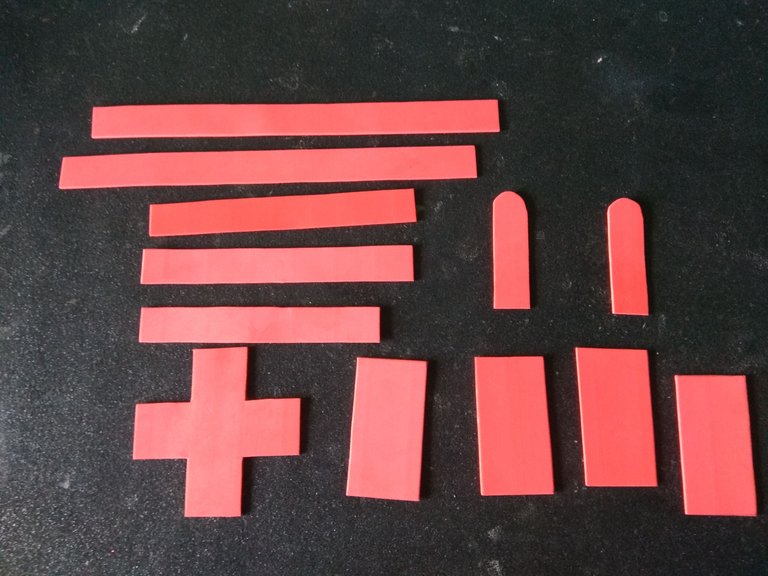
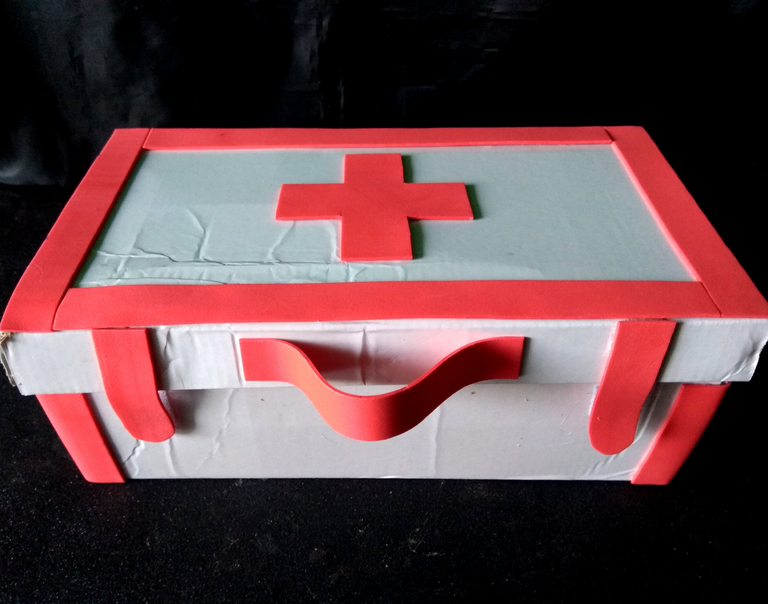
▪️ Como la caja ya es blanca no tuve necesidad de pintarla, pero si en su caso tienen una caja común les recomiendo pintarla antes, o envolverla en papel blanco, seguido de ello se crearán y recortarán todas las piezas decorativas, deben medir su caja y a partir de ello crear las piezas, las mías tenían un ancho de 3 cm y el alto variaba según la caja, hice decoración la para la parte frontal, laterales, un agarre, una cruz y dos solapas.
As the box is already white I had no need to paint it, but if you have a common box I recommend you to paint it before, or wrap it in white paper, followed by creating and cutting out all the decorative pieces, you must measure your box and from that create the pieces, mine had a width of 3 cm and the height varied depending on the box, I made decoration for the front, sides, a grip, a cross and two flaps.
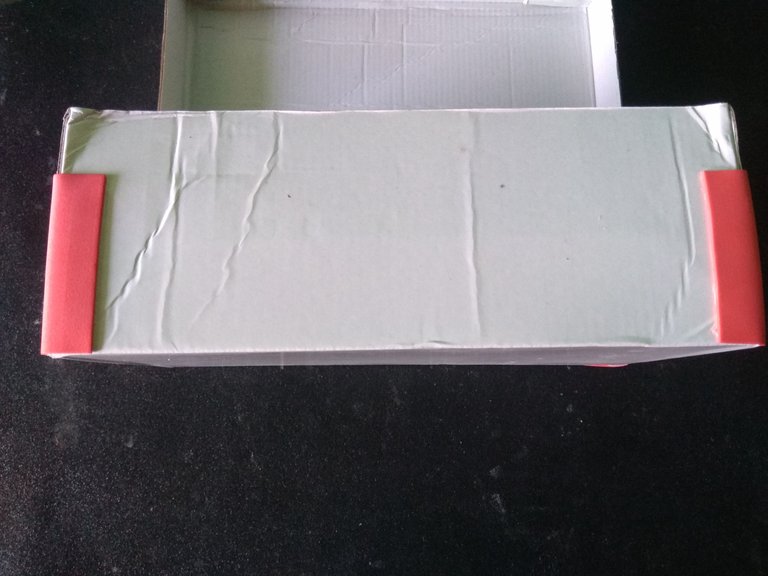
Segundo paso: || Second step:
▪️ Pegué las piezas por parte, primero pegué las tiras que cubren los laterales, quería tapar esa parte de la caja, puesto que se notan los bordes rústicos de la misma.
I glued the pieces by parts, first I glued the strips that cover the sides, I wanted to cover that part of the box, since the rustic edges of the box are noticeable.
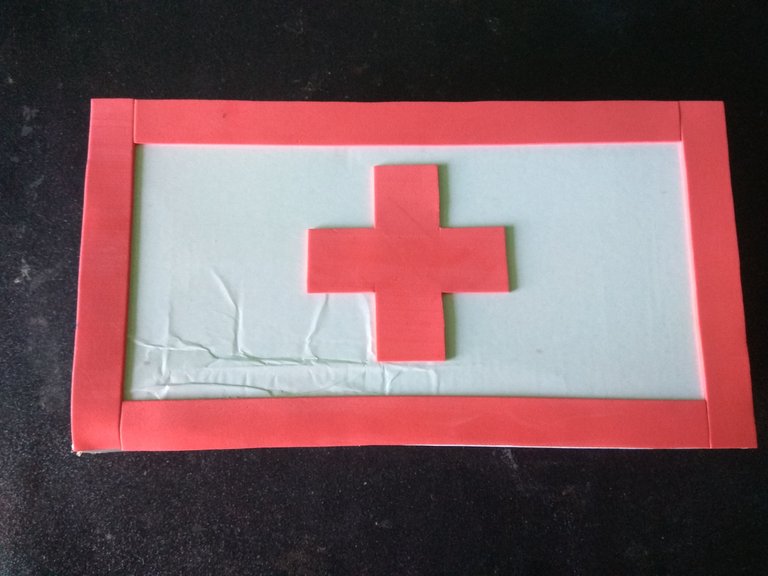
Tercer paso: || Third step:
▪️ Luego era tiempo de pegar las decoraciones de la parte frontal, constaba de varias tiras y una cruz.
Then it was time to glue the decorations on the front, consisting of several strips and a cross.
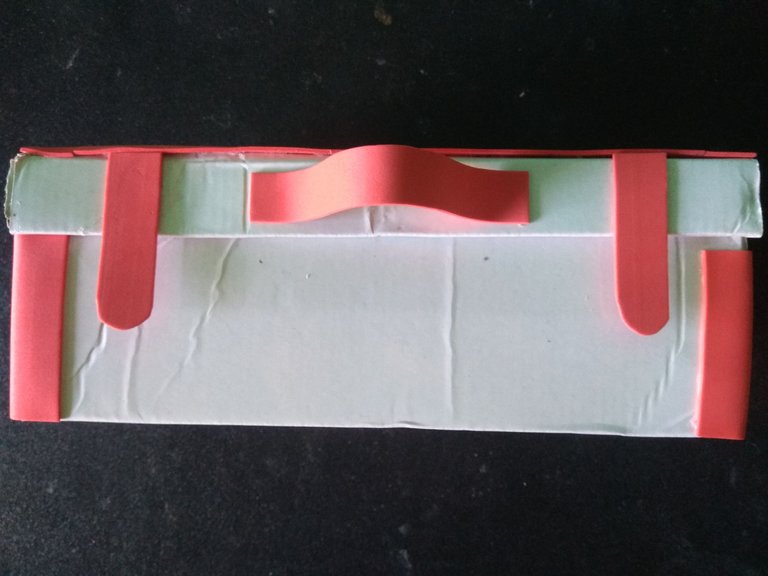
Cuarto paso: || Fourth step:
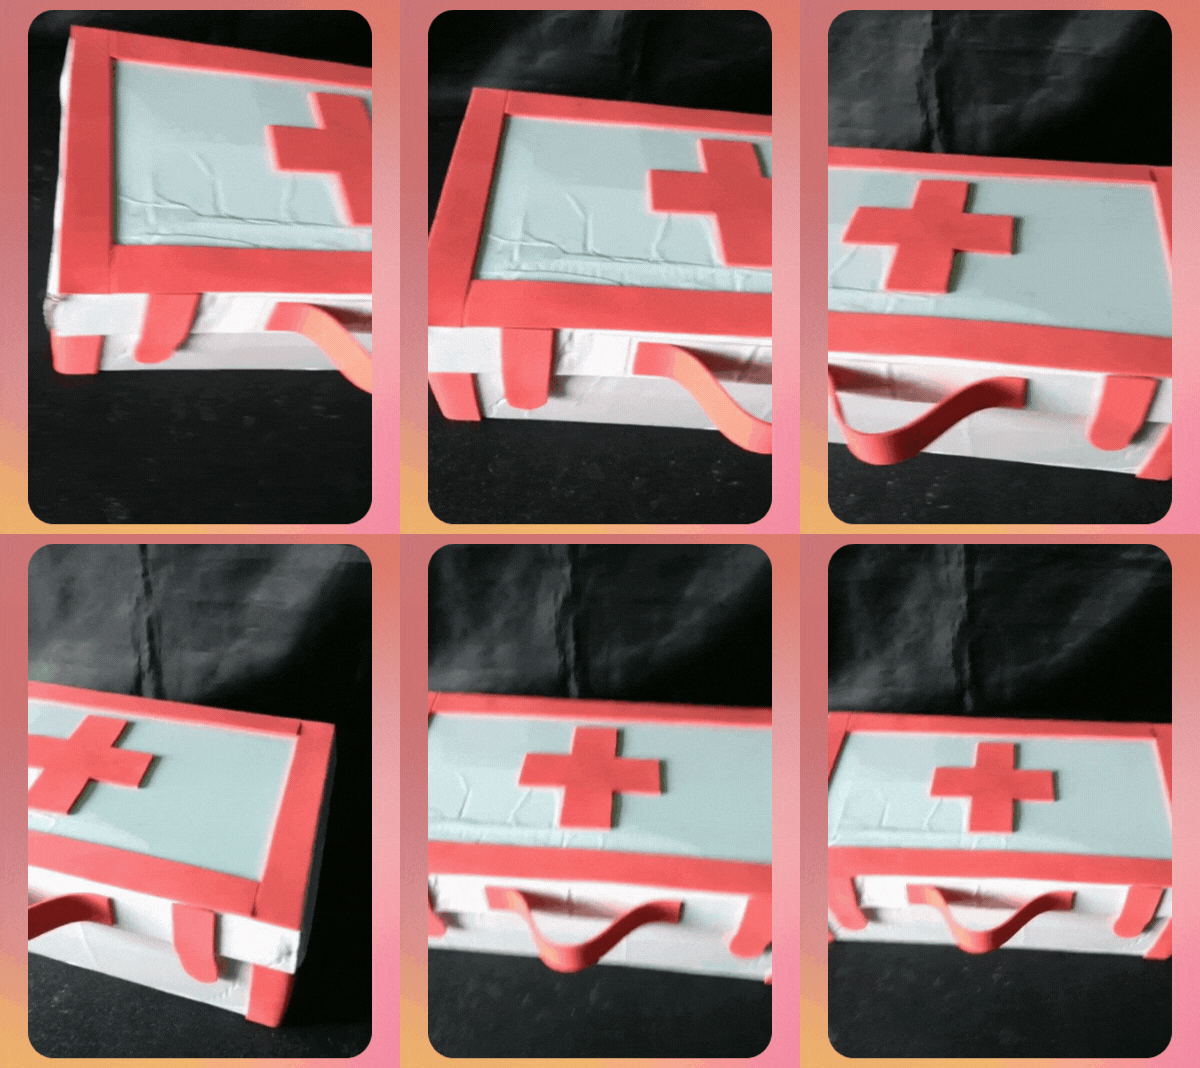
▪️ Finalmente pegué el agarre y las solapas, cuando el silicón seco por completo pegué a las solapas cierre mágico y desde luego a la caja, esto permitirá que abramos y cerremos el botiquín sin problemas.
Finally I glued the grip and the flaps, when the silicone dried completely I glued the magic clasp to the flaps and of course to the box, this will allow us to open and close the kit without problems.
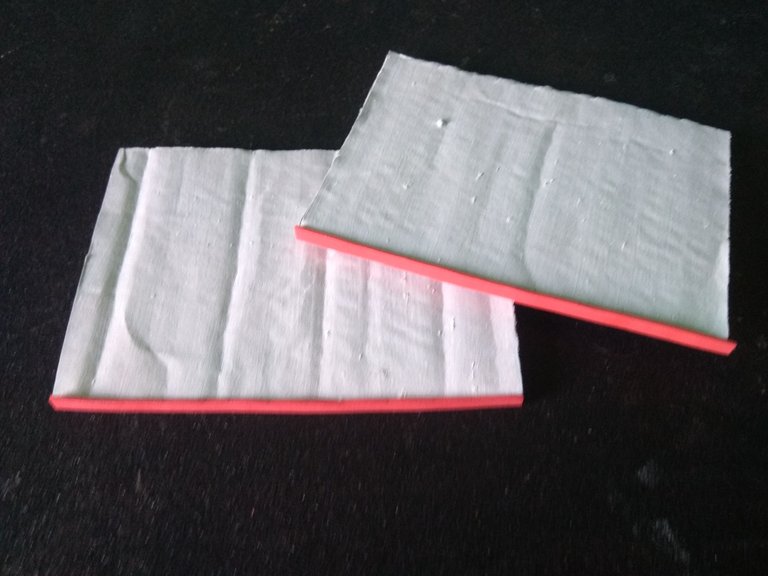
Quinto paso: || Fifth step:
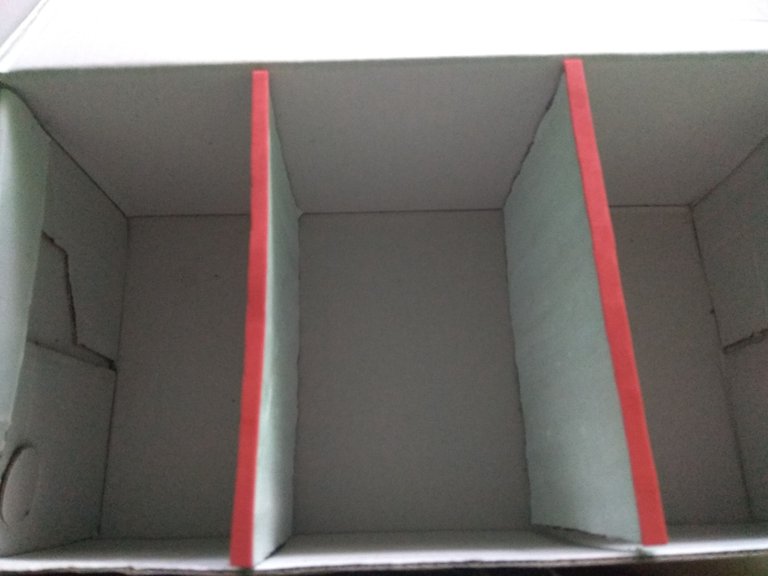
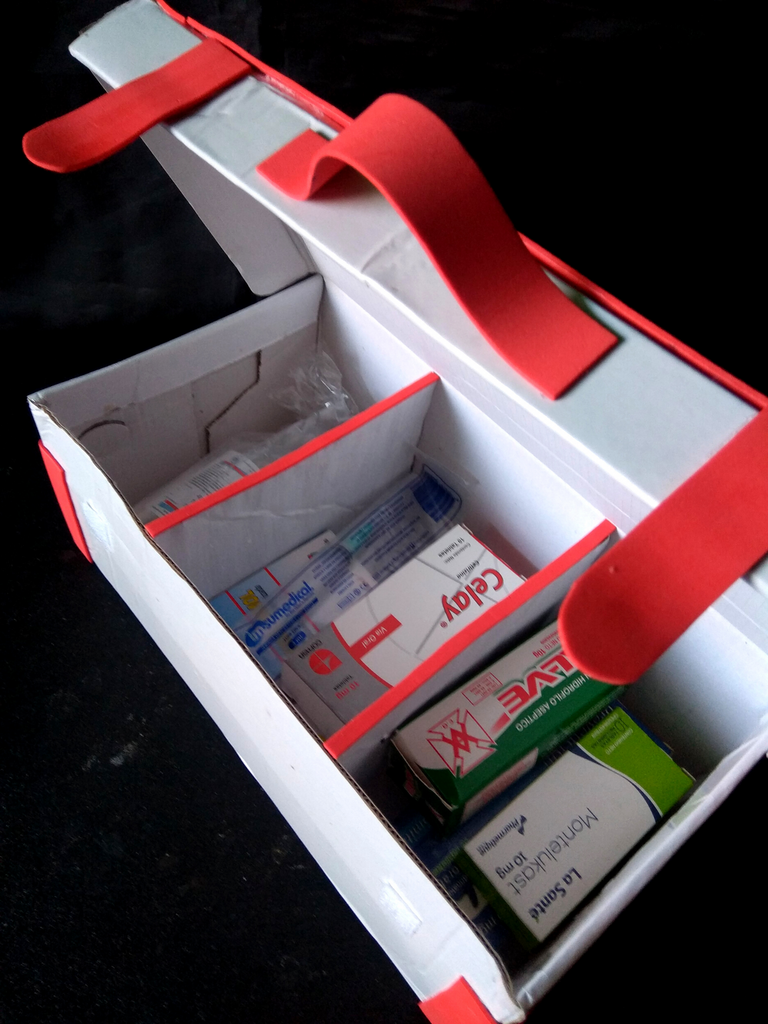
▪️ Decorado el botiquín me di a la tarea de crear divisores para la parte interna, medí el ancho interno de la caja y el alto, de esta manera recorté dos piezas de cartón, y las pinté en blanco además pegué una tira de 0,5 cm para lograr un acabado más prolijo.
I measured the internal width of the box and the height, so I cut out two pieces of cardboard, painted them white and glued a strip of 0.5 cm to achieve a neater finish.
Sexto paso: || Sixth step:
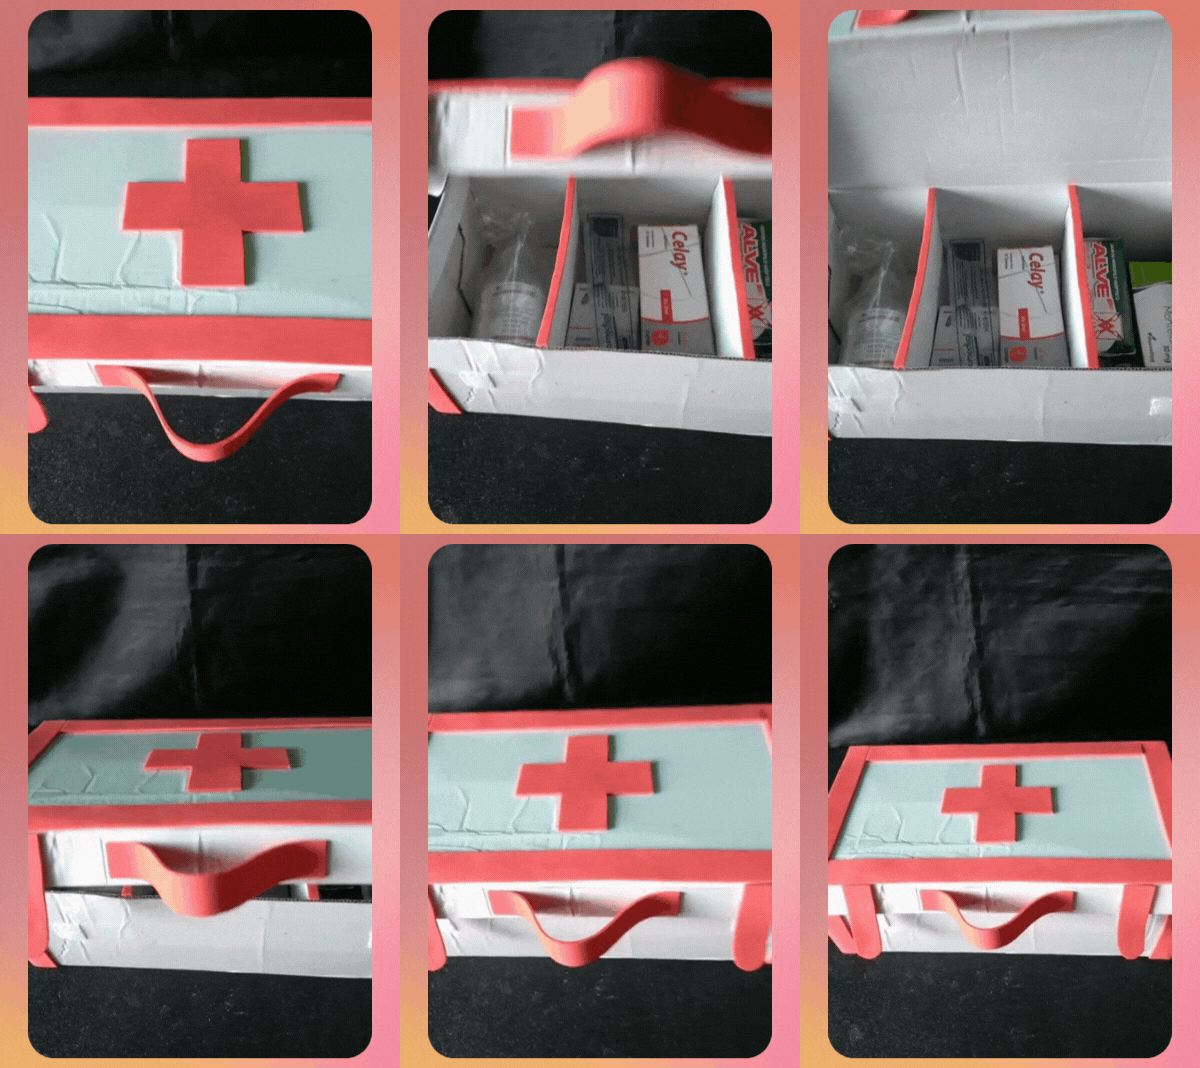
▪️ Al tener los divisores solo restaba aplicar pegando y encajarlos en el interior del botiquín.
Having the dividers, all that was left to do was to apply the glue and fit them inside the medicine cabinet.




Imágenes tomadas desde mi Alcatel One Touch Idol 4. || Images taken from my Alcatel One Touch Idol 4.
Separadores hechos en PhotoScape. || Dividers made in PhotoScape.
Ediciones hechas en Photoscape. || Editions made in Photoscape.
Translator Deepl.
The rewards earned on this comment will go directly to the person sharing the post on Twitter as long as they are registered with @poshtoken. Sign up at https://hiveposh.com.