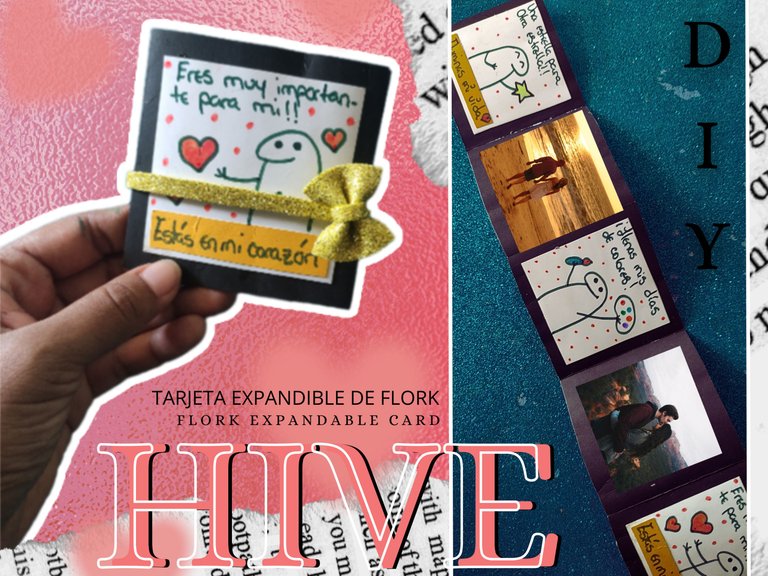
Ya he realizado varias manualidades teniendo como temática a Flork, es el garabato más lindo que puede existir, no soy buena dibujante por ello me encanta este personaje, puedes dar un toque único a tus creaciones trazando un par de líneas dibujando a Flork, añade frases tiernas, algo de color y conseguirás esta tarjeta original en su clase.
I have already made several crafts with Flork as a theme, he is the cutest doodle that can exist, I am not a good drawer so I love this character, you can give a unique touch to your creations by drawing a couple of lines drawing Flork, add cute phrases, some color and you will get this original card in its kind.
Si ya tienes tu regalo para el 14 de febrero solo falta la tarjeta y esta puede ser tu opción, o si simplemente quieres dar un detalle a quien quieres sin importar el día, obsequia esta tarjeta, anímate a crear. ¡Manos a la obra!
If you already have your gift for February 14, all you need is the card and this could be your option, or if you simply want to give a gift to someone you love regardless of the day, give this card as a gift, get creative. Let's get to work!


MATERIALES:
MATERIALS:

PASO A PASO:
STEP BY STEP:
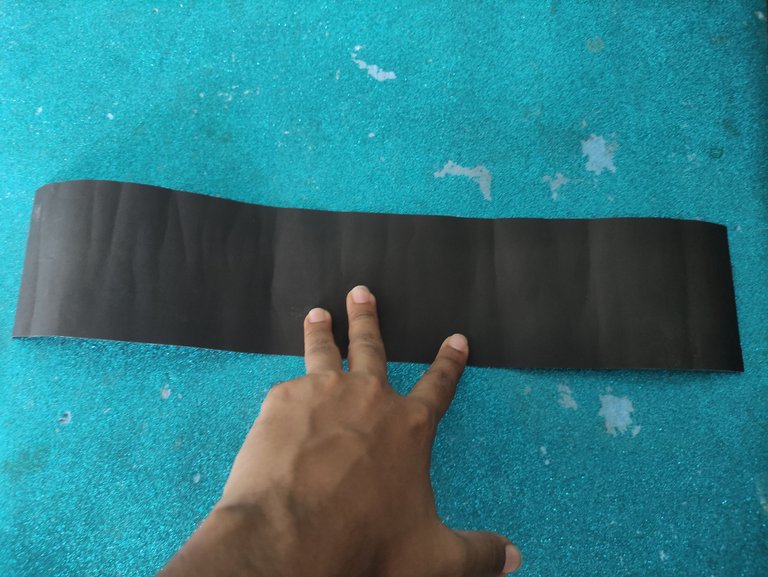
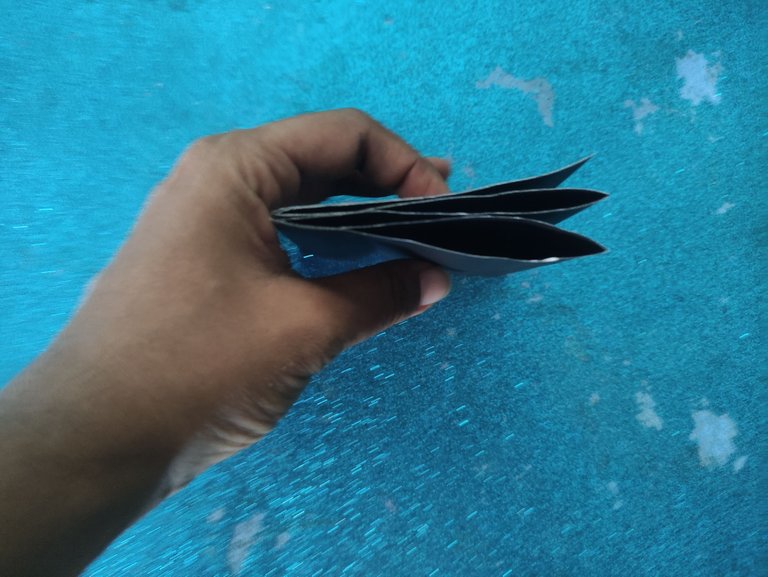
Recortar una tira de cartulina negra de 40 cm de largo y 8 cm de ancho, dividir la tira en 5 partes iguales de 8 cm sin recortar, solo necesitamos marcar las divisiones para poder crear un acordeón.
Cut a strip of black cardboard 40 cm long and 8 cm wide, divide the strip into 5 equal parts of 8 cm without cutting, we only need to mark the divisions to create an accordion.
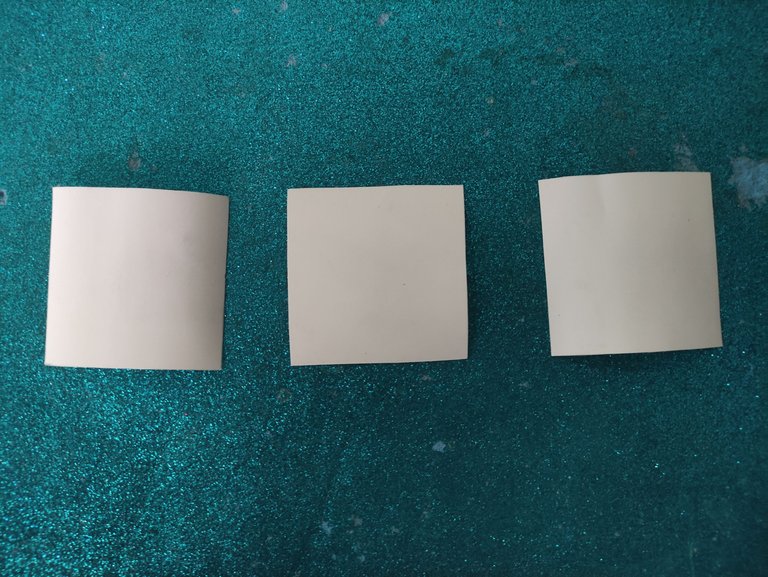
Ahora recortaremos 3 cuadrados de cartulina blanca de 7 cm, en ellos vamos a dibujar a Flork en diversas formas, dibuja las formas que desees y escribe las frases que más te gusten.
Now we will cut out 3 squares of white cardboard of 7 cm, on them we will draw Flork in different shapes, draw the shapes you want and write the phrases you like the most.
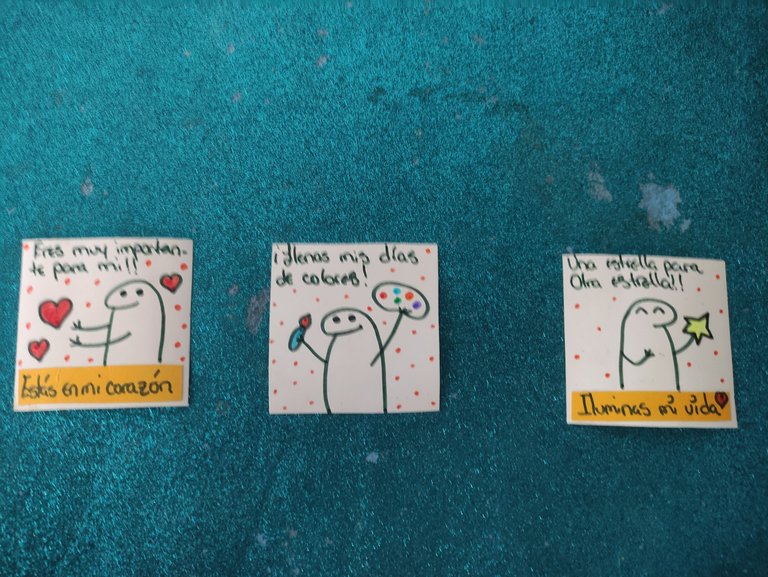
Pega los dibujos de Flork sobre la tira negra de cartulina dejando un espacio en medio, en ese espacio puedes escribir una frase o pegar una foto, dobla la tarjeta y añade una tira que ayude a mantenerla cerrada.
Glue the Flork drawings on the black strip of cardboard leaving a space in the middle, in that space you can write a phrase or paste a photo, fold the card and add a strip to help keep it closed.
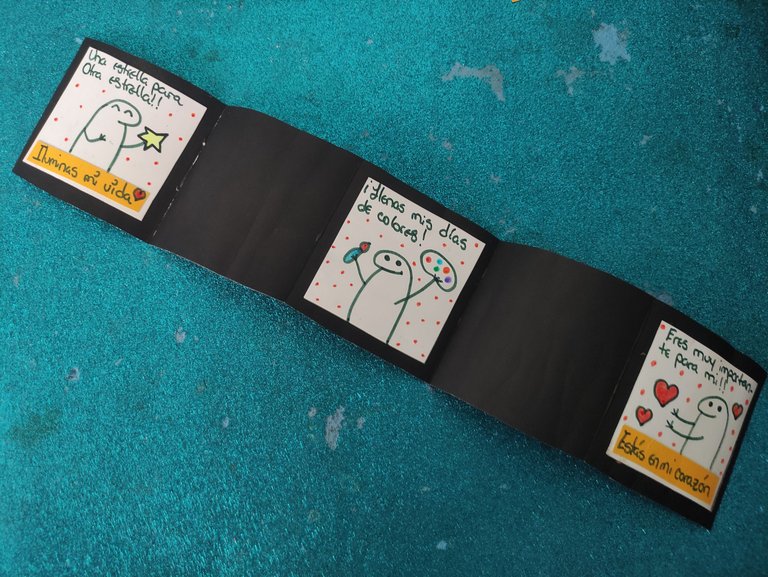
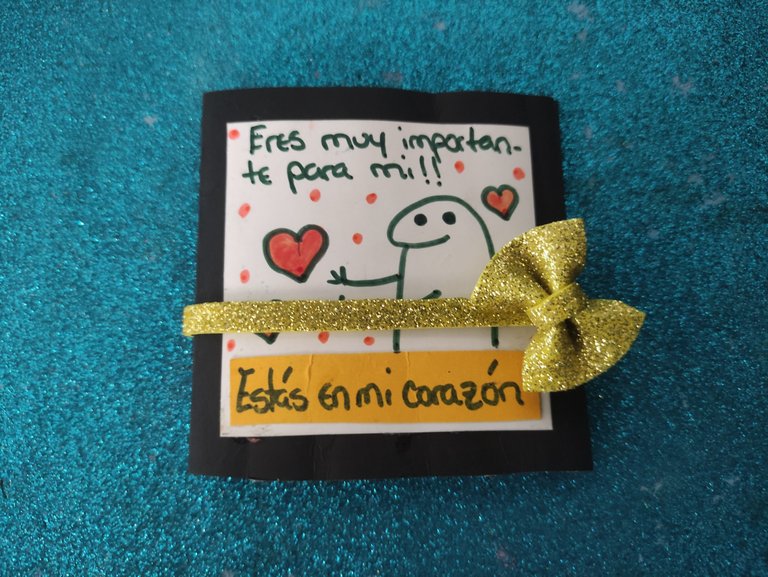


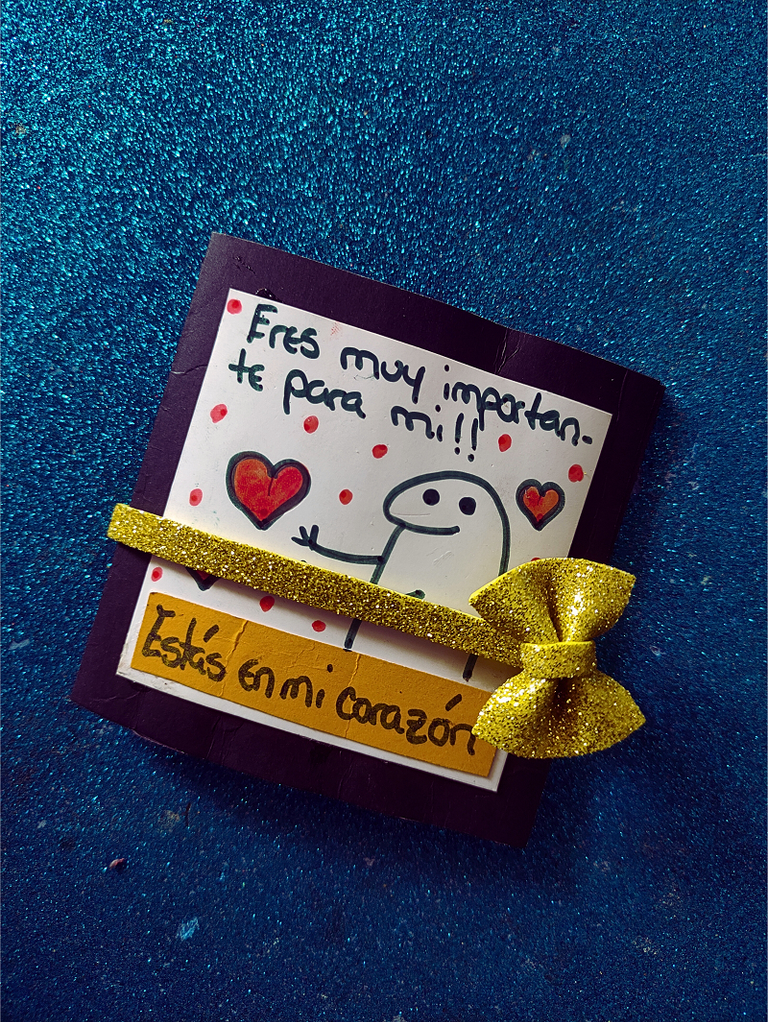
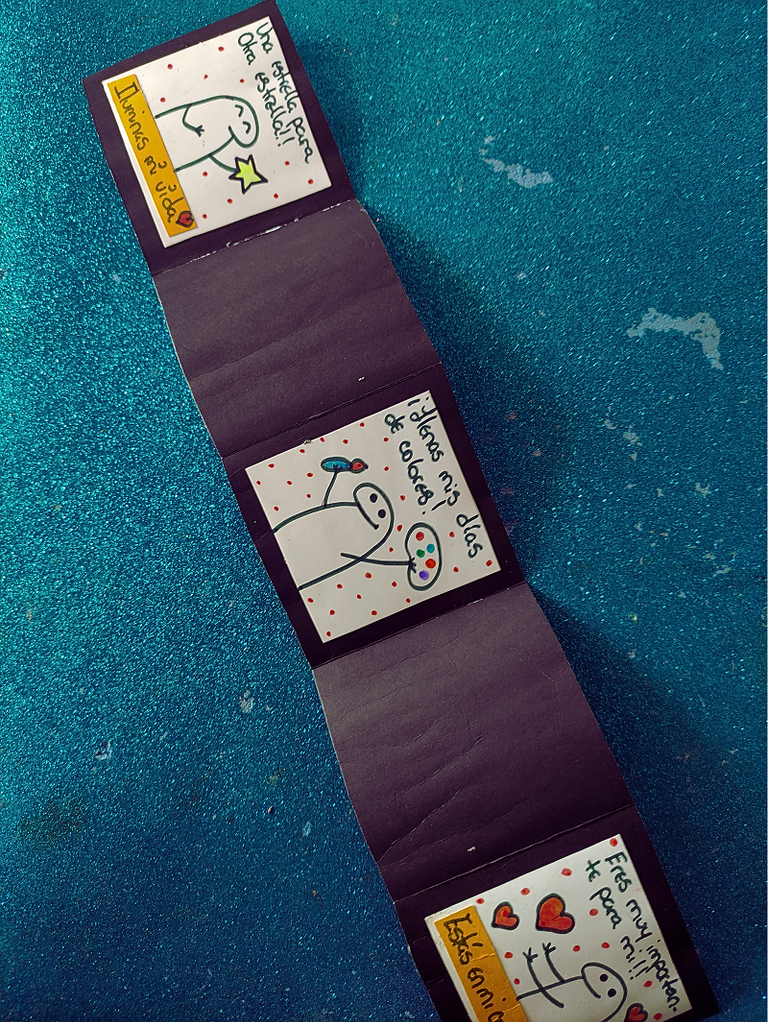
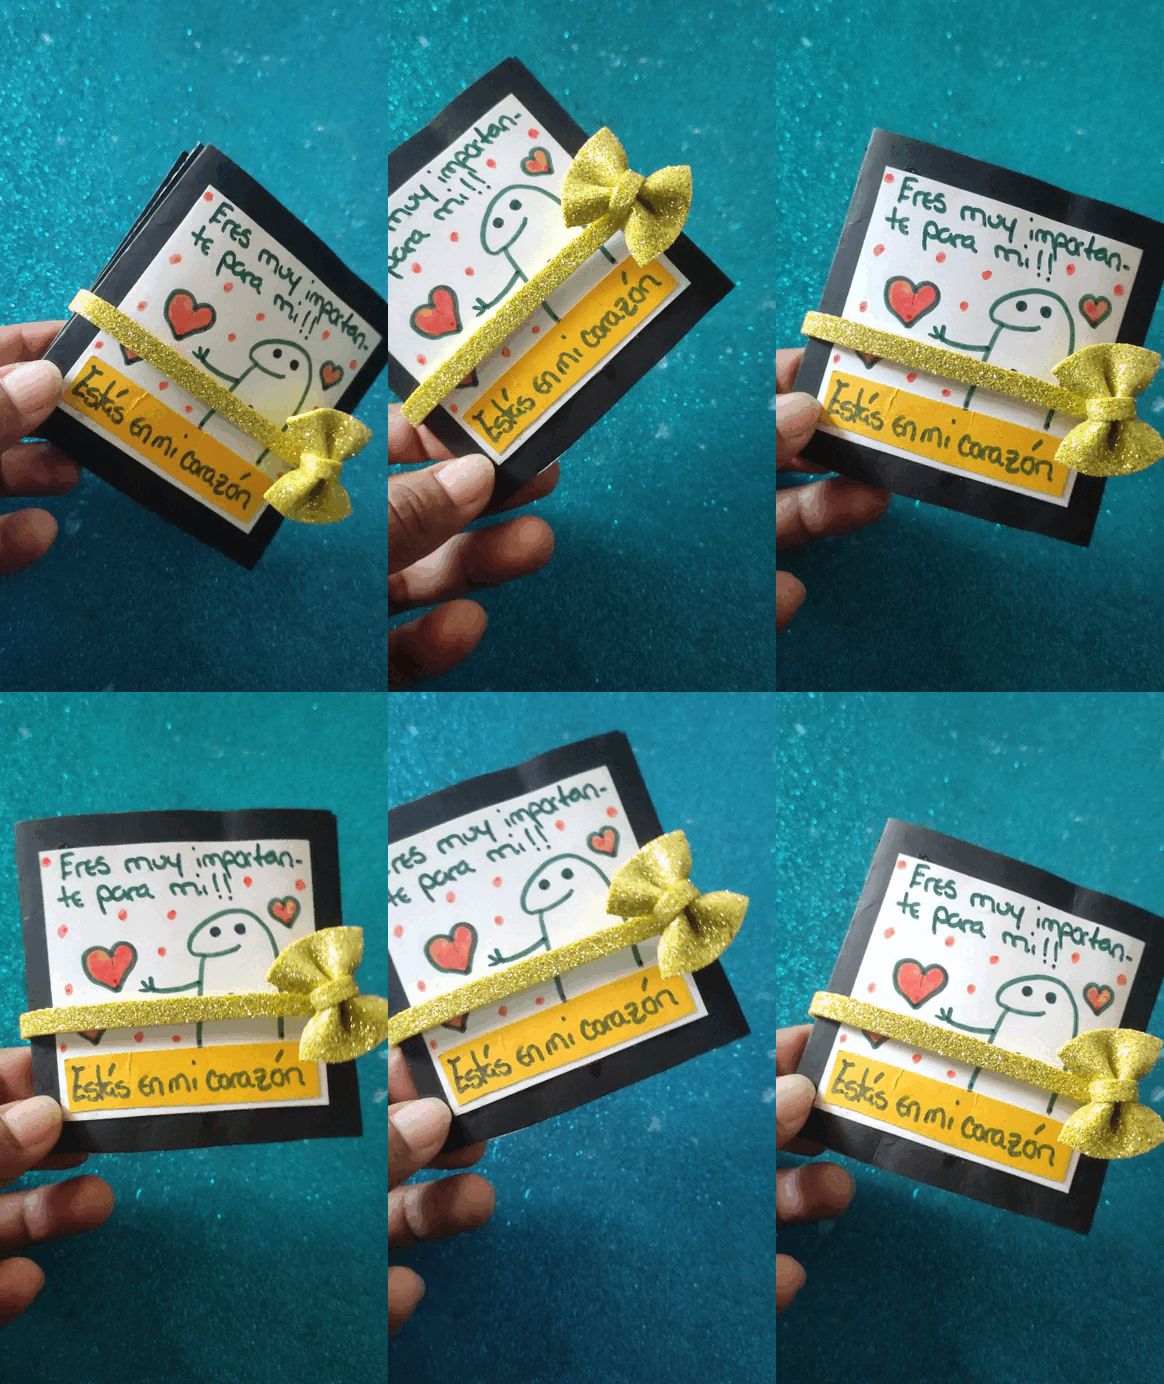


Así de simple se hace una tarjeta expandible, esta de más mencionar que el tema puede ser el que más te guste, o toma este tutorial como guía y sigue al pie de la letra las instrucciones, gracias por llegar hasta aquí, dime en los comentarios que te ha parecido.
This is how simple an expandable card is made, it goes without saying that the theme can be the one you like the most, or take this tutorial as a guide and follow the instructions to the letter, thanks for coming here, tell me in the comments what you thought.


Imágenes tomadas desde mi POCO X3. || Images taken from my POCO X3.
Separadores hechos en Canva. || Dividers made in Canva.
Ediciones hechas en Canva. || Editions made in Canva.
Vídeos convertidos en gif || Videos converted to gif IMG2GO
Translator Deepl.
Te quedó muy lindo amiga
No sabía que se llamaba así🤭. Te quedó super linda la tarjeta!!!