Hola , amigos de la comunidad #hivediy, saludos a todos.
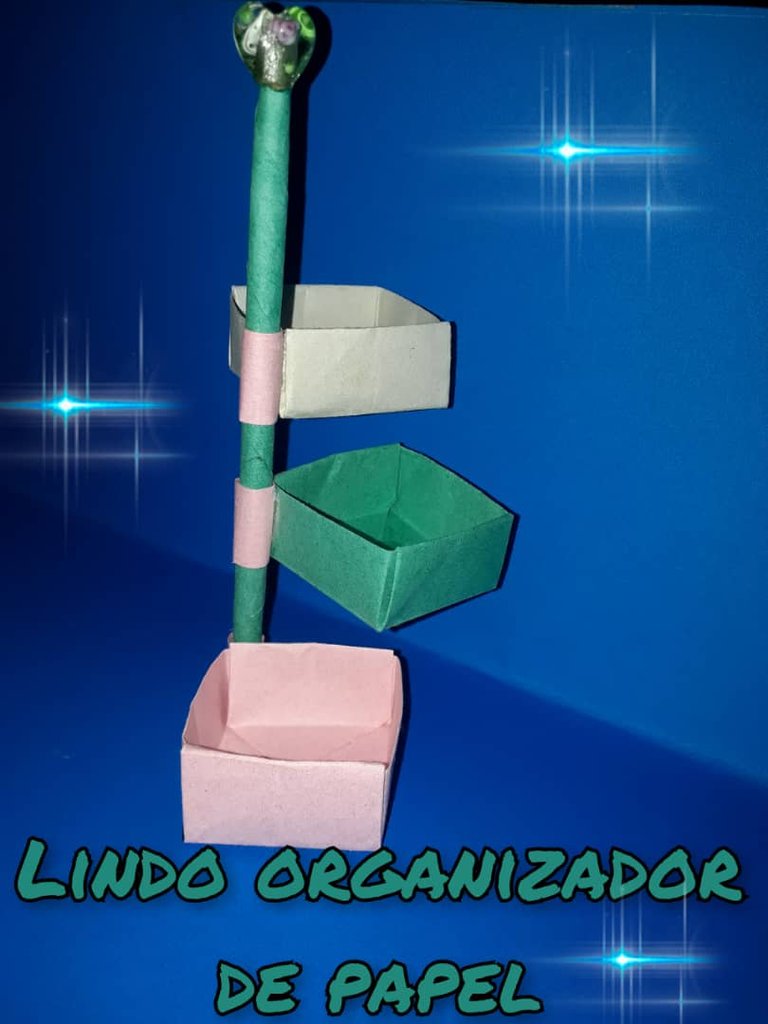
Hoy traigo un divertido bricolaje: Lindo organizador de papel.Es muy fácil de hacer.
Puede hacerse de cartón o con colores diferentes . Como lo desees, todos quedan lindo. Te invito a hacer el tuyo y comente como te fue.
Hello , friends of #hivediy community, greetings to all.
Today I bring a fun DIY: Cute paper organizer.It is very easy to make.
It can be made of cardboard or with different colors . As you wish, they all look cute. I invite you to make yours and comment how it went.
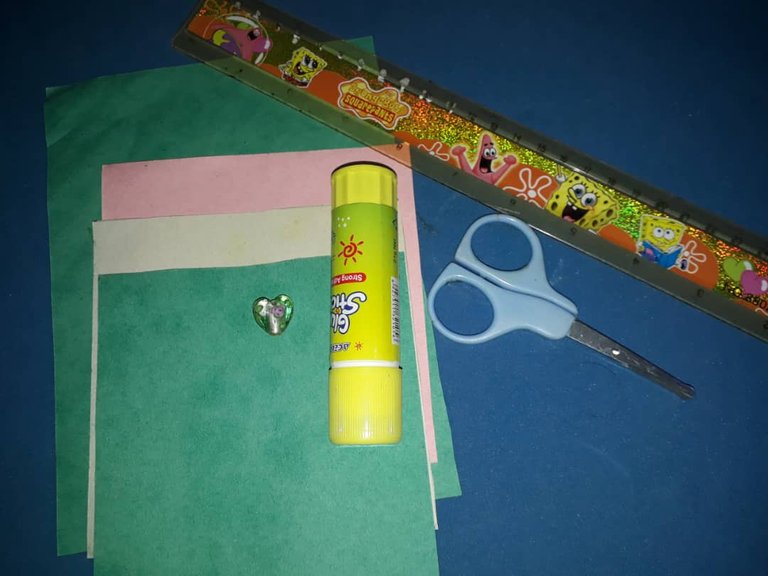
Materiales:
Papel de colores.
Pega en barra.
Tijera.
Regla.
Adorno de corazón.
Materials:
Colored paper.
Glue stick.
Scissors.
Ruler.
Heart ornament.
Paso a paso:
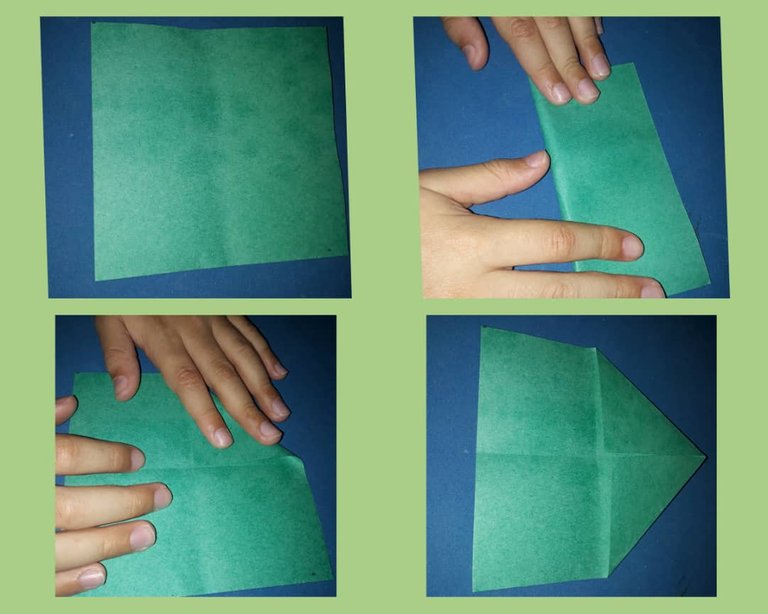
- Marca una medida de 14 x 14 cm,en los pedazos de papel: verde, rosado y beige
- Recorta con una tijera.
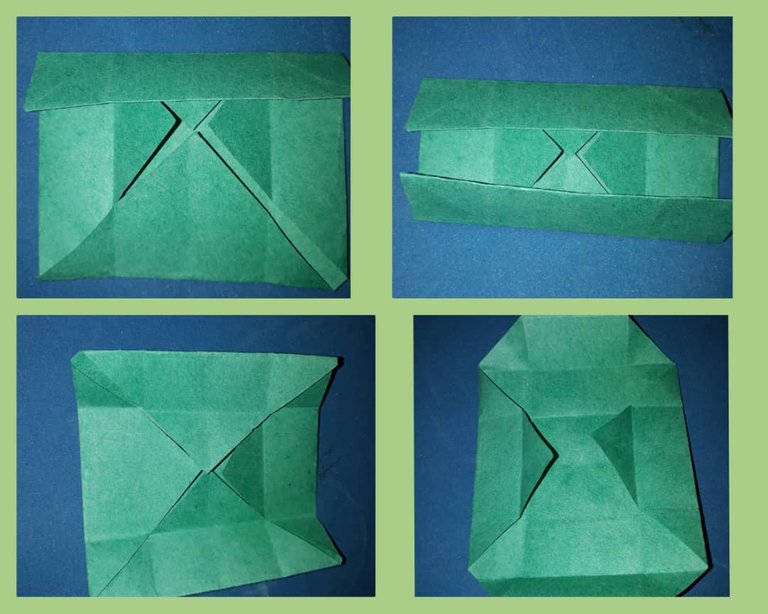
- Dobla el papel por la mitad.
- Doble la parte superior y la parte posterior, como indica la imagen.
Step by step:
- Mark a measure of 14 x 14 cm,on the pieces of paper: green, pink and beige.
- Cut out with scissors.
- Fold the paper in half.
- Fold the top and the back, as shown in the pict
- Después de haber doblado las dos partes: superior e inferior
- Ahora dobla los lados.
- After you have folded the two parts: top and bottom.
- Now you fold the sides.
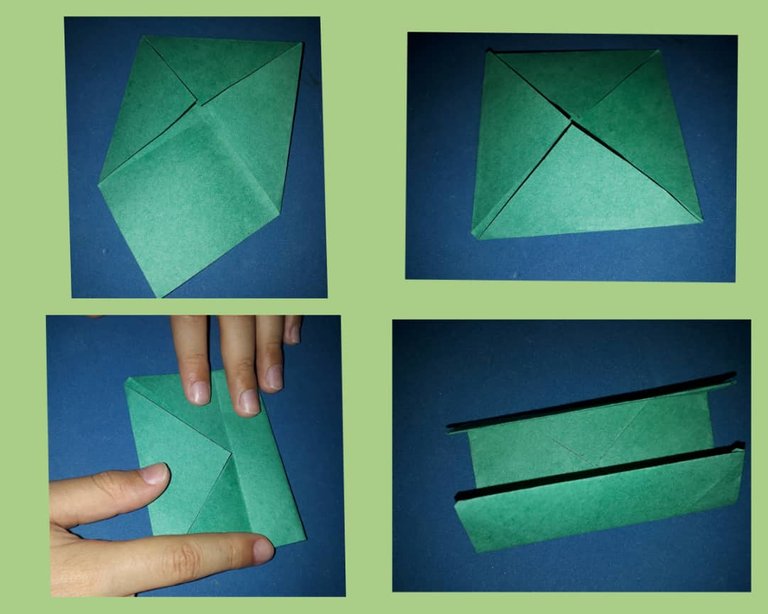
- Abre el cuadrado y te vas guiando por las marcas para hacer la cajita
- Open the square and follow the marks to make the box.
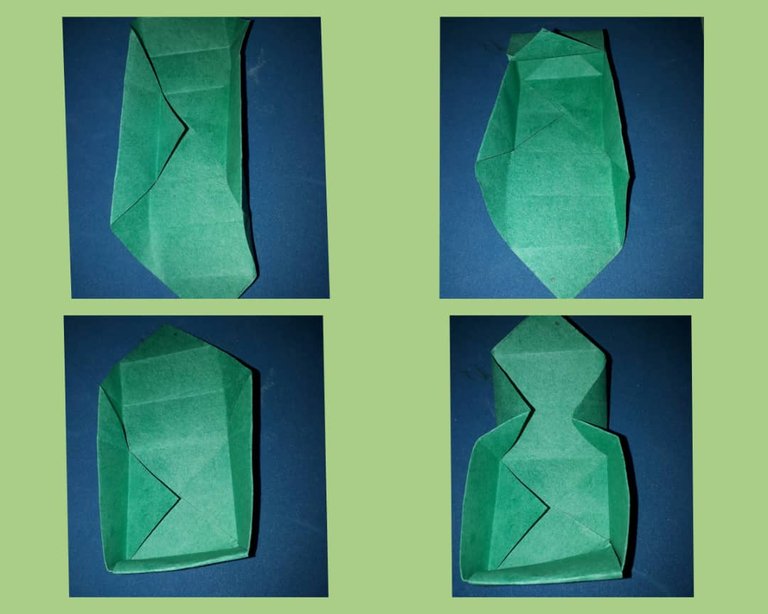
- Comience levantando los lados, para luego doblar las esquinas hacia adentro y tapar con la punta.
- Guiarse por la imagen.
- Start by lifting the sides, then fold the corners inward and cover with the tip.
- Follow the picture.
- De esta manera debe quedar la cajita del organizador
- Realice el mismo procedimiento con las otras cajitas.
- This is how the box for the organizer should look like.
- Do the same procedure with the other boxes.
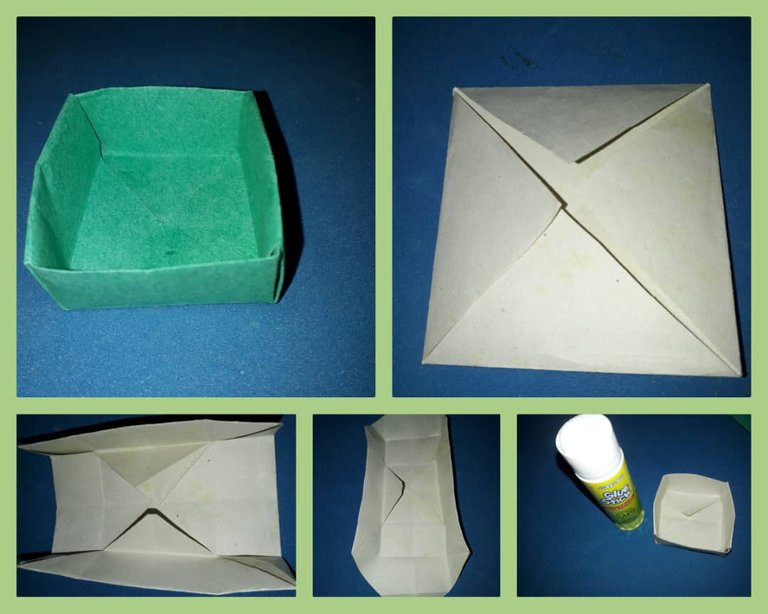
- Las cajitas listas.
- The boxes are ready.
- Ahora con el pedazo de papel verde que quedó, realizar el paral donde van metidas la cajita.
- Doblar el papel y déjalo como un palito al final agregarle pega.
- Now with the piece of green paper left over, make the parallel where the box will be placed.
- Fold the paper and leave it as a stick at the end add glue.
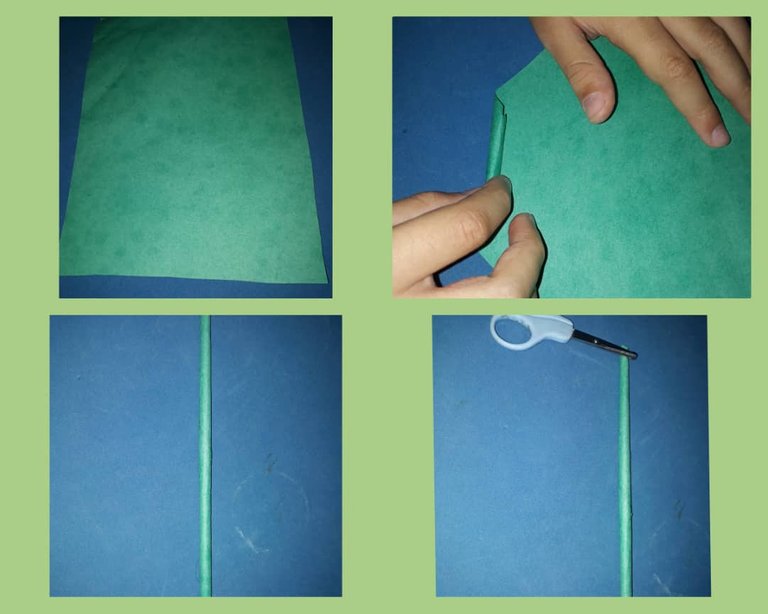
- Todo listo , para ir pegando las partes.
- All ready to glue the parts together.
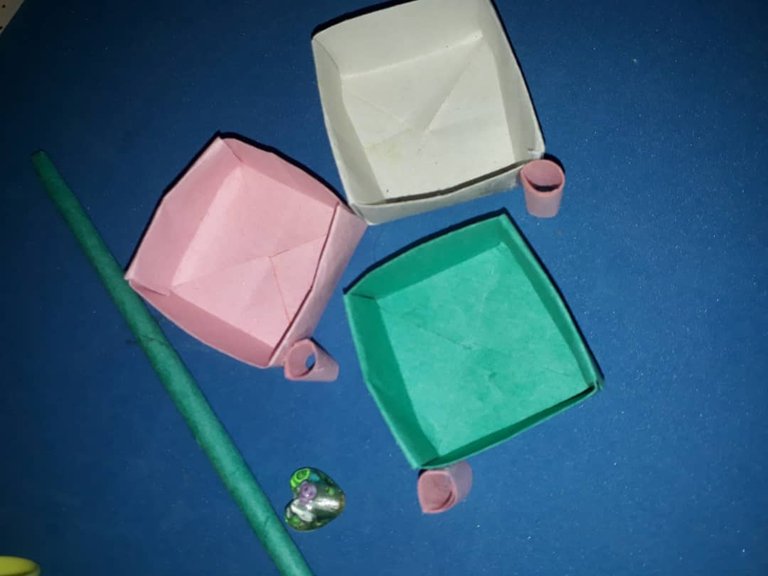
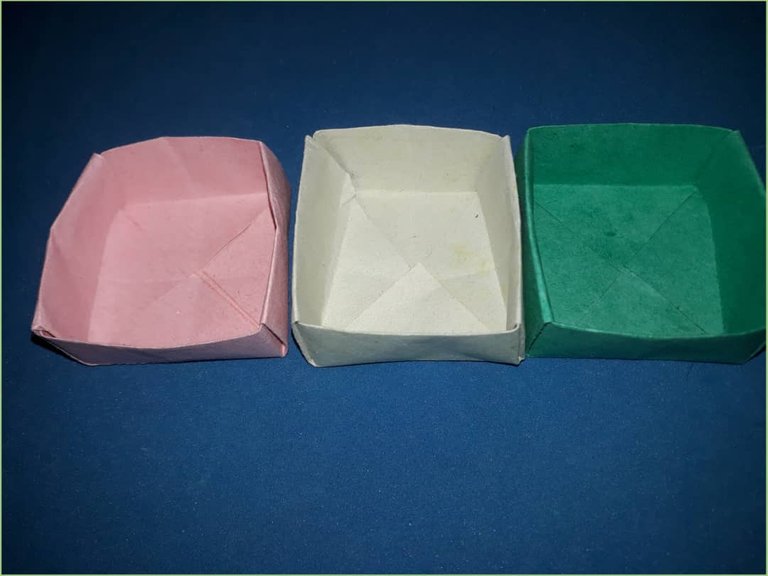
Podemos observar un lindo organizador de papel
We can see a nice paper organizer
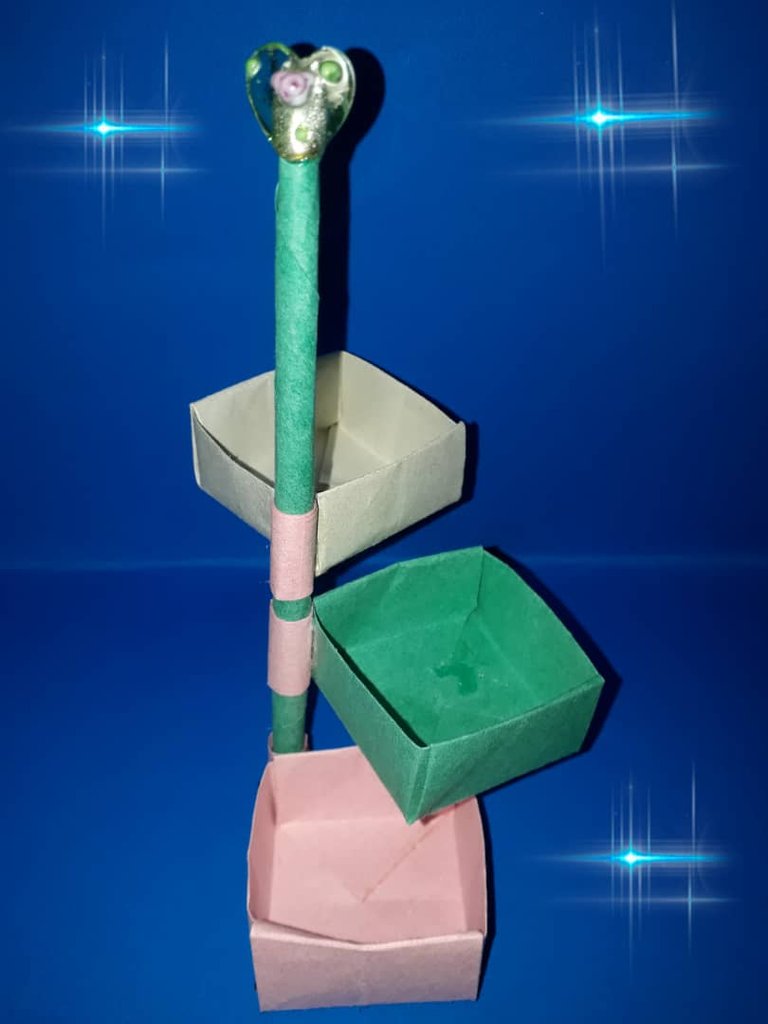
- Las cajitas se pueden mover y colocar como se desee.
- The boxes can be moved and positioned as desired.
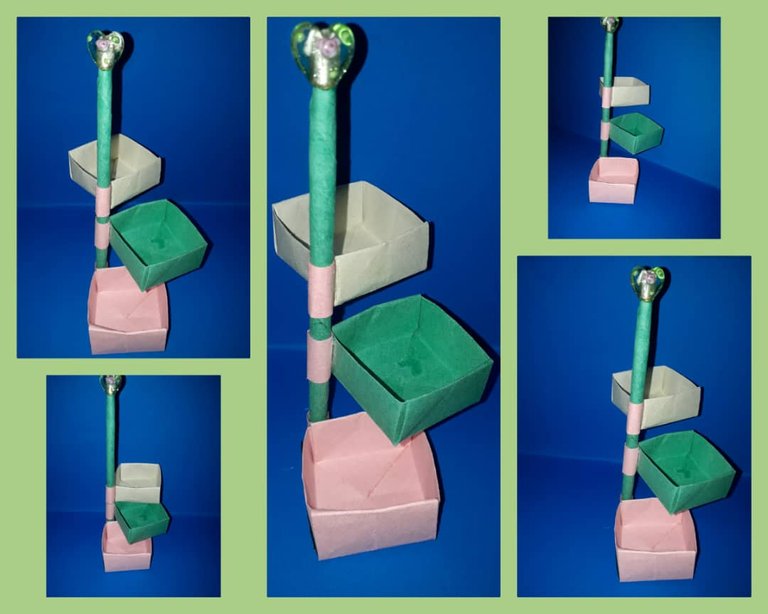
Espero les gusten y voten.
I hope you like them and vote.
@jesusal

Las fotos son mías, tomadas con teléfono Samsung y editada con incollage.
Traducido con DEEPL.
The photos are mine, taken with Samsung phone and edited with incollage.
Translated with DEEPL.