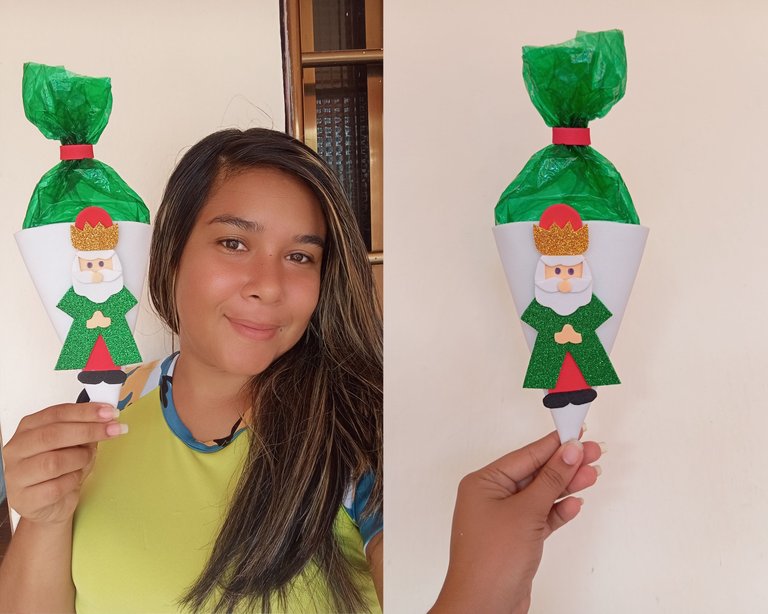
Hola muy buenas noches tengan todos mis apreciados y hermosos amigos , espero que se encuentren bien , les deseo una excelente semana , hoy les quiero compartir un pequeño cotillón que realicé para obsequiar el día de los reyes magos , este tiene un personaje que representa a (Gaspar) uno de los magos que forman parte de esta linda historia, es un modelo sencillo y les quiero compartir cómo elaborarlo
Hello very good evening to all my dear and beautiful friends, I hope you are well, I wish you an excellent week, today I want to share a small cotillion that I made to give away the day of the three kings, this has a character that represents (Gaspar) one of the magicians who are part of this beautiful story, it is a simple model and I want to share how to make it.
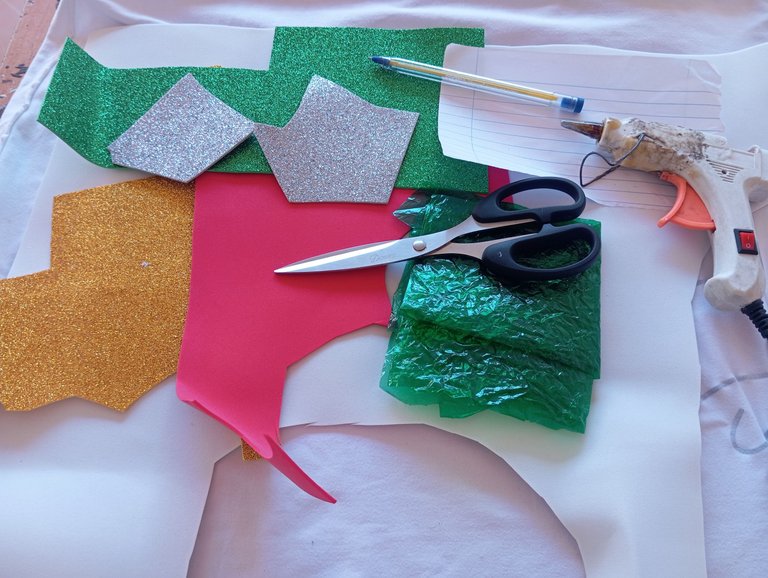
Materiales qué utilice para realizar mi cotillón de Gaspar :
-Foamis
-Tijera
-Silicon
-Papel celofán
-Papel y lápiz
Materials I used to make my Gaspar cotillion:
-Foamis
-Scissors
-Silicon
-Cellophane paper
-Paper and pencil
A continuación los pasos a Seguir:
Primer paso: Iniciaremos primeramente realizando un patrón con la temática que irá al frente de nuestro cotillón, en este caso el personaje mago Gaspar, primeramente realizamos su rostro, cabeza, barba, bigote y corona , más adelante continuamos con la vestimenta y zapatos
Here are the steps to follow:
First step: First we will start by making a pattern with the theme that will go in front of our cotillion, in this case the magician character Gaspar, first we make his face, head, beard, mustache and crown, later we continue with the clothes and shoes.
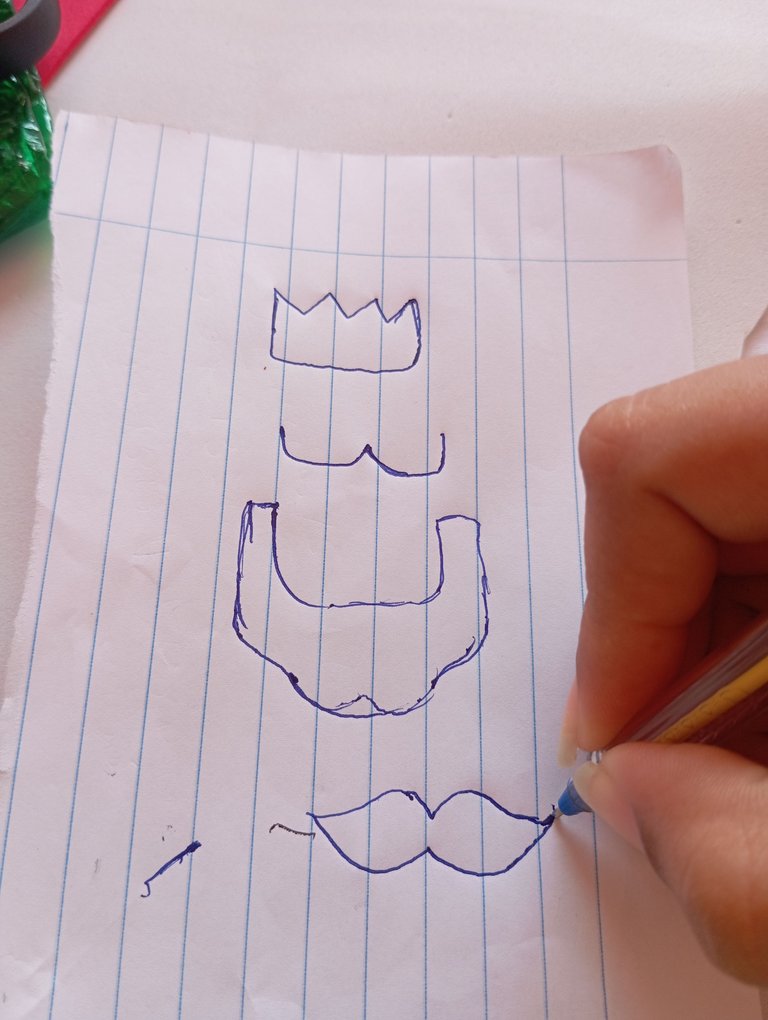
Segundo paso : una vez que tengamos listo nuestro patrón iniciaremos marcando las piezas en los foamis correspondientes o de nuestra preferencia
Second step: once we have our pattern ready, we start marking the pieces in the corresponding foamis or of our preference.

Tercer paso : una vez que marcamos nuestras piezas vamos a continuar recortando , Iniciaremos primeramente con la cabeza , barba , bigote y corona de Gaspar
Third step: once we have marked our pieces we will continue cutting, we will start first with Gaspar's head, beard, mustache and crown.
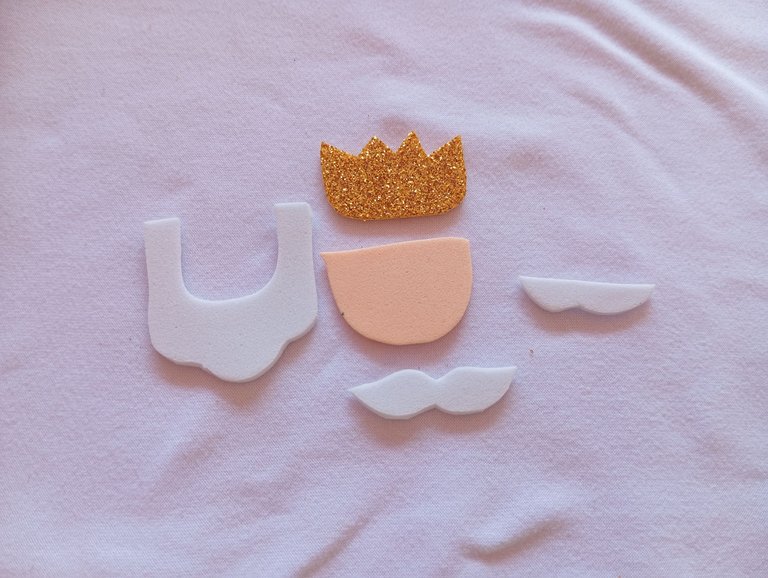
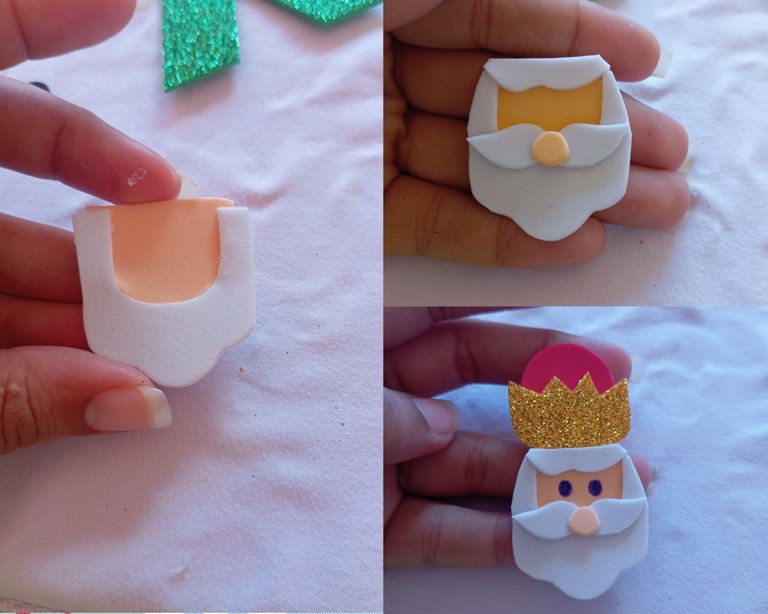
Cuarto paso: una vez que tengamos nuestras piezas iniciamos pegando y formando el rostro, primeramente pegamos su barba , luego continuación pegando su bigote y su nariz , finalmente pegamos su corona y le realizamos sus ojos
Fourth step: once we have our pieces we start gluing and forming the face, first we glue his beard, then we continue gluing his mustache and his nose, finally we glue his crown and we make his eyes.
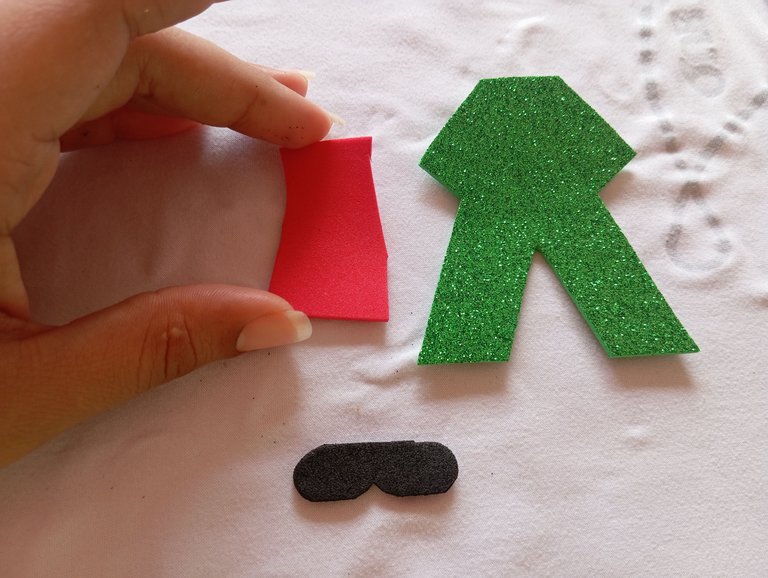
Quinto paso : a continuación en nuestro quinto paso vamos a proceder recortando la vestimenta de Gaspar , su bata(túnica) y sus zapatos , cómo les dije al principio los colores quedan a su preferencia
Fifth step: then in our fifth step we will proceed cutting out Gaspar's clothes, his robe and his shoes, as I said at the beginning the colors are left to your preference.
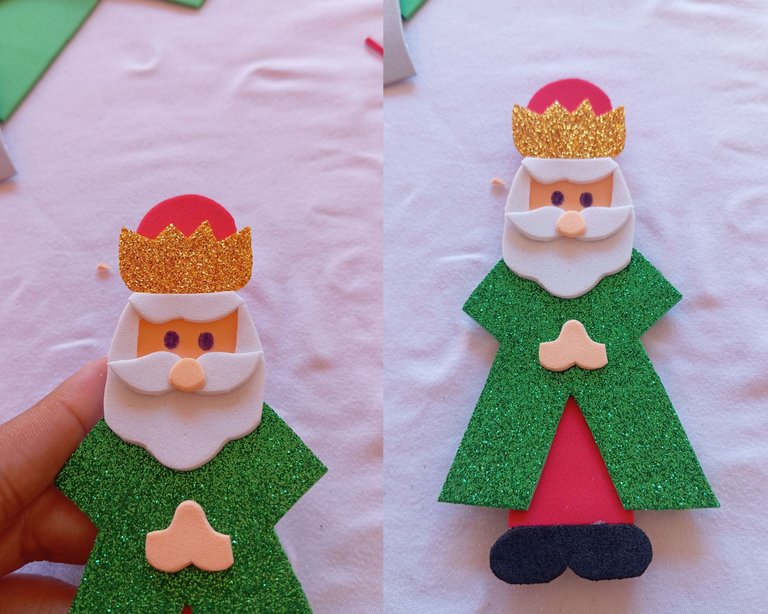
Sexto paso : luego vamos a proceder pegando la cabeza a la vestimenta o túnica de Gaspar , seguidamente finalizamos pegando abajo de la túnica un color rojo para que parezca una falda o pantalón que antes se usaba , por último pegaremos sus zapatos
Sixth step: then we will proceed by gluing the head to Gaspar's robe or tunic, then we will finish by gluing a red color under the tunic to make it look like a skirt or pants that was used before, finally we will glue his shoes
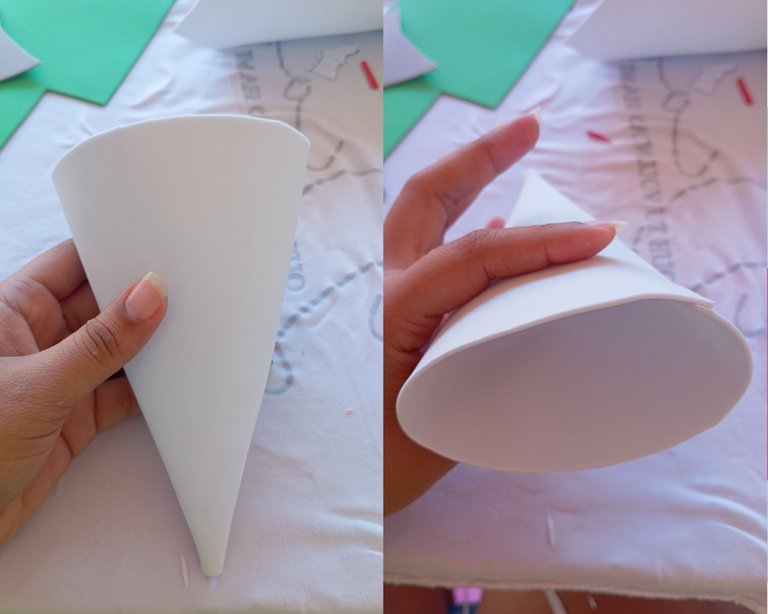
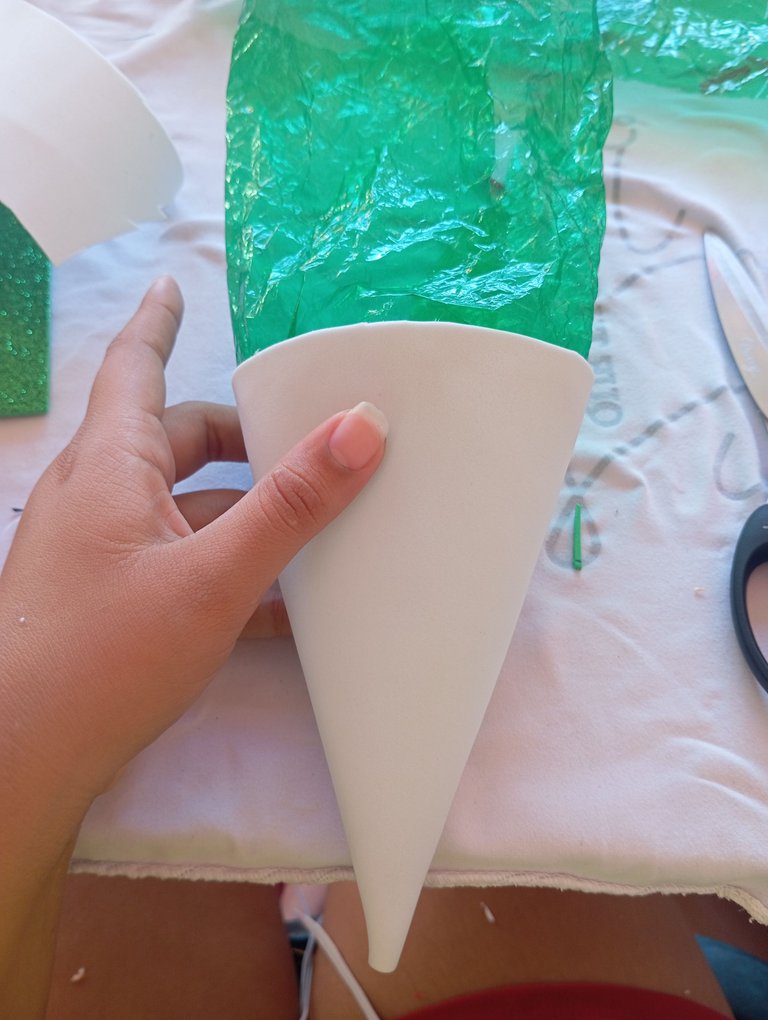
Séptimo paso : a continuación Iniciaremos tomando un recorte de foamis color blanco , doblaremos realizando un cono del tamaño a nuestra comodidad o gusto , dependerá de lo que vayamos a guardar en el cotillón
Seventh step: Next, we will start by taking a white foamis cutout, we will fold it making a cone of the size we like, it will depend on what we are going to keep in the cotillion.
Octavo paso : luego continuaremos tomando nuestro papel celofán ,recortaremos una tira y lo pegaremos por todo el alrededor del cono , este irá ubicado desde la parte de adentro del cono
Eighth step: then we will continue taking our cellophane paper, cut a strip and paste it all around the cone, this will be located from the inside of the cone.
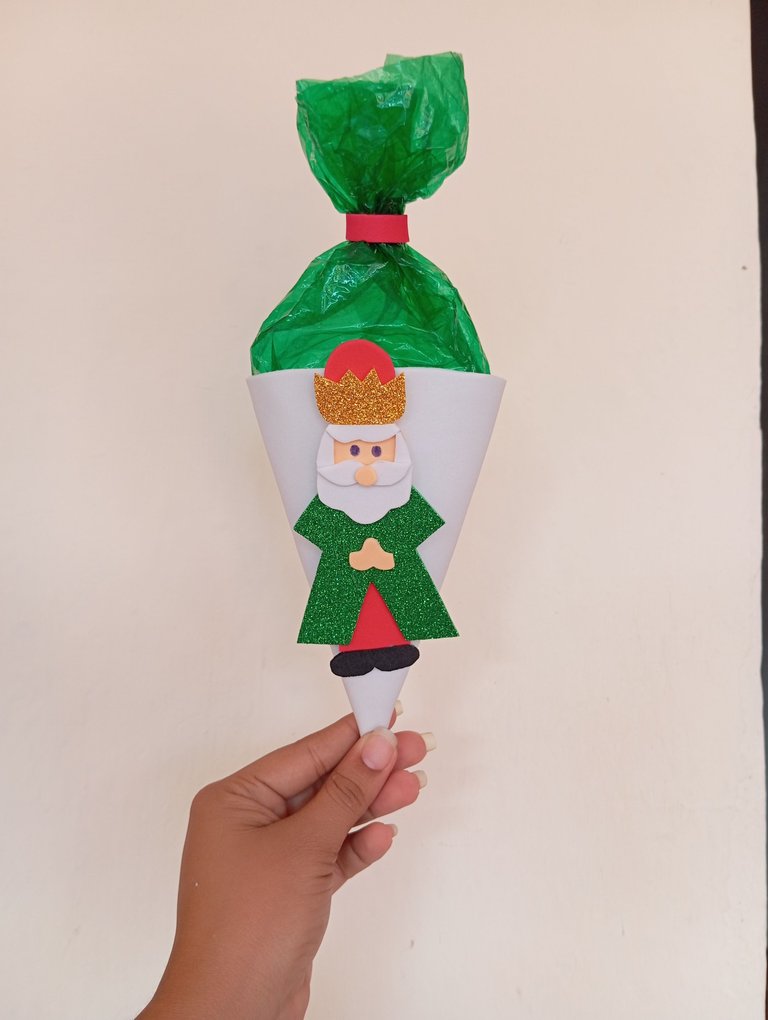
Noveno paso : finalmente vamos a continuar tomando el personaje mago Gaspar y lo pegaremos en todo el centro de nuestro cotillón en forma de cono , culminando así nuestra manualidad, la idea de compartir esto con ustedes es que se pueden guiar por el y realizar uno para fiestas y obsequio con otra temática diferente
Créditos: las fotos las tomé con mi redmi 12 y traduje los textos con el traductor deepl, feliz tarde
Ninth step: finally we will continue taking the character Gaspar the magician and we will glue it all around the center of our cotillion in the shape of a cone, thus culminating our craft, the idea of sharing this with you is that you can be guided by it and make one for parties and gifts with a different theme.
Credits: the photos were taken with my redmi 12 and I translated the texts with the deepl translator, happy afternoon.
Que hermoso y creativo 😌
Muchas gracias
Te quedó muy lindo !PIZZA 🍕
$PIZZA slices delivered:
(1/5) @chacald.dcymt tipped @jorgelissanchez