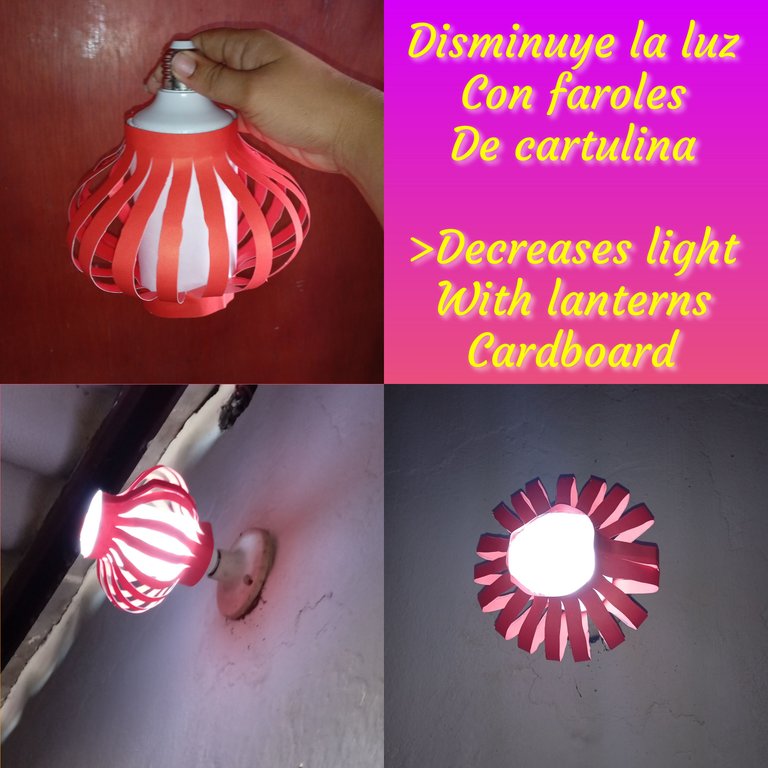
Hola muy buenas tardes mis estimados amigos lectores y creadores de contenido , feliz tarde para todos , espero se encuentren bien ,el día de hoy les quiero compartir un tutorial para relalizar una farola de cartulina , el motivo de crear esto es que en nuestro pueblo por temporada llegan las" palometas peludas " esto nos pone en una situación fuerte y nos hace apagar la luz o pintar los bombillos debido ha que ellos buscan la luz , esto es algo terrible que nos azota , les cuento que me ha sido de gran utilidad
Hello very good afternoon my dear friends readers and content creators, happy afternoon to all, I hope you are well, today I want to share a tutorial to relalizar a cardboard lamp post, the reason for creating this is that in our people seasonally come the" hairy popcorn " this puts us in a strong situation and makes us turn off the light or paint the bulbs because they are looking for the light, this is something terrible that strikes us, I tell them that I have been very useful
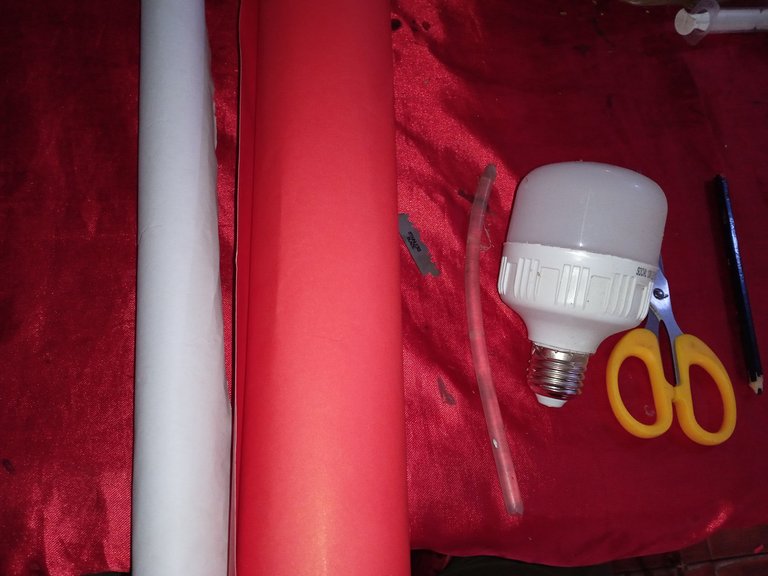
Materiales que utilice :
Cartulina
Hoja en blanca
Tijera
Silicón
Hojilla
Materials used :
Cardboard
Blank sheet
Scissors
Silicone
Blade
A continuación los pasos a seguir :
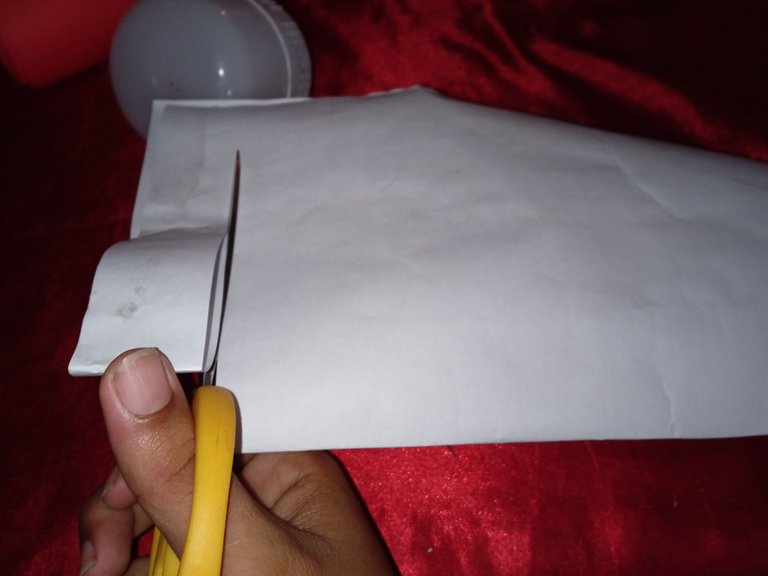
Iniciaremos realizando el fondo del farol o lámpara de cartulina , tomamos la hoja en blanca , doblamos y recortamos ,debe tener la medida del bombillo para que pueda entrar a la perfección
Here are the steps to follow:
We will begin by making the bottom of the lantern or cardboard lamp, we take the white sheet, fold and cut, it must have the size of the bulb so that it can fit perfectly.
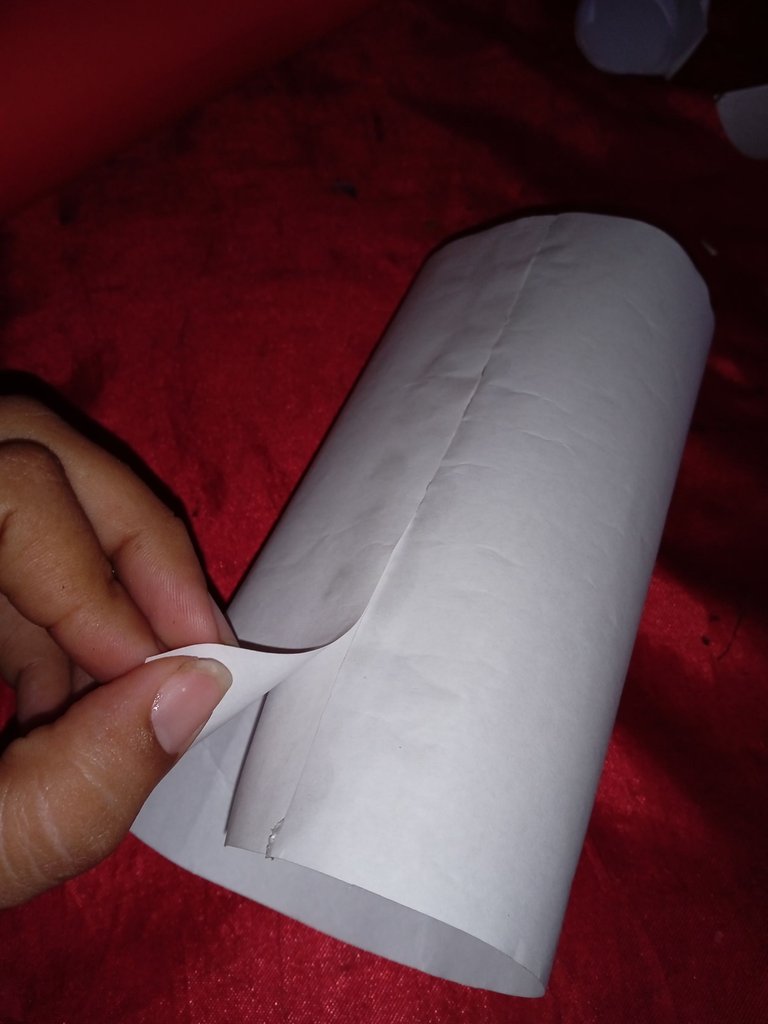
Luego continuamos pegando borde con borde de la hoja de papel , realizando así una forma de cilindro , armando de esta forma el fondo de la lámpara
Then we continue gluing edge to edge of the sheet of paper, making a cylinder shape, thus assembling the bottom of the lamp.
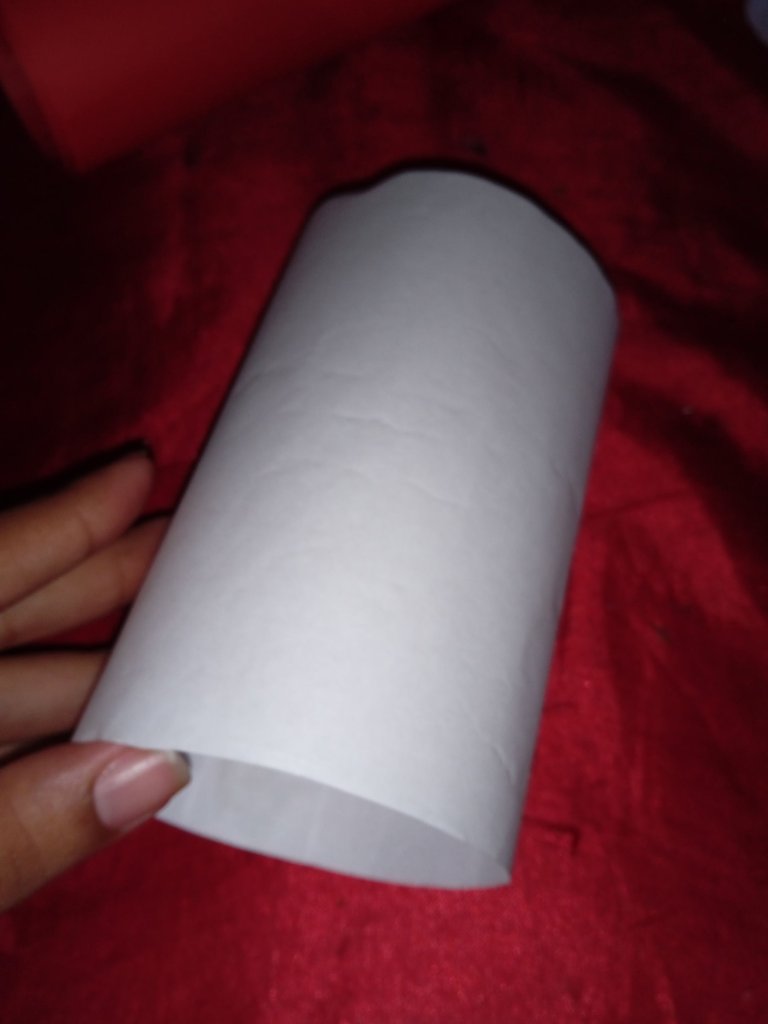
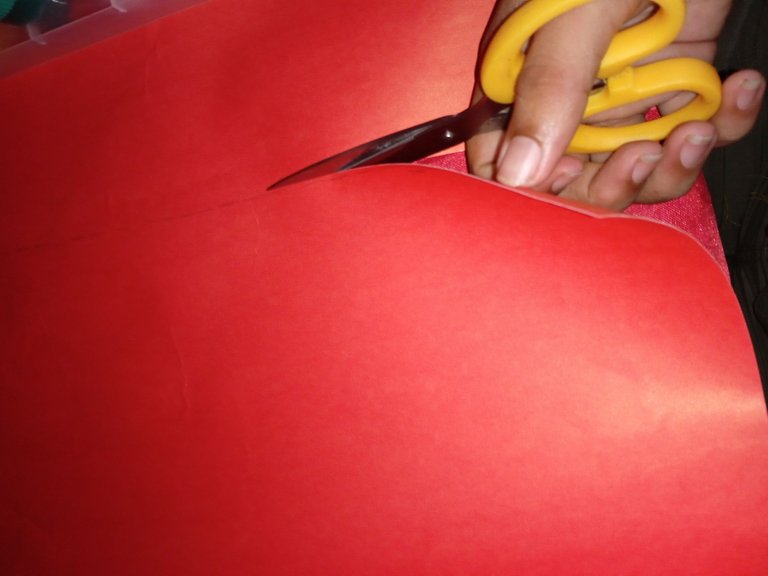
Luego continuaremos recortando la cartulina , para saber el tamaño exacto de la cartulina , la enrollamos en el bombillo y sabremos el tamaño
Then we will continue cutting the cardboard, to know the exact size of the cardboard, we roll it on the bulb and we will know the size.
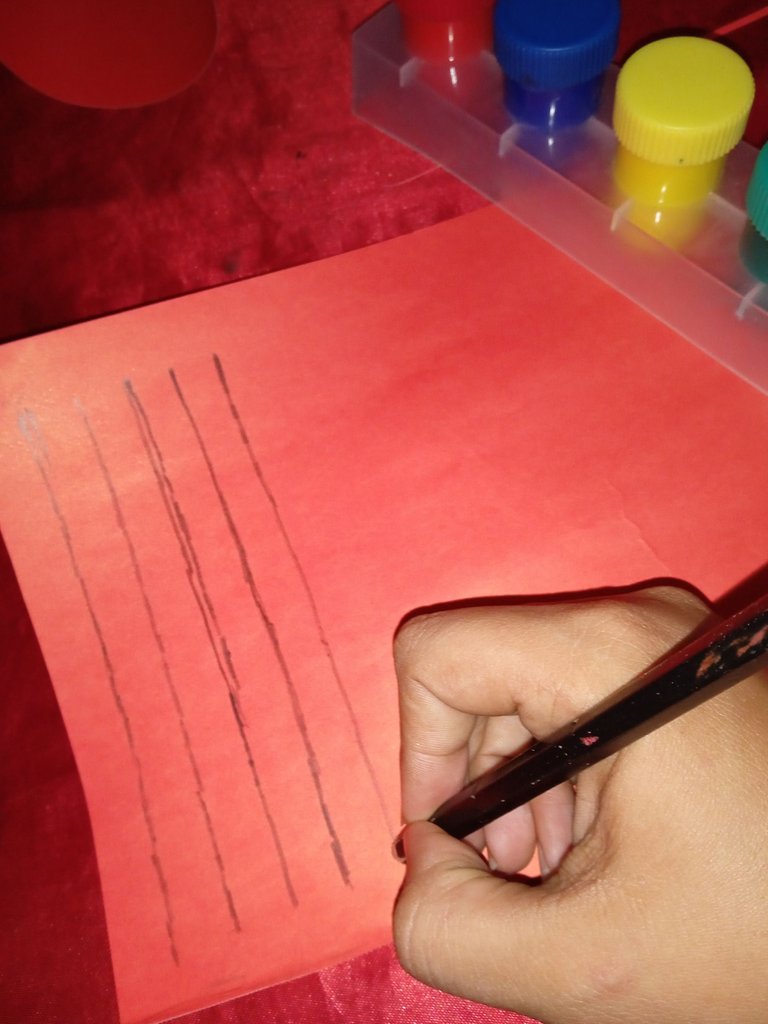
Luego continuaremos marcando unas rayas verticales en la cartulina ,dejando en medio de cada raya un pequeño espacio de 1.2 cm de ancho para luego cortar lo más adelante
Then we will continue marking vertical stripes on the cardboard, leaving in the middle of each stripe a small space of 1.2 cm wide to cut later on.
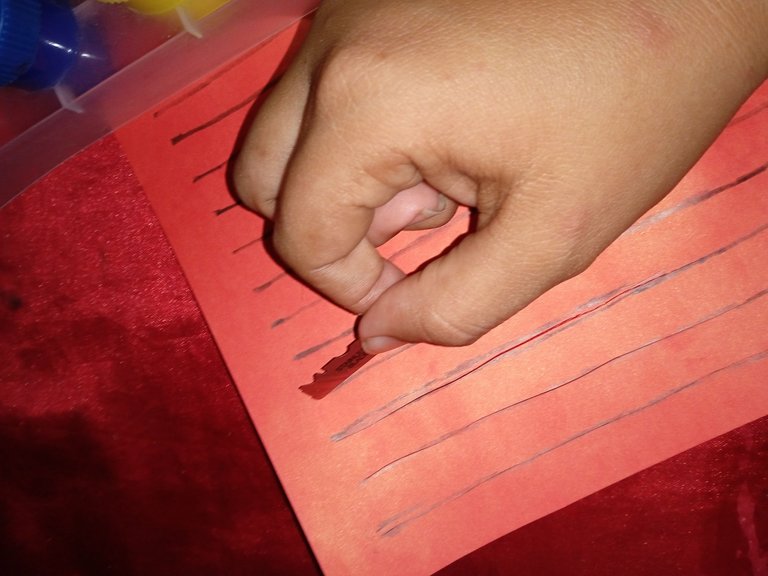
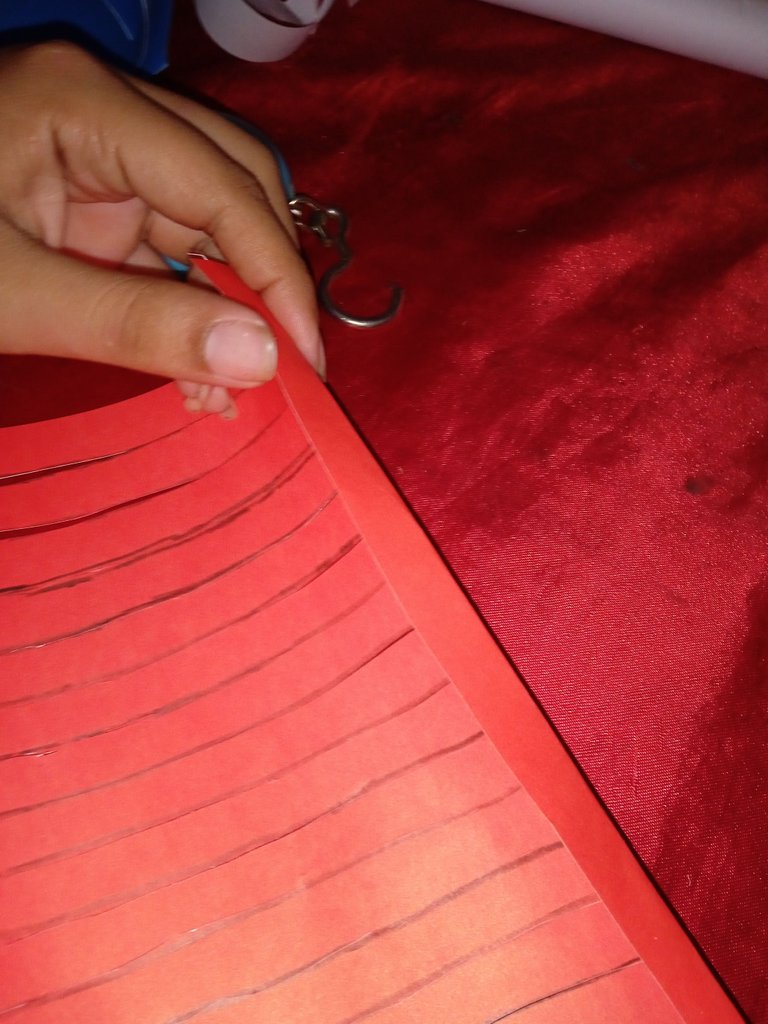
En este siguiente paso , tomaremos una hojilla o un exacto , y cortaremos por cada raya que dibujamos en el paso anterior
In this next step, we will take a blade or an exacto, and we will cut through each line we drew in the previous step.
Luego continuamos doblando el borde que dejamos sin recortar , una vez que se encuentre doblada , procedimos a pegar borde con borde
Then we continue folding the edge that we left untrimmed, once it is folded, we proceed to glue edge to edge.
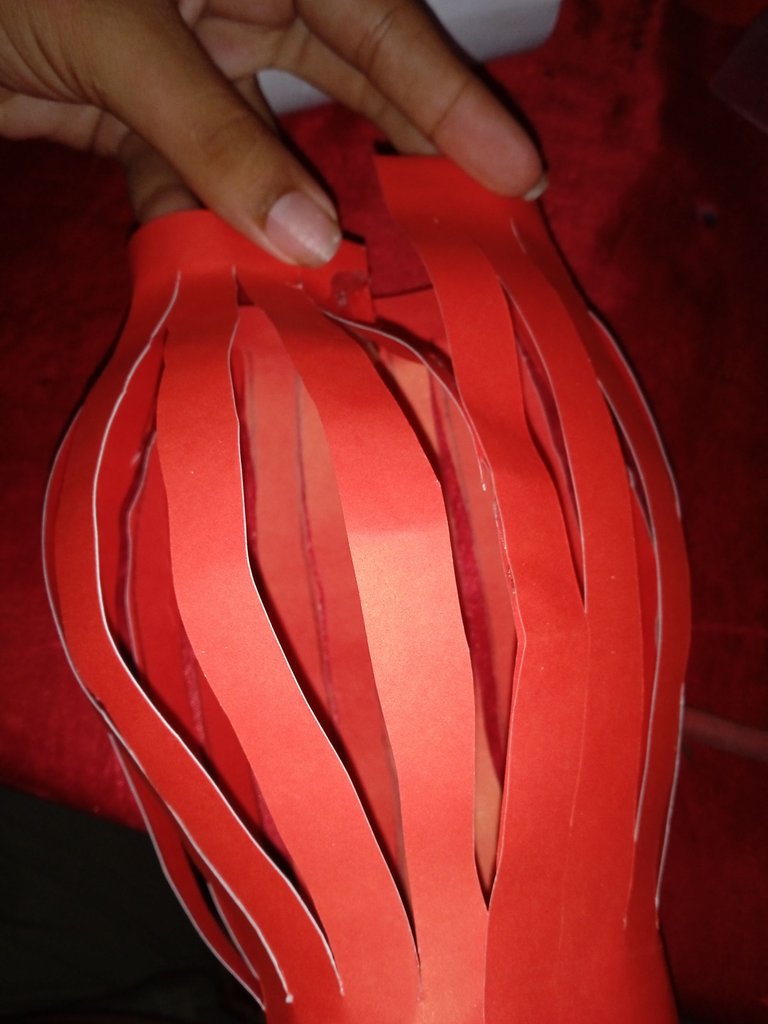
Luego continuaremos introduciendo el fondo del farol ,pegando las esquina por dentro , el fondo es necesario para que pueda disminuir la luz del bombillo
Then we will continue introducing the bottom of the lantern, gluing the corners inside, the bottom is necessary so that it can reduce the light of the bulb.
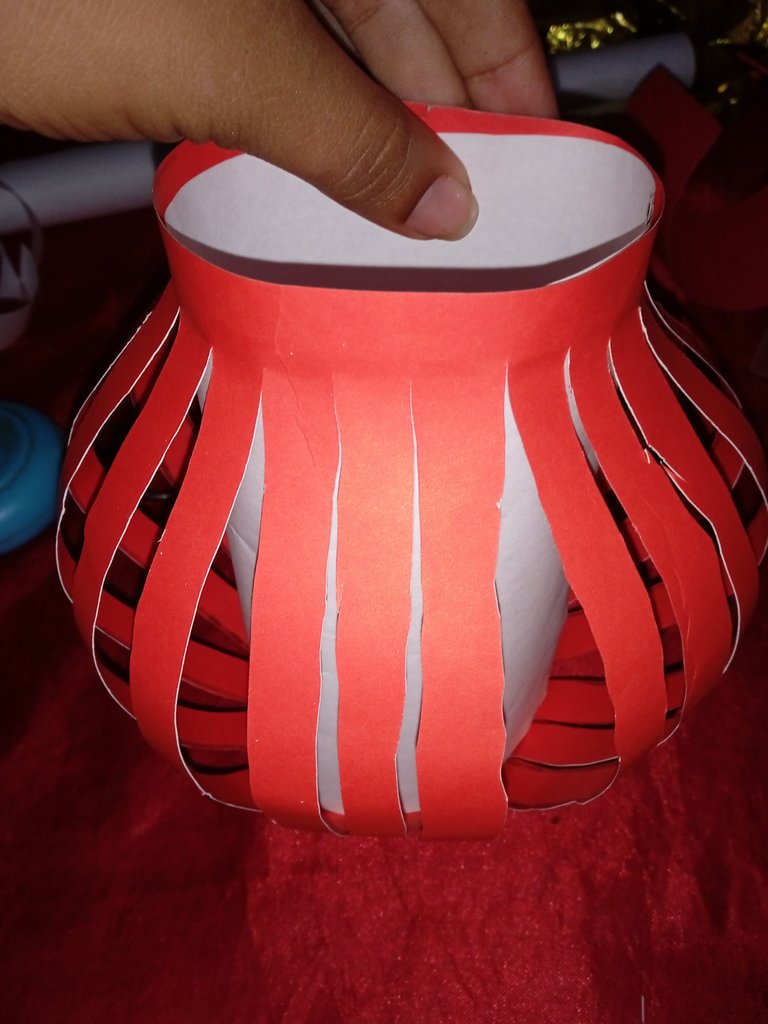
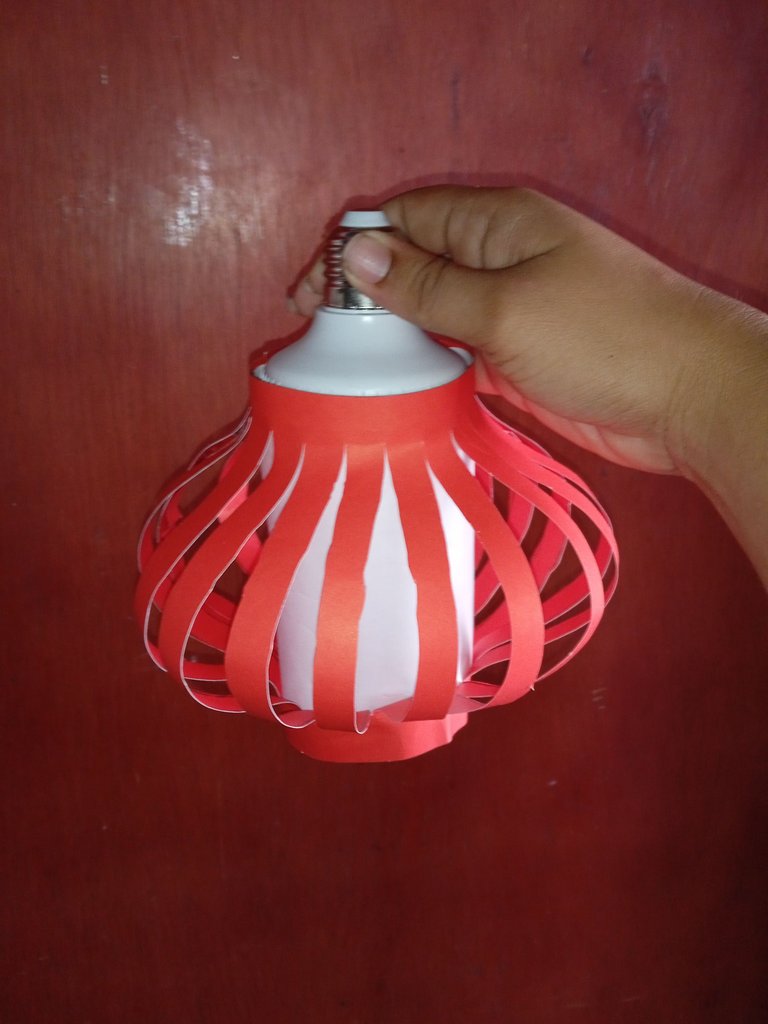
Finalmente para culminar nuestro farol de cartulina (lámpara ) introducimos el bombillo en el farol , para más adelante colocar lo en el socate y encender lo
Finally, to complete our cardboard lantern (lamp) we insert the bulb in the lantern, to later place it in the socket and light it.

Buena idea🤗✨
Que buena idea amiga👍
Gracias amiga
Thank you for sharing this amazing post on HIVE!
non-profit curation initiative!Your content got selected by our fellow curator @rezoanulvibes & you just received a little thank you via an upvote from our
You will be featured in one of our recurring curation compilations and on our pinterest boards! Both are aiming to offer you a stage to widen your audience within and outside of the DIY scene of hive.
Join the official DIYHub community on HIVE and show us more of your amazing work and feel free to connect with us and other DIYers via our discord server: https://discord.gg/mY5uCfQ !
If you want to support our goal to motivate other DIY/art/music/homesteading/... creators just delegate to us and earn 100% of your curation rewards!
Stay creative & hive on!
Congratulations @jorgelissanchez! You have completed the following achievement on the Hive blockchain and have been rewarded with new badge(s):
Your next target is to reach 800 replies.
You can view your badges on your board and compare yourself to others in the Ranking
If you no longer want to receive notifications, reply to this comment with the word
STOPSupport the HiveBuzz project. Vote for our proposal!