Hola mis queridos amigos de la comunidad hivediy y hive en general , espero que se encuentren bien , pasando un agradable domingo, en la tarde de hoy les quiero compartir un lindo mini organizador personalizado que realicé con material de provecho, es un proceso sumamente sencillo pero amarán el resultado, lo personalice con una frase muy significativa y profunda para mí (Fé) soy una persona ful creyente de que con fé podemos lograr muchas cosas
Hello my dear friends of the hivediy community and hive in general, I hope you are well, having a nice Sunday, today I want to share with you a nice personalized mini organizer that I made with useful materials, it is an extremely simple process but you will love the result, I personalized it with a very meaningful and deep phrase for me (Faith) I am a full believer that with faith we can achieve many things
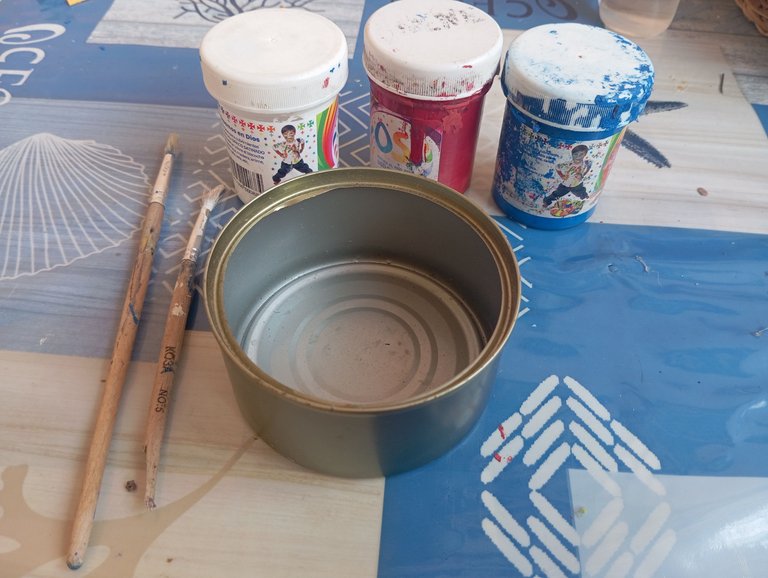
Materiales qué utilice para mí organizador :
Los materiales son pocos y fáciles de conseguir
-Lata reciclada pequeña (una grande también es útil)
-Pinturas: blanca ,roja ,azul y negra
-Pincel
Materials that I use for my organizer:
The materials are few and easy to get
-Small recycled tin (a big one is also useful)
-Paints: white, red, blue and black
-Pencil
A continuación los pasos a seguir:
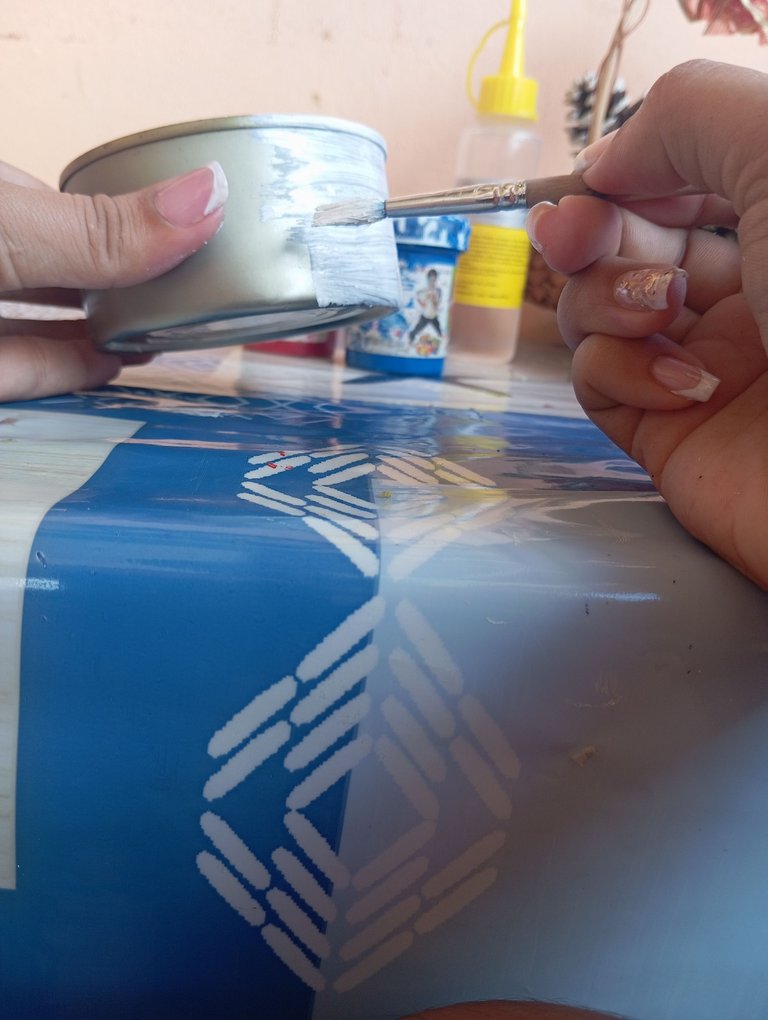
Paso número 1: en nuestro primer paso debemos tomar una pintura la cual será nuestra base , es decir el color que tendrá nuestra lata reciclada, el fondo , para esta ocasión utilicé color blanco ya que es un color que combina con cualquier otro color , iniciaremos aplicando la primera capa de pintura y llevamos a sol para que seque
The following are the steps to follow:
Step number 1: in our first step we must take a paint which will be our base, ie the color that will have our recycled can, the background, for this occasion I used white color as it is a color that combines with any other color, we will start by applying the first coat of paint and take to sun to dry
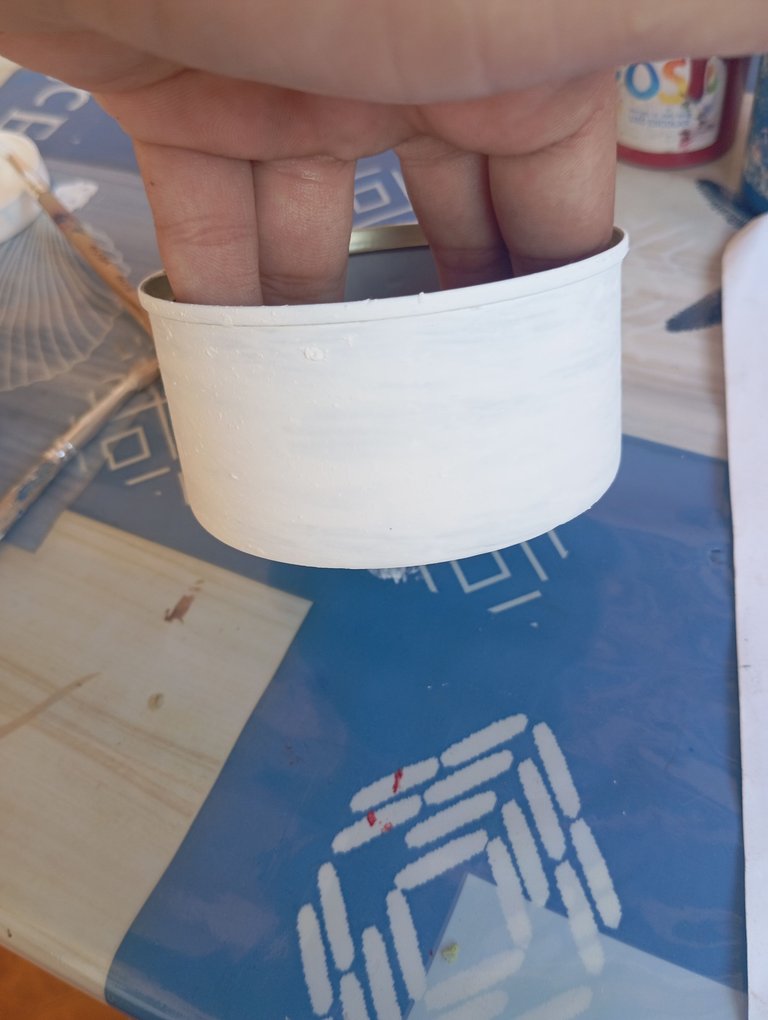
Paso número 2: una vez que se aplique las dos primeras capas de pintura, vamos a aplicar la tercera capa para que quede un blanco fuerte y no se vea mal pintado , aplique tres capas de pintura blanca , cada vez que aplicamos una capa de pintura llevamos al sol para que seque y poder así continuar pintando
Step number 2: once the first two coats of paint are applied, we will apply the third layer so that it is a strong white and does not look bad painted, apply three coats of white paint, each time we apply a coat of paint we take to the sun to dry so it can continue painting
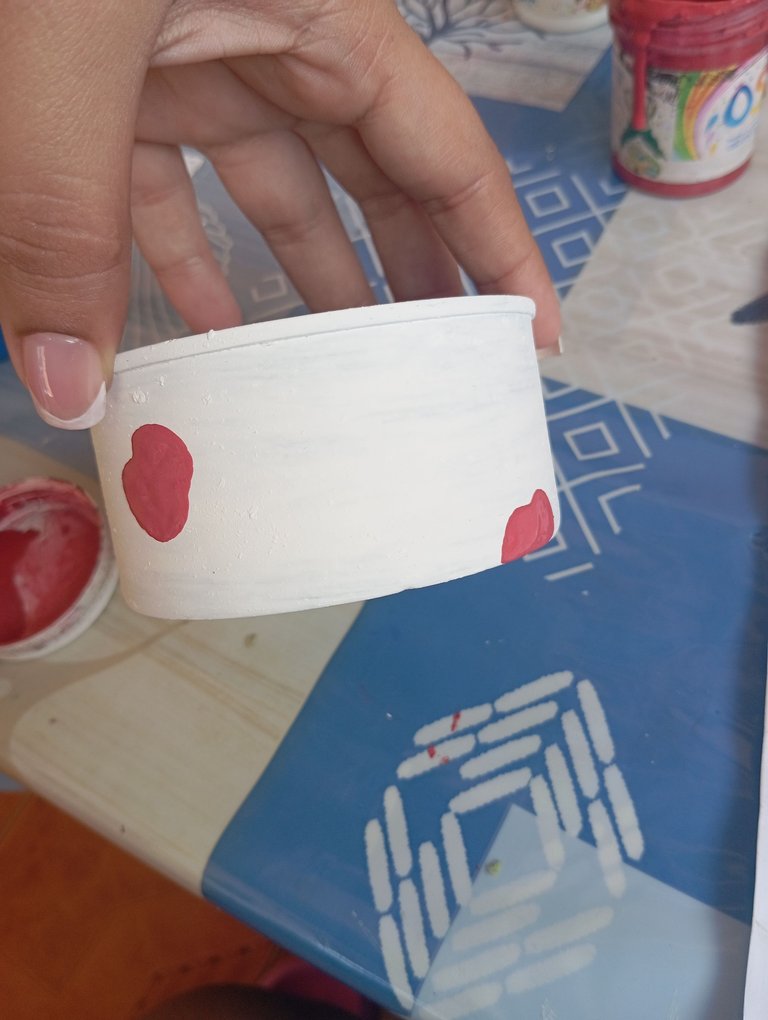
Paso número 3: a continuación vamos a proceder pintando unas manchas de colores de forma separadas, iniciaremos pintando primeramente unas manchas rosa , digo manchas porque no son círculos ya que no necesariamente deben quedar derechos ,luego más adelante realizamos las de color azul , algo importante que mencionar : (no disponía del rosa y lo realicé con pintura roja y blanca)
Step number 3: then we will proceed painting some colored spots separately, we will start painting first some pink spots, I say spots because they are not circles as they do not necessarily have to be straight, then later we make the blue, something important to mention: (I did not have the pink and I made it with red and white paint)
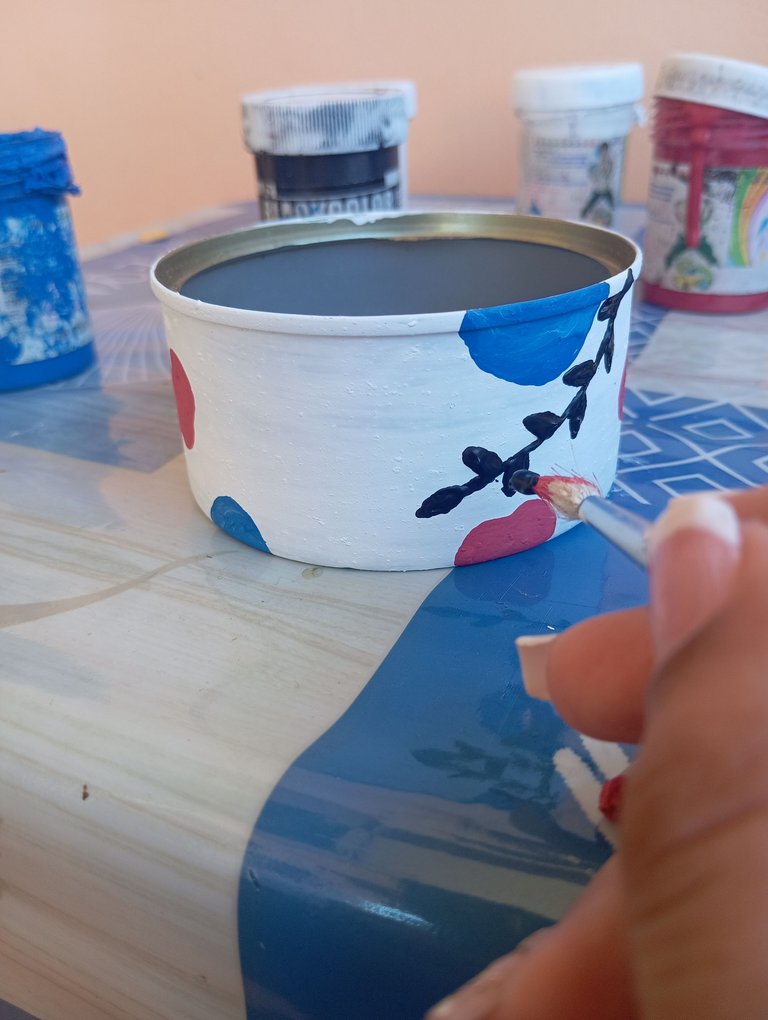
Paso número 4: a continuación en nuestro cuarto paso vamos a proceder tomando nuestra pintura color negro y realizaremos unas ramas , realizamos una raya y a los lados los pétalos de forma separada , vamos a realizar dos en total, una de cada lado del organizador
Step number 4: then in our fourth step we will proceed taking our black paint and we will make some branches, we make a stripe and on the sides the petals separately, we will make two in total, one on each side of the organizer
Paso número 5: para culminar con nuestro diseño vamos a proceder tomando nuestra pintura negra y vamos a personalizar nuestro organizador en todo el centro escribiremos la palabra Fé, como les dije soy fiel creyente que con mucha fé podremos lograr muchas cosas ,finalizando así nuestro mini organizador
Step number 5: to culminate with our design we will proceed taking our black paint and we will personalize our organizer in the center we will write the word Faith, as I said I am a faithful believer that with a lot of faith we can achieve many things, thus completing our mini organizer
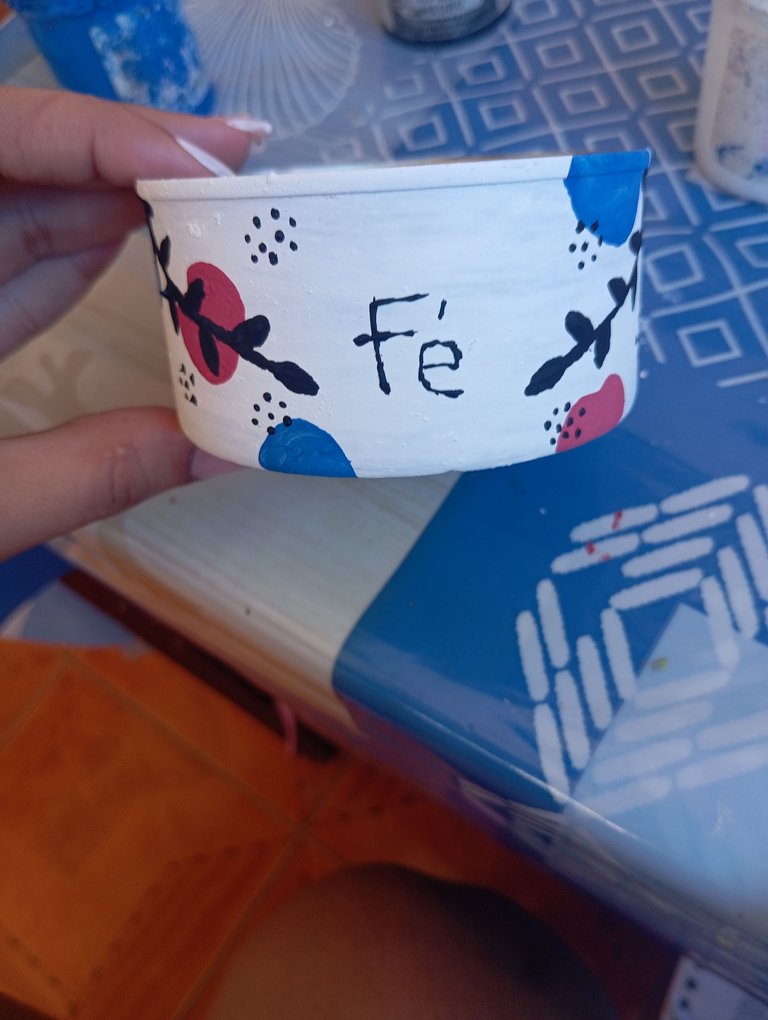
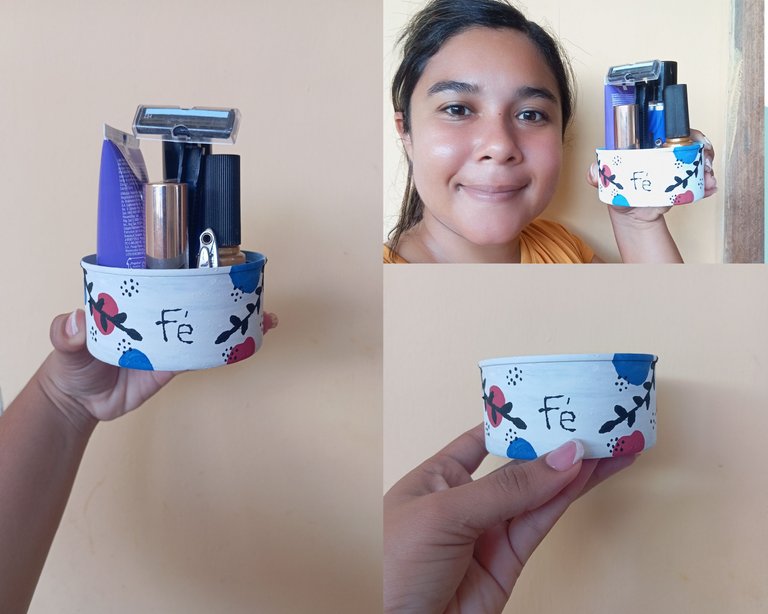
Resultado final: así fue como elaboré mi mini organizador personalizado con la frase Fé , con pocos materiales, como pueden observar si podremos guardar cualquier objeto que deseamos bien sea (accesorios,corta uñas , labial, desodorante,lima y muchas cosas más) , que pasen una bella tarde hasta la próxima
Créditos: las fotos las tomé con mi redmi 12 y traduje los textos con el traductor deepl.
Final result: this is how I made my personalized mini organizer with the phrase Faith, with few materials, as you can see if we can save any object we want either (accessories, nail clippers, lipstick, deodorant, file and many more things), have a nice evening until next time
Credits: the photos were taken with my redmi 12 and translated the texts with the translator deepl.

Es una manualidad muy bonita con una palabra que puede mover montañas, la Fe 😍 es una bonita y decorativa forma de recordarla jeje excelente trabajo 😘