Hola buenas noches tengan todos mis amigos creadores de contenidos, espero que se encuentren bien, hoy les quiero compartir un organizador reciclado inspirado en una adorable ballena , es un tutorial sumamente sencillo, para aprender y crear en casa
Hello good evening to all my friends content creators, I hope you are well, today I want to share a recycled organizer inspired by an adorable whale, it is an extremely simple tutorial to learn and create at home.
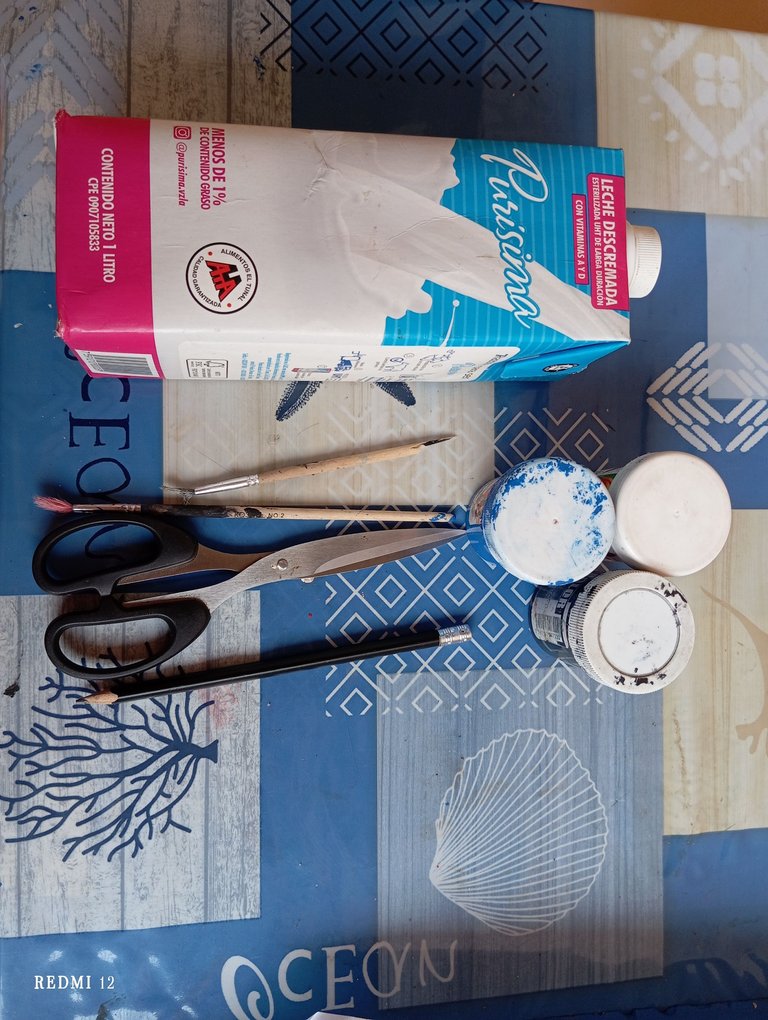
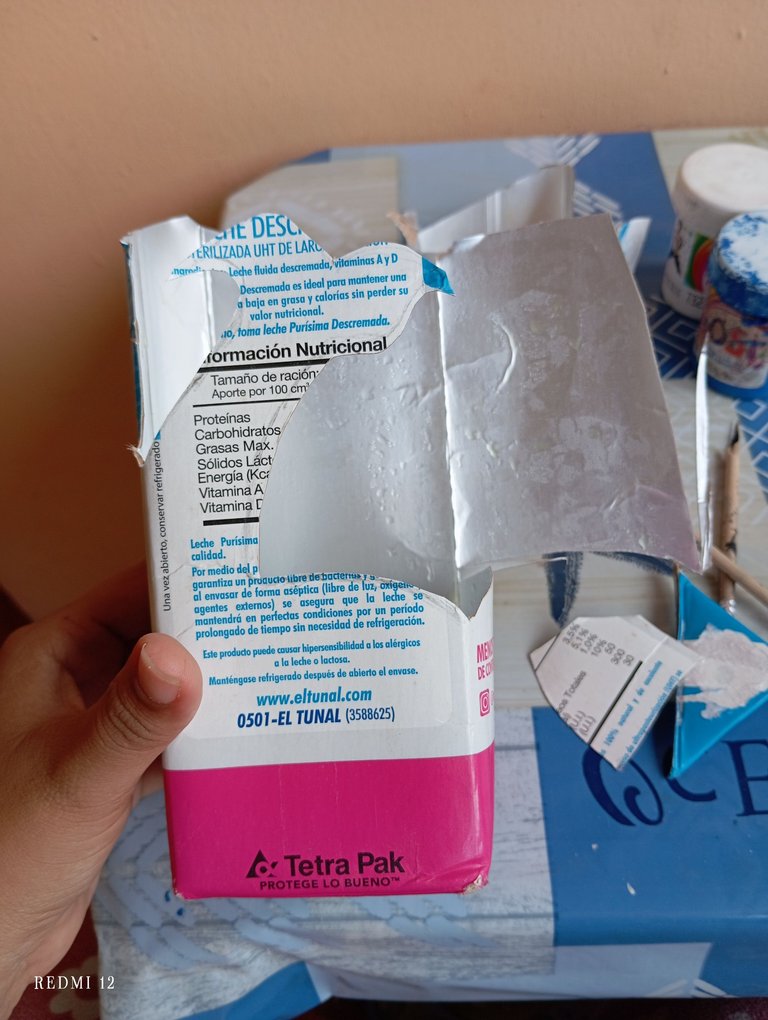
Materiales qué utilice para realizar mi organizador:
-Caja reciclada de cartón
-Pinturas
-Tijera
-Lapiz
Materials I used to make my organizer:
-Recycled cardboard box
-Paints
-Scissors
-Pencil
A continuación los pasos a seguir:
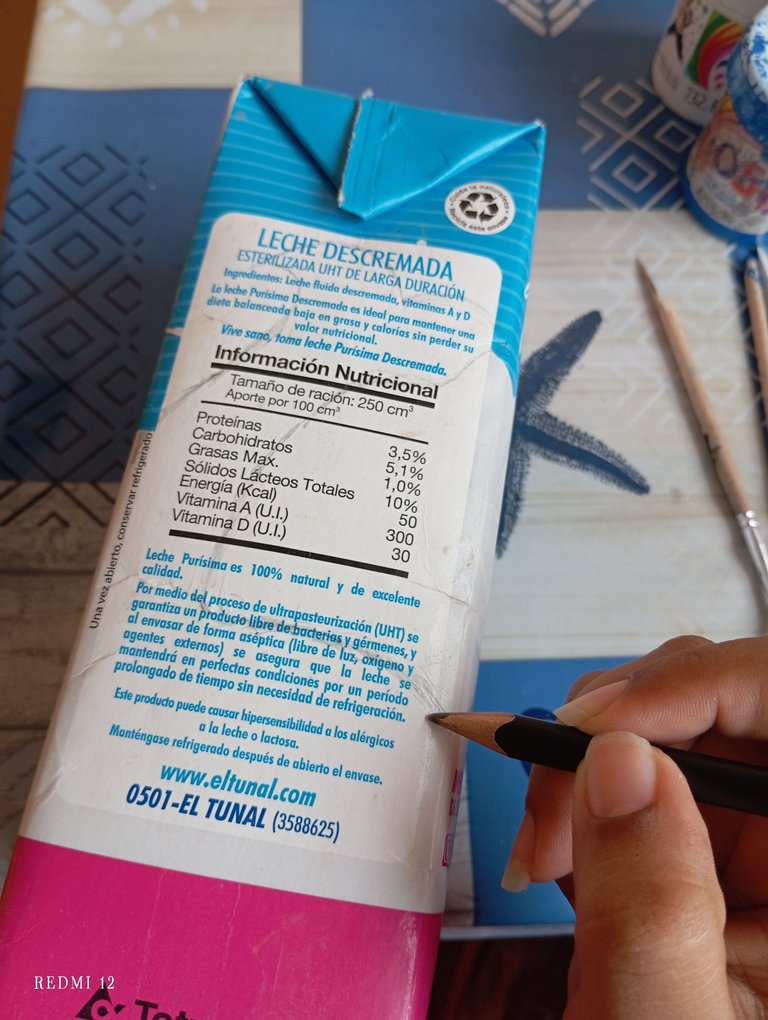
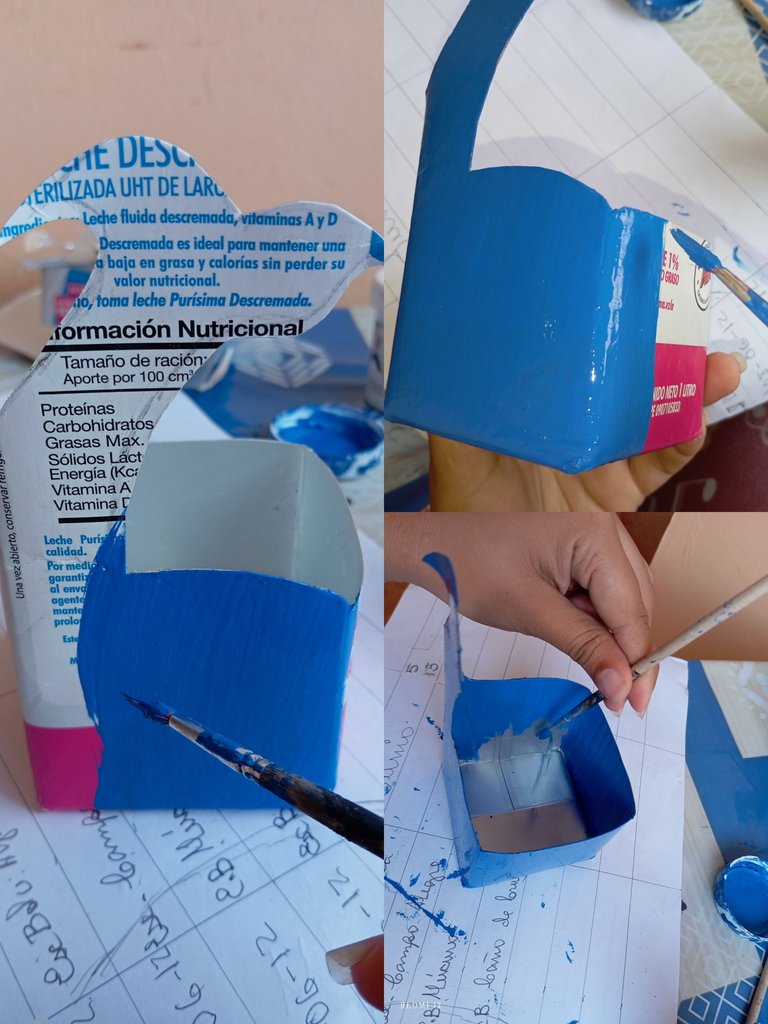
Los pasos para realizar nuestro organizador en forma de ballena son sumamente sencillos, amarán el resultado, iniciamos dibujando con el lápiz la forma de la cola de la ballena y la parte por dónde la voy a recortar de los ambos lados
Here are the steps to follow:
The steps to make our whale shaped organizer are very simple, you will love the result, we start by drawing with the pencil the shape of the whale's tail and the part where we are going to cut it out from both sides
Una vez que marcamos y tenemos identificada la parte por dónde vamos a recortar, iniciamos recortando primeramente la parte de arriba y continuamos con la cola de la ballena , la cuál irá en la parte de adelante de nuestro organizador
Once we have marked and identified the part where we are going to cut out, we start cutting out the top part first and continue with the tail of the whale, which will go in the front part of our organizer.
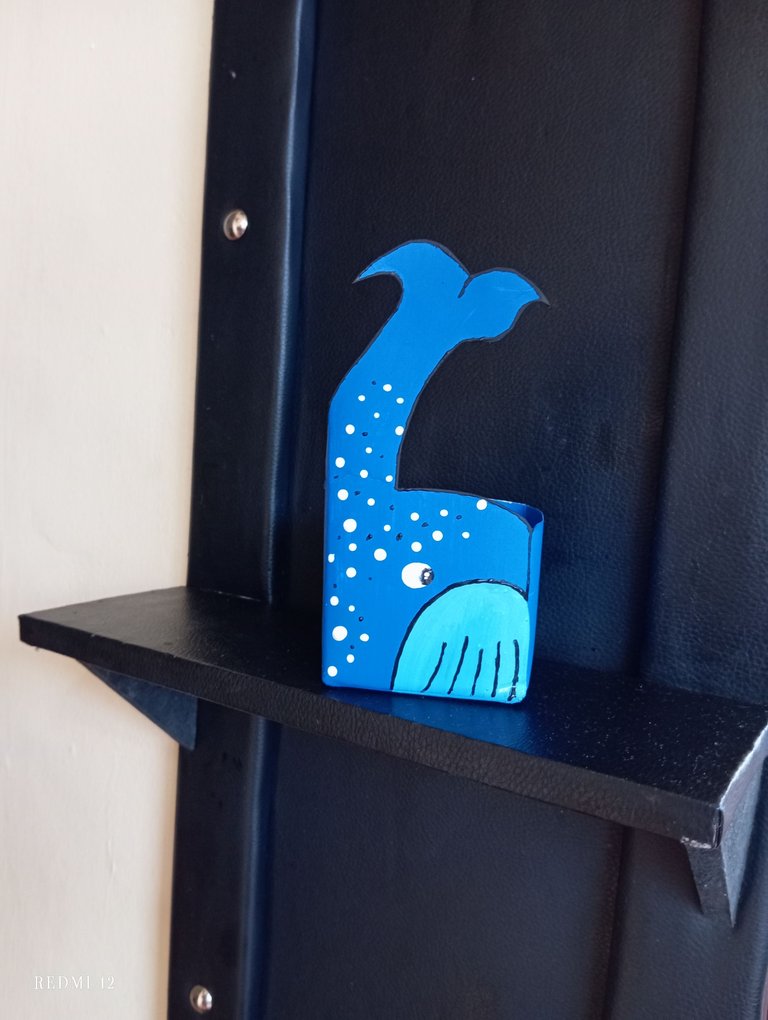
Por último vamos a continuar recortando los lados del organizador, dejando la cola de nuestra ballena al frente , como lo pueden apreciar así nos quedara en la fotografía
Finally we will continue cutting out the sides of the organizer, leaving the tail of our whale at the front, as you can see in the picture.

A continuación iniciamos pintando nuestro organizador en forma de ballena, agregamos una capa de pintura, dejamos secar y volvemos a pintar nuevamente hasta que se encuentre de color fuerte , así mismo vamos a aplicar la pintura por los lados del organizador , incluyendo la parte del fondo , para que quede azul completo y no se note el material de cartón
Next we start painting our organizer in the shape of a whale, add a coat of paint, let it dry and paint again until it is a strong color, likewise we will apply the paint on the sides of the organizer, including the bottom part, so that it is completely blue and the cardboard material is not noticeable.
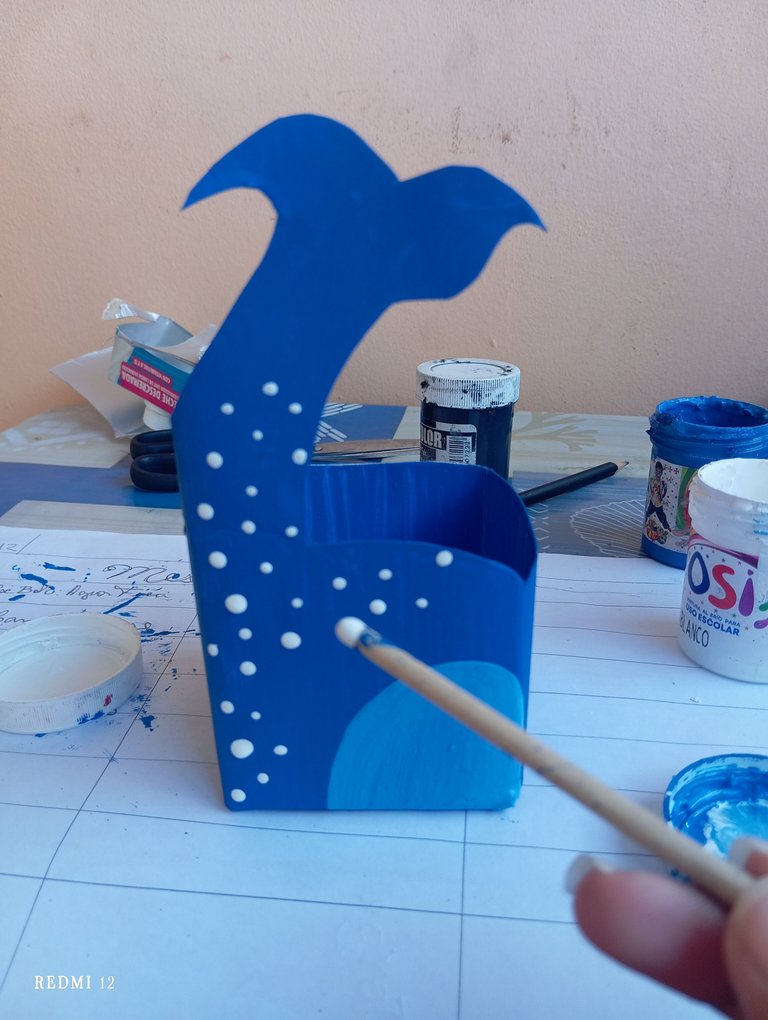
Seguidamente vamos a continuar pintando la barriga de la ballena color azul claro , un tono más claro que el del cuerpo ,luego procedemos realizando unos lunares o pintas alrededor del cuerpo de la ballena , color blanco
Then we will continue painting the belly of the whale in light blue color, a lighter shade than the body, then we will proceed to make some dots or dots around the body of the whale, white color.
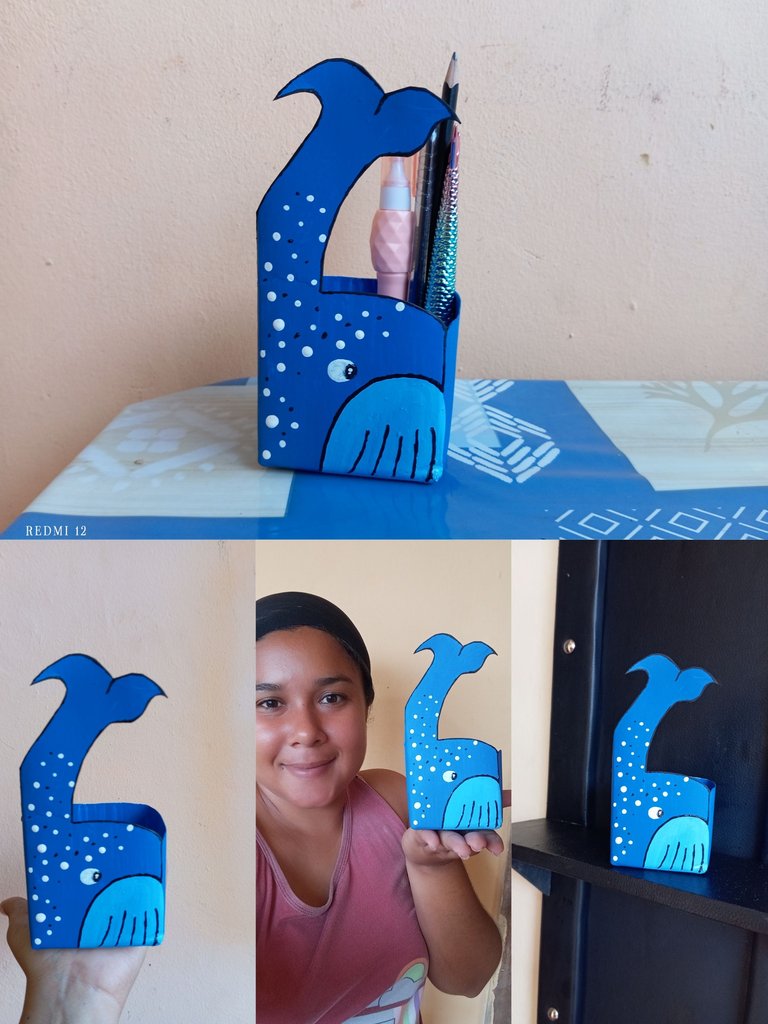
Finalmente vamos a realizar el rostro de la ballena y retocamos los bordes con negro , culminando nuestro organizador
Finally we are going to make the face of the whale and we retouch the edges with black, culminating our organizer.
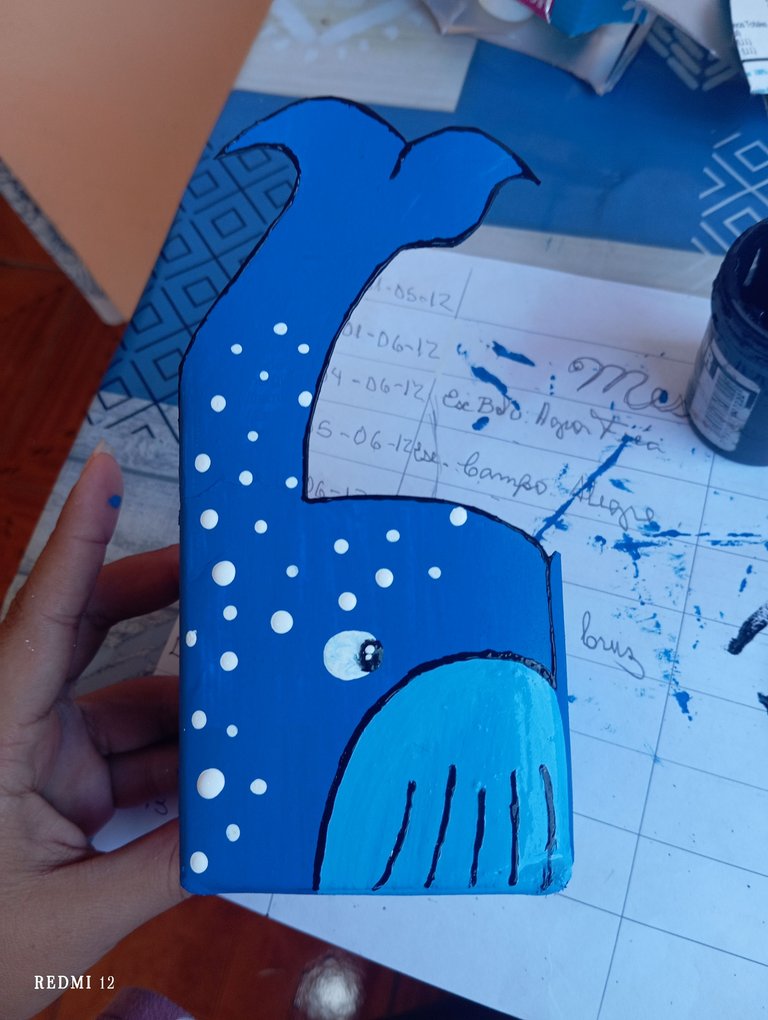
Este es el resultado final de mi organizador reciclado inspirado en una ballena, ideal para ubicar pequeños objetos en nuestro hogar.
Créditos: las fotos las tomé con mi redmi 12 y traduje los textos con el traductor deepl, feliz noche
This is the final result of my recycled organizer inspired by a whale, ideal to place small objects in our home.
Credits: the photos were taken with my redmi 12 and I translated the texts with the deepl translator, happy night.