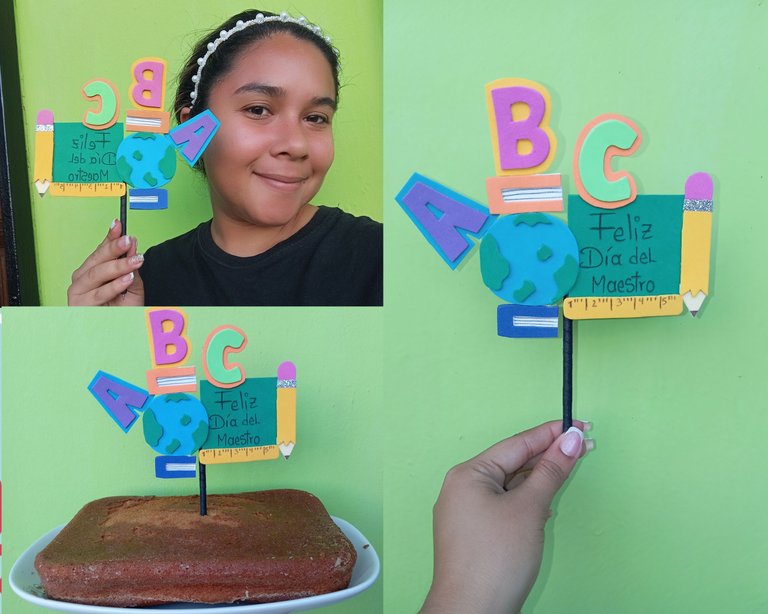
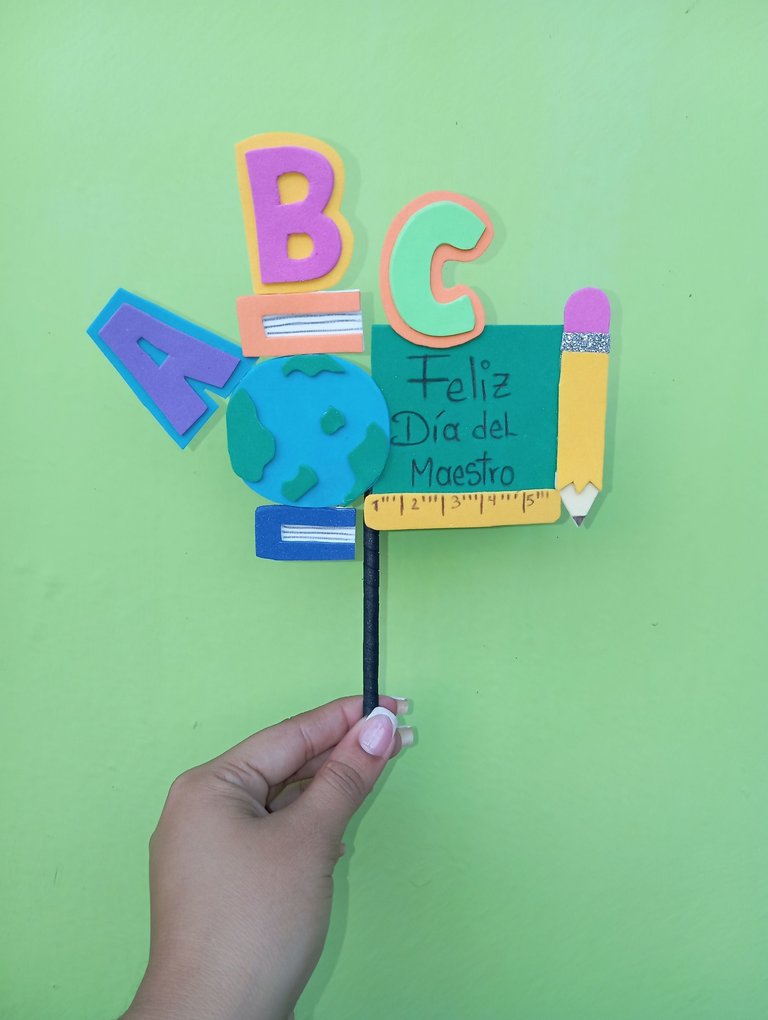
Hola muy buenos días tengan todos mis amigos, espero que se encuentren bien , hoy les quiero compartir un Topper de torta que realicé para festejar el día del maestro con mi esposo que es maestro de educación física , utilizando pequeños recortes de foamis
Hello very good morning to all my friends, I hope you are well, today I want to share a cake topper that I made to celebrate teacher's day with my husband who is a physical education teacher, using small foamis cutouts
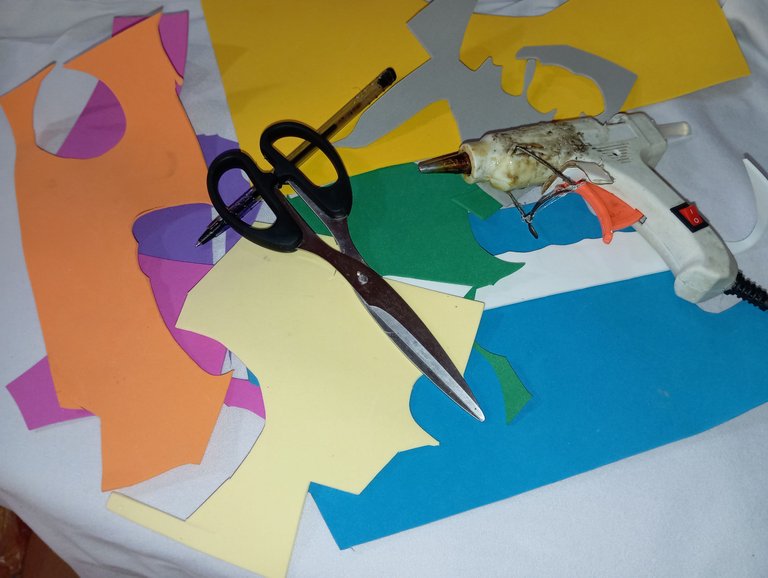
Materiales qué utilicé para realizar mi Topper de torta:
-Foamis
-Tijera
-Silicon
-Lapiz
Materials that I used to make my cake topper:
-Foamis -
Scissors
-Silicon
-Lapiz
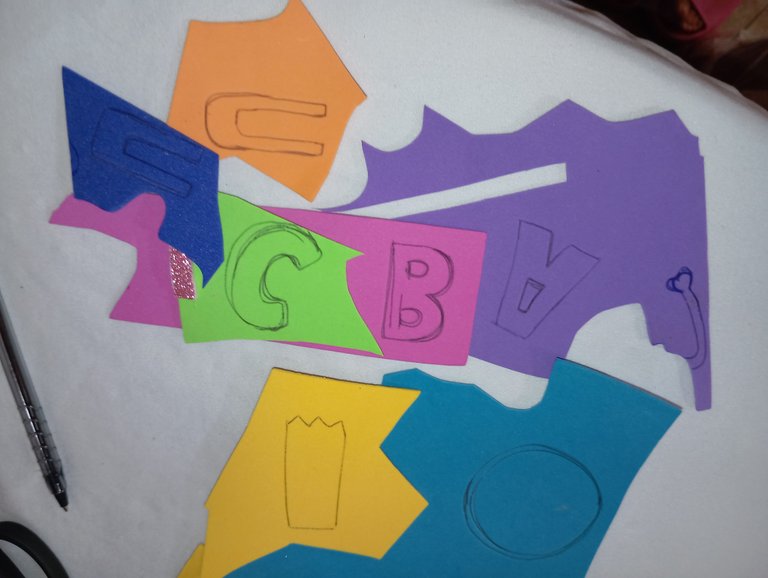
A continuación los pasos a seguir:
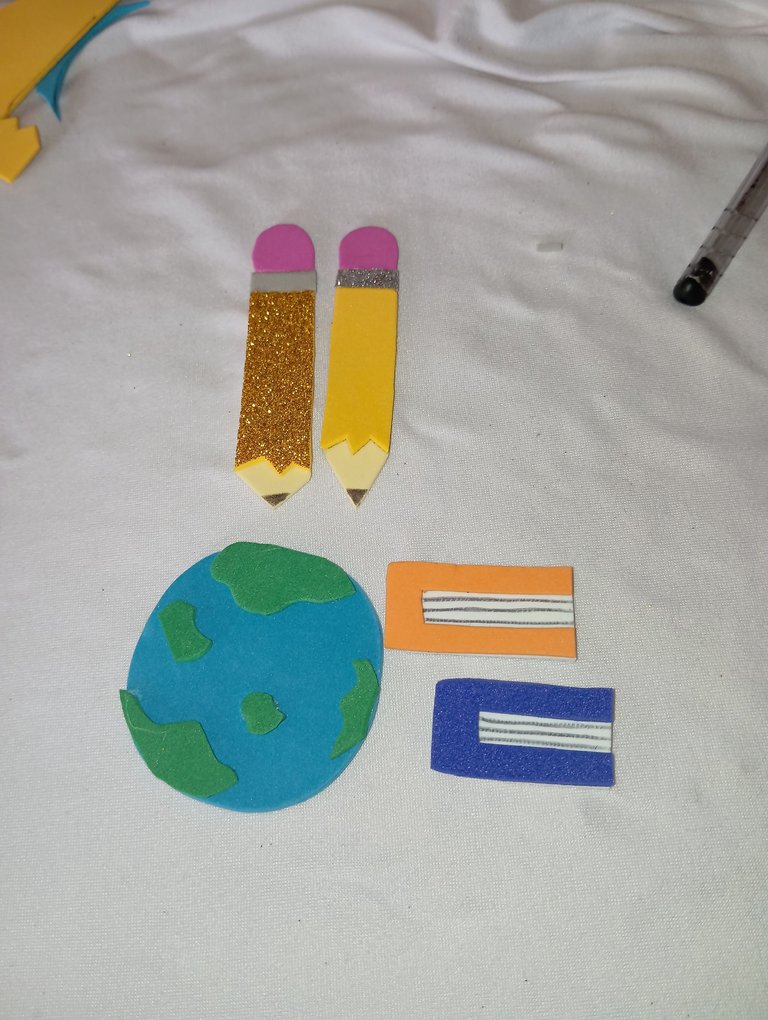
Primer paso: iniciaremos tomando nuestros recortes de foamis los colores de nuestra preferencia y dibujaremos en el las piezas y diseños con los que vamos a trabajar, en este caso realicé un lápiz , un mundo, la carátula de unos libros y por último unas letras A,B,C
Below are the steps to follow:
First step: we will start by taking our foamis cutouts the colors of our preference and we will draw on it the pieces and designs we are going to work with, in this case I made a pencil, a world, the cover of some books and finally some letters A,B,C
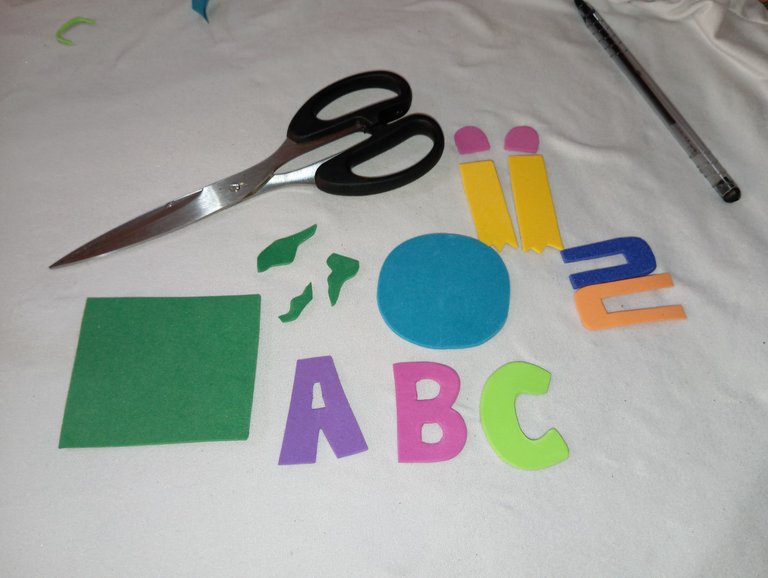
Segundo paso : una vez que dibujamos nuestra temática vamos a proceder en este segundo paso recortando nuestras piezas con la ayuda de nuestra tijera
Second step: once we draw our theme we will proceed in this second step by cutting out our pieces with the help of our scissors
Tercer paso: a continuación vamos a proceder pegando y formando nuestros diseños , comenzamos pegando el borrador al lápiz junto con la punta de escribir, así mismo pegamos a la carátula de los libros sus hojas , finalmente pegamos la parte verde a nuestro mundo o planeta tierra
Third step: next we are going to proceed by gluing and forming our designs, we start by gluing the eraser to the pencil together with the writing tip, likewise we glue to the cover of the books its leaves, finally we glue the green part to our world or planet earth
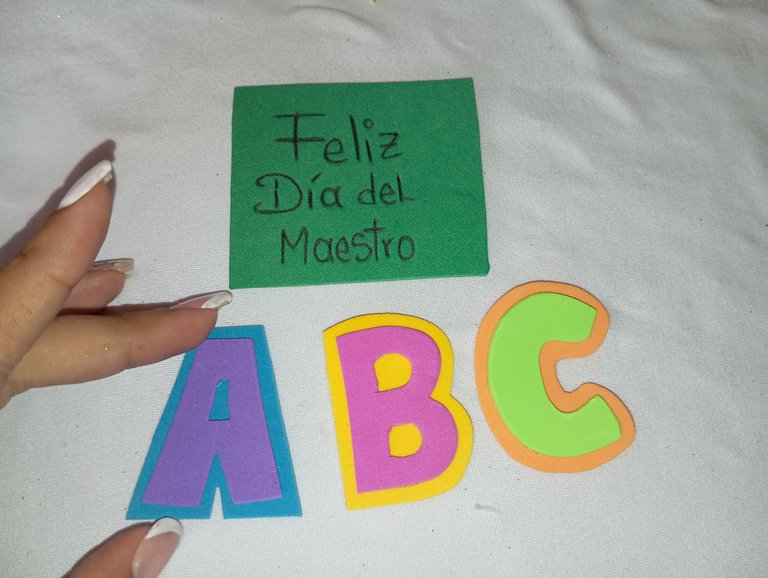
Cuarto paso : luego continúe tomando un cuadro de foamis verde oscuro, la utilicé de pizarra y en ella escribí las siguientes palabras: feliz día del maestro, a las letras le pegue una base para que resalte sus colores
Fourth step : then continue by taking a dark green foamis square, I used it as a blackboard and on it I wrote the following words: happy teacher's day, to the letters I glued a base to highlight their colors
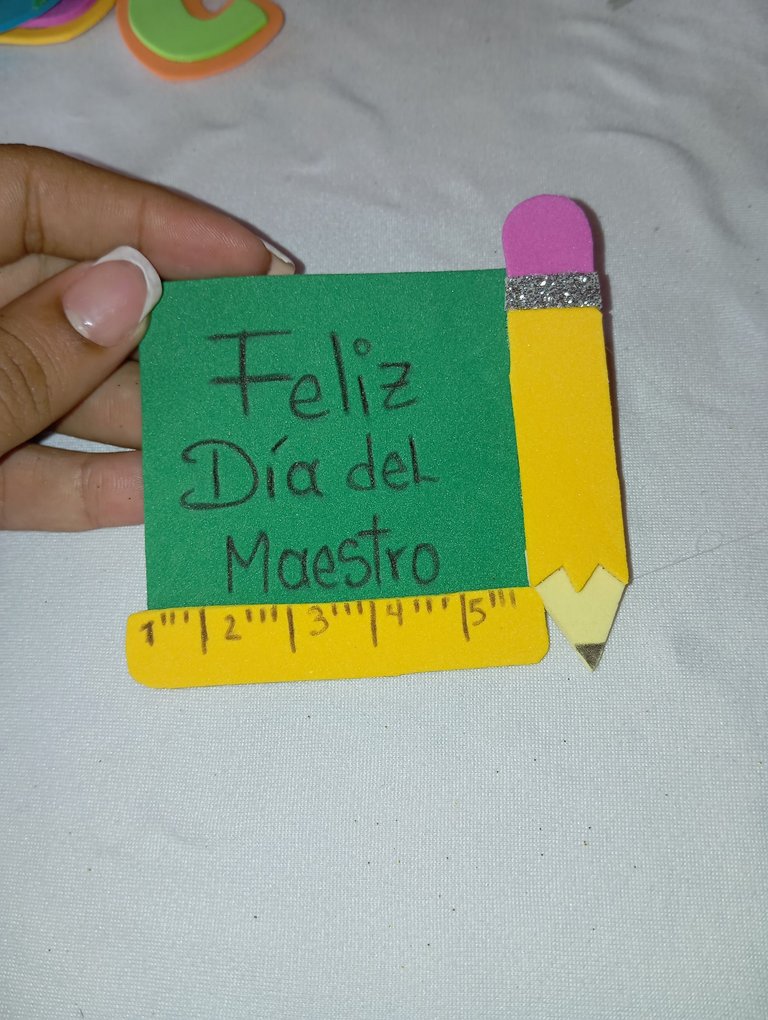
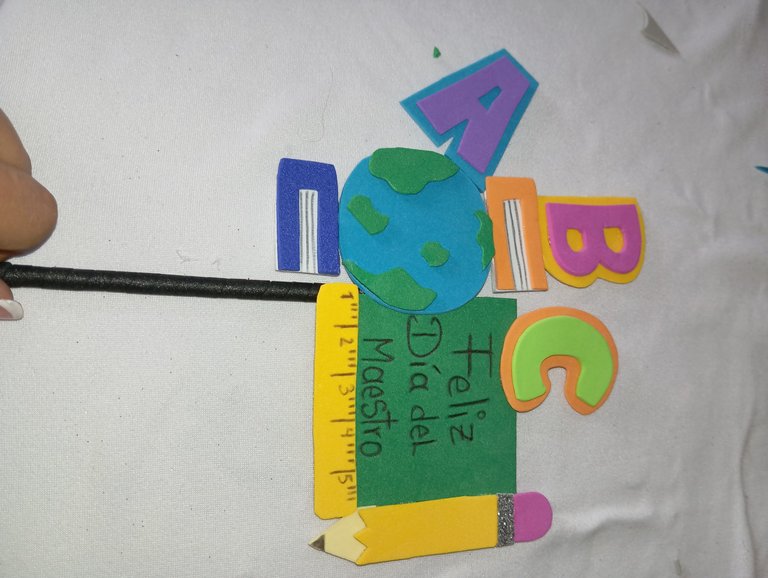
Quinto paso : seguidamente continúe tomando la pizarra, en la parte de abajo de ella pegué la regla de forma horizontal y en la otra esquina pegué el lápiz de forma vertical
Fifth step : then continue taking the blackboard, at the bottom of it I glued the ruler horizontally and in the other corner I glued the pencil vertically
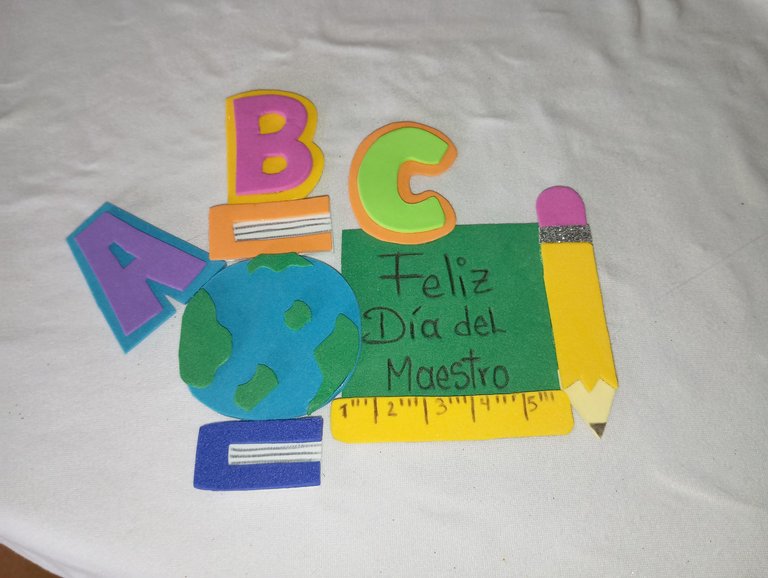
Sexto paso : por último continúe pegando al otro lado el mundo o planeta tierra , arriba y abajo de el los libros y por último en la parte de arriba las letras A , B, C
Sixth step : finally continue gluing on the other side the world or planet earth , above and below it the books and finally at the top the letters A , B, C
Séptimo paso : a continuación vamos a tomar un palito de altura o cualquier objeto similar a nuestro alcance y lo cubriremos con una tira , enrollando , una vez listo vamos a proceder pegando lo a nuestro Topper finalizando nuestra creación
Así fue como realicé nuestro Topper para festejar a mi esposo en su día
Seventh step : next we are going to take a stick of height or any similar object to our reach and we will cover it with a strip , rolling , once ready we are going to proceed sticking it to our Topper finalizing our creation
This is how I made our Topper to celebrate my husband on his day
Feliz día. Que buen compartir en este día del Maestro. Saludos.
Gracias amiga
Quedó bonito, los maestros merecen ser reconocidos todos los días, esos que de corazón, llevan con vocación la educación a nuestros hijos. 🤗🤗🤗
Asi es apreciada amiga