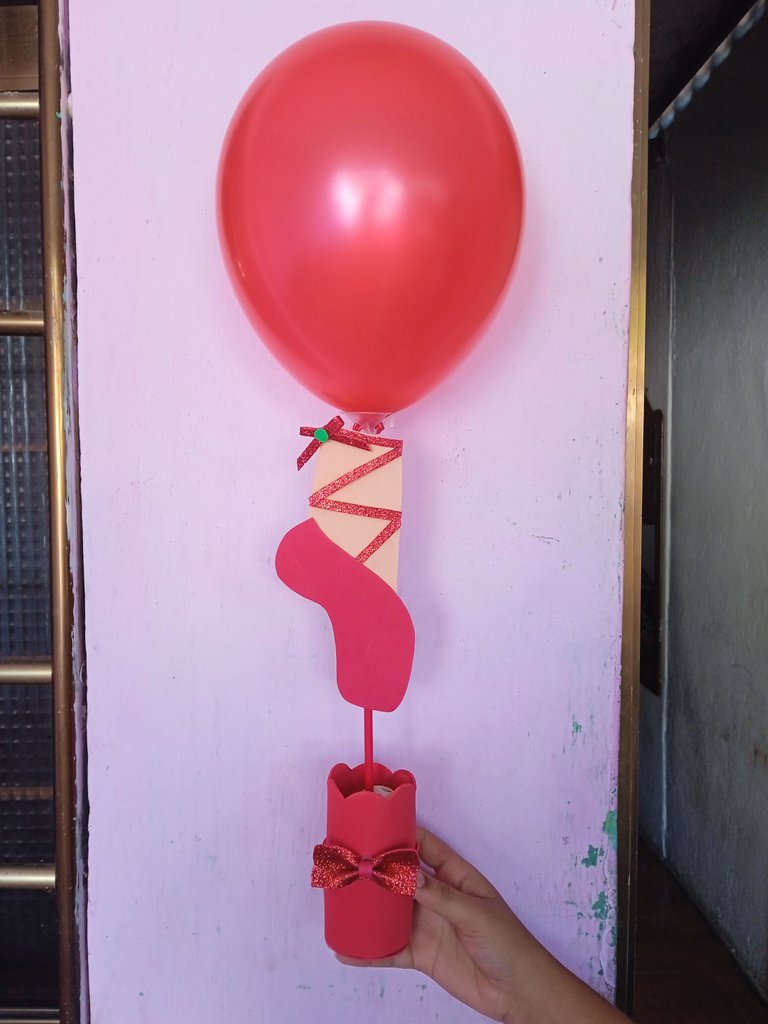
Hola a todos mis queridos amigos , espero se encuentren bien en esta cálida tarde , un abrazote desde la distancia, les quiero compartir un cotillón que realice con temática de bailarina (una zapatilla de bailarina )
Hello to all my dear friends, I hope you are well in this warm afternoon, a hug from afar, I want to share a cotillion that I made with a ballerina theme (a ballerina slipper).
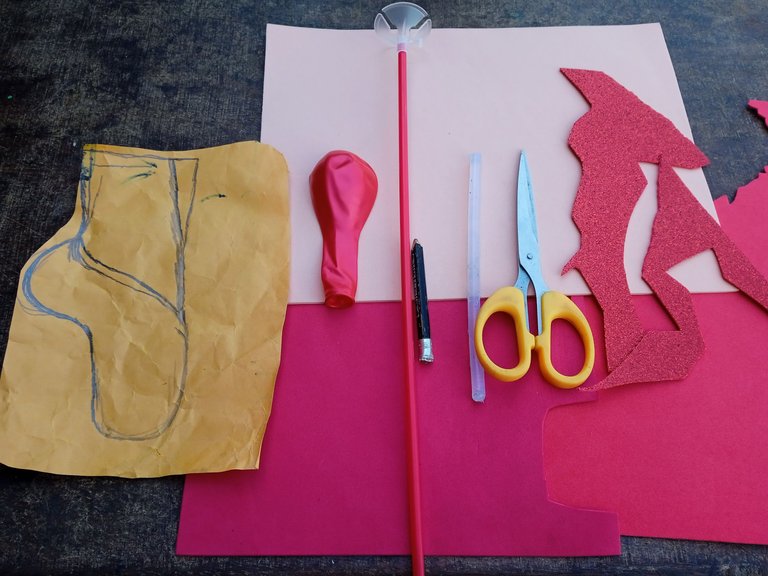
Materiales que utilice:
-Foamis
-Tijera
-Silicon
-Bomba
-Pitillo para sostener la bomba
-Lapiz
-Patron de zapatilla
Materials used:
-Foamis
-Scissors
-Silicon
-Pump
-Straw to hold the pump
-Lapiz
-Slipper pattern
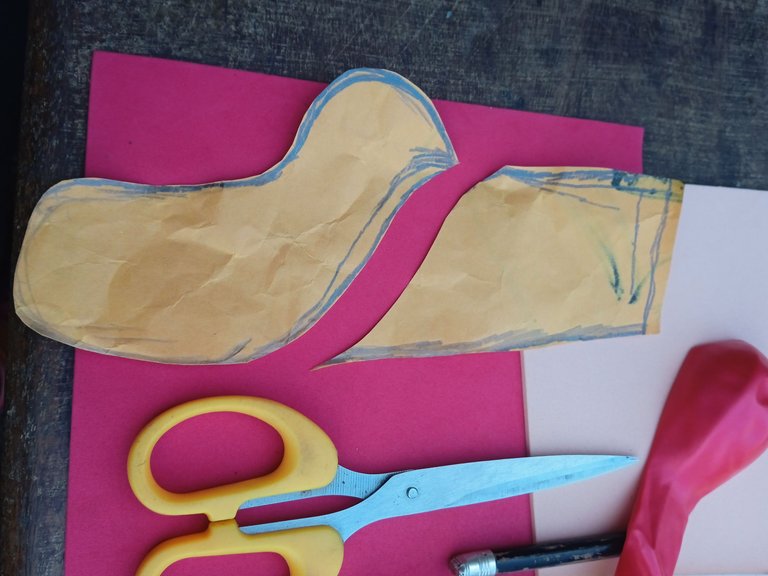
Pasos a seguir:
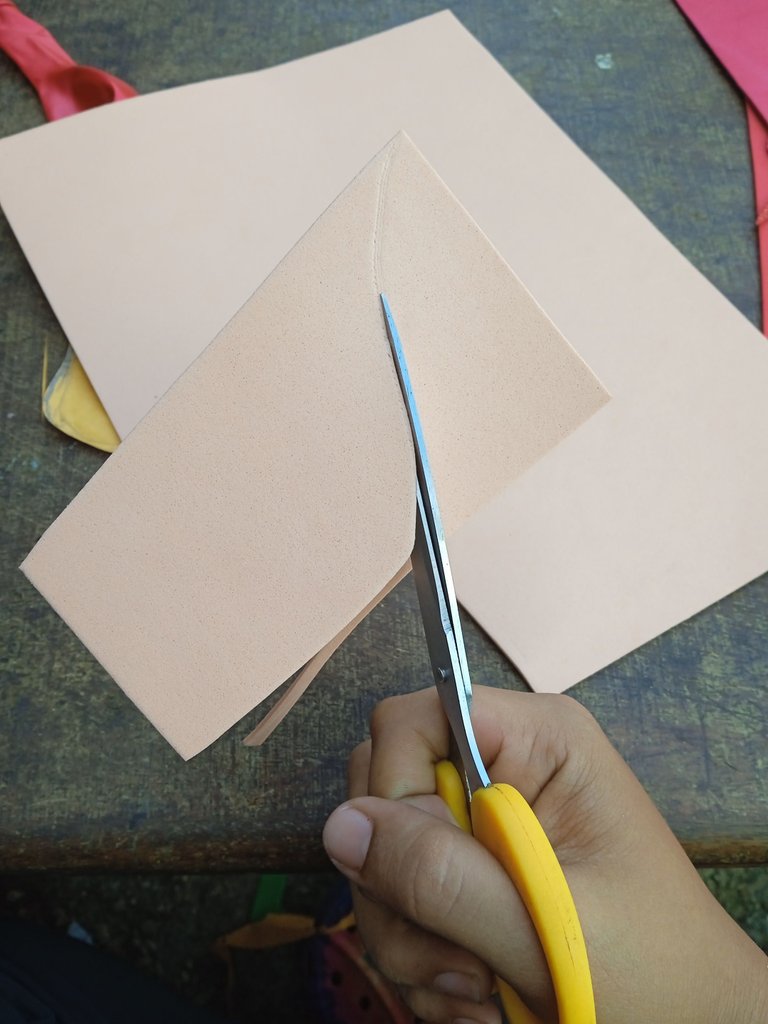
Iniciaremos dividiendo el patrón de el pies de bailarina , dividimos con nuestra tijera la zapatilla y el pies para más adelante marcar las piezas
Steps to follow:
We will start dividing the pattern of the ballerina's feet, we divide with our scissors the slipper and the feet to later mark the pieces.
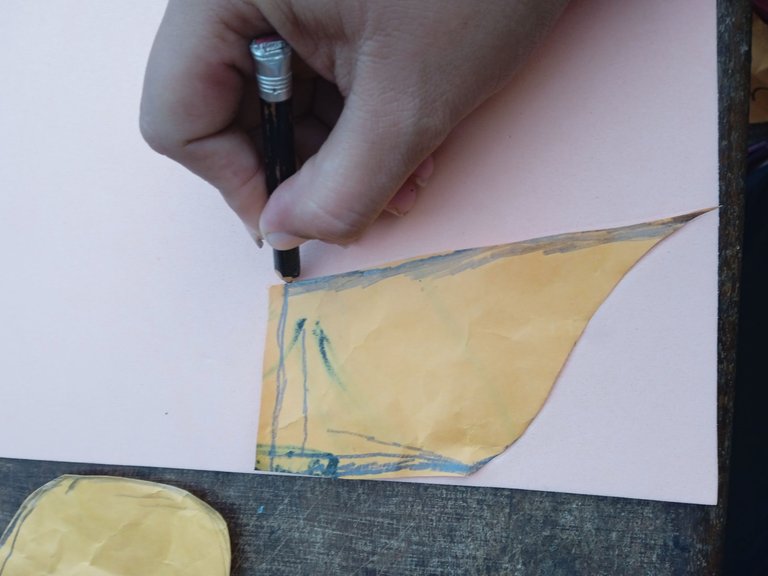
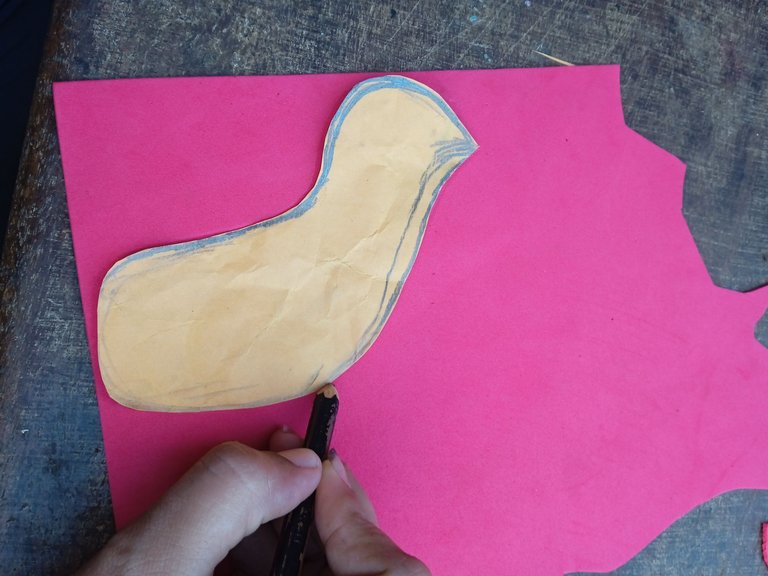
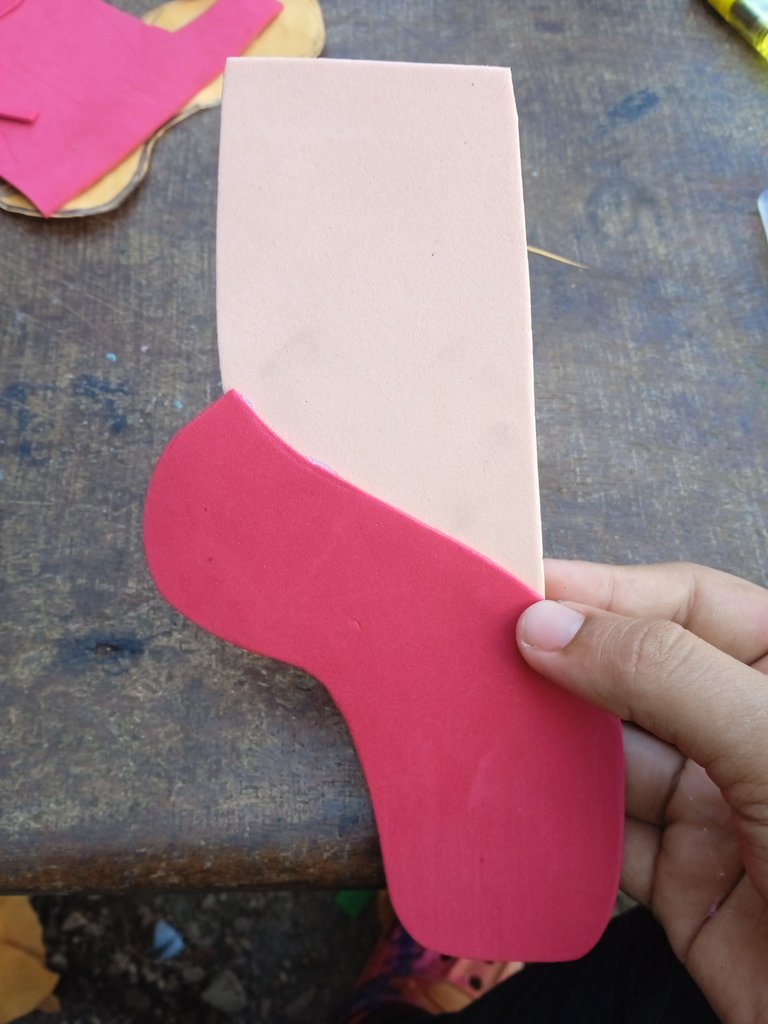
Luego continuaremos marcando en el foamis color carne la pierna de la bailarina,en posición inclinada
Then we will continue marking on the flesh-colored foamis the dancer's leg, in an inclined position.
Una vez que culminemos de marcar ,procedimos a recortar con la ayuda de nuestra tijera
Once we finish marking, we proceed to cut with the help of our scissors.
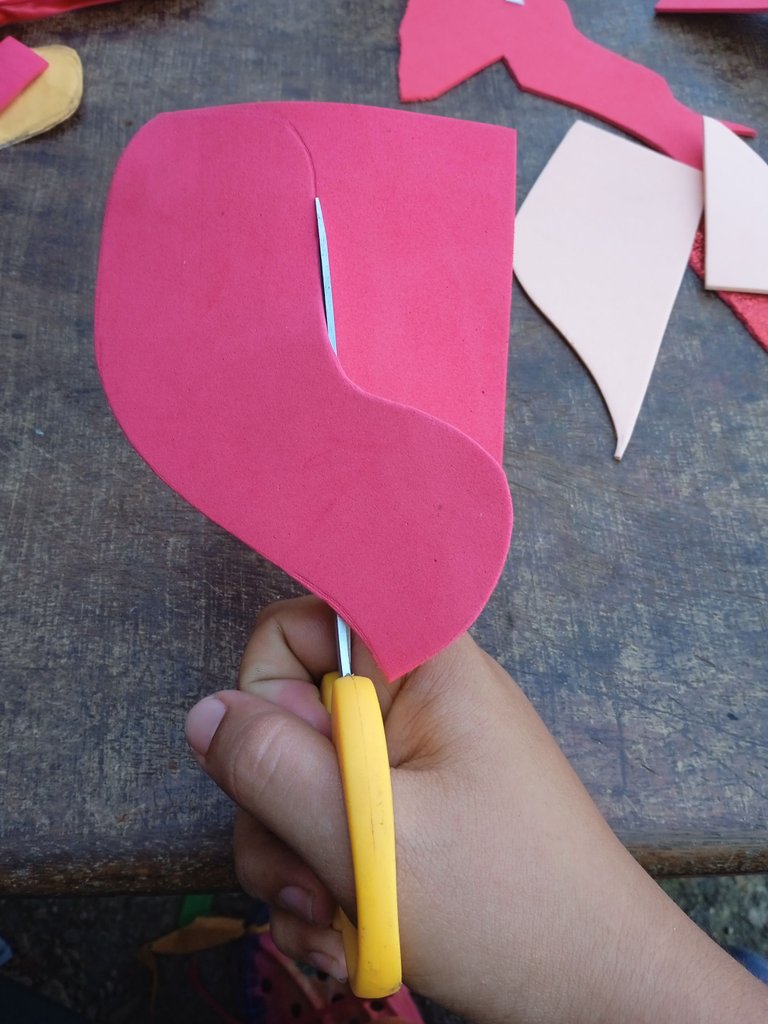
Continuaremos marcando la zapatilla de la bailarina , la zapatilla al igual que la pierna debe estar en posición inclinada
We will continue marking the dancer's shoe, the shoe as well as the leg must be in an inclined position.
Una vez lista la zapatilla que marcamos en el paso anterior , continuaremos recortando la ,guiando nos del borde
Once the slipper that we marked in the previous step is ready, we will continue trimming it, guiding us from the edge.
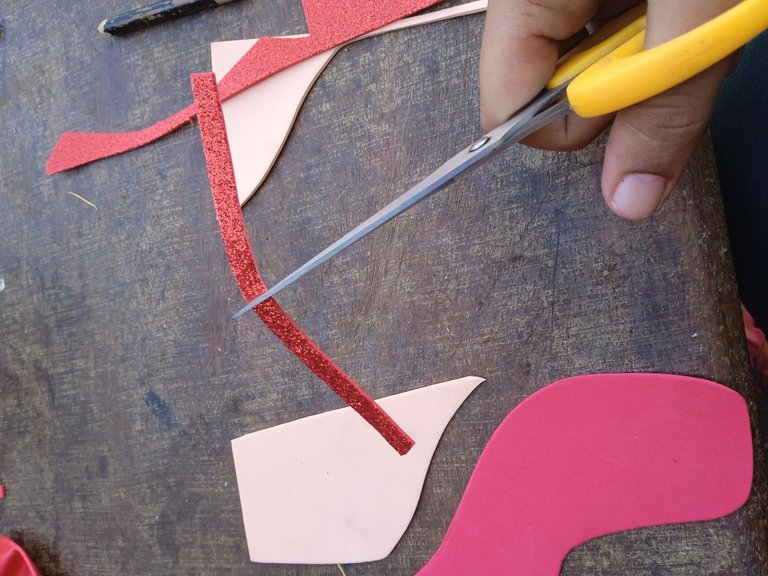
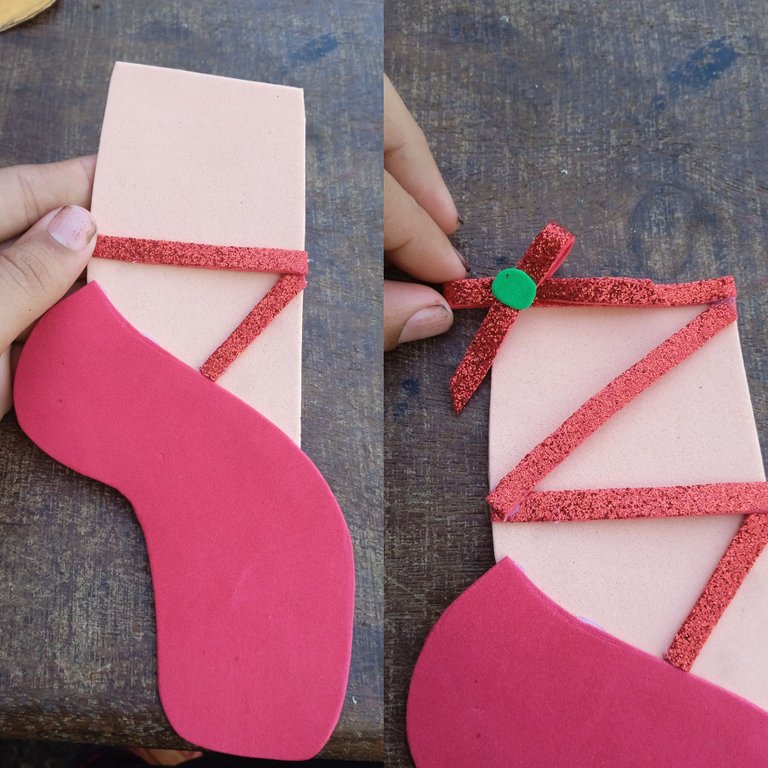
En este siguiente paso tomé los recortes de foamis escarchado y saqué varias tiras para realizar las cintas que lleva cruzada las zapatilla junto con un lazo
In this next step I took the frosted foamis cuttings and took out several strips to make the ribbons that cross the shoe along with a ribbon.
Continuaremos armando la zapatilla de la bailarina , iniciaremos pegando la zapatilla a la pierna
We will continue assembling the ballerina's shoe, starting by gluing the shoe to the leg.
Luego que armemos nuestra zapatilla de bailarina , continuaremos pegando las tiras en forma de zig zag en la pierna de la bailarina , realizando un pequeño lazo el cual pegue en la parte de arriba en una esquina
After we assemble our ballerina shoe, we continue gluing the strips in a zig zag pattern on the leg of the ballerina, making a small loop which I glued on the top in a corner.
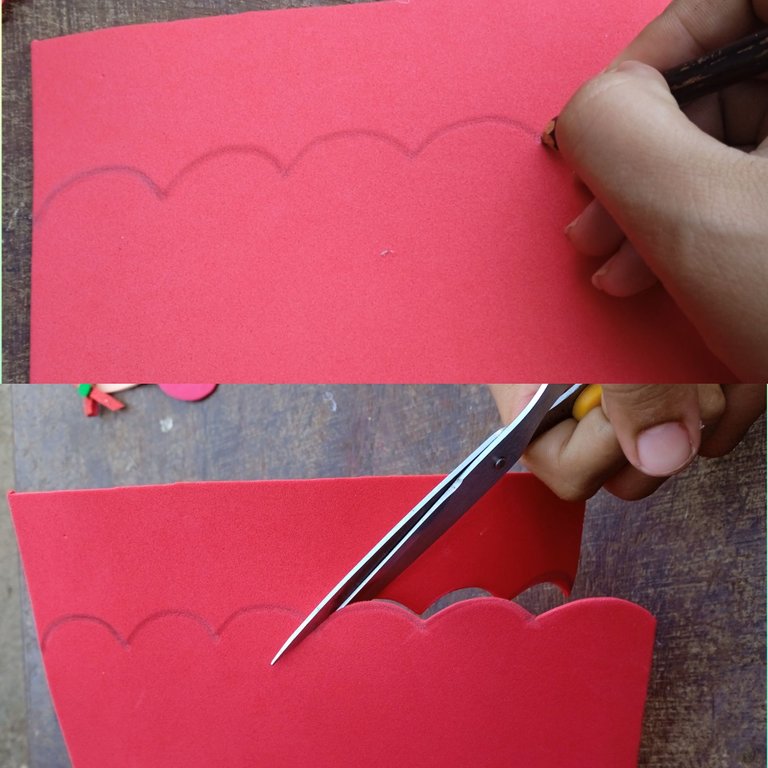
En este siguiente paso realizaremos la base fundamental del cotillón ,primero tomamos el foamis ,realizamos unas formas de varios arco en el ,y continuamos recortando sacando las forma que dibujamos con nuestra tijera
In this next step we will make the fundamental base of the cotillion, first we take the foamis, we make some forms of several arc in it, and we continue cutting out the form that we draw with our scissors.
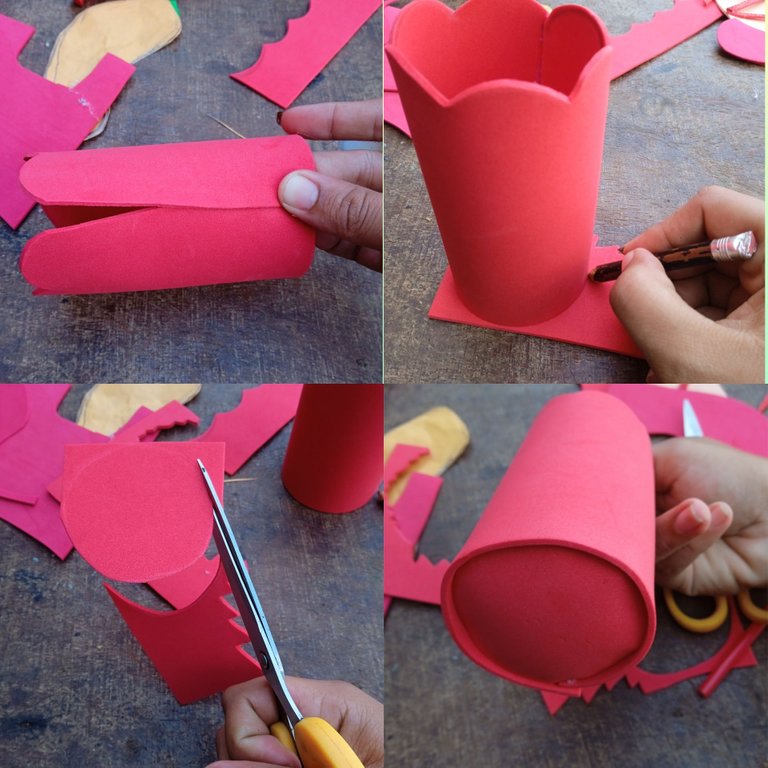
Iniciamos pegando borde con borde del foamis ,armando una forma de cilindro ,luego continuaremos marcando un círculo del mismo tamaño del cotillón para realizar la base , una vez que marcamos el círculo procedimos a recortar lo con nuestra tijera , por último tomamos el círculo lo introducimos por dentro del cotillón y pegamos ,para que los obsequios queden guardados en el
We started by gluing edge to edge of the foamis, assembling a cylinder shape, then continue marking a circle of the same size of the cotillion to make the base, once we marked the circle we proceeded to cut it with our scissors, finally we take the circle we introduce it inside the cotillion and glued, so that the gifts are stored in the
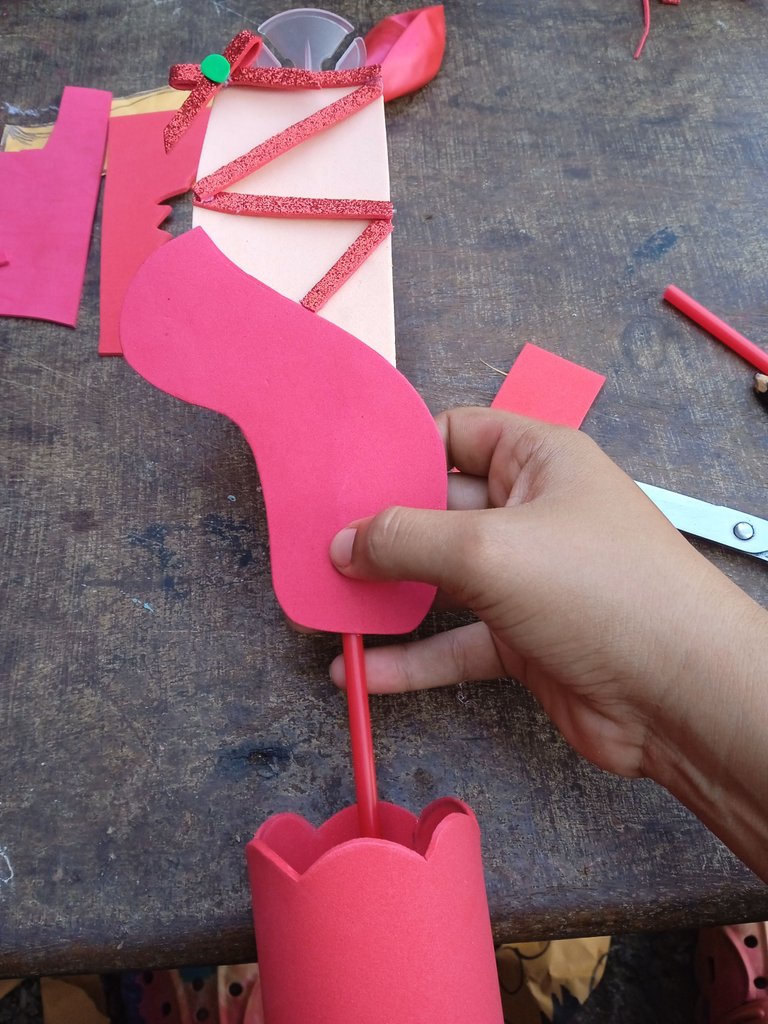
Listas las piezas de nuestro cotillón de bailarina, continuaremos pegando en el centro el pitillo junto con la zapatilla
Once the pieces of our ballerina cotillion are ready, we will continue by gluing in the center of the straw together with the slipper.
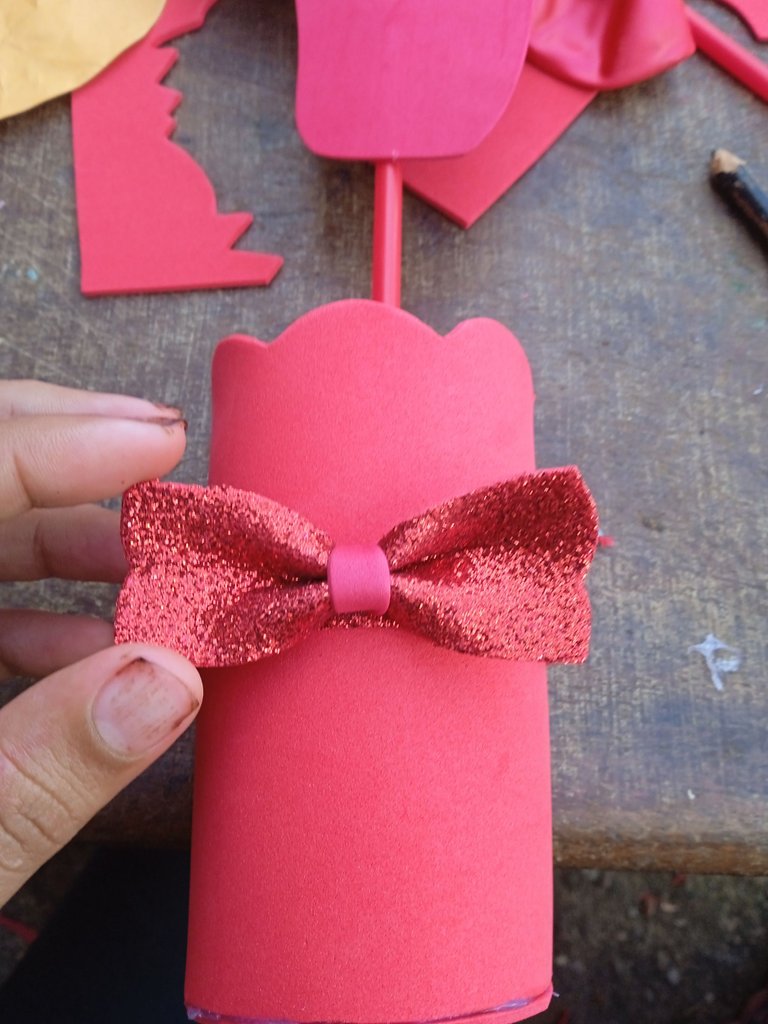
Luego en todo el centro pegue un lazo ,para realizar el lazo cortamos un pequeño cuadro doblamos en dos y pagamos una tira en todo el centro ,en sus esquinas hacemos un corte en forma de la parte de arriba de un corazon
Then in the center glue a ribbon, to make the ribbon cut a small square folded in two and pay a strip around the center, at its corners make a cut in the shape of the top of a heart.
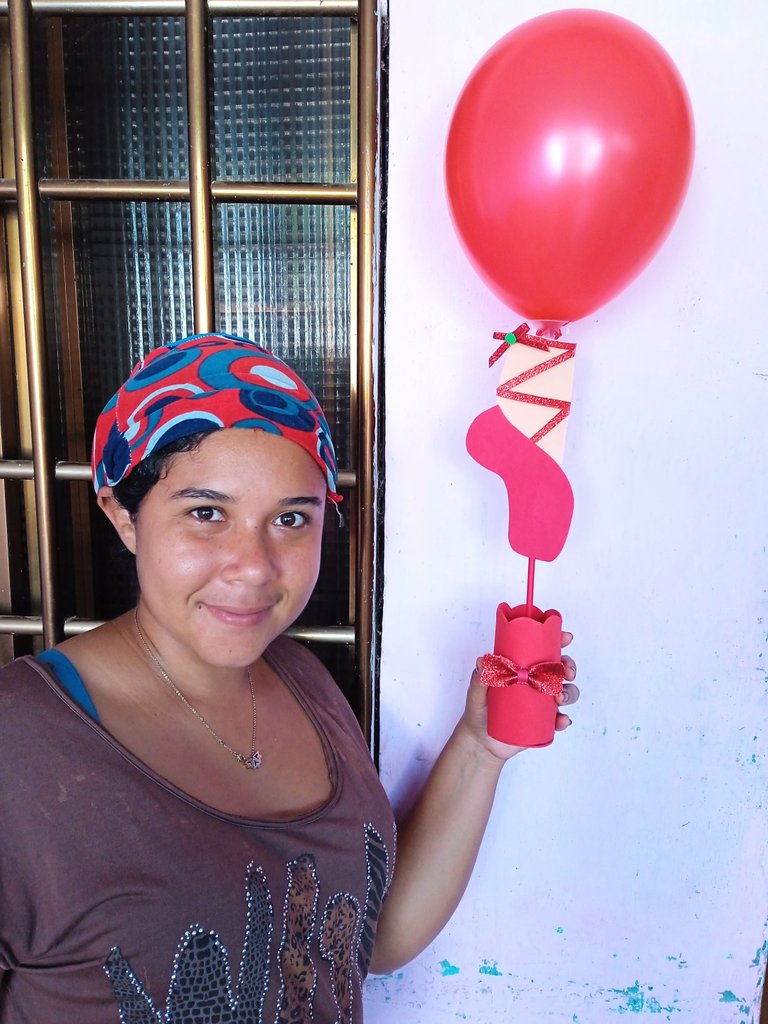
Por último llenamos la bomba para decorar y amarrar en la parte de arriba del pitillo
Finally we fill the pump to decorate and tie at the top of the straw.

De este modo finalice mi dulce cotillón de bailarina , tomé mis fotos con mi Redmi 9C y traduci mis textos con el traductor DeepL ,los collages los realice desde una aplicación de mi teléfono llamado Collage
Gracias por su atención ,bendiciones
So I finished my sweet ballerina cotillion , I took my pictures with my Redmi 9C and translated my texts with the translator DeepL ,the collages were made from an application on my phone called Collage
Thank you for your attention, blessings
Que tal @jorgelissanchez, está bien chévere y original el cotillón de bailarina que realizaste. Gracias por enseñarnos como lo haces. Que tengas un Bendecido Día
Me alegra que te haya gustado amiga
Te quedó muy lindo...te felicito por la idea. Gracias por compartir.
🎆🎇🎉🎊🌧️💐✨🌾🌱🌹🌙🌿🍃🥀⚡🌺☘️🍀🌈🌷⭐🪴🌵🌸🌟💮🌴🌳💫☀️💮☔🌲🌳🌍🌌🌠☄️🏵️🐝🌻🌼🍄🐞🦋💙☕💜🍍🎆🎇🎉🎊