Hola nuevamente, comunidad de Hive ❣️
Hoy quiero enseñarles a hacer un topper de cumpleaños súper sencillo que podemos hacer en muy pocos pasos 😊
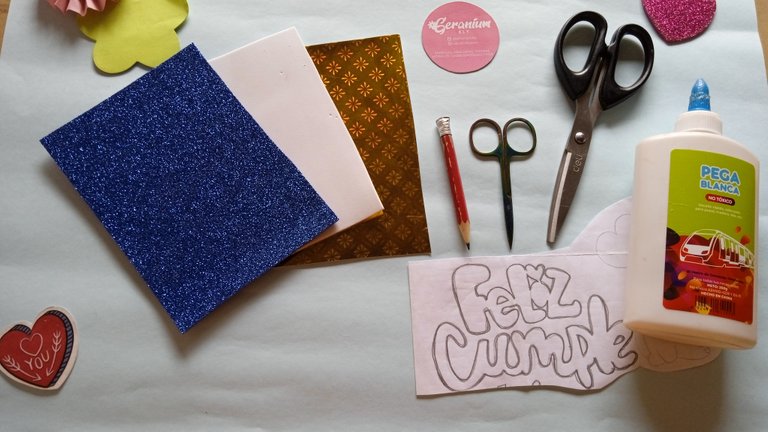
Los materiales que necesitaremos para su elaboración serán:
-Foami escarchado.
-Foami normal.
-Cartulina doble faz.
-Tijeras.
-Pegamento.
-Patrón dibujado con lápiz de grafito.
Hello again Hive community ❣️
Today I want to teach you how to make a super simple birthday topper that we can make in just a few steps 😊
The materials that we will need for its elaboration will be:
-Frosted foami.
-Normal foami.
-Double-sided cardboard.
-Pair of scissors.
-Glue.
-Pattern drawn with graphite pencil.
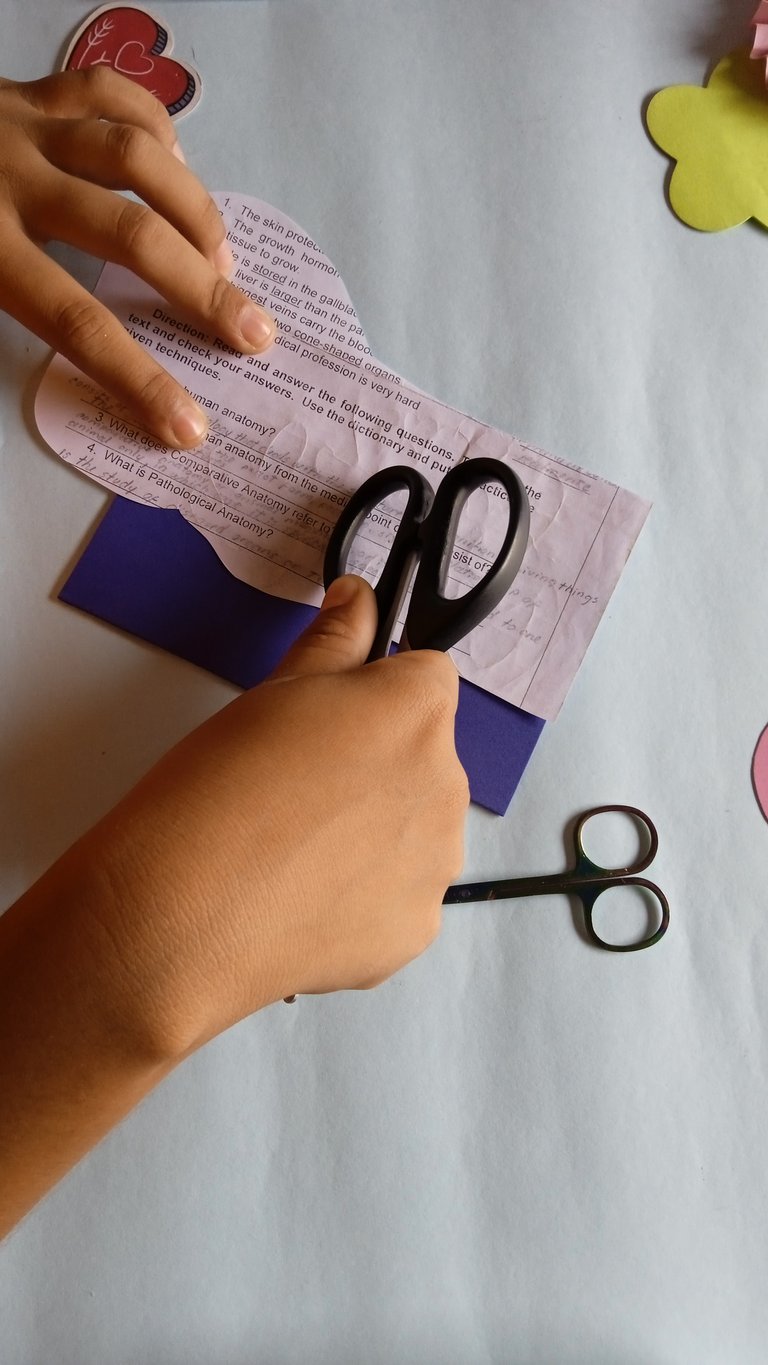
Lo primero que vamos a hacer será plasmar nuestro molde por la parte trasera del foami escarchado con la ayuda del mango de nuestra tijera.
The first thing we are going to do is shape our mold on the back of the frosted foam with the help of the handle of our scissors.
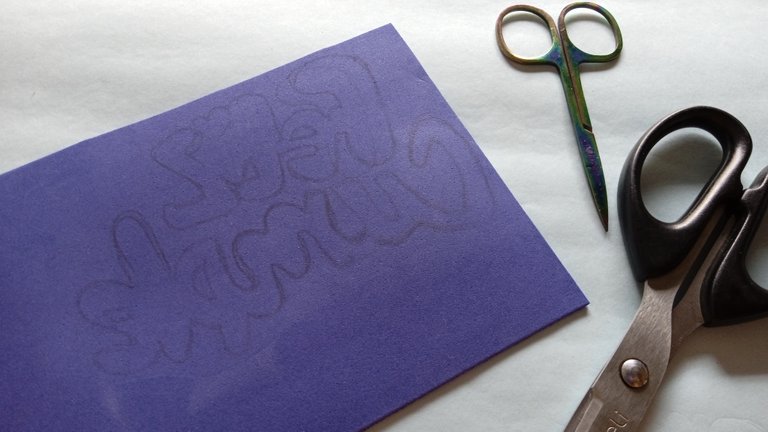
Nos quedará de la siguiente manera.
It will be as follows.
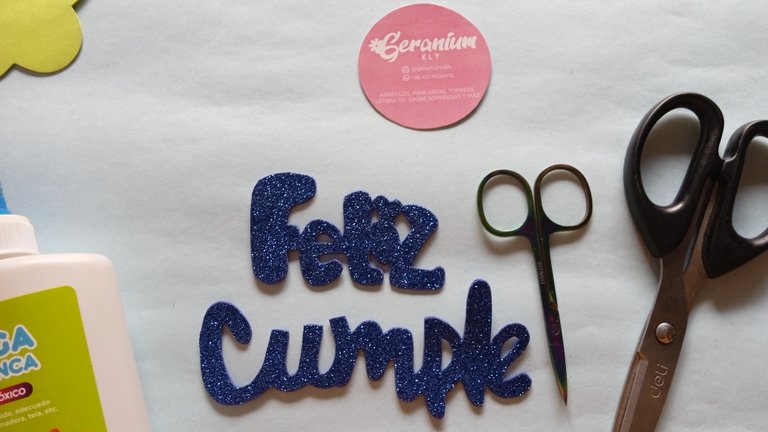
Procedemos a recortarlo y usamos la tijera más pequeña para los agujeros.
We proceed to cut it and use the smallest scissors for the holes.
Luego le ponemos pegamento por la parte trasera y lo fijamos sobre el foami normal.
After we put glue on the back and fix it on the normal foam.
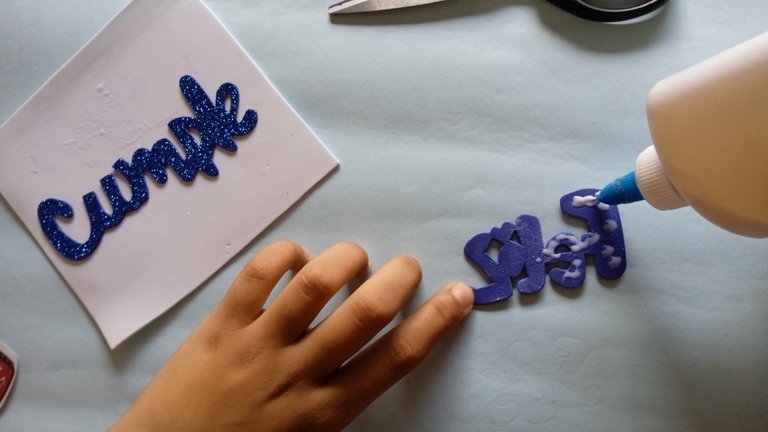
Y lo recortamos por los bordes. Luego repetimos el procedimiento pero esta vez lo colocamos sobre cartulina.
Me gusta hacerlo de esta manera para que el Topper quede duro y estable.
And we cut it around the edges. Then we repeat the procedure but this time we place it on cardboard.
I like to do it this way so that the Topper is hard and stable.
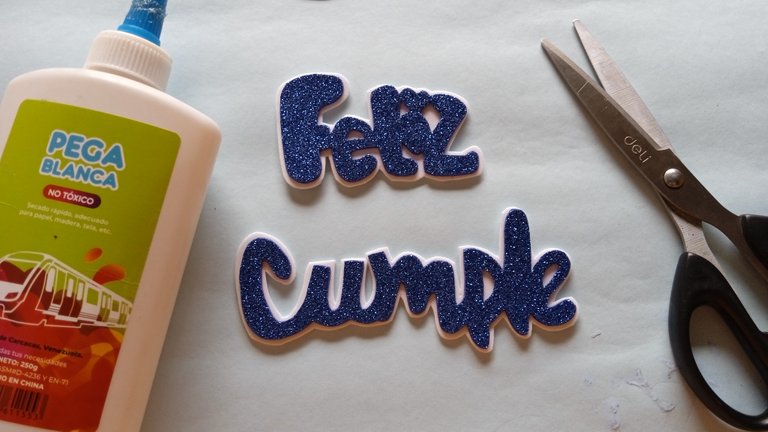
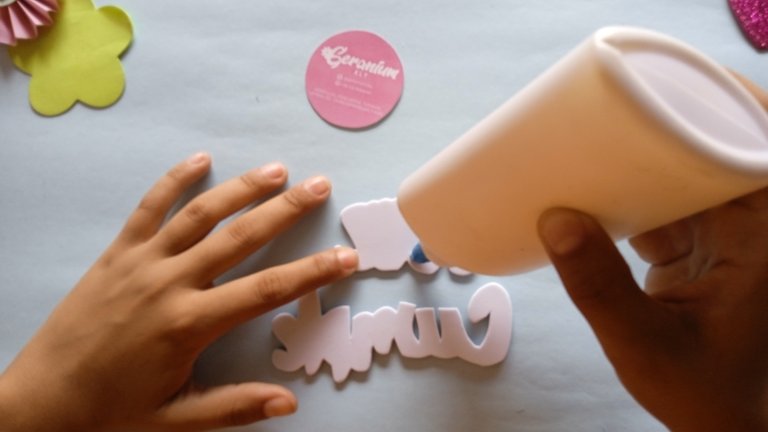
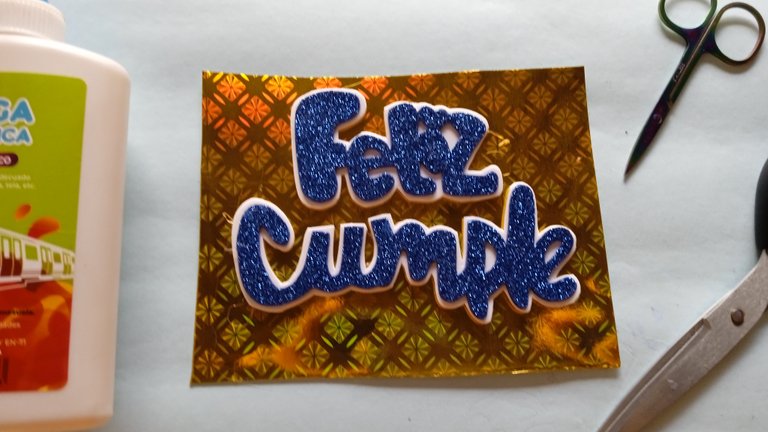
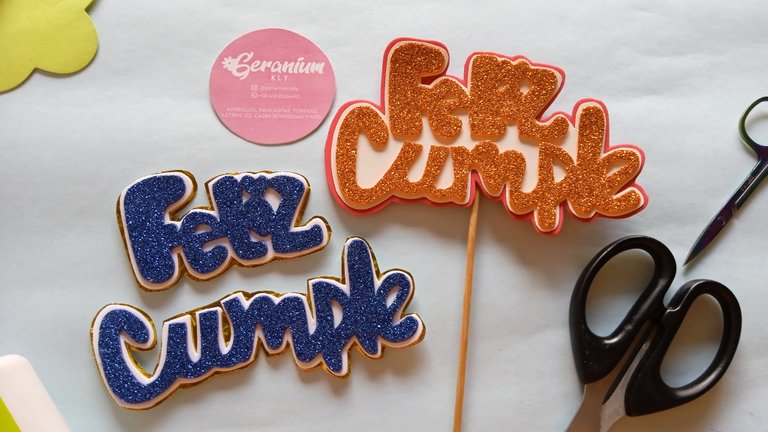
Lo recortamos por los bordes de igual manera y ¡Listo! Sólo le colocamos un palito de altura para poder fijarlo a la torta, el arreglo, la bolsa de regalo o donde sea que decidamos ponerlo.
Puedes jugar con los colores y hacer distintas combinaciones 😊
We cut it around the edges in the same way and that's it! We only put a tall stick to it so we can fix it to the cake, the arrangement, the gift bag or wherever we decide to put it.
You can play with the colors and make different combinations 😊
Muchas gracias por llegar al final de mi publicación 🥰
Thank you very much for reaching the end of my post 🥰
Muchas gracias ☺️💞
Felicitaciones por tus grandes ideas! Excelente!
Muchísimas gracias 🥰❣️ saludos!
Congratulations @karejhose! You have completed the following achievement on the Hive blockchain and have been rewarded with new badge(s) :
Your next target is to reach 50 comments.
You can view your badges on your board and compare yourself to others in the Ranking
If you no longer want to receive notifications, reply to this comment with the word
STOPTo support your work, I also upvoted your post!
Check out the last post from @hivebuzz: