Buen dia mi familia linda de Hive diy.
Good morning my beautiful family from Hive diy.

Bienvenidos una vez más a mi blog, espero y se encuentren muy bien que la Gracia y el amor de Dios esté con todos nosotros todos los días de nuestras vidas, y cada dia seamos mejores personas, amen.
Welcome once again to my blog, I hope you are very well that the Grace and love of God be with all of us every day of our lives, and every day we are better people, amen.
Mis queridos artesanos el dia de hoy quiero compartir con ustedes mi proyecto creativo el cual se trata de la elaboración de una hermosa lámpara hecha con botellas plásticas, No olvides que reciclando ayudamos a tener un planeta menos contaminado, acompáñenme hasta el final para ver el paso a paso y aprende hacer una hermosa lámpara para tu habitación.
My dear artisans, today I want to share with you my creative project which is about making a beautiful lamp made with plastic bottles. Do not forget that by recycling we help to have a less polluted planet, accompany me until the end to see the step. by step and learn how to make a beautiful lamp for your room.
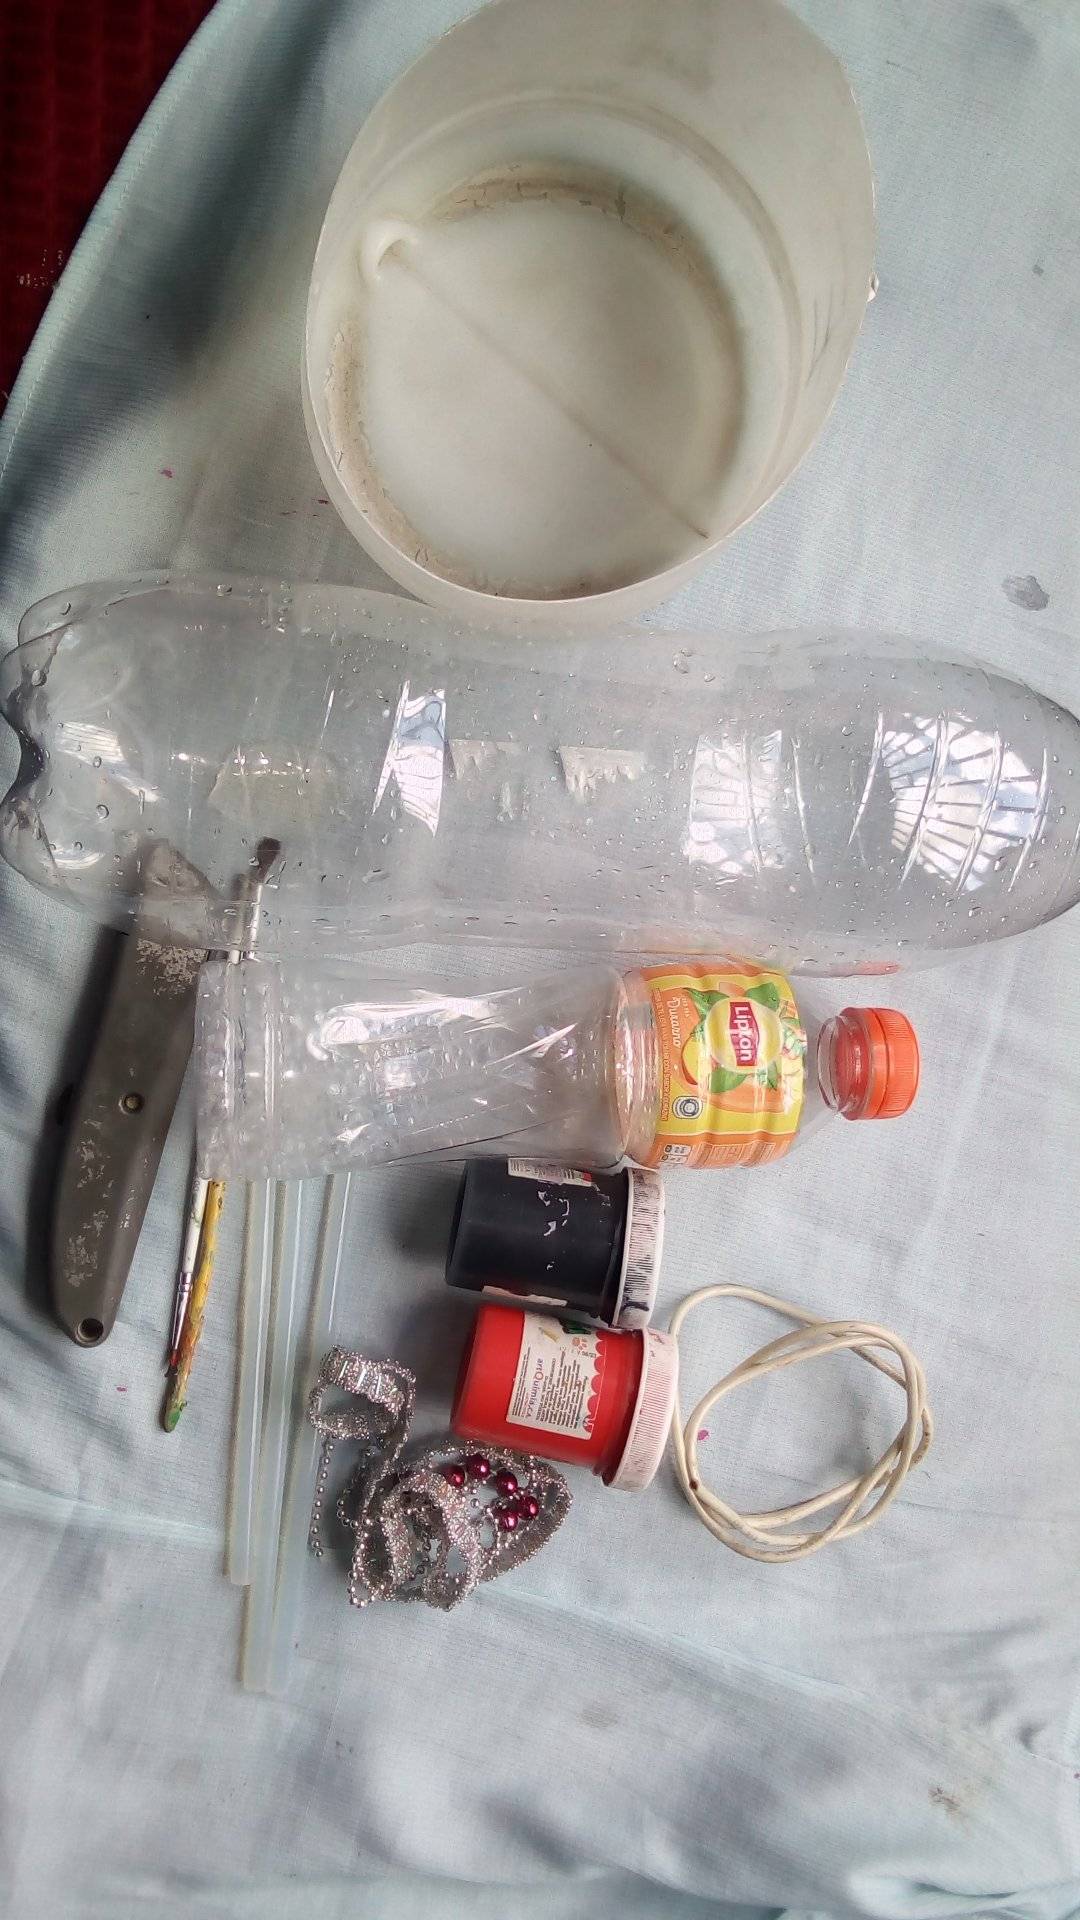
Materiales que necesitarás:
- 1 Botella de refresco de 1/2 litro.
- 1 Botella de refresco de 2 litros.
- 1 envase con una circunferencia de 14 cm.
- Silicón Caliente.
- Cutter y tijera.
- Pintura al frio roja y azul.
- Pinceles.
- Kit para la instalación de la bombilla led.
Materials you will need:
- 1 Bottle of soft drink of 1/2 liter.
- 1 Bottle of soft drink of 2 liters.
- 1 container with a circumference of 14 cm.
- Hot silicone.
- Cutter and scissors.
- Red and blue cold paint.
- Brushes.
- Kit for the installation of the led bulb.
Paso a paso:
Step by Step:
Paso 1:
Step 1:
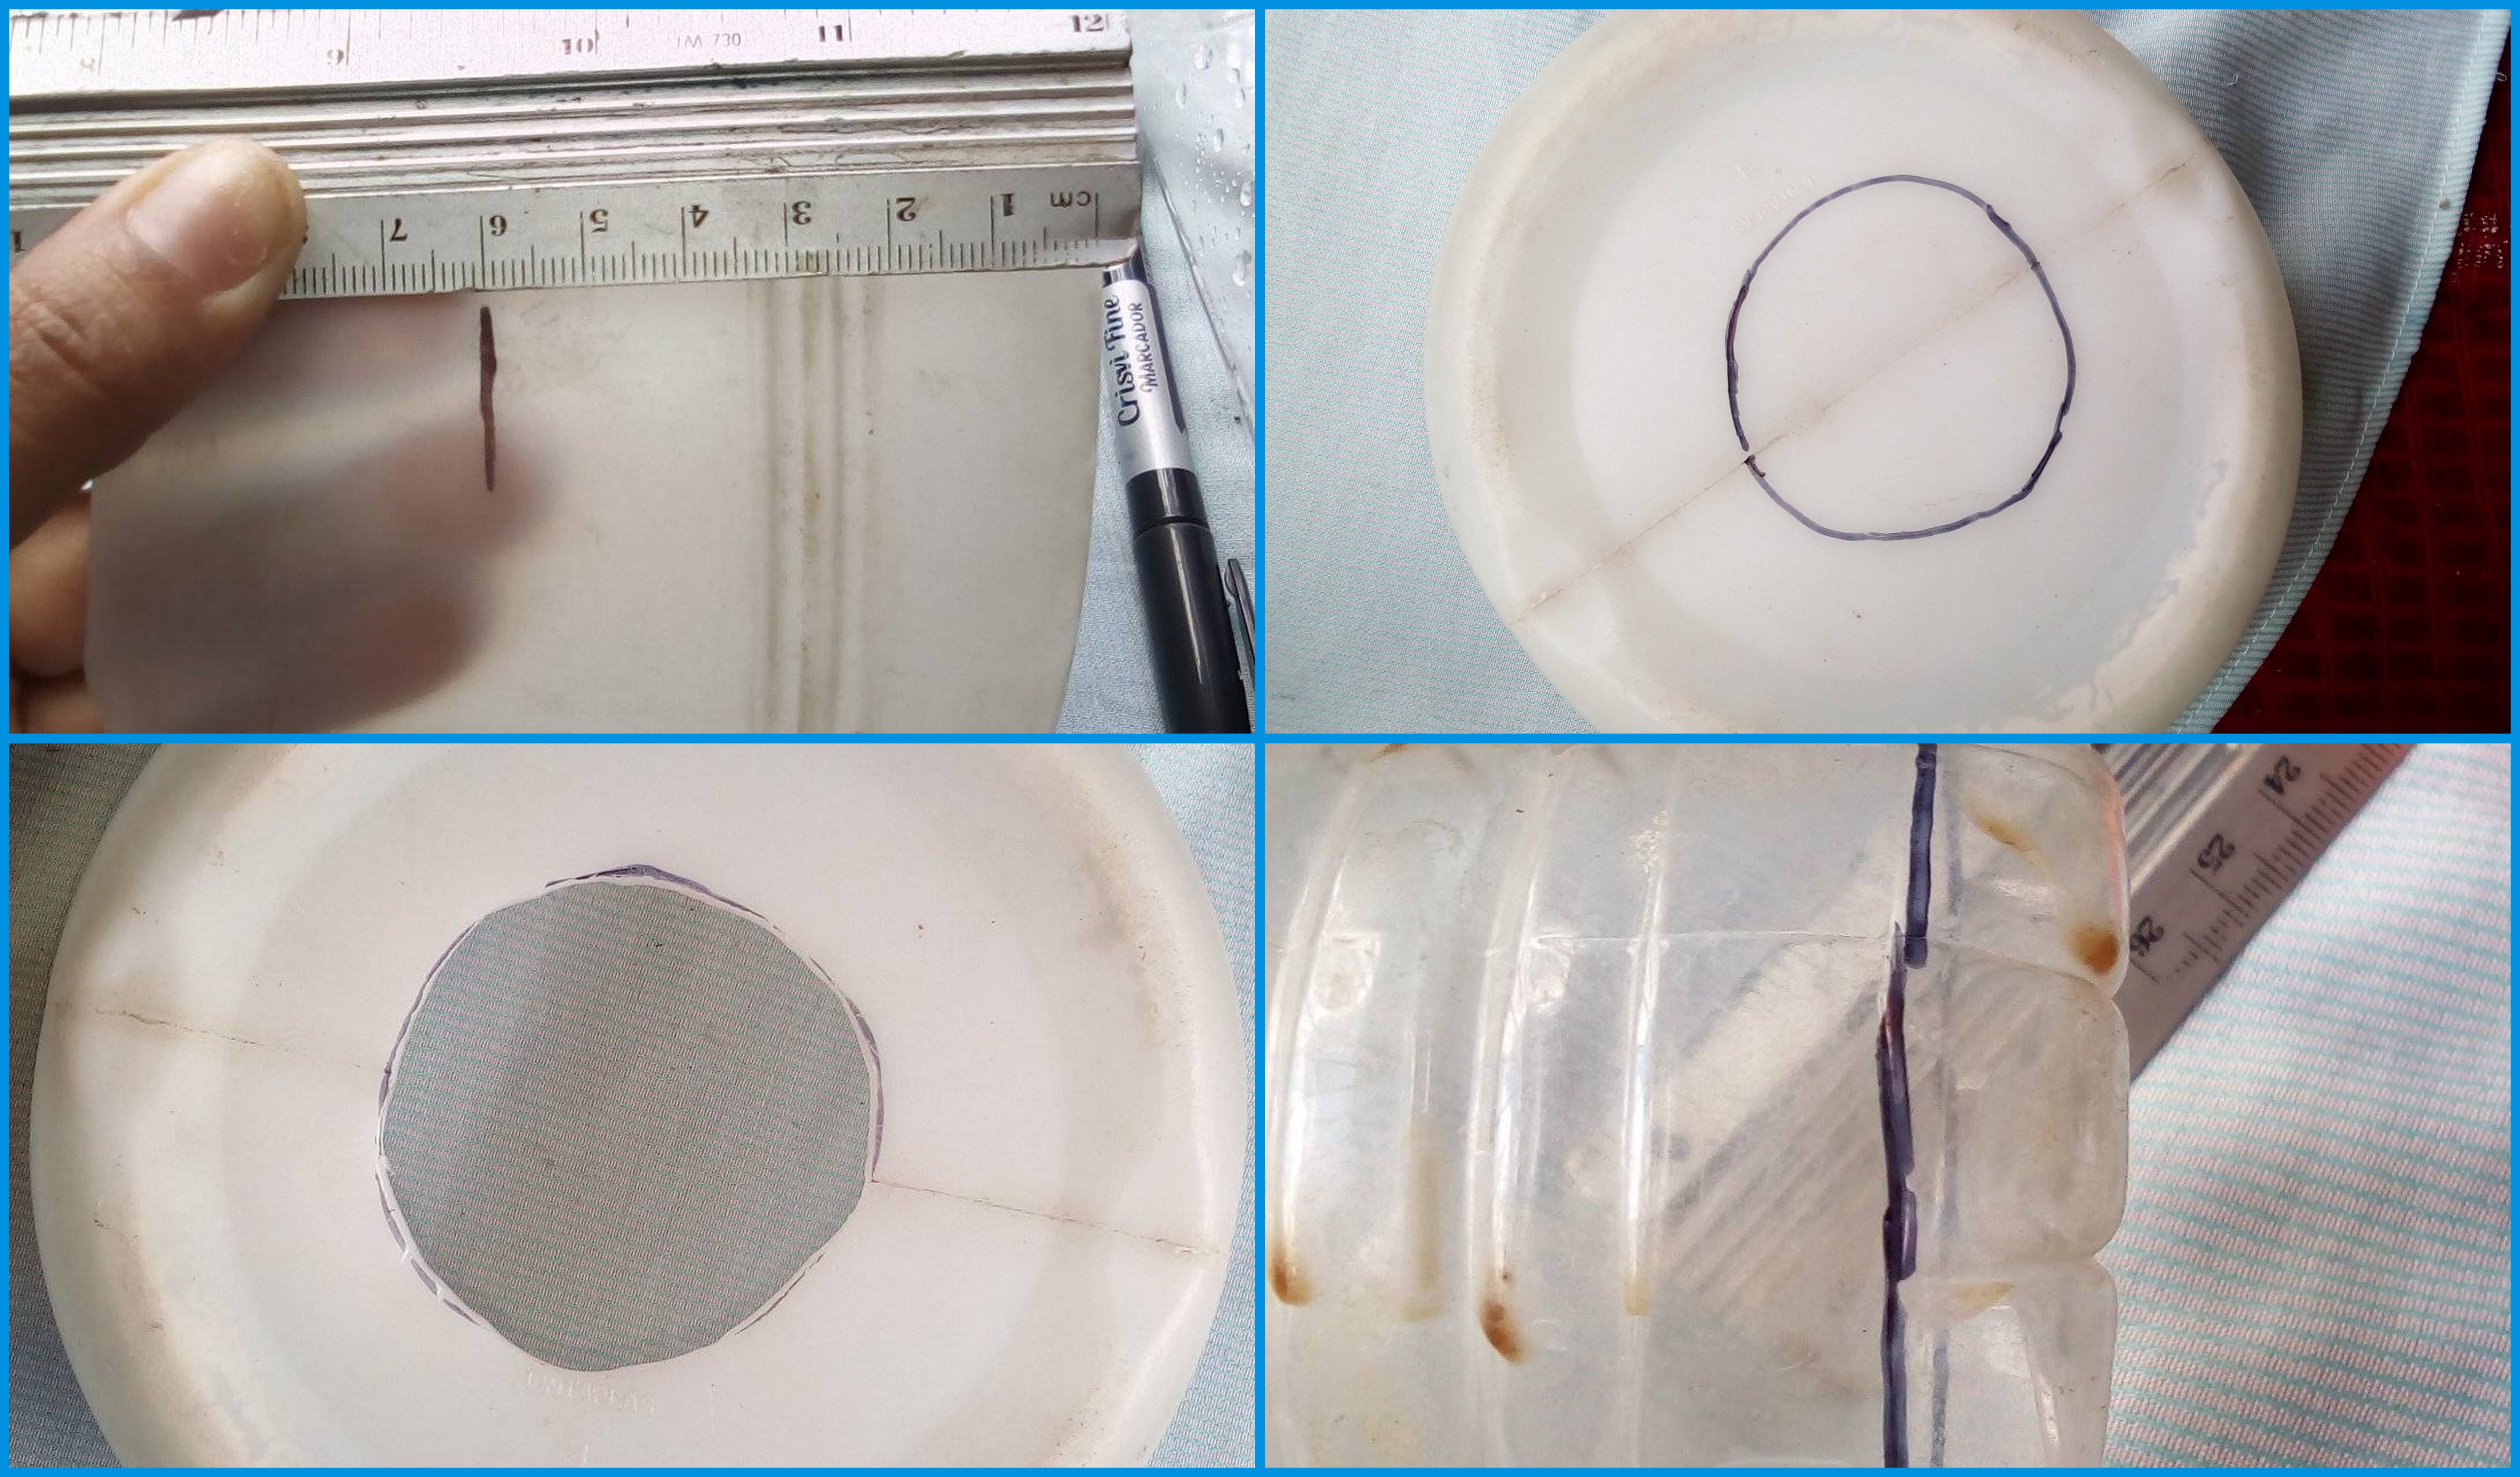
Para iniciar nuestro proyecto creativo empezaremos a cortar y darle la forma que le corresponde a cada botella de plástico que utilizaremos. Iniciamos con La botella de 2 litros la usaremos para hacer la pantalla de la lámpara, con la ayuda del cuter cortamos la parte superior, Luego a la botella de medio litro le cortamos un centímetro de la parte inferior de la misma y al envase de circunferencia grande lo usaremos como la base a este lo cortamos a una altura de 6 centímetros, hacemos un agujero en la parte central, donde meteremos la botella de medio litro y así poder formar la estructura de la lámpara.
To start our creative project we will start cutting and giving it the shape that corresponds to each plastic bottle that we will use. We start with the 2-liter bottle we will use it to make the lampshade, with the help of the cutter we cut the upper part, then we cut a centimeter from the bottom of the half-liter bottle and the circumference container large we will use it as the base to this we cut to a height of 6 centimeters, we make a hole in the central part, where we will put the half-liter bottle and thus be able to form the structure of the lamp.
Paso 2:
Step 2:
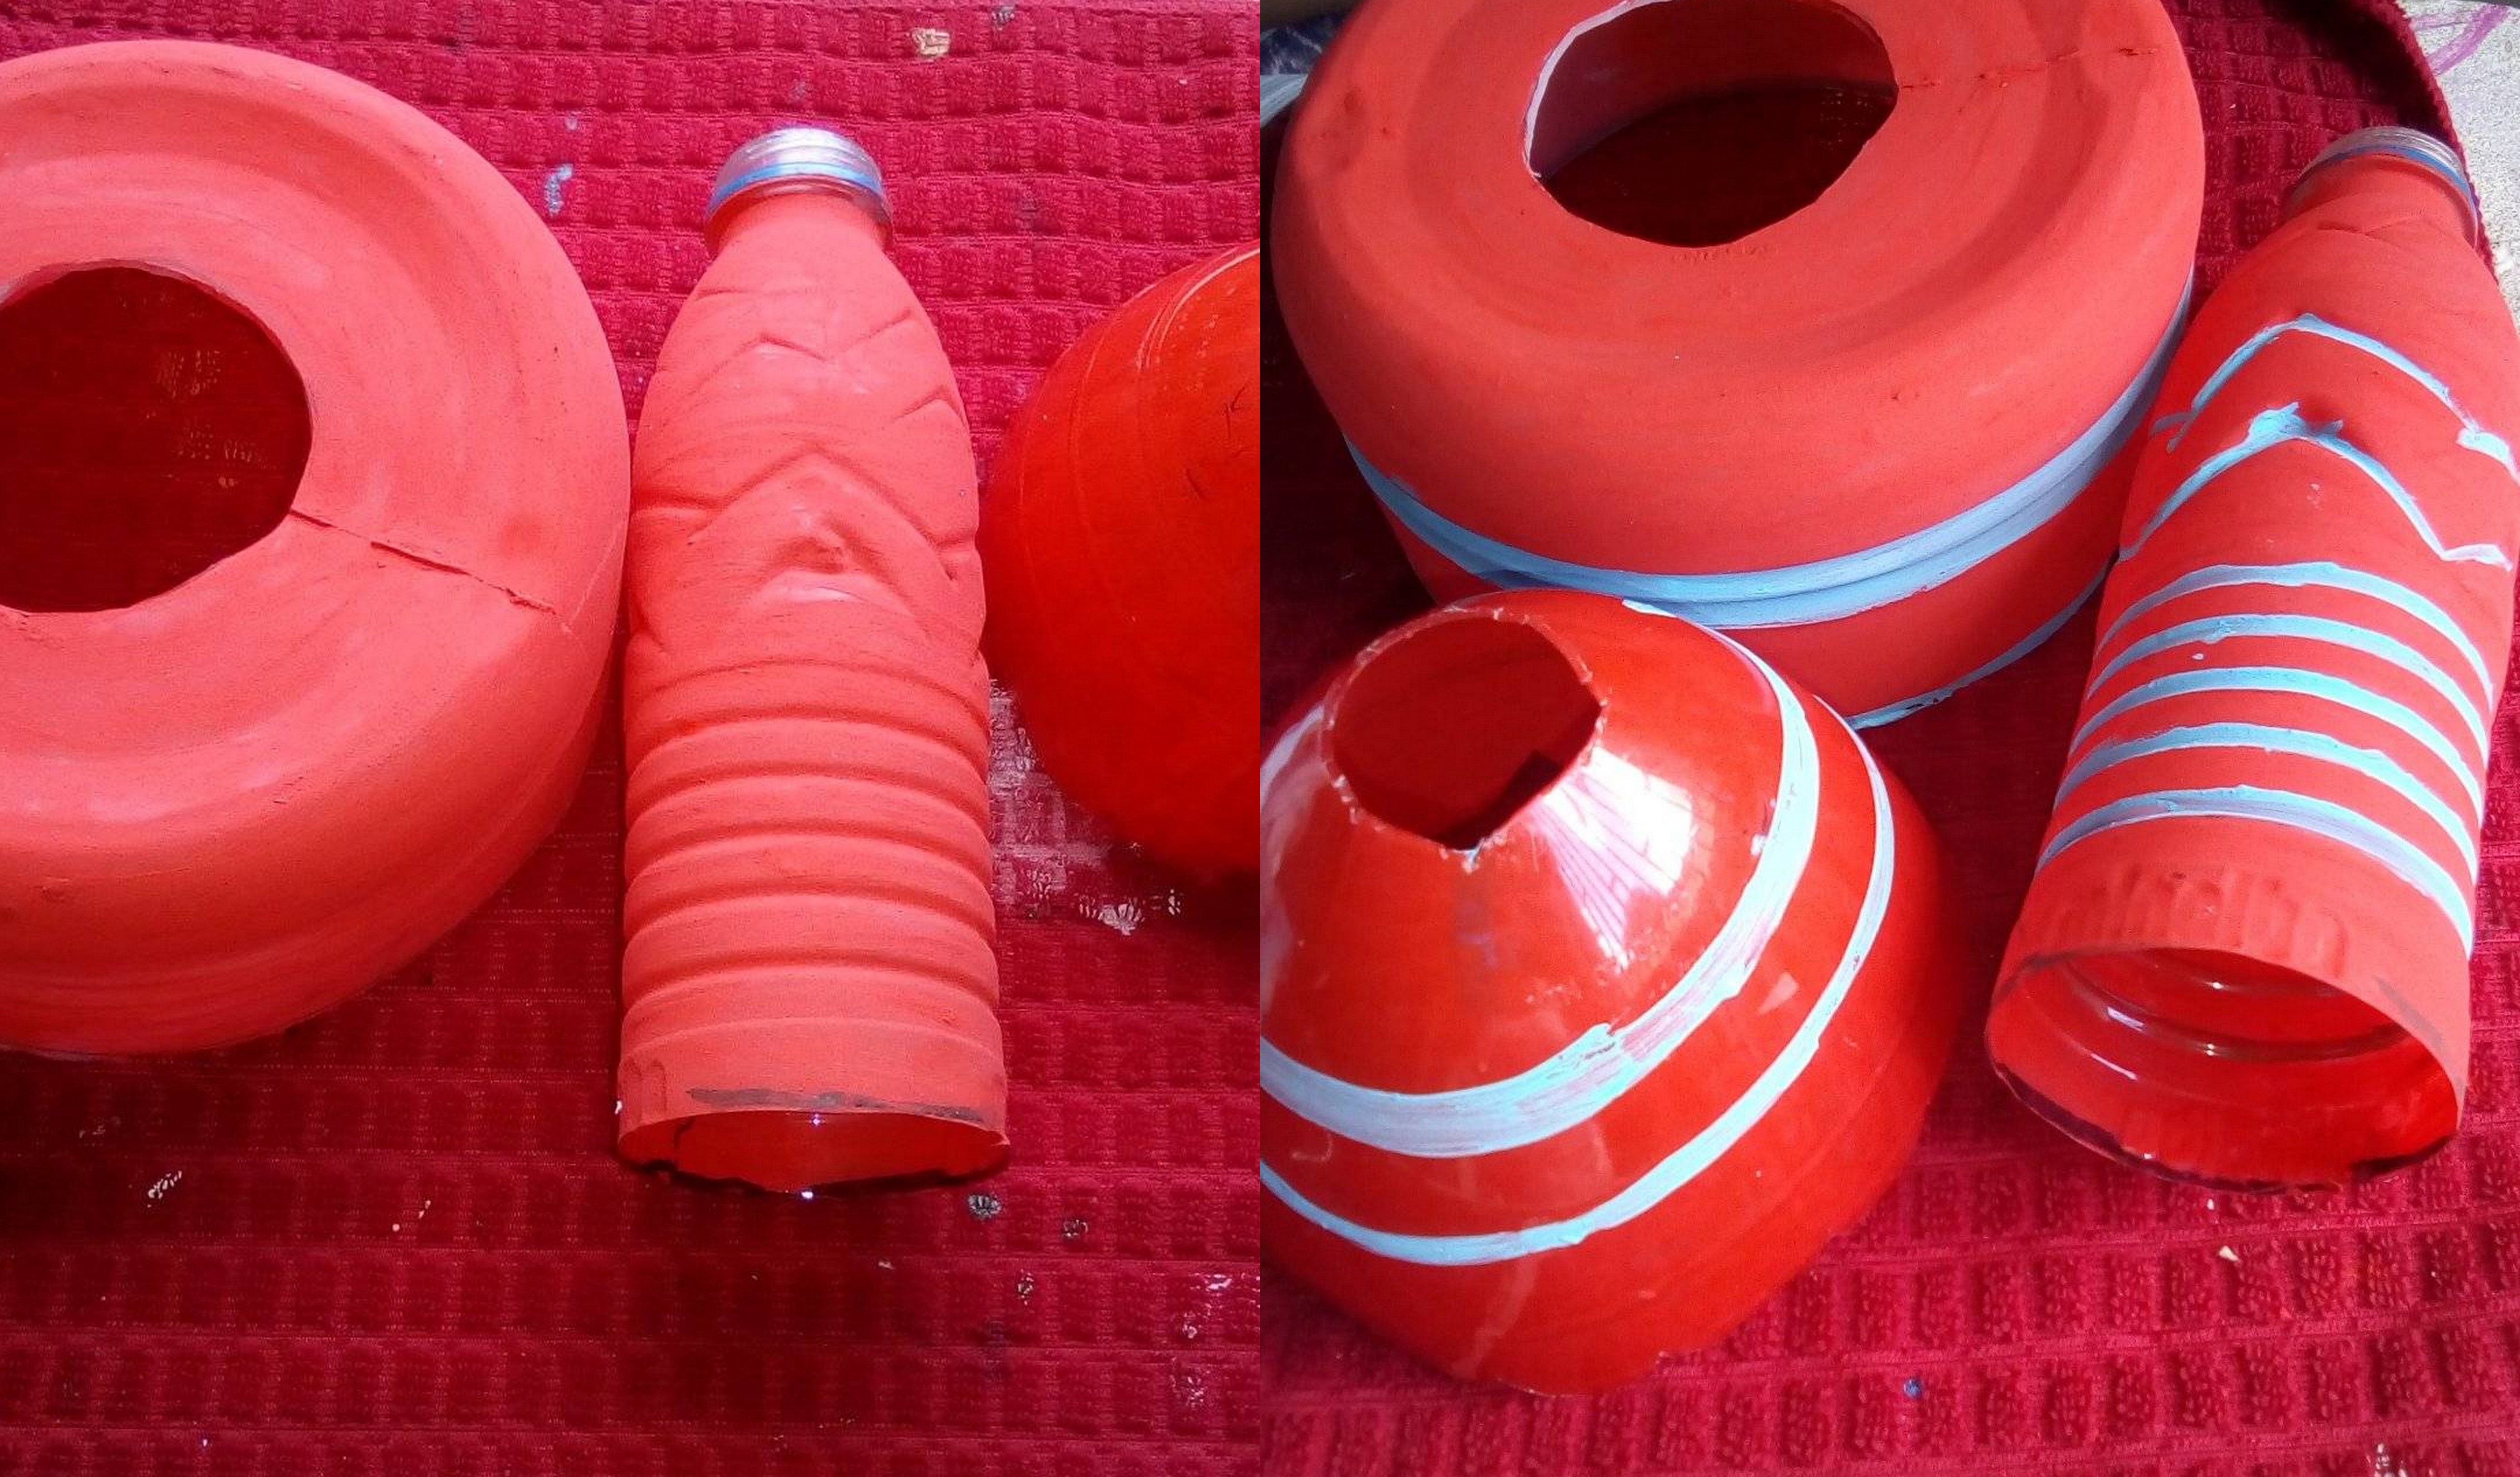
Ya que tengamos las 3 piezas principales con los cortes necesarios es el momento cuando comenzamos a pintar a nuestro gusto, en esta oportunidad yo use los colores rojo y azul, todo es a gusto de cada quien.
Once we have the 3 main pieces with the necessary cuts, it is the moment when we begin to paint to our liking, this time I used the colors red and blue, everything is to everyone's liking.
Paso 3:
Step 3:
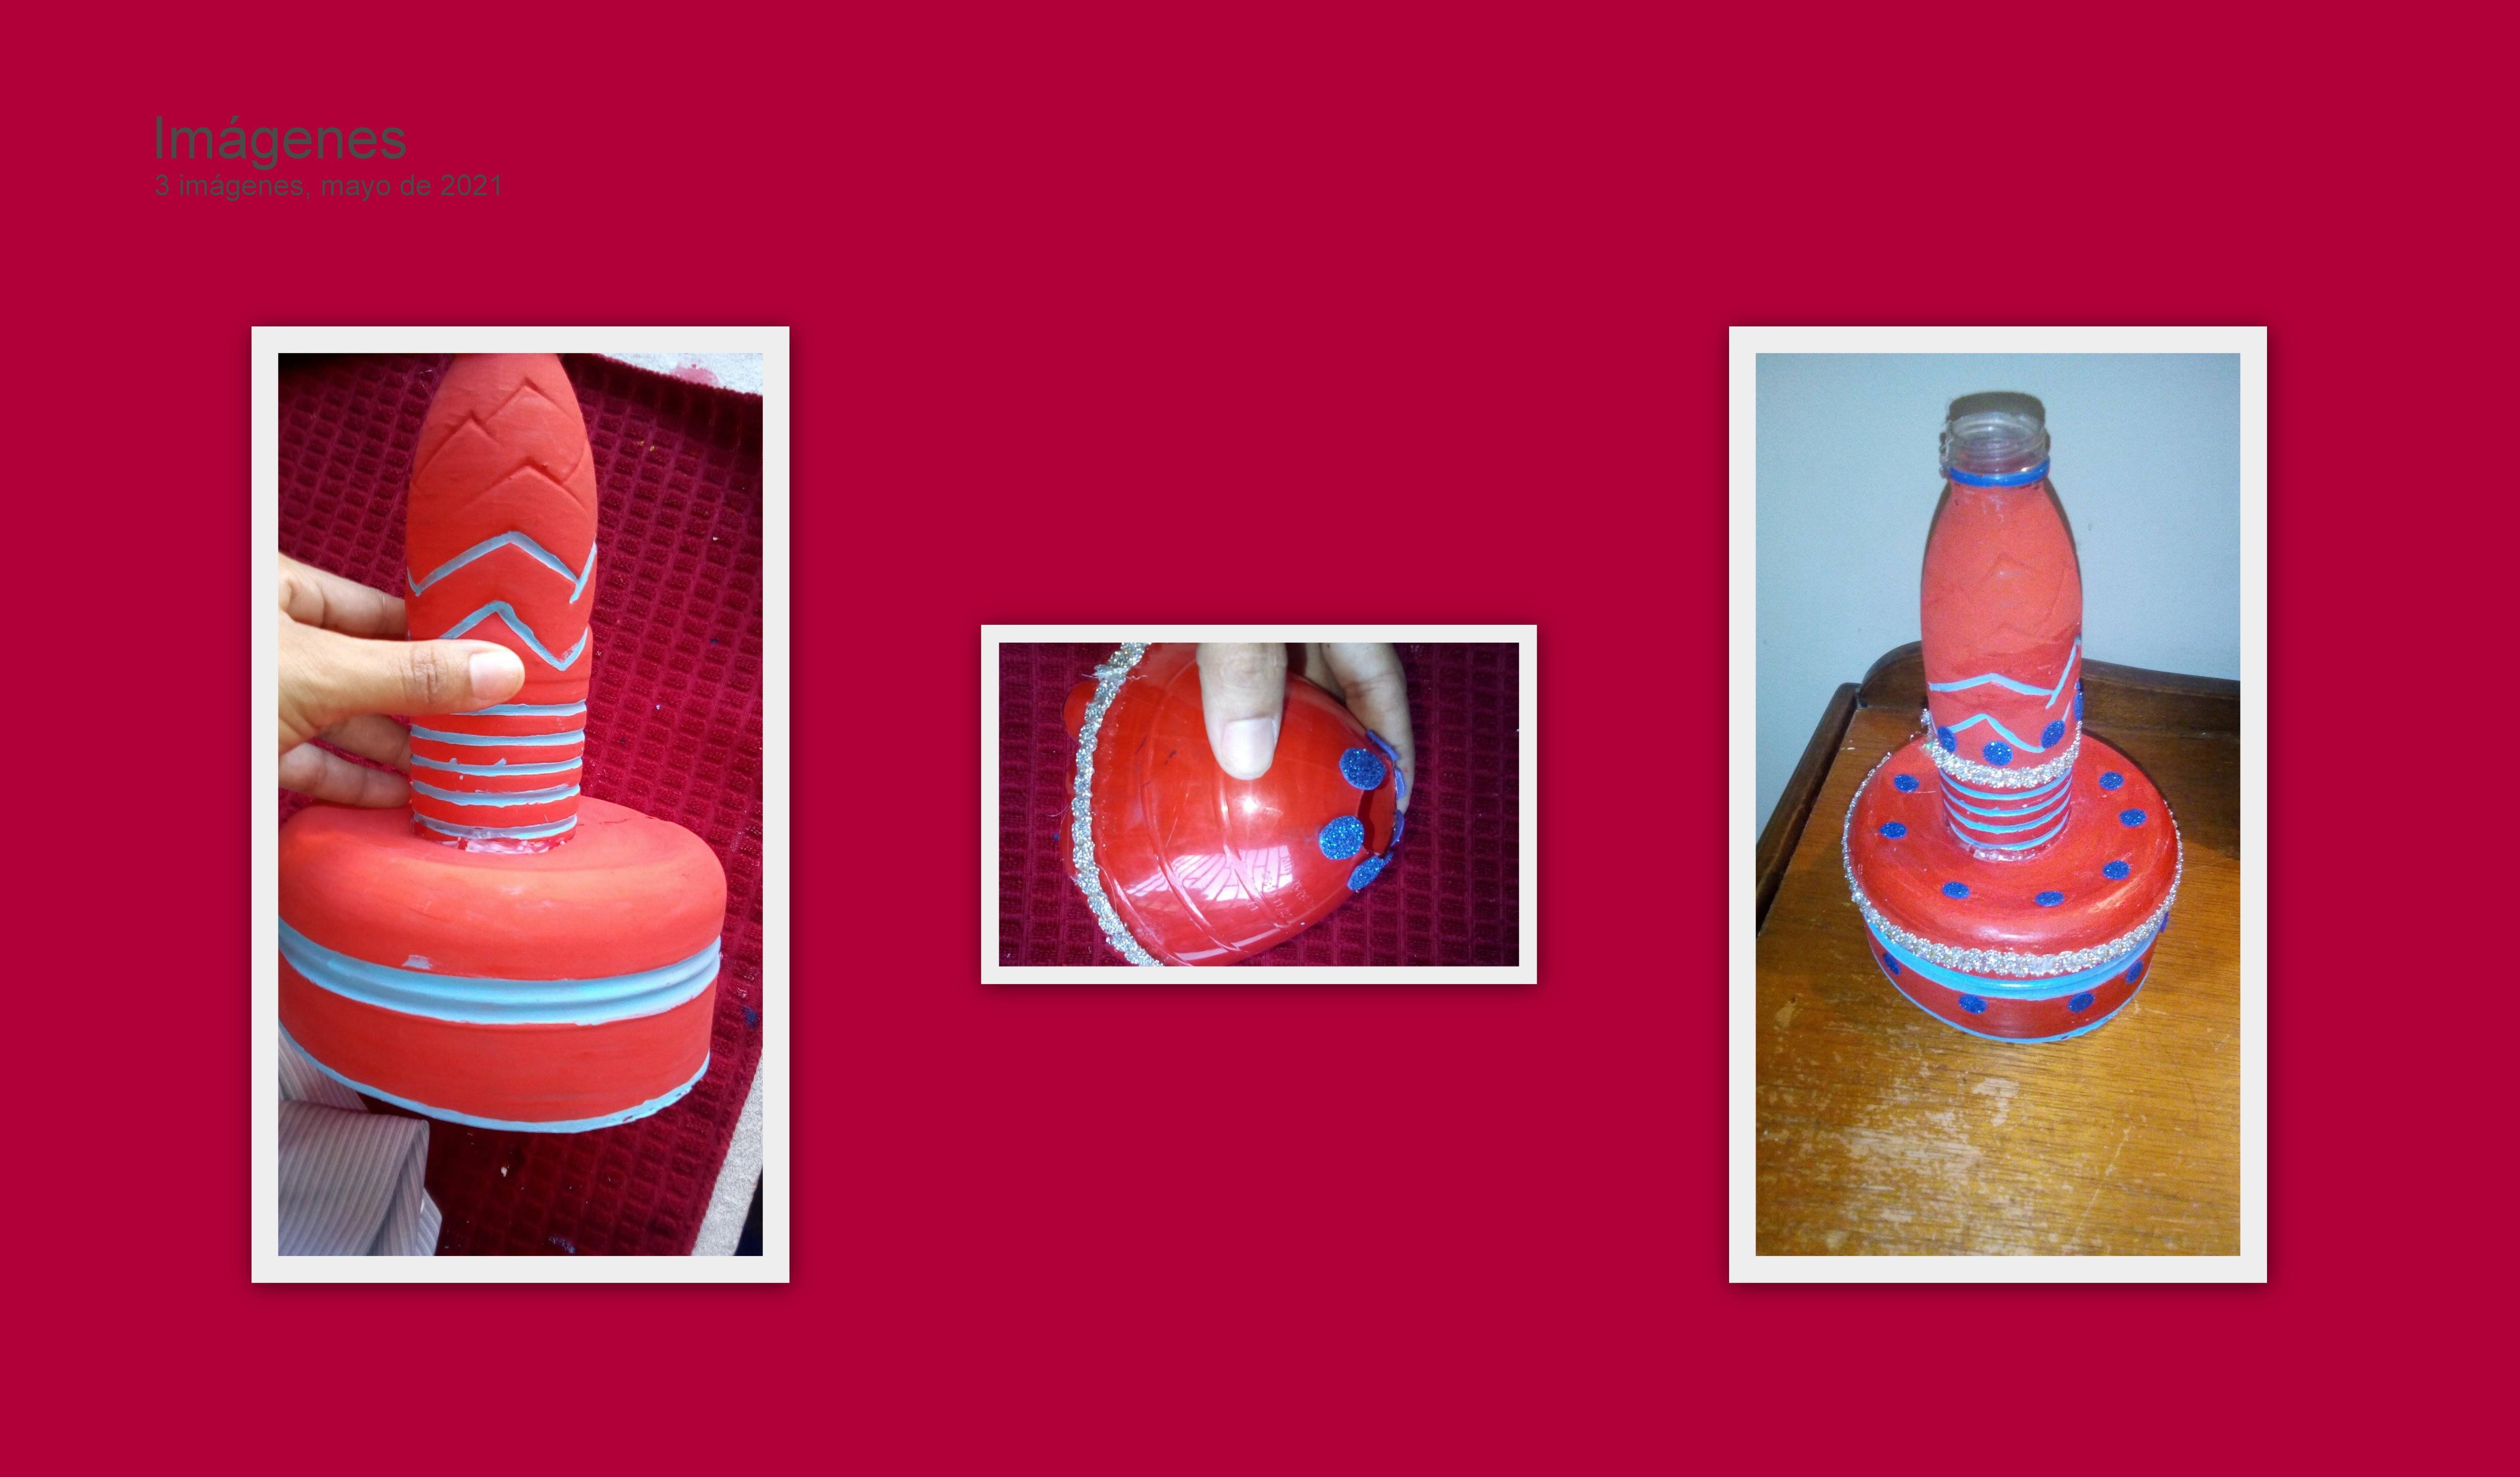
Luego el paso a seguir es pegar con silicon caliente la botella de 1/2 litro sobre la base y las comenzamos a decorar con cintas y foami brillantes.
Then the next step is to stick the 1/2 liter bottle on the base with hot silicone and we begin to decorate them with ribbons and shiny foami.
Paso 4:
Step 4:
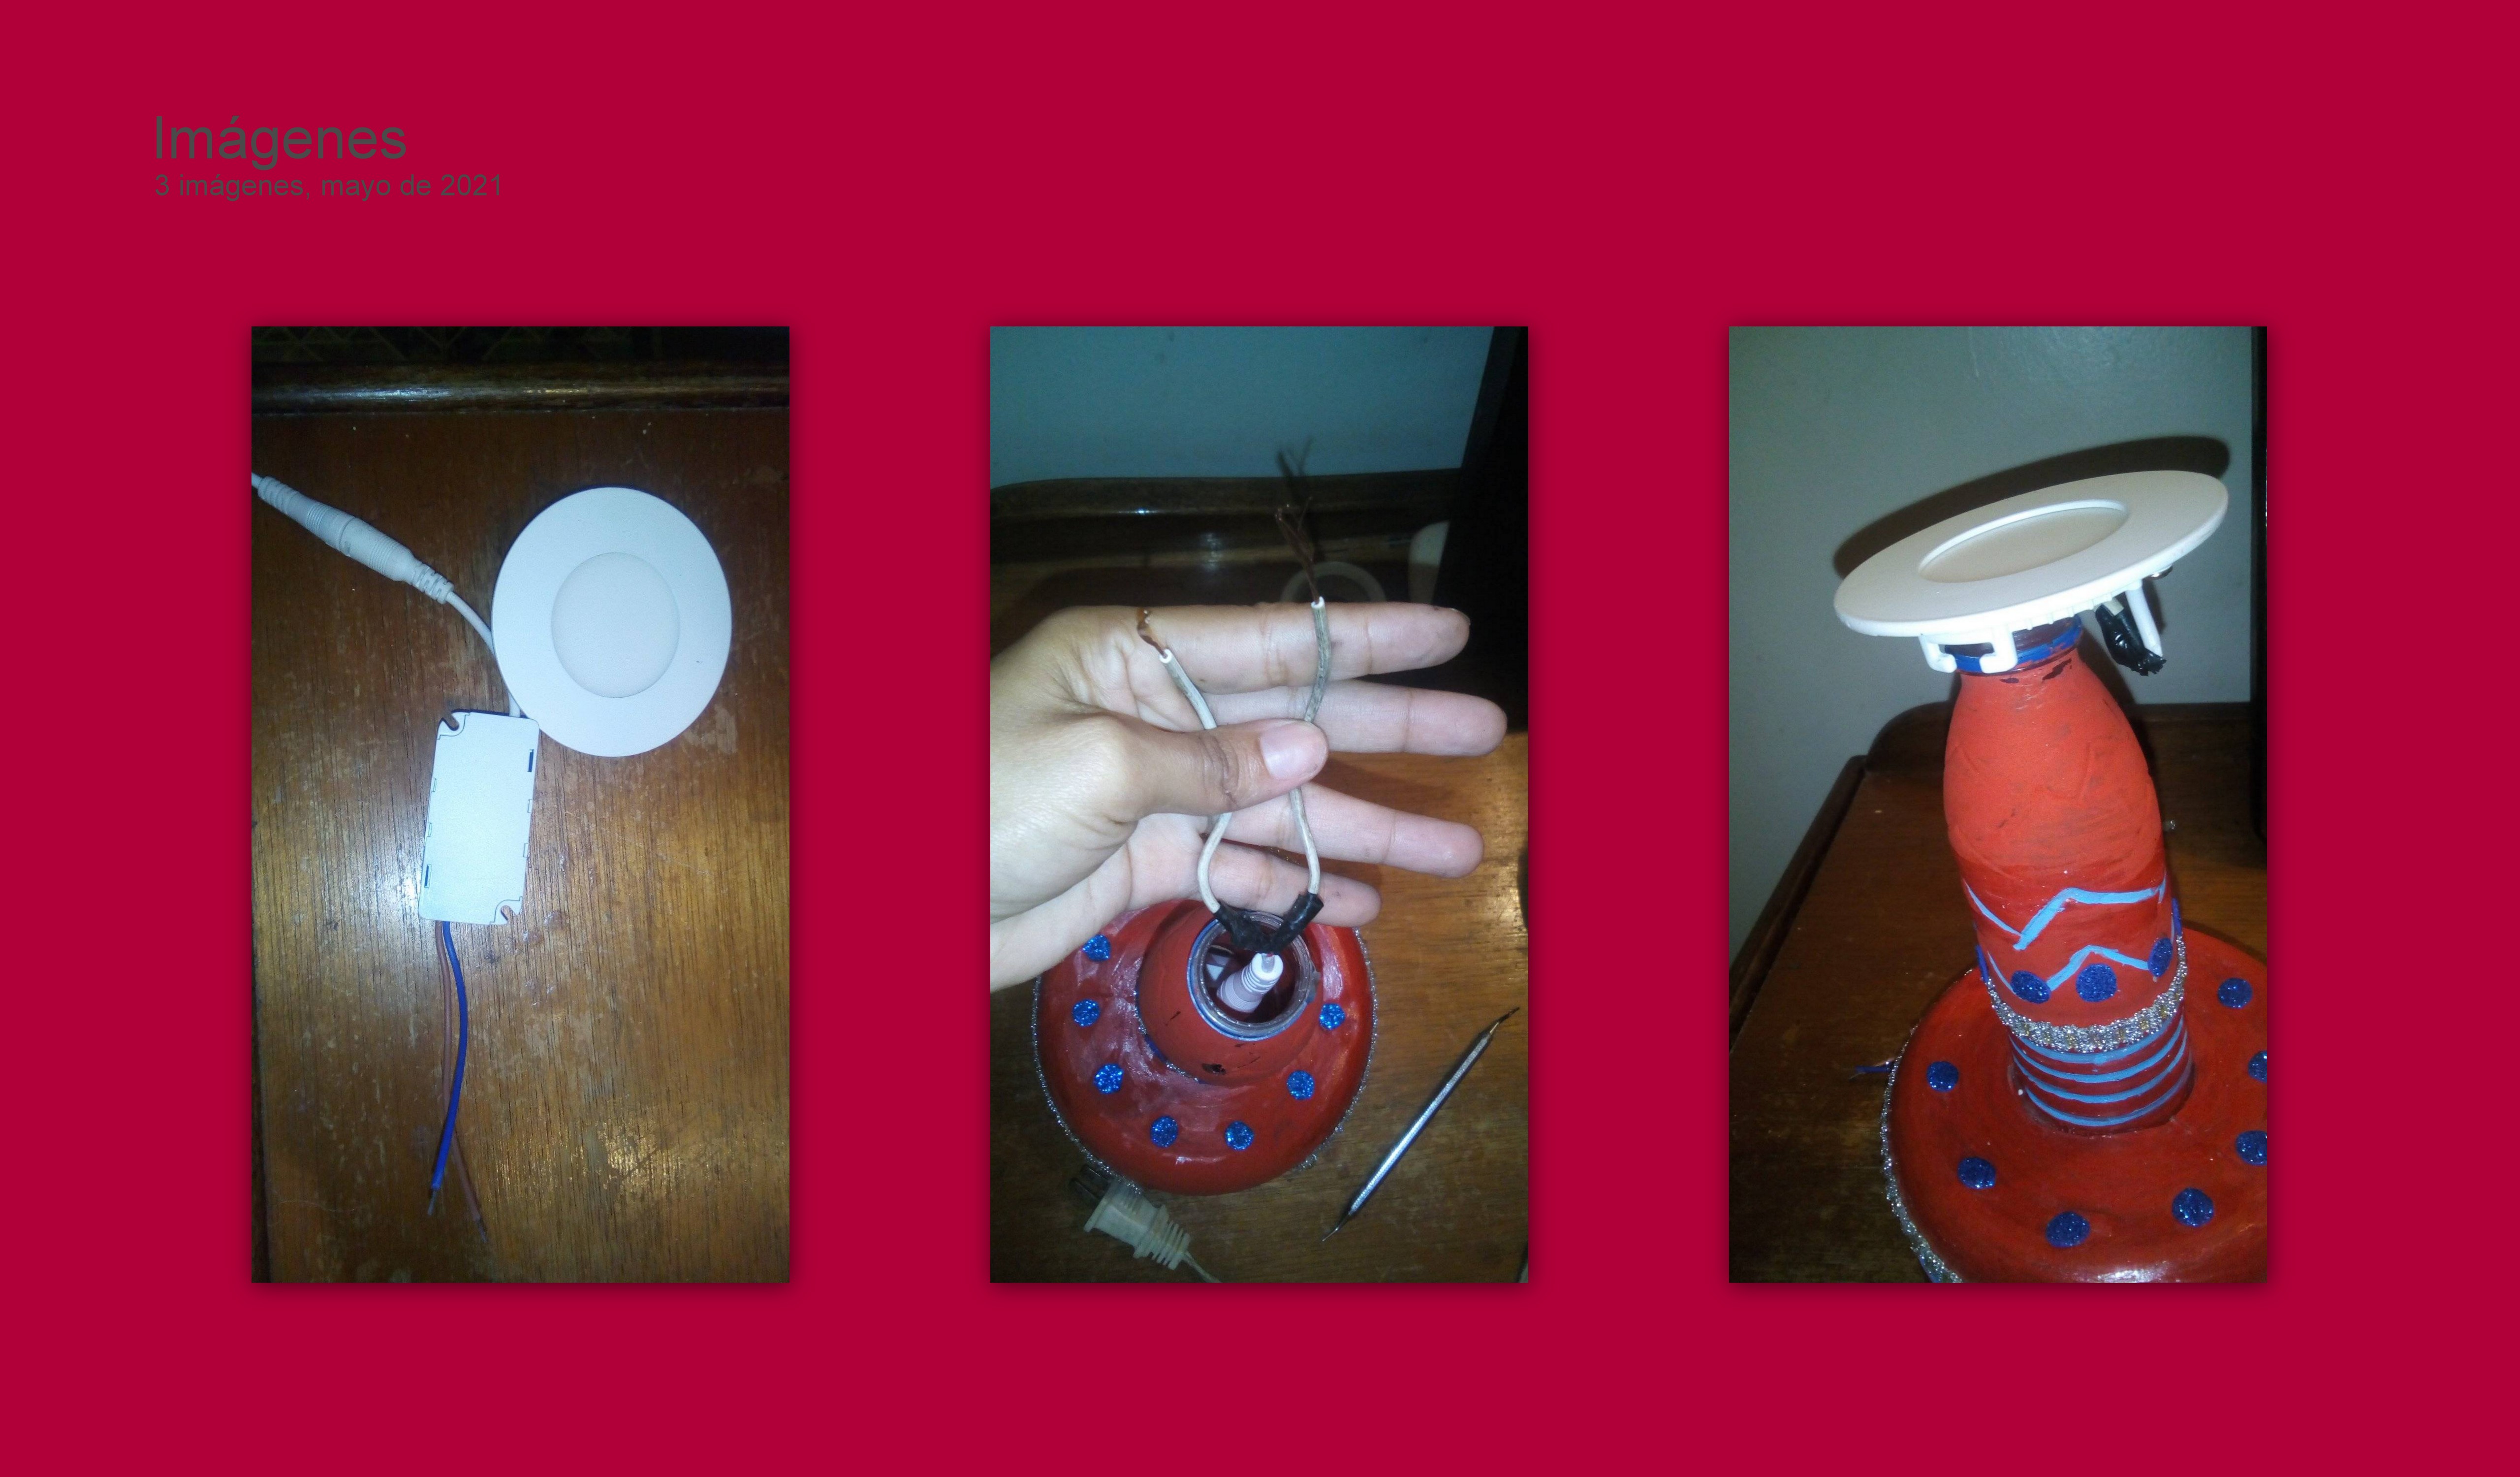
Es el momento donde comenzaremos hacer la instalación de la bombilla led, lo primero es pasar el cable que transportara la corriente a la bombilla, esté lo introduciremos por debajo de la base y por dentro de la botella pequeña, lo unimos a la bombilla y la pegamos en la pantalla de la lámpara.
It is the moment where we will begin to install the led bulb, the first thing is to pass the cable that will carry the current to the bulb, we will introduce it below the base and inside the small bottle, we join it to the bulb and the we glue on the lampshade.
Resultado
Result
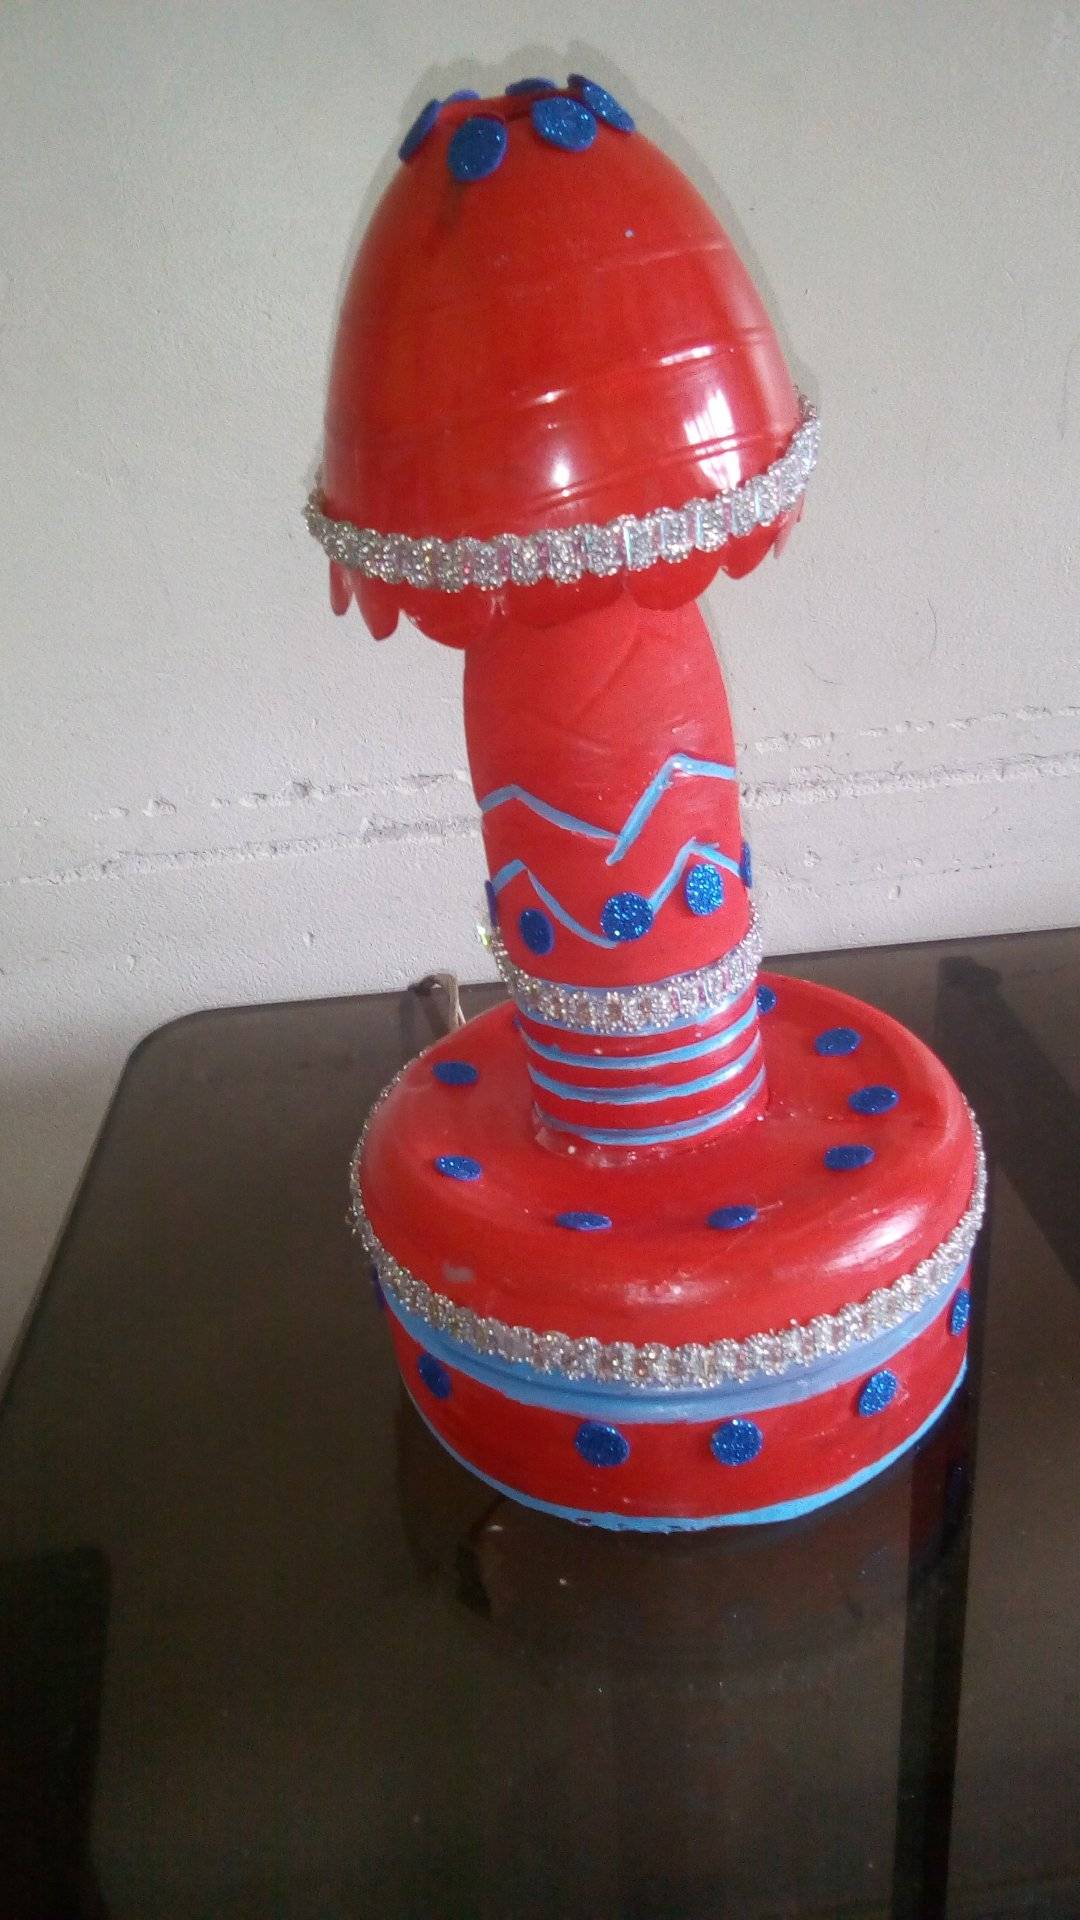
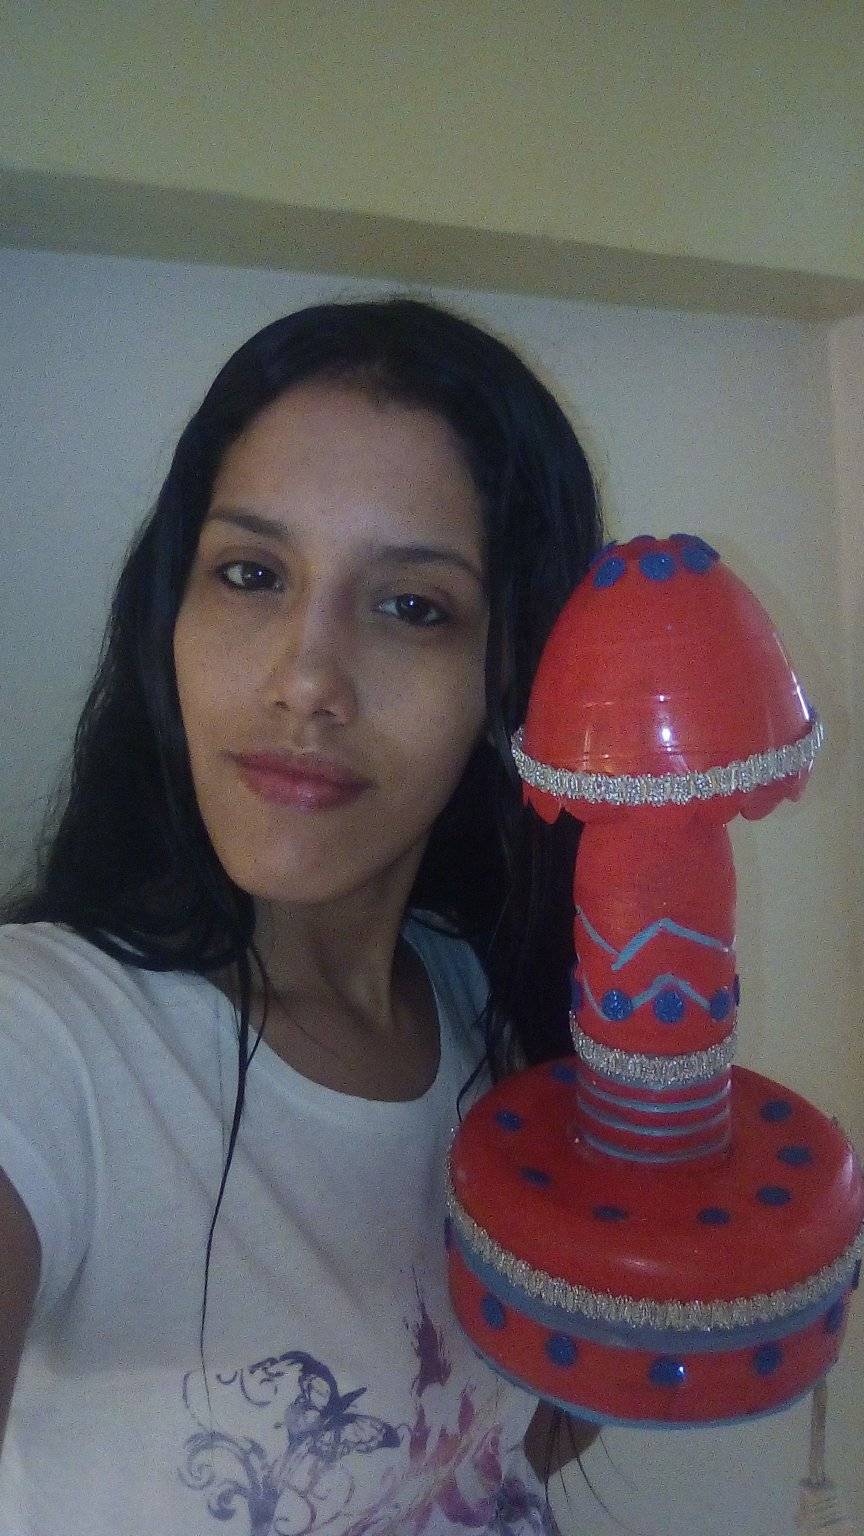
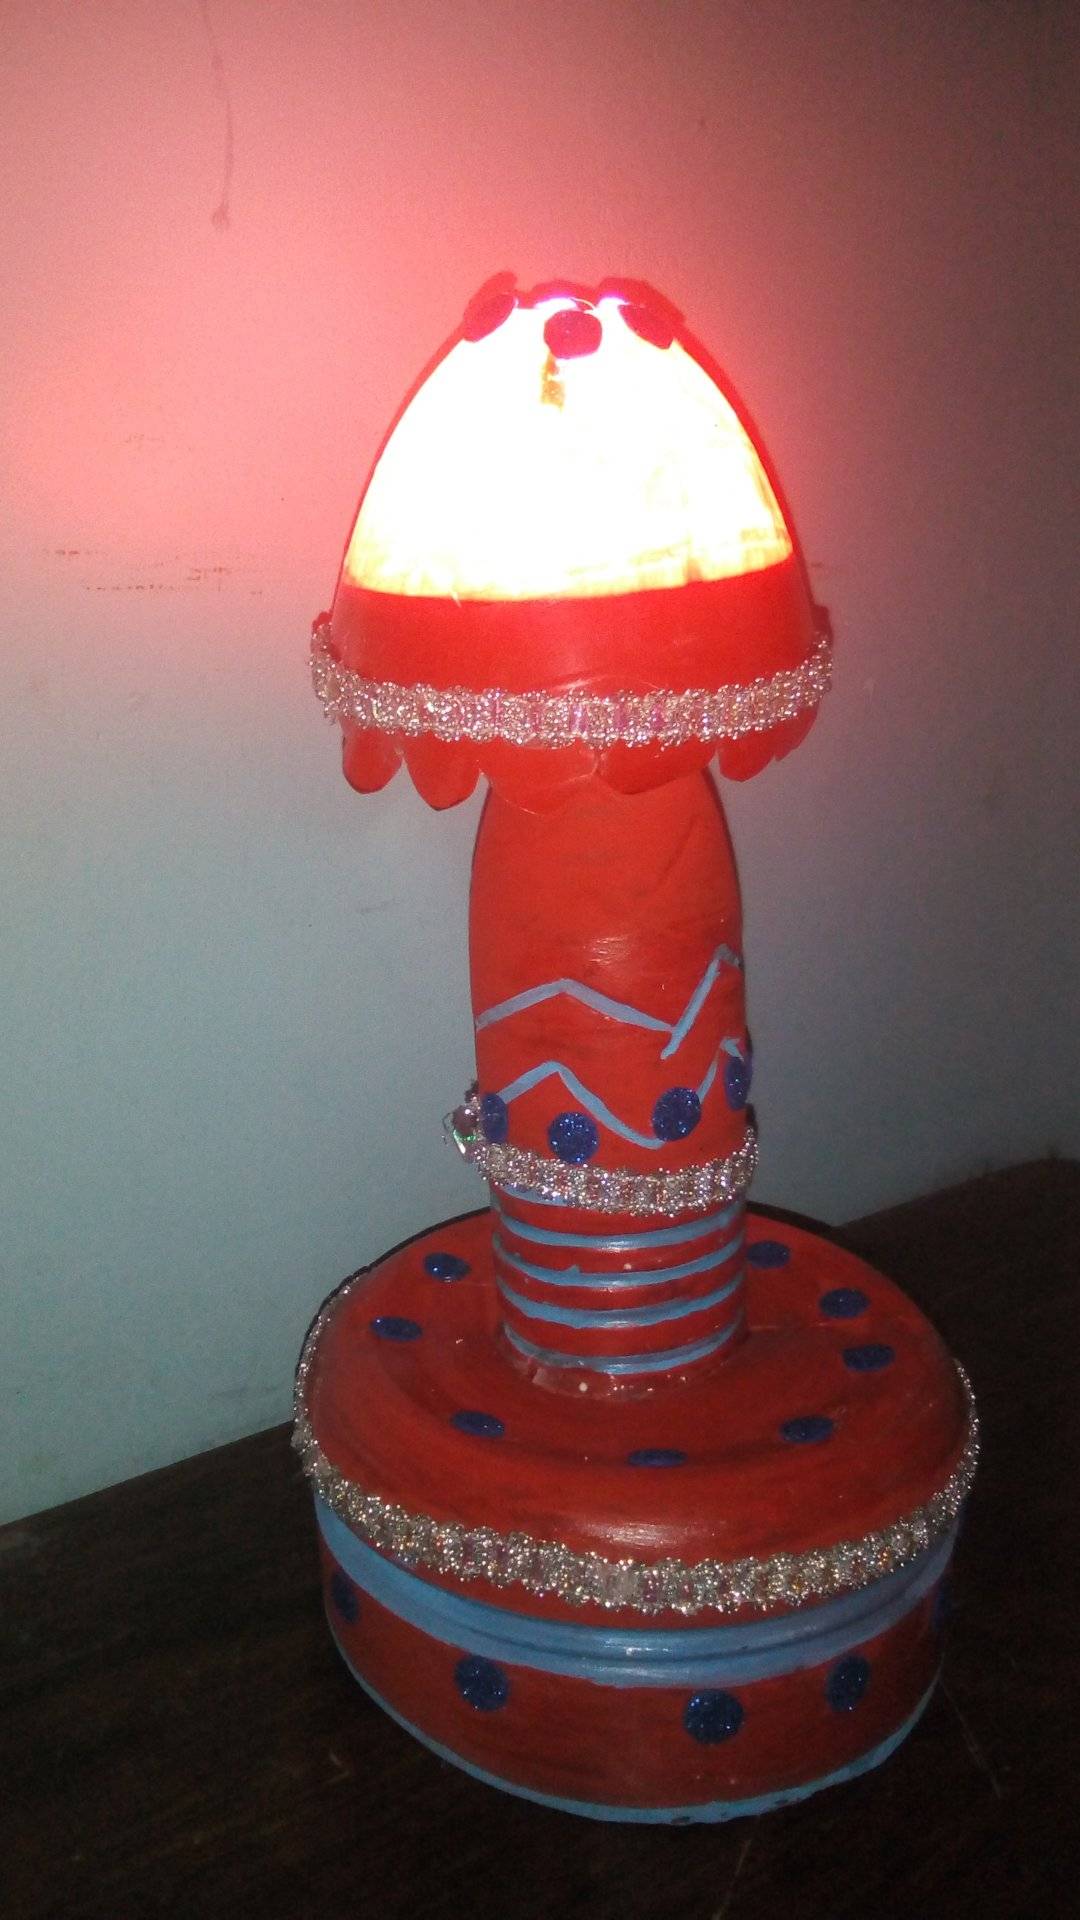
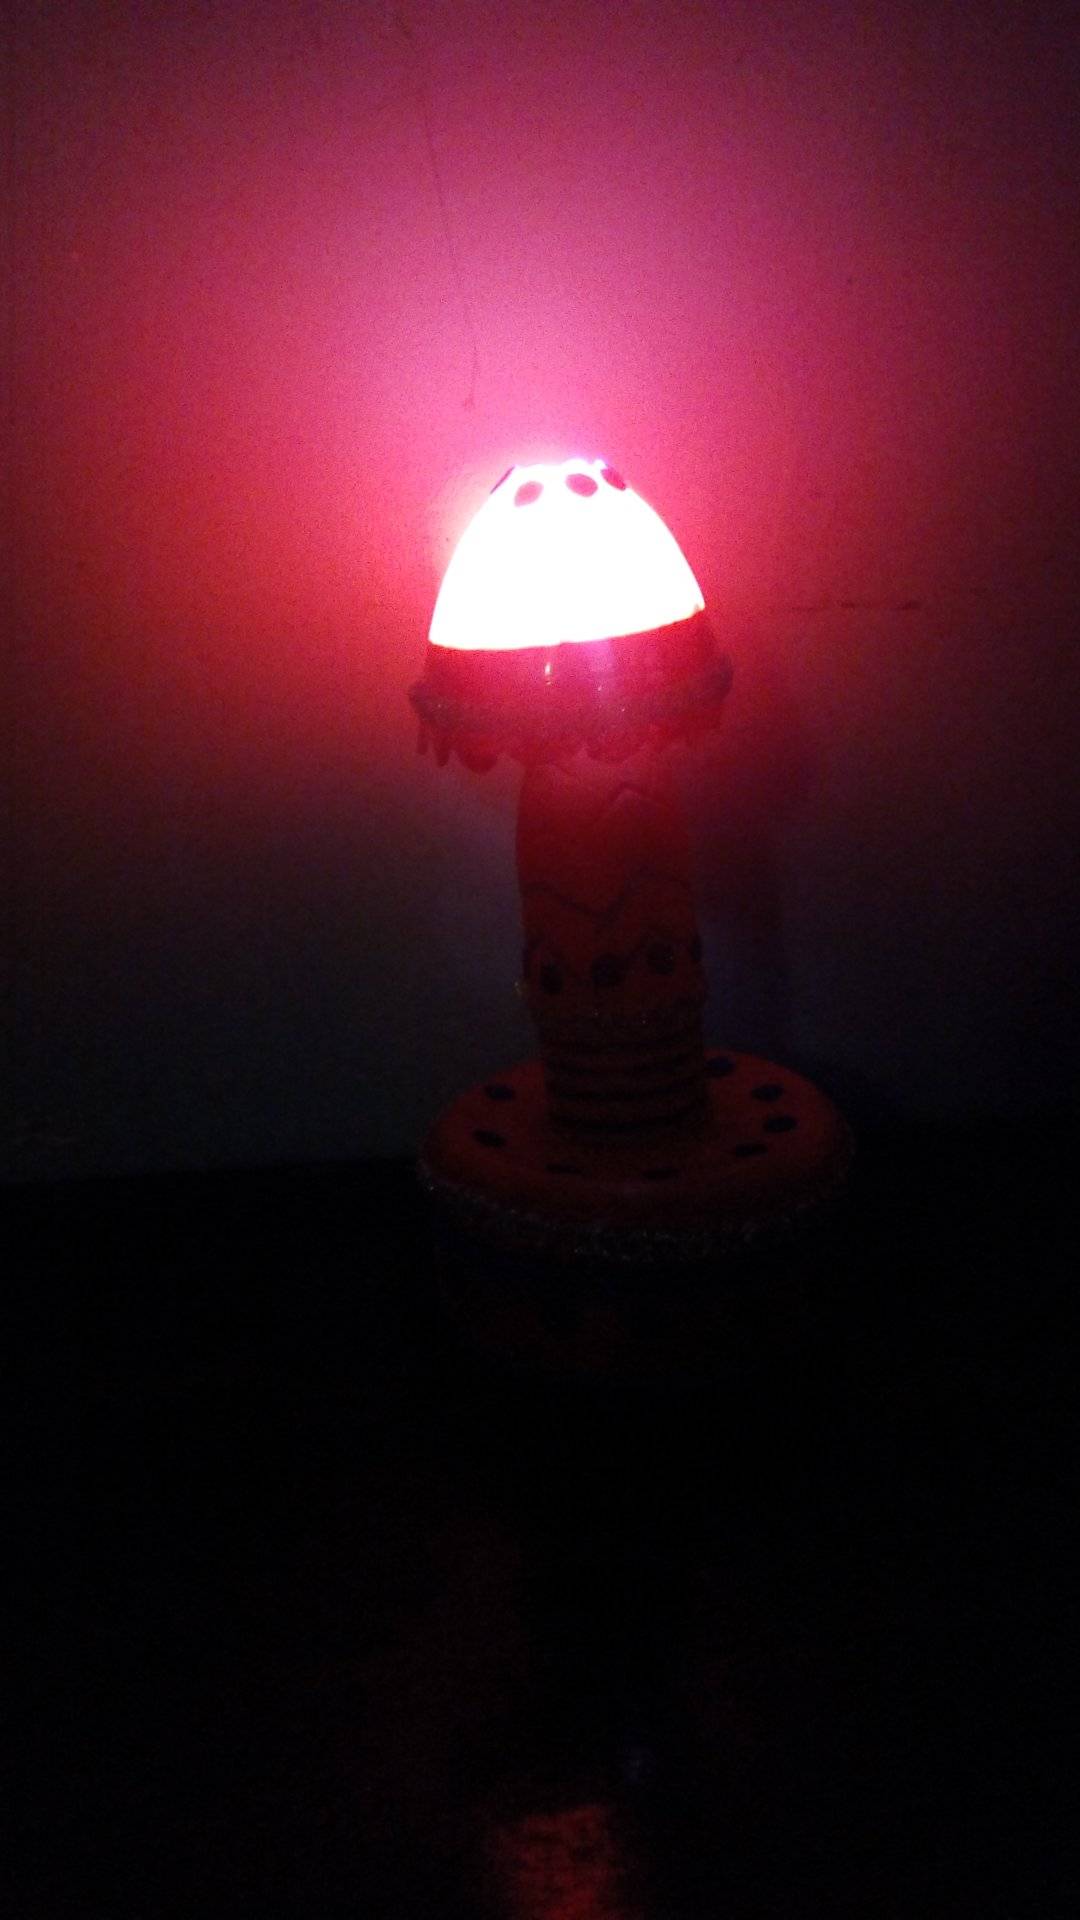
Espero y les halla gustado tanto como ami y este tutorial les sirva para hacer una en casa es muy sencilla de hacer económica y muy valiosa para el hogar, sobre todo para los más pequeños de la casa que muchas veces le tienen miedo a la oscuridad, si tienen botellas más grandes igual las pueden utilizar y hacen una lámpara de un mayor tamaño.
I hope and you liked it as much as I did and this tutorial will help you to make one at home, it is very easy to do, cheap and very valuable for the home, especially for the little ones in the house who are often afraid of the dark, if they have larger bottles they can still use them and make a larger lamp.
Gracias por leer mi publicacion, Dios les bendiga.
Thank you for reading my publication, God bless you.
Hasta mañana.
Until tomorrow.
Todas las fotos son de mi autoría, tomadas con la camara de mi telefono BLU ADVANCE A6 y editadas en mi computadora con la aplicación Picasa 3.
All the photos are my own, taken with the camera of my BLU ADVANCE A6 phone and edited on my computer with the Picasa 3 application.
Mi texto en español fue traducido a inglés, con el traductor de google.
My text in Spanish was translated into English, with the google translator.
GRACIAS !!!!
THANK YOU !!!!
Your content has been voted as a part of Encouragement program. Keep up the good work!
Use Ecency daily to boost your growth on platform!
Support Ecency
Vote for new Proposal
Delegate HP and earn more
Thank you for sharing this amazing post on HIVE!
non-profit curation initiative!Your content got selected by our fellow curator @stevenson7 & you just received a little thank you via an upvote from our
You will be featured in one of our recurring curation compilations and on our pinterest boards! Both are aiming to offer you a stage to widen your audience within and outside of the DIY scene of hive.
Join the official DIYHub community on HIVE and show us more of your amazing work and feel free to connect with us and other DIYers via our discord server: https://discord.gg/mY5uCfQ !
If you want to support our goal to motivate other DIY/art/music/homesteading/... creators just delegate to us and earn 100% of your curation rewards!
Stay creative & hive on!
Excelente, ideal para tener en una luz tenue en el cuarto Felicidades.
Gracias amigo.
DO NOT FOLLOW any instruction and DO NOT CLICK on any link in the comment!
Deleted
Do not click this link! Its a scam!